

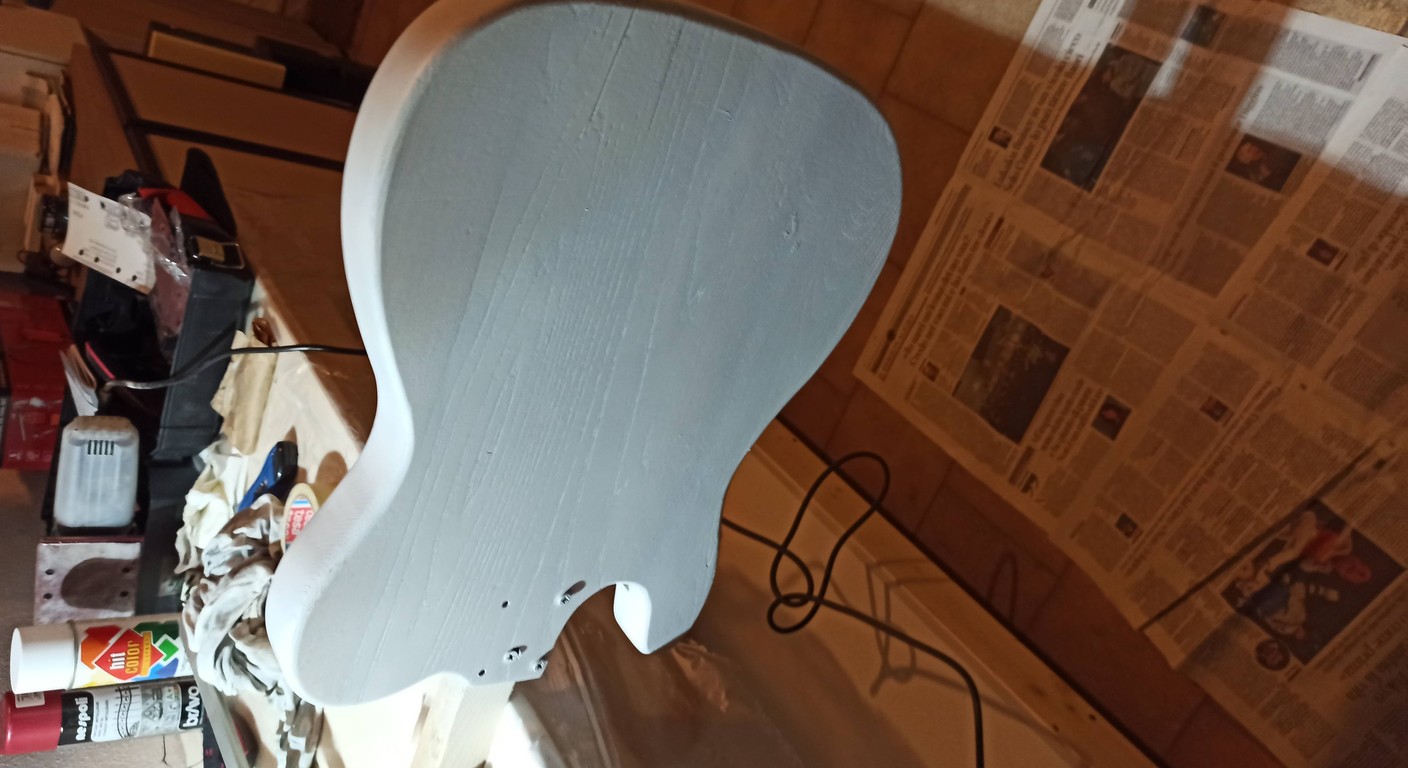
Guitar body woods electric: the 3 best and why
Choosing the right wood for a guitar body electric is one of those decisions that makes you break out in a cold sweat, I know. You find yourself in front of catalogs full of exotic names, technical specifications that seem written in ancient Aramaic, and the fear of making the wrong choice that will ruin the whole project. I've been there too, and not once, but at least three or four times.The first guitar I tried to build, a Stratocaster-style body, I made with a piece of plywood I had in the garage. Yes, you read that right: plywood. The result? A kind of tile that sounded like a shoebox. But it helped me understand one thing: the electric guitar body material is not a detail. It is the beating heart of the instrument. I am not a professional luthier, I don't have a super equipped workshop with CNC machines and exotic woods seasoned for decades. I am someone who learned through trial and error, in the garage, with the tools I had available. And I tell you, if I succeeded, you can succeed too. The important thing is to understand Why certain things work and others don't, and what are the acceptable compromises for a DIY project.
Today we talk about the three woods that, according to my experience and that of many other amateur builders who frequent forums and Reddit groups, are the most versatile, reliable, and with which the best results are obtained, especially when you are a beginner (or almost). I won't give you the secret formula for the “perfect sound”, because that doesn't exist. I will give you the tools to make an informed choice for the your guitar.
The State of Play: Why Wood Matters (and it's not just marketing)
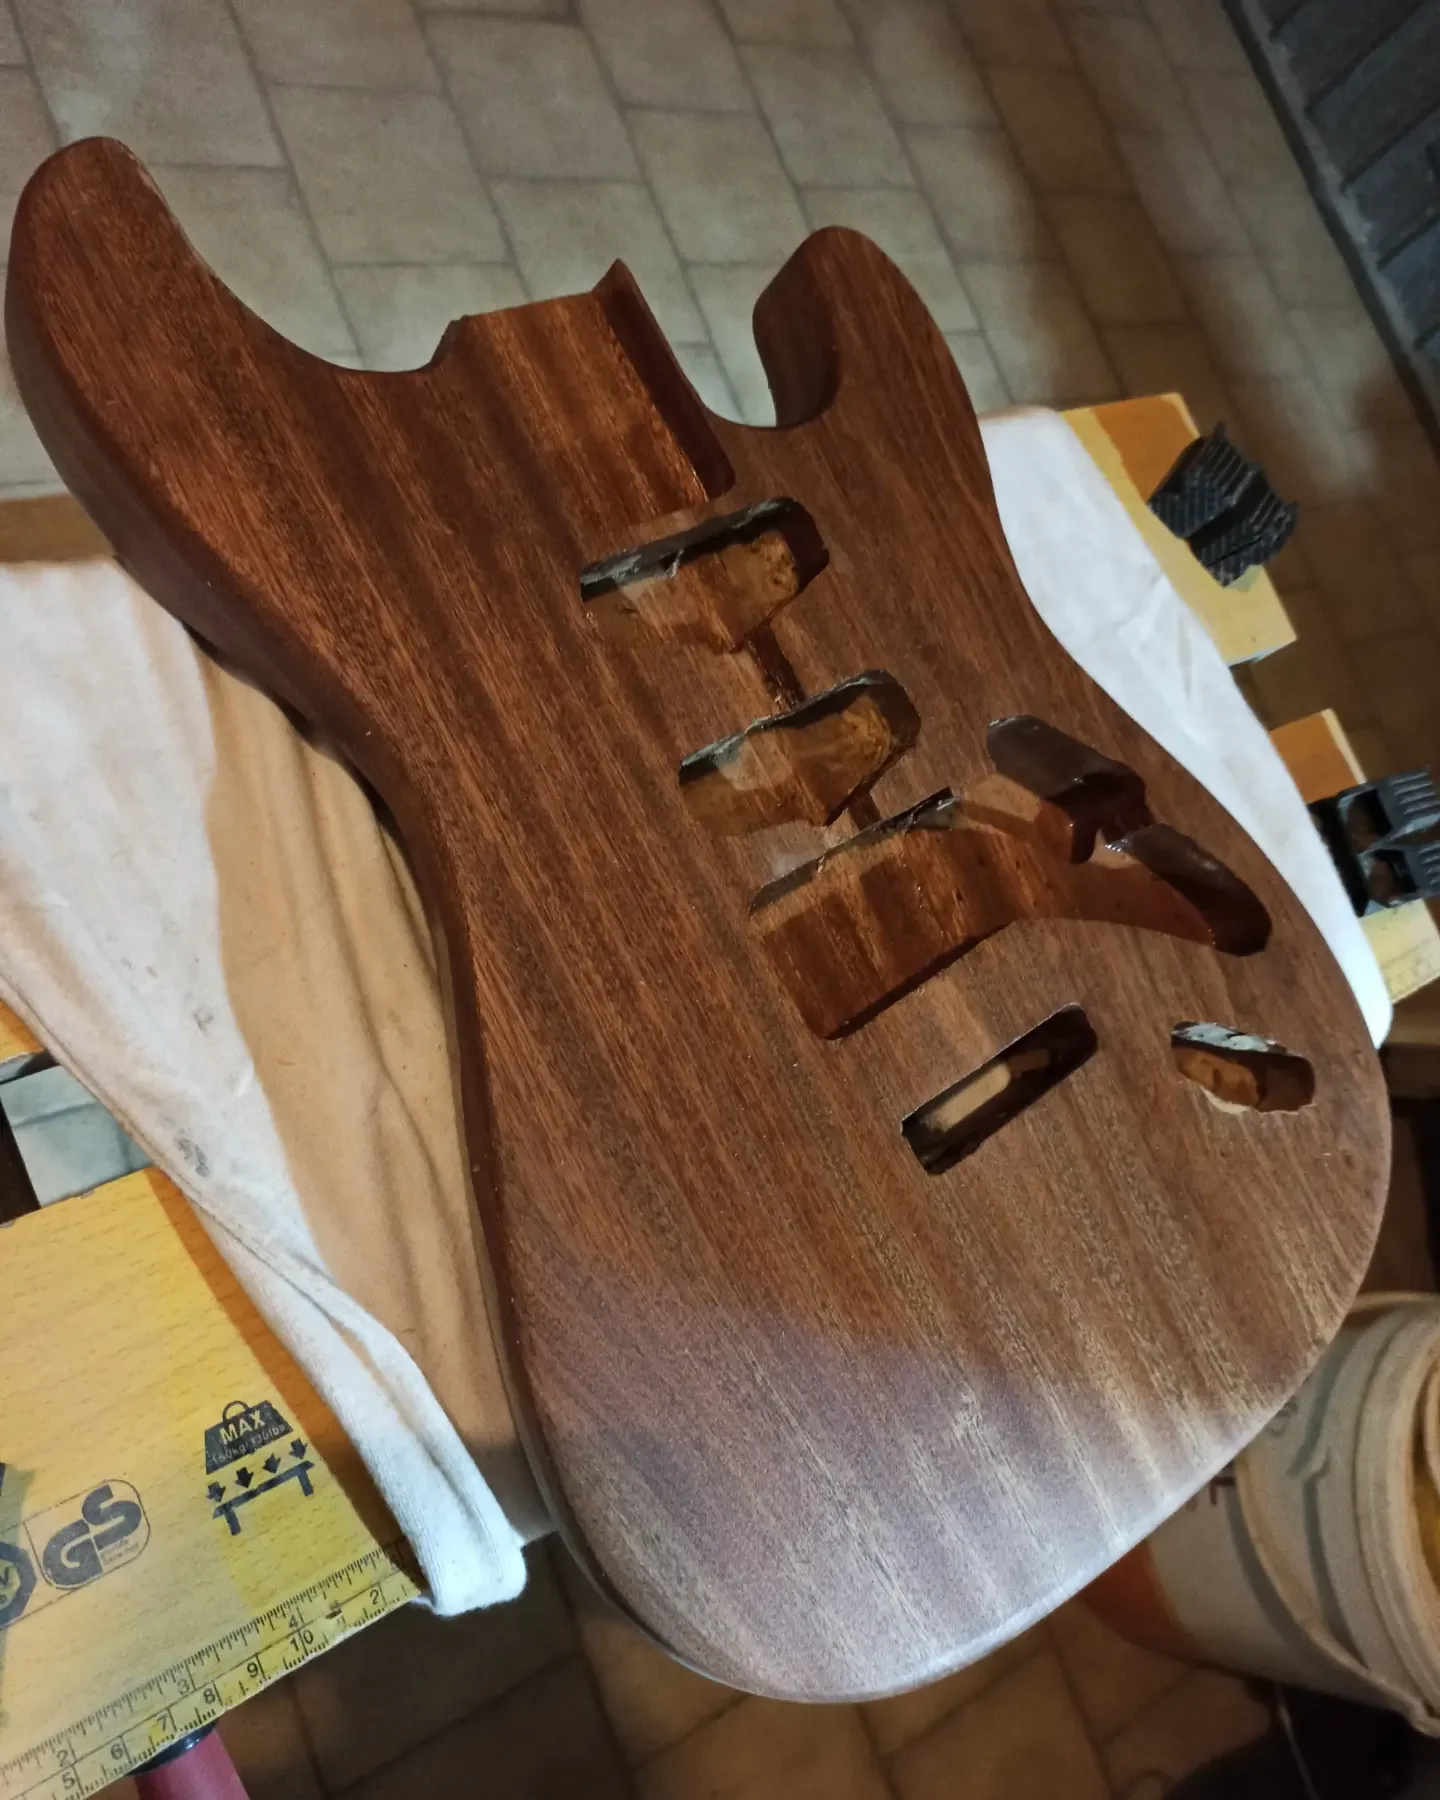
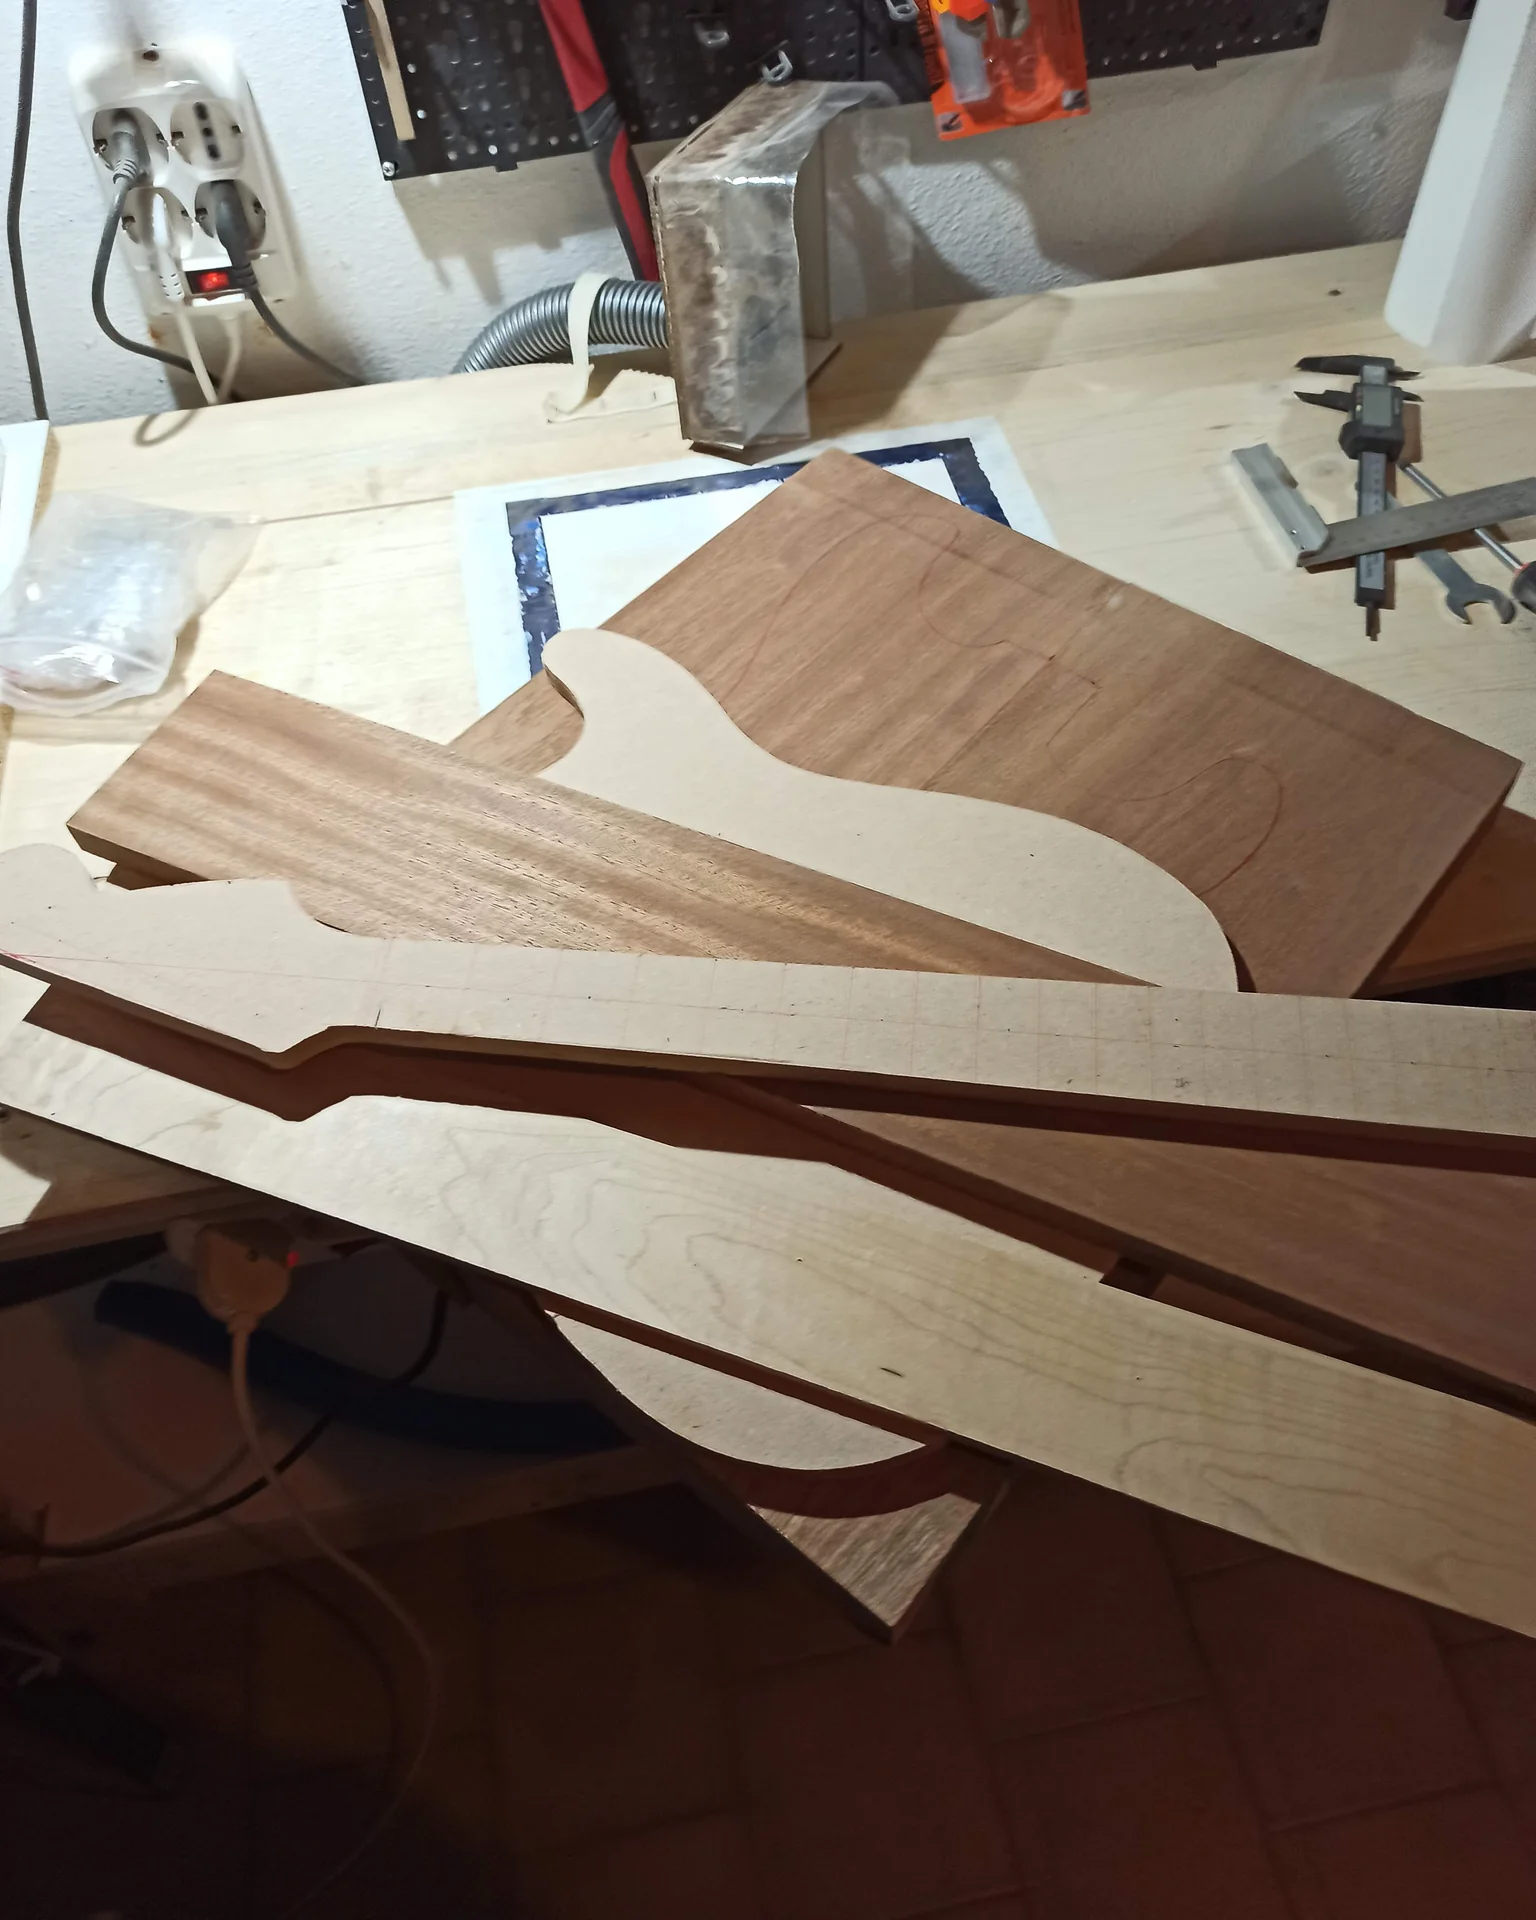
Of course, pickups are fundamental, they are the ones that transform vibrations into an electrical signal. But what vibrates? The wood! And the way the wood vibrates, resonates, and transmits those vibrations to the neck and pickups, changes radically the final sound. It's not just a detail, it's the foundation.
Imagine the guitar body as the soundbox of an acoustic instrument, but in “electric“. It has its own resonance, its own density, its own way of absorbing and reflecting string vibrations. These characteristics translate into sustain, attack, presence of certain frequencies (highs, mids, lows) and also how the instrument reacts to touch.
The density of a wood essence, for example, directly affects sustain. A denser wood tends to vibrate less “freely” but to maintain the vibration longer. Think of mahogany. A lighter and more resonant wood, like alder, will give a livelier attack and a more open resonance.
Then there's the weight issue. A very heavy body can be a nightmare for your back, especially if you play standing for hours. And it's not a given that a heavier wood sounds Always better. Indeed, sometimes a good balance between weight and resonance is key.
The PAIN POINT here is precisely this: the fear of choose a wood essence that sounds bad, that is not suitable for the musical genre you have in mind, or even worse, that is a nightmare to work with. Don't worry, you're not alone. I once bought a very heavy block of ash, thinking “heavier = more sustain”. The result? A body that gave me back pain after ten minutes and a sound that didn't quite convince me, too “stiff” for my taste. I learned that balance is everything.
So, before diving headfirst into choosing your next wood for the electric guitar body, take a moment to understand what you're really looking for in terms of sound and feel.
The basics of “tone wood” (a term that sometimes makes me laugh, but so be it)

ST01-TM Unfinished Handcrafted Guitar Body Candlenut Wood Electric Guitar Body Guitar Barrel Replacement Parts
See on Amazon

Here's what you need to consider when evaluating a type of wood: Density and weight: They influence sustain and brightness. Denser woods often mean more sustain and a brighter sound, but also more weight.
Stability: How much the wood deforms or moves with changes in humidity. Fundamental for the instrument's lifespan.
Grain: Not just aesthetics, but also influences workability and stability. More open grain requires more finishing work.
Resonance: The wood's ability to vibrate and transmit sound.
Workability: How easy it is to cut, mill, sand. A wood that is too hard can be a nightmare without the right tools.
These factors, combined with the choice of neck, pickups, bridge, and electronics, will create the unique character of your guitar. It's not an exact science, but there are guidelines to help you avoid fumbling in the dark. And now, let's look at our three “workhorses”.
The Three Musketeers of the Body: The Woods that Make History (and My Favorites)
When talking about types of wood for the electric guitar body, there are three big names that have dominated the scene for decades. It's no coincidence. They are versatile woods, with well-defined tonal characteristics and good workability. Perfect for those who, like us, get their hands dirty in the garage.1. Alder
Alder is the undisputed king of Fender Stratocaster and Telecaster, at least for classic models. If you have that bright, ringing sound in mind, with pronounced mids and defined lows, alder is your choice. Characteristics: It is a relatively light wood with a medium density. This translates into good sustain and balanced resonance, with a slight emphasis on mid and upper-mid frequencies. The sound is “open” and defined, without being too bright or too dark. It has a fairly closed and uniform grain, which makes it excellent for solid and transparent finishes.Typical Use: As mentioned, it is the material of choice for many classic Fender guitars. You also find it in many basses and some “boutique” guitars that seek that vintage tone.
Pros for the DIYer: Workability: It's a dream to work with. It cuts, mills, and sands with relative ease, without fraying or chipping too much. The edges remain clean.
Stability: It is a rather stable wood, less prone to excessive movement with changes in humidity compared to others.
Finish: Its closed grain makes it easy to prepare for painting, both solid and transparent. It requires less grain filling compared to open-pore woods.
Availability and Cost: It is widely available and generally has a reasonable cost for a quality block.
Cons/Challenges: Aesthetics: The grain is not as spectacular as that of figured ash or flamed mahogany. For this reason, it is often covered by solid finishes.
Weight: Although it is considered light, the weight can vary greatly from one block to another. Always check before buying. My experience with alder: My second guitar, a Telecaster with an alder body, was the first that I heard play “really well”. The sound was balanced, with that classic “twang” but also a nice fullness in the mids. Working with it was a pleasure. I used a hole saw for the pickups and a template for the body, and the alder responded very well, without tearing. I made a mistake with the routing of the electronics cavity, I made it too deep, but the wood held up without problems. With alder, it’s hard to go wrong.
2. Ash
Ash, in its variants (Swamp Ash and Northern Hard Ash), is another pillar of lutherie electric. It is a wood that offers a wide tonal range and great resonance, but with some important differences from alder. Characteristics: Swamp Ash (Swamp Ash): It is the lightest and most porous variety. It has a very resonant, bright sound with remarkable sustain. The lows are full, the mids slightly scooped, and the highs crystalline, with a very pronounced attack. Its grain is open and very marked, often very beautiful to look at.Northern Hard Ash (Northern Hard Ash): It is denser and heavier. The sound is brighter and focused on the highs, with less bass resonance compared to Swamp Ash. It is a very hard and resistant wood.
Typical Use: Ash is also a Fender classic, especially for Telecaster and Stratocaster guitars from the ’50s and ’70s. It is also found in more modern type guitars that seek a bright and defined sound.
Pros for the DIYer: Tone: It offers a very characteristic and appreciated sound, versatile for blues, country, rock.
Aesthetics: The open grain of Swamp Ash is spectacular and lends itself very well to transparent finishes or burst that enhance its beauty.
Availability: Quite easy to find, although good quality Swamp Ash can be more expensive.
Cons/Challenges: Workability: Especially Northern Hard Ash, it can be very hard and put a strain on cutters. Swamp Ash is softer, but its open grain requires attention to avoid tearing.
Finish: The open grain of ash (especially Swamp Ash) requires careful work of grain filling. If you don't do it well, the surface will never be perfectly smooth and the paint will “sink” into the pores. This is a common PAIN POINT for beginners.
Weight: Northern Hard Ash can be very heavy. Swamp Ash, although lighter, can also vary. My experience with ash: I built a Telecaster body from Swamp Ash and loved the sound: lots of resonance and incredible attack. However, the finish was an ordeal. I hadn't fully understood the importance of the grain filler. I sanded, applied the finish, and always ended up with visible pores. I had to redo the process three times, sanding down to bare wood, before getting an acceptable surface. A lesson learned the hard way in terms of time and effort. So, if you choose ash, invest time and care in the grain filling!
3. Mahogany
Mahogany is the foundation of the warm, rich, and powerful sound, typical of Gibson Les Paul, SG, and many rock and blues guitars. If your ideal sound is big, with a lot of sustain and a powerful midrange, mahogany is the way to go. Characteristics: It is a medium-density wood, but generally heavier than alder and Swamp Ash. It has a warm, full sound, with very present mids and full-bodied lows. The highs are mellow, not shrill, which contributes to a soft and “creamy” tone. The sustain is exceptional. The grain is moderately open, but more regular and less pronounced than ash.Typical Use: Gibson, PRS guitars, and generally instruments aiming for a rock, blues, jazz, or metal sound with great sustain and body.
Pros for the DIYer: Tone: The “big” sound and sustain are unparalleled for certain genres.
Workability: It's a pleasure to work with. It cuts and mills cleanly, sands well. It's softer than hard ash, but more compact than alder.
Aesthetics: Its reddish color and elegant grain make it beautiful with transparent or oiled finishes.
Cons/Challenges: Cost: Quality mahogany (especially true Honduran mahogany) can be very expensive and difficult to find. Alternatives like Sapele or African Mahogany (Khaya) are often used, which have similar but not identical characteristics.
Weight: It can be quite heavy, especially if a dense block is used.
Finish: It requires a bit of grain filling to achieve a perfectly smooth finish, although less demanding than ash. My experience with mahogany: My first Les Paul-type guitar, with an African mahogany body, was a revelation. That sustain, that warmth… I understood why it's so loved. I used an oil-wax for the finish, and the natural color of the mahogany came out incredibly. The only drawback was the weight. After an hour standing, my shoulder started to feel it. If you choose mahogany, consider making a chambered body (with internal cavities to lighten it) or looking for a less dense piece. It's a bit more complex to do at home, but it's worth it for your back!
Beyond the Trio: Other Interesting Woods and What to Look for in a Block
We've talked about the three great classics, but the world of wood species for electric guitar construction is vast. There are other woods that deserve attention, and above all, there are fundamental things to know when you go to buy your block of wood.Other woods to consider (but with caution)
1. Basswood: Characteristics: Very light with an almost non-existent grain. The sound is quite neutral, with balanced mids and mellow highs. Often used for metal guitars, because it doesn't have a pronounced resonance that could conflict with high-output pickups.Pros: Super light, very easy to work with (almost like butter), inexpensive. Great for solid finishes.
Against: Lacks its own tonal character. The grain is so insignificant that it's almost always painted in solid colors. Not the best for sustain.
My note: If you want a lightweight guitar and your goal is a very processed sound (lots of effects, distortions), basswood is an excellent base. But don't expect a great “unplugged” sound. 2. Poplar: Characteristics: Similar to alder in density and weight, but at a lower cost. The sound is balanced, with good mids and present highs, but generally less resonant than alder. The grain can be a bit irregular and tend towards greenish.
Pros: Very economical, quite light and easy to work with.
Against: The greenish color can be a problem for transparent finishes. It is often used for bodies painted with solid colors.
My note: An excellent economical alternative to alder if the budget is tight and you plan to paint the body with an opaque color. 3. Korina (White Limba/Black Limba): Characteristics: Similar to mahogany in density and tonal characteristics (warm, resonant, good sustain), but often with a slightly more “open” resonance and a livelier attack. The grain is very beautiful.
Pros: Fantastic tone, excellent workability, superb aesthetics.
Against: Expensive and hard to find.
My note: If you find a good piece of Korina and the budget allows, don't think twice. It's an exceptional wood, often considered an “improved mahogany”.
How to choose the right wood block: the DIYer's checklist
This is another huge PAIN POINT. Buying wood online can be a lottery. Going to a sawmill or a specialized supplier gives you a huge advantage: you can touch it with your own hands. But what should you look for?Here's a small checklist I use myself when I go hunting for wood for my guitar body: 1. Seasoning: The wood must be well seasoned. Ask the supplier for the moisture content (MC). It should be between 6% and 8% for a guitar body. Unseasoned wood will move, twist, crack, and give you a lot of problems in the future. Don't skimp here.n2. Grain (Grain): Straight and parallel: Look for grain that runs as straight and parallel as possible along the length of the block. This indicates stability.
Quartersawn vs. Flatsawn: For bodies, the flatsawn (tangential cut) is the most common and acceptable. The quartersawn (quartersawn) is more stable but almost never used for bodies (it is for necks).
No runout excessive: The runout is when the wood fibers are not parallel to the surface, making it weaker and harder to work with. Look at the end grain of the block and try to understand how the fibers run.n3. Visual defects: Knots: Avoid knots, especially if large or “dead” (which can fall out). They can be weak points or cause finishing problems.
Splits or cracks: It seems obvious, but check carefully. Sometimes they are superficial, other times they go all the way through the block.
Stains or discolorations: If you plan to do a transparent finish, dark spots or abnormal color streaks can ruin the aesthetics.n4. Weight: Lift the block. There's no exact science, but an overly heavy body will bother you. For a standard body (Strat/Tele), a final weight between 1.8 and 2.5 kg is generally considered comfortable. Consider that the wood you buy will be heavier, because there will be waste.n5. Dimensions: Make sure the block is large enough for your template, with a safety margin of at least 1-2 cm per side. Also check the thickness. Most bodies are about 45 mm (1.75 inches) thick. A heartfelt piece of advice: Don't be afraid to ask the supplier questions. Ask about the seasoning, origin, and characteristics of the individual piece. A good supplier will be happy to give you all the information. If not, perhaps it's better to look elsewhere.
And speaking of choices and modifications, if one day you find yourself wanting to modify your guitar, the choice of the original wood will also influence future options. An alder body, for example, will lend itself well to almost any type of electronic or aesthetic modification, while a very dense mahogany might limit lightening options. Think about it first.
Working with Wood: Practical Tips and Mistakes to Avoid
Once you have chosen your block of wood for the guitar body, the fun (and sometimes frustrating) part begins: working with it. Every wood has its quirks, and learning to know them will save you a lot of headaches.1. The initial cut and preparation of the body blank
If you bought a rough block, the first step is to square it and bring it to its final thickness. Planing: If you don't have a jointer and planer, take it to a carpenter. It's essential to have the two faces perfectly parallel and flat. This will save you alignment problems and neck pocket crooked.Squaring: Cut the edges to get a clean rectangle. This will serve as a stable base for attaching the templates.
Gluing (if necessary): Many bodies are made from two or more glued pieces. Make sure the joints are perfect. Use a specific wood glue (Titebond is a classic) and many clamps. Let it dry for at least 24 hours, even longer if the environment is humid. I once rushed, unclamped too early, and the joint opened while I was routing. Don't make my mistake!
2. Routing: precision and patience
Routing is the moment of truth. Here you define the shapes, the cavities for the pickups and electronics, the neck pocket. Template: Always use a well-made template. Buy good quality MDF or acrylic ones, or make one yourself with maniacal precision. It's your guide.Router bits: Use sharp bits. A dull bit doesn't cut, it tears the wood. This is especially true for woods like ash, which tend to splinter. For alder and mahogany, the bits last a bit longer, but the rule is always the same: sharp is better.
Depth: Don't try to rout everything in one go. Make light passes, 3-5 mm at a time. This reduces stress on the bit and the wood, and gives you a cleaner result.
Direction: Always rout clockwise (for a router that spins clockwise) for the outer edges of the template, and counter-clockwise for the inner edges. This is the “climb cut” and the “conventional cut”. A very light initial “climb cut” pass can help reduce tear-out on the edges, but be careful, the router tends to “pull”.
Common mistakes: Rush: The number one enemy. Hasty routing leads to irregular edges, chipping, or worse, ruining the template.
Dull bit: See above. Tear-out, overheating, and a horrible job.
Lack of support: Make sure the body is securely clamped to the workbench. Vibrations or movements can ruin everything.
The neck pocket: This is critical. It must be precise to the millimeter. If it's too wide, the neck will move. If it's too narrow, it won't fit. Measure, remeasure, and make incremental passes. I had a neck pocket too wide on my first alder guitar, I had to fill it with pieces of wood and glue to make it hold. It's not the most professional, but it worked!
3. Sanding: the basis of the finish
Sanding is the most boring but also the most important part. This is where you decide the quality of your finish. Progression: Don't skip grits. Start with a coarse grit (80-100) to remove router marks, then gradually move to 120, 150, 180, 220, and if you want an impeccable finish, even 320 or 400. Each grit must completely eliminate the marks from the previous one.*Against the light
 English
  Italiano