

Electric bass frets: 3 materials, which one to choose?
So, let's face it. When it comes to building or modifying a bass, the mind immediately goes to the right pickup, the body, maybe the super cool bridge. But the bass guitar frets? They often end up at the bottom of the list, almost a detail. A mistake, believe me.I've spent years tinkering with necks, and I assure you that the choice of fret material is one of those decisions that can save or ruin a project. It's not just about how long they last, but about how it sounds your bass, of how you feel it under your fingers.
When I found myself having to refret my first bass neck – a Jazz Bass that had seen better days – I felt a bit lost. Nickel Silver? Stainless steel? And what the hell was ‘this EVO Gold’? I didn't want to make the wrong choice, also because refretting isn't exactly a walk in the park.
This article is for you who find yourself in the same situation. I want to help you understand the differences, the pros and cons, and above all, when it makes sense to choose one material over another. I won't give you the universal “right” answer, because that depends only on you and your project. I will give you the tools to make the your right choice.
Why frets matter more than you think (especially on bass)
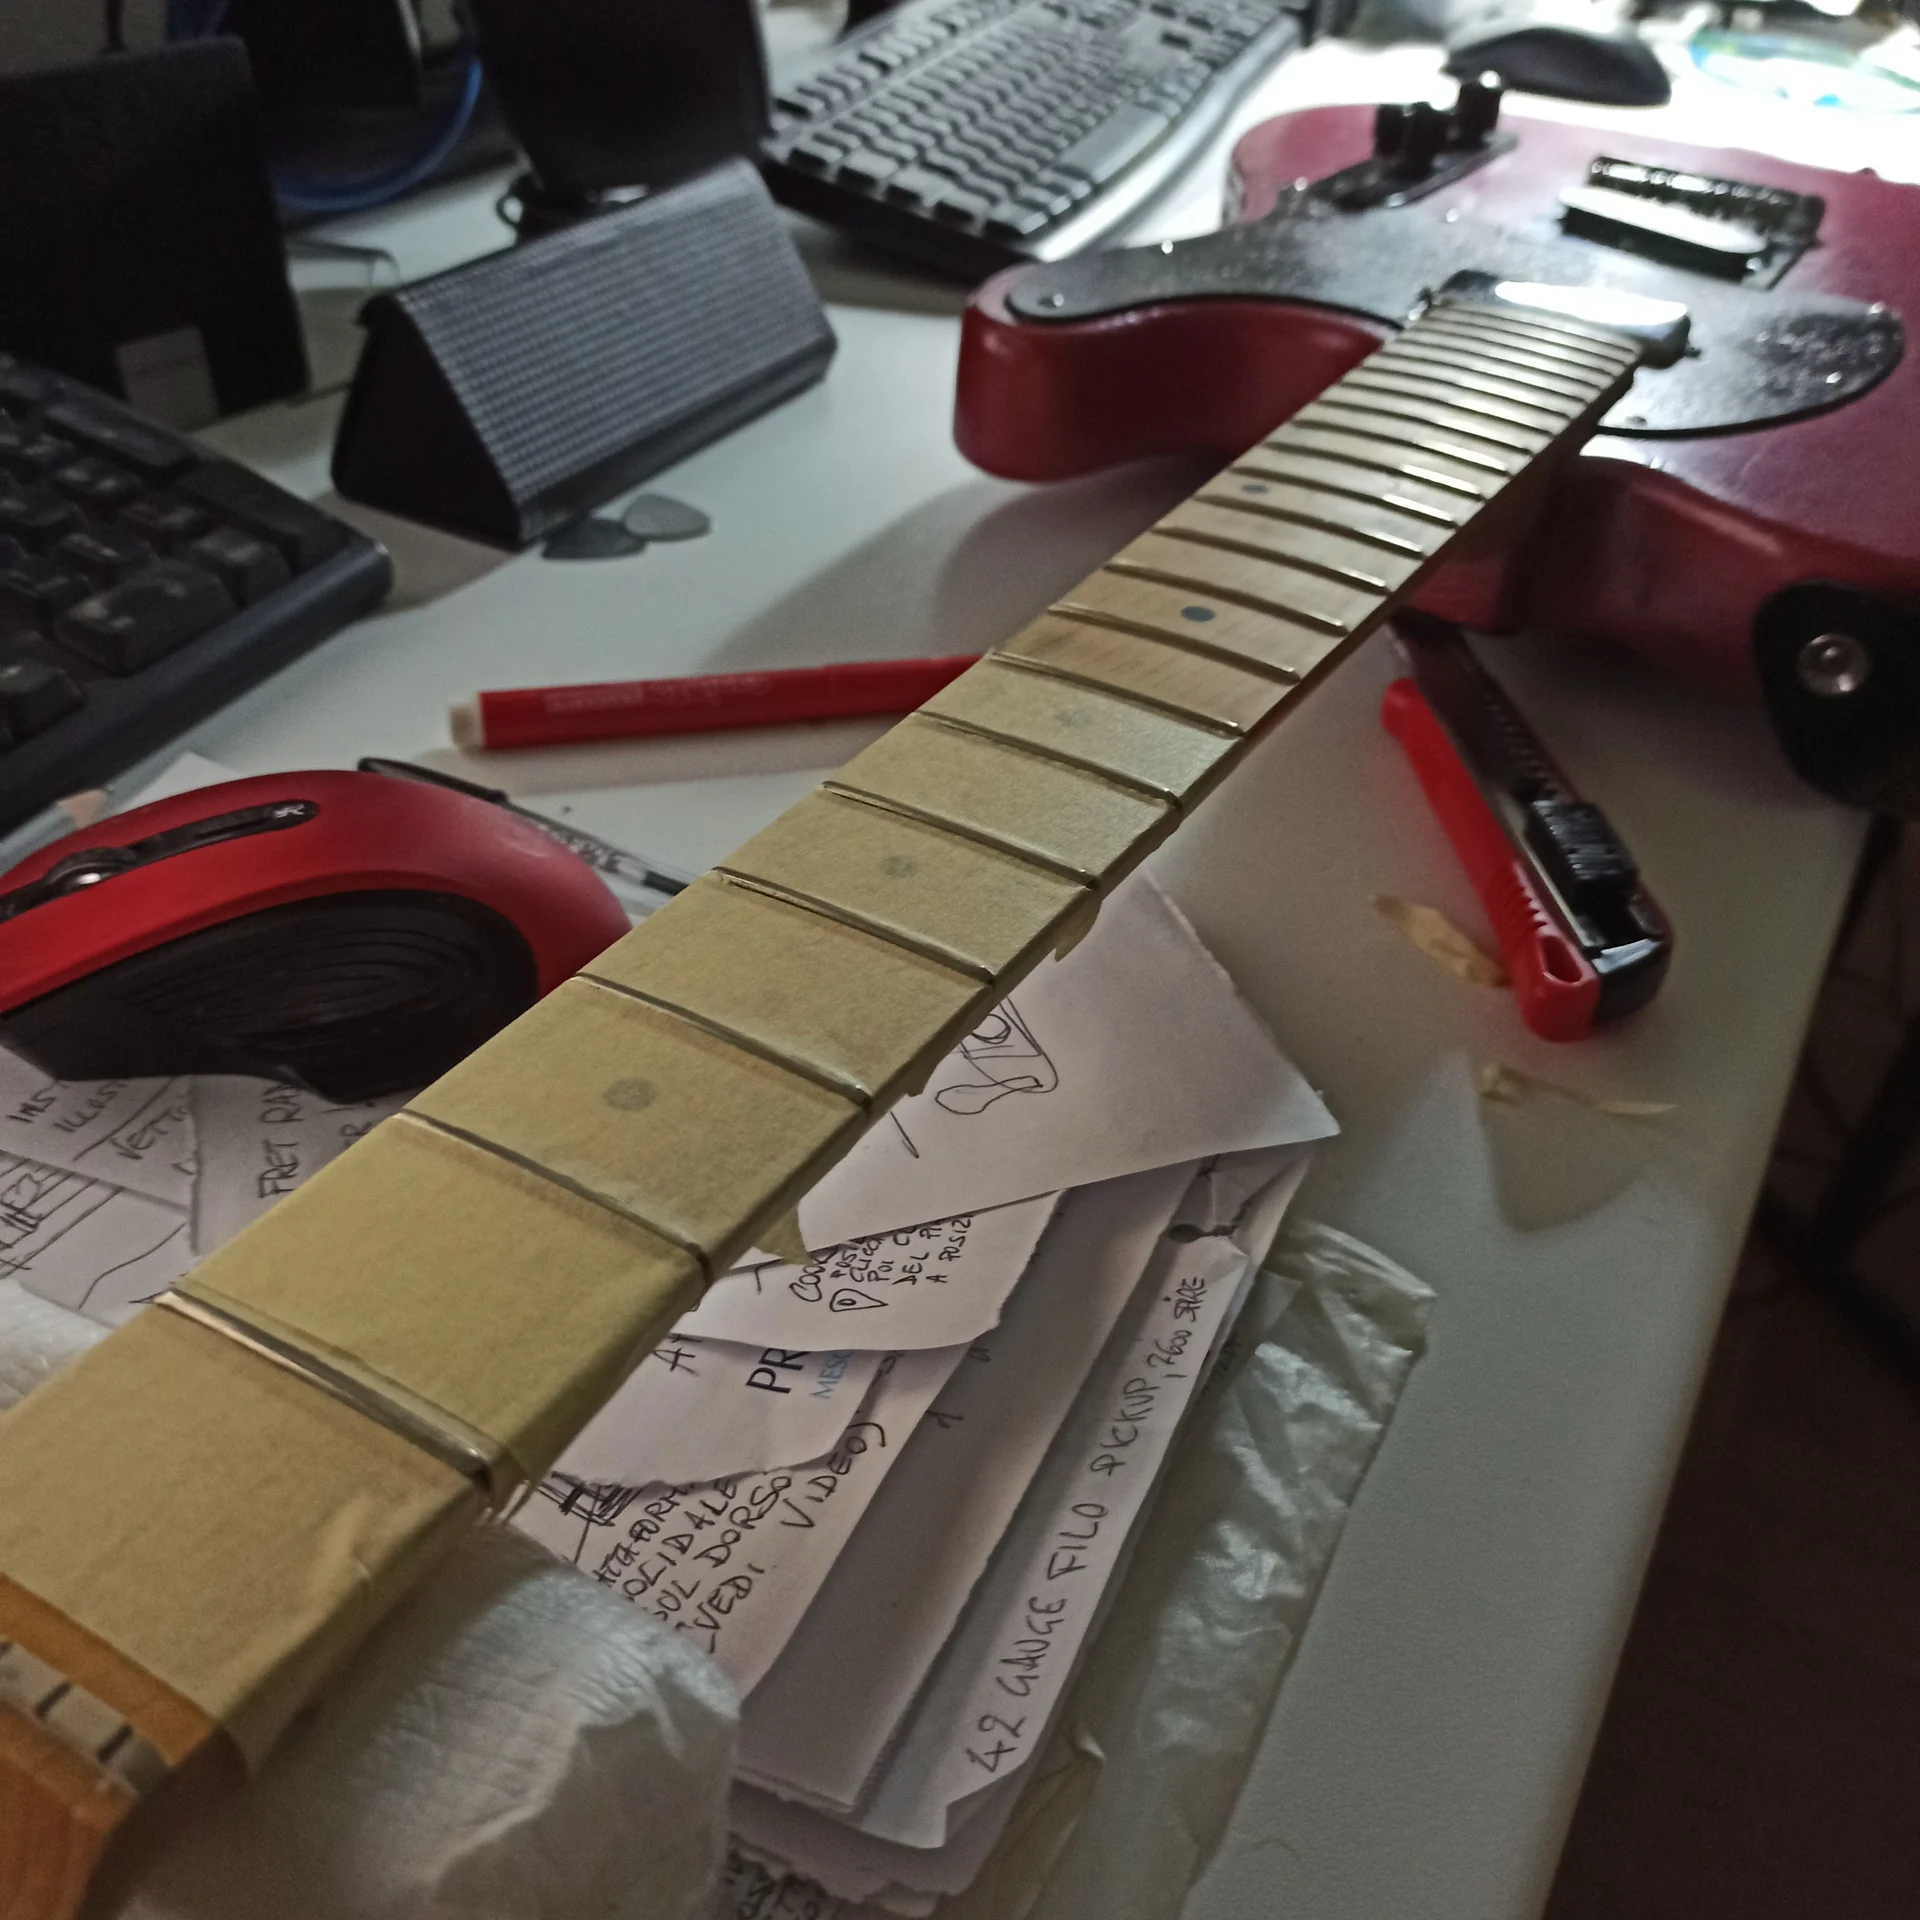
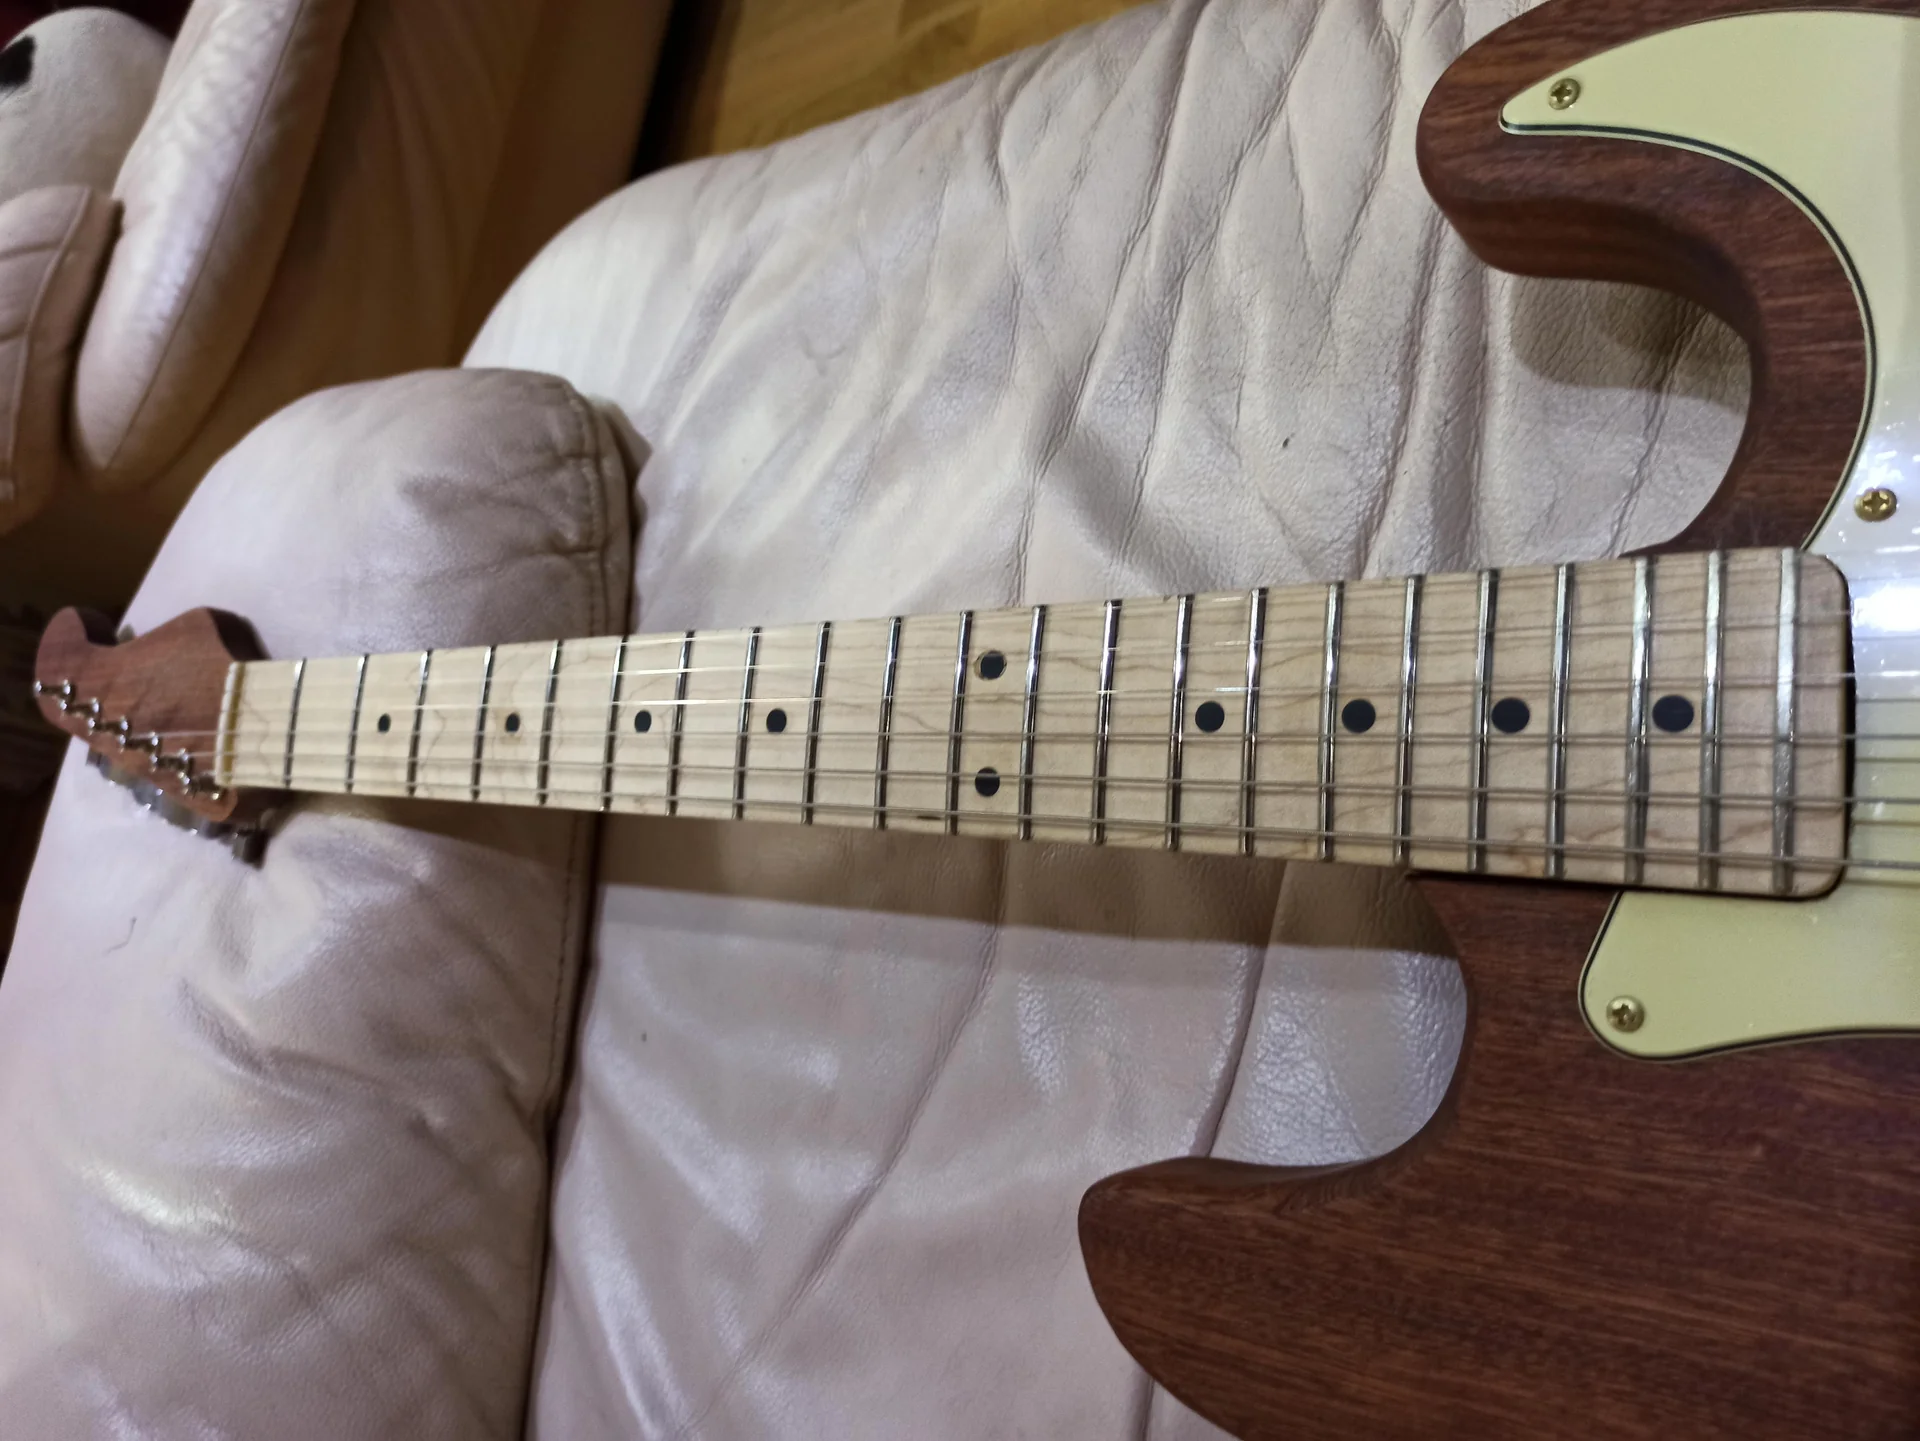
Let's start with the workhorse, the most common material for decades. When we talk about Nickel Silver frets, don't be fooled by the name: there's no real silver in here. It's an alloy of copper, nickel, and zinc. The percentage of nickel is what makes the difference, usually around 18% for quality frets. It's the material you find on the vast majority of basses and guitars on the market, from economic models to high-end ones. There's a reason it's so popular.
Pros of Nickel Silver:

ColorTone Nitrocellulose Guitar Lacquer Spray - Black Gloss 13oz Aerosol Can - Fast-Drying Professional Wood Finish for Guitar, Bass & Instrument Refinishing
See on Amazon

Low cost: It's the cheapest material among the three. If you're doing your first refret experiment, or have a limited budget, this is a sensible choice.
Traditional tone: Many musicians and luthiers argue that Nickel Silver contributes to a warmer and rounder tone, with a less “aggressive” attack compared to other materials. The differences are subtle, but they are there.
Availability: You find it everywhere, in a thousand different sizes and profiles.
Cons of Nickel Silver:
Wear: This is the flip side. The nickel alloy frets wear out. If you play a lot, if you use roundwound strings with a lot of pressure, or if you have a particularly aggressive touch, you will see “saw teeth” and indentations (grooves) appear in a relatively short time. This leads to buzzing and intonation problems.Maintenance: Due to wear, they require periodic leveling and crowning. It's normal, but it's a job that needs to be done.
Allergies: Containing nickel, it could create problems for those who suffer from an allergy to this metal.
My take on Nickel Silver:
My first refret, the one on the Jazz Bass I was telling you about, I did with Nickel Silver frets. I got the radius wrong a couple of times, I learned to use the crowning file on the job, and I made a few too many scratches. But the material forgave me. It didn't ruin my tools and allowed me to learn the technique without too much drama.If it's your first time, or if you have few specific tools, don't complicate your life: go with Nickel Silver. You'll learn the basics, get familiar with the processing steps, and still do an excellent job. Then, perhaps, on your next project, you can dare to do more.
The Modern: Stainless Steel (Stainless Steel)
Let's now move on to the “heavyweight” of durability: the Stainless Steel, or stainless steel. In recent years, it has gained enormous popularity, especially among bassists and guitarists looking for maximum wear resistance.As the name suggests, it's an alloy of steel with chromium (and other elements) that makes it extremely hard and corrosion-resistant. It's the same material you find in a lot of industrial applications, and also in the kitchen.
Pros of Stainless Steel:
Exceptional durability: This is the main reason why stainless steel is chosen. These are frets that last a lifetime, practically eternal. Forget about frequent leveling and crowning, unless you play 10 hours a day with a grinder instead of a hand.Smooth surface: Their hardness results in an extremely smooth and polished surface. This facilitates glissandos, bends, and vibratos. The strings glide with pleasure.
Corrosion resistance: Acid sweat, humidity, are not a problem for stainless steel. The frets will remain bright and clean much longer.
Bright and defined tone: Many musicians perceive a brighter tone, with more attack and sustain, thanks to the greater density and hardness of the material. Here too, the differences are subtle, but they exist.
Cons of Stainless Steel:
Difficulty of processing: This is the real one pain point for the DIYer. The stainless steel frets are very hard. This means that:They require very high-quality nippers, otherwise you'll ruin them after a few cuts.
Bending the steel to the neck radius is more strenuous and requires more force.
Leveling, crowning, and polishing is a nightmare if you don't have the right tools. Traditional files wear out visibly quickly. You'll need diamond or carbide files, which cost an arm and a leg.
Any error, a scratch, an imperfection, is much harder to correct.
Higher cost: Both the frets themselves and the specific tools for working them have a higher cost compared to Nickel Silver.
Tool wear: Even with specific tools, working with stainless steel accelerates their wear.
My take on Stainless Steel:
The first time I tried to level stainless steel frets on a test neck, I almost threw away my best files. I'm not kidding. I ruined them in two passes. I had to invest in a set of diamond files and specific nippers. It was a significant, but necessary, expense.If you already have experience with refretting and want a bass that will last you a lifetime, or if you are willing to invest in quality tools (or delegate the work to a professional luthier), stainless steel is the right choice. But know that it's not a job to be taken lightly. It requires patience, precision, and the right tools.
The Exotic Alternative: EVO Gold (or Gold EVO)
And now, the outsider, the material that has made its way in recent years offering an interesting middle ground: theEVO Gold. It is a proprietary alloy, produced mainly by Jescar, composed of copper, iron, tin, and titanium. Its most obvious characteristic is the golden color, which gives a decidedly unique look to the neck.Pros of EVO Gold:
Intermediate hardness: This is its strength. The EVO Gold frets are significantly harder than Nickel Silver (about 20-30% more), which translates into a much longer lifespan, but they are not as extreme as stainless steel. This means they wear out much less quickly than Nickel Silver, approaching the longevity of steel, without being a nightmare to work with.Improved workability: Compared to stainless steel, EVO Gold is much more manageable. You can use your “normal” files for leveling and crowning, although a little extra care and more frequent cleaning of the files are recommended. It's an excellent compromise.
Nickel-free: For those who suffer from nickel allergies, EVO Gold is a perfect solution, as it does not contain any.
Warm but defined tone: Many describe the sound of EVO Gold as warm and resonant, with excellent sustain and remarkable clarity. It does not have the “surgical brilliance” of steel,
nor the softness of Nickel Silver, but its own distinctive character.
Unique aesthetics: The golden color is an important aesthetic factor. It can give your bass a truly custom and elegant look.
Cons of EVO Gold:
High cost: The price of EVO Gold is comparable to that of stainless steel, therefore more expensive than Nickel Silver.Less common: Being a newer and proprietary alloy, it is not as ubiquitous as the other two. The choice of profiles and sizes might be slightly less wide, although Jescar offers a wide range.
Non-universal aesthetics: The golden color is distinctive, but not everyone likes it or finds it suitable for all projects.
My take on EVO Gold:
I used the EVO Gold frets on a bass I refretted for a friend with a nickel allergy. I was a bit skeptical at first, thinking it would be an ordeal halfway between Nickel Silver and steel. Instead, I was surprised by how manageable they were. They are not as easy as Nickel Silver, but not a nightmare like stainless steel if you don't have the specific tools.If you are looking for a lifespan superior to Nickel Silver, but don't want to deal with the complexity (and tool cost) of stainless steel, EVO Gold is a fantastic choice. And if the golden aesthetic appeals to you, all the better! It's a great compromise that offers the best of both worlds, with few real compromises.
Choosing the right material: a matter of priorities (and tool budget)
Ok, we've seen the three main contenders. Now comes the fun part: how to choose? There isn't a single answer, but we can reason together about the factors you should consider.Decisive factors for choosing frets:
1. Your budget (and for tools): Nickel Silver: The frets are cheap, and you can get by with standard tools. Great for starting out.EVO Gold / Stainless Steel: The frets cost more. But above all, for stainless steel, the real additional cost is diamond files and specific nippers, which are not exactly cheap. Consider this aspect if you are doing your first refret.n2. Frequency of use and playing style: Do you play bass every day for hours? Do you have a very heavy hand? Do you use aggressive roundwound strings? Then durability is a priority. Stainless steel or EVO Gold will give you fewer worries in the long run.
If the bass is an occasional project or you play with a light touch and flatwound strings, Nickel Silver might still last you a long time.n3. Desired tone: Tonal differences are subtle, but they exist. If you're looking for a very traditional sound, Nickel Silver is the safe choice. For a brighter and more defined sound, stainless steel or EVO Gold might give you that something extra. But don't expect epochal upheavals.n4. Your DIY experience (and your patience): If it's your first refret: Don't complicate your life more than necessary. Nickel Silver forgives your mistakes and allows you to focus on technique. Learn to walk before you run.
If you already have some experience: You can dare more with EVO Gold or stainless steel. But be aware that the work will be more demanding, especially with stainless steel.n5. Aesthetics: Do you like the traditional look? Go for Nickel Silver.
Do you prefer the modern brilliance of steel?
Or are you fascinated by the golden elegance of EVO Gold? Sometimes, the eye wants its share, and there's nothing wrong with that.n6. Allergies: If you (or whoever plays the bass) suffer from nickel allergy, EVO Gold is the most obvious and practical solution. Stainless steel is an alternative, but with its manufacturing difficulties.
Common scenarios and tips:
Your first building or refret project: Advise: Nickel Silver. It's the perfect learning material. It allows you to learn techniques without ruining expensive tools and without getting too frustrated by the hardness of the material. Don't be afraid to make mistakes, it's the best way to learn.The “battle” bass you use every day on stage or in the studio: Advise: Stainless Steel if you are ready to invest in tools or have a pro do the job. The durability is unmatched. Otherwise, EVO Gold it's a great alternative that will give you much more longevity than Nickel Silver.
The “custom” project or if you are looking for a balance: Advise: EVO Gold. It offers excellent durability, good workability, and a distinctive aesthetic. It's a compromise many find ideal.
You have a limited budget but still want a good result: Advise: Nickel Silver. With good technique and a bit of maintenance, a neck with Nickel Silver frets can play and last very well.
The real pain point for many of us hobbyists, it's the fear of ruining the neck or frets, perhaps after spending quite a bit. My heartfelt advice is: if you can, practice. Buy a piece of scrap wood, cut a slot for a fret slot, and try to insert, cut, and crown a piece of fret wire. It's not the same as a real neck, but it will give you an idea of the feeling.
Practical tips for processing, whatever your choice
Regardless of the material you choose for your bass guitar frets, there are some golden rules for a good refretting. I tell you this from experience, because I learned them the hard way and on some “sacrificial” necks.1. Neck preparation:
Before doing anything, the neck must be perfect. This means the fretboard must be clean, free of glue residue or dirt. If you need to refret an old neck, carefully remove the old frets, heating them slightly to soften the glue and using a dedicated puller. Check that the fret slots (the grooves where the frets go) are clean and of the correct width. Sometimes, on old necks, you might need to clean or slightly tighten them.2. Measure and cut:
Never cut the frets to exact size immediately. Always leave a small extra margin (a couple of millimeters per side). It's much easier to trim the excess after the fret has been inserted, rather than ending up with a fret that's too short.3. Fret wire bending:
This is crucial. The fret wire (the fret rod) must be bent with a slightly narrower than that of the fretboard. This ensures that the ends of the fret press firmly against the fretboard when you insert it, preventing them from lifting. There are special tools for bending frets, but you can also do it by hand with a little care, using a piece of tubing or a jig.4. Fret insertion:
You can use a fret hammer (with a nylon or plastic head) or a fret press. I prefer the press, it gives more control and reduces the risk of damaging the neck. If you use a hammer, try to give firm and even blows, starting from the center and moving towards the ends.5. Gluing (optional, but recommended):
Many luthiers, myself included, use a drop of cyanoacrylate glue (super glue) in the slots before inserting the frets. This makes them more stable and prevents them from lifting over time. If you do this, immediately wipe off any excess with a damp cloth before it dries.6. Fret leveling:
This is the most critical phase and where the playability of your bass is determined. You need to make all the frets perfectly level. Use a fret leveling beam and a leveling file. Arm yourself with patience and check frequently with a fret rocker. Start with coarser grits and then refine.7. Fret Crowning:
After leveling, the frets will have a flat surface. You need to restore their “dome” shape (crowning). This is fundamental for intonation and to avoid buzzing. Use a fret crowning file. It takes practice, but it's an essential tool.8. Fret Polishing:
Once crowned, the frets will be full of scratches. You need to polish them to make them smooth as a mirror. Use very fine-grit sandpaper (up to 1500-2000), then abrasive paste and a soft cloth. The shinier they are, the better the strings will slide and the less they will wear out.Essential tools (to start):
Fret hammer (or press)Fret nippers (good quality, especially for stainless steel/EVO)
Radius blocks (for sanding the fretboard if necessary)
Leveling bar Crowning file Fret rocker (to check the level)
Sandpaper of various grains Fretboard oil (to nourish the wood after work)
Remember, practice makes perfect. Don't get discouraged if the first attempt isn't flawless. Every mistake is a lesson. And if you need more ideas on how to work on your instrument, here you'll find other guides on how to modify your guitar or bass.
To delve deeper into the composition of alloys and their specific properties, I recommend taking a look at the resources of specialized manufacturers like Jescar, who on their site (for example, here you'll find a page on their materials) often publish interesting technical data.
Conclusions: your bass, your rules
Here we are at the end of this overview on materials for electric bass frets. We have seen that there is no absolute “best” choice, but only the one most suitable for your needs, your budget, and your willingness to get involved. The Nickel Silver is the faithful companion for beginners, forgiving mistakes and having a low cost.THE'’Stainless Steel it is the tireless warrior, practically eternal, but requires specific tools and an expert hand.
THE'’EVO Gold it’s the perfect balance, durable, workable and with an aesthetic that doesn’t go unnoticed.
My final advice? Don’t be afraid to experiment. The beauty of DIY is precisely this: trying, making mistakes, learning, and in the end, creating something of your own, with your hands. The satisfaction of playing a bass you’ve refretted yourself is priceless.
So, choose your material, prepare your tools, and get to work. And don’t forget to share your experience, maybe with some photos of your masterpiece (or your mistakes, which are just as valuable!). In the end, the important thing is that it sounds good and that you like it. And that you don’t end up with shredded fingers after two chords. Good luck!
 English
  Italiano