

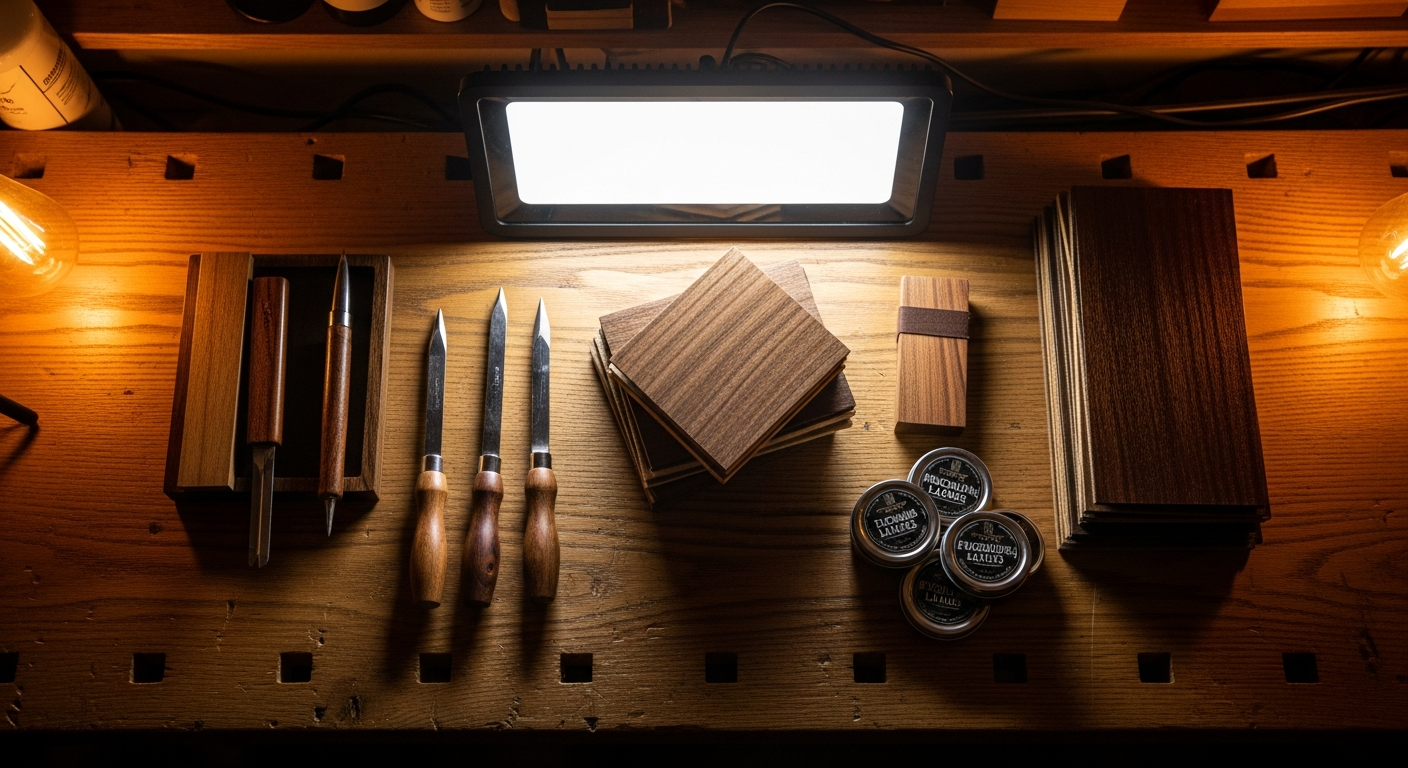
Choose the Radius Block Guitar Right
I still remember the first time I tried to level the frets on a guitar. It was an old, salvaged neck, the kind you find for a few euros at a flea market. I thought, "Oh yeah, a straight edge, some sandpaper, and that's it, what does it take?" Spoiler alert: it took a lot. A lot. The result was a disaster: buzzing everywhere, some notes that didn't sound right, and a neck that felt like a roller coaster. A mess.The problem wasn't my good will; I had all of that. The problem was that I was trying to do precision work without the right tool. I was ignoring something fundamental: the curvature of the fingerboard, the famous radius. And to manage that curvature, my friend, you need a radius block guitar.
If you already own a few guitars, you may have already tackled refretting or even just a more advanced setup. You know that details make the difference between an instrument that sounds great and one that makes you want to throw it out the window. Well, the radius block is one of those details that will change your life in the workshop. It's not a crazy expense, but it's an investment that pays off with every single note.
In this article, I explain why the radius block It's not optional, how to choose the right one for your needs and, above all, how to use it without making the same beginner mistakes I did. Because, trust me, if I could do it, you can too. All it takes is a little patience and the right tools.
What Is a Radius Block and Why Do You Really Need One?
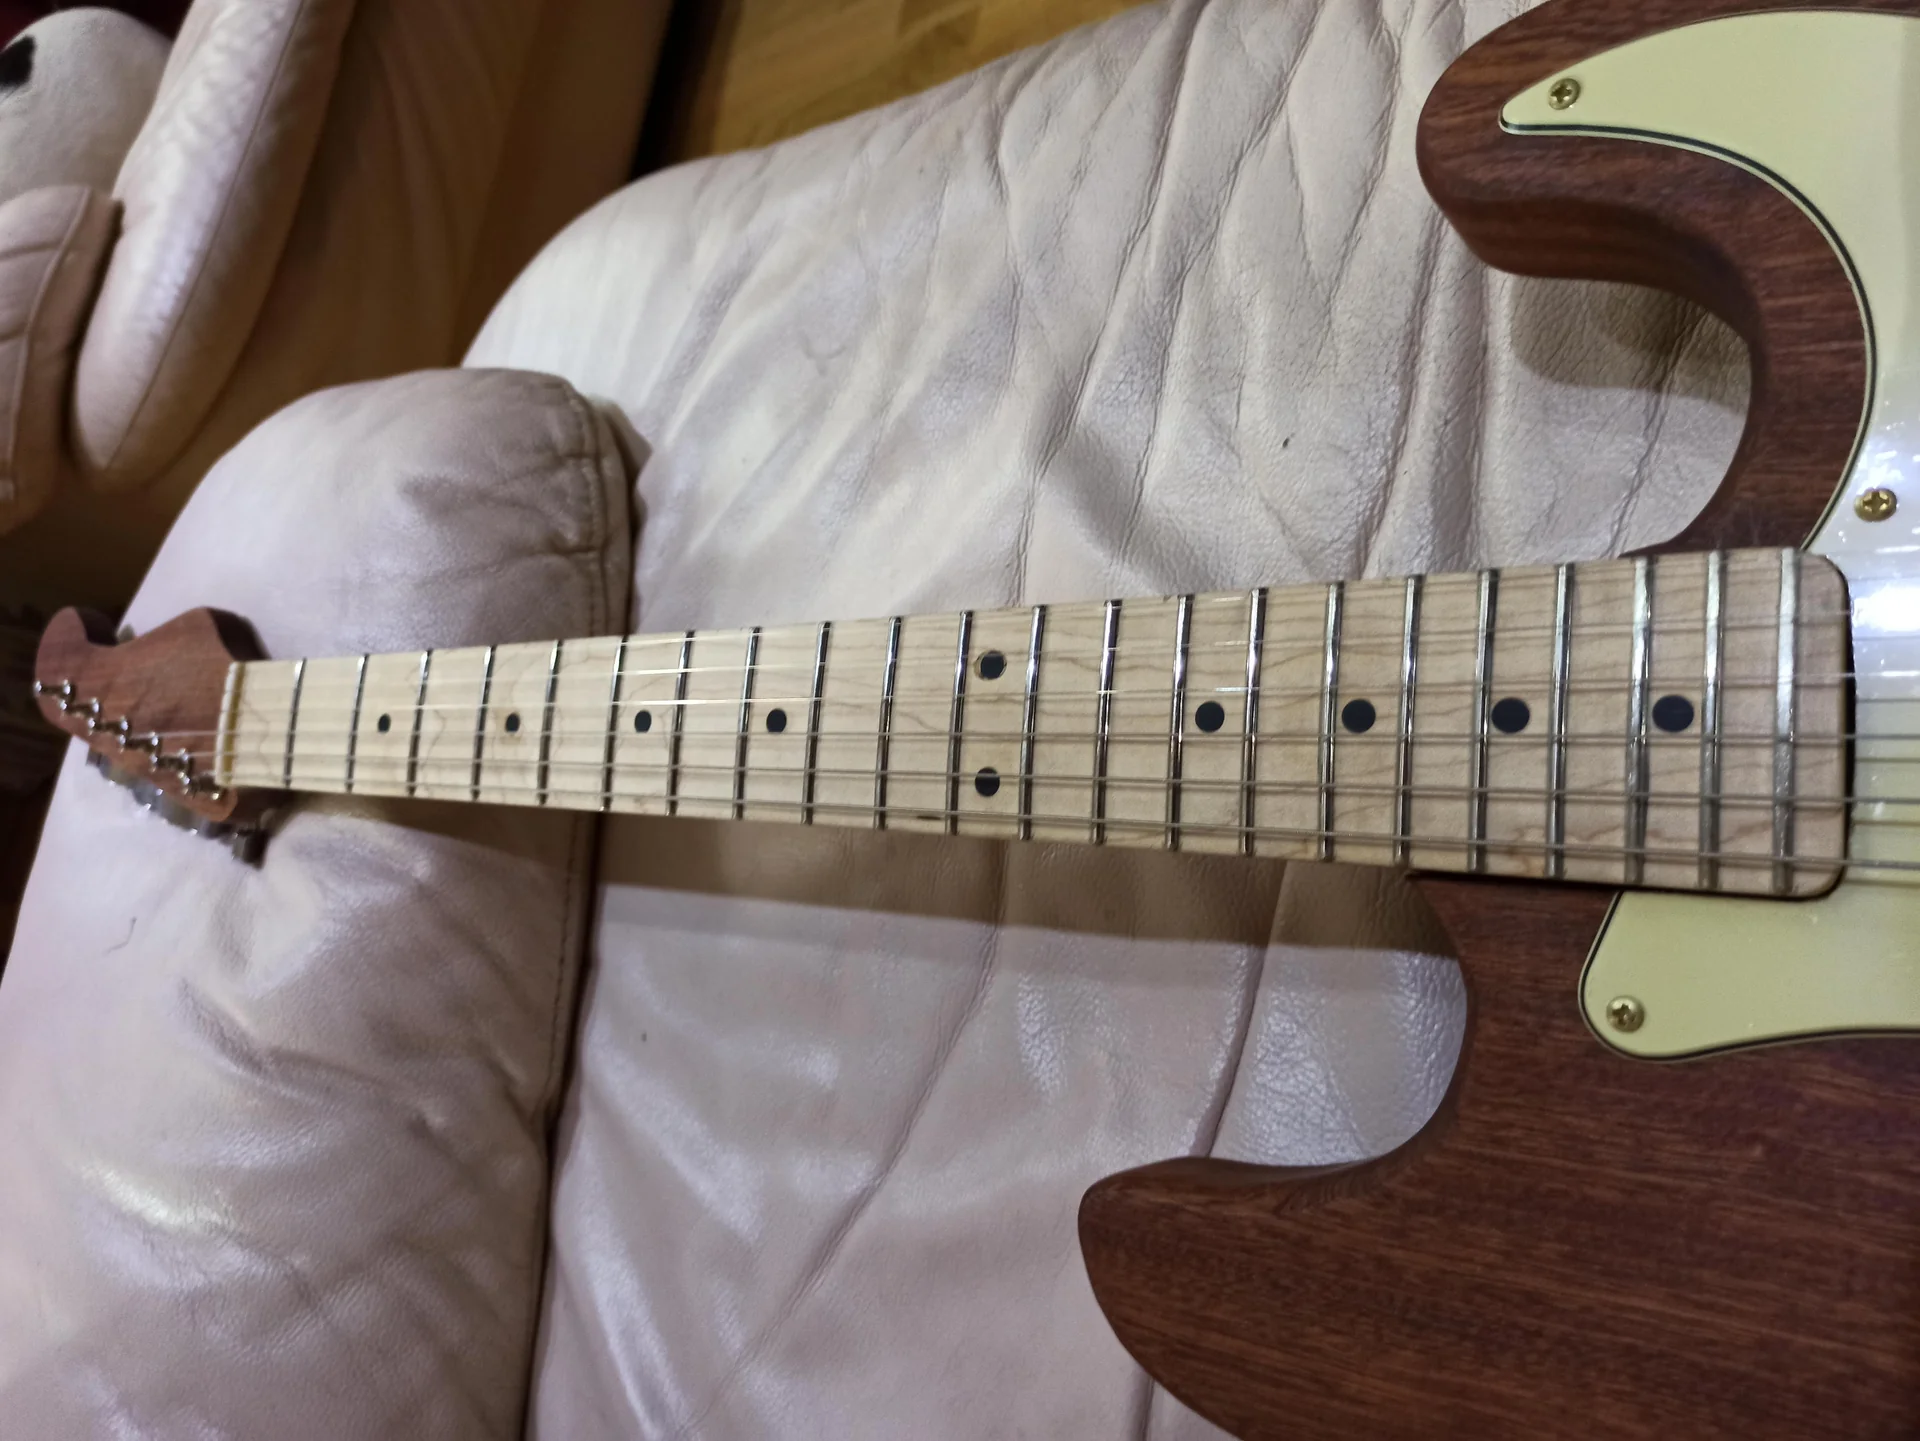
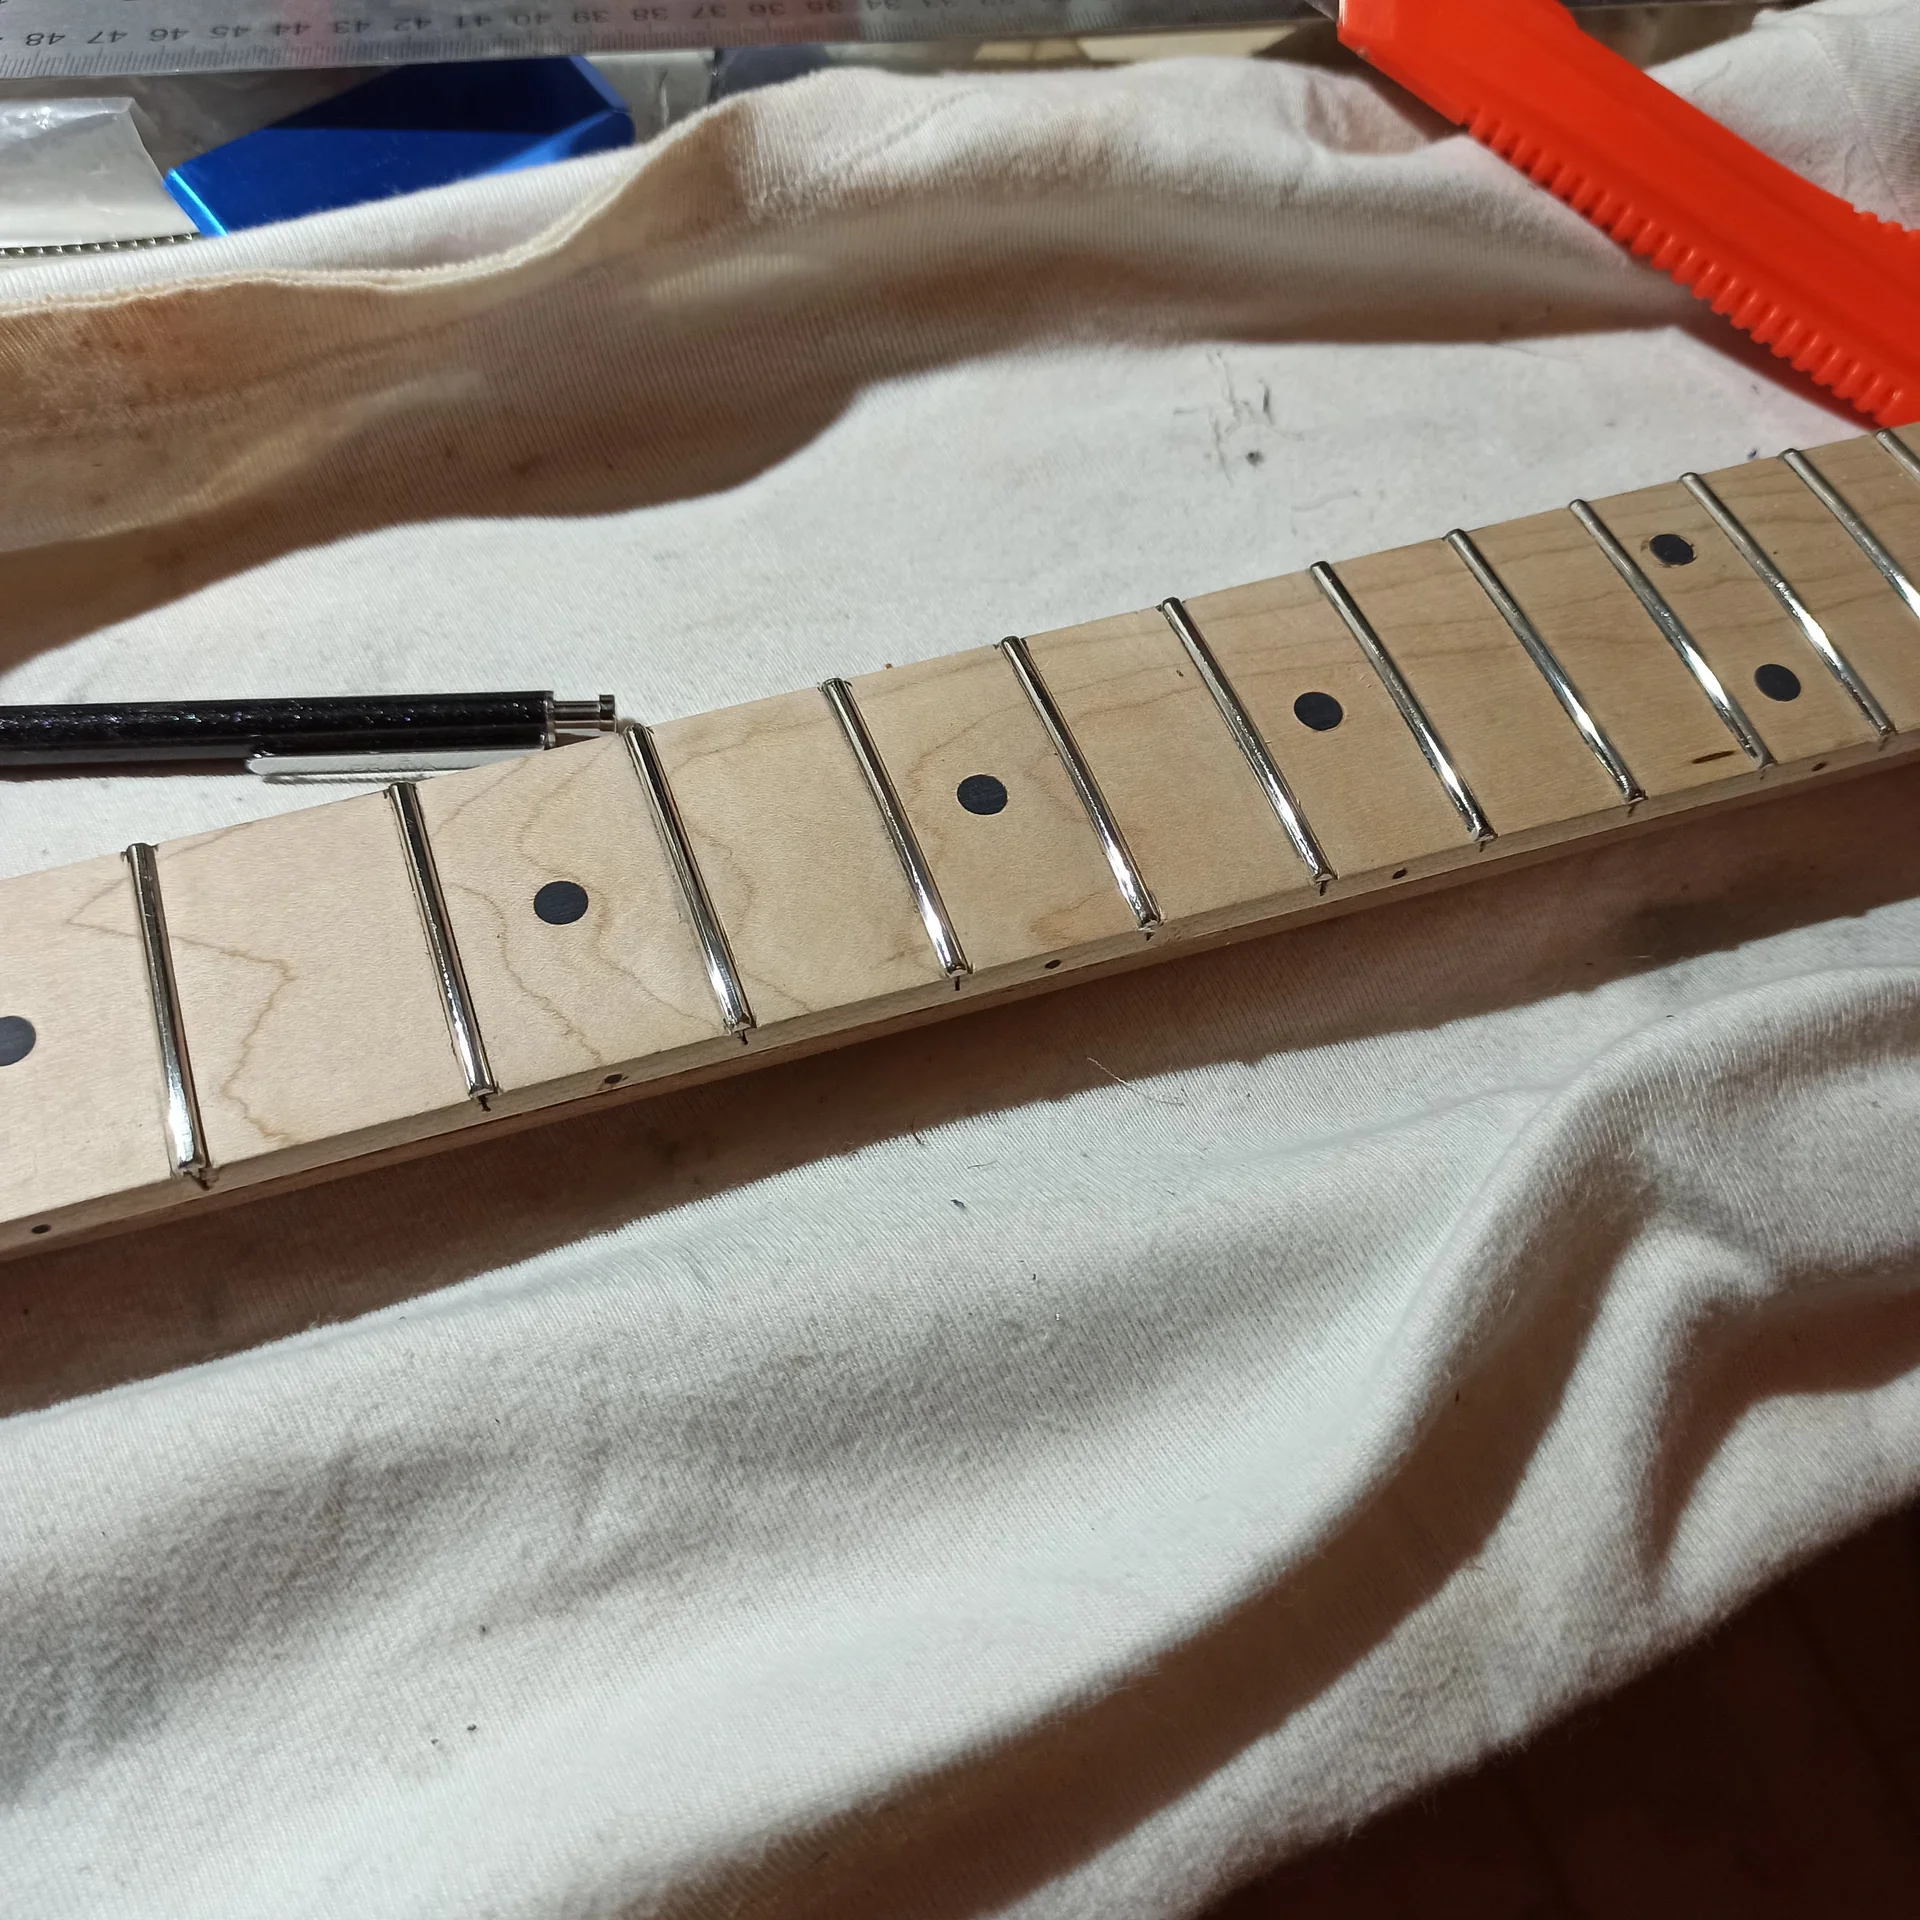
Ok, we said that the radius block guitar It must match the radius of the fretboard. But what is this “radius”? In simple terms, the radius of the fretboard is the curvature from one edge of the neck to the other. Imagine a circle: the radius is the radius of that circle. The smaller the radius number, the more pronounced the curvature of the fretboard.
Measurements are almost always expressed in inches, although some are starting to use millimeters. The most common ones you'll encounter are: 7.25″ (about 184 mm): Vintage radius, typical of many Fenders from the '50s and '60s. Very curved. Great for chording, but can cause bending problems (the strings get easily "strangled") if the action is too low. I have an old replica Strat with this radius, and for extreme bending you need to raise the action a bit.
9.5″ (about 241 mm): Fender's "modern vintage" radius. A good compromise, it allows for more comfortable bending than the 7.25" without sacrificing too much comfort for tuning. Very versatile.
10″ (about 254 mm): Another common option, often used by Gibson on some models or by other manufacturers. Similar to the 9.5″, but slightly flatter.
12″ (about 305 mm): The standard radius for most modern Gibsons, as well as Ibanez, ESP, and many others. It's flat enough to allow for extreme bending and very low action without any issues. Ideal for those who play a lot of lead guitars.
14″, 16″ or more (up to 20″): Even flatter radii, typical of metal or shred guitars, where speed and bending are a priority.
Then there are the compound radius, or compound radius. These are necks that have a steeper curve (e.g., 10″) toward the nut and a flatter curve (e.g., 16″) toward the bridge. The idea is to have comfort for chording in the lower positions and ease for bending in the higher positions. If you have a compound radius neck, you'll need a radius block specific or a set of blocks that cover the entire range.
How to Find the Radius of Your Handle?

5pcs Linear Guitar Pots Volume 500K Electric Guitar Large Pots 24mm Base with Long Split Shaft Guitar Potentiometer B500K
★ 4.5 (128 reviews)
See on Amazon

The Types of Radius Block Guitar and Which One to Choose
Once you have a clear idea of the radius of your handle, it's time to choose the radius block more suitable. There is no‘'it's an absolute “best”, it depends on what you need to do with it and how much you want to spend.
Materials
The first major distinction is the material. Each material has its pros and cons. Wood (maple, mahogany, beech): Pros: Cheap, easy to find, or even build yourself (if you have a CNC router or some handyman skills). Lightweight. I made my first ones out of wood, using a template and a hand router. They weren't perfect, but they were a good start.Against: Less precise than other materials. Wood can absorb moisture and warp slightly over time or with heavy use. The surface can deteriorate and become less perfectly flat. They don't slide as smoothly as other materials.
Aluminum: Pros: Highly precise, stable, and durable. They don't warp. The smooth surface ensures smooth sanding. They're a lifelong investment. Many professional luthiers use them.
Against: More expensive than wood. Heavier, which can be a pro (more stability) or a con (more fatigue).
Phenolic or Composites (e.g. Richlite): Pros: Extremely stable and precise. Resistant to wear and moisture. Excellent glide. They have good grip with sandpaper.
Against: High cost, sometimes difficult to find in all sizes. My heartfelt advice: If you are just starting out and want to do some work, a good Radial keyboard block Wood is fine. If you plan on doing multiple projects, perhaps even complete refretting or building handles from scratch, invest in an aluminum or phenolic one. The precision they provide will save you a lot of time and frustration.
Block Length
Even the length of the radius block guitar It's important. It's not an aesthetic detail, believe me. Short (4-6 inches / 10-15 cm): Useful for spot work, such as touching up a small portion of worn frets or leveling a single high fret. Not ideal for complete leveling.Medium (8-12 inches / 20-30 cm): The most versatile and common length. Perfect for leveling the entire fretboard of a guitar or bass. They allow for long, even strokes.
Long (16-24 inches / 40-60 cm): Specifically designed for working on very long necks (5-6 string basses, baritone guitars) or for achieving maximum uniformity across the entire fretboard in a single pass. Usually used by professionals or those building necks from scratch.
For most hobbyists like us, a radius block 8-12 inches is the best choice. It allows you to cover almost the entire keyboard in 2-3 passes, while still ensuring excellent uniformity.
Form and Function
There are also some variations in the design: Standard: A simple block with a curve on the underside. The most common.Slotted (with key slots): Some blocks, especially those used to curve the bare keyboard, have grooves that correspond to the positions of the frets. This helps avoid damaging the edges of the key slots during sanding. They aren't necessary for leveling already installed frets.
Compound Radius Blocks: As mentioned, there are specific blocks for compound radius fingerboards. These blocks don't have a single curve, but a gradual transition. They're more complex and expensive, and are only useful if you're working on that type of neck.
Quick Checklist for Choosing Your Radius Block
Before clicking “add to cart,” let’s review: 1. Know your radius! Don't buy randomly.n2. What will you use it for? Just fret leveling? Neck construction? This affects the material and length.n3. Budget: How much do you want to spend? Remember, a good tool is an investment.n4. Frequency of use: If you'll use it once in a while, wood might be enough. If you'll use it frequently, aluminum is better.A good one bending tool It will give you confidence in your work. And confidence, when it comes to DIY violin making, is worth its weight in gold.
The Process: Making the Most of Your Spoke Pad
Ok, you have yours radius block guitar, The size is just right. Now let's see how to use it. I'll walk you through the fret leveling process, which is the most common use for us hobbyists. It's a delicate process, but with patience and attention, the results will amaze you. Required Materials: Your radius block of the correct size.Sandpaper of different grits:
Start: 220, 320 (to remove the bulk).
Progression: 400, 600 (to refine).
Finish: 800, 1000 (to prepare for polishing).
Sometimes you even go beyond that, up to 2000 or 3000, but for leveling it is not strictly necessary.
Masking tape (wide, body shop grade) to protect the keyboard.
Permanent marker (Sharpie type).
Straightedge (straight metal ruler) to check leveling.
Fret leveling beam/file – sometimes used, but the radius block is the basics.
Fret crowning files – for giving the frets the correct shape after leveling.
Metal polishing compound and microfibre cloths.
Protective mask and safety glasses. Metal dust from the keys is no joke.
Step-by-Step: Leveling Keys with the Radius Block
1. Preparing the Handle: Remove the strings. It seems obvious, but you never know.Loosen the neck truss rod until it is completely straight, or nearly so. You don't have to have any relief (forward bend). Use your straightedge to check that it's flat. This is crucial: if the frets aren't level on a straight neck, when you re-tension the strings and adjust the relief, the leveling will be off.
Protect the fretboard with tape. Apply strips of tape between the frets, completely covering the wood. This prevents scratching or damaging the fretboard while sanding. I ruined a rosewood fretboard the first time, out of laziness. Don't make my mistake. 2. Mark the Keys: Take the permanent marker and color the top of each fret. You want to completely cover the crown of the fret. This will serve as a visual indicator to see where you're sanding. 3. Glue the Sandpaper to the Block: Cut a strip of sandpaper of the coarsest grit (e.g. 220 or 320) that is as long as your radius block.
Glue it to the curved side of the block with strong double-sided tape (or spray adhesive). Make sure it's taut and free of bubbles or wrinkles. An uneven surface will ruin your work. 4. Start Sanding: Place the radial block on the keyboard, applying even pressure. Don't press too hard; let the paper do the work.
Start sanding with long, even strokes along the entire length of the neck, from the nut to the last fret. Try to keep the block parallel to the neck. Don't focus on just one area.
Do about 10-15 passes and then stop. 5. Check the Signs: Look at the frets. Where the marker has been removed, the block has touched. Where the marker is still there, the fret is too low or you haven't sanded it enough.
You'll notice that initially, only the highest frets have the marker removed. Continue sanding, checking every 5-10 passes. The goal is to remove the marker from all the frets, across their entire width, evenly. This will tell you that all the frets are now the same height and follow the curve of the neck.
PAIN POINT: This is where people get scared. You'll see shiny "slopes" on the keys, as if they've been flattened. This is normal. Don't worry, we'll re-crown them later. 6. Grain Progression: Once all the keys have been evenly touched by the coarsest grit, clean off the dust thoroughly.
Replace the sandpaper on the fretboard radius tool with the next grit (e.g., 400). Repeat the process, but with fewer passes. The goal now is to remove the marks left by the previous grit and refine the surface.
Continue with increasingly finer grits (600, 800, 1000) until the fret surface appears smooth and almost shiny. Each finer grit step serves to prepare the metal for the final polishing. 7. Crowning and Polishing: Once the frets are level and smooth, you'll need to restore their "dome" shape (crowning). This is done with special fret crowning files. Without crowning, the frets would have too large a flat surface, reducing intonation and sustain. This is a delicate step; if you'd like to learn more, check out this article: guitar modification.
Finally, polish the frets with metal polishing paste and a soft cloth. This will make them shiny and smooth, reducing friction with the strings and improving bending.
Common Mistakes to Avoid
Unequal Pressure: If you press too hard on one side or in the center, you'll create an uneven leveling. Be consistent.Don't Check the Signs: Skipping the marker check is like driving blindfolded. You won't know where you're going.
Wrong Grain: Don't use too coarse a grit for too long, or too fine a grit when you still have a lot of material to remove. Be methodical in your progression.
Don't Protect Your Keyboard: It seems like a hassle, but it will save you from scratches and damage to the wood.
Not Straight Handle: If the truss rod is not adjusted for a straight neck, leveling will be useless.
The first time I did this job correctly, with the radial block That's right, I had an epiphany. The frets were perfect, the action was very low, with no buzz whatsoever. The guitar sounded like never before. It's an incredibly satisfying feeling, the kind that only DIY can give you.
Maintenance and Care of Your Instrument
Yours too radius block guitar It deserves a little attention. It's not a tool that breaks easily, especially if it's made of aluminum or phenolic, but a few precautions will prolong its life and maintain its precision. Cleaning: After each use, remove the sandpaper and clean the block of wood and metal dust. A damp cloth or a little compressed air will do the trick. Make sure there's no adhesive residue on the curved surface, otherwise the sandpaper won't stick properly next time.Conservation: Store it in a clean, dry place. If it's made of wood, avoid sudden changes in temperature and humidity, which could cause it to warp slightly. I keep it in a drawer on my workbench, wrapped in a soft cloth to protect it from bumps and scratches.
Periodic Checkup: Every so often, take a straightedge and check the surface of the block (especially if it's wooden) to make sure it hasn't warped. A warped block, even slightly, will ruin all your precision work.
A good one bending tool It's a faithful companion on your journey as a hobby luthier. Taking care of it is a small gesture that ensures you always have a reliable instrument at your disposal.
Conclusion: Your Next Step to DIY Perfection
Choose the radius block guitar Right isn't an option, it's a necessity. Whether you're building your first guitar from scratch, re-grinding an old neck, or simply want to freshen up the frets on your faithful companion, the precision a radiused lug offers is irreplaceable.I've been there, I've tried to do without certain tools, and I assure you that the initial savings turn into frustration and, often, double work. Investing in a radius block A quality instrument tailored to your needs is a small step that will open the doors to a level of quality in your work you could only dream of before. Don't be afraid to try. DIY luthiery is a matter of trial and error, and, above all, learning from mistakes. With the right tools and the right amount of patience, you'll see your projects take shape and sound better than you ever imagined. And the satisfaction of playing a guitar you've carefully crafted, note after note, is priceless. Get to work; your next project awaits! Useful external source:
For a more in-depth look at different fretboard curvatures and their applications in the guitar world, you can check out StewMac's article on fretboard radius: StewMac – Fretboard Radius Gauges and Blocks. It's a reliable resource full of practical information.
See also
Download the Luthier Survival Kit
Free PDF with checklist, problem-cause table and project card template.
 English
  Italiano
Stuck on your build?
If you ran into the same problem or have a question, drop it in the comments. I read and reply to every one.
Write a comment