


TEST_fusione_merge: The Essential Guide
Fellow builders, woodworking and sound hobbyists, welcome back to the blog! Today we're talking about something that, let's face it, scares everyone a little, especially the first few times: joints. Or, as we call it here, TEST_fusion_merge. It's not a technical term you'll find in old violin-making manuals, I know. But it gets the idea across well: it's the moment when two or more pieces of wood, or other materials, must become one. A single, solid, resonant unit.And believe me, there's nothing more frustrating than spending hours cutting, milling, and sanding, only to see the joint fail, or worse, crack. It happens. It happened to me. Not once, not twice, but quite a few times, before I figured out where I was going wrong. I've learned that "fusion" is perhaps the most delicate process, where patience and precision truly pay off. You don't need to be a carpenter with decades of experience to make perfect joints. You need to understand the principles, choose the right tools (even garage ones!), and above all, take your time. If I could do it, with my makeshift workbench and my DIY clamps, you can do it too. Ready? Let's see how to "fusion" the pieces of your next guitar.
The Heart of the Guitar: The Union of the Body
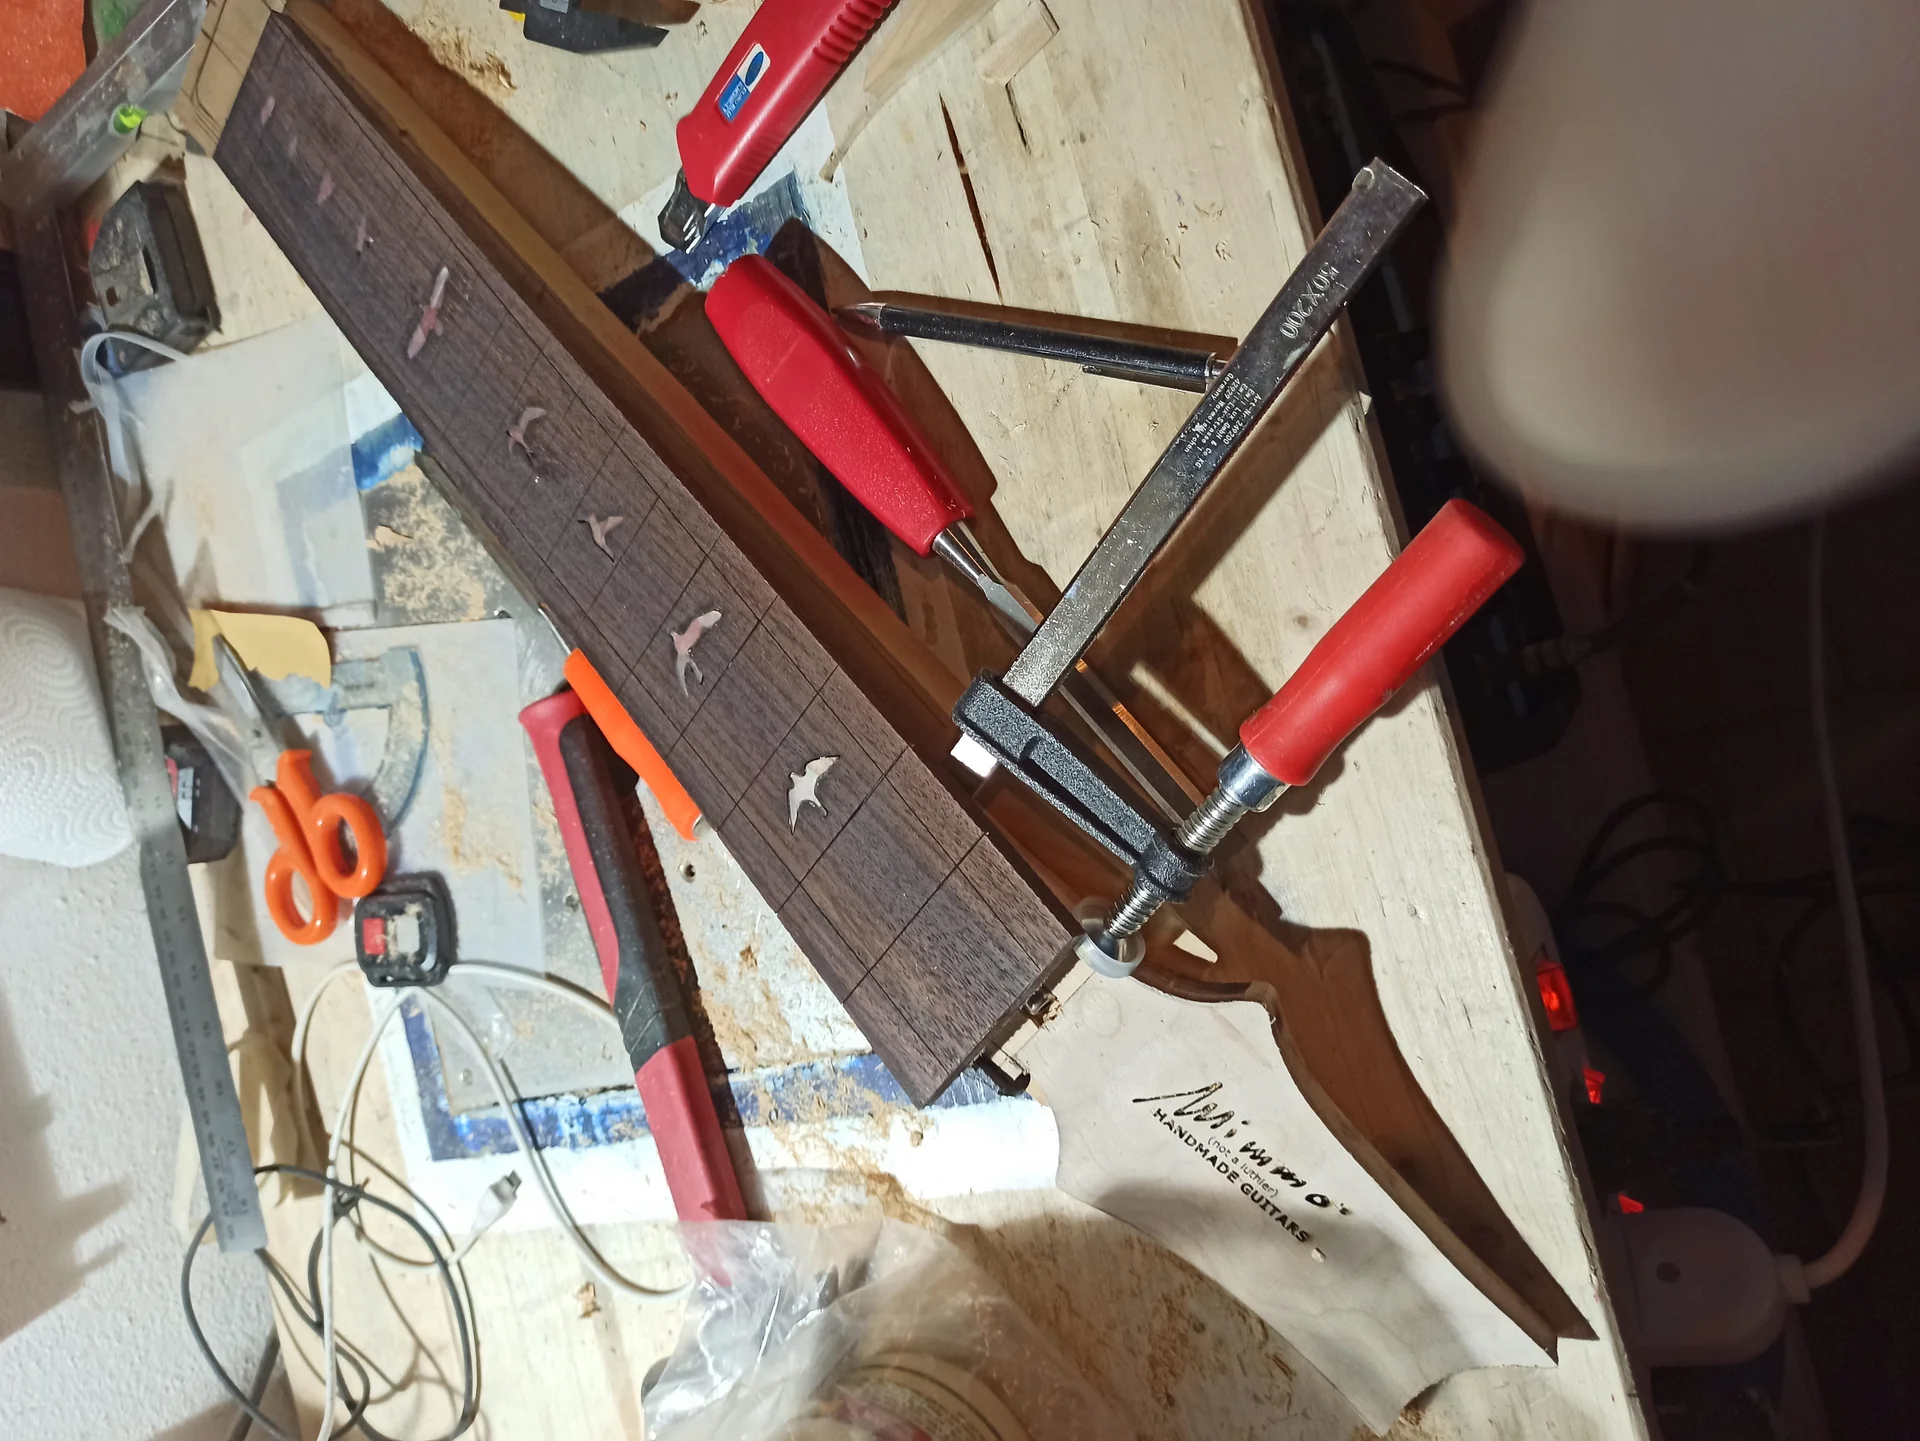
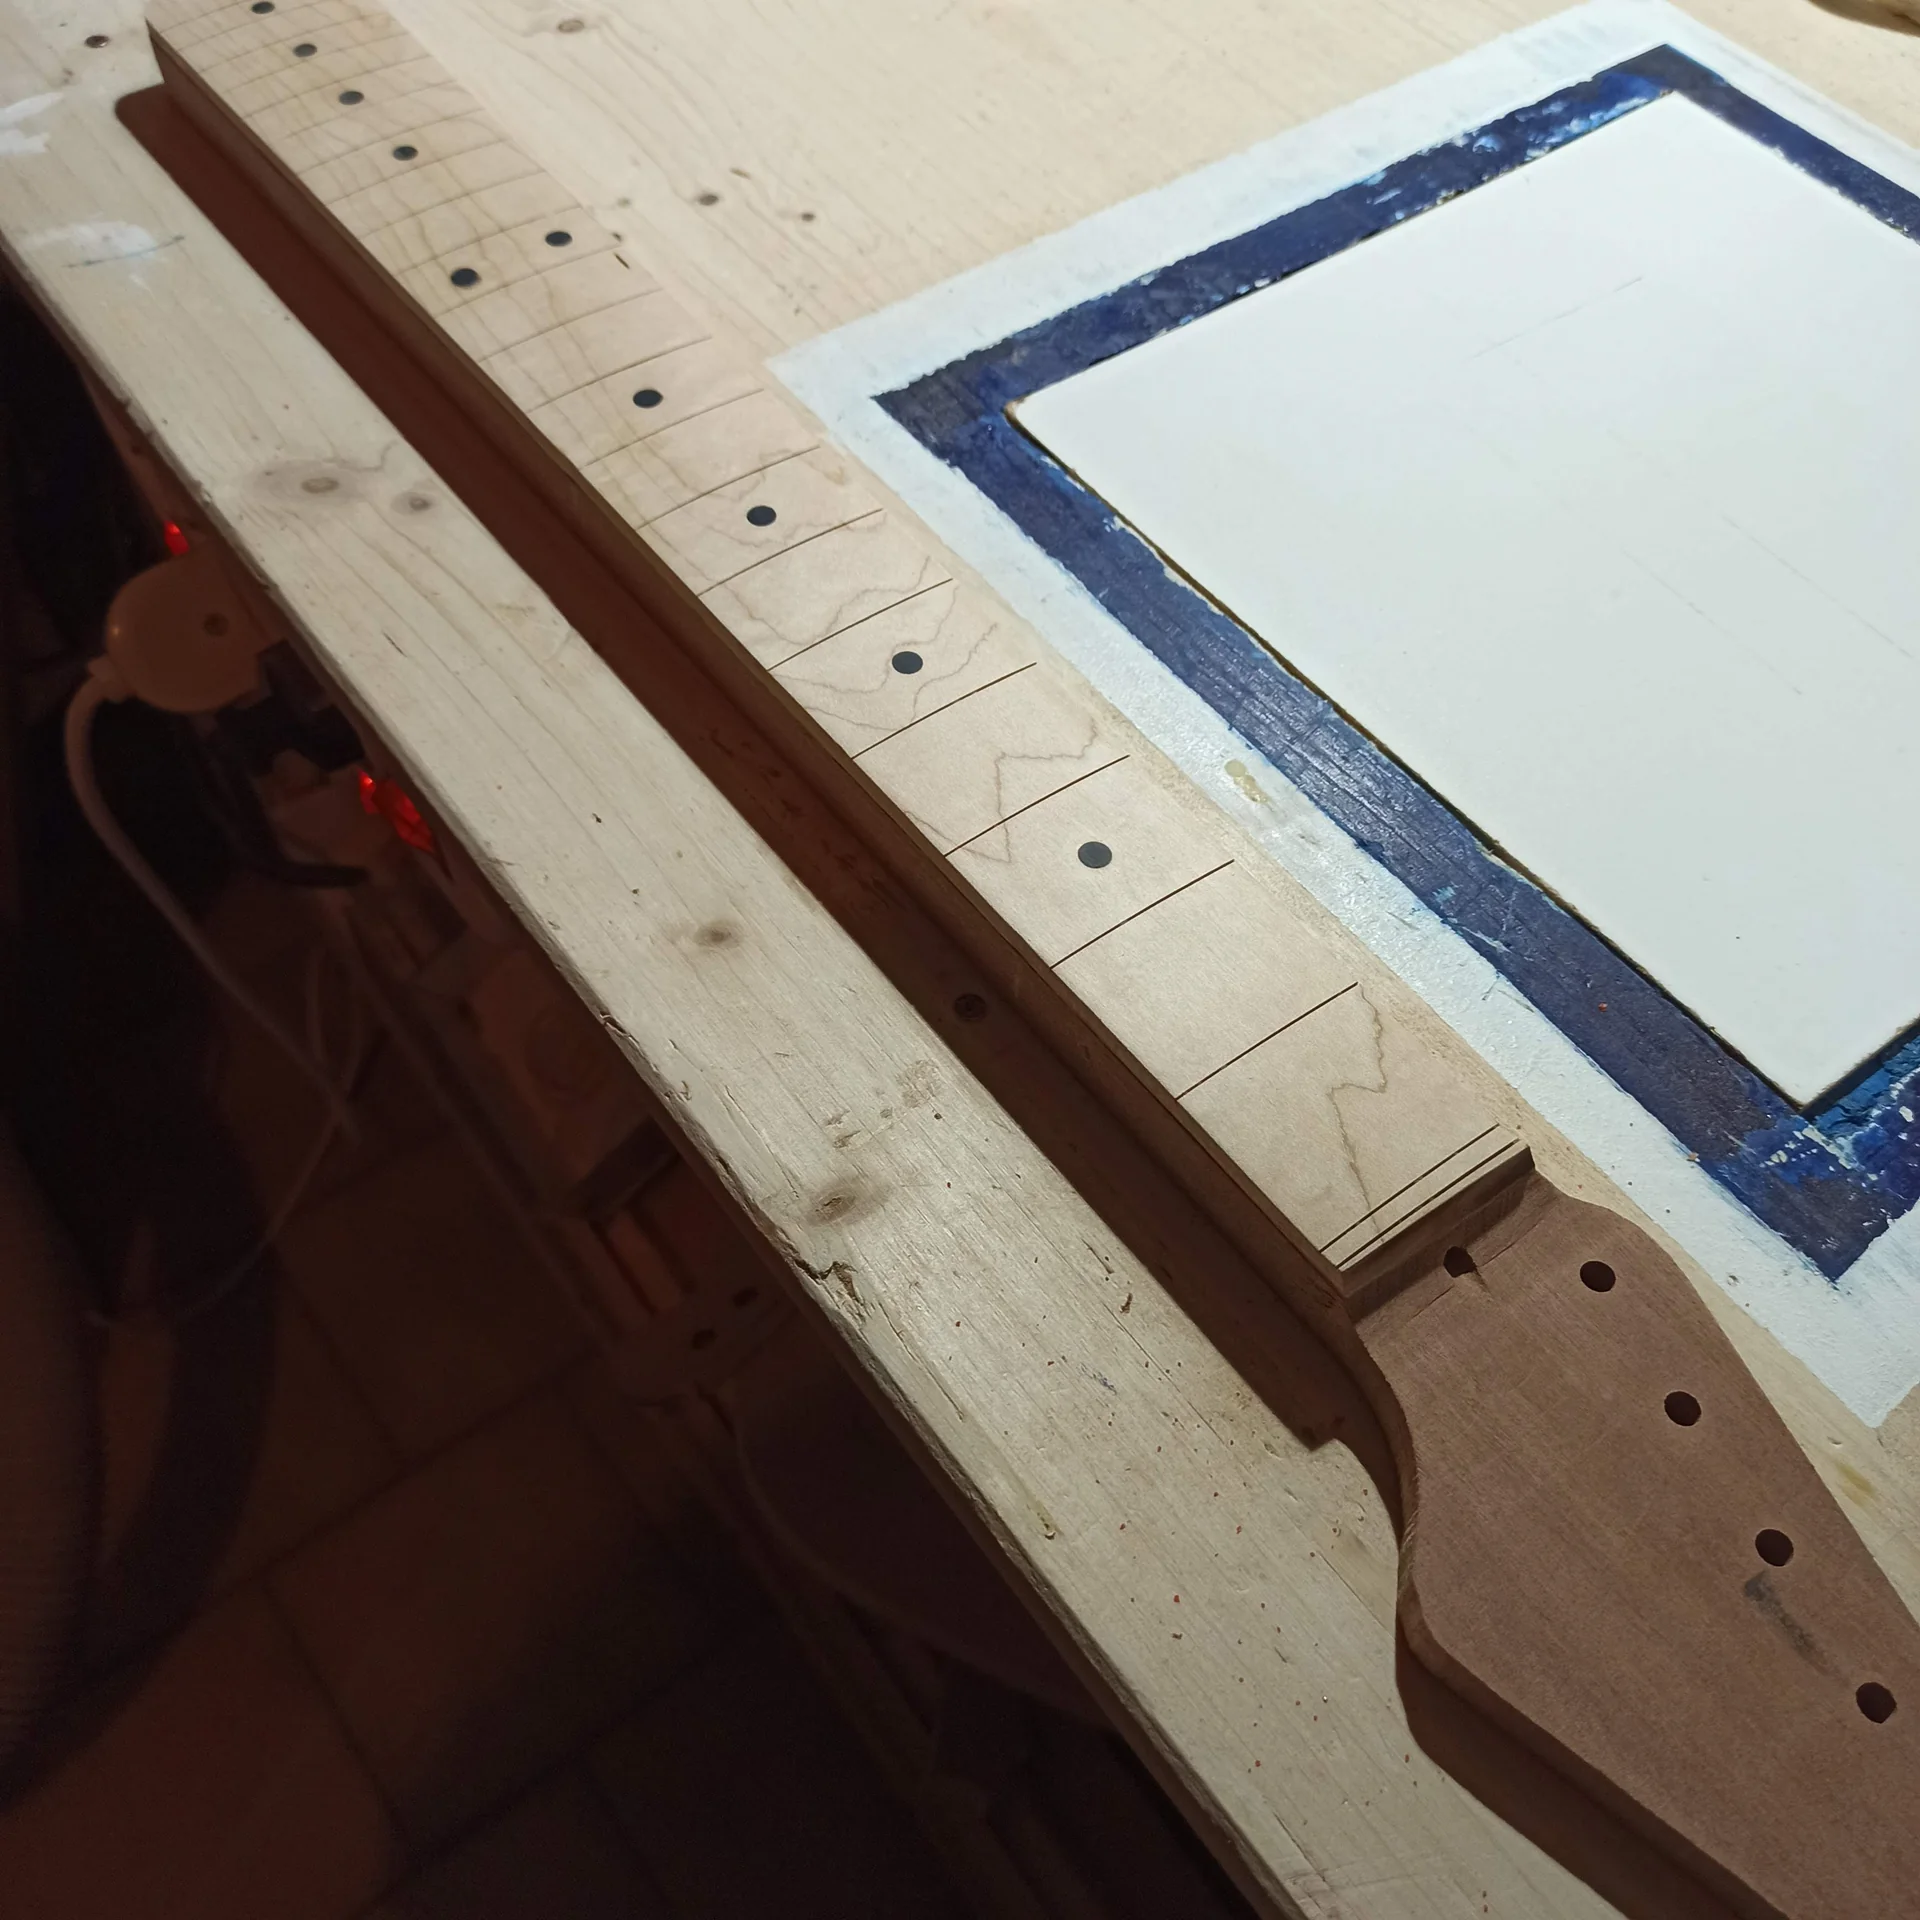
Let's start at the beginning, with the largest and often most challenging piece: the guitar's body. Very rarely will you use a single piece of wood for the body of a solid body. Large, flawless woods are expensive and difficult to find. Therefore, the most common solution is to join two or more boards together to form the blank (the rough block of wood) from which you will then carve the final shape. This is the first real merge_fusion that you will face.
The success of this operation depends on three main factors: the wood, the glue, and the pressure. It seems trivial, but every detail counts.
Choosing the Right Wood and Preparing It
First, the wood. Choose seasoned boards with a grain that's as straight and parallel as possible. This will enhance both structural stability and aesthetics. Avoid knots or defects near the edges to be glued.

Edge preparation is crucial. They must be perfectly flat and at 90 degrees to the faces of the board. If you have a jointer, use it. It's the best tool for achieving a flat surface.
But what if, like me for the first few years, you don't have a plane? Don't panic. You can use a good, sharp hand plane with a little practice. Or—and this is a trick I learned after throwing away a couple of bodysuits—you can glue the two boards face-to-face with sturdy double-sided tape. Then, plane or sand the two edges you want to join at the same time. This way, any imperfections or slight angles will be the same on both edges, and when you separate them and turn them over to glue them together, they'll fit together perfectly. It's a bit of a hack, but it works great for the hobbyist.
Remember to let the wood acclimate to your work environment for at least a week. Changes in humidity and temperature can cause the wood to move after gluing, ruining your entire work.
Glue: Your Best Friend (or Worst Enemy)
For gluing the body, aliphatic PVA glue like Titebond Original is the almost universal choice. It offers a strong hold, adequate working time, and cleans up with water. Don't use glues that are too fast or too slow.The amount of glue is crucial. Too much glue makes cleanup a mess and the pieces may slip under pressure. Too little glue and you'll have poor adhesion, which can lead to glue starvation and a weak joint. Ideally, apply enough glue to cover the entire surface, so that when you tighten the clamps, you see a slight squeeze-out along the entire joint line. This is a sign that you've applied the right amount.
Pressure and Clamps: The Perfect Hug
This is where many hobbyists, including myself at the beginning, tend to go wrong. It's not enough to have clamps, you have to use them properly.You'll need at least 4-6 bar or C-clamp clamps, depending on the length of your boards. It's crucial to apply pressure evenly. If you overtighten one spot and undertighten another, the tension won't be distributed properly.
To prevent the boards from warping or slipping under pressure, use cauls (wooden boards) on the top and bottom sides of the joint. These boards, slightly wider than the body, distribute the pressure of the clamps over a larger surface area and help keep the joint perfectly flat. I use scrap pieces of MDF or plywood, with a piece of packing tape on the inside to prevent the glue from sticking.
Steps for TEST_fusion_merge of Body:
- Prepare the edges: Make sure the edges you want to join are perfectly flat and at 90 degrees.
- Dry run (dry test): Place the boards in place without glue. Apply the clamps and caulking. Check that everything is aligned and there are no gaps. This is the time to make any adjustments. Never skip this step!
- Apply the glue: Spread an even layer of glue on one of the surfaces to be glued. Don't overdo it, but make sure every millimeter is covered.
- Join and clamp: Position the boards and apply the clamps. Start with light pressure, then gradually increase the pressure. Alternate pressure on the upper and lower clamps and constantly check the alignment. You should see a slight squeeze of glue.
- Clean off the excess: With a damp cloth, immediately wipe off any excess glue. Don't wait for it to dry, as it will be much more difficult to remove. Don't worry about cleaning. All perfectly, but remove the bulk.
- Let it dry: Follow the glue manufacturer's instructions for drying times. For Titebond, 24 hours is usually the minimum for a good hold. complete. Don't remove the clamps beforehand! The temptation is strong, but resist.
When Beauty Meets Functionality: The Fusion of Laminate Tops
Let's move on to another one crucial union: the application of a figured top (flame maple, quilt maple, bubinga, etc.) to a basic body. Aesthetics play a huge role here, and a mistake can be much more visible and difficult to correct. This operation is a true "fusion" of beauty and substance.Many guitars, especially those with flamed or quilted maple tops, don't use a body made entirely of that precious wood. This would be very expensive and, sometimes, not ideal in terms of weight or tonal balance. Instead, a thin top (1/4" or 6-7mm thick) is glued onto a mahogany, ash, or basswood body.
Preparation and Selection of Materials
The top must be perfectly flat and clean. The surface of the body it will be glued to must also be perfect. Any slight imperfection, speck of dust, or glue residue will result in a bubble or unevenness under the finished top. And trust me, it will show.For this type of gluing, Titebond is still an excellent choice, but some prefer two-part epoxy glue, especially for very thin countertops or exotic woods. Epoxy has the advantage of filling any small cracks and preventing the wood from moving when exposed to moisture, but it's more difficult to clean and requires a shorter working time. For the hobbyist, Titebond is generally more manageable.
Coupling and Pressure Techniques
As with bodysuits, even pressure is vital. However, it's even more critical here, because the top is often thinner and more delicate.If you have access to a vacuum press, that's the best method. It creates perfectly uniform pressure across the entire surface, minimizing the risk of bubbles. But who among us has a vacuum press in the garage? Not many, I know.
The most common solution is to use a lot of clamps and sturdy caulking. I've seen people use 18mm plywood with a lot of C-clamps, and it works. The key is to distribute the pressure across the entire surface of the top, not just where the clamps rest.
Steps for Fusion of Laminate Top:
- Prepare the surfaces: Sand the body and the back of the top with fine sandpaper (such as 220 grit) to ensure excellent adhesion. Clean with compressed air or a slightly damp cloth to remove any dust.
- Dry run (dry test): Place the top on the body. Check the alignment. You can use small wooden dowel pins inserted into existing holes (perhaps the pickup holes, if they've already been drilled) to ensure perfect alignment. This prevents the top from slipping while clamping.
- Apply the glue: Spread a thin, even layer of glue on both surfaces. This helps prevent air bubbles. You can use a paint roller or a fine-toothed spatula.
- Position and clamp: Gently place the top on the body. Start tightening the clamps. This is where the caulking is essential. Use two sturdy panels, one above the top and one below the body, to distribute the pressure. Tighten gradually, working from the center outward to push out any air and excess glue.
- Clean the squeeze-out: Again, wipe off any excess glue immediately. Especially if you're using a patterned top, dried glue can penetrate the grain and ruin the final finish.
- Drying: Let it dry for the time recommended by the glue manufacturer. Resist the temptation to remove the clamps to take a look!
Beyond the Body: Other Crucial Junctions
There merge_fusion It's not limited to the body. Whenever two pieces of wood meet and become one, we're faced with a joint that requires attention.The Neck to the Body: The Guitar's Marriage
This is perhaps the most important joint in terms of playability and stability. Whether it's a neck-through (where the neck and body are one piece), a set neck (glued neck), or a bolt-on (bolt-on neck), the connection must be solid and precise. Set-neck: This is a pure gluing process. The neck pocket and the tenon (the part of the neck that fits into the pocket) must have a perfect fit, without any play. The glue must fill every tiny gap. A well-made set-neck joint contributes greatly to sustain and resonance. The principle is the same as for the body: flat surfaces, uniform glue, adequate pressure. Bolt-on: Even if bolted on, the neck and body must be as tight as possible. There's no structural glue, but the contact surface must be as large as possible for good vibration transmission. Here, the "fusion" is more mechanical than chemical, but the concept of a tight fit remains. Whenever I've had a "dead" sound on a bolt-on, the culprit was almost always an imprecise neck pocket.If you want to learn more about how to optimize the performance of your guitar, even starting from a bolt-on base, take a look at our article on guitar modifications: there you will find ideas for improving the stability of the handle too!
Fingerboard to Neck: A Perfect Surface
The fretboard is another element that "fuses" with the neck. Precision here is crucial for playability. Any imperfections in the gluing will result in misaligned frets or "dead spots.".Use PVA glue and plenty of clamps. I use shaped wooden blocks (my beloved "cauls" again) to distribute the pressure along the entire length of the fretboard. Squeeze from the center outward to push out the air. This also prevents the fretboard from sagging slightly under pressure.
Paddle Wings and Other Small Joints
Even the headstock wings (if the neck isn't a single piece with the headstock) or the joints between small reinforcement blocks require the same attention. These are details, but in violin making, it's the details that make the difference between an amateur job and a well-done one. A tip: For small joints, a good, thin piece of masking tape can sometimes replace clamps, if the pressure required isn't excessive. But this is an emergency solution, not the norm.The Science Behind Bonding: Why It Works (or Doesn't)
Understanding the “why” behind a good junction It's just as important as knowing the “how.” We're not polymer chemists, but a little basic knowledge helps us avoid making gross mistakes and understand what to do when things go wrong.The Wood Movement
Wood is a hygroscopic material, meaning it absorbs and releases moisture from the environment. When it absorbs moisture, it expands; when it releases it, it contracts. This is called "wood movement." Joints are particularly vulnerable to this phenomenon.If you join two pieces of wood with different moisture levels, or if the environment changes drastically after gluing, internal stresses can cause cracks or the joint to open. This is why acclimatization of the wood is essential.
The Properties of Glue
PVA glues, like Titebond, work by penetrating the wood fibers and creating a mechanical and chemical bond. They aren't "fillers." They require close contact between the surfaces. If there's too much space between the two pieces, the glue won't form a strong bond. Therefore, the surfaces must be perfectly flat and coupled.Epoxy glue, on the other hand, is more of a filler and creates a shallower but extremely strong bond, even in small gaps. This is why it's sometimes used for thin tops or particularly porous woods. However, it's stiffer and can slightly affect resonance.
For those who want to learn more about the properties of wood glues, an excellent resource is the Titebond website, which offers detailed technical data sheets and application advice for different wood types and projects. Here You can find a lot of useful information directly from the manufacturer.
Pressure and Time
The pressure during gluing serves not only to hold the pieces together, but also to force the glue into the wood fibers and push out air. Insufficient pressure leads to weak joints; too much pressure, as I said, leads to glue starvation.Drying time is another critical factor. The glue doesn't reach its maximum bond strength immediately. Even if it seems solid after a few hours, the bond continues to polymerize for much longer. Removing the clamps too soon risks the joint opening or weakening under the stresses of the wood. Patience is a virtue, especially in violin making.
Practical Advice and Mistakes to Avoid (that I've Made!)
Here we are at the part I like the most: learning from mistakes. Mine, of course, so you don't have to make them! correct union of components is an art, but also a science made up of many small tricks.The Dry Run: Your Best Friend
I can't stress this enough: always do a dry run. Assemble everything without glue, apply the clamps, and check the alignment. This is the time to find out if something is wrong. If there's a misalignment, an edge that's not perfectly flat, or a clamp that's not tightening properly, fixing it dry is easy; fixing it after the glue has started to stretch is a nightmare. I've lost a couple of leotards because I skipped this step, thinking I was "too good." You're never "too good" for a dry run.Cleanliness: Don't Underestimate It
I've already mentioned the importance of cleaning the glue squeeze-out. But I want to say it again: do it properly. Dried glue, especially on porous or patterned woods, can penetrate the grain and prevent the stain or finish from absorbing. The result? Unsightly light spots. I've spent hours sanding away glue residue that seemed invisible until I applied the stain. Better to spend five minutes cleaning with a damp cloth than hours sanding or, worse, having to redo the piece.Don't Rush: Time Is On Your Side
Haste is the number one enemy in violin making. Every process, and gluing in particular, takes time. Don't look for shortcuts. Respect the drying times indicated by the glue manufacturer. If a joint needs 24 hours, leave it alone for 24 hours. Not 22, not 18. I've removed the clamps too early more than once, and had the unpleasant surprise of seeing the joint open the next day. It's frustrating, but it's part of the game.Control Humidity: A Silent Enemy
This is a point that hobbyists often overlook. Working with wood in an environment with a humidity level significantly different from that in which it was stored, or from that in which the guitar will ultimately serve its life, is a huge risk. Wood moves. Always. If you glue it when it's very dry and then bring it into a humid environment, it will swell and could cause stresses that open the joints. Ideally, work in a humidity-controlled environment (between 40°F and 50°F relative humidity). If you don't have a dehumidifier or humidifier, at least let the wood acclimatize for a while in your workspace. I've seen perfectly good joints open up after months because of this.Tool Quality: You Don't Need the Best, You Need the Good
You don't need tools costing thousands of dollars. However, investing in good clamps is a cost that pays for itself. Cheap clamps tend to flex, apply uneven pressure, or fail to hold well. A good set of sturdy and reliable bar or C-clamps will make a big difference. Even a well-sharpened hand plane, if used carefully, can work wonders. Remember, the tool is an extension of your hand.Uniform Pressure is the Key
I've touched on this point before, but I want to reiterate. When you tighten the clamps, do it a little at a time, alternating sides. Imagine trying to "massage" the glue and air out of the joint. It's not a competition to see who can tighten it the most. Cauls are essential for this. Don't underestimate them. One day I tried to make a top without cauls, thinking, "Oh, yeah, it's just two pieces of wood." I got an air bubble that ruined my work. Never again without cauls!Don't Be Afraid to Make Mistakes (and Redo)
This is the most important piece of advice. We all make mistakes. Especially when learning. The first joint might not be perfect. There might be a small gap, or a misalignment. Don't get discouraged. Analyze the mistake, figure out what went wrong, and redo it. I redid my first body three times before I was satisfied with the joint. Each time, I learned something new. That's how you grow, that's how you become good. DIY luthiery is a journey, not a destination.Ultimately, that's the beauty of building your own guitar: learning, experimenting, and ultimately, holding an instrument in your hands that is the fruit of your passion and your work. And every time you play that guitar, you'll know that every single piece merge_fusion, every joint, every piece of wood that joined to another, was made with your hands, with your head, and with all your patience.
Good work and happy joints to everyone!
See also
Download the Luthier Survival Kit
Free PDF with checklist, problem-cause table and project card template.
 English
  Italiano
Stuck on your build?
If you ran into the same problem or have a question, drop it in the comments. I read and reply to every one.
Write a comment