


TEST_fusione_keep: Complete Assembly Guide
Ok, guys. Let's be clear. When you decide to build an guitar electric from scratch, there are a couple of steps that make you anxious. For me, one of those has always been the neck. Not so much the fretwork, that is annoying but somehow it gets done. The real nightmare is how to attach the neck to the body. That's where everything comes into play: intonation, action, playability. If you get it wrong here, the guitar is a mere ornament, there's no saving it.
That's why, when I heard about the system TEST_fusione_keep, a neck-to-body joint method that promised incredible stability and sustain, but with a slightly higher construction complexity, I had a jolt. My first reaction? “Why bother?”. Then, curiosity got the better of me. I wanted to understand if it was really possible to achieve an almost set-neck coupling, while maintaining the flexibility of a bolt-on, but done in a garage.
And I succeeded. Not without some swearing, some ruined pieces of wood, and a few hours spent staring at the ceiling wondering what I had done wrong. But in the end, the result surprised me. If I, who started making holes in wood with a hand drill and a lot of good will, could do it, so can you. The important thing is to arm yourself with patience, precision, and a willingness to learn from mistakes.
This is not a guide for those looking for the easy solution. It is for those who want to understand the why behind every step, for those who are ready to measure three times and cut once, and for those, like me, who do not give up at the first difficulty. Let's see together how to tackle the assembly of the TEST_fusione_keep.
Understanding the TEST_fusione_keep System: Anatomy and Philosophy
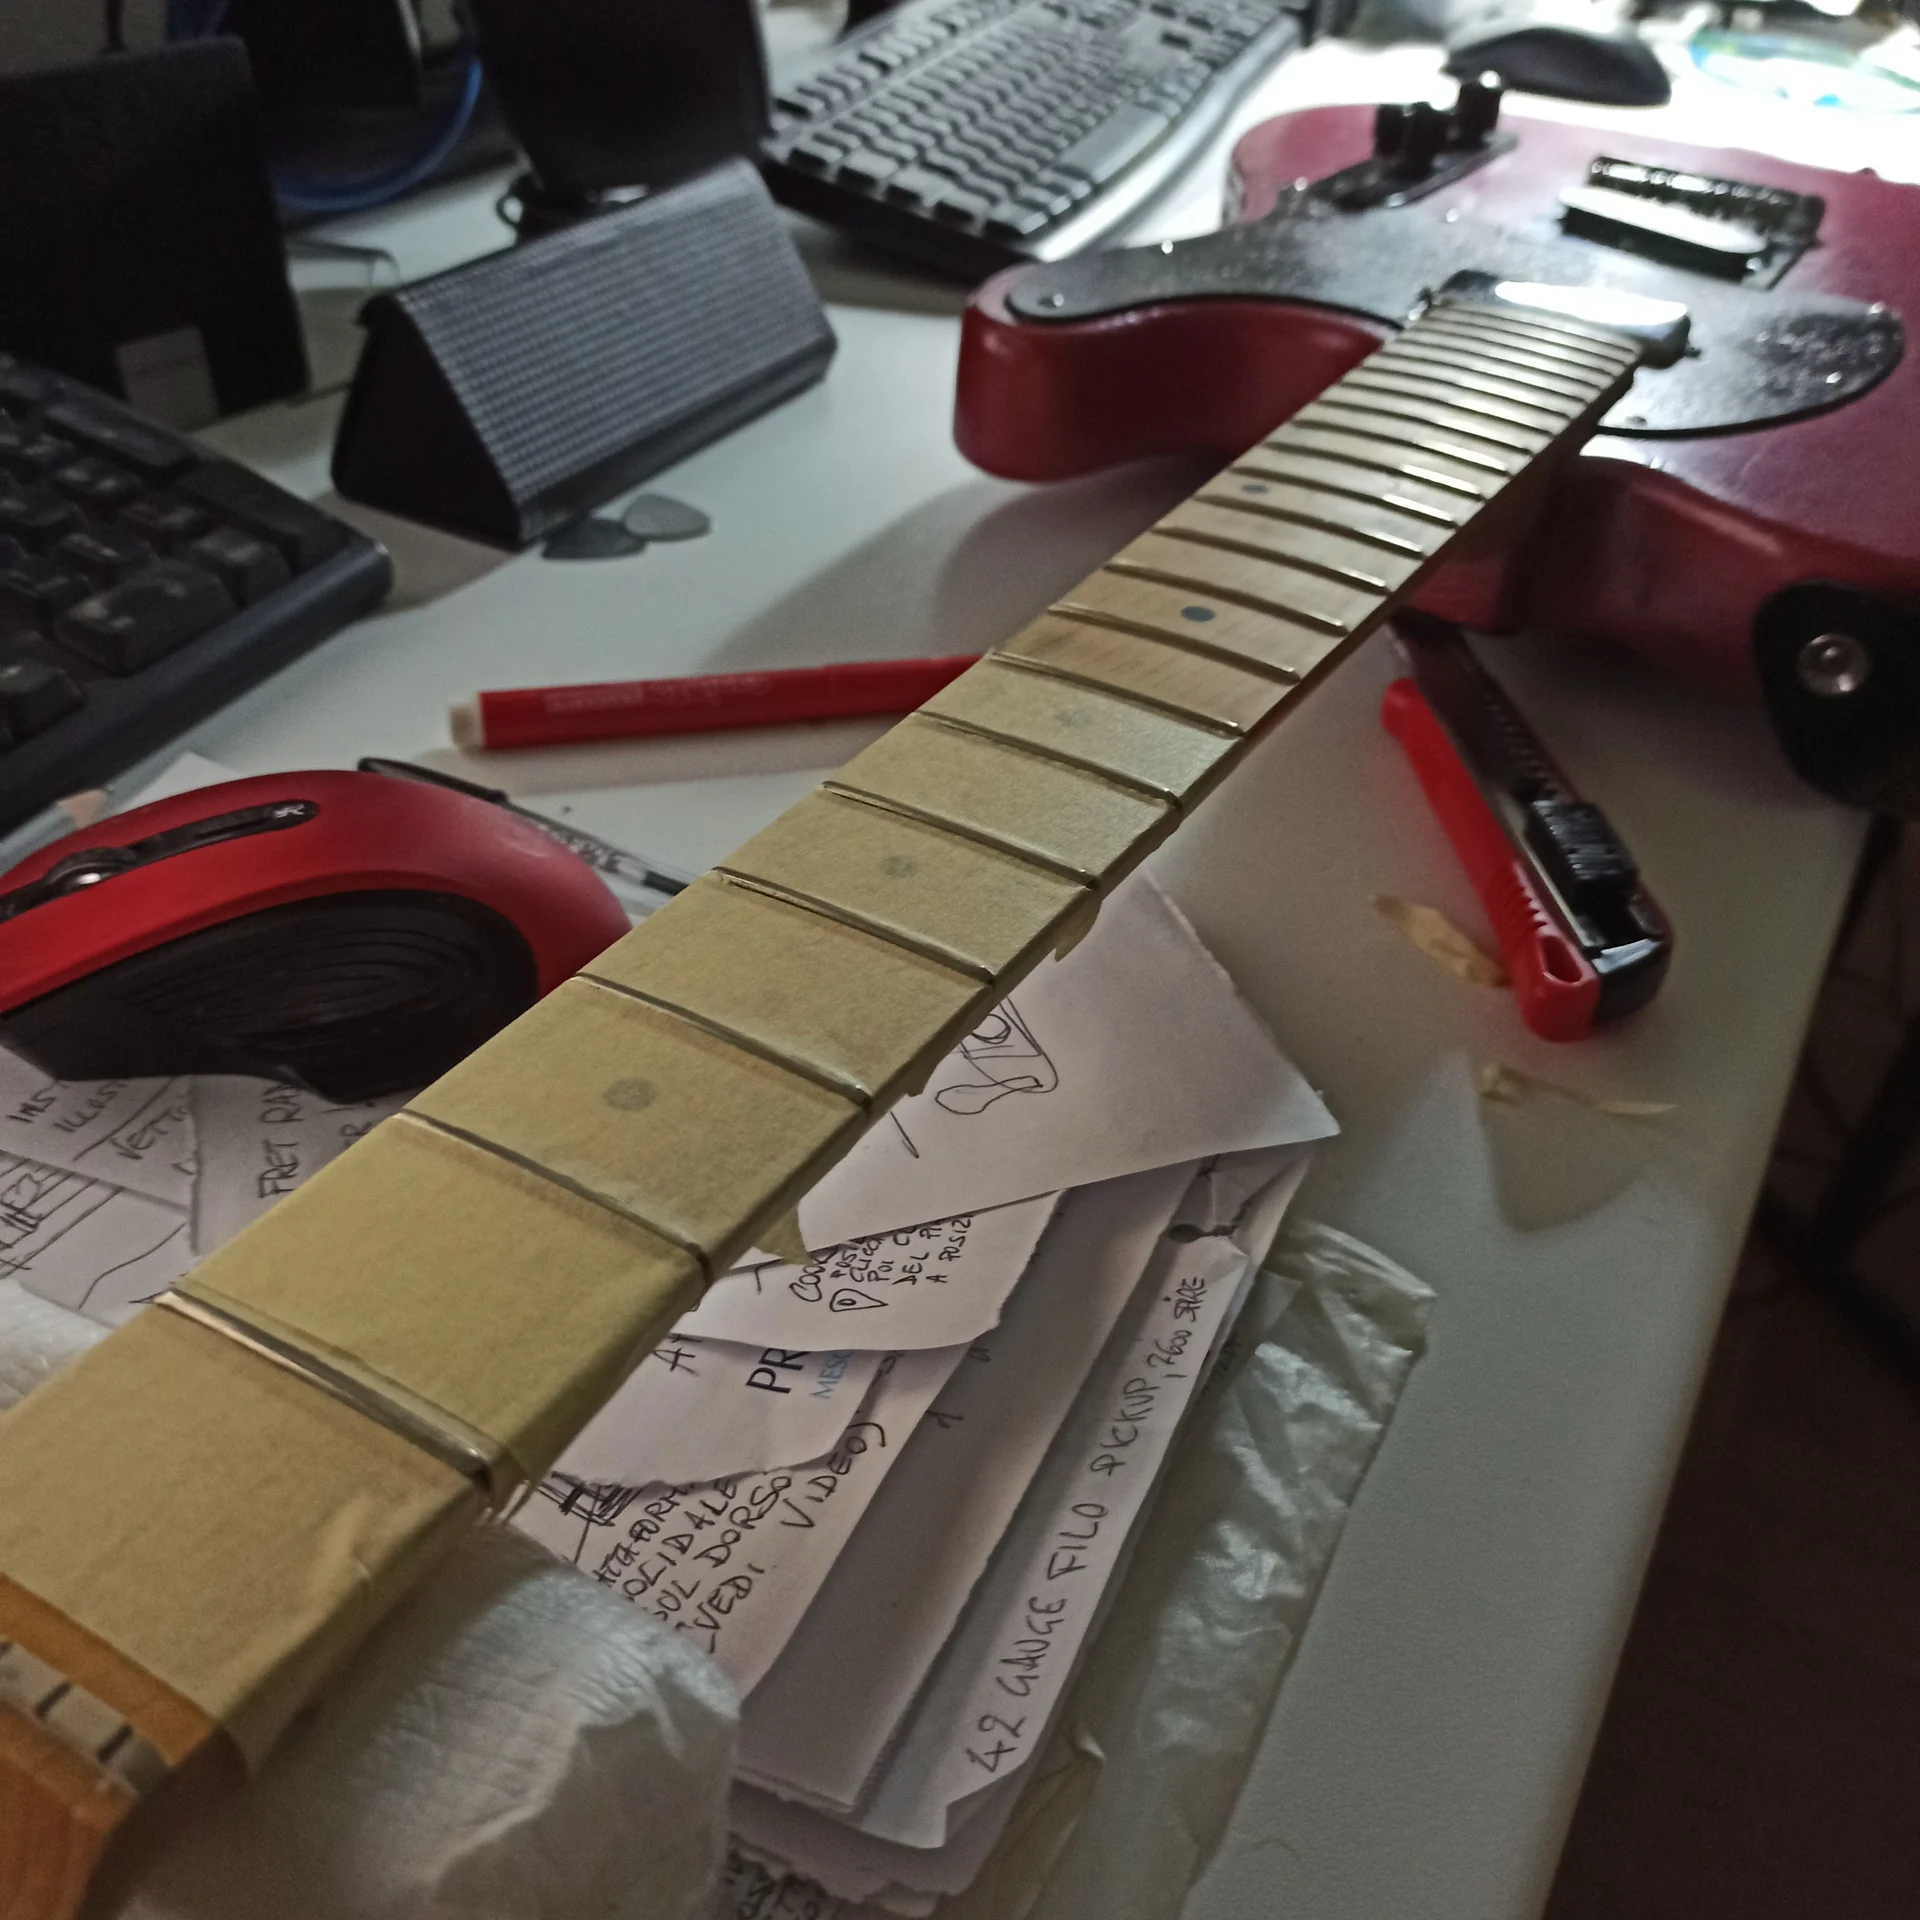
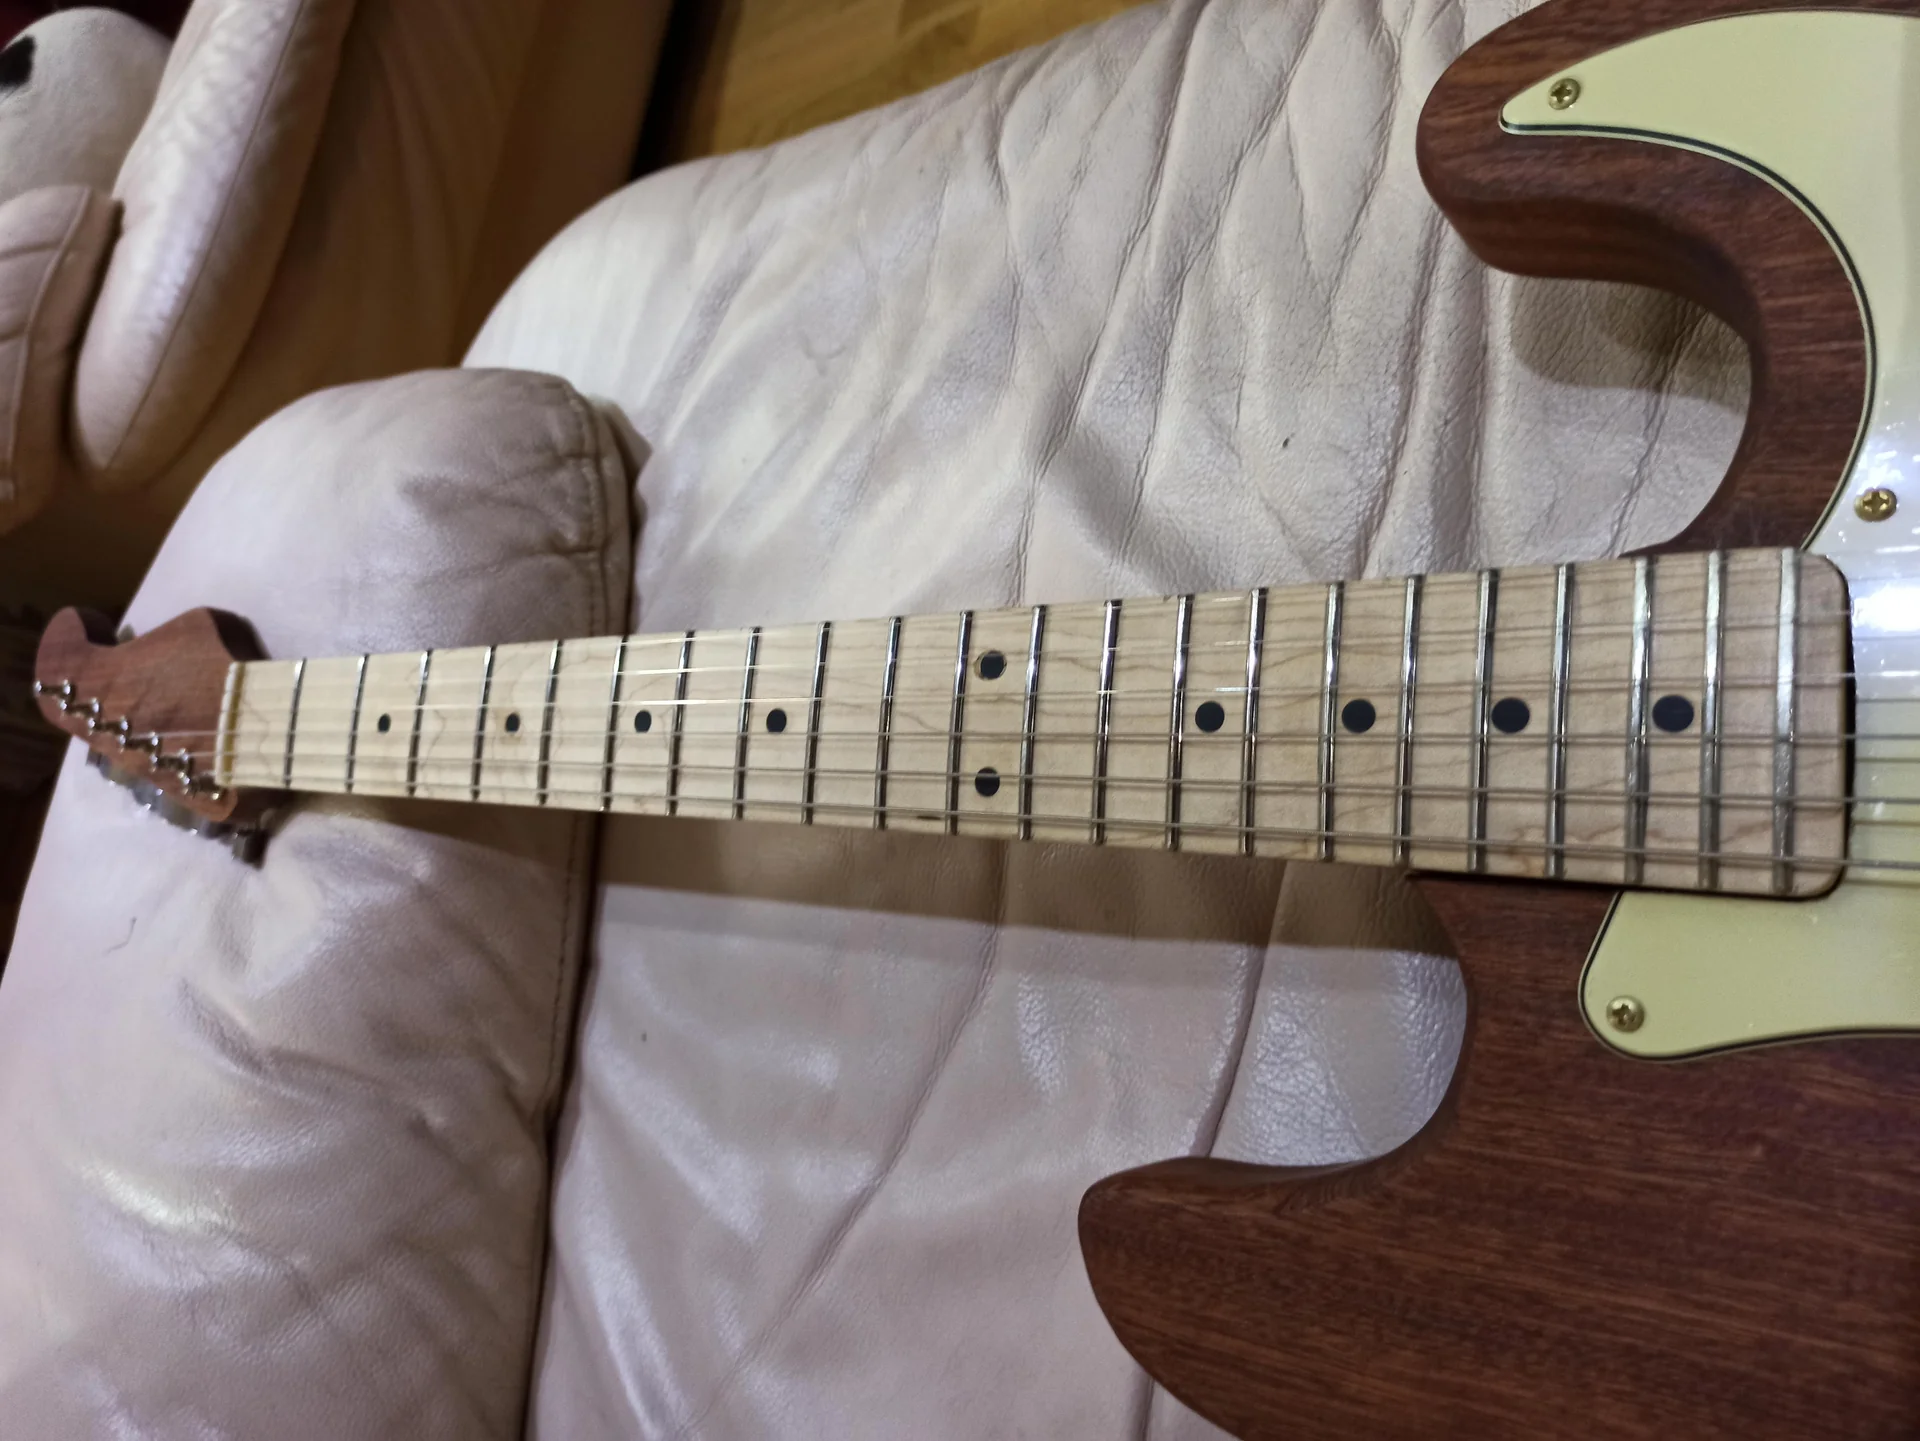
This is the heart of the problem, the pain point Which gives many hobbyists cold sweats. Milling the neck pocket perfectly, without burrs, with the right depth and angle, is crucial. I still remember the first time I ruined an almost finished body because the router “slipped” a millimeter. I threw it away in anger, and then I learned that haste is the number one enemy.
1. Measurements and Marking: The Starting Point


Position the template of the TEST_fusione_keep on the body, aligning it perfectly with the center line and with the position where the neck should be. Use clamps to secure it firmly. It must not move a millimeter. Check again. And then again.
2. Initial Routing: With Calm and Method
Here the router comes into play. If you have a template with a bearing, it's simpler. Adjust the depth of the router: don't try to rout everything in one pass. It's the best way to ruin the wood, tear it, or overheat the router.
Make light passes, say 2-3 mm at a time. Start from the center of the pocket and move towards the template. The direction of the router bit is important: usually you go clockwise when routing the outside of a piece, and counter-clockwise when hollowing out the inside. This avoids "climb cutting" which can tear the wood and make the router bit uncontrollable.
A trick I learned: Before milling the final body, do a test on a piece of scrap wood. It helps you get familiar with the router, the depth, and the direction. I assure you that those five minutes will save you hours of frustration.
3. Pocket Finishing: The Detail That Makes the Difference
Once the router has done the bulk of the work, you will probably have imperfect corners or small imperfections. This is where sharp chisels come into play. Use a chisel to clean the corners and walls of the pocket. The goal is to have a pocket with smooth and perpendicular walls, and a perfectly flat bottom.
Check the depth of the pocket with a gauge. It must be uniform. The TEST_fusione_keep often requires a specific depth to ensure the neck angle and action. If it's too deep, you can use hardwood shims at the bottom. If it's too shallow, you need to rout a bit more. It's easier to remove than to add, remember that!
4. Preparing the Heel of the Handle: The Other Side of the Coin
The system TEST_fusione_keep It's not just about the body. Often, the neck heel also requires specific workmanship, such as a slot for inserts, alignment pins, or a special shape that fits into the pocket.
Use the specific template for the neck heel. Block it securely. If it's about holes, mark the points with an awl and then use the drill. If it's about milling, follow the same principle of light passes and constant control. Precision here is double, because an error on the neck is often more expensive to correct.
A common mistake to avoid: Don't assume the neck is perfect. Always check its dimensions against the template and the pocket. Sometimes, a purchased neck may have slight variations. It's better to know this before milling.
The Soul of the Connection: Inserts, Screws and Alignment
We have the neck pocket and the neck heel ready. Great. But how does it all hold together? With inserts and screws, of course. And here, alignment is the keyword. Not only must the holes be straight, but the entire neck must point in the right direction, otherwise the guitar will be misaligned. And that's not a pretty sight.
1. Drilling for Inserts/Screws: Straight as a Spindle
Take the handle and the template for the insert holes (if it's not the same one used for the pocket). Use an awl to mark the exact points where the holes will go.
The drill press is your best friend here. It allows you to drill perfectly straight, which with a hand drill is an undertaking. If you don't have one, don't despair. Build yourself a drilling jig: a piece of hard wood with precise guide holes, which you rest on the handle. It will help you keep the drill perpendicular.
Choose the right drill bit size for the inserts. Usually, the diameter of the hole should be slightly smaller than that of the insert, so that the insert screws in and grips. Do a couple of tests on a scrap piece to make sure the bit is the right one.
Depth: Adjust the depth of the drill so that the insert is flush with the wood surface. An excess or a defect can create coupling problems.
2. Installing the Inserts: Take Your Time
Now, screw the inserts into the neck. You can use an Allen key (if they have an internal hexagon) or a flat-head screwdriver (if they have a slot). Some inserts have a wood thread and another internal thread for screws. Others are press-fit. Follow the system manufacturer's instructions TEST_fusione_keep.Don't force it. If an insert is too hard to insert, pull it out, clean the hole, and try again. Sawdust may be blocking the hole, or the hole may be slightly tight. It's better to widen the hole a little than to damage the insert or, worse, the handle.
3. Dry Fit Test (Dry Fit): The Truth
This is the moment of truth. Place the neck in the neck pocket. It should fit with slight pressure, but without play. It shouldn't "wobble". If it's difficult to insert, don't force it: pull it out and check where it's touching. It might be necessary to sand the walls of the pocket or the neck heel a little.
If it "wobbles" too much, you have a problem. It could be that the pocket is too wide, or the neck heel is too narrow. In this case, the solutions are more complicated: you can try gluing thin veneer strips to take up the slack, but it's a makeshift solution. For this, precision first is fundamental.
4. Alignment: Line of Sight
Once the handle fits snugly into the pocket, position it without tightening the screws. Take a taut string (a mason's string works well) or a very long, thin ruler. Place it along the outer edges of the handle and extend it to the bridge.
The string must pass exactly over the pickup holes and must be centered with respect to the body and the bridge. This tells you if the neck is straight relative to the rest of the guitar. If the strings were to go off the fretboard at the 12th fret, it's because the alignment is wrong.
What to do if it's not aligned? Small adjustments can be made by lightly sanding one side of the neck heel or pocket. Sometimes, a small thickness of sandpaper on the opposite side can help to “push” the neck into the right position. But we are talking about tenths of a millimeter. If the gap is too large, you need to review the machining.
5. Drilling the Body for the Screws: The Final Step
Only when the alignment is perfect, and I say Perfect, you can drill holes in the body for the through screws. Place the neck in the pocket, aligned, and locked. Use the insert holes as a guide to drill holes in the body.
Here too, use the correct size drill bit: a through hole must be slightly wider than the screw diameter, so that the screw can slide freely into the body and only grip the neck insert. If the screw also grips the body, you might not be able to tighten the neck properly and compress the wood.
Final Assembly and the Details That Matter
You sweated, you measured, you milled, you drilled. Now is the time to put it all together and see the fruit of your labor. It's not just screwing and that's it; there are some details that can make the difference between a “decent” guitar and one that will give you satisfaction for years.
1. Cleaning and Final Inspection
Before final assembly, thoroughly clean all surfaces. No dust, sawdust, or shavings in the neck pocket or on the heel of the neck. Any particle can compromise perfect wood-to-wood adhesion, and thus the transmission of vibrations.
Check once again for any chips, cracks, or defects that could worsen with tightening. If you find anything, fix it now, before it's too late.
2. Assembly and Tightening: The Sequence is Important
Position the neck in the pocket. Insert the screws, but don't tighten them immediately. Screw them in by hand until they lightly grip.
Then, use a screwdriver or an Allen key (depending on the type of screw) and start tightening. Do not tighten one screw completely and then move to the other. Follow a cross-tightening sequence, like when changing a car tire. Tighten one screw a little, then the opposite one, then the other two, and so on.
Tighten gradually. You don't have to split the wood. The goal is to compress the surfaces of the neck and body so that they are perfectly in contact. You will feel some resistance; when you feel the screw "pull" and no longer turn freely, stop. There is no universal "tightening torque" for wood, it's done by feel. But if you feel you're applying too much force, stop immediately. You could strip the insert or damage the wood.
3. Post-Assembly Checks: Stability and Play
After tightening, try to move the handle. There must be no lateral or vertical play. It must be a single block with the body. If you feel the slightest movement, it means that the coupling is not perfect or that the screws are not tightened enough. In this case, re-tighten gradually, or disassemble and inspect the pocket and heel to understand where the problem is.
Do a visual alignment check: look along the neck, from the headstock to the bridge. The line should be straight. If you have a laser, you can use it to project a line along the frets and check that it's perfectly centered on the bridge.
4. Finishes and Aesthetic Details
Some systems TEST_fusione_keep They may include metal plates or cosmetic covers. Install them now, following the instructions. Make sure there are no sharp edges or protruding screws that could interfere with use.
At this point, the most critical part of the assembly is done. The neck is firmly anchored to the body, and your guitar is taking shape. For all other details on electronics, finishing, or setup adjustment, check out our guides on How to modify and optimize your guitar.
If you want to delve deeper into wood-to-wood pairing techniques and the importance of contact for sustain, there are many good resources. For example, StewMac (Stewart-MacDonald) guides often offer technical details on best lutherie practices, although they aren't specific to the TEST_fusione_keep, the basic principles are the same. You can find interesting articles on their “Tech Info” page or on their YouTube channel, a good starting point is their website: StewMac Tech Info.
My Mistakes and Your Doubts: What I Learned about TEST_fusione_keep
As I said at the beginning, it wasn’t a walk in the park. I made quite a few mistakes, and I heard many others from the online community. I want to share them, because learning from others’ mistakes is always better than learning from your own.
My first huge mistake: The rush in drilling the inserts. I didn't have a drill press, and I thought “oh well, I'll do it by hand, it's only two holes”. Result? A crooked insert. Not by much, but enough to prevent the screw from going in straight. I had to extract it (with no small effort and a bit of damage to the wood), fill the hole, and redo it. A waste of time and aesthetic damage that, fortunately, was covered by the heel. But it served as a lesson: the drilling jig is indispensable* without a drill press.
A classic pain point from the community: “I assembled everything and the strings come off the fretboard at the twelfth fret!”. This is the symptom of a wrong alignment. The neck is not straight with respect to the body and the bridge. The cause could be a crookedly routed neck pocket, or the neck not correctly centered during the dry fit. The solution? Disassemble everything, recheck the center line, and redo the alignment with more care. Sometimes, a small thickness of sandpaper on the correct side of the heel can correct minimal errors.
“I hear a slight ‘click’ when I tighten the screws, and the neck doesn't feel very solid.” This may indicate that the insert in the handle did not grip well, or that it has been stripped. Alternatively, that the through-hole in the body is too narrow and the screw is gripping the body as well, preventing complete tightening. Check the diameter of the through-hole: it must be wider than the screw. If the insert is stripped, unfortunately, it must be replaced.
“The sustain is not what I expected, despite all this work.” This is thinner. It could be a problem of insufficient contact between the neck and body. Even a small crack, a bit of dust, or a surface that is not perfectly flat can reduce the transmission of vibrations. Disassemble, clean thoroughly, and check the flatness of the surfaces with a metal ruler. It might be necessary to lightly sand to ensure perfect contact.
The TEST_fusione_keep It's a system that requires care and attention. It's not for the faint of heart, but I assure you that the satisfaction of hearing that extra sustain, that resonance that only a perfect coupling can give, repays every effort. Remember, every mistake is a lesson. And if I succeeded in my garage, with my hobby tools, you can do it too. Just don't be afraid to make mistakes and, above all, to redo.
See also
Download the Luthier Survival Kit
Free PDF with checklist, problem-cause table and project card template.
 English
  Italiano
Stuck on your build?
If you ran into the same problem or have a question, drop it in the comments. I read and reply to every one.
Write a comment