

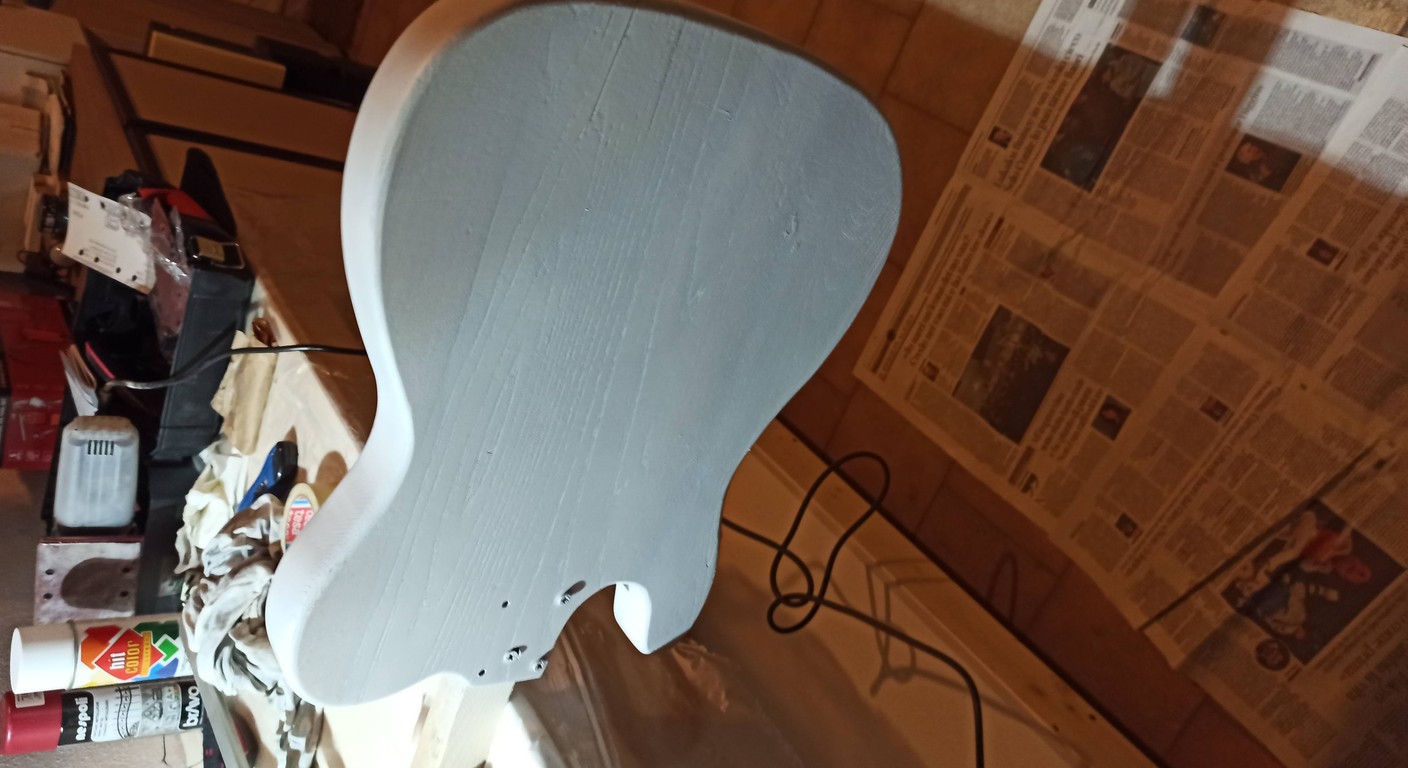
Assembling an electric guitar kit without a body: the guide.
When we talk about a DIY electric guitar kit without body, We're talking about something specific. It's not a complete kit where you just screw on the handle and solder two wires. No. We're talking about a kit where you get everything except the body. Or, more often, you receive a rough or finished body, but the point is that you have to do most of the work of cutting, finishing, and assembling yourself. It's a different challenge, more for those who already have some experience or, like me, aren't afraid to get their hands dirty and, perhaps, redo a couple of times.I remember the first time I tackled a project like this. I was tired of the usual "screw and play" kits. I wanted something that gave me more room for customization, more ability to say "I made this one." I“. I ordered a neck, a set of pickups, a bridge, the electronics… and a piece of wood that, in my imagination, would become a body. The result? Well, the first time I mis-centered the bridge, and the neck wasn't perfectly aligned. I learned a lot, I assure you. And precisely to prevent you from making the same mistakes I did, I put together this guide. I'm not a professional luthier, let's be clear. I'm someone who, like you, has a garage full of shavings, a few poorly done solder joints, and the satisfaction of hearing the sound coming out of a guitar assembled with your own hands. If I could do it, with a little patience and the right tricks, you can do it too. DIY electric guitar kit without body.
Ready? Let's go!
1. The Initial Inspection: What Do You Really Have On Your Hands?

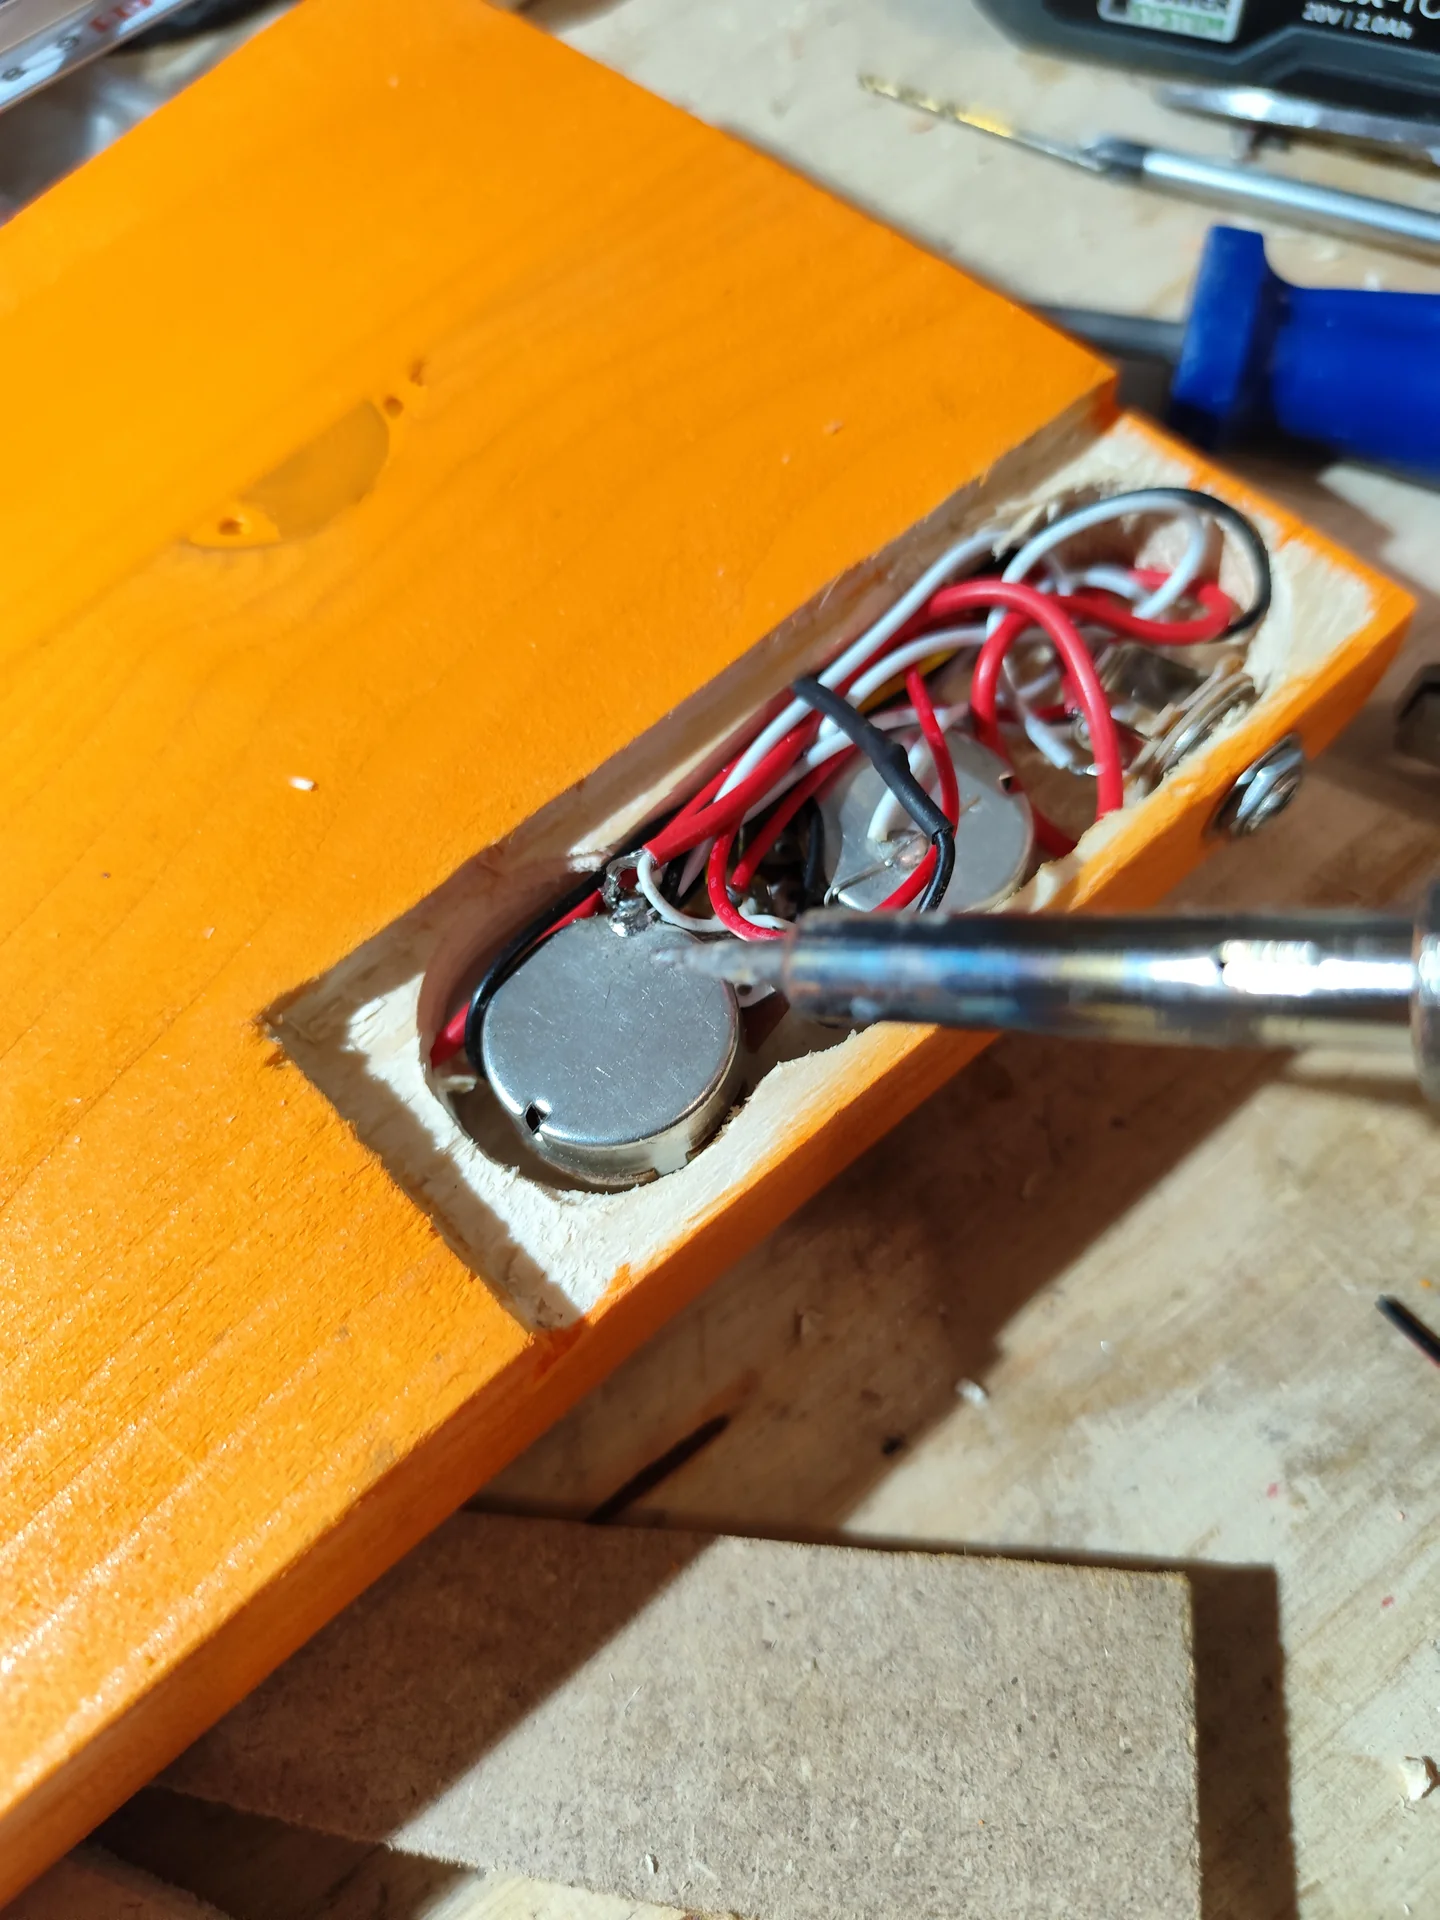
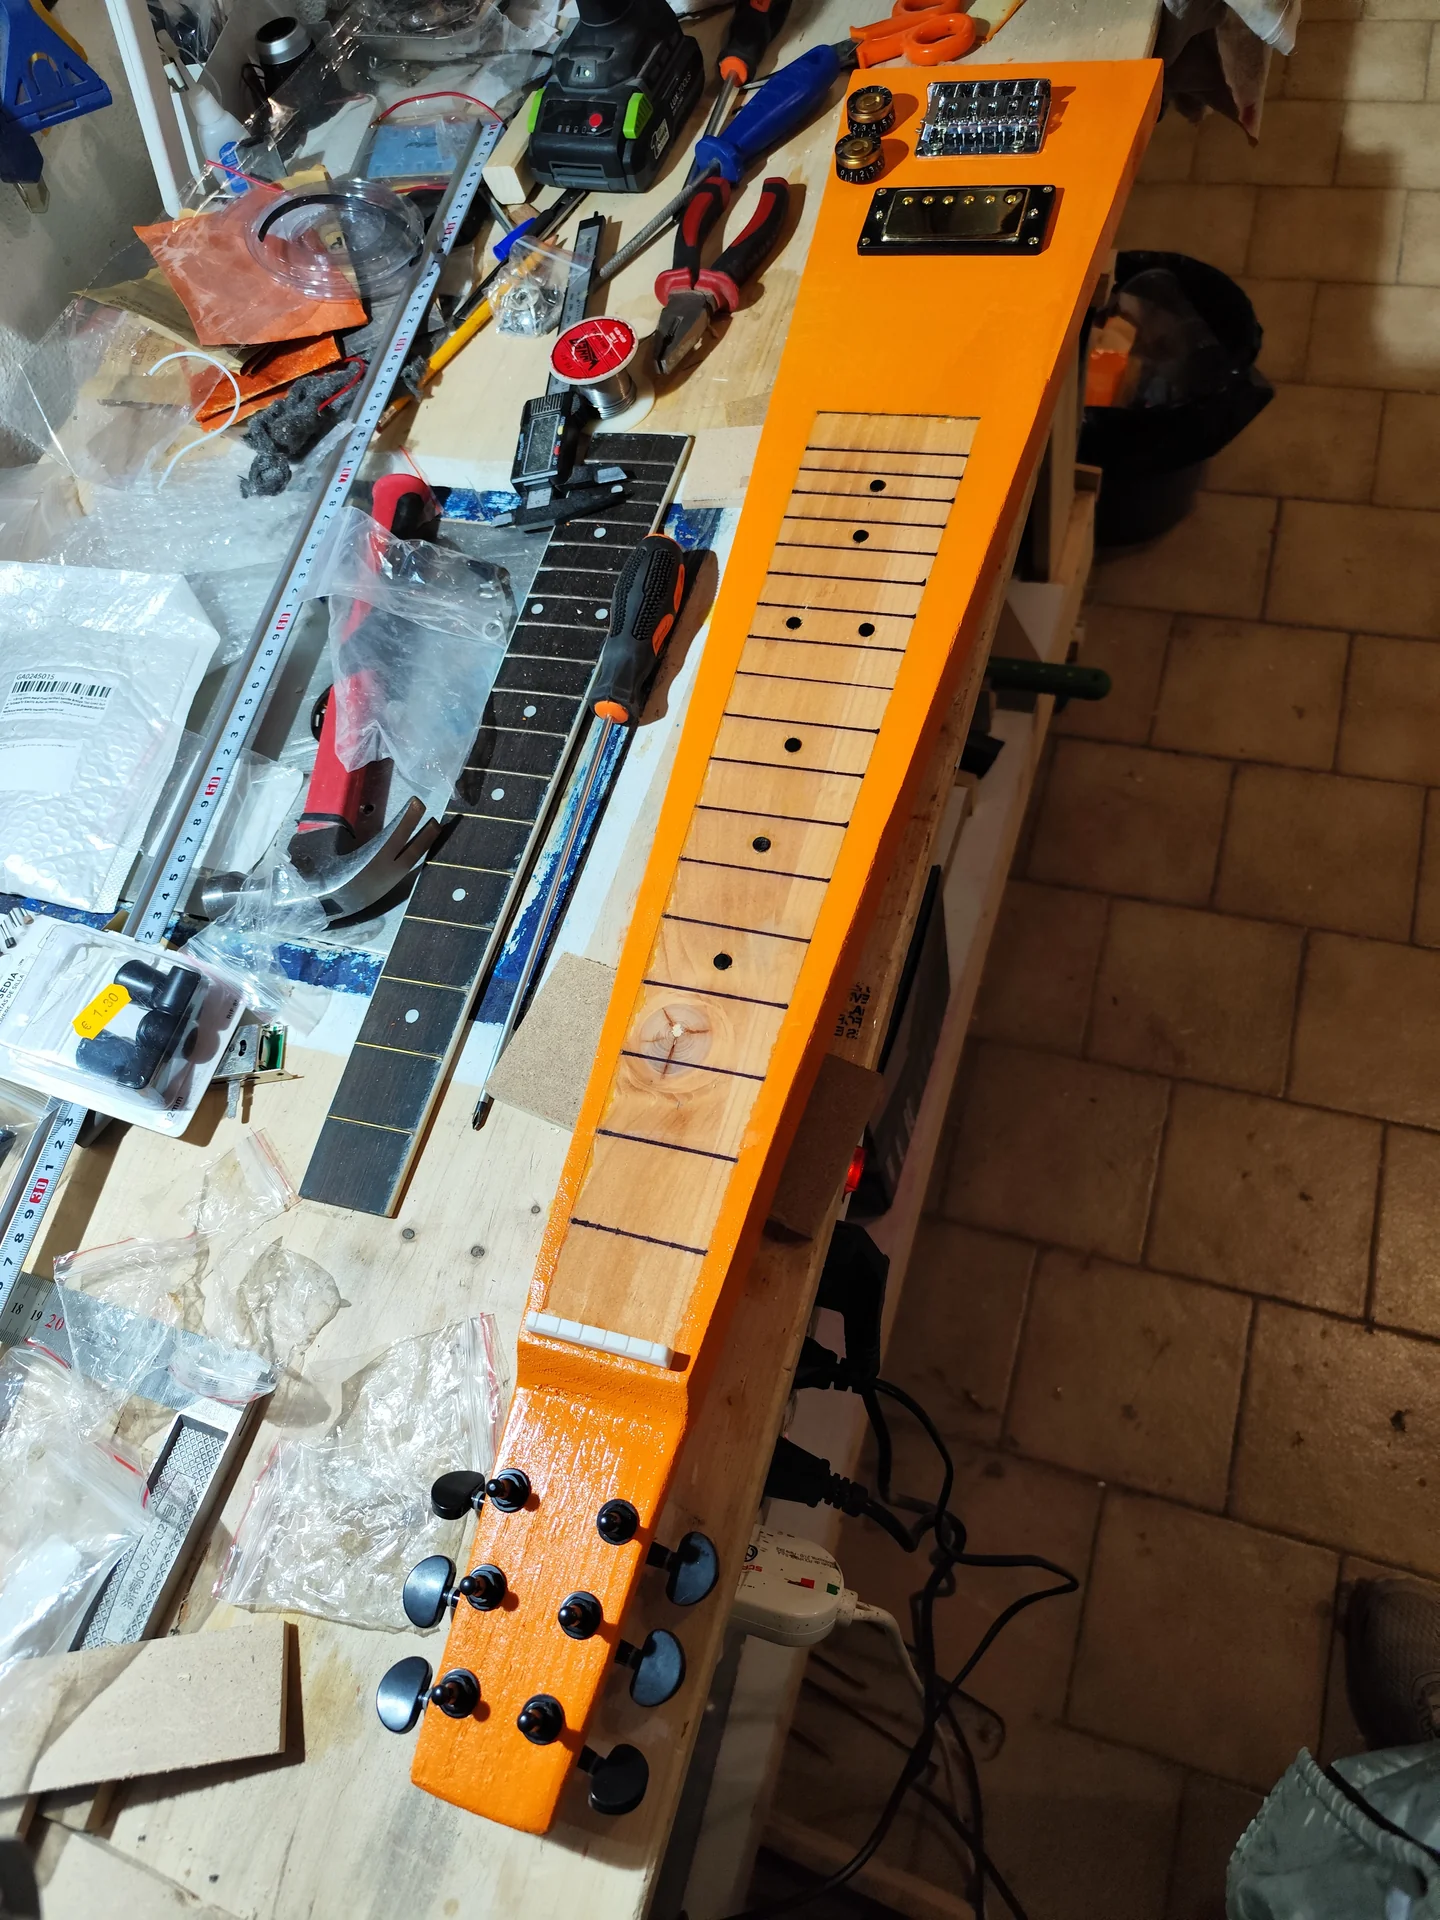
The first thing to do is a thorough inspection of all the components. Don't take anything for granted. I've seen people dive right in, only to discover halfway through that a screw was missing or the handle had a glaring defect.
Check the Handle
Advertising

DIY Electric Guitar Kits, okoume Body maple neck & composite ebony fingerboard
See on Amazon

Fretwork: Run your finger along the frets. Are they sticking out at the sides? Are they all the same height? Poor fretwork can ruin even the best guitar. On a budget kit, it's almost a given that you'll need to do some work here. More on that in a moment.
Nut: Is it pre-slotted or rough? If it's pre-slotted, check the height of the grooves. They're often cut too high and require adjustment.
Finish: Is the neck varnished? Unfinished? If it's unfinished, consider how you want to finish it. I usually prefer an oil or shellac finish for a more natural feel.
Check the Hardware
Bridge: Check all the parts. Do the saddles move freely? Are all the screws present? If it's a tremolo, are the springs and block included and do they appear to be of good quality? If you still need to get the body, the bridge measurements are crucial for routing.Mechanics (Tuners): Do they run smoothly? Are there no play? Are all six (or more) present? Check the gear ratio if specified: a higher ratio (e.g., 18:1) means more precise tuning.
Pick-up: Are these the models you ordered? Are the wires intact? Measure the resistance with a multimeter (ohmmeter) to verify that they are working and match the manufacturer's specifications. A humbucker typically has a resistance between 7k and 16k ohms, a single coil between 5k and 8k ohms, but it varies greatly. For example, a Seymour Duncan JB has about 16k ohms, a Fender Texas Special about 6.5k ohms.
Electronics: Pots, capacitors, switches, jacks. Check the values of the pots (e.g., 250kJ, 500kJ) and caps (e.g., 0.022uF, 0.047uF). Cheap kits often use low-quality components. If you're planning on upgrading, now is the time to think about it.
Various screws: It may seem silly, but how many times have I found myself halfway through a job without the right screw!
Necessary Equipment (Minimum Necessary)
You don't need a professional luthier's workshop, but a few tools will make your life easier. Screwdrivers: Cross and slotted, of various sizes.Allen keys: For truss rod, bridge saddles.
Soldering iron and tin: Good quality, with a fine tip.
Multimeter: Essential for controlling electronics.
Fretwork Patches: Fret file, block sander, fine sandpaper (400 to 2000 grit). We'll talk about these shortly.
Metal ruler and caliper: For precise measurements.
Fine-nose pliers and wire cutters: To cut and bend wires.
Hand or column drill: For pilot holes and for the mechanics. If you don't have a drill press, a good hand drill and a lot of care will suffice.
Dremel or palm router: If you need to route in the body.
Handle Clamps and Protectors: To hold the handle in place without damaging it.
This initial check will give you a clear idea of what you have and what you'll have to deal with. It's time to identify any defects or shortcomings so you can contact the supplier or procure the necessary items before starting the actual assembly. Trust me, it's better to waste an hour here than to have to disassemble everything later.
2. The Neck: The Beating Heart of Your Custom Guitar
The handle, in a project of electric guitar assembly kit, It's the element that will make the difference between a playable instrument and a mere ornament. Even if your kit doesn't include a body, work on the neck is essential and should be done before anything else, especially if the body has yet to be built. Why? Because the neck defines the scale, alignment, and, to a large extent, playability.Fretwork: Never Underestimate It
Let me tell you something right away: if the neck isn't from a reputable brand, the fretwork will almost certainly need fixing. I've had to do this even on mid-range necks. Skipping this step means condemning your guitar to buzzing frets, high action, or intonation issues. 1. Check the Flatness (Fret Leveling): First, make sure the neck is as straight as possible. Adjust the truss rod until you have little to no curvature. Use a 24" or 18" ruler (or even a luthier's level) against the frets to locate any high frets.I use a sander (yes, that piece of ground aluminum that looks like a brick, but it's essential) with 400-grit adhesive sandpaper. Gently run it over all the frets, using long, even strokes.
The goal is for all the frets to show even sanding marks. If you see any frets that haven't been touched, they're too shallow and you need to continue. Don't overdo it, though: removing metal is easy, adding it isn't!
Once finished, the keys will be flat on top. 2. Fret Crowning: After leveling, the frets will have a flat surface. We need to restore their dome shape, or "crown." This is crucial for intonation and to prevent the strings from "pinching" on the flat surface.
Use a fret crowning file specifically designed for your fret size. Gently run it back and forth until the fret regains its rounded shape, leaving only a small, thin line in the center indicating the top.
This step requires patience and a steady hand. If you've never used a crown file before, practice on a scrap fret or an old handle. 3. Polishing (Fret Polishing): The frets will be dull and scratched after sanding and crowning. We need to polish them.
Use increasingly finer sandpaper: 600, 800, 1000, 1500, 2000 grit. You can also use a specific fret eraser.
To finish, a cotton cloth and a little metal polish (such as Autosol or similar) will make the frets shine like mirrors. This reduces friction with the strings and improves bending. My heartfelt advice: Buy the right fretwork tools. This isn't a place to skimp. A good set will cost a bit, but it will pay off in hours of frustration and an infinitely more playable guitar.
The Nut: The Connecting Link
The nut is another critical point. If it's too high, the action at the first fret will be uncomfortable. If it's too low, you'll get empty buzzing. Height: If the nut is pre-slotted, check the height of the grooves. Tighten the strings (even if only temporarily) and check the gap between the string and the first fret. It should be minimal, just enough to fit a thin sheet of paper.Grooves: If you need to cut the grooves (raw nut), use nut files specifically designed for this purpose. The groove should be just wide enough to accommodate the string without jamming, and the depth should bring the string to the correct height.
Material: Bone or TUSQ (synthetic material) nuts are best for resonance and durability. Cheap plastic ones are often the first thing to be replaced in a DIY electric guitar project.
Assembly of the Mechanics (Tuners)
Tuners aren't just for aesthetics, they're also functional. A good set will keep you in tune. 1. Orientation: Make sure you mount them in the correct orientation. The headstock has a specific side for the tuners.n2. Pilot holes: If the paddle doesn't have holes for the mounting screws, you'll have to drill them yourself. Use a drill bit slightly smaller than the diameter of the screw. This prevents the wood from splitting. 3. Alignment: One trick I've learned is to use masking tape to line up the tuners and mark the hole locations. This way, the tuners will all be straight and not crooked.n4. Tighten: Tighten the front bushings with the provided wrench, but don't overtighten. Then tighten the rear screws.Truss Rod Adjustment
The truss rod is the mechanism that allows you to adjust the curvature of the neck. At this stage, the goal is to get the neck as straight as possible. Use a long ruler or a fret rocker (a tool for checking the frets) to check this.Turn the key (usually an Allen key) clockwise to straighten the handle (reduce relief), counterclockwise to increase relief (concave curvature).
Make small adjustments (a quarter turn at a time) and wait a few minutes before checking again. The wood takes a while to settle.
This neck work is the foundation for everything else. A well-prepared neck will save you a lot of headaches during the final setup phase. Don't rush it.
3. Electronics: Wiring and Shielding for Clean Sound
Ah, electronics! For many, it's the most difficult part of a electric guitar assembly kit. I remember my first time: a tangle of wires, cold solder joints, and a hum that sounded like an alien invasion. But it's not an unfathomable mystery, I assure you. With a little patience and the right schematics, you can do a clean, functional job.Understanding the Electrical Diagram
Every pickup set or electronics setup has a pattern. Don't improvise.Find the specific wiring diagram for your setup (e.g., 2 humbuckers, 1 volume, 1 tone, 3-way selector). Sites like Seymour Duncan or DiMarzio offer detailed and reliable wiring diagrams for almost any combination. For example, you can find a vast library of wiring diagrams at [Seymour Duncan Wiring Diagrams](https://www.seymourduncan.com/resources/wiring-diagrams).
A good diagram will show you:
Pickup wire colors (each manufacturer has its own standards).
The potentiometer connections (volume, tone).
The pickup selector connections.
The connections to the output jack.
The ground points.
Components: What to Use and Why
Pick-up: I hope you've already chosen them. Single coils, humbuckers, P90s… each has its own sound and wiring requirements.Potentiometers (Pots): Value: Typically, 250kOhms for single coils and 500kOhms for humbuckers. This affects the brightness of the sound. A higher value lets more high frequencies through.
Taper: Linear (B) or Logarithmic/Audio (A). Logarithmic potentiometers are preferable for volume and tone because the human ear perceives volume logarithmically. Linear potentiometers can be used, but will have a less gradual response.
Capacitors (Caps): Used for tone control. The most common value is .022uF (microfarads). A higher value cuts more high frequencies, making the sound “darker.” I often experiment with different values, such as .047uF for a darker, more vintage tone.
Pickup Selector (Switch): 3-way, 5-way, or blade switch, depending on your configuration. Make sure it's sturdy; cheap switches tend to break quickly.
Output Jack: Stereo or mono? For a standard electric guitar, mono. Stereo is only useful if you have active circuits or special configurations.
The Art of Welding
A well-made weld is mechanically and electrically sound. A cold weld is a disaster: intermittent connections, noise, and a weak signal. Clean tip: Keep your soldering iron tip clean and tinned.Right temperature: High enough to melt the solder rapidly on both the wire and the component.
The method: Heat the wire and the component terminal simultaneously, then apply the solder. Do not heat the solder directly with the soldering iron tip.
Little is good: Use the right amount of solder. It shouldn't be a shapeless ball, but a bright, conical connection.
Common mass: All ground points (the “earths”) must be connected to each other and to the output jack. Personal anecdote: My first guitar assembly had a terrible hum. I spent days searching for the problem. In the end, it was a cold solder joint on the jack's ground terminal. It was a silly thing, but it drove me crazy. Since then, I've double-checked every solder joint.
Cavity Shielding: Your Best Friend Against Noise
If you don't want your guitar to buzz like a beehive, shielding is essential, especially with single coils. Many DIY electric guitar kit without body They don't include this step, but it's a must. Why screen? The cavities of the pickups and electronics act as antennas, picking up electromagnetic interference (EMI) and radio frequency interference (RFI) from the surrounding environment (lights, monitors, amplifiers). The shielding creates a "Faraday cage" that blocks this interference.Materials: Copper Tape: My favorite. It's conductive on both sides (so it connects well even when stacked) and easy to apply.
Conductive Paint (Shielding Paint): It works well, but it's more difficult to apply evenly and often requires multiple coats. Make sure it's a graphite or nickel paint, not a simple metallic paint.
How to do:
1. Clean the cavities thoroughly.
2. Apply copper tape (or paint) to all the interior walls of the cavities: bottom and sides. Make sure there is electrical continuity between all shielded surfaces. You can use a multimeter to check for continuity.
3. Connect the shield to ground. Typically, one wire from the shield goes to a common ground point (e.g., the back of a potentiometer or the ground terminal of a jack).
Good shielding, combined with clean solder joints and proper ground management, will do wonders for your guitar's background noise. It's not a difficult job, but it does require precision.
4. Hardware: The Bridge and the Mechanics – The Stability of the Sound
Once the neck is ready and the electronics are wired (or almost), it's time to focus on the hardware. This is where your DIY electric guitar without body begins to take shape and become a real instrument. The bridge and tuning machines are not just functional elements, but directly influence sustain, tuning stability, and intonation.Bridge Assembly: Precision is Everything
The bridge is one of the most critical parts to position. A mistake here means intonation problems you'll never be able to fully resolve. This is a sore point for many, including me, who had to fill and re-drill on my first guitar!. Guitar scale: The first thing to know is the scale length of your guitar. The scale is the distance between the nut and the bridge. The most common scales are 25.5″ (Fender style) and 24.75″ (Gibson style). The bridge position is measured from where the string rests on the nut to where it rests on the bridge saddles. 2. Reference point: Measure the distance of the scale from the nut to the center of the twelfth fret. Then, double that measurement. This will give you the position. theoretical of the bridge.n3. Compensation: The bridge should not be positioned Exactly to the scale measurement. The bridge saddles must be adjustable to compensate for the intonation of the individual strings. Therefore, the reference point must be the point medium saddle adjustment. This means that the rearmost nut-to-saddle distance should be slightly more than the nominal scale, and the frontmost one slightly less. I usually position myself so that the E string saddle is on the nominal scale, and the others slightly further back.n4. Alignment: The bridge must be perfectly aligned with the neck. Use a long ruler or string stretched from the nut to the bridge to ensure it is centered. 5. Pilot holes: Carefully mark the locations for the bridge holes. Use an awl to make a small indentation to prevent the drill bit from slipping. Then, drill pilot holes with a bit slightly smaller than the bridge screws or pins. If you have a tremolo, the pin holes must be precise to the nearest millimeter. Types of Bridges and their Peculiarities: Tune-o-matic: Common on Gibsons, it requires two holes for the pins and one hole for the strings (stopbar). Its height is fixed, so the angle of the neck relative to the body is crucial.Stratocaster Style Tremolo: It requires a recess for the tremolo block and holes for the pivot screws (6 vintage-style screws) or pins (2 modern-style screws). The position is critical for stability and smoothness.
Hardtail (fixed bridge): Simpler, it requires holes for the mounting screws and, if the strings pass through the body (string-through body), holes for the ferrules on the back.
String Ferrules (if the strings pass through the body)
If your design calls for a hardtail bridge with the strings running through the body, you'll need to install ferrules (metal bushings) on the back of the body. 1. Alignment: The ferrule holes must be perfectly aligned with the holes in the bridge. This is another point where precision is essential.n2. Depth: The holes must be deep enough to accommodate the ferrules flush with the body surface. Use a Forstner bit or a wood drill bit with a stop collar to avoid drilling too deep.Strap Buttons (Shoulder Strap Attachments)
It may seem trivial, but even here you can make mistakes. 1. Position: Usually one is on the upper horn, the other in the center of the lower edge of the body.n2. Pilot holes: Again, drill small pilot holes before screwing in the strap buttons to avoid splitting the wood.Pickup Installation: The Right Height
Pickups are usually mounted on rings or directly on the body. The height is adjustable using screws and springs (or lattice tubes). 1. Cavity Routing: If the body is unfinished, you'll need to mill the pickup cavities. Use a precise template and a handheld router or a Dremel with a routing base. This job requires a steady hand and patience. 2. Threads: Run the pickup wires through the channels to the electronics cavity.n3. Initial height: As a starting point, adjust the pickups so they're about 3-4 mm from the strings (at the last fret). You can then fine-tune the height during setup. Height affects volume, sustain, and attack.Installing hardware is a combination of mechanical precision and a touch of artistry. Take your time, double-check the measurements, and don't be afraid to ask for help if something isn't clear. A good bridge and tuners are the backbone of your instrument's stability and playability.
5. Final Assembly and Setup: Your Guitar Comes to Life
We've reached the climax! You've got the neck prepared, the electronics wired and shielded, and the hardware positioned. Now it's time to put all the pieces of your guitar together. DIY electric guitar kit without body and make it sound. This phase is like starting an engine for the first time: exciting, but requiring attention to detail.Joining the Handle and Body (If You Have a Bodysuit)
If your “bodyless” means you had a rough or finished but unassembled body, this is the step. 1. Alignment: Place the neck in the neck pocket. Alignment is crucial. The strings must run straight along the neck. Use a ruler or a piece of string stretched from the nut to the bridge to check. 2. Handle holes: If the body doesn't have pre-drilled holes for the neck screws, you'll need to drill them yourself. Use a drill bit slightly smaller than the neck screws. Be careful not to drill too deep and split the wood. 3. Screwing: Screw in the handle screws one at a time, tightening gradually and diagonally to ensure even tightening. Don't overtighten, as you may damage the wood or the screws.Guitar Stringing
Yes, it seems obvious, but there are little tricks here too. 1. String Type: Use the set of strings you intend to use regularly.See also
Download the Luthier Survival Kit
Free PDF with checklist, problem-cause table and project card template.
 English
  Italiano
Stuck on your build?
If you ran into the same problem or have a question, drop it in the comments. I read and reply to every one.
Write a comment