


Quick Guide: DIY relic guitar
I know, the idea of picking up your guitar – or worse, a brand new body – and starting to “ruin it” with the intent of making it look old, sounds a bit crazy. I'm telling you this because I've been there too. The first time I thought about doing an operation of DIY relic guitar, My heart was in my throat. I was so afraid of making a mess, of making her look ridiculous.
But then I told myself: “Mimmo, if you don't try, you'll never know.” And so, with a bit of courage and a lot of video tutorials watched and re-watched, I started. I made mistakes, of course. I created some dings that looked like they were made with an axe, and once I almost burned the paint with the heat gun. But I learned. And if I succeeded, with my garage tools and my dose of optimism, you can do it too.
This is not a guide to transform a new guitar into a museum piece, but to give a soul to an instrument, to make it your and let it tell a story, even if you wrote that story in an afternoon. Let's talk about how to get that worn-in look, that "mojo" that makes a guitar irresistible, without spending a fortune on a custom shop.
Understanding the “Why” of Relic and Essential Preparation
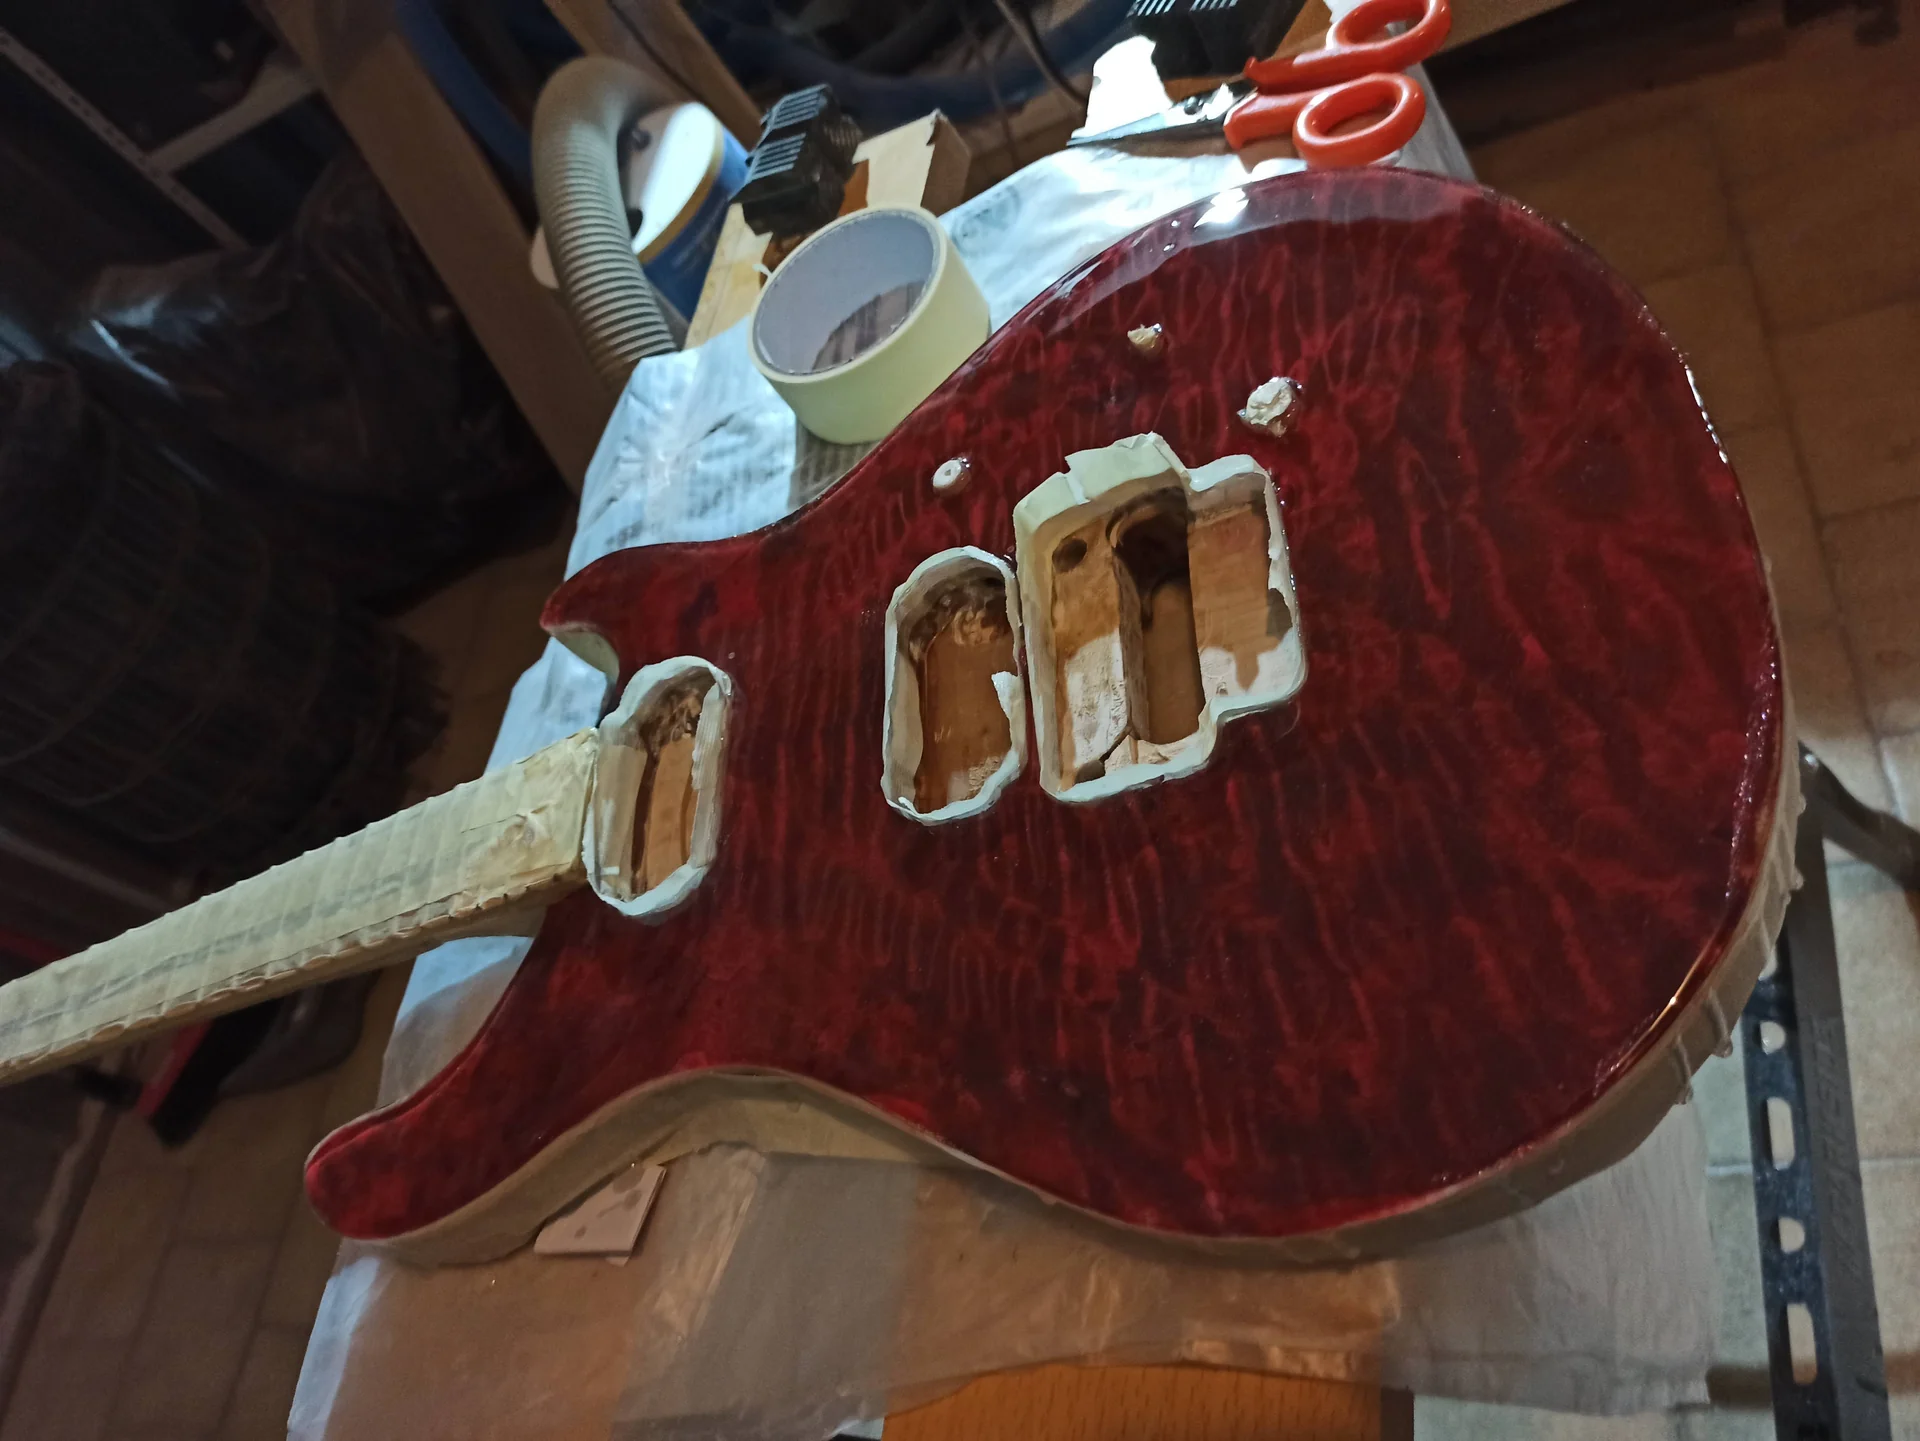
Now that we understand the “why” and have prepared, it's time to get started. Mechanical wear is the most intuitive part of the DIY relic guitar, but also the one where there is a risk of exaggerating and making everything less credible.
Remember: the goal is to replicate natural wear. Think about how a guitar is used. Where do you touch it? Where does it bump?
Dings, Dents, and Scratches: The Scars of History
This is the part where you'll feel a bit like a vandal, but it's fundamental for a good antique effect. 1. The Dings (dents): They don't have to be uniform. Musicians don't hit the guitar with a ruler.

Use different objects: the edge of a key, a coin, the rounded tip of a screwdriver.
Where to do them? On the edges of the body, especially the underside and the horns of the Strat/Tele. In the jack area, where the cable plugs in and out. On the back, where the belt buckle might have scratched it.
Technique: Instead of hammering, tap slightly or awards And he's rubbing. The dents should look like they're the result of accidental impacts, not a targeted attack. A trick I've learned: drop a set of keys on the guitar from a height of 10-15 cm. It does realistic damage.
Once you've created a ding, you can lightly sand the edges with fine sandpaper (like 800-1000) to soften them, as if time has dulled them. 2. The Scratches: Superficial scratches: These are everywhere on a used guitar. Use 0000 steel wool or very fine sandpaper (2000 grit) to create a myriad of micro-scratches that dull the surface and reflect light unevenly. Rub them in different directions, not just straight across.
Deep scratches: These are less frequent but more evident. Think about the belt buckle (on the back of the body), the pick (under the strings, on the pickguard or on the body if there's no pickguard). Use the utility knife (with extreme delicacy!) or the tip of a screwdriver. Don't make perfect lines. Imitate the movement of an aggressive strum or a dragging buckle. My biggest mistake: at first I made dings and scratches too symmetrical, or too “clean”. It looked like I had used a caliper and a square. Remember: wear is random, messy.
Hardware Aging: adding a touch of rust and dullness
The shiny hardware looks out of place on a refinished body. We need to give it an aged look. 1. Chrome/nickel plated parts (bridges, mechanics, pickup cover): Clouding: 0000 steel wool is your best friend. Gently rub it on the surface to remove the mirror shine. Focus on the edges, where the chrome would wear the most.
Oxidation (light): To add a touch of rust or patina, you can use a solution of white vinegar and salt. Soak the metal parts (screws, saddles, etc.) for a short time (5-15 minutes), then rinse and dry thoroughly. Check every minute to avoid over-soaking. You can also apply the solution with a cloth and then wipe off the excess.
Attention: Don't overdo the oxidation, especially on delicate bridges. And be sure to clean and dry thoroughly to stop the process.
Useful internal link: If you want to learn more about how to disassemble and reassemble the hardware for these operations, here is a guide on how to modify a guitar.
2. Screws: Screws are perfect for a vinegar and salt bath. They become dull and take on a very realistic dark patina. You can also try soaking them in strong coffee for a darker, less “rusty” effect.
Neck Wear: The feeling of a neck that's been played for years
The neck is one of the most important parts for the “feeling” of a guitar. A reliced neck is not only beautiful to look at, but also more pleasant to play for many.
1. Back of the handle: Here the paint wears off due to constant hand contact. Use fine sandpaper (800-1200 grit) to dull it and then, in some areas (where the hand rests more), you can use coarser grits (400-600) to completely remove the paint, leaving the wood exposed.
Don't make a sharp line. Blend it. The transition from gloss to satin to bare wood should be gradual.
After removing the paint, you can run a little steel wool over the wood to make it smooth and "sound" to the touch. You can also rub a little dark wax or linseed oil on it to slightly darken the wood and protect it. 2. Fretboard: On maple fretboards with a gloss finish (maple neck), you can dull the finish between the frets with steel wool or very fine sandpaper. The finish wears away at the edges, where your fingers rub.
On rosewood or ebony fretboards (rosewood/ebony), there is no paint to remove. Wear here is more a matter of darkening and slight lightening in points of greater pressure. You can use a little tea or coffee to darken the wood, or a damp cloth to simulate accumulated dirt.
Guitar body: where the battle is toughest
The body is the main battlefield. Think about the contact areas:
Forearm contour: Here, the paint wears away from constant rubbing. Start by dulling with steel wool, then use sandpaper (600 to 320 grit) to gradually remove the paint, revealing the primer or wood.
Belly area (belly cut): Similar to the forearm contour, but often with less wear.
Body edges: The edges are the most exposed to impacts. Here you can make dings and even remove pieces of paint with the utility knife, simulating chips.
Potentiometer and switch area: Your fingers touch them constantly. It dulls and creates small scratches.
A common mistake to avoid: do not relic the guitar uniformly on all sides. The back side (the one against the body) and the top side (the one that is seen) will wear differently. The back will have “buckle rash” (buckle scratches), the front will have pick and arm wear.
Finish Aging: Cracking, Discoloration, and the “Mojo”
This is the most delicate part of the DIY relic guitar and the one that requires the most attention. The aging of the finish is what gives a guitar that unmistakable “vintage” character.
The Mystery of Lacquer Checking (or “Spider-Web Finish”)
The famous cracks in the paint, called “checking”, are one of the most sought-after signs of aging. They form when the paint (especially nitrocellulose) expands and contracts due to temperature fluctuations.
Nitrocellulose vs. Polyurethane: It is fundamental to understand that nitrocellulose (nitro) is a “soft” paint that cracks and wears. Polyurethane (poly) is a much harder and more resistant finish, which almost never cracks naturally, but rather chips in blocks. If your guitar has a poly finish, achieving realistic checking is almost impossible without seriously damaging the instrument. Focus on mechanical wear and dulling.
To learn more about the differences between these finishes and how they age, I recommend reading this article on Reverb: Nitrocellulose vs. Polyurethane Guitar Finishes: What's the Difference?.
Checking techniques (nitro only!):
1. Thermal shock with freezer spray: This is the most common and relatively safe technique.
Place the guitar (or body) in a warm environment (not boiling hot, like 25-30°C) for a few hours.
Apply freezer spray (the kind used to clean electronic contacts, which creates a strong thermal shock) to a small area, holding the can about 15-20 cm away.
You will see cracks form almost instantly.
Attention: Don't spray too long in the same spot to avoid damaging the wood or finish. Use small strokes. Repeat in different areas.
2. Thermal shock with heat gun and cold environment: This is riskier.
Gently heat an area of the guitar with the heat gun on low power, holding it in motion and at a distance (at least 30 cm). Don't overheat! The paint should be warm to the touch, not hot.
Immediately afterward, move the guitar to a cold environment (such as an unheated garage in winter) or use freezer spray.
My mistake: The first time I held the heat gun too close and for too long, I saw the paint start to bubble! Don't be like me. Go slowly, and if you see bubbles, STOP IMMEDIATELY.
After checking: Once the cracks have formed, you can gently rub some dark wax (like beeswax or furniture wax) into the cracks. This will highlight them, make them look older, and protect them.
Paint yellowing: the color of time
Many vintage guitars, especially those with a white or light finish, develop a yellowish tint over time due to UV exposure and paint oxidation.
To darken a light finish: If you have a light finish (white, pale yellow), you can use very strong black tea or coffee to slightly darken the paint. Apply with a cloth, let it sit for a few minutes, then remove the excess. Test on a scrap piece first.
Lacquer with amber tint: If you are painting from scratch, you can add a small amount of amber tint to your clear nitrocellulose lacquer to simulate yellowing from the start.
Mattification and shine removal
Even without cracks or yellowing, a used guitar loses its mirror-like shine.
Use 0000 steel wool over the entire paint surface to dull it. Don't rub too hard; the goal is to remove the “gloss”, not the paint.
For an even more satin look, you can use very fine sandpaper (2000-3000 grit) with water (wet sanding). This will create a very smooth and matte finish.
Details That Make the Difference and Mistakes to Avoid
The devil, as they say, is in the details. A good DIY relic guitar it’s convincing because every element tells the same story. And, of course, there are mistakes that are best avoided.
The finishing touch: plastics, strings and other details
Don't forget the little things, they are what make your work credible:
Plastic parts (pickguard, knobs, pickup covers): New plastics look too clean. You can soak them in strong coffee or tea for a few hours (or days, depending on the desired effect) to darken and yellow them.
For pickguards, you can make small scratches with fine sandpaper or steel wool, simulating the wear of a pick. You can also lightly smooth the edges with sandpaper to simulate years of wear.
The knobs can be dulled with steel wool and the numbers slightly faded.
Strings: Strings also play a role. New, shiny strings look out of place on a relic’d guitar. Install a set of strings you’ve already used for a while, or rub new ones with a damp cloth and some (simulated) dirt to remove the shine.
Fretboard (keyboard): After relic’ing the neck, if you have a maple fretboard, you might want to slightly darken the areas between the frets with some simulated dirt (coffee or tea applied with a cotton swab and then wiped clean). If it’s rosewood, a good dark fretboard oil can help it look deeper and more worn.
Fretwire (frets): Frets also wear out. You don’t have to lower them, but you can slightly dull them with steel wool and then polish them again to make them playable. The important thing is to remove that “mirror” shine of newness.
Common mistakes to avoid like the plague
I've made these mistakes, and I've seen others make them. Learn from our experiences!
Exaggerate: This is mistake number one. The first time, I relic’d a Telecaster so much that it looked like it had fallen off a truck and then been dragged for miles. “Less is more” is the golden rule of relicing. It’s easier to add than to remove.
Unnatural symmetry: Real wear is random. Don’t make all dings the same size or evenly distributed. Don’t make all scratches parallel. Nature is not symmetrical.
Using the wrong tools: A carpenter’s hammer will leave marks that are too sharp and unnatural. Use objects that could actually come into contact with the guitar.
Forget the details: A guitar with a heavy relic body but brand new hardware screams "fake." All the components must be consistent.
Relic a Poly finish like a Nitro: As mentioned, polyurethane doesn't crack like nitro. If you try to force check a poly, you'll only risk chipping off large portions of the paint in an unnatural way. Focus on mechanical wear and dulling.
Do not clean after: Once you're finished, clean the guitar thoroughly to remove any dust, wax, or chemical residue. Use a damp cloth, then a dry one.
When NOT to relic?
There are situations where relicing is a bad idea:
Valuable vintage guitars: If you have an authentic vintage instrument in your hands, don’t touch it! Any modification will destroy its historical and commercial value.
New high-end guitars: If you’ve just spent thousands of euros on a perfect guitar, think carefully. It’s not reversible.
* If you really don't like the look: Relic’ing is a matter of personal taste. If you’re not convinced, don’t do it. Better an immaculate guitar than one with a relic that doesn’t satisfy you.
Your instrument, your story
By this point, you should have a good idea of how to approach the process. DIY relic guitar. It’s a journey of small steps, careful observation, and some experimentation. It’s not a job for professionals, but for enthusiasts who want to put a bit of their soul into the instrument.
Remember my motto: if I succeeded, with my mistakes and discoveries, you can too. The important thing is to arm yourself with patience, study real guitars, and not be afraid to get your hands dirty.
Your relic’d guitar will not just be an instrument, but a true extension of yourself, with a story to tell. And the best part is that you wrote that story. Now grab your tools, and good luck!
See also
Download the Luthier Survival Kit
Free PDF with checklist, problem-cause table and project card template.
 English
  Italiano
Stuck on your build?
If you ran into the same problem or have a question, drop it in the comments. I read and reply to every one.
Write a comment