


Building a guitar in the garage: quick guide
I still remember the first time I thought about build guitar in the garage. I had in my mind the image of a luthier with very expensive tools, an impeccable workshop, and years of experience. I, on the other hand, had a messy garage, a drill that made a strange noise, and a lot, a lot of good will. The thought was: “But will I ever make it?” And the answer, I'll tell you right away, is yes. I succeeded, and if you have a little patience, a desire to learn from mistakes, and aren't afraid to get your hands dirty, you can do it too.This is not a manual for building a perfect boutique guitar on the first try. You'll do that later, trust me. This is a guide for those who, like me, want to start putting together their first six-string, understand how each single piece works, and, above all, enjoy the journey. I'll tell you about the mistakes I made, the tricks I learned, and what it really takes to hear the sound of your creation.
1. Planning: The Starting Point for Your DIY Guitar
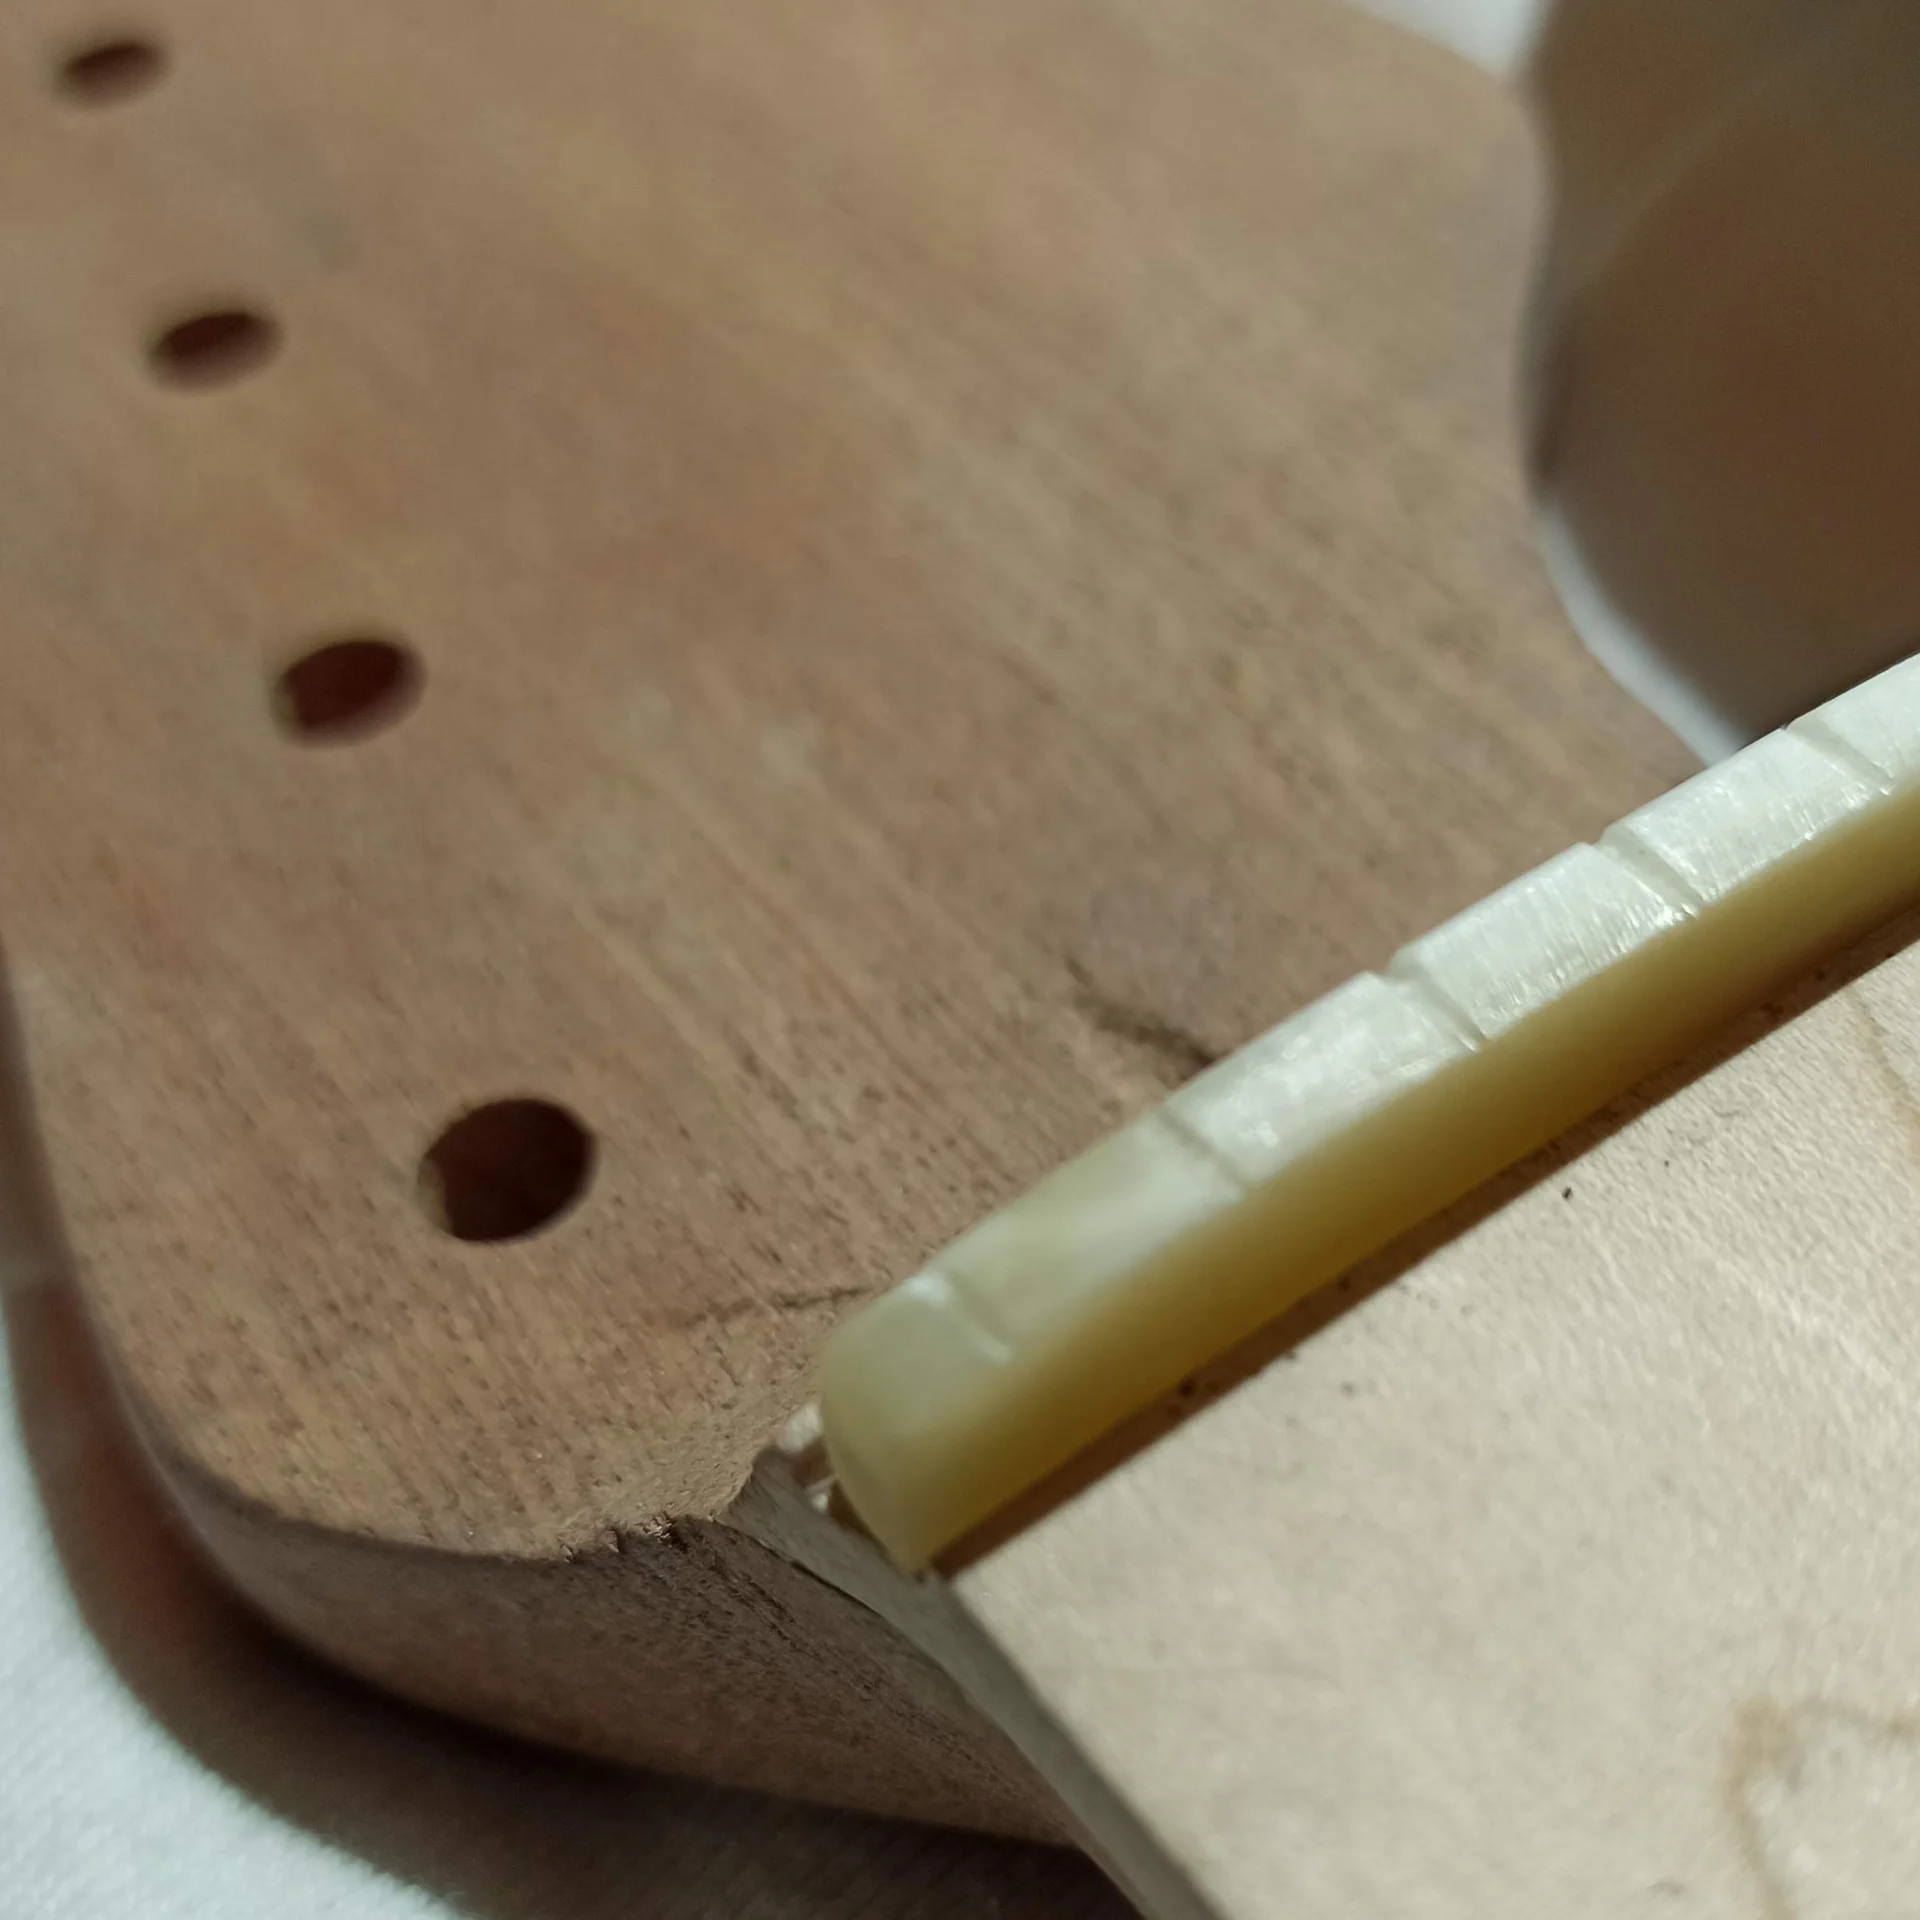
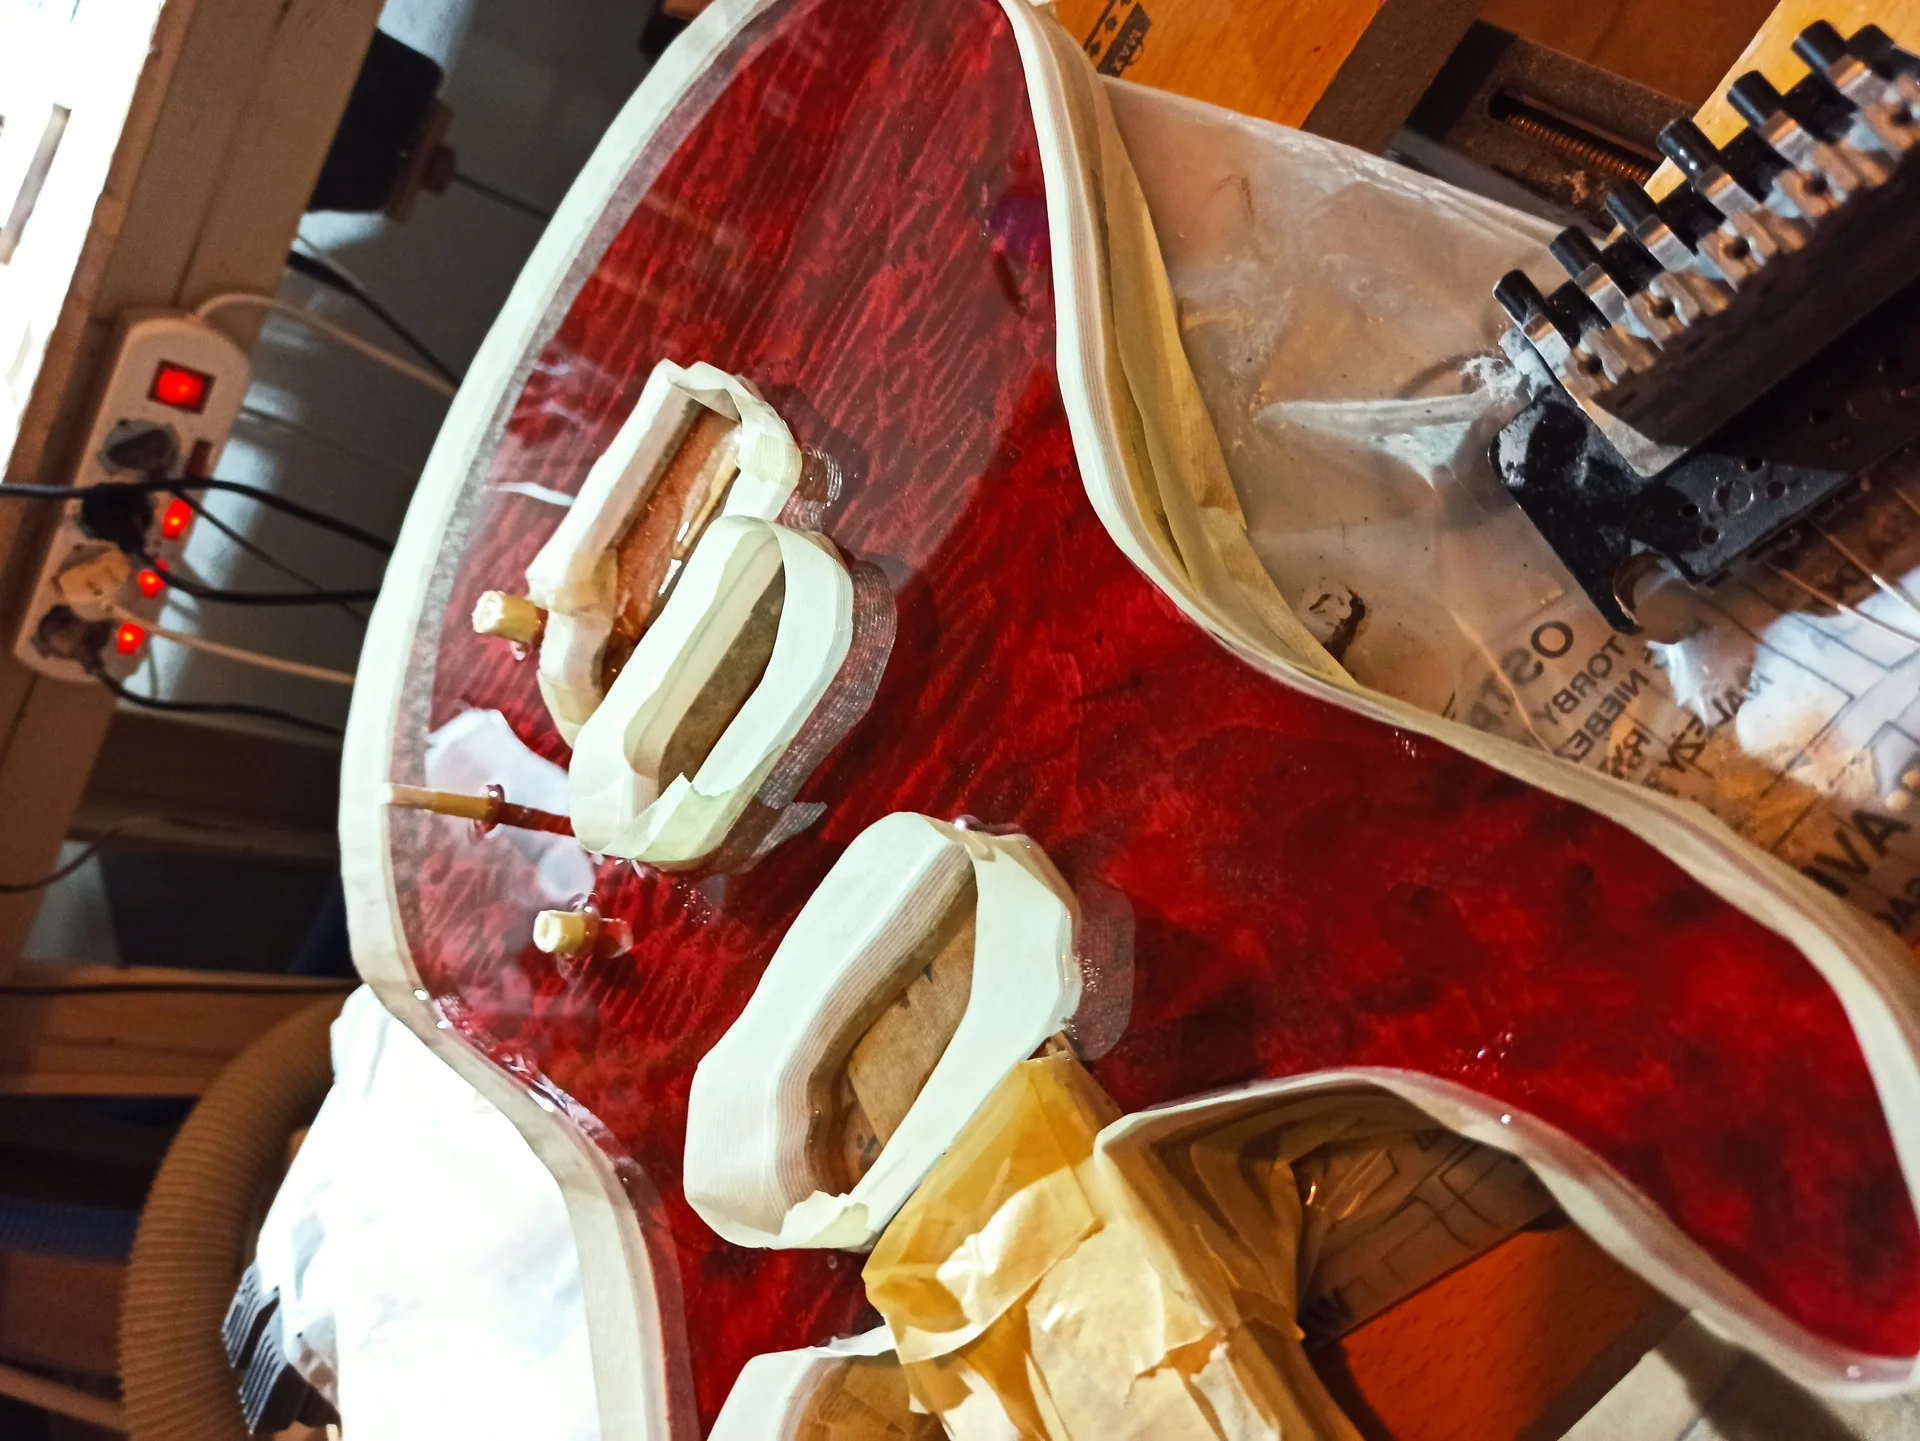
The first step, and perhaps the most underestimated, is planning. Don't rush into buying wood or pickups. Stop for a moment, grab paper and pen, or open a spreadsheet. Decide what kind of instrument you want to build in your workshop. Do you want a Stratocaster, a Telecaster, a Les Paul, or something entirely your own? Each model has its challenges and its peculiarities.
Choosing the Model and the Right Wood
The choice of model influences everything, from the type of bridge to the pickup routing, to the shape of the neck. To start, I recommend a bolt-on model (with a screwed neck), like a Strat or a Tele. They are simpler to assemble and forgive a few more errors compared to a set-neck (glued neck).

Then there's the wood. It's not just aesthetics, it's sound and weight.
For the body, the classics are:
Alder (Alder): Light, resonant, balanced. Perfect for Strat and Tele.
Ash (Ash): Similar to Alder, but often with a slightly brighter sound and a more pronounced grain. Excellent for transparent finishes.
Mahogany (Mahogany): Denser, warm sound and rich in sustain. Typical of Les Pauls.
For the handle, the’Maple It's almost a standard for its stability and bright sound. For the fretboard you can opt for:
Maple: Same wood as the neck, bright and snappy sound.
Rosewood: Darker, warmer and softer sound.
Ebony: Very dense, bright sound and remarkable sustain, but also more expensive. You don't necessarily have to start from a raw block of wood. Many hobbyists, including myself at the beginning, prefer to buy pre-processed bodies and necks or even complete kits. This allows you to focus on assembly, finishing, and electronics, which are already a good test. If you decide to start from scratch, be prepared to invest in good templates. I tell you from experience: a poorly made template ruins your work before you even start.
The Tools: What Do You Really Need?
Here comes the good part, or the bad part, depending on how well-equipped your garage already is. You don't need a professional woodworking shop, but some tools are essential for building a home-made guitar with decent results. Essentials: Pillar drill: It's not mandatory, but for precise holes (for tuners, bridge, potentiometers) it's a game-changer. If you don't have one, a good hand drill with a jig or guide can help.Router (Router) or Dremel with router base: To rout the pickup cavities, electronics, and neck pocket. This is where people often get stuck for fear of making mistakes. Precision is everything.
Reciprocating or band saw: For rough cuts on the body.
Files, rasps, sandpaper: In industrial quantities and various grits. The sanding is the 80% of the finish.
Soldering iron and tin: For electronics.
Screwdrivers, pliers, hex keys: For assembly.
Square, ruler, caliper: For all measurements. Millimetric precision is fundamental. Useful but not strictly necessary for the first project: Electric planer: If you start with rough wood.
Belt or orbital sander: Speeds up the sanding process.
Bench vice: To hold the pieces still.
Fret crowning file (fret crowning file) and fret hammer: If you are venturing into typing from scratch.
A piece of advice: invest in quality tools. You don't have to spend a fortune, but a loose drill or an imprecise router will only waste your time and ruin your work. I've learned the hard way that skimping on certain tools is a false economy.
2. The Body: The Heart of Your Craft Tool
Once you've chosen the wood and design, you can get down to business. The body is the guitar's "frame," which will house all the components. This is where the shape of your instrument begins to emerge.Blank Preparation and Rough Cutting
If you have a rough block of wood, you must first square it. Make sure it is perfectly flat and its sides are parallel. This is critical for the stability and alignment of all future components.Then, transfer the body design onto the wood. Use a good MDF or plywood template. Secure it securely to the wood with sturdy double-sided tape or clamps.
Using a jigsaw (or band saw, if you have one), make the rough cut, leaving a 2-3 mm safety margin from the template. Don't try to achieve perfection at this stage; the router will take care of that later.
Cavity Routing: The Moment of Truth
This is the step that scares many aspiring luthiers the most. And I admit that the first time I had to route the neck pocket, my hands were shaking. But with calm and precision, it can be done. The main cavities are: Neck Pocket: The neck pocket. It's the most critical. It must be precise to a tenth of a millimeter. If it's too wide, the neck will move. If it's too narrow, it won't fit. The depth is crucial for the string action. For a standard Stratocaster, the depth is about 5/8 of an inch (about 15.875 mm). The width at the base is about 55.6mm. Always check the specifications of the neck you will use! A good template and a router with a bearing bit are your best friends here. Rout with light passes, don't try to dig everything out at once.Pickup Cavity: The pickup cavities. Dimensions vary depending on whether you use single coil (Strat, Tele) or humbucker. Here too, template and precision.
Cavity Controls: For potentiometers and switches.
Tremolo/Bridge Cavity: If you use a spring tremolo (Stratocaster type) or a fixed bridge.
When routing, always wear safety glasses and ear protection. And maniacally secure the piece to the workbench. A minimal movement and goodbye precision. I've seen bodies ruined by a second's distraction. I ruined a body just like that, the piece moved and the router dug a nice track where it shouldn't have. I had to start over.
Shaping and Contours
After the cavities, we move on to the final external shape. Always with the router and a bearing bit, follow the template to finish the edges of the body.Then, the contours are created, such as the “belly cut” (the bevel on the back) and the “forearm contour” (the bevel for the arm). These are fundamental for ergonomics. They can be made with a plane, a rasp, or even a belt sander. There are no fixed measurements; it's a matter of feeling and how comfortable you want to make your guitar. Proceed gradually, removing little material at a time.
A common mistake is wanting to do everything quickly. Take your time. Every router pass, every file scrape must be thought out. Remember, once wood is removed, it doesn't come back.
3. The Neck: The Backbone of Tone
The neck is l’anima of the guitar, the main point of contact with the musician. If you decide to build it from scratch, the difficulty level rises considerably. For your first project, I strongly advise you to purchase a good quality neck that is already fretted and has the truss rod installed. This will save you a lot of headaches.Neck Inspection and Preparation
Even if you buy a neck, don't take it for granted. Check it carefully:Straight? Place it on a flat surface or use a luthier's straightedge to check for twists or humps.
Keys: Are they well seated? Are they level? Are there no sharp edges? If you notice any problems, now is the time to correct them (or ask for a replacement if it's new).
Truss Rod: Does it work correctly? Try tightening and loosening it slightly to feel the resistance.
Fretting (if you're feeling adventurous)
If you've decided to start with a raw neck and want to fret it yourself, be prepared. It's a job of patience and precision.n1. Fret slots: They must be cut to the correct depth and width, using a specific saw and a scale template.n2. Installing the keys: Each fret must be inserted with a press or a specific hammer, ensuring it is firm and flush with the fretboard.n3. Leveling, crowning, and polishing: After inserting all the frets, they must be leveled to eliminate any unevenness, then crowned to restore the dome shape (this is crucial for the ’intonation and sustain) and finally polished to a mirror finish. This process requires specific tools and a steady hand. I spent hours watching YouTube tutorials and lutherie forums to understand how to do it well. At ’first it’s frustrating, but the satisfaction of a well-done fret job is immense.Here you can find a useful resource (in English) on how to perform a good fret job: Fretting Tips & Tools by StewMac.
The Nut
The nut, or nut, is a small piece but of paramount importance for the ’action and the ’intonation. It can be made of bone, Tusq, brass, or other materials.It must be carved and grooved with precision to house the strings at the ’height and correct spacing. If the grooves are too high, the guitar will be hard to play on the first frets. If they are too low, the strings will buzz. Here too, precise measurements and specific files are essential.
Attaching the Neck to the Body (Bolt-On)
For a bolt-on neck, alignment is everything.n1. Positioning: Insert the handle into the neck pocket. It should fit snugly but without forcing. 2. Alignment: Place a long ruler on the fretboard and make sure it's perfectly aligned with the center of the body and bridge. This is a critical step. A crooked neck will ruin your work. 3. Drilling: If the neck doesn't already have holes drilled, use it as a guide to mark the spots on the body. Then, drill the holes for the mounting screws. Use drill bits of the correct diameter (usually a little smaller than the diameter of the body screw and the diameter of the neck screw's core, so that the screw will grip). 4. Fixing: Screw the neck to the body. Don't tighten it completely right away, give a gradual and uniform tightening to all screws.Sometimes, to get the correct neck angle and an ideal action, you might need a “shim” (a thin spacer) in the back of the neck pocket. It's a common practice, don't feel guilty if you need it. I've used tons of them to find the perfect balance.
4. The Finish: Patience, Sweat and a little Dust
The finish is the longest part and, for many, the most boring. But it's what transforms a piece of wood into an instrument beautiful to see and touch. This is where your project of amateur guitar building comes to life aesthetically.Sanding: The Secret to Perfection
Get ready to sand. And then sand again. And then a little more. There's no way around it. A good finish depends 90% on impeccable sanding. Every scratch, every imperfection in the wood you leave, will be amplified by the paint. Process:n1. Start with coarse grits: Type 80 or 100, to remove milling or saw marks.n2. Gradually move to finer grits: 120, 180, 220, 320, up to 400 or 600. The important thing is to move to the next grit only when you have eliminated all marks from the previous grit.n3. Technique: Always sand in the direction of the wood grain. Use a sanding block to keep surfaces flat. Don't concentrate too long on one spot, keep moving constantly.n4. The water trick: Between grits (especially after 220), you can lightly wipe distilled water on the wood. This will raise the wood fibers. Let it dry well and then sand again with the same grit. Repeat a couple of times. This prevents the fibers from rising under the paint, ruining the result. I discovered this trick after having a couple of “hairy” finishes and I assure you it works.Sealing and Painting
Once the wood is smooth as silk, it's time to seal it. The sealer (or pore filler) serves to close the wood pores, creating a uniform base for the paint and reducing absorption. Types of finish: Nitrocellulose Lacquer (Nitro): Traditional, breathable finish, ages well and “wears” with use. Requires many thin coats and long drying times (weeks, sometimes months, for full curing). It is more delicate and difficult for a beginner to apply.Polyurethane varnish (Poly): More resistant, easier to apply (fewer coats, faster drying), but also more “plastic” to the touch. For a first project, it is the most practical choice.
Oil/Wax: Natural finish that lets the wood breathe and feel. It doesn't offer much protection, but it's easy to apply and repair.
Whatever paint you choose, the application is similar:n1. Prepare the environment: It must be as clean and dust-free as possible. Dust is the number one enemy of painting.n2. Thin coats: Apply many thin coats rather than a few thick coats. Thick coats run, bubble, and take an eternity to dry.n3. Drying: Respect drying times between coats. Don't rush!n4. Sanding between coats: After a few coats, you can lightly sand with very fine grit (600-800) to eliminate small imperfections and improve the adhesion of the next coat.
I painted my first guitar in the garage and it looked like I had sprayed paint on a battlefield. Dust, cat hair (even though I had closed the door!), runs… It was a humbling lesson. The secret is patience and a controlled environment.
Polishing
After the paint is completely dry and cured (for poly, a couple of weeks are enough; for nitro, much longer), you move on to polishing.Start with very fine wet sandpaper (1000, 1500, 2000, 2500) to remove orange peel and small imperfections. Then use abrasive pastes of different grits (compound, polish) with a pad or a soft cloth, until you achieve a mirror finish. This really makes the difference between a “homemade” and a “professional” finish.
5. Electronics and Final Assembly: The Moment of Sound
We are almost at the end of the journey to assemble a DIY electric guitar. All the pieces are ready, now it's a matter of putting them together and making them sound.Pickup Selection and Installation
Pickups are the sonic heart of your guitar. The choice is vast:Single Coil: Bright, ringing sound, typical of Strat and Tele. They can be noisy (hum).
Humbucker: Fatter, powerful sound, without noise (humbucking). Typical of Les Pauls.
P90: A middle ground, fatter sound than a single coil but with a bit more "bite" than a humbucker.
Install the pickups in their cavities, securing them with screws and springs or rubber grommets for height adjustment. Remember that the height of the pickups relative to the strings greatly affects the sound and sustain.
Wiring: It's Not Rocket Science
Electronics scares many, but in reality it's quite simple if you follow a diagram. Online you'll find thousands of diagrams for any pickup and control configuration (e.g. Seymour Duncan, DiMarzio, or simple Google Images searches). Basic components: Potentiometers (Pots): They control volume and tone. Common values are 250k Ohm for single coil and 500k Ohm for humbucker.Capacitors (Caps): They modulate the tone. Typical values are 0.022µF or 0.047µF.
Selector (Switch): To choose the pickups.
Output jack: To connect the guitar to the amplifier. Wiring tips: Prepare everything: Measure and cut the wires, strip the ends.
Clean soldering iron: A clean and well-tinned tip makes better solders.
Solid solders: They must be shiny and convex, not dull or "cold".
Grounding (Ground): Make sure all metal components (bridge, cavity shielding, back of potentiometers) are properly grounded to avoid noise and hum. This is a crucial point for a clean sound. I spent entire nights looking for an annoying hum only to find that a ground point had come loose.
Shielding: You can shield the cavities with conductive paint or copper/aluminum foil. This further reduces noise.
If you are interested in learning more about how to modify electronics or pickups to get different sounds, you can check out our guide on electric guitar modification. There are a lot of tricks to customize your sound without having to start all over again.
Hardware Installation and Final Assembly
Almost there! Now all the hardware pieces are mounted:Mechanics (Tuners): Fix them to the headstock. Make sure they are aligned and that the screws do not go through the wood.
Bridge: Position it correctly. The distance from the nut to the bridge saddle must be equal to the scale length (or slightly longer for intonation). Mark the holes, drill pilot holes, and screw.
Strap Buttons: The strap buttons.
* Strings: Install the strings. Don't tighten too much at first, just enough to hold them in place.
The Setup: Don't Forget the Fine-Tuning!
You have finished assembling a six-string in your own workshop! But it's not yet ready to play at its best. The setup is crucial.n1. Truss Rod Adjustment: Adjust the neck relief. There should be a very slight concavity to allow the strings to vibrate without buzzing.n2. String Height (Action): Adjust the height of the bridge saddles to achieve the desired action.n3. Intonation: This is crucial. Each string must play the same note (an octave higher) at the 12th fret compared to the open string. Adjust by moving the bridge saddles forward or backward. Use a chromatic tuner.n4. Pickup Height: Adjust the pickup height to balance the volume between the strings and get the best sound.Setup is an iterative process. Don't be afraid to go back and adjust. It's normal for it to take a while to find the perfect balance. And remember, a good setup can transform a “decent” guitar into a “great” one.
Conclusions: The Sound of Your Homemade Guitar
Finally, after hours of work, sweat, some cursing, and so much patience, the moment has arrived. Plug your guitar into the amplifier. The first chord, the first note... It's an indescribable feeling. It might not be perfect, it might have some small cosmetic flaws, but it's yours. You made it yourself, with your own hands, in your garage. And that, believe me, is worth much more than any brand-name guitar.The path to creating a guitar from scratch (or almost) is an experience that teaches you a lot, not only about lutherie, but also about perseverance, problem-solving, and accepting mistakes as part of the process. My first guitar was certainly not a work of art, but when I plugged it in and heard the sound, I knew it was worth it. And from there, I never stopped. Each subsequent guitar was a little better, a little closer to that 'perfect' one I had in mind. Don't be afraid to start. Don't be afraid to make mistakes. The DIY luthier community is huge and full of people willing to help. Ask, search, experiment. And most importantly, have fun. Because in the end, that's the beauty of building a guitar in the garage.
See also
Download the Luthier Survival Kit
Free PDF with checklist, problem-cause table and project card template.
 English
  Italiano
Stuck on your build?
If you ran into the same problem or have a question, drop it in the comments. I read and reply to every one.
Write a comment