
Guitar Neck Joint: A DIY, Error-Free Way
That feeling when you finally have in your hands the body you've been milling, sanding, and painting for weeks, and the neck you've chosen or perhaps built from scratch. It's there, ready to be joined. But there's also that little, nagging voice in your head that says, "What if I make a mistake? What if I drill a crooked hole? What if the neck doesn't line up?"“
I've been there, too. Many times. The first guitar I assembled, I remember, my hands were shaking as I tried to align the neck to the body. It seemed like the hardest part, the one where you could ruin all the work done up to that point. But I'll tell you this: with the right attention to detail, the right tools (and I'm not necessarily talking about things costing thousands of euros), and a little patience, the guitar neck joint It's a step you can take without fear. And if I could do it, you can do it just fine.
In this article, I'll walk you through the fundamental steps, tell you the mistakes I've made and how to avoid them, and give you some tips I've learned in the field—or rather, in my garage.
Understanding the Junction: What It Is and Why It's Crucial
.biafax-photo-grid { display: grid !important; gap: 12px; margin: 24px 0; }
.biafax-photo-grid-3v { grid-template-columns: repeat(3, 1fr) !important; }
.biafax-photo-grid-2h { grid-template-columns: repeat(2, 1fr) !important; }
.biafax-photo-grid a { display: block; overflow: hidden; border-radius: 6px; line-height: 0; }
.biafax-photo-grid img { width: 100%; height: 100%; object-fit: cover; aspect ratio: 4 / 3; transition: transform 0.3s ease; }
.biafax-photo-grid a:hover img { transform: scale(1.03); }
.biafax-photo-grid br { display: none; }
.biafax-photo-grid-caption { text-align: center; font-style: italic; color: #555; margin: -12px 0 24px; }
.biafax-lightbox-overlay { position: fixed; inset: 0; background: rgba(0,0,0,0.92); display: flex; align-items: center; justify-content: center; z-index: 99999; cursor: zoom-out; }
.biafax-lightbox-overlay img { max-width: 92vw; max-height: 92vh; object-fit: contain; border-radius: 4px; }
@media (max-width: 768px) {
.biafax-photo-grid-3v { grid-template-columns: 1fr !important; }
.biafax-photo-grid-2h { grid-template-columns: 1fr !important; }
}
(function() {
if (window.biafaxGridLightbox) return;
window.biafaxGridLightbox = true;
document.addEventListener(‘click’, function(e) {
var a = e.target.closest(‘a[data-lightbox]’);
if (!a) return;
e.preventDefault();
var overlay = document.createElement(‘div’);
overlay.className = 'biafax-lightbox-overlay';
overlay.innerHTML = '‘‘';
document.body.appendChild(overlay);
overlay.addEventListener(‘click’, function() { overlay.remove(); });
document.addEventListener(‘keydown’, function handler(ev) {
if (ev.key === 'Escape') { overlay.remove(); document.removeEventListener('keydown', handler); }
});
});
})();
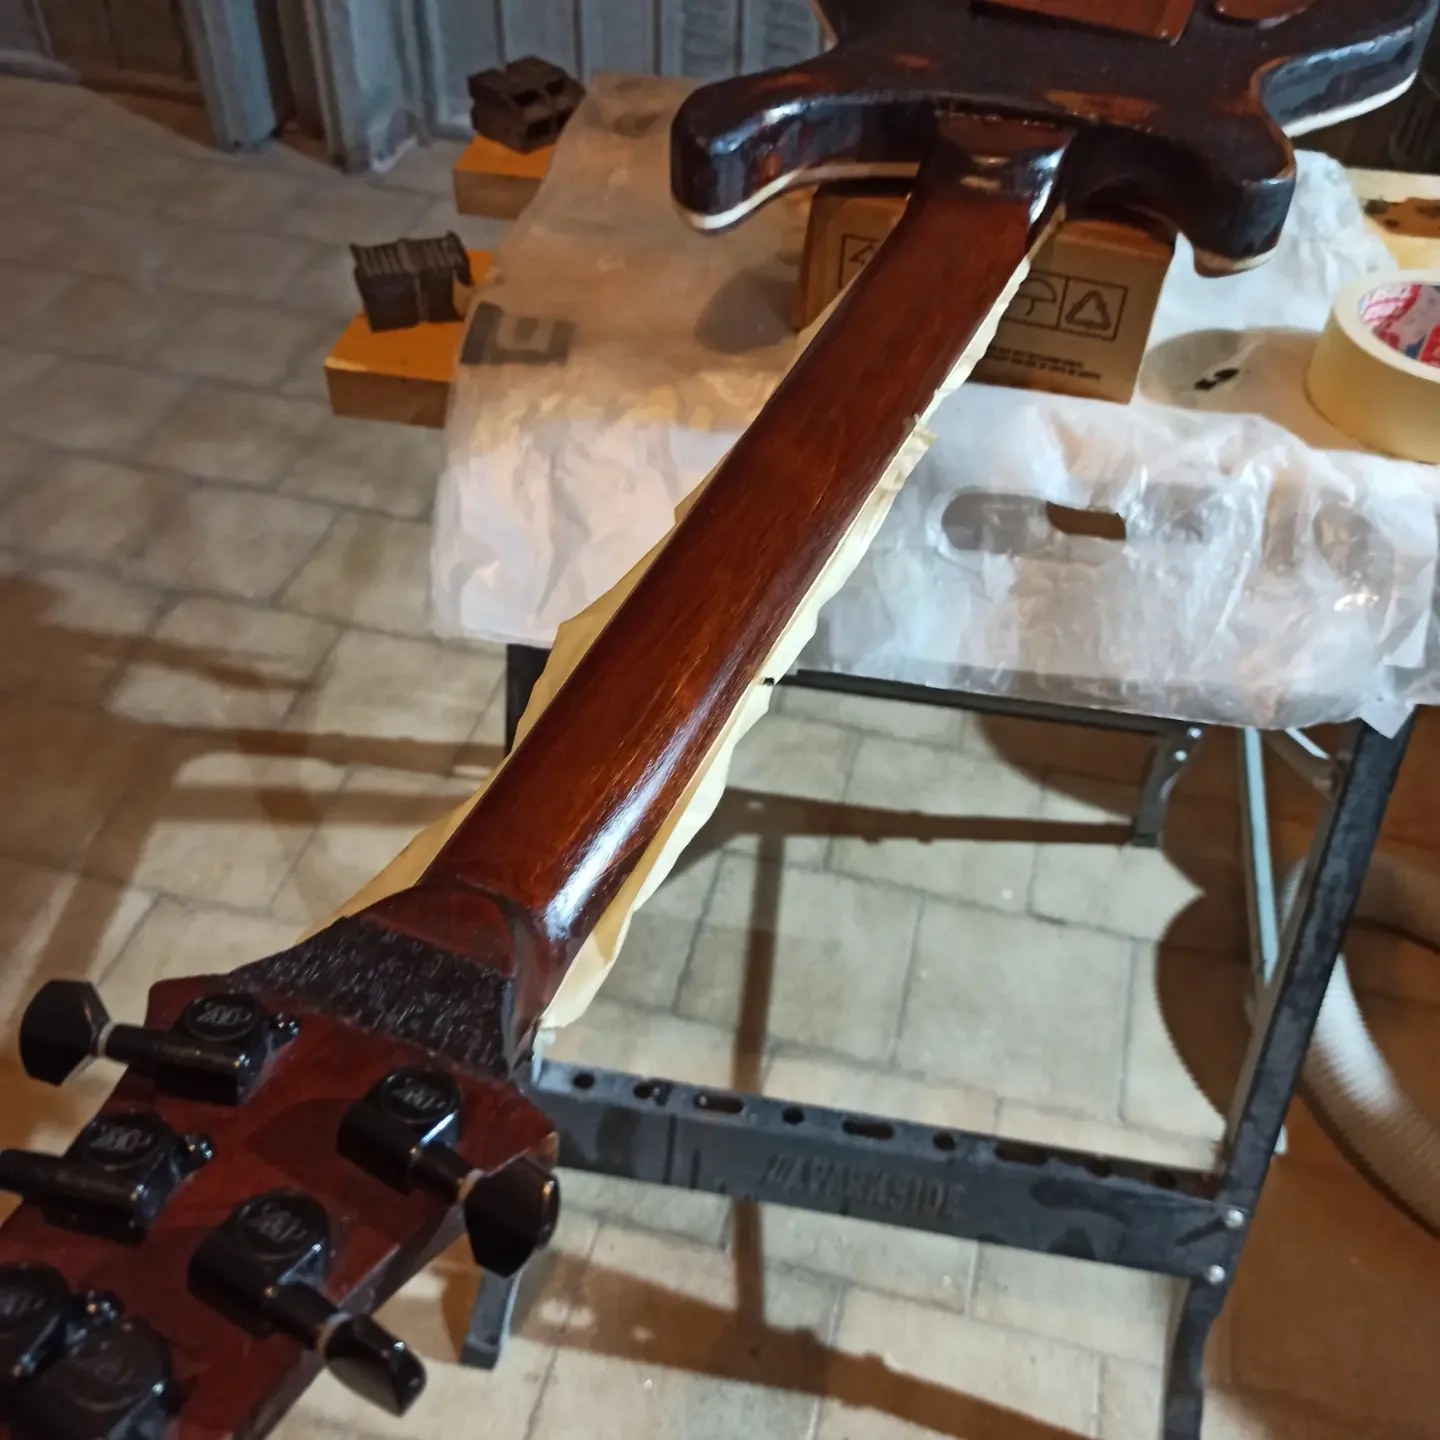
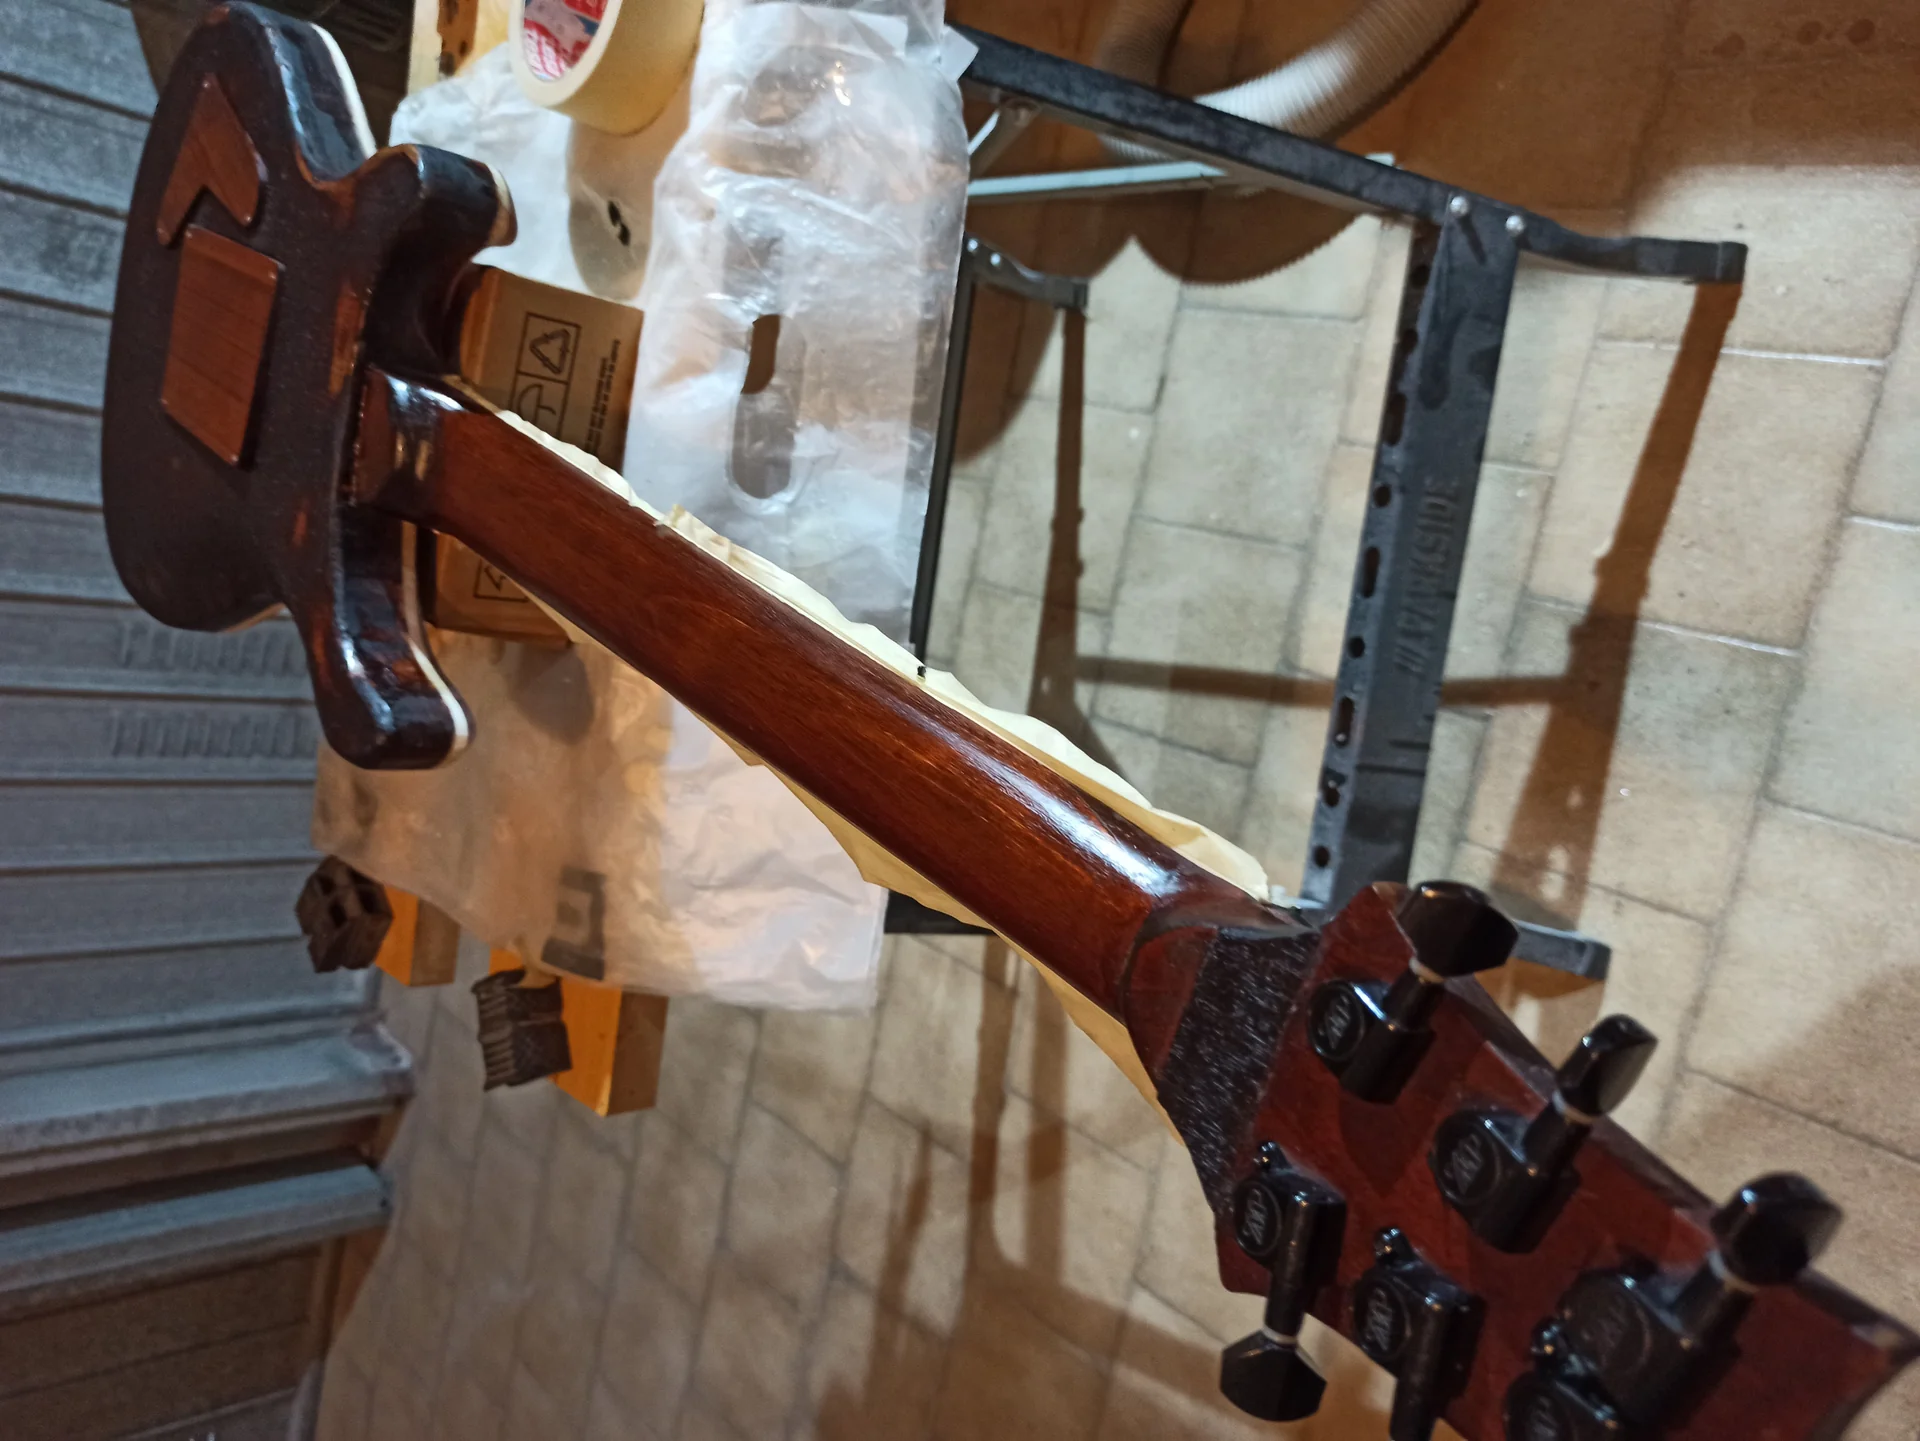
In this gallery: paint and handle.
.biafax-photo-grid { display: grid !important; gap: 12px; margin: 24px 0; }
.biafax-photo-grid-3v { grid-template-columns: repeat(3, 1fr) !important; }
.biafax-photo-grid-2h { grid-template-columns: repeat(2, 1fr) !important; }
.biafax-photo-grid a { display: block; overflow: hidden; border-radius: 6px; line-height: 0; }
.biafax-photo-grid img { width: 100%; height: 100%; object-fit: cover; aspect ratio: 4 / 3; transition: transform 0.3s ease; }
.biafax-photo-grid a:hover img { transform: scale(1.03); }
.biafax-photo-grid br { display: none; }
.biafax-photo-grid-caption { text-align: center; font-style: italic; color: #555; margin: -12px 0 24px; }
.biafax-lightbox-overlay { position: fixed; inset: 0; background: rgba(0,0,0,0.92); display: flex; align-items: center; justify-content: center; z-index: 99999; cursor: zoom-out; }
.biafax-lightbox-overlay img { max-width: 92vw; max-height: 92vh; object-fit: contain; border-radius: 4px; }
@media (max-width: 768px) {
.biafax-photo-grid-3v { grid-template-columns: 1fr !important; }
.biafax-photo-grid-2h { grid-template-columns: 1fr !important; }
}
(function() {
if (window.biafaxGridLightbox) return;
window.biafaxGridLightbox = true;
document.addEventListener(‘click’, function(e) {
var a = e.target.closest(‘a[data-lightbox]’);
if (!a) return;
e.preventDefault();
var overlay = document.createElement(‘div’);
overlay.className = 'biafax-lightbox-overlay';
overlay.innerHTML = '‘‘';
document.body.appendChild(overlay);
overlay.addEventListener(‘click’, function() { overlay.remove(); });
document.addEventListener(‘keydown’, function handler(ev) {
if (ev.key === 'Escape') { overlay.remove(); document.removeEventListener('keydown', handler); }
});
});
})();
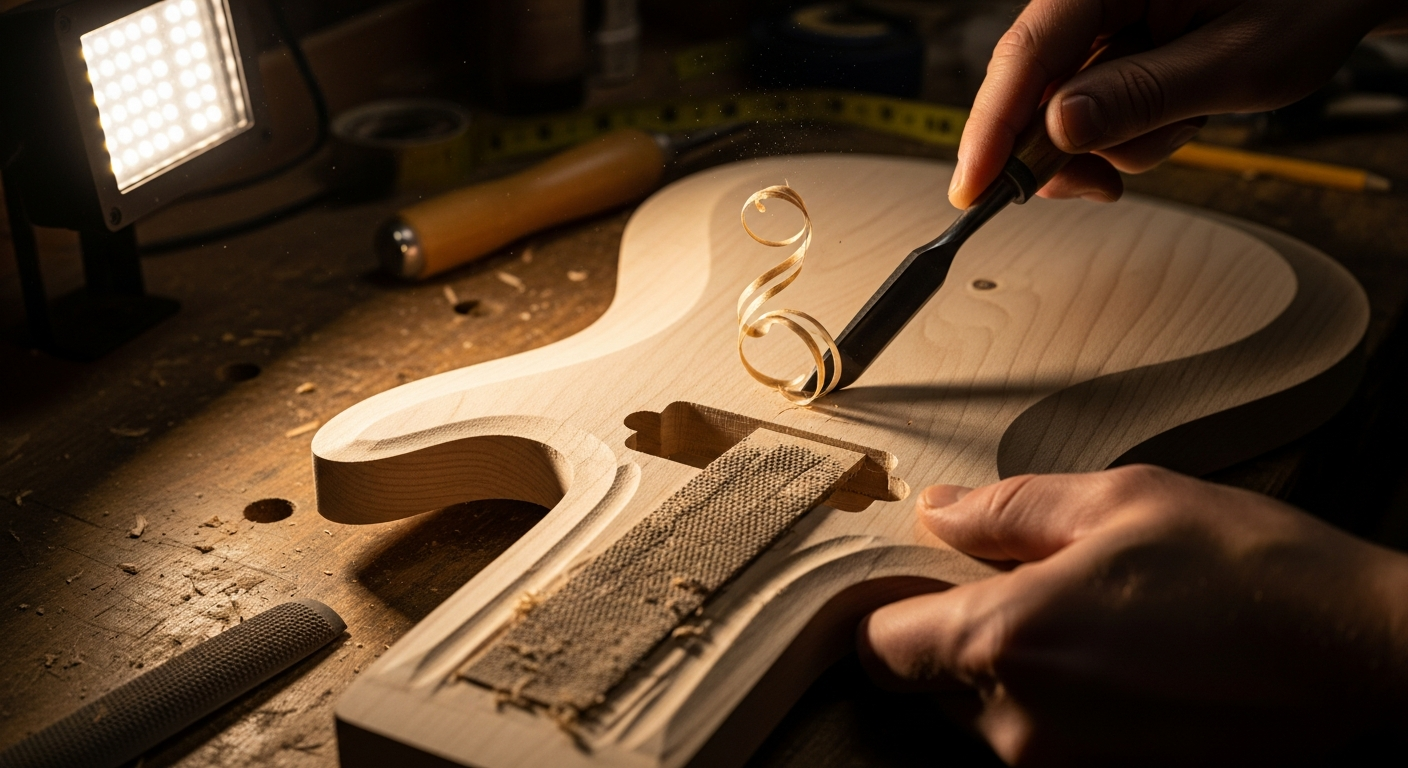
Before we even think about joining the two pieces, we need to make sure they're made for each other. The crucial point is the neck pocket, or as Americans call it, the "neck pocket." This is where the heel of the neck fits into the body. It must be precise, very precise.
### The Neck Pocket: The heart of the neck jointThe neck pocket is the pocket in the body that accommodates the heel of the neck. Its standard dimensions, for a Fender-style neck, are:
Length: approximately 55.56 mm (2-3/16 inches). This is a critical value.
Depth: approximately 16-17 mm (0.625 – 0.687 inches). This measurement is also essential for the correct angle of the handle.
The golden rule: the fit must be strict. It shouldn't wobble, it shouldn't have any lateral play. The neck should fit with light pressure, but without having to use a hammer. If you have to hit it hard, it's too tight and you risk splitting the wood. If it fits too easily, it's too loose and you'll have stability and sustain problems.
Essential tools:
Digital or vernier caliper: To measure with millimeter precision. Don't trust the tape measure.
Precision square: To check angles and flatness.
Sanding block and sandpaper: For minimal adjustments.
My experience (and my mistake):
The first time I milled a neck pocket, I did it freehand, with a router and a rough-and-ready template. The result? The pocket ended up a little wide on one side. I tried to fix it with a little glue and sawdust (the classic "carpenter's trick"), but the truth is that the neck never felt right. perfectly stable. From there I learned that a good template (perhaps 6mm MDF or thick acrylic) and a router with a good guide are your friends. And, if you don't have a router, you can do a great job with sharp chisels and a lot of patience, sanding with a hard block to maintain flatness.
What to check in the handle (Neck Heel):
Once your neck pocket is perfect, check the dimensions of the neck heel. It must be compatible. Sometimes, aftermarket necks (like those from Allparts, Warmoth, or Gotoh) have slightly different tolerances. Always measure. If the heel is too loose, you'll need to sand it very carefully. If it's too tight, you've got a problem and may need to consider another neck or a different body, because filling the pocket is a job for professionals.
Access to the Truss Rod:
A detail that's often forgotten at this stage. If your neck has a truss rod adjustment at the heel (like many vintage Fenders), make sure the body has the necessary notch to access it. If it doesn't, you'll need to mill it out. Before to assemble the handle. It's a delicate job, but can be done with a Dremel or a small router.
Neck Angle: The Real Secret to Setup
Now, this is the point that many hobbyists, including myself for years, underestimate or don't fully understand.’neck angle It's the slight inclination of the neck relative to the body. It doesn't have to be perfectly parallel to the body. In fact, it almost never is.
Why is it so important?
A correct neck angle allows you to adjust the action of the strings (the height from the fretboard) optimally and have a well-adjusted bridge.
If the angle is insufficient (the neck points too “down” with respect to the body): You'll have to raise the bridge saddle significantly to prevent the strings from touching the frets. This results in a high action, which is uncomfortable to play, and a bridge that feels like a spaceship.
If the angle is excessive (the handle points too “up”): The bridge saddles will be too low and you may not be able to get high enough action without the strings buzzing, or the bridge may touch the body.
How do you control the handle tilt?
The simplest method is to temporarily mount the neck (even with just two screws) and then place a ruler or straight edge on the fretboard. The edge of the ruler should point slightly above the bridge plane. It should not touch the bridge, but extend a few millimeters above it, to leave room for the saddles and their adjustment.
A good guideline for the ruler is that it should pass about 1.5-3mm above the saddle plane of the bridge, if the bridge is at its medium height. This will give you room to raise or lower the action.
The Shims: Small Pieces, Big Difference
If you find that the neck angle isn't correct, don't despair. It's not a mistake, it's an adjustment. The solution is "shims." These are small shims placed in the neck pocket to adjust the angle.
Full shim (full pocket shim): A thin piece of wood (or plastic, or stiff cardboard) that covers the entire neck pocket. It raises the entire neck, increasing the angle. Useful if the neck is too low compared to the bridge.
Partial shim (heel shim): A small spacer placed only at the end of the neck pocket, towards the body. By slightly tilting the neck, the angle increases. This is the most common way to correct an insufficient angle.
My experience with shims:
For years, I couldn't understand why, with some of my first guitars, I couldn't get low action without the strings buzzing on the high frets, despite adjusting the truss rod and saddles. Then I discovered neck angle and shims. I started using small pieces of stiff cardboard or strips of thin wood veneer. It's amazing how a tiny thickness of half a millimeter can make the difference between a guitar that's difficult to play and one that plays smoothly. Don't be afraid to experiment with different thicknesses. It's a fine adjustment, but crucial.
For a deeper dive into the importance of neck angle and how to accurately measure it, I recommend checking out this detailed article from StewMac, an authority on guitar making: Understanding Guitar Neck Angle. They have the professional tools, but the concept is the same for us in the garage.
The critical phase: drilling and screwing without disasters
Ok, you have the perfect neck pocket, the handle fits perfectly and you have checked the angle. Now it's time to secure the’handle-body union Permanently. This is the stage where many hobbyists feel the pressure. The fear of splitting the wood, of drilling a crooked hole, of misaligning it. Breathe. With calm and precision, everything will be fine.
### Materials and tools for fixing the sleeve Neck Screws: They're usually four countersunk screws, about 4.5-5mm in diameter and 40-45mm long. They have a specific pitch and are sturdy. Use those, not generic wood screws.
Neck Plate: The rectangular metal plate covering the screws on the back of the body. It's not just aesthetically pleasing, it distributes the pressure of the screws over a wider area, making the joint more solid.
Body drill bit: The diameter must be equal to or slightly larger than the diameter of the trunk smooth part of the screw (the part without thread). This allows the screw to slide freely in the body, without creating stress. Usually 4.5-5mm.
Drill bit for the handle: The diameter must be equal to the diameter of the nucleus of the screw (the inner part of the thread). This allows the screw thread to “bite” into the wood of the handle without splitting it. Usually 3.5-3.8mm.
Drill press (recommended) or hand drill: If you have a drill press, use it. It will give you maximum precision. If you only have a hand drill, don't worry; I've used that for years. The key is calm and good preparation.
Carpenter's clamps: Essential for keeping the handle and body firmly aligned while drilling.
Masking tape: To mark drilling depth on drill bits and to protect surfaces.
Screwdriver: Cross (Phillips) or slotted, depending on the screws.
### The drilling procedure for assembling the necknn1. Alignment and locking: Insert the handle into the neck pocket.
Use a set square to make sure the neck is perfectly centered and straight relative to the body. Also check the edges of the fretboard relative to the edges of the body. A mistake here means strings coming off the fretboard.
Once aligned, use 2-3 woodworking clamps to securely hold the neck to the body. Tighten well, but don't overtighten to avoid damaging the wood.
Tip Mimmo: I've learned that placing a piece of felt or soft cloth between the clamp jaws and the wood prevents marks and dents.
2. Preparing for marking: Place the neck plate on the back of the body, centering it over the heel area of the neck.
Use a sharp pencil or awl to precisely mark the centers of the 4 holes through the holes in the neck plate.
Common mistake: Many people use the neck plate as a template to drill directly. Don't do this! The plates often have holes slightly larger than necessary to allow for some play. Mark first and then drill precisely.
3. Body drilling (through holes): Take the drill bit with the largest diameter (e.g. 4.5mm).
Wrap a piece of tape around the tip, marking the maximum drilling depth: it must be equal to the thickness of the body, so that the hole is through.
Using a drill press or a hand drill (keeping it perfectly perpendicular!), drill the four marked points. Be careful not to damage the handle underneath. If you have a drill press, set the maximum depth so that it doesn't go beyond the body.
4. Handle drilling (blind holes): Remove the clamps and neck plate. Leave the neck in the pocket.
Take the drill bit with the smallest diameter (e.g. 3.5mm).
Wrap the tape around the tip, marking the depth. It's crucial to get it right: the depth should be about 30-35mm into the handle. You absolutely must not drill through the keyboard! Measure the length of the screws, subtract the thickness of the body and neck plate, and add a few millimeters (but no more than 5 mm) for the tip of the screw. It's better to be a little short than to drill a hole through the fretboard.
Place the neck in the neck pocket and, using the through-holes in the body as a guide, drill the four blind holes in the neck heel. Again, pay close attention to perpendicularity. If using a hand drill, try drilling from the side of the body, keeping the bit straight and sliding it into the through-hole. This will help you maintain alignment.
### Screwing on the handle: the final stagenn1. Positioning: Put the handle back into the neck pocket.n2. Screws and neck plate: Insert the 4 screws through the neck plate and the holes in the body.n3. Screwing: Use a manual screwdriver. Do not use an electric screwdriver at full power. The risk of stripping the screw head, damaging the wood, or overtightening is very high.
Tighten the screws evenly, proceeding in a crosswise (diagonal) pattern. Tighten one screw a little, then the opposite one diagonally, then the other two, and so on.
Tighten until you feel resistance, then give another quarter turn. You don't want to overtighten. The wood compresses and the joint solidifies. The screws should be secure, but not overtightened.
An anecdote (with a bit of panic):
I remember the first time I heard the wood creak while I was screwing in. Panic! I thought I'd broken the handle. In reality, it was just the wood settling under the pressure of the screw. But that's when I realized the importance of not over-tightening and proceeding gradually. A good handle is secure, not over-compressed.
For a deeper dive into how subsequent adjustments affect sound and playability, check out our guide on how to modify your guitar. Many of the adjustments you'll make after joining depend on a solid foundation.
The first setup and the final touches
There guitar neck joint It's done. The handle is solid, doesn't move, and seems aligned. Are you done? Not yet, but the hard work is behind you. Now comes the fun part, where your creation begins to come to life.
### Assemble the strings and first controlsnn1. Mount the strings: Put strings on your new guitar. It doesn't matter if they're brand new strings; a cheap set will do for the initial setup. 2. Tuning: Bring the guitar into standard tuning. Don't worry if it doesn't hold perfectly at first; that's normal. 3. Let it rest: A trick I've learned: leave the guitar in tune for at least 24-48 hours. The wood of the neck and body will settle under the tension of the strings. It's a bit like a fine wine; it needs time.
### The initial setup: action, relief, intonation. After the settling-in period, you can begin the actual setup. This includes:
Truss Rod Adjustment (Relief): Check the neck curvature. There should be a very slight concavity (relief). If it's too straight or curved, adjust the truss rod.
String Height (Action): Adjust the height of the bridge saddles to achieve the desired action. This will tell you if the neck angle was correct: if you had to raise or lower the saddles too much, you may need to readjust the shims.
Intonation: Adjust the intonation of the bridge saddle by saddle, so that every note sounds true across the entire fretboard.
These steps are crucial and deserve a separate article (which you can find here on the blog, of course!), but they're the ultimate test of your jointing. If you have unsolvable action or intonation issues, the problem is likely in the alignment or angle of the neck.
Final touches (if needed):
Shims revisited: If you can't get the desired action after setup, or the bridge is too high/low, you may need to add or remove shims from the neck pocket. It's an iterative process; don't be afraid to take the neck apart and try again. I opened and closed the same neck pocket half a dozen times on my first guitar.
Key Control: At this stage, you may find that some frets are higher than others (high frets). This isn't a problem with the joint, but with the fretboard itself. In that case, you'll need to level, crown, and polish the frets.
The first time I set everything up, I realized that the real work began there. But the satisfaction of hearing the first chords, of being able to adjust the action to your liking and of having an instrument that responds however you want it*, it's priceless. It's the moment when you say: “I made it. With my own hands. And it works.”
Conclusion: Patience is your best friend
There guitar neck joint It may seem like a mountain to climb, especially when you're a beginner and worried about ruining a body or neck you've invested time and money in. But as I've told you, it's a step I've faced many times, with my own mistakes and discoveries.
The key to everything is the patience and the precision. Measure ten times, drill once. Use the right tools, even if they're cheap ones from your garage. Don't rush, don't be afraid to make mistakes, and above all, don't be afraid to go back and correct them.
Remember: you're not a professional luthier with years of experience and CNC machinery. You're a garage-building enthusiast. And for this very reason, every small success, every problem solved, will bring you enormous satisfaction. If I could do it, with my resources and my "skids," you can do it too. Put passion and care into it, and soon you'll be playing your own handmade guitar. And it, I assure you, will always sound better than any other.