


Painting a guitar neck: 5 mistakes to avoid
If there's one thing that has always made me anxious when starting a new DIY lutherie project, it's the finish. And if we're talking about to paint electric guitar neck, the anxiety multiplies. It's not like coloring the body, where more or less you cover an error, sand it, and redo it. You feel the neck, you touch it, you slide your hand over it while playing. It must be perfect, or almost.I still remember the first time I tried to finish a maple neck. I had bought a cheap kit online, a can of glossy clear coat. “Easy!”, I thought. I sprayed like there was no tomorrow, without preparation, without understanding the timings. The result? Runs everywhere, a sticky surface that felt like rubber, and a thick finish that you could barely feel the wood underneath. A tragedy. I had to sand everything down and start over with another neck. From there I learned. And I realized that some mistakes are really common.
If you're here, you probably already have some experience with lutherie, maybe you've assembled a couple of kits or made some modifications to your existing guitar. You know that detail makes the difference. And the neck finish is one of those details that elevates a project from “homemade” to “well-made”.
In this article, I'll tell you about the 5 most common mistakes I've made myself – and that I often see made in online communities, from Reddit to specialized forums – when it comes to giving a new life or the first finish to a guitar neck. I'll explain why they are mistakes and, most importantly, how to avoid them.
1. Underestimating Wood Preparation: The Foundation of Everything
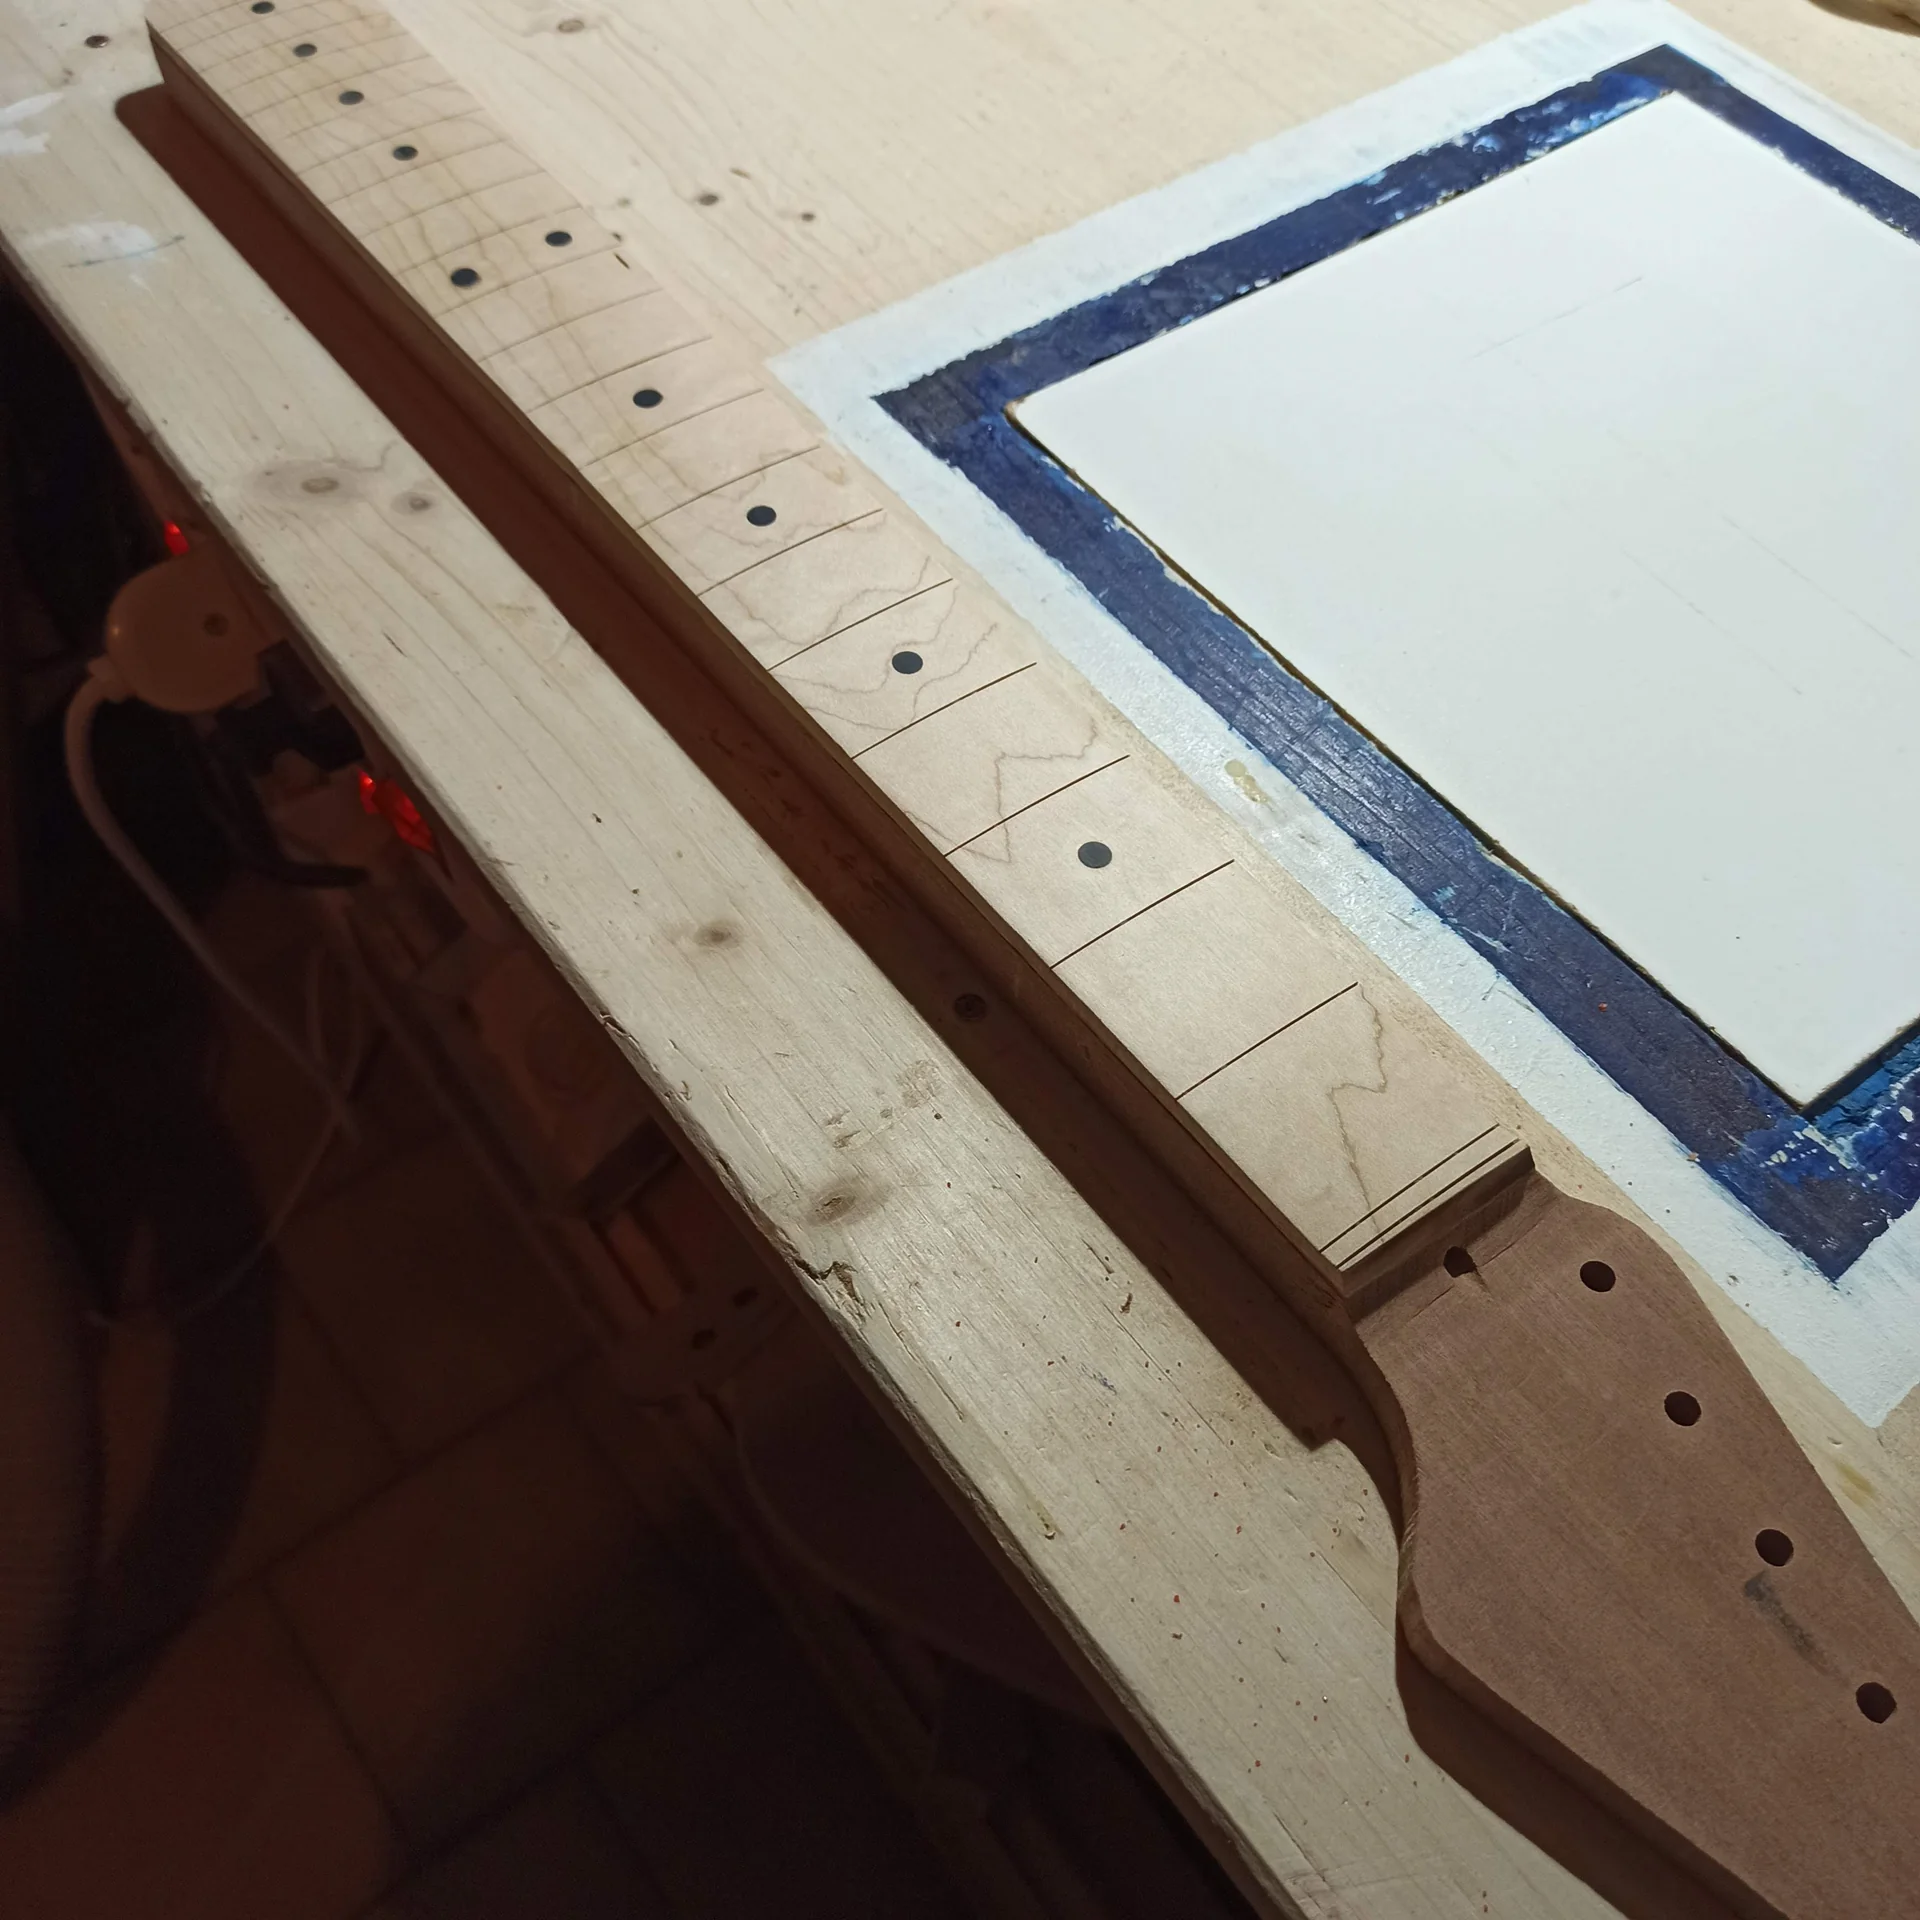
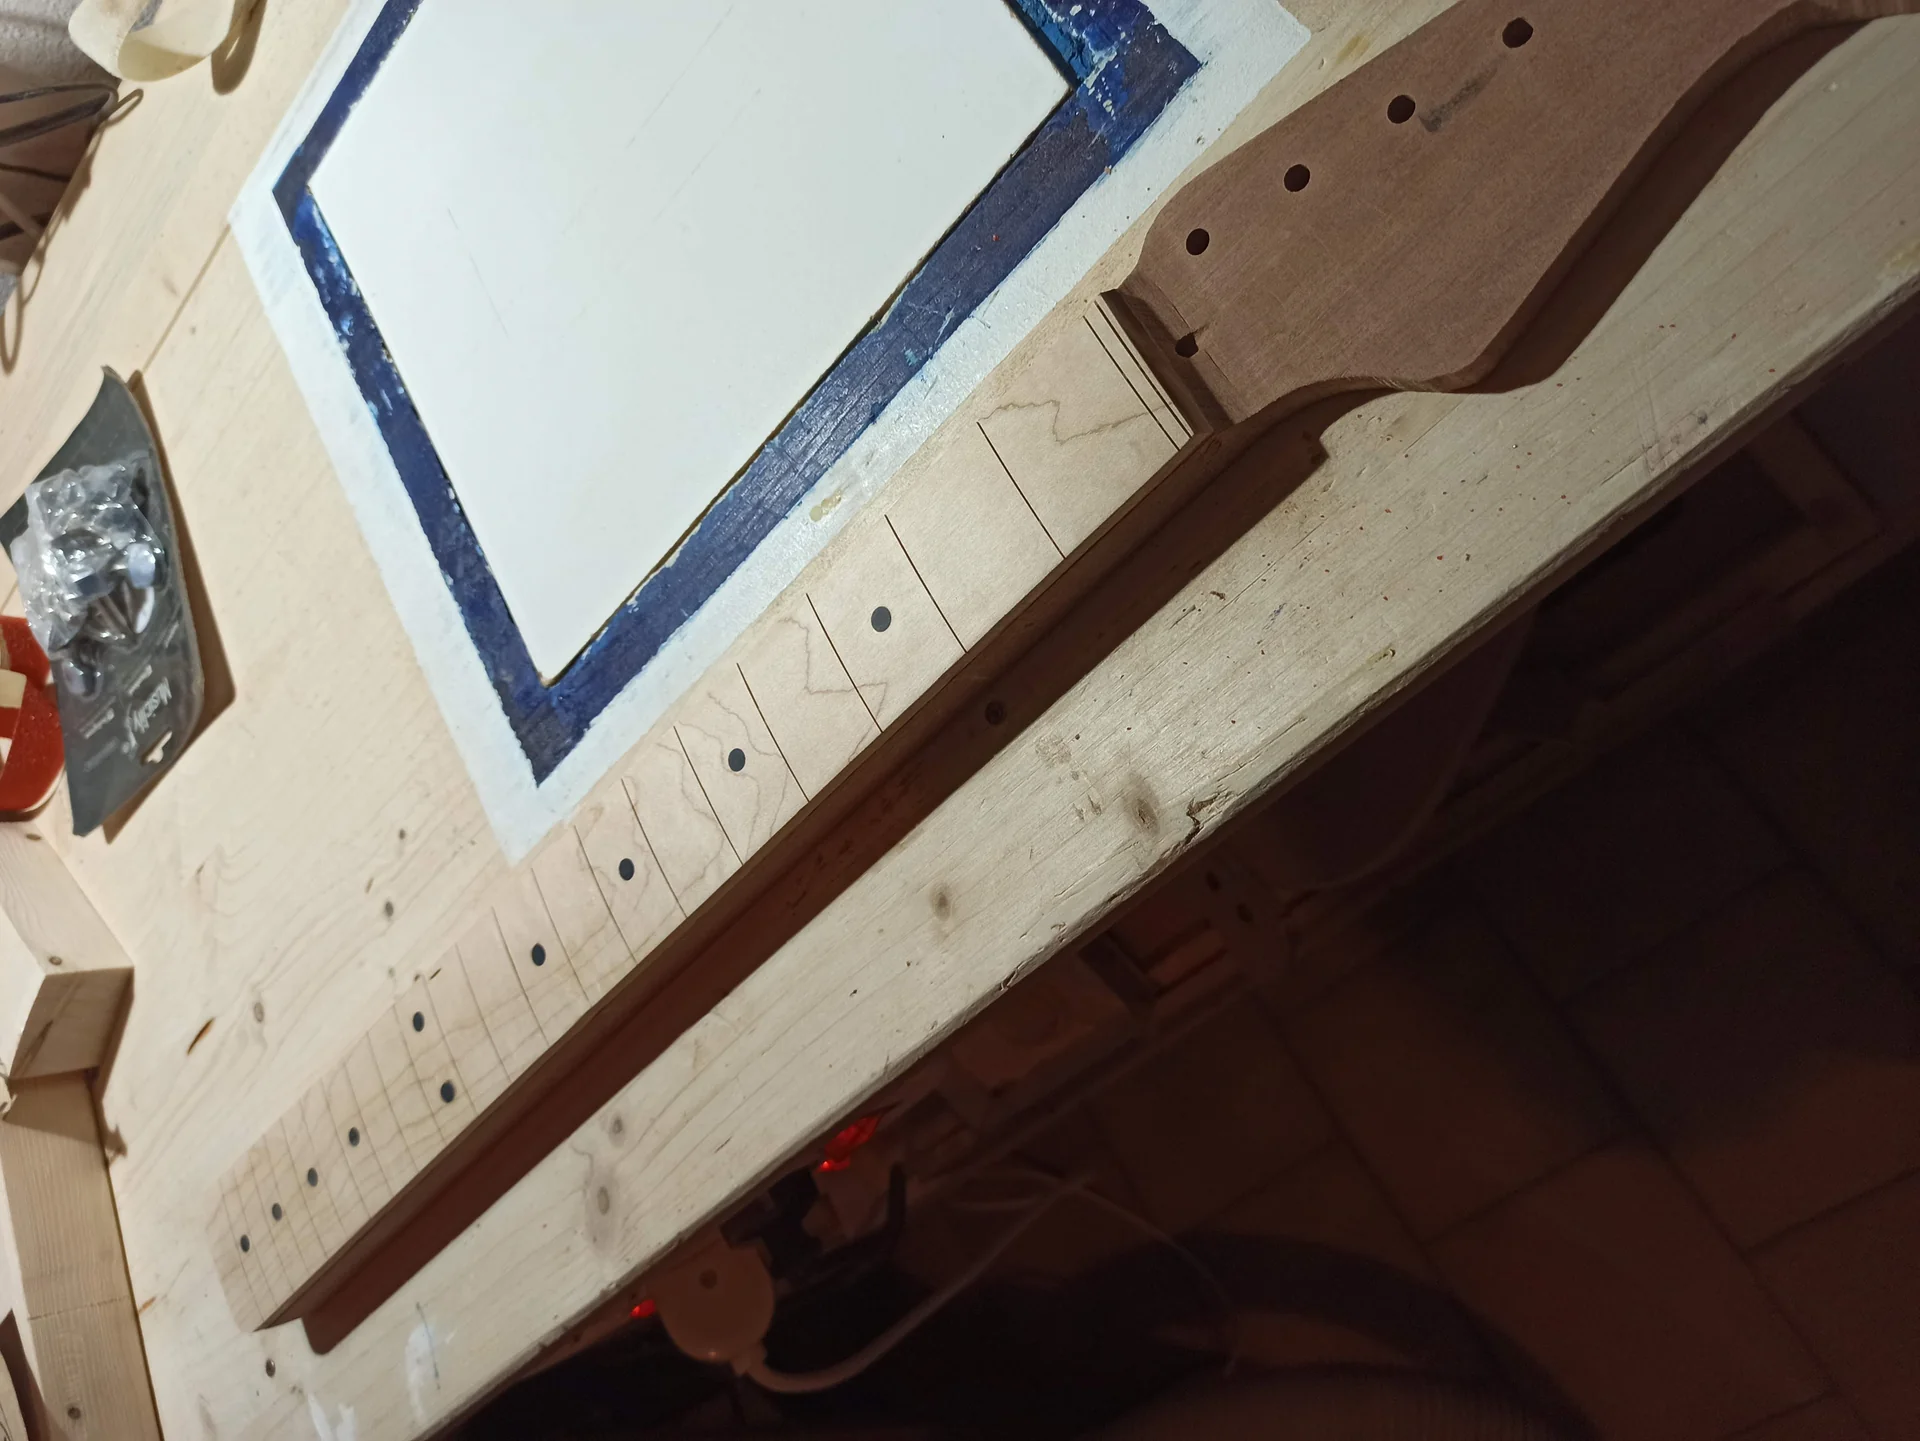
Anyone without a climate-controlled workshop knows what I'm talking about. I tried to paint a guitar neck in the garage in the middle of winter, with humidity through the roof, and in summer, with 35 degrees and the sun beating down. Disastrous results in both cases.
Environmental conditions, particularly temperature and humidity, heavily influence paint application and drying. ### The effect of humidity Blooming (whitening): Too much humidity in the air can cause a whitish film to form on the paint surface, especially with nitrocellulose. This happens because the solvent evaporates rapidly, cooling the surface and condensing the air's humidity.
Slow drying: With high humidity, the solvent evaporates more slowly, extending drying times and increasing the risk of runs and fingerprints. ### The effect of temperaturann Too cold: The paint becomes more viscous, difficult to spray evenly, and drying times are excessively prolonged. Risk of grainy finish.
Too hot: The solvent evaporates too quickly. The paint can “pull” before spreading evenly, leaving a rough surface (orange peel effect) and reducing adhesion between layers. ### The ideal climate (and how to manage)
Ideally, one should work in an environment with a temperature between 20°C and 25°C and a relative humidity between 40% and 60%.
If you don't have a controlled environment (and who has one in their garage?), here's how I manage: Avoid extremes: Do not paint on rainy and humid days, or on scorching hot ones. Wait for a day with milder conditions.
Dehumidifier/Fan: If humidity is a problem, a dehumidifier can help. Alternatively, a simple fan (not pointed directly at the piece, but to move the air) can promote solvent evaporation.
Heating: If it's too cold, you can use an electric heater in the garage to raise the temperature a few hours before painting. But be careful, never with open flames near flammable solvents!
Thermo-hygrometer: A small investment that gives you a clear idea of the conditions. Don't guess.
Dust protection: It's not the environment, but it's fundamental. Prepare an improvised painting “booth” with plastic sheets to protect the piece from dust while it dries. Dust is the enemy of a smooth finish. Do not underestimate these factors. Excellent paint applied in the wrong conditions will yield a terrible result.
4. Sanding Poorly or with the Wrong Grit Between Layers
After applying the first coats of paint and respecting the drying times, it's time for intermediate sanding. This is a step that terrifies many, because they are afraid of ruining everything. And indeed, if done incorrectly, it can ruin everything.

The goal of sanding between layers is not to remove paint, but to level small imperfections, eliminate “orange peel” effect, and create a slightly rough surface to which the next layer of paint can adhere better. ### Common mistakes in intermediate sanding: Too coarse grit: Using a grit like P220 or P320 on already applied paint is a disaster. You will leave deep scratches that subsequent layers will not be able to cover.
Grit too fine: If you use too fine a grit (like P1000) on a surface with many imperfections, you won't be able to level anything.
Uneven sanding: Concentrating too much on one spot can lead to “breaking through” the paint, reaching the underlying wood. This means starting over from scratch in that spot.
Do not clean the dust: If you don't remove the sanding dust before applying the next coat, it will become embedded in the new paint, creating a grainy surface. ### The technique that works (and saves you from nervous breakdowns): 1. Wait until the paint is hard: Not just dry to the touch, but that it has started to polymerize. For nitrocellulose, this means at least 24 hours, but 48-72 hours are even better. For polyurethane, follow the manufacturer's instructions, usually 24-48 hours. If you sand too early, the paint will “gum up” on the sandpaper.n2. Choose the right grit: I start with P600 or P800 dry for the first intermediate sandings, then move to P1000 or P1200 for the final ones. If there are many imperfections and the finish is thick, you can start with P400/P500 but with extreme delicacy.n3. “Dry sanding” technique: Do not use water at this stage, unless you are an expert and know exactly what you are doing with specific abrasive papers. Dry sanding makes it easier to control the process.n4. Use a sanding block: Do not sand freehand. A rigid, flat block (or slightly shaped for the curves of the neck) ensures uniform pressure and helps you level the surface without creating depressions.n5. Light pressure and uniform movements: Do not press hard. Let the paper do its job. Move the block with long, overlapping strokes, following the length of the neck.n6. “Dusting coat”: A trick I learned: before sanding, spray a very light “mist” of clear varnish (a “dusting coat”). It shouldn't cover, just create a thin veil. When you sand, you'll see the mist disappear first from the high spots, indicating where you are sanding. It helps you understand when the surface is flat.n7. Clean maniacally: After each sanding, clean the neck of dust with compressed air and then with a tack cloth (a specific adhesive cloth for removing fine dust). Don't leave even a speck.
This step is the key to obtaining a smooth finish, without orange peel and without imperfections. Don't be afraid, but be methodical.
5. Rushing the Final Polishing or Using Unsuitable Abrasive Pastes
You have applied all the coats of paint, sanded between each layer, and waited for the curing times. The neck now has a matte, smooth, but not glossy finish. The final touch is missing, the one that makes your work shine: polishing.This is the moment when, after so much effort, you risk making the final mistake due to haste or the wrong choice of materials. ### The dangers of polishing: Paint not fully cured: If the paint is not completely hardened, polishing will ruin it. Halos will form, the surface will overheat and become dull, or worse, you might remove too much material. For nitro, wait at least 3-4 weeks before final polishing. For polyurethane, 1-2 weeks are usually sufficient. Patience is golden here.
Sanding grits too low: Starting polishing with a surface that has not been sanded up to very fine grits (P1500, P2000, P2500, P3000) is useless. Polishing pastes do not remove deep scratches.
Wrong abrasive pastes: Using overly aggressive or poor-quality pastes can leave circular marks (swirl marks) or not provide the desired shine.
Overheating: If you use a rotary polisher (like the one for cars) and are not careful, the heat generated can ruin the paint, creating bubbles or burns. ### My procedure for a boutique polish (or almost): 1. Final wet sanding: After waiting for the curing time, wet sand the entire surface of the neck with wet sandpaper. Start with P1500, then P2000, and if you want a spectacular result, P2500 or even P3000. Dip the paper in soapy water (a drop of neutral soap in the water helps the paper glide better) and sand with light, circular movements, keeping the surface always wet.
Important: The goal is to remove scratches from the previous grit until the wet surface appears uniform and without visible scratches.n2. Meticulous cleaning: After wet sanding, clean the neck with clean water and a microfiber cloth, then dry it perfectly. Make sure there is no more dust or residue.n3. Polishing paste (Compound): Use a good quality abrasive paste, specific for automotive or luthier finishes. I use a medium/fine cut compound. Apply a small amount to a clean microfiber cloth (or a polisher pad) and work on small areas with circular movements.
By hand: If you polish by hand, it takes elbow grease. Change the cloth when it gets dirty.
With polisher: If you use a polisher (at low speed!), use a soft foam pad. Never stay too long in the same spot to avoid overheating.n4. Finishing paste (Polish): Once the surface is shiny but perhaps still has some haziness, switch to a finer polishing paste (polish). This will remove the last micro-scratches and give the final brilliance. Same procedure as the compound.n5. Final cleaning and wax: After polishing, clean the neck with a very clean microfiber cloth. You can apply guitar wax (or a good quality carnauba wax) to further protect the finish and enhance its shine.
External source: To delve deeper into polishing techniques, I recommend checking out StewMac's guides, they are an incredible resource: [How to Polish a Guitar Finish](https://www.stewmac.com/video-and-ideas/online-resources/learn-about-guitar-finishing-and-repair/how-to-polish-a-guitar-finish/).
Polishing is the final step that transforms a good job into an excellent job. Don't rush, use the right materials and enjoy the process. The result will be a smooth, shiny and beautiful neck to play.
Summing up: “If I succeeded…”
I told you a bit about my disasters and the tricks I learned by making mistakes and redoing them. Painting the electric guitar neck it's not a trivial operation, but it's not something to leave to professionals either. With patience, attention to detail and the right tools, you can achieve results that will leave you speechless.Remember the five mistakes we saw: 1. Underestimating wood preparation: The basis of everything is a perfectly clean and smooth surface.n2. Applying layers that are too thick or not respecting drying times: Haste is the enemy of a durable, drip-free finish.n3. Ignoring environmental conditions: Humidity and temperature are critical factors for uniform application and correct drying.n4. Sanding poorly or with the wrong grit between layers: Intermediate sanding levels and prepares the surface for subsequent layers.n5. Rushing the final polishing or using unsuitable abrasive pastes: Patience in curing and the use of specific products are the key to a brilliant finish.
Every time I start a new project, I repeat to myself: “Mimmo, calm down. One step at a time.” And with the neck finish, this mantra is truer than ever. The final result will not just be a beautiful piece of polished wood, but the demonstration that with a little effort and the desire to learn from mistakes, you can build something truly yours, made with your own hands.
And if I succeeded, you can too. Get to work, and don't be afraid to make mistakes. It's part of the game. The important thing is to get back up, learn and improve. Good luck!
See also
Download the Luthier Survival Kit
Free PDF with checklist, problem-cause table and project card template.
 English
  Italiano
Stuck on your build?
If you ran into the same problem or have a question, drop it in the comments. I read and reply to every one.
Write a comment