


Fret leveling guitar: step-by-step guide
When I first started getting my hands on my first guitars, I still remember the frustration: high action, some notes chirping like an orchestra of crickets, and the feeling that, no matter how hard I tried, I would never find the perfect setup. It always seemed like something was missing, that the neck was never really "right." Then, one day, I stumbled upon the concept of fret leveling guitar. And there, guys, a whole new world opened up to me.At first, the idea of sanding down guitar frets terrified me. "What if I ruin it? What if I make an irreversible mess?" These are questions we've all asked ourselves, I assure you. But after a few experiments on salvaged necks and a ton of YouTube videos, I realized it's not a space-age surgery. It's precision work, yes, but it's within the reach of anyone with a little patience and the right tools. And the satisfaction, believe me, is priceless.
So, if you too have a guitar that you're not entirely convinced by, or if you're building your next masterpiece and want it to sound right from the start, sit back and relax. I'll explain step by step how I learned to make the key leveling And how you can do it too, without worry and without spending a fortune. You'll see that in the end, your guitar will thank you.
Why are keys never perfect? And why level them?
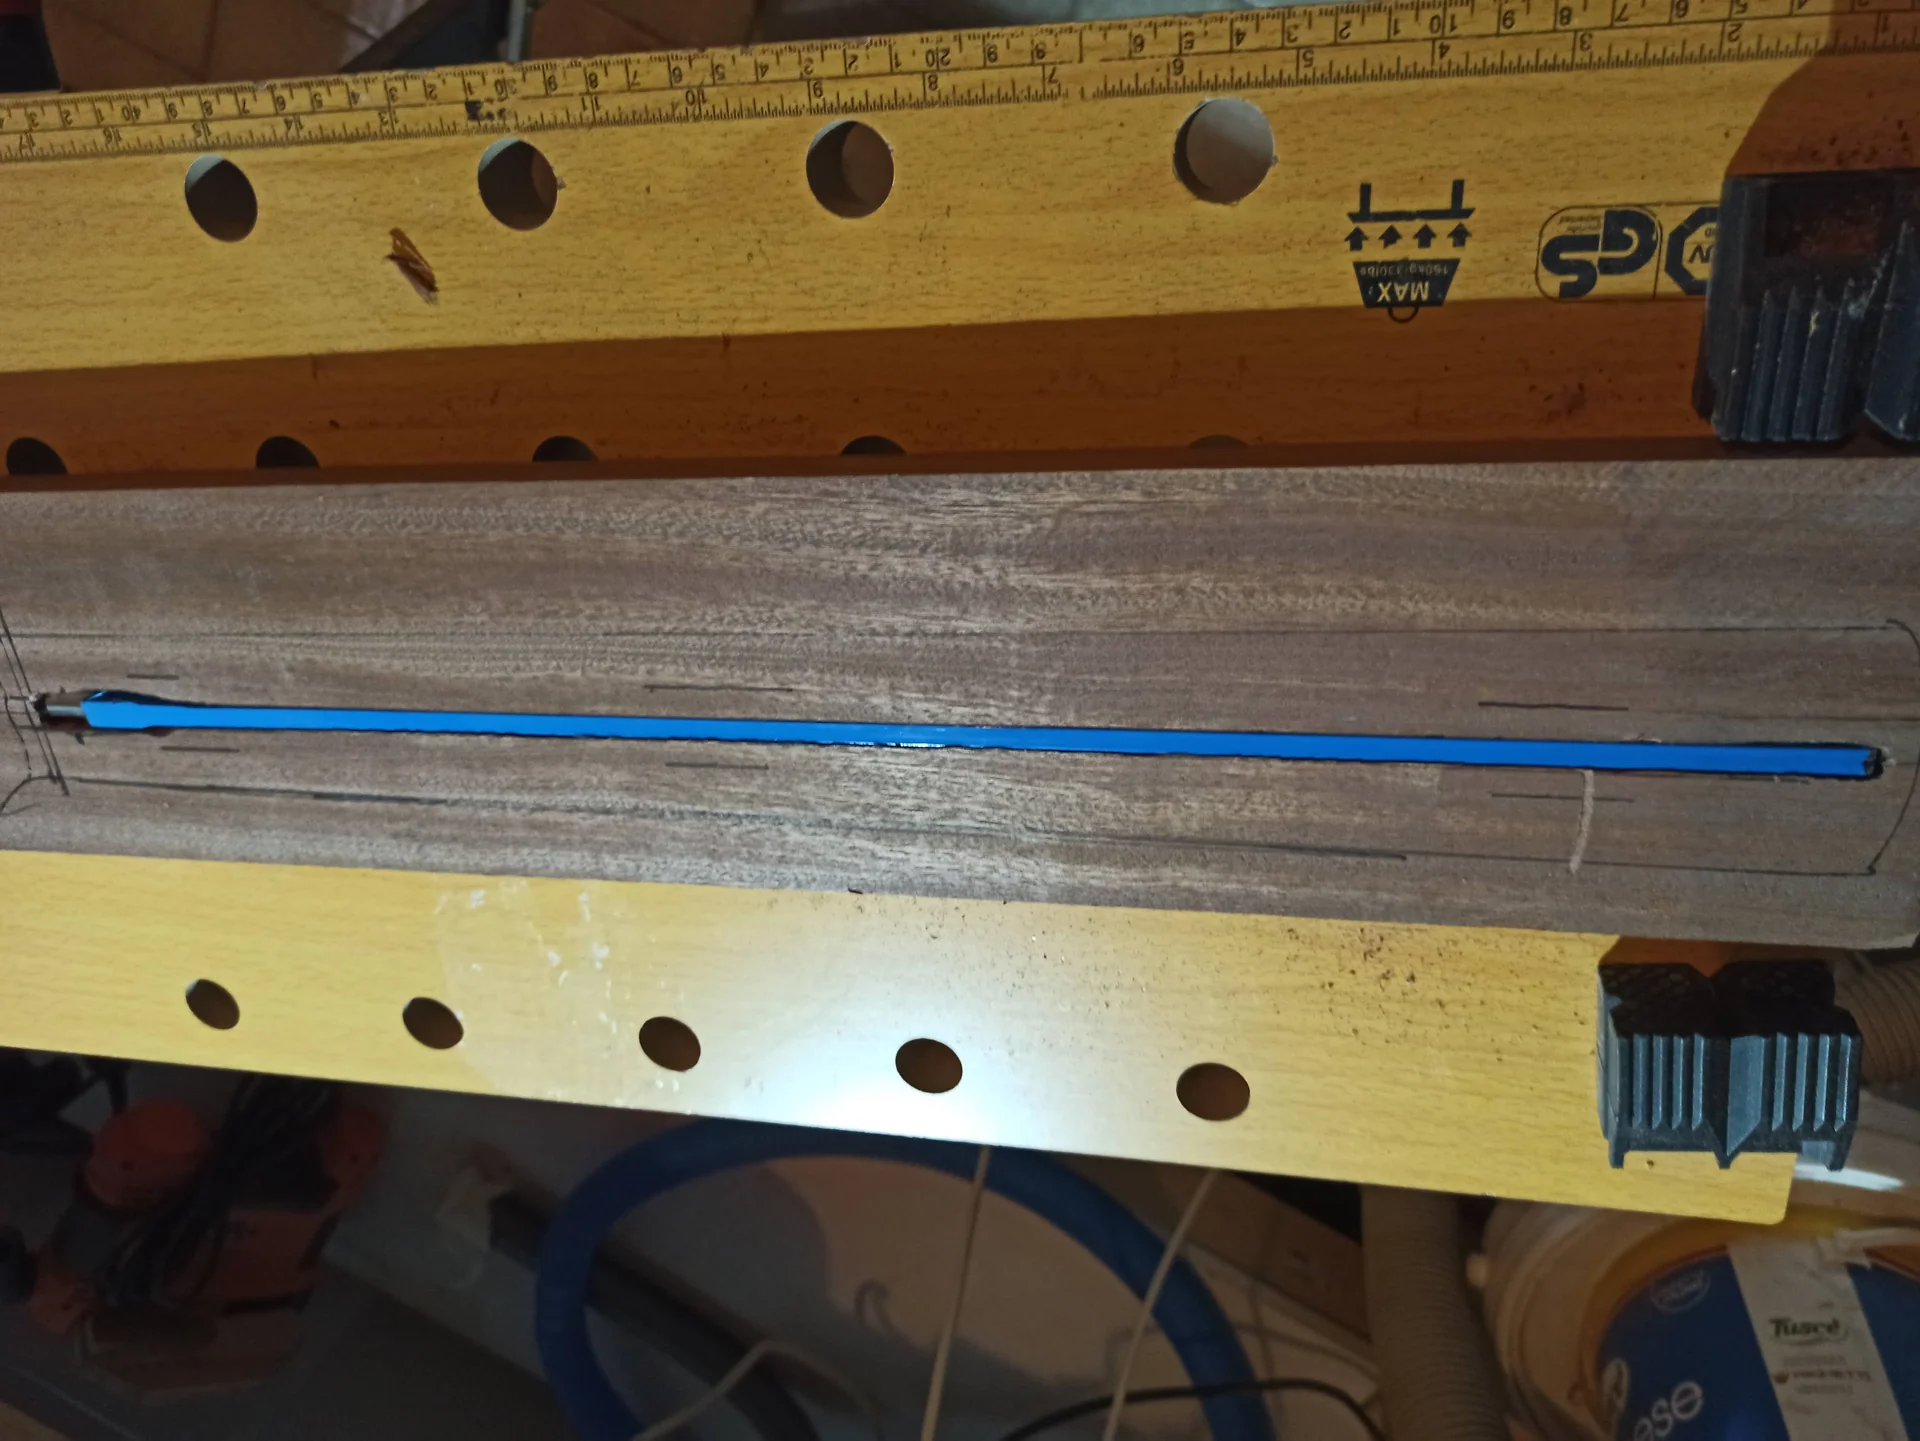
Okay, before we get our hands on the handle, we need to make sure we have everything we need. Don't worry, I'm not asking you to buy CNC mills or machines costing thousands of euros. Many of the tools can be found at hardware stores or built with a little ingenuity. But for some, even a small investment pays off in precision and fewer headaches.
Here is an essential list for the fret leveling: Truss rod wrench: This is essential for adjusting the neck curvature. Each guitar has its own, so make sure you get the right one.
Precision Straight Edge (or straight line): Not a school ruler. You need a metal ruler, at least as long as the handle, that is Truly straight. I use a ground aluminum bar, but a good notched straight edge (with fret notches) is also great for checking the flatness of the neck without frets.
Fret Rocker: This is a brilliant tool, a small ruler with four sides of different lengths. It allows you to identify the individual highest frets quickly and accurately. It's inexpensive and saves you a lot of time.
Paper tape (Masking Tape): The one used by body shops, good quality. It protects the fingerboard while sanding. Get a wide one, so you can get it done faster.
Permanent marker: A normal black marker is used to mark the top of the keys.
Levelling Beam (or levelling bar): This is the heart of the operation. It's a rigid, perfectly flat block, onto which you'll glue the sandpaper. You can buy one specifically designed for lutherie (StewMac and Crimson Guitars make excellent ones), or you can make your own. I used an extruded aluminum profile, one of those with a rectangular cross-section, about 30-40 cm long. The important thing is that it's straight and rigid.
Sandpaper: Grit variations, from coarsest to finest. I recommend: 220, 320, 400, 600, 800, 1000, 1500, 2000, 2500, 3000. Yes, there are a lot, but you'll need them for the various stages.
Fret Crowning File: After leveling them, the frets will have a flat surface on top. The file is used to restore their classic rounded shape (a "crown"). There are different types, depending on the radius of the frets. It's a specialized tool, but crucial for a good result.
Microfiber cloth and polishing paste: For the final polishing of the frets, a very fine steel wool pad (0000 grit) can also be useful.
Neck Cradle: To hold the guitar or neck steady while you work, you can do this with a block of wood and some felt. A piece of advice from a friend: Don't skimp on the quality of the straight edge and leveling beam. These are the tools that guarantee the precision of your work. As for the rest, you can make do. Remember that patience is the most important tool of all.
Preparing the handle: the base is everything
Before we start sanding, we need to prepare the battlefield. This step is crucial and, if done poorly, can jeopardize the entire work. Many of the mistakes I made at the beginning were made right here.

1. Remove the strings
It seems obvious, but it needs to be said. Loosen the strings and remove them completely. We want the neck to be free of any external tension.2. Check and adjust the truss rod
This is the most important step in the preparation. We must make the handle as straight as possible, or with a very light relief. Why? Because if we level the frets with the curved neck, when we later tension the strings and adjust the truss rod for playability, the frets will no longer be level with respect to the new curvature. Check the flatness: Place the straight edge on the frets, from the nut side to the last fret. Check for gaps between the line and the frets. One trick is to use a light behind the line: if you see light coming through, the neck isn't straight.Adjust the truss rod: Turn the truss rod key a quarter turn at a time, wait a few minutes (the wood needs time to settle), and check again. The goal is to have the neck almost perfectly straight. Don't worry if it's not perfectly balanced, a minimum A leveling pad can help, but for leveling, it's best to aim for maximum flatness. In my tests, I've found that a nearly perfectly straight handle during leveling yields better results in the final setup. Pain point: “The first time I adjusted a truss rod, I was terrified I'd break it. Remember: small movements, lots of patience. If you feel excessive resistance, stop.” It's best never to force.
3. Protect your keyboard
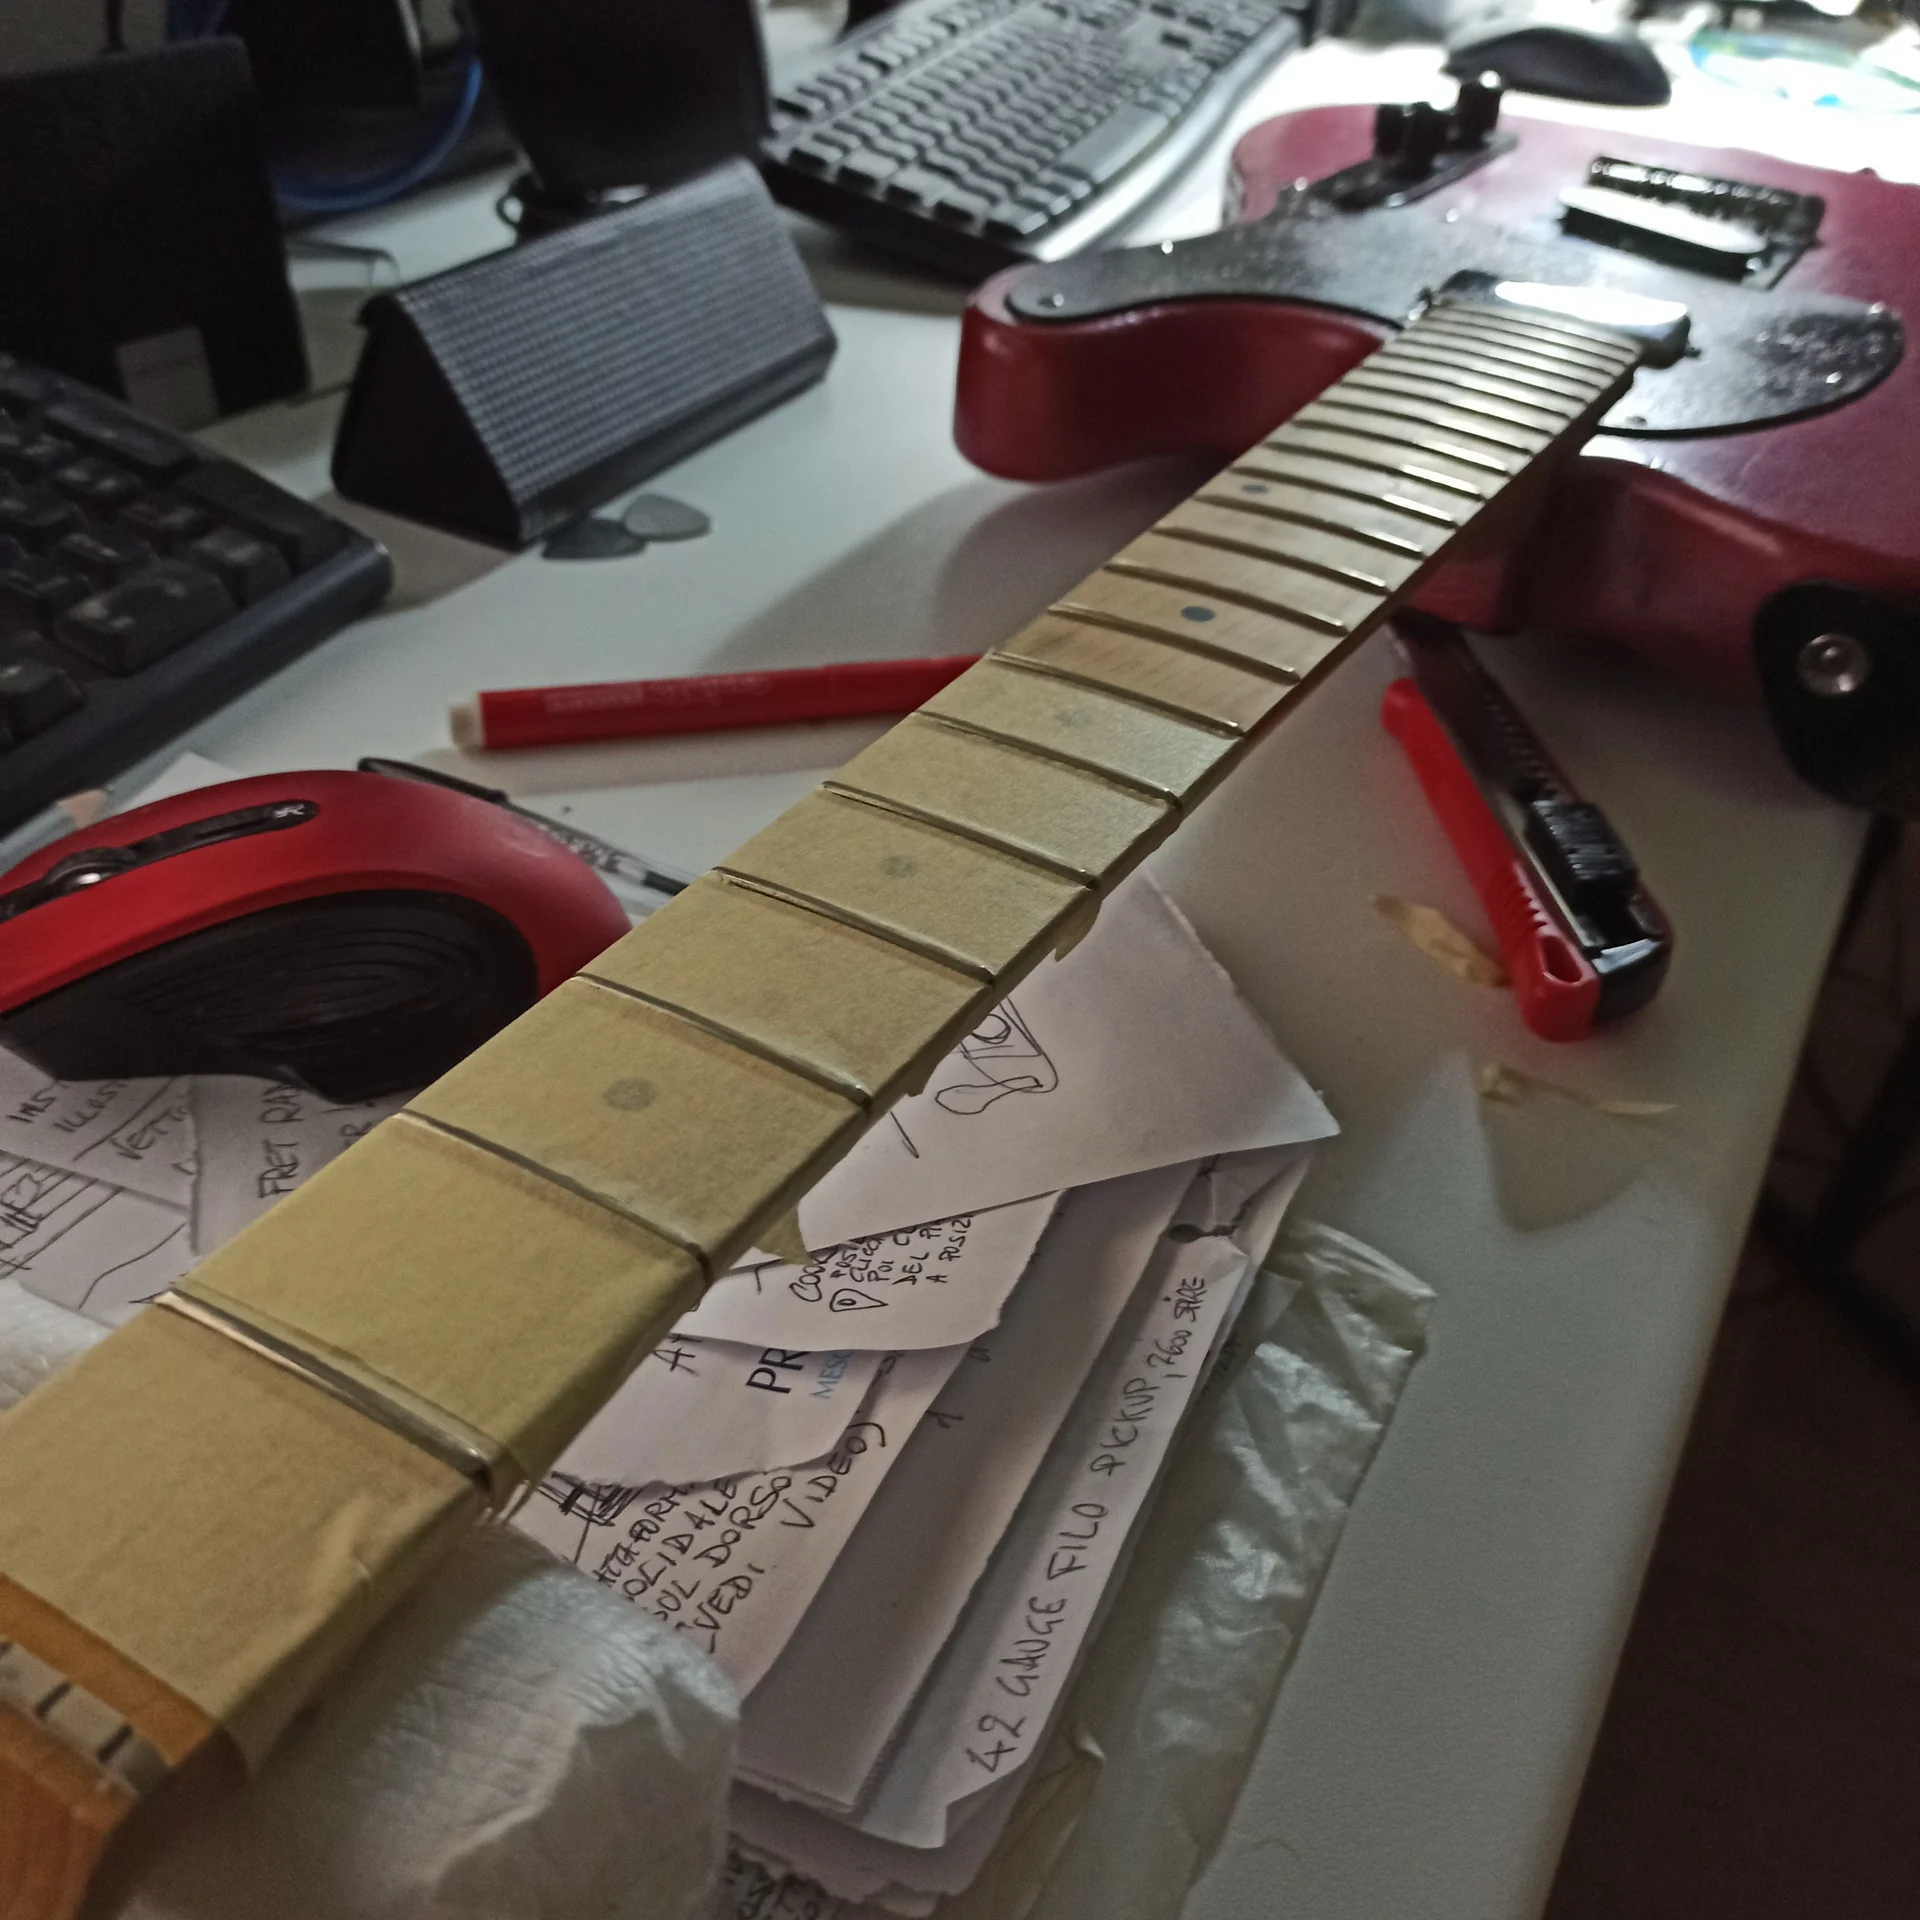
Take the masking tape and completely cover the fretboard, between each key. Be careful not to leave any gaps. This is essential to avoid sanding the fretboard wood. The tape will wear a little during the process, but it will protect the wood.4. Mark the keys
Take the permanent marker and color the top of each fret. You want to cover the entire flat surface of the fret. This will serve as a visual indicator: when you sand, the marker will disappear from the tops of the frets, showing you where you're working and which spots still need smoothing. It's like a map of your progress.The actual leveling process
Now that the handle is ready, we can get down to business. This is where the magic happens, but it's also where patience is most tested.1. The initial correspondence
Prepare your leveling beam: Apply a sheet of 220-grit sandpaper (or 240, if you can find it) to your leveling beam. Make sure it's well-adhered and free of bubbles. Some use spray adhesive, others simply secure it with double-sided tape.Start sanding: Place the beam on the frets and begin moving it with long, even strokes. The key is to use the entire length of the frets, from the nut to the last fret, covering the entire surface of the fingerboard. Don't apply too much pressure. Let the sandpaper do the work.
Check the progress: After a few passes, lift the beam and check the keys. You'll see that the marker has disappeared from the higher areas, while still present in the lower areas. Continue sanding, focusing on the areas where the marker is still visible. The goal is for the marker to disappear from everyone the frets evenly, leaving a thin, bright line on each fret.
Don't rush: This is the moment when the first time you'll feel like you're making no progress, or worse, ruining everything. This is normal. Don't worry if it takes a while. Every stroke counts. If you see particularly high frets, you can make a few more strokes on those areas, but try to keep the movement as uniform as possible across the entire fretboard. Practical tip: Keep an eye on the metal dust that forms. Remove it frequently with a cloth to prevent it from accumulating and damaging the sandpaper or scratching the keys.
2. Check with the Fret Rocker
Once you have a seemingly even surface (the marker is gone from all the frets), it's time to use your fret rocker. Place the fret rocker on three adjacent frets. If it wobbles, it means the middle fret (or one of the two outside frets) is higher than the others.Move the rocker across the fretboard, checking each group of three frets.
If you find any “hot spots” (keys that are still high), mark them again with the marker and make a few targeted passes with the leveling beam and 220 grit, until they are level.
This step is essential to ensure that there are no micro-irregularities that a visual inspection alone might not detect.
3. Repeat and refine
Once you are happy with the overall flatness, it is time to move on to the finer grits. Change the sandpaper on your leveling beam: move to 320 grit, then 400, then 600. Each time, repeat the sanding process across the entire fingerboard, using long, even strokes.The goal of these finer grits is to remove the marks left by the previous grit and begin smoothing the fret surface. With each pass, you'll see the frets become smoother and less dull.
Continue until you have used 600 grit. At this point, the frets should be smooth to the touch and have a uniform satin appearance.
Re-crowning and polishing: the finishing touch
You've done the hard work. Your frets are level. But there's a problem: their tops are flat. And a flat top means the string has less contact surface, less sustain, and a less defined sound. That's not good. We need to restore their "crown.".1. The crowning
Why re-crown? Imagine the string resting on a flat fret. It's like a flat knife. It's not ideal. Re-crowning means restoring the frets to their rounded shape, so that the string touches only a thin, precise center point. This improves sustain, note clarity, and intonation.Use the file to re-crown: Get your specific crowning file. They come in different profiles, suitable for narrower or wider frets.
The movement: Place the file on the fret and, using gentle, controlled movements, file the sides of the fret. The goal is to remove the metal from the sides, leaving only a thin, flat line at the top, which will later become the contact point for the string.
Check out the profile: Every now and then, stop and check the fret profile. It should be a nice symmetrical curve, with the highest point in the center. I use the marker again: I color the top of the fret and then file it down until the line of color is as thin as a hair. This ensures I don't file too much.
Don't overdo it: It's easy to over-file and make the fret too sharp or asymmetrical. Go slowly, check often. This is perhaps the step that requires the most sensitivity and precision.
2. Polishing
Once all the frets are re-coated, it's time to make them shine. Polished frets not only look great, but they reduce friction with the strings, making bends and vibratos much smoother. Remove the tape: Carefully remove all the masking tape from the keyboard. There may be some glue residue; you can remove it with a cloth lightly moistened with isopropyl alcohol or a specific wood cleaner.Polishing with fine sandpaper: Take the sandpaper with increasingly finer grits (800, 1000, 1500, 2000, 2500, 3000). You can cut small pieces and gently rub them on the keys, one by one, or use a small rubber block to help them hold their shape.
Polishing paste and cloth: After sanding, use a metal polishing compound (car polishes work great, or products specifically designed for frets, like Dunlop 6500). Apply a small amount to a microfiber cloth and rub each fret vigorously until it shines like a mirror.
Steel wool (optional): For a finishing touch, you can use a very fine steel wool pad (grit 0000). Gently rub it over the frets (always protecting the fretboard with tape to avoid scratching it) for an extra shine. Be sure to remove all metal residue after use; it's magnetic and can stick to the pickups!
This is the moment when your work takes shape and the keys, once dull and scratched, begin to reflect the light again. The satisfaction is immense, I assure you.
For more information on how to choose and use re-crowning tools, I recommend checking out StewMac's resource, which is a go-to resource for DIY and professional luthiers: StewMac – Fret Crowning Explained.
Final Setup: The Reward for Your Work
You have finished the fret leveling guitar and polishing. Now it's time to put everything back together and enjoy the fruits of your labor. This stage is the icing on the cake, where the guitar comes to life.1. Reassemble the strings
Put a new set of strings on your guitar. Don't skimp on this; a good set of strings always makes a difference.2. Adjust the truss rod again
With the strings tensioned, the neck will have a slight curvature. Now you need to adjust the truss rod to get the fair relief for your playability. Usually, a very slight forward bow is ideal, to allow the strings to vibrate freely without touching the frets. Hold down the lowest string (low E) at the first fret and the last fret (or where the neck meets the body).Check the gap between the string and the top of the 7th or 9th fret. There should be a minimal gap, usually between 0.15 and 0.30 mm (the equivalent of a sheet of paper or two). Use feeler gauges for an accurate measurement.
Adjust the truss rod until you achieve the desired relief. Again, small movements and time for the wood to settle.
3. Adjust the action
Now that your keys are perfectly level, you can lower the action like never before! Adjust the height of the bridge saddles by lowering them a little at a time.Play the strings open and on all frets to make sure there is no rustling.
Find the balance between low action and no buzz that you like best.
4. Check your intonation
With the new action and neck in place, it is essential to check the intonation. Play the open string and then the same note at the 12th fret. They should be identical.If the note at the 12th fret is flat (lower), move the bridge saddle toward the neck.
If it is sharp (higher), move the bridge saddle towards the body.
Do this for each string.
5. Adjust the height of the pickups
Finally, adjust the pickup height. This affects the volume, sustain, and tonal character of the guitar. Typically, the closer the pickups are to the strings, the more volume and output you will have, but also less sustain and the greater likelihood of “stratocasteritis” (string jittering due to magnetic attraction).Start with a standard setting (for example, 2-3 mm between the string and the pickup when the string is pressed to the last fret) and then adjust to your taste.
If you want to learn more about how to do a complete setup, from bridge adjustments to pickup settings, check out our guide on guitar modification and setup, there you will find a lot of tricks and practical tips.
Conclusions: You've made a giant step forward.
At this point, you've not only leveled the frets on your guitar, but you've also learned one of the most important techniques of DIY lutherie. The first time is an adventure, I know. You'll feel like you can't do it, like you've ruined everything, like you're not up to it. But every guitar I've touched has taught me something, and every mistake has been a springboard to understanding more.Remember the message that guided me from the beginning: if I could do it, you can do it too. The important thing is to have the right mindset: patience, precision, and the desire to learn from your mistakes.
Now, pick up your guitar. Play a chord. Bend a string. Hear the difference? That perfect action, that clean, hiss-free sound, that feeling of having an instrument that responds. exactly the way you want it… that's your reward. And the satisfaction of having done it with your own hands, in your garage, is something no professional luthier can ever give you. Congratulations, you've just taken your DIY experience to the next level.
See also
Download the Luthier Survival Kit
Free PDF with checklist, problem-cause table and project card template.
 English
  Italiano
Stuck on your build?
If you ran into the same problem or have a question, drop it in the comments. I read and reply to every one.
Write a comment