


Installing the keys: a step-by-step guide
I know, I know. Fretting a neck is that step that makes many people break out in a cold sweat. It's a bit like a baptism of fire for those venturing into DIY electric guitar building. Up to this point, you've cut the wood, maybe glued the fretboard, shaped the neck to your liking. But then they arrive, the fret. And there you think: “What if I make a mistake? What if they come out crooked? What if they all buzz?”.I understand, believe me. The first time I had to tackle fret installation, I felt exactly like that. I had bought a kit for my first Stratocaster, and the neck was there, smooth, perfect. Then I looked at the fret wire and thought: “Ok, Mimmo, this is the point of no return. If you mess this up, you've messed up everything”. Well, it didn't go that badly, but it took me an infinite amount of time and I made some mistakes that today, with hindsight, I would have gladly avoided.
This article is not intended to be the bible of professional lutherie. I won't tell you that you need tools worth thousands of euros. I'll tell you what I learned, in my garage, making mistakes and redoing things, to give you the tools and confidence to tackle this crucial step. Because if I did it, you can do it too. All it takes is a little patience, the right tools (the ones you really need, not the ones that “would be nice to have”) and the willingness to learn from mistakes.
Preparation is Half the Work: The Secret to a Well-Done Fret Job
Ok, neck prepared, tools ready, heart in throat. Let's start fretting.
Cutting and Preparing Fret Wire
Advertising
Guitar String Winder, String Cutter, Bridge Pin Puller, Professional 3-in-1 Tool Kit for Acoustic and Electric Guitars, Sturdy Peg Winder String Changing Tuner Maintenance
See on Amazon

Installing Frets: Hammer or Press?
Both methods work, but they have pros and cons.Method 1: The Fret Hammer
The most traditional method and often the first approach for many hobbyists. 1. Positioning: Place the fret in its slot, ensuring it is centered and that the ends protrude evenly.n2. The First Taps: Start with a light tap in the center of the fret to “seat” it. Then, with firm but controlled taps, move towards the ends, alternating sides. Don't hit with full force in one spot! Distribute the energy.n3. The Sound: When the fret is well seated, the sound it produces when you hit it will be dull. If you hear a “metallic” and resonant sound, it means there is still air under the fret and it is not well seated.n4. Stand: It is essential to support the neck under the fret you are hammering. You can use a block of hardwood, perhaps with a V-groove for the neck. This prevents the hammer's force from being discharged onto the neck, risking damage or bending it. Pros of the hammer: Economical, portable, gives you direct feedback.Cons of the hammer: Requires a lot of practice to develop the right “feel”, risk of denting the fret or fretboard if you miss a stroke, more difficult to control on very wide frets.
Method 2: The Fret Press
This is my preferred method now, even with a manual bench press. It offers superior control and even pressure distribution. 1. Positioning: Place the fret in the slot, as before.n2. Radiused Block (Caul): Choose the block with the correct radius for your fretboard. Attach it to the press.n3. Pressure: Position the neck so that the fret is under the block. Apply gradual and constant pressure. You will see the fret slowly descend into the slot.n4. Verify: Once the fret is fully inserted, release the pressure. Check that it is perfectly seated along its entire length. Pros of the press: Much more controllable, less risk of cosmetic damage, even pressure distribution, ideal for wide frets or hard woods.Cons of the press: Higher initial cost, less portable. A tip from Mimmo: If you can afford it, even a small manual press is worth the investment. It takes a lot of stress off you. I've even seen people use a carpenter's vise with a radiused block: ingenious!
Glue: Yes or No? And Which One?
This is a million-dollar question in lutherie forums. Without Glue: If the slots are perfect and the fret wire is the right size, the friction between the fret barbs and the wood should be enough to hold it in place. Many professional luthiers do not use glue unless strictly necessary.With Glue (optional): There are cases where glue can be useful or necessary:
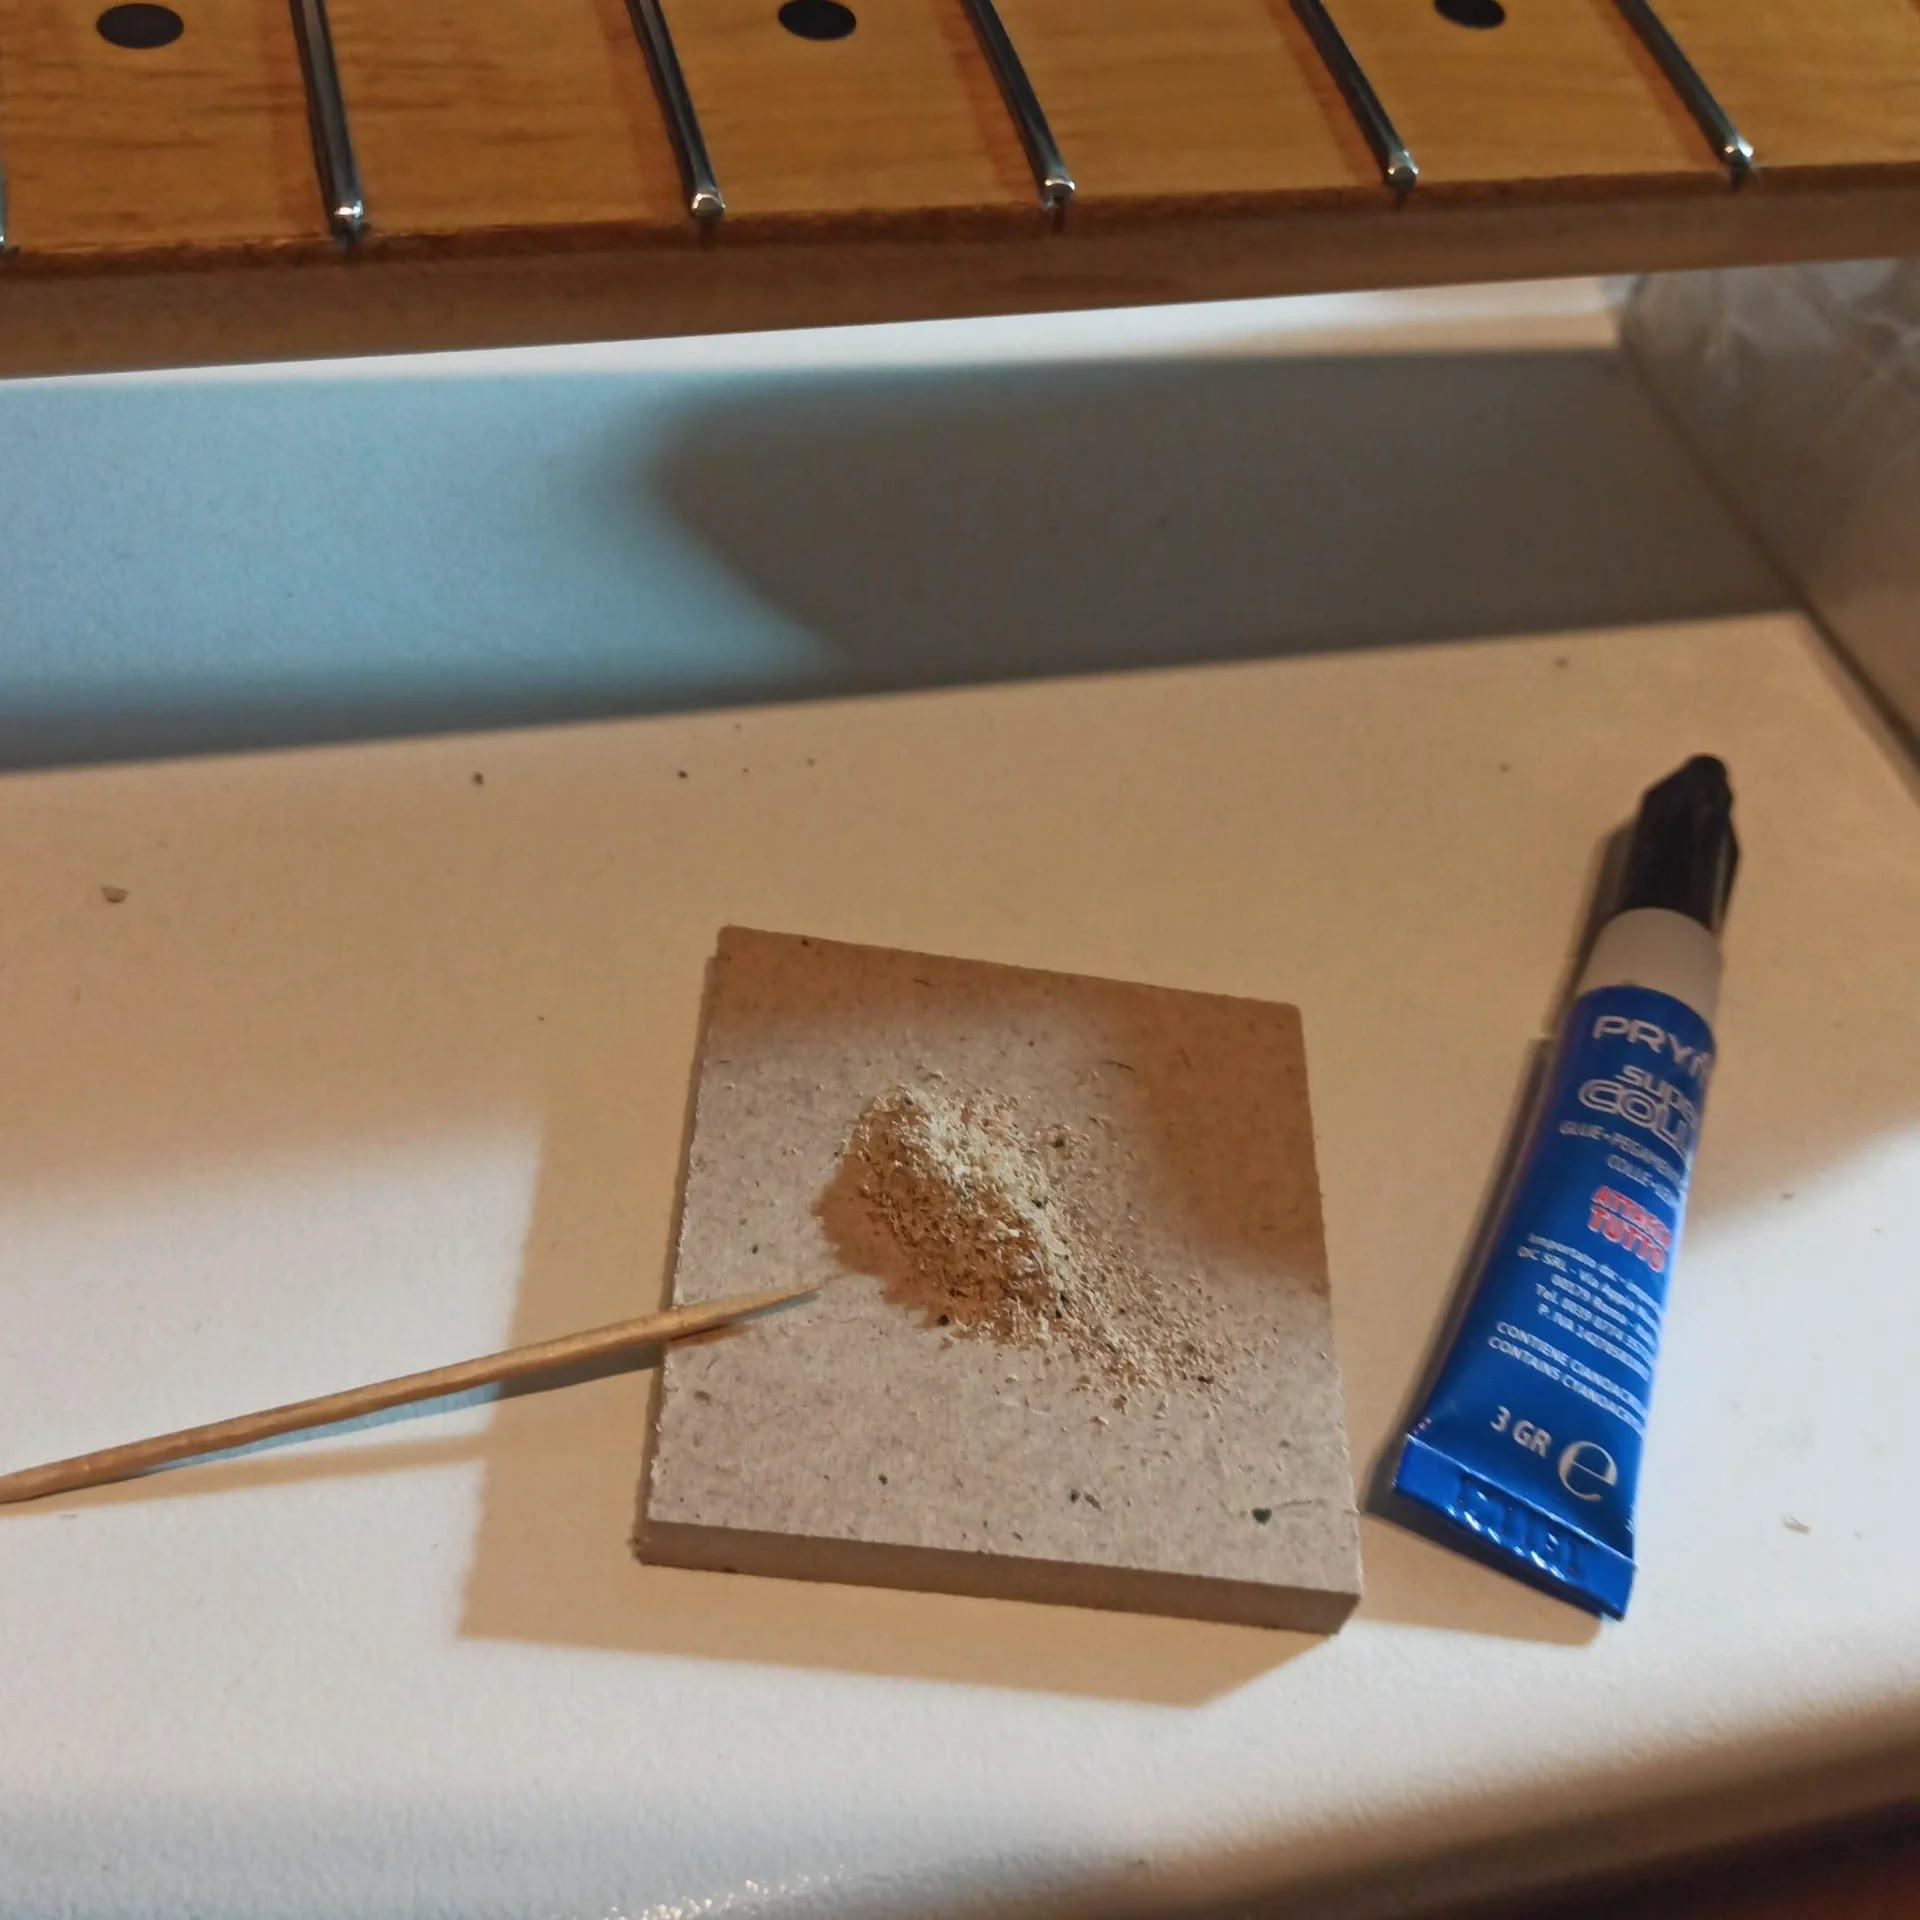
Loose frets: If a fret doesn't hold well, a drop of low-viscosity cyanoacrylate glue (Super Attack) can save it. Apply a drop under to the ends of the fret and then press it. Capillarity will do the rest. Be careful not to let it drip onto the fretboard.
Extra stability: On particularly delicate necks or soft woods, or simply for peace of mind, you can use a dab of two-component epoxy glue (the 5-minute one is fine) in the channels before inserting the fret. Don't overdo it, very little is enough. Epoxy has the advantage of being more flexible and better filling any small imperfections.
I usually don't use glue unless it's strictly necessary. I prefer the fit to be mechanical. But if a fret gives me trouble, I don't hesitate to use a micro-drop of cyanoacrylate. I've learned that sometimes a little chemical help is better than a fret that doesn't seat well.
After Installing the Frets: A First Check
Once all the frets are in place, do a first visual check.Are they all well seated? Are there no gaps between the fret and the fretboard?
Do the ends protrude evenly?
Is no fret crooked or tilted?
If you find a fret that is not well seated, do not try to hammer it more. It is likely that there is residue in the channel or that the tang is bent. The best thing to do is to extract it with fret pliers, clean the channel, straighten or replace the fret, and reinstall it. Believe me, it's better to lose 5 minutes now than hours later trying to fix a persistent buzz.
Leveling, Beveling, and Polishing: The Finishing Touch That Makes the Difference
You've installed the frets. Great! But the job isn't finished. In fact, the most crucial part for playability begins now: leveling. Even frets installed with the utmost precision will have small differences in height. This is normal. We need to remove them.Why is Leveling Crucial?
Imagine playing a note and hearing an unpleasant “buzz”. Most likely, it's because the fret next to the one you're pressing is slightly higher, and the string hits against it. To have a low, comfortable action without buzzing, all frets must be perfectly aligned.The Leveling Process (Fret Leveling)
1. Protect the Fretboard: Apply paper adhesive tape (masking tape) to the fretboard, between each fret. This will protect it from scratches during filing. I use blue painter's tape, the kind that peels off without leaving residue.n2. Straighten the Neck: This is fundamental. You need to simulate string tension. The simplest way for a hobbyist is to use a fret leveling jig that supports the neck and keeps it perfectly straight. If you don't have a jig, you can mount the neck on a flat base and clamp it, or, with great caution, do the leveling freehand, but it's harder to maintain uniform pressure. I have a homemade jig, with two wooden strips and clamps. It works.n3. Leveling: Take your leveling beam. Glue medium-grit sandpaper (e.g., 220 or 320) onto it. Pass the block back and forth over all the frets, with uniform pressure and long, straight movements.The Goal: You will notice that the sandpaper will leave marks on the highest points of the frets. Continue filing until all frets, along their entire length, show uniform filing marks. This means you have removed all high spots and the upper surface of the frets is now perfectly flat.
Check often: Every now and then, clean the metal dust and check your work. You can use a permanent marker to color the top of the frets: filing will remove the color from the high spots, making it easier to see where you still need to work.n4. Check with the Fret Rocker: After leveling, use a fret rocker for a final check. This is a small ruler with three sides of different lengths. Place it on three adjacent frets (e.g., 1-2-3, then 2-3-4, etc.). If the ruler “rocks” (wobbles), it means the middle fret is lower than the other two, or one of the two outer ones is too high. You will need to go back and file a bit more. This is an inexpensive but essential tool for a good job.
Fret Crowning (Fret Crowning)
After leveling, your frets will have a flat surface on top. But a flat fret is not ideal. It has too wide a contact point with the string, which can affect intonation and feel. We need to restore the fret to its original domed shape. 1. The Crowning File: Use a crowning file. They come in different shapes and with different grooves to fit frets of various sizes. Choose the right one for your frets.n2. The Process: Gently and patiently, file the sides of each fret, restoring its dome shape. The goal is to leave only a thin flat line on the top of the fret, which will be the contact point with the string.n3. Check: As you work, check frequently. It's easy to overdo it and make the fret too pointed, or too flat. The important thing is that the top of the fret is rounded and that the highest point is exactly in the center.Edge Beveling (Fret Beveling)
The frets now protrude slightly from the sides of the fretboard. We need to bevel these edges to make them comfortable to the touch and to prevent fingers from getting caught. 1. Beveling File: There are specific files for this, with a predefined angle (usually 35 degrees). I have one and it changed my life. Before, I used a flat file and went “by eye”, with results that were not always optimal.n2. The Process: Run the file along the edge of the fretboard, beveling all the frets simultaneously. Be careful not to damage the fretboard wood. Paper masking tape helps, but you need to be precise. The goal is for the frets to be flush with the fretboard or slightly recessed, and for the angle to be uniform along the entire length.n3. Rounding the Ends: After beveling, the ends of the frets will still be a bit “sharp”. Use a small half-round file or folded sandpaper to gently round each individual end. This is a fine detail job, but it's what makes the difference between a “homemade” neck and a “well-made” neck.To further improve the playability and comfort of your instrument, good fret installation and finishing is the foundation. Remember that even the guitar modifications most radical changes, like a pickup swap or a new bridge, will not be able to compensate for a poor fret job.
Fret Polishing
Now the frets are leveled, crowned, and beveled. But they are dull and full of scratches from filing. We need to make them shine! 1. Progressive Grits: Use progressively finer grit sandpaper. I usually start from 400, then 600, 800, 1000, 1500, up to 2000 or 2500. You can use small wooden blocks with sandpaper glued on, or, for the more meticulous, specific abrasive sticks.n2. The Method: Work on each fret individually, or on small groups of frets, always with longitudinal movements. Each time you change grit, make sure you have removed all marks from the previous grit.n3. Polishing Compound: After the fine grits, you can use a metal polishing compound (like those for cars or jewelry) with a soft cloth. This will give your frets a mirror finish. Polished frets are not only beautiful to look at, but they also reduce friction with the strings, making bends smoother.Common Mistakes and How to Fix Them
As I told you at the beginning, I've made almost all these mistakes. And that's okay, the important thing is to learn. 1. Frets Not Seated Well: The most common. If you see a gap between the fret and the fretboard, the fret is not seated.Cause: Clogged slot, bent tang, slot too narrow (or too wide).
Solution: Don't hammer more! Extract the fret with pliers, clean the slot, check the fret, and reinstall it. If the slot is too wide, you can try a drop of low-viscosity cyanoacrylate.n2. Fret Sprout (Frets that Sprout): The ends of the frets protrude from the sides of the fretboard, like small thorns.
Cause: Humidity variations. The wood shrinks, the frets don't.
Solution: You can gently file the protruding ends with the beveling file, then round them. If the problem is severe, sometimes it's necessary to extract the frets, add some glue, and reinsert them. But prevention is the best cure: try to control humidity.n3. Damaged or Dented Frets: During installation or filing.
Cause: Hammer used incorrectly, little protection during filing, wrong tools.
Solution: If the dent is small and superficial, sometimes it can be sanded away during polishing. If it's deep, the only solution is to extract the fret and replace it. That's why it's always good to have some spare fret wire.n4. Scratched Fretboard: Cause: Little protection with adhesive tape, slipping files or tools.
Solution: If the scratches are superficial and the wood
See also
Download the Luthier Survival Kit
Free PDF with checklist, problem-cause table and project card template.
 English
  Italiano
Stuck on your build?
If you ran into the same problem or have a question, drop it in the comments. I read and reply to every one.
Write a comment