

Keys Guitar Nickel Silver: The Ultimate DIY Guide
So, let's be clear. The moment to install frets, or refret, is one of those that makes you break out in a cold sweat, right? I'm telling you, I've been there. The first time I had to tackle the neck's fretwork on one of my builds, I slept little for a week. Fear of ruining everything, of making an irreparable mess. But you know what? With a little patience, the right tools (or almost, since we're hobbyists) and some tips, it's a job you can do. And how you can. And the satisfaction, believe me, is priceless.Today we dive into the world of nickel silver frets for guitar. They are the daily bread of lutherie electric, the most common material you find on almost all guitars, from entry-level to professional models. But it's not just a matter of 'they are the most common', there's a reason. And there are also many details that make the difference between a neck that sounds like a dream and one that makes you want to throw the guitar from the balcony. I'm not a luthier with years of workshop experience, you know. I'm someone who, like you, learned through trial and error, a few curses, and a lot, a lot of curiosity. I ruined a couple of necks, yes. I learned that haste is the worst advisor and that, sometimes, the 'pro' tool can be replaced with a good idea and a bit of manual skill. So, if you're wondering if you're up to a job like this, the answer is yes. If I succeeded, you can too.
In this guide, we'll see everything there is to know about nickel-silver alloy fret wire: what they are, why they are used, how to choose them, how to install them and, above all, how to avoid the most common mistakes I made myself. I'll give you practical advice, those I've gathered from forums, from videos of those who know more than me, and from my own field experiences. Get ready, because by the end of this article you'll have much clearer ideas, and maybe even a little more courage to tackle your next project.
What Are Nickel Silver Frets and Why We Like Them (or Not)
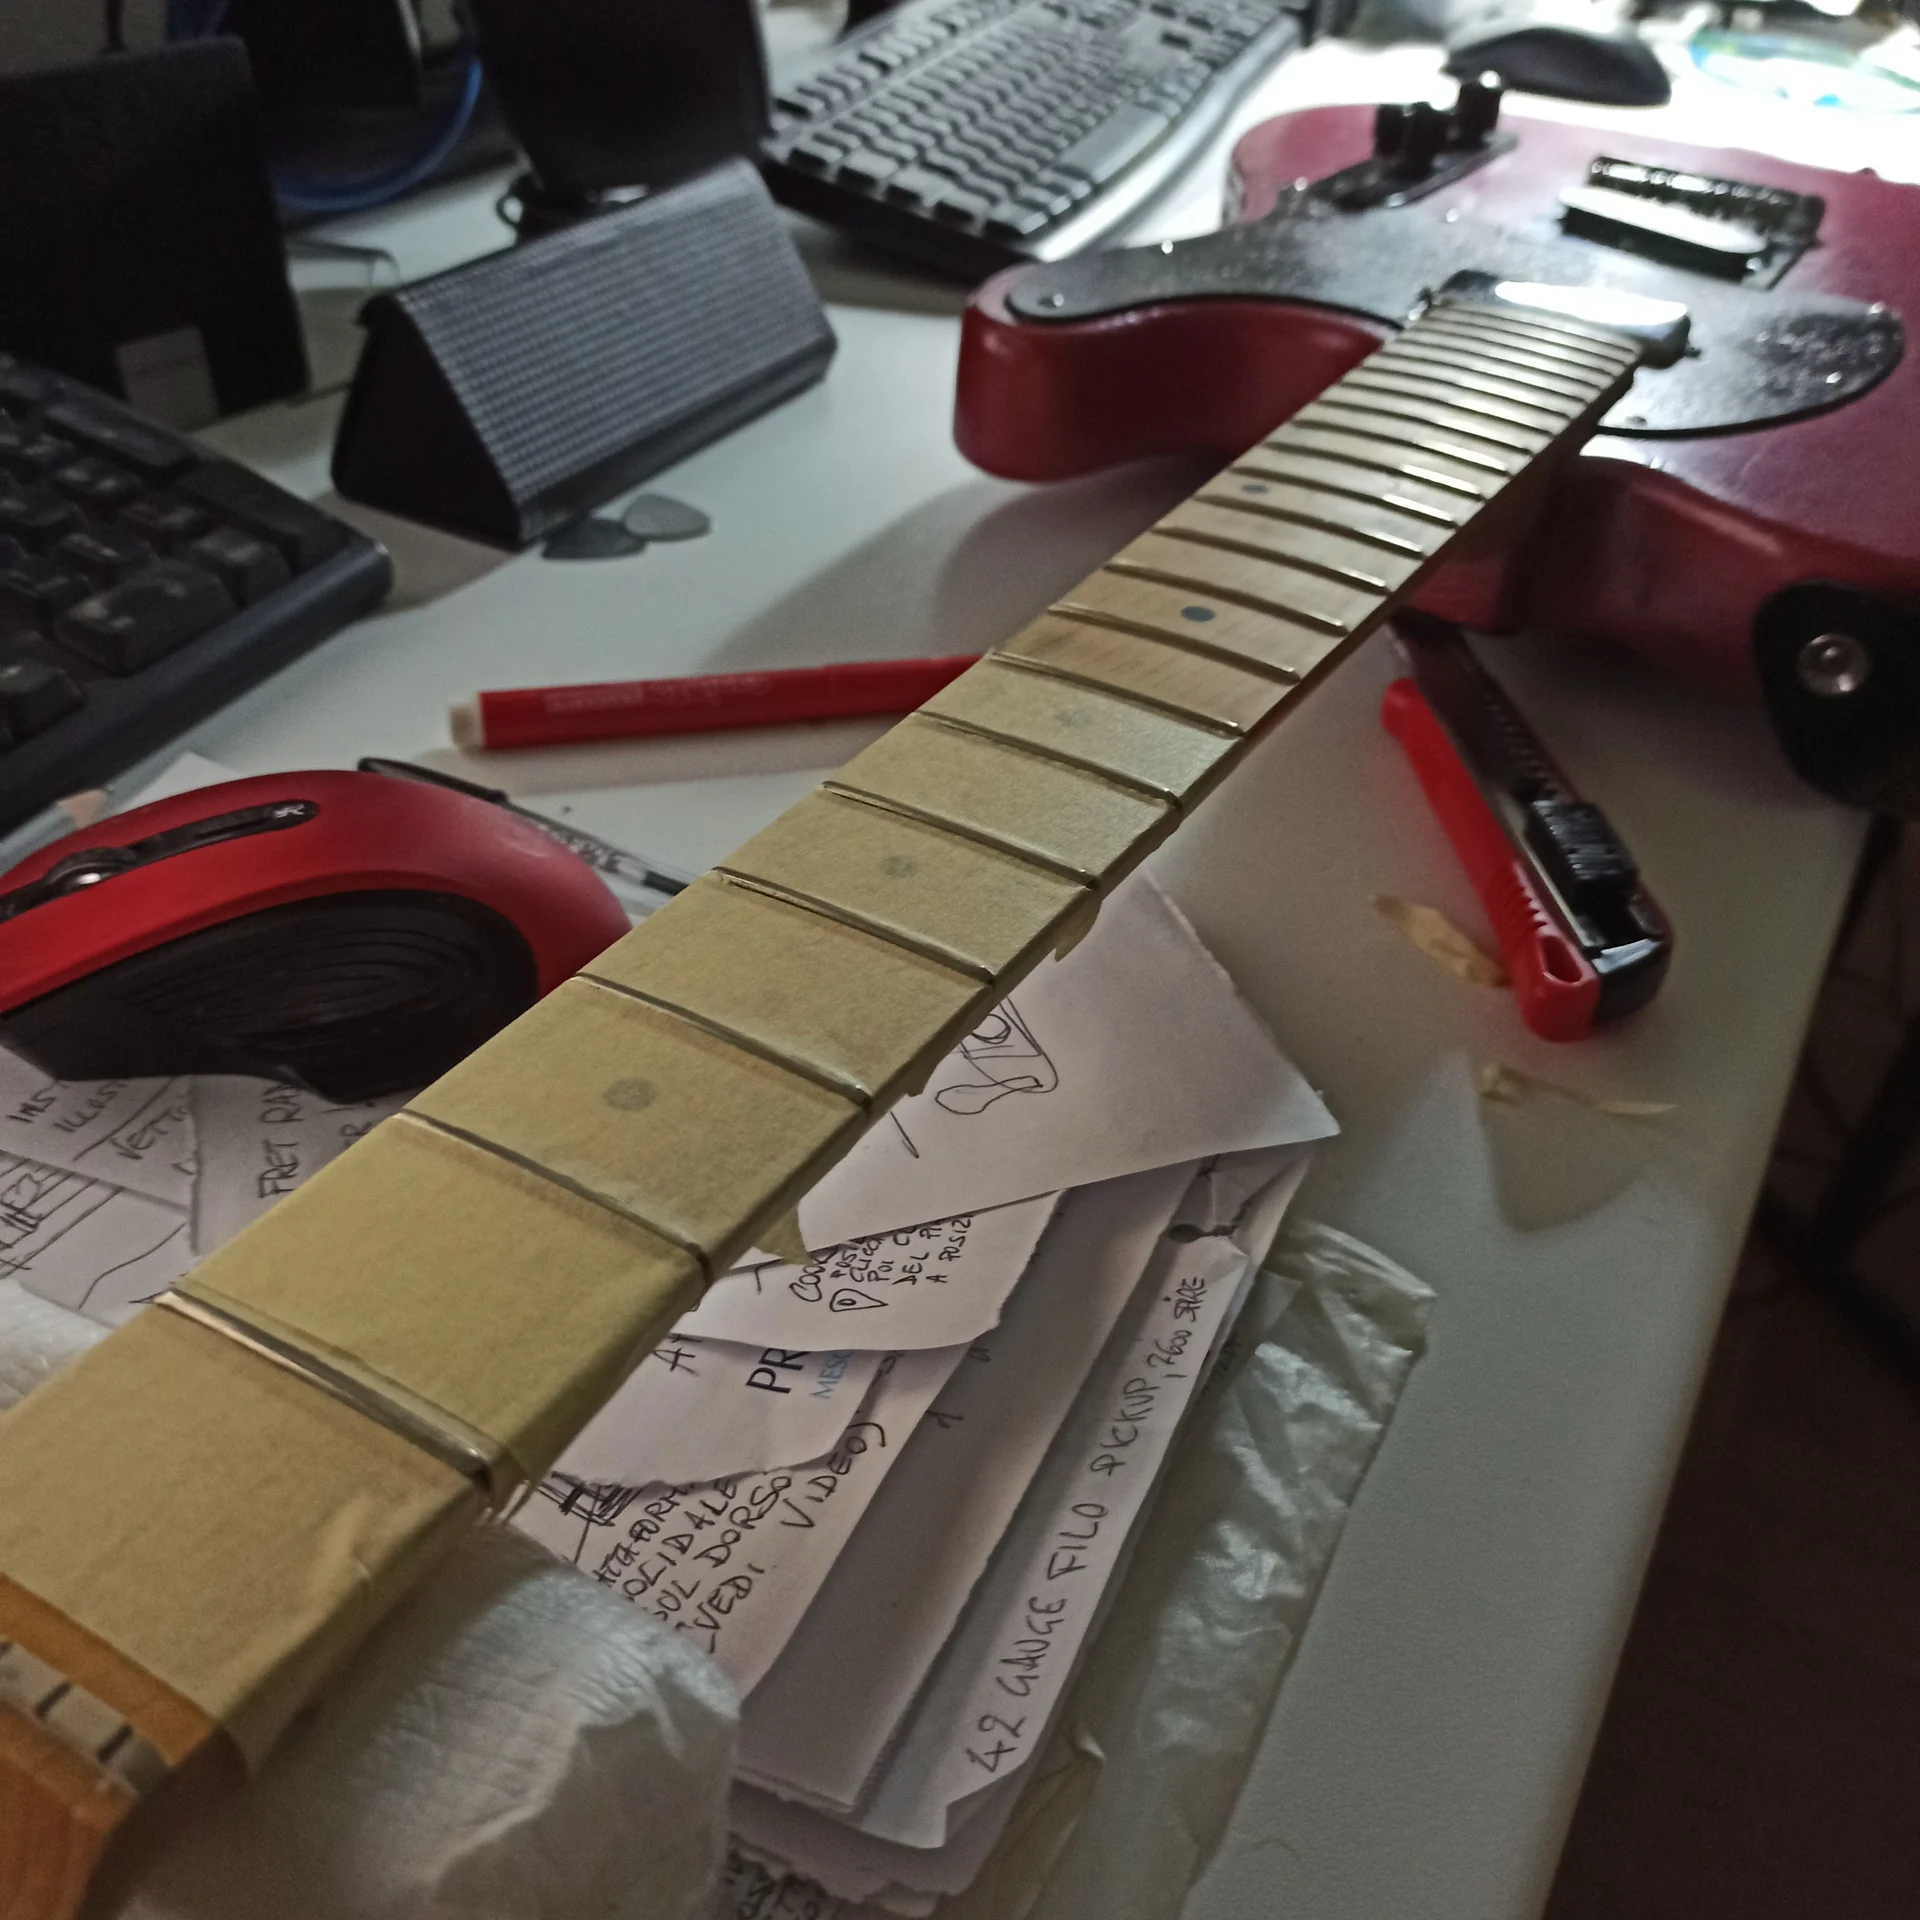
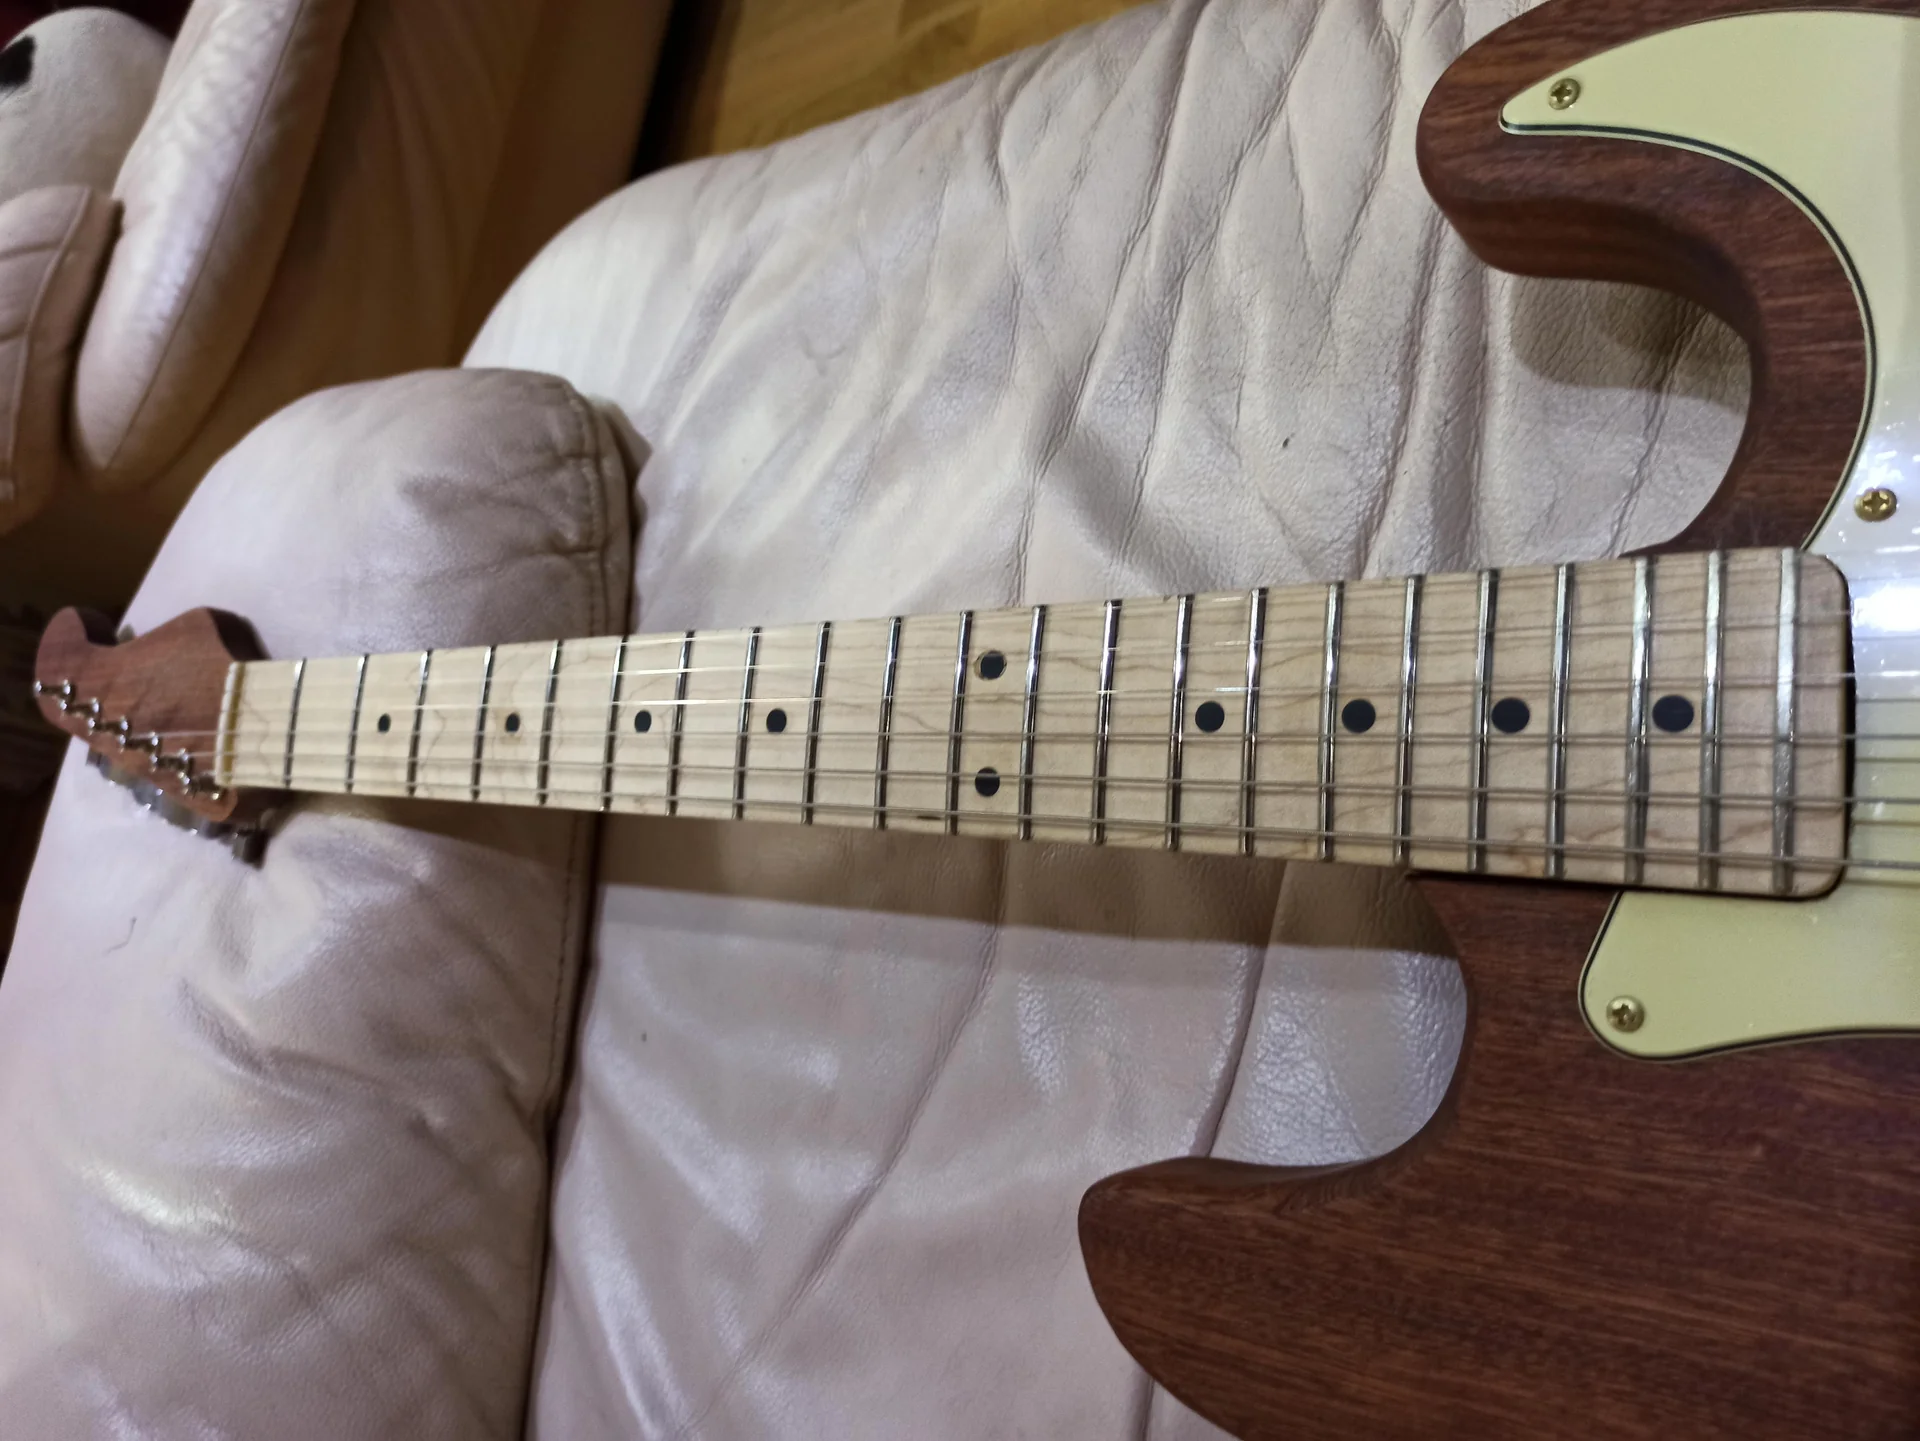
Okay, we've decided on nickel-silver. Great. But it's not over yet. Frets are not all the same. They have different shapes and sizes, and these differences significantly affect the playability of your guitar. This is a point where many hobbyists, including myself at the beginning, tend to underestimate the importance of the choice. It's not just aesthetics, it's pure ergonomics.
The first time I refretted a neck, I took the first set of fretwire I found online, without thinking too much. Result? Frets too low for my taste, tiring bends, and a general feeling that just didn't convince me. I had to redo everything, and believe me, it's not fun. From there I learned the importance of understanding measurements.
When we talk about fret 'profile', we mainly refer to three dimensions: 1. Width: How wide is the fret on the surface of the fretboard.n2. Height: How much the fret protrudes from the surface of the fretboard.n3. Crown (Crown): The shape of the top part of the fret, which can be flatter, more rounded, or more pointed.
These measurements are often expressed in millimeters or inches. Many manufacturers, such as Dunlop or Jescar, have standard nomenclatures for their profiles.
The Main Categories
There are three main categories of profiles, which cover most needs: Vintage (or Small): These are the narrowest and lowest frets (e.g., Dunlop 6230, Jescar 43080). You find them on many vintage guitars or faithful replicas. They offer a very direct feel with the fretboard. To do bends, you have to press harder on the string, because your fingertip also touches the wood. Some love them for their precision, others hate them because they find them tiring. If you have a Strat ’50s replica, it's likely to have these.

Medium Jumbo: A good compromise (e.g., Dunlop 6105, 6150, Jescar 47095, 51100). They are a bit wider and/or taller than vintage frets. They are extremely versatile and adapt to almost all musical styles. They allow for easier bends compared to vintage frets without being exaggerated. They are a safe choice if you don't know what to get. Personally, I find them great on most of my guitars.
Jumbo (or Large): The largest frets, both in width and height (e.g., Dunlop 6100, Jescar 57110). They offer a wide contact surface for bends and vibrato, almost as if you were playing “on air”, without touching the fretboard wood. Many shredders and modern guitarists prefer them for speed and ease of execution. The downside is that, if you're not used to them, you might feel like you're intonating slightly “sharp” due to the greater height.
How to Choose Your Profile
The choice of profile is very personal. There is no “right” or “wrong”, there is only what makes you feel most comfortable. 1. Try Different Guitars: The best way to understand what you like is to try. Go to a music store, pick up different guitars with known fret profiles and play them. Pay attention to how bends, vibrato, and chords feel.n2. Measure Your Current Keys: If you have a guitar that you love for its feel, take a precision caliper and measure its frets (width and height). Then look for a similar profile.n3. Consider Your Style: Do you do a lot of extreme bends and vibrato? Jumbo frets might be for you. Are you looking for precision and a more “vintage” feel? Small or medium small might be the choice. If you're in the middle, a medium jumbo is almost always a winning bet.n4. Don't Be Afraid to Experiment: Remember my story. Sometimes you only learn by trying. If you are building a guitar from scratch, you might want to try a different profile than what you're used to. Maybe you'll discover a new love!Here's a small summary table of some common profiles, just to give you an idea of the numbers: | Manufacturer | Model | Width (mm) | Height (mm) | Typical Description |
| :——— | :—— | :————- | :———– | :—————– |
| Dunlop | 6230 | 2.03 | 1.02 | Vintage Small |
| Dunlop | 6150 | 2.67 | 1.04 | Vintage Jumbo |
| Dunlop | 6105 | 2.29 | 1.40 | Narrow Tall (Medium Jumbo) |
| Dunlop | 6100 | 2.79 | 1.47 | Jumbo |
| Jescar | FW43080 | 1.09 | 0.76 | Small Vintage |
| Jescar | FW47095 | 1.19 | 1.09 | Medium (Medium Jumbo) |
| Jescar | FW51100 | 1.29 | 1.29 | Medium Jumbo |
| Jescar | FW57110 | 1.45 | 1.45 | Jumbo | These are just examples, measurements may vary slightly between manufacturers. Always check the supplier's specifications at the time of purchase.
A small tip: if you are refretting a neck, make sure the fret width is compatible with the width of the existing slots. There is usually some tolerance, but it's best not to overdo it.
Preparing the Neck: The Foundation for Clean Work
Ok, you've chosen yours fret wire nickel silver, the measurements are correct. Now comes the “preparatory” part, which is often the most tedious but, believe me, it is fundamental. A good fretting job depends 90% on impeccable neck preparation. If the slots are not clean, of the right depth and width, the frets will not sit well. And a fret that doesn't sit well is a fret that will give you problems: buzzing, wobbly intonation, and maybe it will pop out after a while.I learned the hard way that skipping steps here only means having to redo everything later. Haste, as we said, is a bad beast.
Cleaning and Preparing the Slots
If you are refretting a neck, the first thing to do is to remove the old frets. Be careful not to damage the fretboard wood. There are specific tools for this, such as fret pliers. Slightly heat the frets with a soldering iron or a heat gun (with caution!) to soften any glue and make them come out more easily.Once the old frets are removed, the slots will likely be full of glue, dust, and residue. They need to be thoroughly cleaned. 1. Remove Residue: Use a small screwdriver, a utility knife, or a thin scraper to remove larger pieces of glue and wood. Be gentle, do not widen the slots!n2. Clean with a Thin Blade: I use a fret saw blade that I no longer use, or a cutter blade mounted on a handle, to go inside each slot and thoroughly clean the walls and bottom. The goal is to have a smooth and uniform slot.n3. Check the Width: The slots must be slightly narrower than the tang (the part of the fret that goes into the wood) of your new fret wire. This ensures a firm grip. If the slots are too wide, the frets might not hold well. In that case, you might have to add a drop of glue (cyanoacrylate, like Super Glue) to secure them, but it's better to avoid it if possible. If they are too narrow, you will have to widen them slightly with a fret saw.
Mimmo's tip: Measure the tang of your fret wire with a precision caliper. Then, check the width of the slots. Most nickel silver frets has a tang of about 0.5-0.6mm. Professional fret saws have specific thicknesses (e.g., 0.023″ or 0.025″, about 0.58mm or 0.63mm). If you are using a fret saw, make sure the blade is the correct width for your fret wire.
Slot Depth: A Crucial Detail
This is a mistake I made several times at the beginning. If the slots are not deep enough, the fret will not sit completely. If they are too deep, the fret might sink too much and not have a solid grip. Measure the Tang Depth: The tang of your nickel-silver fret has a certain depth. The slots must be at least of that depth, or slightly more. I always add half a millimeter, just to be safe.Check the Depth: You can use a depth gauge or, more simply, a small piece of wood with a pointed end, marking the desired depth. Insert and check. It seems like a small thing, but having all slots at the same depth is fundamental for a good result.
Uniformity: Make sure each slot has the same depth along its entire length. An uneven bottom will prevent the fret from sitting uniformly.
Fretboard Preparation: The Perfect Radius
Before fretting, the fretboard must be in perfect condition. 1. Leveling: If the fretboard is not perfectly flat (or with the correct radius), the frets will not be. If you are building a neck from scratch, make sure the fretboard is level and has the correct radius before cutting the slots. If you are refretting, check that the fretboard has no deformations.n2. Radius: Frets must be pre-bent to the fretboard radius. Therefore, it is essential to know what the radius of your neck is (7.25″, 9.5″, 12″, 16″, compound radius…).n3. Wood Conditioning: If the fretboard is very dry, it might be useful to lightly hydrate it with a specific fretboard oil. Wood that is too dry is more fragile and might chip when you insert the frets. Well-conditioned wood is more elastic. Essential Tools for Preparation: Fret Pliers: To remove old frets.Fret Saw: To clean and, if necessary, widen the slots.
Precision Caliper: Essential for measuring width and depth.
Scraper/Cutter: For the most stubborn residues.
Radius Blocks: If you need to sand the fretboard to restore the radius.
Remember: patience is your best friend at this stage. Don't rush, double-check, and if something doesn't convince you, redo it. Better to lose 10 extra minutes now than to have to dismantle everything later.
Fret Installation: The True DIY Challenge
Here we are at the heart of the problem, or satisfaction, depending on how it goes. The installation of the nickel silver frets is the moment of truth. Here you understand if all the preparation done before has paid off. I won't lie to you, it's a job that requires precision and a steady hand. But it's not magic, it's just technique. And, like any technique, it can be learned.The first time I fretted a neck, I was terrified. I used a rubber mallet and tapped so gently that the frets wouldn't go in. Then I tapped too hard and chipped a small piece of the fretboard. Moral: it takes the right balance.
Step-by-Step: Installing Your Fret Wire
This is my approach, one I've refined after several attempts.1. Cutting the Frets
Measure: Measure the width of the fretboard at each slot. The frets should be slightly longer than the width of the fretboard. I usually leave an extra millimeter or two on each side, so I can trim them calmly later.Cut: Use a specific fret nipper. They are robust and leave a clean cut. If you use normal pliers, you risk deforming the fret or damaging the blades. Cut one fret at a time, measuring each time, because the width of the neck can vary slightly.
2. Pre-bending (Radius Matching)
This step is crucial for nickel-silver frets and for any other material. Frets are not flat; they must have the same radius as the fretboard. Why: If you try to insert a straight fret onto a curved fretboard, the ends will lift. The fret will not sit properly, and you will have problems.As: You can use a specific tool called a “fret bender”. It's a machine with rollers that allows you to give the fret exactly the desired radius, or even a slightly narrower than that of the fretboard. This is a trick I learned: if you bend the fret with a slightly tighter radius, when you insert it, the pressure will tend to make it adhere perfectly to the center and push the ends downwards, ensuring an excellent fit.
DIY Alternative: If you don't have a fret bender, you can bend the fret wire by hand around a wooden block with the right radius, applying even pressure. It's not as precise as the tool, but for a few frets it can work. Be patient and check the radius often.
3. Installing Frets: Tapping or Pressing?
Here a debate opens, but for the hobbyist, the options are two. Hammer Method (Tapping): It's the most traditional method and the one I've used for years.1. Positioning: Place the pre-bent fret into the slot, aligning it perfectly.
2. Protection: Place a wooden block or a piece of rigid plastic over the fret, to protect it from hammer blows and distribute the force.
3. Hammer: Use a rubber or soft plastic hammer. Start tapping gently at the ends, moving towards the center. The goal is to get the fret in evenly.
4. Verify: Check that the fret is fully seated, with no gaps between the fret and the fretboard. You can use a magnifying glass or simply run your fingernail along the edge. If you see a gap, tap again.
Pain Point: The risk is not hitting evenly, causing a crooked fretting or damaging the wood. Or hitting too hard and sinking the fret too deep.
Mimmo's advice: Don't hit hard. Hit decisively but with many small, rapid, and uniform taps. Imagine you want to make the fret vibrate to make it go down, not to break it through. And always start from the center, moving towards the edges, or vice versa; the important thing is to follow a uniform logic. Press Method (Pressing): This is the preferred method by professionals and, if you have the equipment, it's much more controlled.
1. Equipment: You need a fret press (it can be a modified drill press, a dedicated hand press, or a cam system) and “cauls” (inserts) with the correct fretboard radius.
2. Positioning: Place the fret in the slot. Position the caul with the correct radius over the fret.
3. Pressure: Apply pressure with the press. The force is distributed evenly over the entire fret, seating it cleanly and precisely.
Advantages: Lower risk of damaging the wood, more uniform seating, less noise!
Disadvantages: Cost of equipment. But an inexpensive drill press, with the right accessories, can do an excellent job. I modified my drill press from Brico for this and it works great.
4. Tang Fixing (Glue, if Necessary)
Normally, if the slots are the right width and the frets are pre-bent correctly, the pressure of the tang against the wood should be enough to hold the fret in place. However, sometimes, especially on older necks or with slightly widened slots, a touch of glue can be useful. Type of Glue: Cyanoacrylate glue (Super Glue) with low viscosity.Application: After fretting the fret, apply a tiny drop of glue to the sides of the fret, right where the tang enters the wood. The glue will penetrate the slot by capillarity, securing the fret.
Attention: Use very little! Too much glue can make a mess, end up on the fretboard and make it dull or sticky. Clean up any excess immediately.
5. Trimming the Ends
Once all the frets are installed, you will have ends protruding from the sides of the fretboard. They need to be trimmed. Wire cutters: Use the fret nippers again to cut the ends flush with the fretboard. Try to make the cut as flush as possible to reduce subsequent filing work.File: Use a flat, fine file to finish the ends, making them perfectly flush with the edge of the fretboard. Be careful not to file the wood of the fretboard! You can protect it with masking tape.
Beveling: After trimming, the ends will be sharp. Use a small file to slightly bevel the edges, making them more comfortable to the touch and less “sharp” when you slide your hand along the neck.
Fretting is a job of patience and precision. Each fret deserves the same attention. Check and recheck. A poorly fretted fret will give you problems for the entire life of the guitar, or at least until you decide to do it again. And, speaking of modifications and improvements, remember that bracing is just one of the many operations you can do to customize your instrument. If you're interested in learning more, I've written an article on how to approach the edit guitar in general, which could give you some more ideas.
Leveling, Crowning, and Polishing: The Final Touch (Crucial!)
You have chained all the nickel silver frets. Congratulations! The most “frightening” part is done. But it's not over yet. If you think you're done, you're greatly mistaken. The frets, however well installed, will never be perfectly level with each other until you work on them. This phase is, if possible, even more important than the fretting itself, because it is what guarantees a comfortable action, without buzzing and with perfect intonation across the entire fretboard.I've seen handles divinely chained but ruined by poor leveling. And vice versa, handles with some imperfections in the ’chaining saved by meticulous finishing work. Never skip these steps. Never.
1. Leveling (Leveling)
The goal is to ensure that all keys have the same height, creating a perfectly flat surface (or with the desired radius). Why: Even the smallest difference in height between one fret and the other will cause a “fret buzz” (the sound of the strings touching the subsequent frets) or dead notes.Instruments: Fret Leveling Beam (Fret Leveling Beam): An aluminum or steel bar
See also
Download the Luthier Survival Kit
Free PDF with checklist, problem-cause table and project card template.
 English
  Italiano
Stuck on your build?
If you ran into the same problem or have a question, drop it in the comments. I read and reply to every one.
Write a comment