

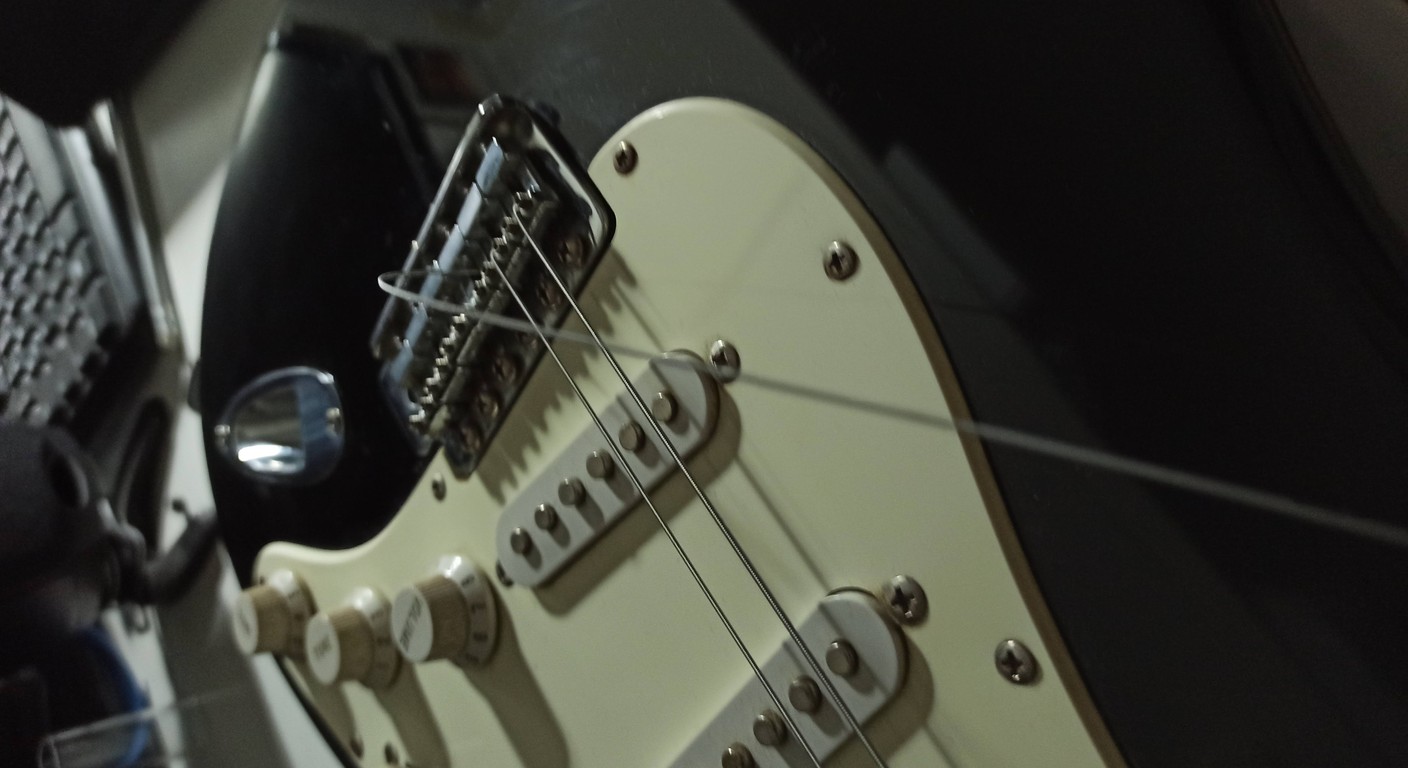
Replacing Guitar Pickups: 3 Things You Need to Know
Have you ever looked at your favorite guitar, the one that accompanied you on a thousand evenings, and thought: "I wish it could play... different“? Maybe a little more aggressive for hard rock, or more crystalline for blues. Well, it's a feeling I know well. My first Stratocaster, a cheap Squier that looked like it was made of plywood, had such a flat sound that every time I plugged it into the amp I wanted to play the triangle.The real breakthrough, for me, came when I decided to get my hands on it. I'm not talking about changing woods or necks, but about working on the guitar's beating heart. electric: the pickups. Those that transform string vibrations into an electrical signal. At first, it seemed like sorcery, with all those colored wires and incomprehensible diagrams. But trust me, if I managed it, with a cheap soldering iron and the patience of a Tibetan monk (sometimes), you can do it too.n You don't need to be a NASA electronics technician to replace guitar pickups. It takes a willingness to learn, a little attention, and the awareness that, yes, you'll make some mistakes. I've made plenty of them. I've soldered a pickup backwards, I've created a short circuit that killed the amp, I've mounted a humbucker in a single-coil housing (don't ask how; haste is a bad thing). Every mistake, however, has been a step forward.
In this article, I'll tell you the three key things I wish I'd known before starting change pickups on my first guitar. These are not esoteric secrets, but rather practical principles that will save you time, money, and, most importantly, frustration. Ready to get your hands dirty?nn
1. Understanding what's under the hood: the electronics (the real brain)
nn nnnnnn
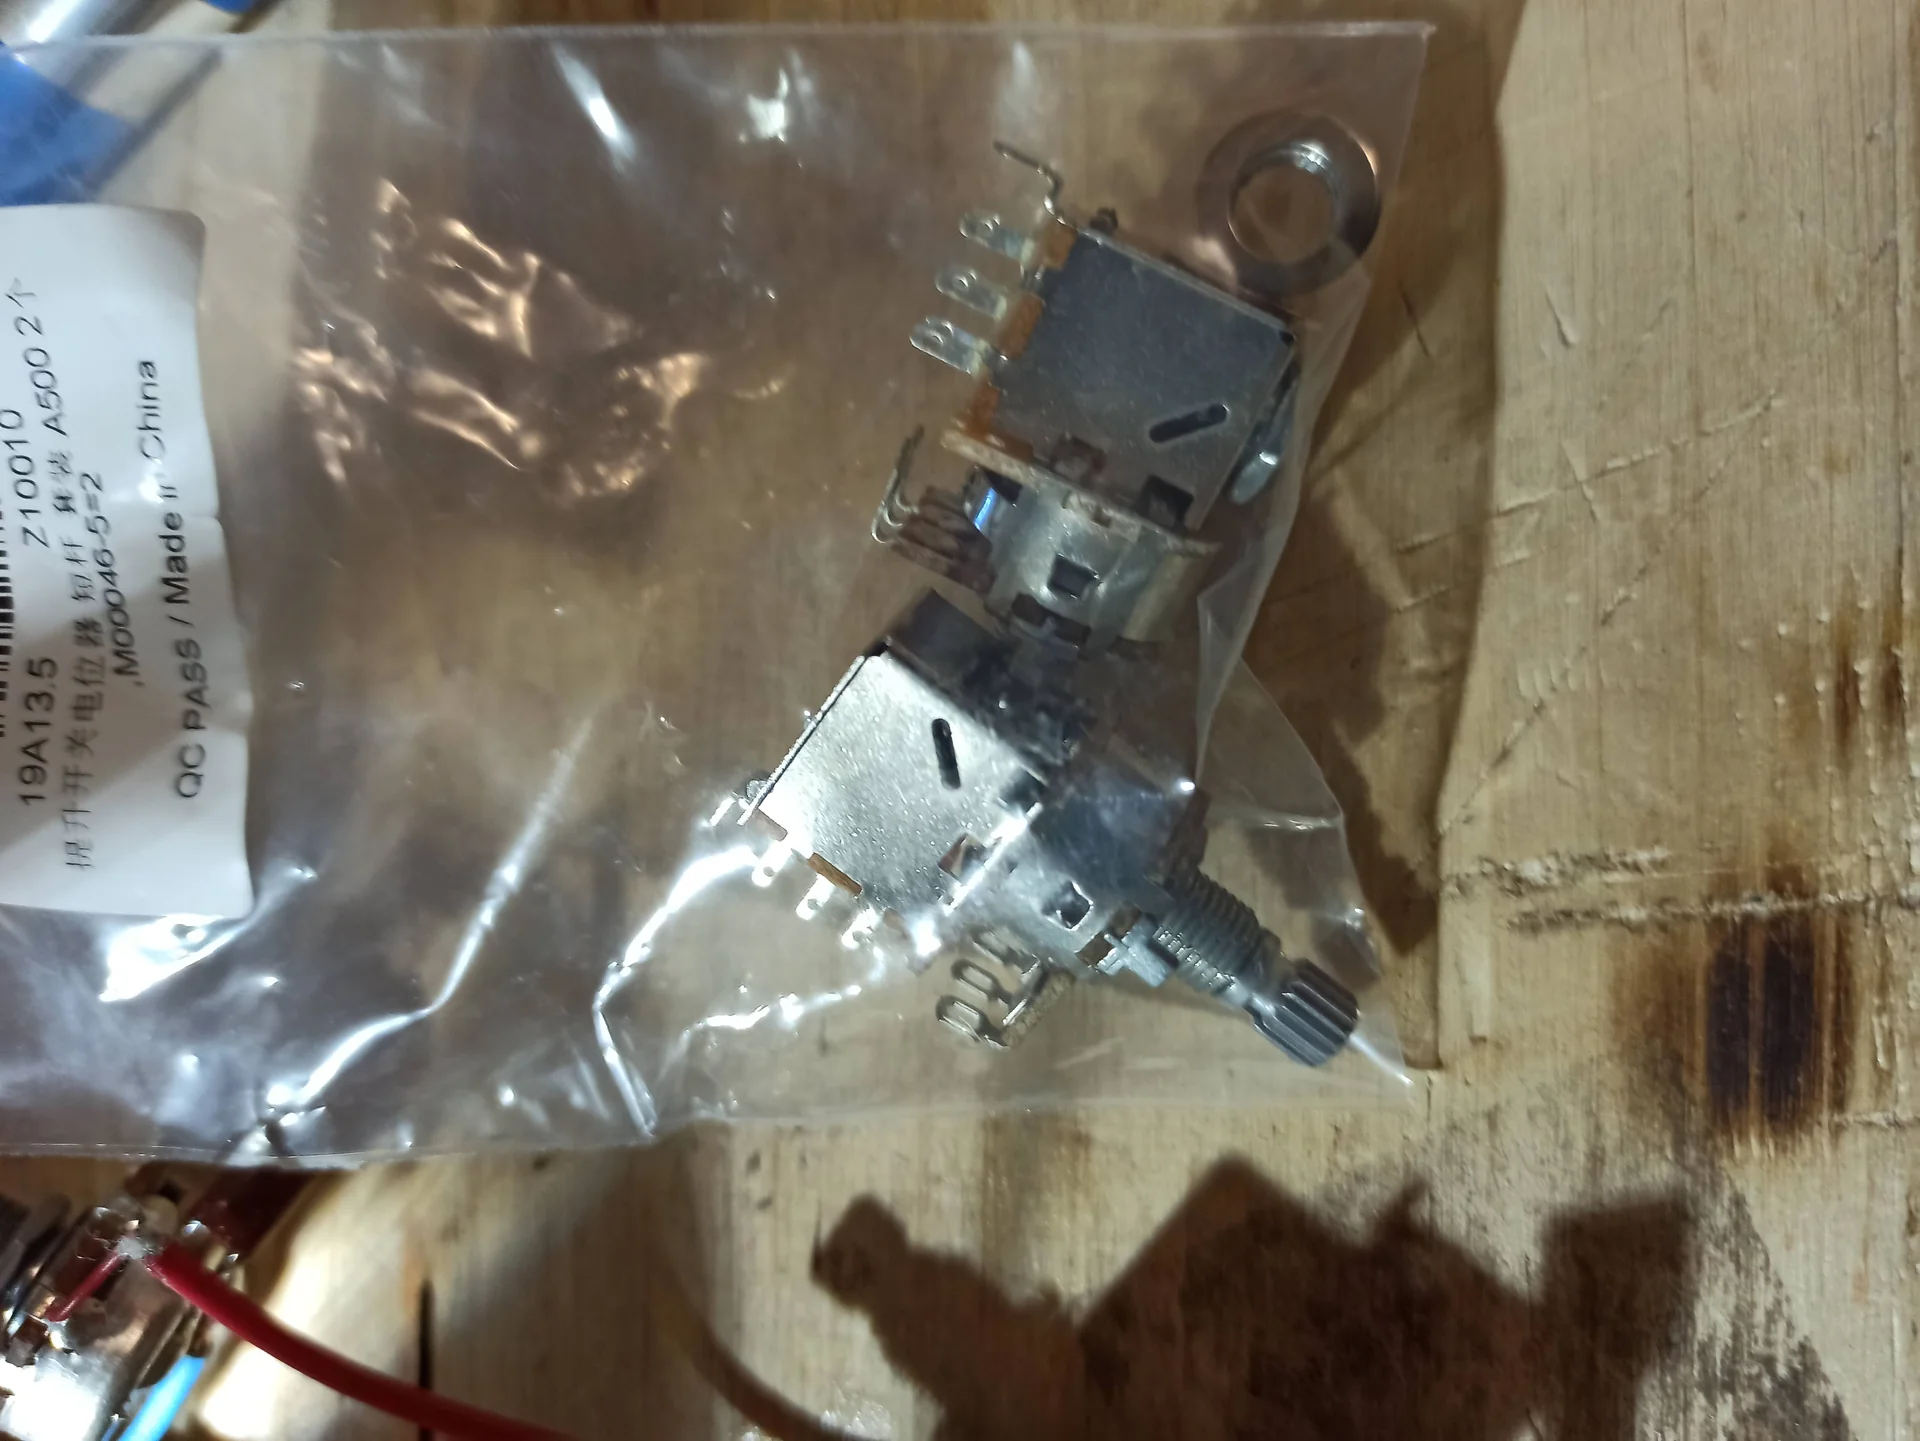
Ok, you've understood the basics of electronics. Now comes the fun part: choosing the pickup. Here, the market offers a universe of options, and it can be easy to get lost. Many focus only on the type of sound they want to achieve (“I want a really powerful sound!”). But there are other crucial factors to consider that go beyond pure sound.nn
Format and physical compatibility
nnnn
nThis is the first thing to check, yet it's what many beginner hobbyists (including myself, as I told you) underestimate. Pickups have standard dimensions, but they are not universal.Single Coil: The standard sizes are Fender. If you have a Strat or Tele, you'll probably need those size single coils.
Humbucker: The standard size is Gibson (PAF style). If you have a Les Paul, SG, or PRS-style guitar, you'll almost certainly use this size humbucker.
P90: They're a compromise, both in sound and format. They can be either a "soap bar" or a "dog ear." They have a specific housing, larger than a single coil but different from a standard humbucker.
Mini-Humbucker: Smaller humbuckers, often used on guitars like the Firebird. These also require specific housings.
Single Coil Size Humbucker: These humbuckers are designed to fit into single-coil pickup slots. They're great for anyone who wants a humbucker sound on a Strat without having to mill the body.
Before buying, take a caliper and measure the pickup cavity on your guitar. Check the specifications of the pickup you want to buy and make sure the dimensions are compatible. It seems trivial, but I assure you that finding yourself with a brand new pickup that doesn't fit into the hole is one of the biggest frustrations for a DIY builder.nn
Polarity and winding (RW/RP)
This is a technical detail that can make a difference, especially if you are thinking of combining pickups from different brands or adding a single coil to a humbucker setup.RW/RP stands for “Reverse Wound / Reverse Polarity”.
Many single coils are available in RW/RP versions. If you stack two identical non-RW/RP single coils next to each other, when used together (for example, position 2 or 4 on a Stratocaster), you'll get a thinner sound with a slight drop in volume. Most importantly, they won't have hum cancellation.
If, on the other hand, you pair a standard single coil with an RW/RP one, when used together, the hum is canceled (they function like a humbucker) and the sound is fuller and more balanced. This is why modern Stratocasters often have the middle pickup RW/RP compared to the other two. Always check the specifications if you want a “hum-cancelling” sound in the intermediate positions.nn
Output: warm or vintage?
A pickup's output refers to the power of the signal it generates. It's measured in millivolts, but is often referred to generically as "high output" or "low output" (or "vintage output").Bass/Vintage Output: These pickups have fewer turns on the coil. They produce a weaker signal, but often offer greater clarity, dynamics, and touch response. They're ideal for genres like blues, country, jazz, and classic rock, where you want the guitar to breathe and be able to clean up the sound by turning down the volume.
High Output: These pickups have more windings. They produce a more powerful signal, which drives the amplifier's input more. The sound is thicker, compressed, and has greater sustain. They are perfect for hard rock, metal, and genres that require a lot of distortion and an aggressive sound.nThere is no absolute “best” output. It depends on your style, your amplifier, and the effects you use. A high-output pickup might sound too “muddy” on an already distorted amp, while a low-output one might not have enough push for certain genres. Think about what you want to achieve and how the pickup will interact with the rest of your rig.nn
Materials: Magnets and their character
The type of magnet used in the pickup has a huge influence on the sound. The most common are:Alnico II: Weaker magnets produce a warm, mellow sound with pronounced mids and a more delicate attack. Excellent for vintage, blues, and jazz sounds.
Alnico V: Stronger magnets than Alnico II. They offer a brighter sound, with defined lows and a more incisive attack. Very versatile, they are found in pickups for rock, blues-rock, and pop.
Ceramic: Very powerful magnets. They produce an aggressive sound, with sharp highs, powerful lows, and high output. They are preferred for metal and genres that require a lot of punch and clarity even at high gain.
The type of wire (Gauge), the number of windings, and the winding process (machine-wound vs hand-wound) also influence the sound, but for a hobbyist, focusing on the type of magnet and the output is already an excellent starting point for orientation.nn
DC Resistance: An Indicator, Not an Absolute Truth
You often see the DC (direct current) resistance listed in pickup specifications (e.g., 7.5kOhms for a single coil, 15kOhms for a humbucker). Many newbies think that a higher value automatically means a more powerful or “better” pickup. It’s not that simple.DC resistance is an indication of the number of turns and the wire thickness. Generally, more turns means higher resistance and higher output. However, DC resistance doesn't take into account other crucial factors such as magnet type, coil geometry, or parasitic capacitance, which significantly influence frequency response and perceived output.
Use it as a general indicator, especially for comparing similar pickups of the same brand, but not as the sole criterion for choice. The real test is always by ear.nn
“I spent months reading Reddit forums, comparing DC resistance tables. Then I bought a pickup with a very high rating, convinced it would be 'the most powerful.' It sounded like crap on my guitar. I've learned that specs are a starting point, but experience and listening are everything.‘
If in doubt, look for video reviews, listen to audio samples, and, if possible, try guitars with the pickups you're interested in. Don't rush. The choice of pickup is one of the most important decisions for your guitar's sound.nn
3. The moment of truth: disassembly, welding and reassembly
Advertising

FLEOR Alnico 5 Single Coil Pickups Flat Pole Guitar Neck/Middle/Bridge Pickup Set Cream
See on Amazon

The tools of the trade (no space lab needed)
nnYou don't have to empty your wallet for professional equipment. What you need is hobbyist stuff:Soldering iron: A 30-40W soldering iron with a fine tip is ideal. Avoid using a too powerful one, as it could burn delicate components.
Pond: Choose flux-cored solder, preferably lead-free (for the environment and your health). A diameter of 0.8-1mm is ideal.
Desoldering pump or desoldering braid: Essential for removing old welds. The pump is faster, the braid more precise.
Wire stripper: To strip cables without damaging the internal wires. A good adjustable wire stripper is an investment that will pay off.
Screwdrivers: Of various sizes, cross-head and slotted, for the screws of the pickups, the pickguard, and the rear compartment cover.
Multimeter (tester): It is not strictly mandatory for the base exchange, but it is strongly Recommended. You'll need it to check the continuity of the wires and the pickup resistance, making sure everything is connected correctly before closing.
Paper tape: Useful for securing wires while soldering or for marking components.
Scissors or wire cutters: To cut the wires.
Patience: The most important tool of all.nn
Step-by-step procedure (no rush!)
nn1. Document everything (really, All!): Before touching a single wire, take photos. Lots of photos. From every angle. Of how the wires are soldered on the potentiometers, on the switch, on the ground. It seems like a waste of time, but if you get lost, you'll have a map to go back. Every guitar can have small variations.n2. Remove the strings: Loosen the strings and remove them. They'll only bother you.n3. Remove the pickguard or back cover: Depending on your guitar, you'll need to access the electronics compartment. On a Stratocaster, remove the pickguard. On a Les Paul, the back cover. #4. Unsolder old pickups: Heat the solder with the tip of the soldering iron and, as soon as the solder melts, use the blower or braid to remove it. Be gentle. Avoid overheating the components (potentiometers, switches) to avoid damaging them. Make a note of which wire went where. 5. Clean the soldering points: Make sure the solder pads on the potentiometers or switches are clean and free of solder residue. This will ensure better soldering.n6. Prepare the new pickups: If the wires on your new pickups are too long, trim them slightly (but always leave a little leeway). Strip the ends of the wires (about 5mm) and tin them lightly (this is called "pre-tinning"). This helps ensure a stronger solder.n7. Solder the new pickups: Follow the diagram to the letter.Hot wire (signal): This goes to the pickup selector or directly to the volume pot (depending on the schematic).
Ground: This should be soldered to one of the circuit's "grounds," usually the volume pot cover or the jack output. It's essential that all grounds are connected to each other to avoid hum.
Splitter wires (if any): If your humbucker has 4 conductors (+ ground and shielding), you might have the option to “split” it to make it sound like a single coil. These wires should be connected to a push-pull switch or a mini-switch. Follow the manufacturer's specific diagram for these advanced configurations.nn When soldering, make sure the soldering iron tip is clean and hot. Simultaneously touch the wire and the soldering point, then apply solder to the joint. The solder should melt quickly and flow, creating a shiny, cone-shaped joint. If it's dull or “lumpy”, it's a cold solder joint and needs to be redone.nn8. Check with the multimeter: Before reassembling everything, perform a continuity check. Set the multimeter to "continuity" mode (it usually beeps) and verify that each solder connection is actually connected. Also check for unwanted short circuits between the hot wire and ground. Measure the pickup's DC resistance to ensure it is within the specified range. Fix the pickups and reassemble: Screw the new pickups into their housings. Secure the pickguard or cover.n10. Final test: Reconnect the guitar to the amplifier. Test each selector position, each volume and tone potentiometer. Listen carefully. Is there hum? Is the sound clean and strong? Does every control work as it should? If everything is in order, you've done a great job!nn
“The first time I soldered a humbucker, I ended up with a mess of twisted wires. The sound was weak and full of noise. I discovered I had mixed up the ground wires with the split coil wires. I had to unsolder everything and redo it more neatly. Learn from my mistakes: be methodical and take your time.”
A common mistake is cold soldering. It appears to be connected, but in reality, it doesn't make good electrical contact. This manifests itself as intermittent sounds, buzzing, or a complete lack of signal. If this happens, unsolder and redo the soldering. Another is reversing the polarity of a pickup, which can lead to weak or out-of-phase sounds when combined with other pickups. A multimeter can help you prevent these problems.
For a more in-depth guide on soldering techniques, I recommend checking out a trusted resource like SparkFun's guide to soldering basics: How to Solder: Through-Hole Soldering. It will give you the basics for doing a clean and lasting job.nn
After the change: adjustment and fine-tuning
Congratulations! You've installed your new transducers and the guitar sounds. But the job isn't over yet. Pickups, to sound their best, need to be adjusted. This is an often-overlooked phase, but one that can make a huge difference to the final sound and playability of the instrument.nnPickup height: a delicate balance
The height of the pickup relative to the strings is one of the most important parameters for shaping the sound. There is no universal “perfect” measurement, because it depends on the pickup, the guitar, the strings, and, above all, your personal taste. However, there are some guidelines:nn Pickups too high: Pros: High output, more powerful and aggressive sound.Against: Less sustain (the magnets pull on the strings, dampening their vibration), a “muddy” or compressed sound, less defined harmonics, risk of “string pull” (the strings vibrate abnormally due to the magnetic attraction).
Pickups too low: Pros: Greater sustain, more open, dynamic and clear sound, better note separation.
Against: Lower output, less powerful sound with less “punch”.nnHow to adjust the height:n1. Start with a reference point: Hold down the bottom string (the low E) at the bottom fret. Measure the distance between the bottom of the string and the top of the pickup's magnetic pole piece. Do the same with the top string (the high E). 2. General guidelines (start here and adjust by ear): Humbucker: Low side (low E) 2.5mm – 3mm; High side (high E) 2mm – 2.5mm.
Single Coil: Low side 3mm – 4mm; High side 2mm – 3mm.
These are only indicative values. Manufacturers often provide their own recommendations, which may vary.n3. Adjust and listen: Raise or lower the pickup using the screws on the sides. Make small adjustments and then play. Listen carefully to how the sound changes. Look for the right balance between output, clarity, sustain, and dynamics.n4. Balance between pickups: If you have multiple pickups, try to balance their output. When switching from one pickup to another, the volume should be similar. If one pickup is too much stronger or weaker than the others, adjust its height. Often, the bridge pickup is kept slightly higher to compensate for the smaller vibration amplitude of the strings in that position.nn
Adjusting the magnetic poles (if possible)
Some pickups (especially humbuckers with adjustable screws) allow you to adjust the height of the individual magnetic pole pieces. This is useful for balancing the volume of individual strings. If one string sounds too loud or too soft compared to the others, you can raise or lower the corresponding pole piece screw.Remember that height adjustment is an iterative process. Don't be afraid to experiment and trust your ear. There's no magic recipe, just the search for the sound you like.nn
Conclusions: Your sound, your hands
You see? Replacing guitar pickups It's not a titanic undertaking. It's a work of precision, patience, and understanding the basic principles. It doesn't require expensive tools or years of study. It requires a willingness to get involved, to learn from mistakes, and to enjoy the satisfaction of having improved your instrument with your own hands.I started in my garage, with a soldering iron that looked like a ballpoint pen and a knowledge of electronics equal to that of a sloth. I made mistakes, I burned a few wires, I cursed that unbearable buzz. But every time, I learned something. And every time I heard the sound that I wanted getting out of my guitar, the satisfaction was immense.
So, if you want to give your guitar a makeover, don't hesitate. Prepare your tools, study the diagrams, choose your pickups wisely, and proceed calmly. If I could do it, you can too. And when you hear that sound, that... your sound, you'll understand that it was worth it. Good job and good music!nn
nnnn
See also
nnDownload the Luthier Survival Kit
Free PDF with checklist, problem-cause table and project card template.
 English
  Italiano
Stuck on your build?
If you ran into the same problem or have a question, drop it in the comments. I read and reply to every one.
Write a comment