


Replacing the Nut: A Step-by-Step Guide
How many times have you picked up your favorite guitar and heard that damned string buzzing in the air? Or the action so high at the first fret that it gives you thumb cramps? Or, even worse, the intonation that never returns, especially on the first few frets? If the answer is "often," then it's likely the culprit: the nut.nDon't worry, it's not the end of the world. In fact, I'll tell you right away that replace the nut It's one of those jobs that, once learned, will give you immense satisfaction and make you look at your guitar with new eyes. You don't need to be a luthier with years of experience and thousands of euros' worth of tools. It takes patience, a bit of dexterity, and the willingness to learn from mistakes. I'll tell you, I ruined a couple of capos before I figured out how to do it properly. And guess what? The guitars still sounded the same, maybe not concert-quality, but they sounded. The important thing is not to be afraid to try.This is not a job to be done in a hurry, perhaps with a beer in hand on a Saturday night. Take your time, prepare your workbench and follow the steps calmly. You'll see that in the end your guitar will thank you with better sustain, a more comfortable action and more precise intonation. Ready? Let's go.nn
Why the Capo is so Important (and Why You Should Change It)
nn nnnnnn
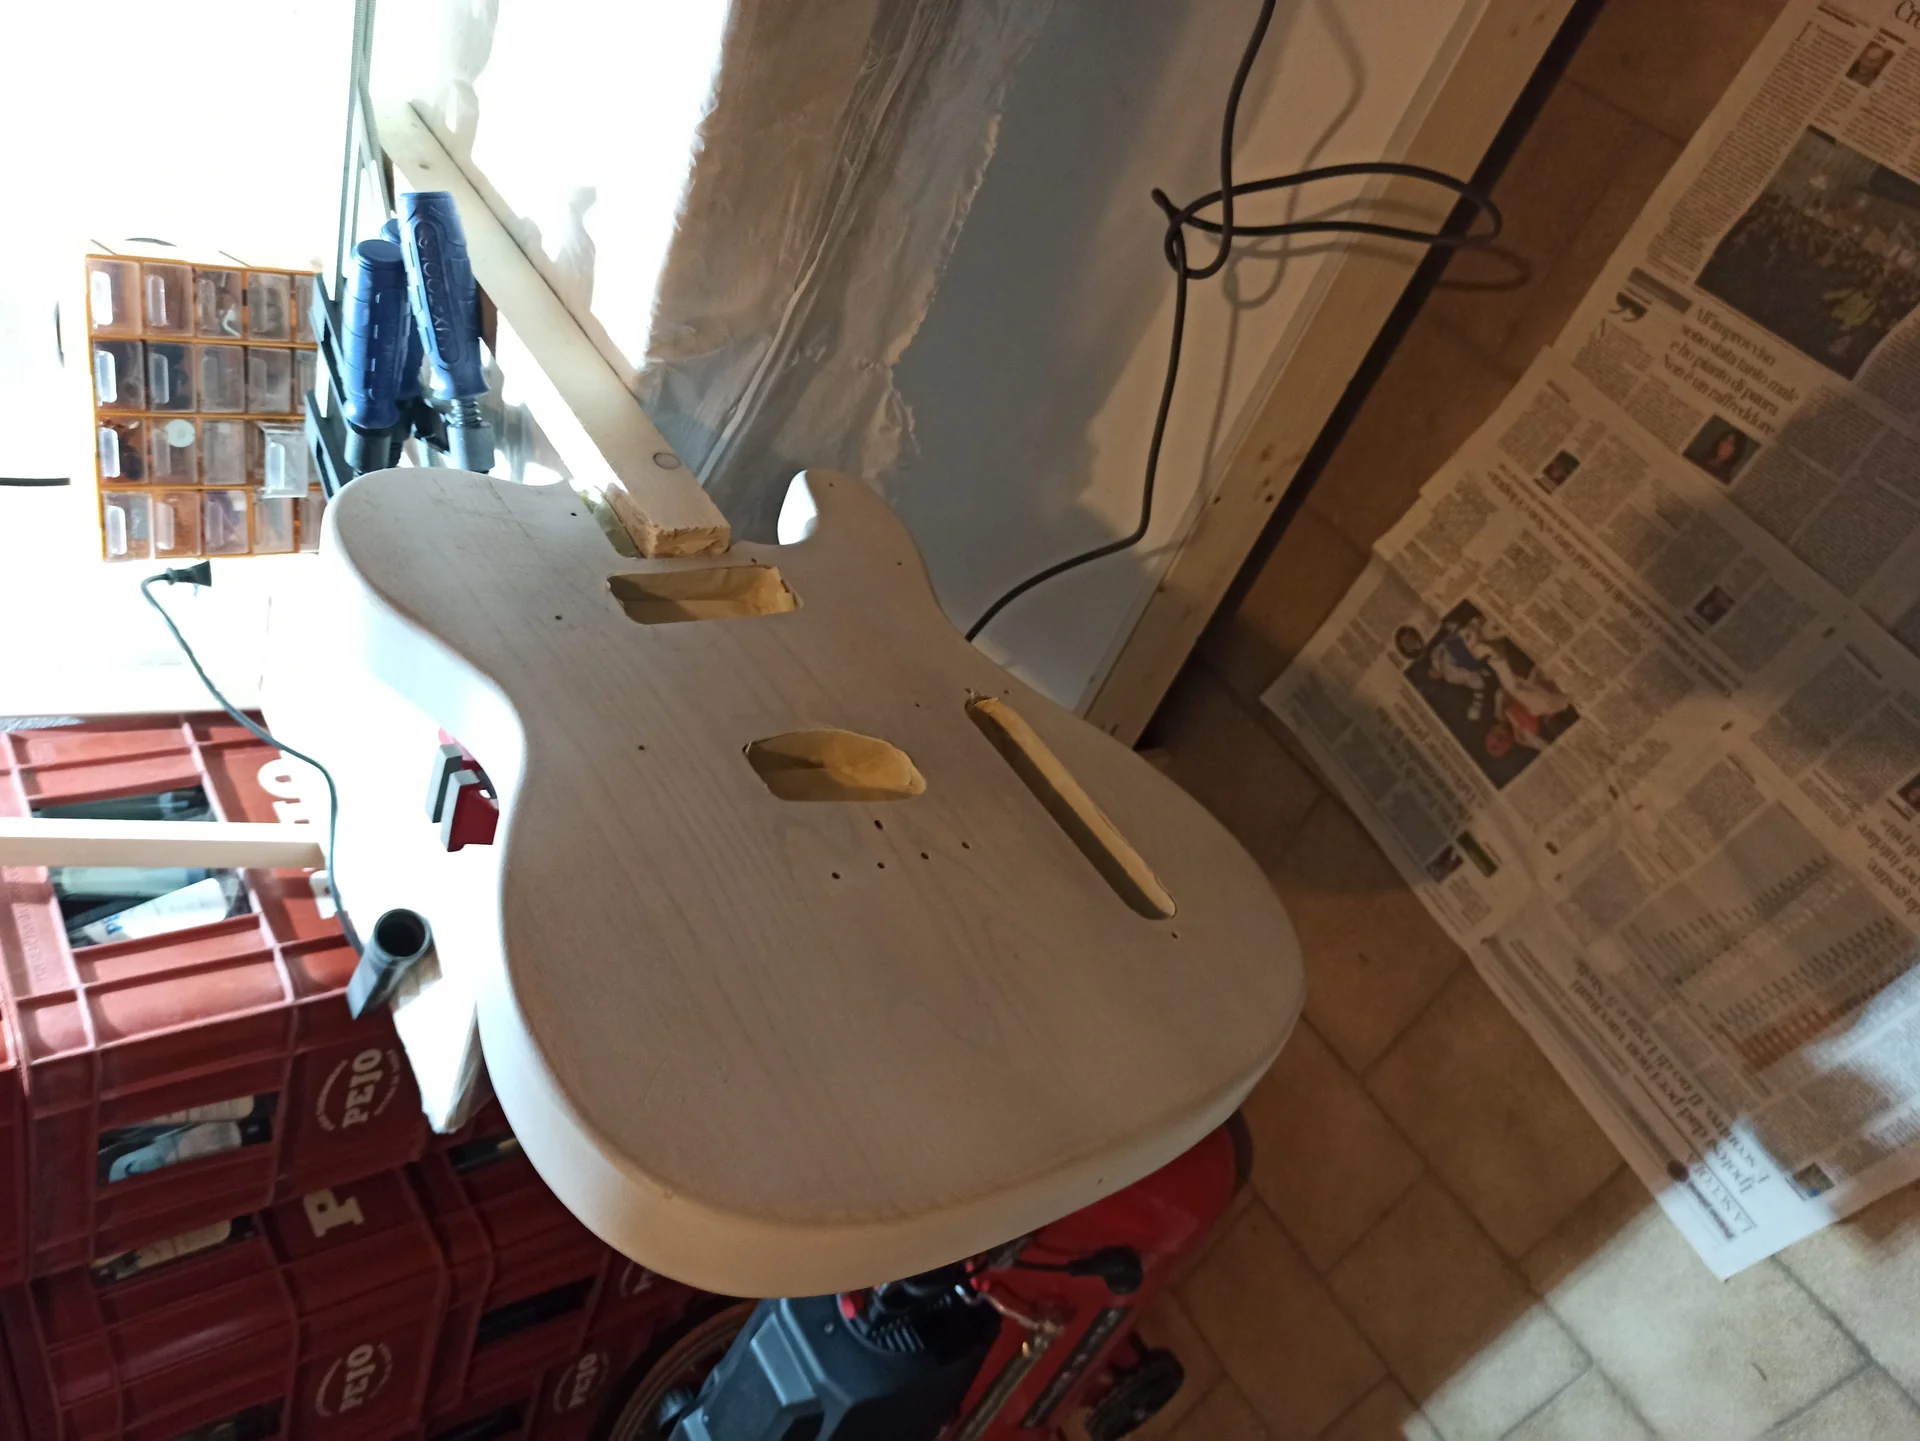
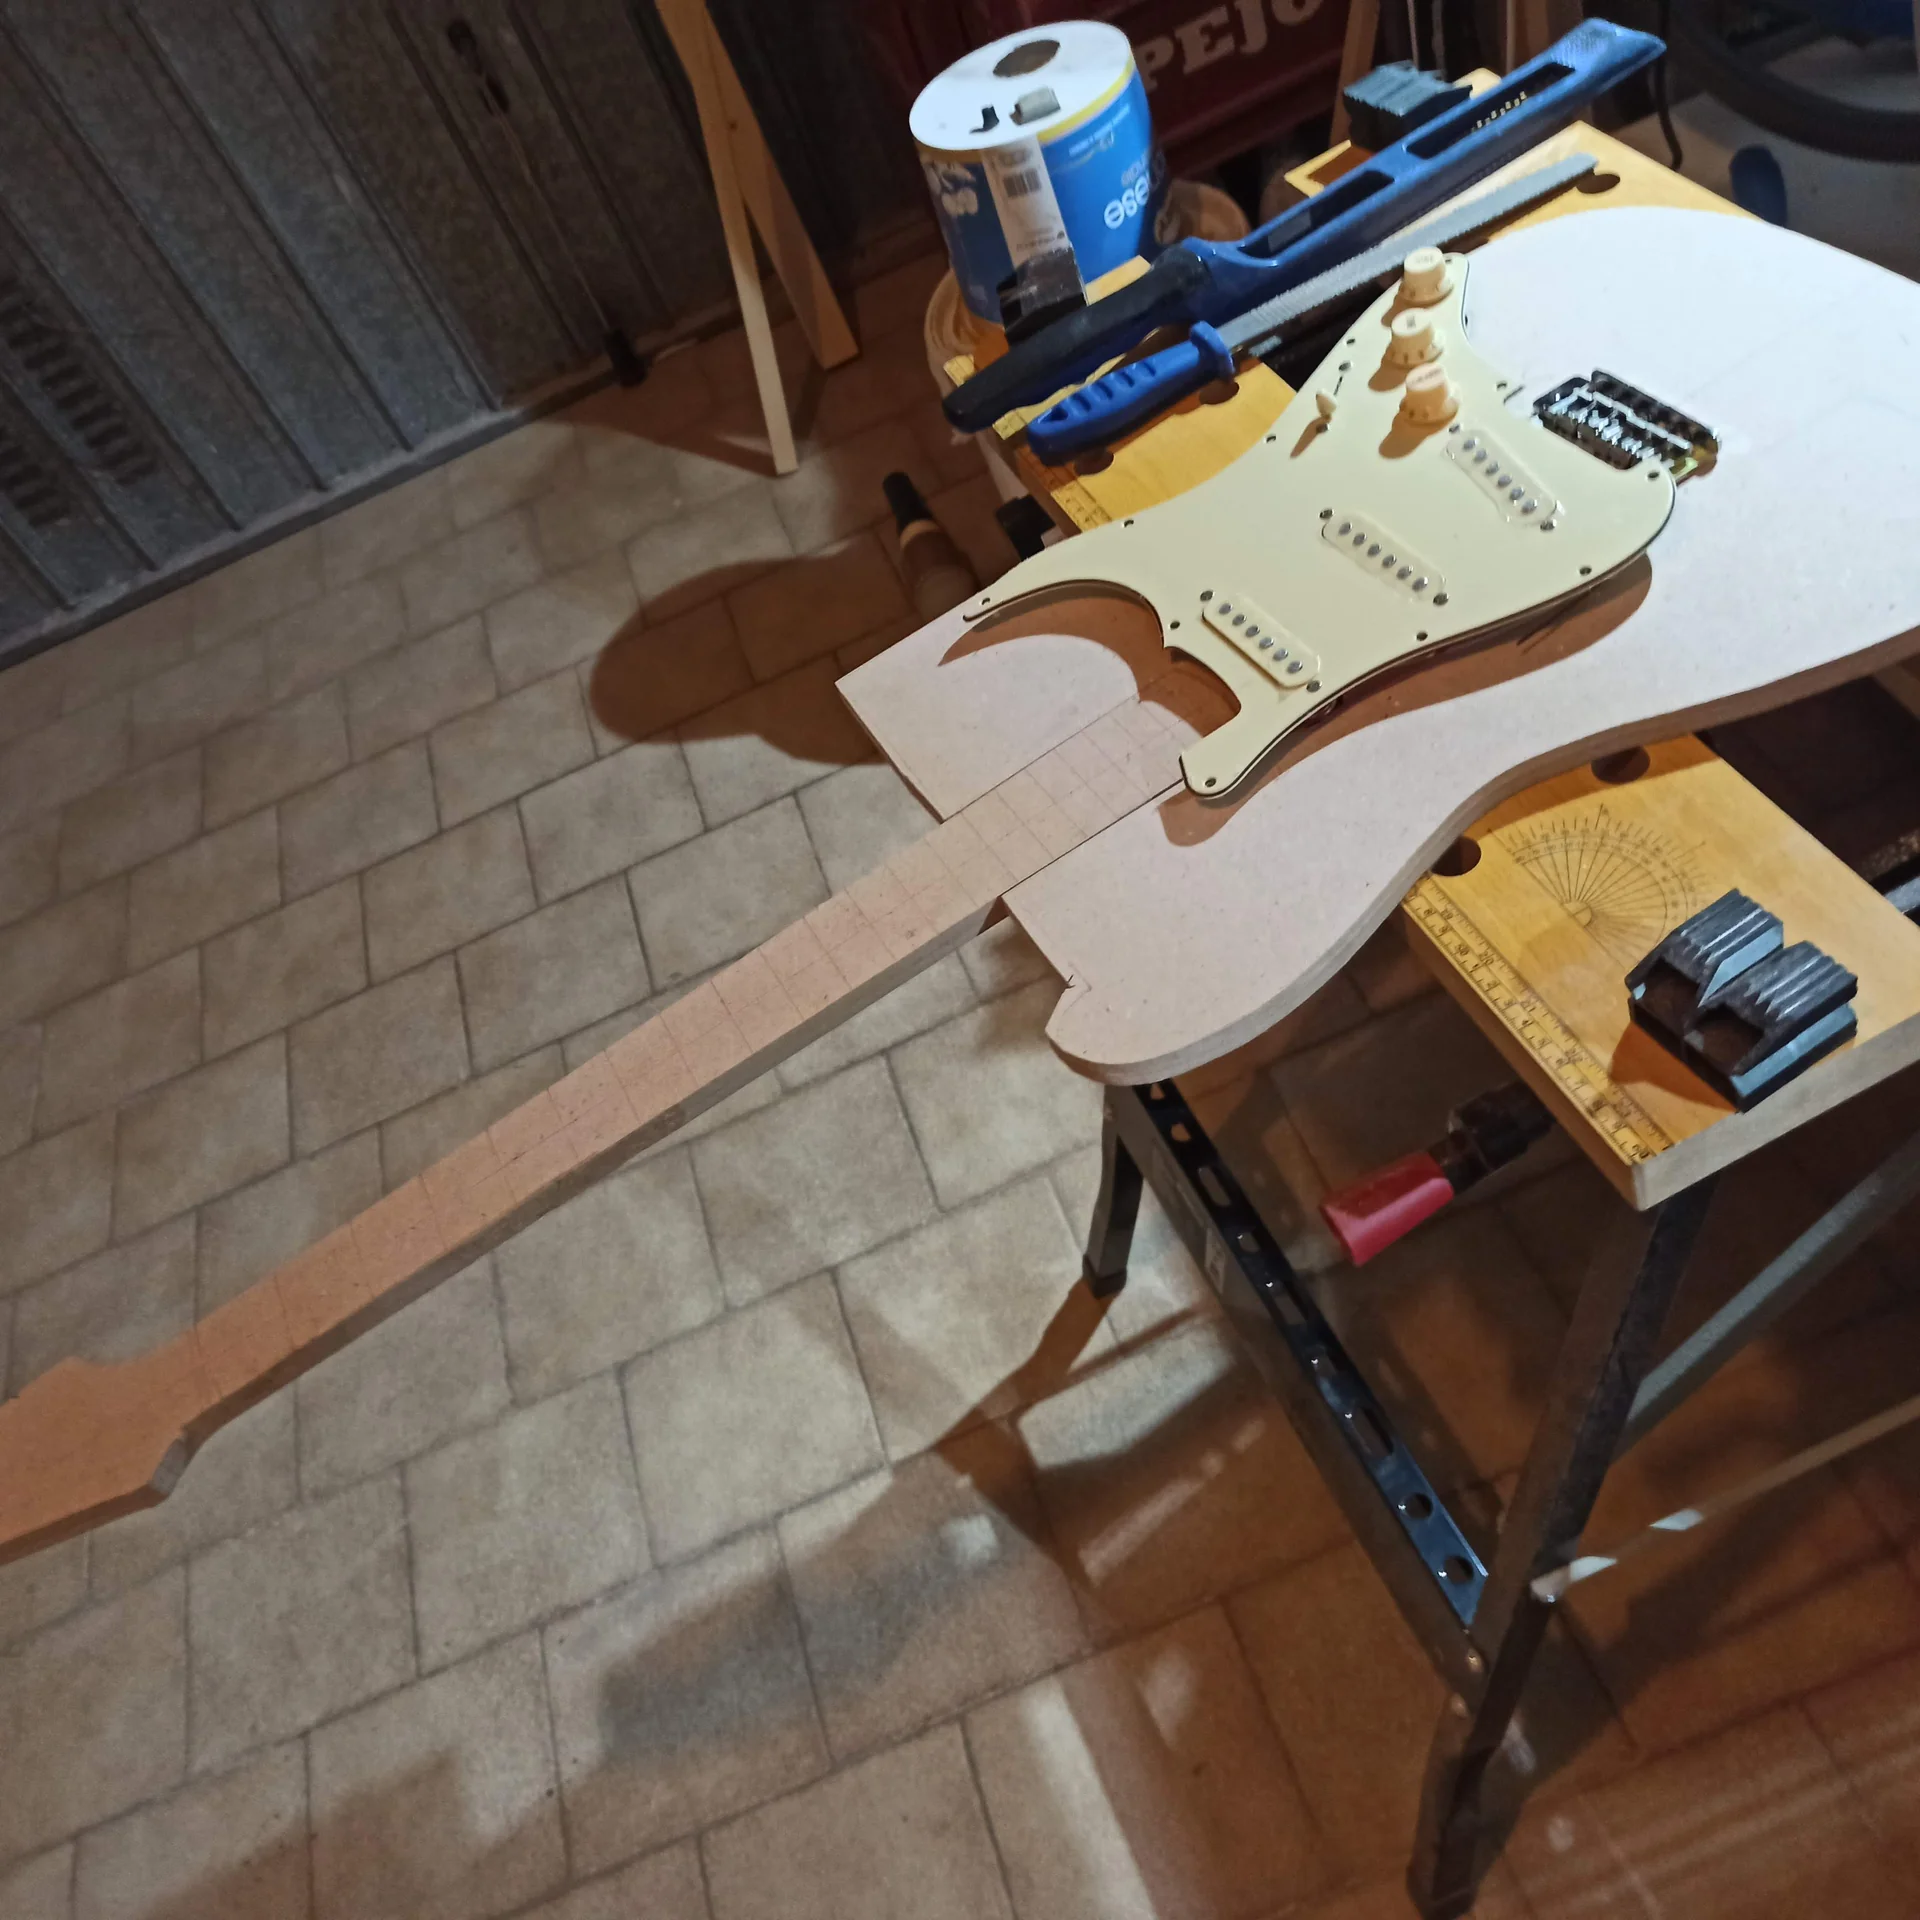
Before you start taking everything apart, let's do a small inventory. You don't need super specialized tools, but some are almost indispensable for a good result. And don't worry, you'll probably already have many of them around your garage.nn
List of Essential Tools:
nnnn
nnn1. Rubber mallet (or a piece of wood and a regular hammer): To remove the old nut.n2. Small wooden block/dowel: To be used as a hammer striker.n3. Sharp cutter or scalpel: To cut off any glue residue and free the nut.n4. Nut Files: This is the most specialized and sometimes most expensive tool. They are thin files, calibrated for the thickness of the various strings. If you don't want to spend a fortune, you can start with a generic guitar set (there are some decent ones on Amazon at reasonable prices) or, for thicker strings, use rattail files or even fretsaw blades of varying thicknesses. For thinner strings, a set of diamond files for modeling can help.Tip from Mimmo: For years, I used a cheap €20-30 set and a rat-tail file for my bass. It's not the best, but it helps you decide if you like the job before investing in a €150 StewMac set. Patience is the key here. #5. Precision caliper (digital or vernier): Indispensable for measuring thicknesses, heights and depths.n6. Sandpaper sheets: Various grits, from 220 to 600, and then maybe 1000-2000 for the final polishing.n7. Glue (cyanoacrylate or wood glue): A drop, no more! Superglue is perfect for its strength and the fact that it doesn't add thickness.n8. Pencil: To mark and mark.n9. Metal ruler: To check flatness and height.n10. Feeler Gauges: Useful for measuring the height of the strings at the first fret with precision.n11. Soft cloth and isopropyl alcohol: To clean.n12. New set of strings: Obvious, right? Old strings are not a good basis for a precise setup.nn
Choosing a New Nut: Raw or Pre-Cut?
This is an important point. Replacement nuts come in two main forms:nn Pre-slotted: They already have slots for the strings, and are often model-specific (e.g. Fender Strat, Gibson Les Paul). They are easier to install Because the string spacing is already set, the main task will be to adjust the height of the slots.Blank: These are blocks of material without slots. They require more work because you'll have to cut the slots from scratch, setting the spacing and depth yourself. It requires more experience and tools, but it gives you total control.
For your first replacing the nut, I highly recommend a pre-cut nut specifically for your guitar. It'll save you a lot of hassle with spacing, which is another major pain. Measure your old nut carefully (length, height, and base thickness) before ordering a new one. Don't assume it's "standard.".
An excellent resource for finding quality nuts and specific tools is StewMac. Although prices are often high, their product range is vast and quality is guaranteed. You can consult their guide on nuts to get a more precise idea of materials and dimensions: [https://www.stewmac.com/](https://www.stewmac.com/how-to/how-to-do-it/nuts-and-saddles/nuts/) (it's in English, but it's a goldmine of information).nn
Removing the Old Nut: Without Doing Any Damage (Hopefully!)
Advertising

PT-5042-00: Black 42mm Pre-Slotted Guitar Nut Self-Lubricating \u2013 TUSQ XL Nuts Replacement for Fender Style, Flat Bottom Strat 6 String Electric Guitar
See on Amazon

Step 1: Loosen and Remove the Strings
It seems trivial, but it's the first step. Loosen all the strings and remove them completely. We want to work on a neck free from tension and obstacles.nnStep 2: Cut the glue (if present)
Many capos are glued, though often with a minimal amount of glue. Take your utility knife or scalpel and very carefully cut along the edges of the capo, both on the neck and headstock sides. The goal is to cut the layer of glue that might be holding the capo to the neck and the finish. Be careful not to scratch the wood or the finish. My first attempt left a large mark on the fretboard, but I masked it with a little wood wax; no one knows.noticed. Or at least I hope so.nn
Step 3: The Moment of Truth – Removing the Nut
This is the step that causes a bit of anxiety. There are two main ways to do it:nn “Hammer” method: Place the guitar neck on a stable surface (perhaps with a thick cloth underneath to protect it). Take your block of wood and gently place it against the side of the nut that faces the headstock. Using the rubber mallet (or a regular hammer on the block of wood), give small, firm, controlled taps. Don't hit it like you're demolishing a wall! The goal is to slide the nut forward, toward the headstock. It should come off with a small pop or creak.“Pliers” method (with caution): If the nut is very protruding, you can try using pliers, but with EXTREME caution. Wrap the tips of the pliers with electrical tape to avoid damaging the nut (if you want to reuse it, for example, but that's rare) or, more importantly, the surrounding wood. Grip the nut and try to gently rock it. Personally, I prefer the hammer method; it's more controlled and less invasive for the finish.nnCommon mistake to avoid: Do not force it! If the nut doesn't move, do not increase the force. You could chip wood from the fretboard or headstock, or damage the finish. Try to score the glue better with the utility knife. Sometimes a slight warming with a hairdryer (on low power and from a distance) can soften the glue, but be careful not to overheat the wood or the finish.nn
Step 4: Cleaning the Venue
Once the old nut is removed, inspect the slot. Remove any old glue residue with a utility knife or a small spatula. The surface must be perfectly clean and flat. Any glue lumps or irregularities will affect the seating of the new nut, making it difficult to achieve precise action. Use a cloth soaked in isopropyl alcohol to clean thoroughly, but be careful if the fretboard is maple with a glossy finish, as alcohol could dull it.nnThe New Capo: A Rule of Art (or Almost)
Now comes the most fun (and potentially frustrating) part: preparing and assembling the new electric guitar capo.Step 1: Check Measurements and Preparation (if necessary)
Take the new nut and place it in the slot.nn Length: It should be the same length as the old one, or slightly longer, so you can file it to size. If it's too short, it won't work.Height: For now, don't worry too much about the final height of the slots, but make sure the base of the nut is flat and fits snugly into the slot. If it's too tall or too thick at the base, you'll need to sand it down.
How to do: Place the nut on a sheet of sandpaper (220-320 grit) placed on a flat surface (a piece of glass, a tile). Move the nut with uniform and constant movements, checking frequently with calipers. The goal is for the base to be perfectly flat and for the nut to fit into its slot without forcing, but also without “play”.nn
Step 2: Gluing the New Nut
Put a drop (yes, just one drop, not a lake!) of cyanoacrylate glue (super glue) on the bottom of the nut slot. Don't overdo it, because you might have to remove it again in the future. The glue only serves to hold it in place, not to lock it permanently. Insert the nut into the slot, making sure it is well aligned, and press it gently for a few seconds. Immediately wipe off any excess glue with a damp cloth. Let it dry for the time indicated on the glue.nnStep 3: The Heart of the Work – Adjusting the Slot Height
This is the most critical step and the one that determines the action of your guitar. This is where most hobbyists get stuck, or cause damage. But with patience and an iterative approach, it can be done.nn1. Mount the strings: Replace the new strings and tune them to the correct tension. Don't tighten the tuning machines too much, as you'll loosen and tighten them repeatedly. 2. Check the initial height: Check the string height at the first fret. It should still be high. Take the caliper and measure the height between the bottom of the string and the top of the first fret.Objective: The ideal height varies slightly, but a good starting point is around 0.5mm for the thinnest strings (high E) and 0.7-0.8mm for the thickest strings (low E). Some prefer even lower action, but these are safe starting points.n3. The pencil trick: For a visual reference, press the string between the second and third frets. This simulates the pressure of your hand when playing. Now, look at the gap between the string and the first fret. There should be just a tiny bit of light. If the string rests on the first fret, the slot is too low (but this is rare with a new, unfinished nut). If there's too much space, the slot is too high. Start filing (carefully!): Take the specific file for the string you are working on (e.g. the thinnest file for the E string).
Insert the file into the slot and begin filing with gentle movements, following the angle of the headstock (don't file straight, follow the natural line of the string towards the tuners).
File a little, then put the string back on, tune and check the pitch. This is the secret: file, check, file, check. Don't try to get to the right height right away. It's a slow process.
A tip from Mimmo: When filing, place a small piece of tape on the fretboard, just below the nut. If the file slips, it won't damage the neck's finish.
While filing, also check the depth of the slot. The string should fit snugly in the slot, but not completely. About half the diameter of the string should be inside the slot. This helps prevent frying and keeps the string stable. Check the spacing (if the nut is rough or you want to change it): If you are working on a raw nut, string spacing is another critical point. You can use a ruler, but the eye can deceive. There are specific tools for spacing (like StewMac's “string spacing rule”) that help you distribute the strings evenly. Once the points are marked, you can start cutting the slots. This is advanced work, which is why I recommended a pre-slotted nut for the first time.nnThe Pain Point: Filing Too Much!
The biggest fear is filing too much and making the slot too low. If that happens, the string buzzes when open. Solution? Sometimes you can put a small piece of paper or some nut dust mixed with cyanoacrylate glue in the slot to raise it. But it's a temporary and inelegant remedy. The best solution is... to start over with a new nut. That's why patience is golden. I've had to do it a couple of times, and each time I told myself, “why didn't I file more slowly?”.nn
Step 4: Optimize the Slot Angle
Once the desired height is reached, it's important that the slots are well shaped. The string must slide freely without getting stuck.nn Angle towards the headstock: The slots should have a slight slope toward the headstock, so that the string rests on the edge of the nut facing the fingerboard and then gently slopes down toward the action. This creates a clean contact point and reduces the chance of fretting.Slot width: The slots should be slightly wider than the string diameter, but not too much. If they are too narrow, the string will get stuck. If they are too wide, the string can move sideways and vibrate poorly. Specific nut files are designed precisely for this.nn
Step 5: Finishing and Polishing
When all the slots are at the right height and width, it's time to finish the job.nn1. Smooth the edges: Use fine-grit sandpaper (400-600) to gently smooth the corners of the nut. They shouldn't be sharp, but rather smooth. This isn't just aesthetically pleasing, it also prevents the edges from cutting your fingers or catching on anything. 2. Polishing: For optimal string smoothness and a professional look, polish the nut. Start with finer grit sandpaper (1000, 2000) and then use a soft cloth with a bit of polishing paste (like those for metals or car bodywork). A well-polished nut reduces friction and helps tuning stability.nnThe Finishes: Not Just Aesthetics, but Functionality
After struggling with filing and measuring, don't ruin everything with a rushed finish. Details matter.nnCorners and Edges: Soft to the Touch
A nut with sharp corners is not only ugly to look at, but can be uncomfortable or even sharp. Use fine sandpaper (400-600 grit) to gently round the top and side edges. You don't need to make it completely round, but eliminate any “cutting” sensation. This is particularly important for the outermost strings, low E and high E, where your fingers might touch the nut.nnPolishing: The Final Touch for Smoothness
You've filed the slots, you've beveled the corners. Now, to make the strings slide like butter, you need to polish the nut.nn Take increasingly finer grit sandpaper: 800, 1000, 1500, 2000. Gently sand the entire nut, both the external surfaces and, if possible, inside the slots (with a file wrapped in very fine sandpaper, or with a small piece of sandpaper folded over).Finally, use a soft cloth (like microfiber) and a polishing paste. A metal polishing paste or car bodywork paste also works. Rub vigorously until the nut shines. A well-polished nut drastically reduces string friction, improving tuning stability and preventing premature wear of the strings themselves.nn My secret:* After polishing, I always put a pinch of nut lubricant (like Graph Tech TUSQ Nut Sauce or a bit of graphite powder, obtained by grating a pencil) in the slots. It's a small detail, but it makes a difference, especially if you use a tremolo bridge.nn
Final Check and Complete Setup
Once the work on the nut is finished, it's not over. The nut is only one part of the overall guitar setup.nn1. Tuning: Tune it perfectly and play a few chords on the first few frets. Do you hear the difference? Is the action more comfortable? Has the intonation improved? 2. Pickup height: With a lower action, you may need to adjust the height of the pickups. If they're too close to the strings, they can cause sustain or intonation problems due to magnetic attraction.n3. Bridge tuning: Even if the nut doesn't directly affect the intonation at the bridge (saddles), a more precise neck setup could make the need for fine-tuning the saddles more evident.nnConclusion: Your Brand New Capo (and Your Satisfaction)
Here we are. Your new nut It's assembled, adjusted, and polished. Your guitar should sound and feel much better. I assure you, the first time I did this job, after making a couple of mistakes and having to start over, the satisfaction was immense. Not just for the result, but for having learned something new, for having overcome that "fear" of ruining a piece of wood that, after all, is just a piece of wood.That's the beauty of DIY: it's not just about saving money, but about understanding how things work, how to fix them, how to improve them. Every mistake is a lesson, every success is a small personal victory. And if I did it, starting with a set of tools and a willingness to tinker, trust me, you can do it too.
Take your time, be patient, and enjoy the process. And the next time your guitar has a problem, you'll know you have the hands to fix it. After all, that's the spirit of Biafax, isn't it? Getting your hands dirty and making things happen. Now go, and happy music!nn
nn
Download the Luthier Survival Kit
Free PDF with checklist, problem-cause table and project card template.
 English
  Italiano
Stuck on your build?
If you ran into the same problem or have a question, drop it in the comments. I read and reply to every one.
Write a comment