

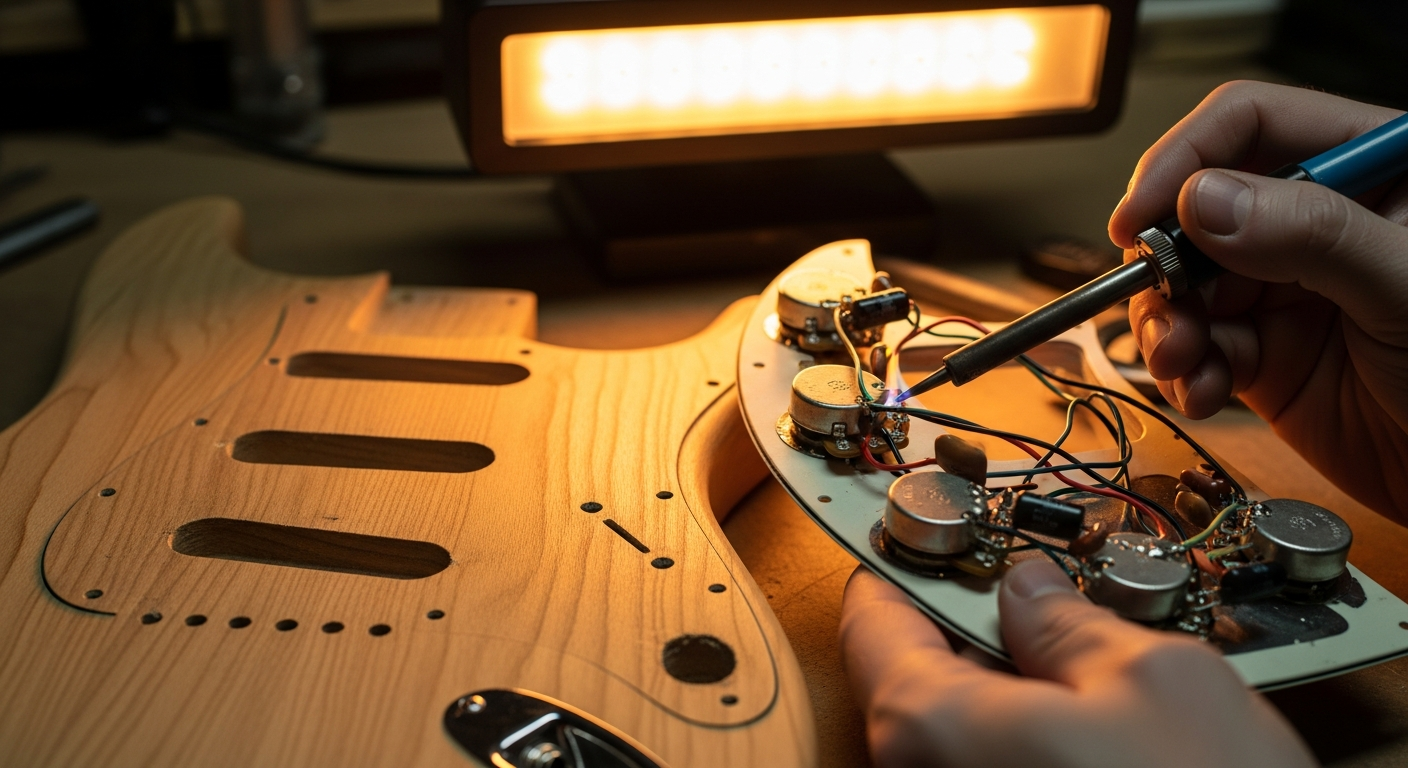
Guitar setup electric: diagnosis and solution
n
If you're here, it's likely your guitar is giving you some headaches. Maybe the strings buzz, the intonation is a disaster, or simply playing it has become a chore. Frustrating, right? You feel like taking it to the luthier, but then you think: “Damn, I built it myself, is it possible I can't set it up?”.
n
I understand that feeling completely. I've been there, too, a thousand times. The first Strat I put together, I remember, had such a high action it felt like I was playing a hunting bow. And the truss rod? A mystery. I was afraid I'd break the neck with every turn of the key. But I'll tell you this: if I could do it, with a little patience and the right tools (and a few mistakes along the way), you can do yours too. guitar setup alone.
n
When a guitar acts up, the temptation is to tinker randomly. Don't do it. I'll tell you right away that setting up a guitar electric is not black magic, but a logical process. It requires method, patience, and the right amount of humility to accept that, perhaps, the first attempt won't be perfect. But if I managed it in my garage, with tools that aren't exactly professional, you can do it too.
n
In this article, I will guide you through diagnosing the most common problems and provide solutions, starting from the simplest and least risky interventions, up to those that require a bit more courage or the intervention of an expert. This is not an article to turn you into a professional luthier in an hour. It is a practical, step-by-step guide to understanding What you are doing and Why You're doing it, so you can solve the most common problems and make your guitar truly playable. I won't give you magic formulas, but I'll just give you the method I've learned after making enough mistakes to understand how to avoid them, at least the biggest ones.
n
The goal is to give you a guitar that's a pleasure to play, not a source of frustration. And, perhaps, teach you something new about your six-string companion.
nn
Symptoms and initial investigations: What's happening to your guitar?
n
Before we touch any screws, we need to figure out what's wrong. Imagine you're a detective: your guitar is the crime scene, and the symptoms are the clues.
nn
Is the action too high or too low?
n
This is one of the most common problems. If the strings are too high, playing becomes tiring, bending is difficult, and the hand gets tired quickly. If they are too low, however, you hear an annoying metallic noise, the so-called buzzing, or the notes “die out” altogether.
nn
Is your intonation a disaster?
n
You tune your guitar open and it sounds perfect. Then you try a chord at the seventh or twelfth fret and it sounds like you're playing an orchestra out of tune. This is a classic sign of out-of-tune tuning.
nn
Do you hear an annoying buzzing or string “sizzling”?
n
The fretting out, or string "frizz," can happen for a variety of reasons. Sometimes it's simply an action issue, other times it's deeper, related to the curvature of the neck or fret wear.
nn
Is the sound dull, without sustain?
n
If your guitar seems to have lost its life, the sound is weak and the notes die quickly, there could be a problem with resonance, pickup setup, or simply old strings.
nn
First of all: change the strings!
n
I know, it seems trivial. But how many times have I racked my brains over a problem that was then solved with a set of new strings? Old strings don't hold their tuning, lose intonation, and muffle the sound. It's the cheapest and easiest starting point for any guitar. electric guitar tuning.
nn
Check the environment
n
It's not magic, it's physics. Wood is a living material, sensitive to humidity and temperature. A seasonal change, or even just moving the guitar from one room to another, can slightly alter the neck and body. Keep this in mind before despairing.
nn
Visual and general inspection
n
Take the guitar, hold it up to the light. Look at the neck: is it straight? Is it curved? Are there visibly higher or lower frets? Take a look at the bridge, the nut: do they seem okay? Check that all screws are tightened (tuners, pickups, bridge). Verify that the frets are not too worn or lifted. A lifted fret can cause fret buzz even with a perfect setup. Take a look at the nut: do the strings slide well? Are the grooves the right depth? A poorly made nut is one of the most common causes of tuning and buzz problems. This first glance will already give you an idea of where to focus your efforts for theelectric guitar optimization.
nn
Essential tools for a DIY setup


nnnnnnn
You don't need a full workshop to make a good one electric guitar setup. With a few targeted tools, you can do almost anything. You don't need a thousand-euro workshop, but some pieces are essential. And I'll tell you, many I've acquired over time or improvised.
n
- n
- Tuner: This is non-negotiable. You need an accurate tuner, preferably a clip-on or pedal-powered one, that's reliable. Don't use free phone tuning apps; they're not accurate enough. I use a PolyTune Mini, but a good Korg or Boss will also do the trick. Accuracy is everything for a good guitar. DIY tuning.
- Nut (Capo): Essential for checking neck relief. Any one is fine, as long as it holds the strings well.
- Precision Ruler / Action Gauge: A millimeter ruler with good precision, or a specific action gauge (like StewMac, but even inexpensive ones on Amazon do the job). You need it to measure string height. Alternatively, you can use a precision ruler, but specific ones are more convenient.
- Feeler Gauges: A set of mechanic's feeler gauges. These are metal blades of different thicknesses. Essential for precisely measuring neck relief. You can find them in hardware stores for a few euros.
- Various screwdrivers: Phillips and flathead, of different sizes, for pickups, pickguards, saddles, etc.
- Allen Keys: For the truss rod (if it's not a slot type) and for the bridge saddles (if they are hex/Allen, as on many tremolos). Make sure you have the right sizes for your guitar. They are often included when you buy a bridge or a guitar.
- Wire cutters and cord winders: To cut excess strings and to wind them more easily. They are not strictly for setup, but they are useful for string changes, which is the first step.
- Keyboard oil (Lemon Oil) and microfiber cloth: For cleaning and moisturizing your keyboard.
- Fret Rocker: Useful for diagnosing misaligned keys without having to disassemble anything.
- Keyboard Protector: Metal masks to place on the frets to avoid damaging them when working on the capo or frets.
n
n
n
n
n
n
n
n
n
n
n
Mimmo's advice: You don't need to buy everything at once. Start with the essentials (tuner, ruler, wrenches) and add other tools as you feel more confident and tackle more complex jobs. Many of these tools can be found in specific luthier kits, or you can assemble them one piece at a time. Don't be intimidated by the number of tools. You probably already have many of them at home. The only thing I advise you not to skimp on is the tuner. A poor one will drive you crazy with intonation. For the rest, I used a plastic ruler and my grandfather's old feeler gauges for years. It's not about having the coolest tools, but about knowing how to use them.
nn
The right sequence: one step at a time to avoid causing damage
n
This is the heart of the self-maintain the instrument. The order in which you do things is CRUCIAL. If you skip a step or do it at the wrong time, you risk having to start over. Learn this sequence; it will save you a lot of headaches.
nn
1. Changing strings and general cleaning
n
First, change your strings. Setting up with old, oxidized strings is pointless. Choose the gauge you prefer and will use regularly. This is important because changing the gauge will affect the rest of your setup.
n
While the strings are off, take the opportunity to give the guitar a good cleaning. Clean the fretboard with a specific product (I often use a good lemon oil, but don't overdo it) and a microfiber cloth. Clean the frets. If you hear “crackles” when turning the potentiometers or moving the pickup selector, it could be oxidation. An electrical contact cleaner spray (like CRC or DeoxIT) sprayed inside the potentiometers and selector can work wonders. Just a small spray and a few turns to let the product work. It's a great time to inspect the instrument and look for any problems (lifted frets, loose screws, etc.).
nn
2. Truss Rod Adjustment (Neck Relief)
n
This is the first, and perhaps the most delicate, step of the home calibration. The truss rod is a metal bar inside the neck that serves to counteract the tension of the strings and adjust the curvature of the neck (the “relief”).
n
What is Neck Relief? The guitar neck doesn't have to be perfectly straight. It should have a slight concave curvature, the so-called relief, to allow the strings to vibrate freely without touching the frets. Too straight or even convex (backbow) = fret buzz. Too concave = high action and poor intonation.
n
Symptoms: If the neck is too straight, the strings will hit the first few frets, creating buzzing. If it is too curved, the action becomes high on the middle frets and the notes sound “dull”.
n
Diagnosis: Press the low E string at the first fret and, simultaneously, at the last fret (or where the neck meets the body). Now, look at the gap between the bottom of the string and the top of the fret at the 7th or 9th fret. You should see a small gap. I use a feeler gauge: I look for a value between 0.20mm and 0.30mm, but it also depends on your string gauge and your playing style.
n
Ideal size: The typical measurement for most electric guitars is between 0.2 mm and 0.3 mm (0.008″ – 0.012″). Guitars with flatter radii or those with a lighter touch may prefer less relief, but for starters, stay within this range.
n
Solution: This is where the truss rod. It's a metal rod that runs inside the handle. Screwing it in (usually clockwise) straightens the handle; unscrewing it (counterclockwise) bends it.
n
⚠️ WARNING: This is the most delicate adjustment. Proceed with extreme caution. Make a quarter turn at a time, no more. Wait 10-15 minutes (the wood needs time to settle) and check again. Repeat until you achieve the desired relief. The first time I touched the truss rod, my hands were shaking, I admit. Then I realized it's not a monster, but a powerful tool if used wisely.
n
PAIN POINT: The fear of breaking the truss rod. This is the thing that most terrifies those who do the guitar setup alone for the first time. And I understand. I broke out in a cold sweat the first few times, too. The secret is: small steps. Turn the key a quarter turn at a time. Then tune the guitar and wait 5-10 minutes. The wood needs time to settle. Then check again. If necessary, make another quarter turn. Don't rush. If you feel excessive resistance, STOP. There could be a more serious problem, or the truss rod has reached its limit of travel.
n
Common mistake: Turning too fast or not waiting. It seems like nothing's happening, you turn again, and then suddenly the handle moves too much. Patience, friend.
nn
3. Action Adjustment (String Height)
n
Once the neck relief is in place, we can move on to the action, or the height of the strings from the fret. This directly affects playability.
n
What is Action? This is the distance between the bottom of the strings and the top of the frets. A low action makes the guitar easier to play, but too low causes fret buzz. A high action is more forgiving of buzz, but requires more strength to play.
n
Symptoms: Action too high = difficult to play. Action too low = buzzing excessive.
n
Diagnosis: Measure the height of each string at the XII fret. There are specific action gauges, or a precision ruler will do the job. For a guitar electric, I aim for about 1.5mm-2mm for the high E string and 2mm-2.5mm for the low E string. But here too, it's a matter of personal preference.
n
Ideal measurements (starting points, then customize):
n
- n
- High E String: 1.5 mm – 2.0 mm (0.060″ – 0.080″)
- Low E String: 2.0 mm – 2.5 mm (0.080″ – 0.100″)
n
n
n
These are just suggestions. A shredding guitarist might want it lower, while a blues guitarist with a strong touch might want it a little higher.
n
Solution: Adjust the bridge saddles. Each type of bridge has a different system:
n
- n
- Tune-o-matic: There are two screws (one on each side) that raise or lower the entire bridge. Adjust both to maintain stability.
- Tremolo (Stratocaster-style): Each saddle has two small Allen screws to adjust the height of each string individually.
- Hardtail/Telecaster-style: Similar to the tremolo, but without the floating mechanism.
- Floyd Rose type bridges: Similar to the Strat, with hex screws for each saddle.
n
n
n
n
n<p
Download the Luthier Survival Kit
Free PDF with checklist, problem-cause table and project card template.
 English
  Italiano
Stuck on your build?
If you ran into the same problem or have a question, drop it in the comments. I read and reply to every one.
Write a comment