


Practical guide: maple wood for guitar
When we think of maple wood guitar, the first thing that comes to mind is often the neck of a Stratocaster or a Les Paul with its flamed top. It's a classic, a pillar in electric instrument construction, and not by chance. This material has unique characteristics that make it almost irreplaceable in certain aspects.But not all that glitters is gold, or rather, not all is the same. There are different types of maple, and its use can radically change the sound and feel of an instrument. If you've already tried some DIY projects, you know how important it is to choose the right material. And with maple, the variables are many.
I still remember the first time I tried to finish a neck in maple. I was convinced that a little oil would do the trick. Result? A horrible stain where I had sweated a bit more. I learned the hard way that this wood requires a certain type of approach, both in processing and finishing. If I succeeded, with my mistakes, you can do it too. You just need to know where to put your hands and, above all, where not to.
Why Maple? Characteristics and Types for Our Instrument
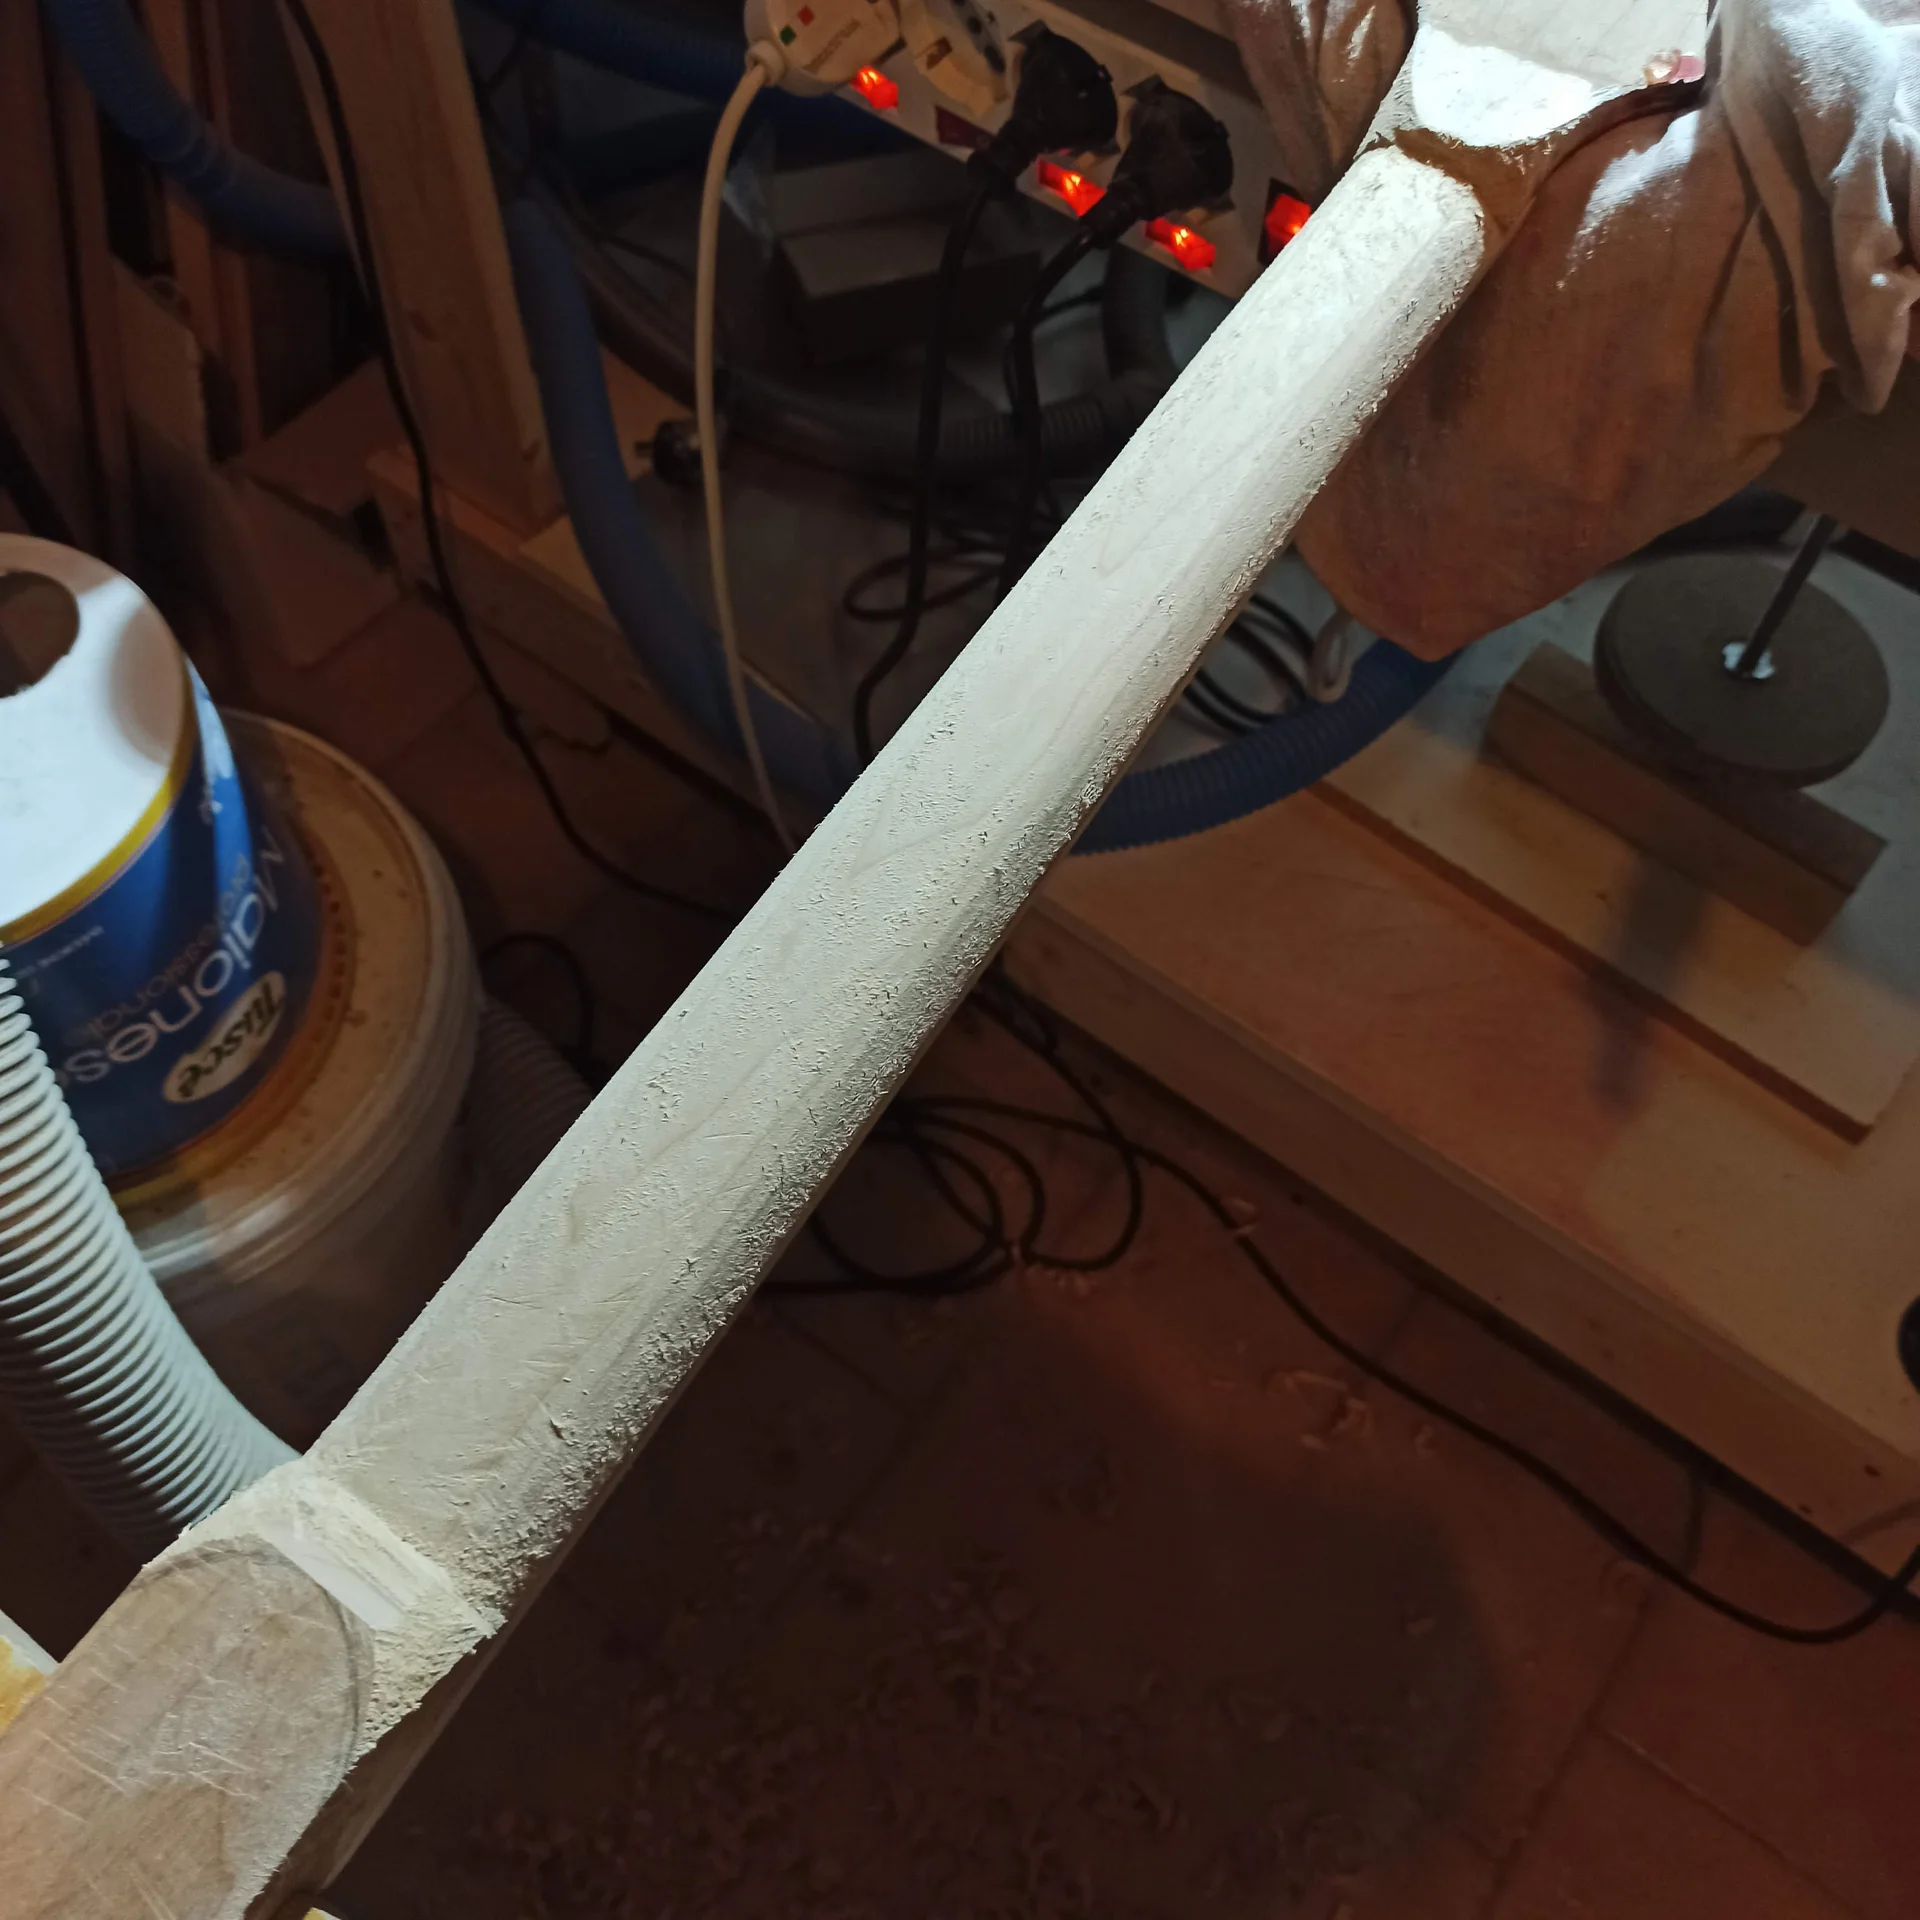
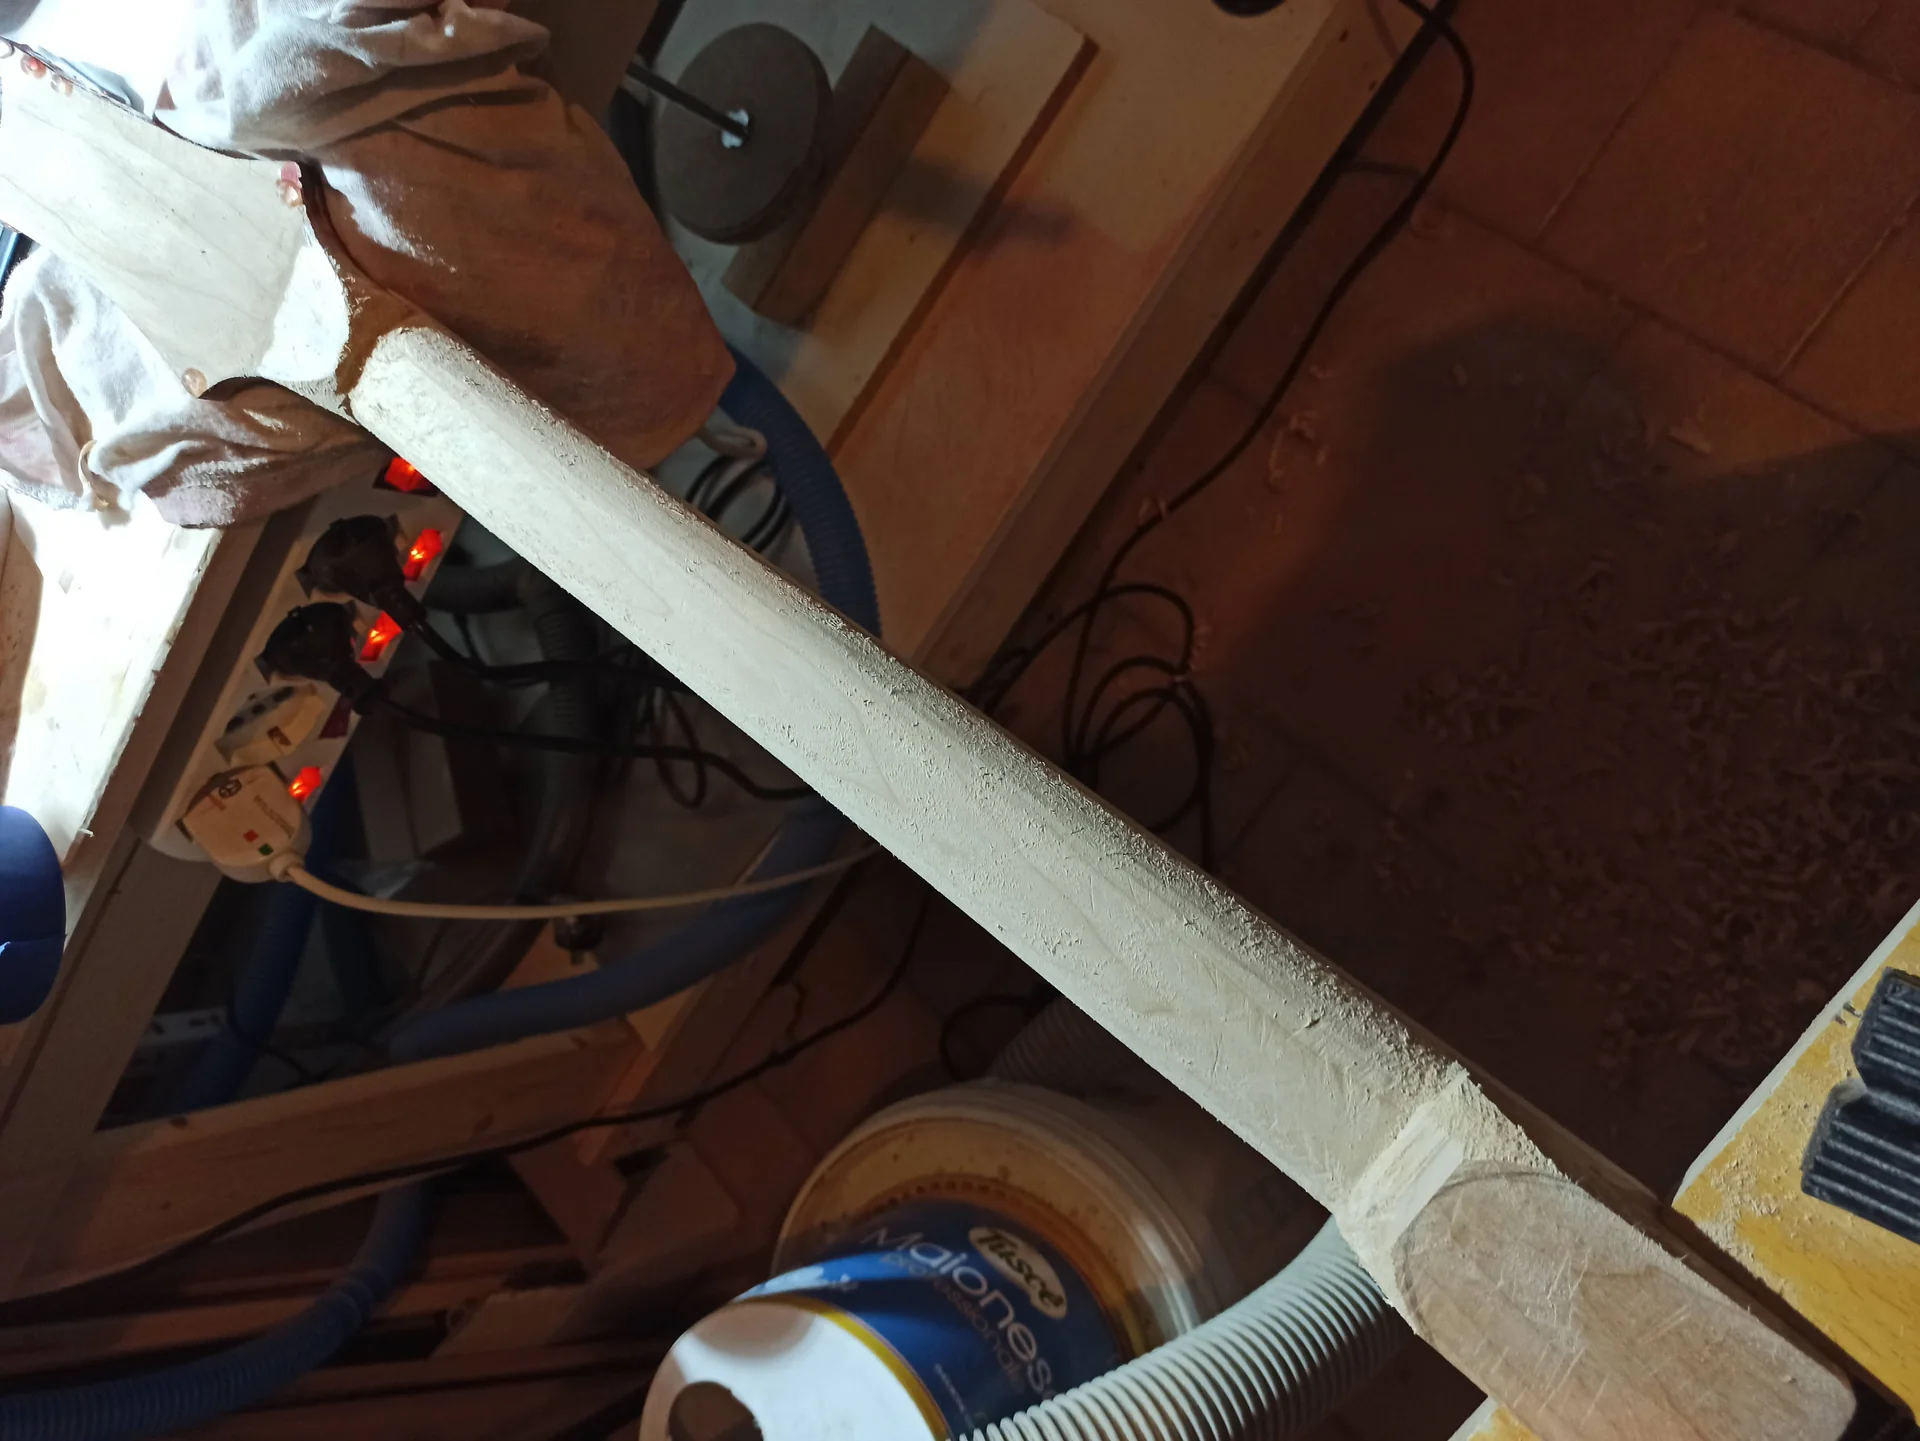
If there's one part of the guitar where the maple wood truly shines, it's the neck. Most iconic electric guitars, from Fender to Gibson, use it in some form. There's a reason: its rigidity and density directly influence how the strings vibrate and how the sound is transmitted to the body.
When I started building, the choice of wood for the neck seemed almost a detail. “It's just a long, narrow piece of wood, right?” Wrong. I soon realized that the neck is the true engine of the sound. A good neck can transform a mediocre guitar into something special. A bad neck can ruin even the best pickups.
Why is it so Common for Necks?
As we said, stability is everything. A neck in hard maple resists string tension with incredible strength. This not only maintains tuning but also ensures that string energy is transferred efficiently, without dissipating into unwanted vibrations of the wood itself.

The result is longer sustain and a sharper attack. Notes are defined, clear, with a resonance that can be felt right from the fingertips. It's that feeling of “solidity” that many guitarists seek.
Grain Orientation: Quartersawn vs. Flatsawn
This is a point where an intermediate hobbyist can really make a difference, and where many non-experts get lost. The orientation of the wood grain, or how the cut was made relative to the tree's growth rings, has a significant impact on neck stability.There are two main cuts: 1. Flatsawn (or Plain Sawn): The most common and economical cut. Boards are cut tangentially to the growth rings. This produces a “cathedral” or “flame” grain pattern on the wider surface of the board. A flatsawn neck is less dimensionally stable, more prone to warping or twisting due to changes in humidity. It's the cut most often seen in inexpensive guitar necks. I had a flatsawn neck that, after a particularly dry winter, started to show a slight twist. Nothing dramatic, but I had to work on it.n2. Quartersawn (or Rift Sawn): Boards are cut radially to the growth rings. This produces a straight and parallel grain along the entire length of the board. A quartersawn neck is much more dimensionally stable, less prone to twisting and bending. It is the preferred choice for high-quality necks. The straight, tight grain also offers greater longitudinal rigidity, which contributes to sustain. Practical advice: If you can, always choose a neck or a board of maple quartersawn for the neck. It costs more, yes, but the stability it offers will pay off in terms of fewer headaches and better sound. If you buy a blank, always ask the supplier how it was cut. If you cut it yourself, try to get a quartersawn cut or at least a “rift sawn” (an intermediate cut between the two).
The Truss Rod: A Fundamental Ally
Even with the most stable neck in the world, the truss rod is indispensable. String tension is immense, and even the hardest maple can flex slightly over time. The truss rod allows you to adjust the neck's curvature (relief) to achieve optimal action and prevent “fret buzz”. Common mistake to avoid: Don't think that a maple neck doesn't need a truss rod or that you can ignore it. It's a crucial component for the playability and longevity of your instrument. Learn to adjust it correctly; it's one of the most useful skills for a guitarist and a builder.Working with a Maple Neck: Tips and Difficulties
Maple, being very hard, requires sharp tools. Saws, planes, and chisels must be in top shape, otherwise you risk tear-out or a messy job. Planing: Proceed with light passes and a well-sharpened plane. The grain can be a bit “rebellious”, so be careful not to plane against the grain.Milling: When routing the cavities for the truss rod or nut, use new bits and make gradual passes. Maple tends to burn if the bit is dull or if you go too fast. The smell of burnt sugar is unmistakable and tells you that you are overheating the wood.
Sanding: Start with a medium grit (like 120-150) and gradually work your way up to 400-600. Don't skip steps. The hardness of maple means that scratches from coarser grits can be difficult to remove if you don't proceed patiently. Anecdote: The first time I made a neck, I used a slightly worn bit for the truss rod channel. The result was a slightly uneven channel and a lot of smoke. I had to clean everything up by hand with a chisel. From then on, new bits for maple. Always.
Maple for Fretboards: Feel, Sound, and Maintenance
The fretboard in maple is another classic choice, especially for Fender-style guitars. Although rosewood and ebony are more common, maple offers a different experience and a distinctive sound.Many guitarists love maple fretboards for their smooth and fast feel, and for their contribution to a bright and snappy tone. But there are important practical considerations to make.
The Sound of the Maple Fretboard
A maple fretboard adds an additional layer of brightness and attack to the overall sound of the guitar. Notes sound more “snappy” and defined. This is why it's so popular for genres that require clarity and percussiveness, such as funk, country, or pop rock.If you have a guitar with a mahogany neck and rosewood fretboard, and then try one with a maple neck and fretboard, the difference is like day and night. Maple “opens up” the sound, while darker woods tend to make it more “warm” and “round”.
Finish and Maintenance: Here's the Catch
Unlike rosewood or ebony, which are oily woods and do not require finishing (or only a light oiling), maple is a closed-pore wood and must must be finished. If you leave a fretboard maple bare, it will absorb dirt, skin oils, and moisture, yellowing and staining unpleasantly and potentially compromising stability.Most maple fretboards are finished with polyurethane or nitrocellulose lacquer. This finish protects the wood and gives it that smooth feel. Warning: If you need to refret a maple fretboard, the finish can crack around the frets. Heat the frets well before removing them and proceed gently. After installing the new frets, you may need to touch up the finish or, in extreme cases, refinish the entire fretboard. This is a delicate job and requires patience. Mimmo's advice: When working on a maple fretboard, especially if it's finished, always cover the rest of the neck well to avoid scratches or damage to the existing finish. And if you need to sand, use paper masking tape on the frets to protect them.
Radiusing and Specific Fret Work
Radiusing, or giving the fretboard its curvature, is a process similar to that for other woods, but the hardness of maple can make sanding more laborious. Use sanding blocks with the correct radius and good quality sandpaper.Start with 180-220 grit and gradually work your way up to 400-600, making sure to eliminate all marks from previous grits.
For fret installation, pre-drilling pilot holes is almost mandatory, given the hardness of the wood. This prevents the fret tangs from breaking or bending. Hobbyist's Pain: The fear of ruining the finish or not achieving a uniform radius. The key is patience and the use of specific tools, such as radius blocks. Don't improvise with just any piece of wood.
Soundboards and Maple Tops: Aesthetics and Performance
Not just necks and fretboards. Maple, especially in its figured forms, is an extremely popular choice for electric guitar tops, particularly for models with mahogany bodies, such as Les Pauls. Here, aesthetics play a leading role, but it's not the only factor.Figured Maple: Flame, Quilt, Bird’s Eye
The figures in maple are a true spectacle for the eyes. Flame Maple (Flamed Maple): Characterized by a series of parallel and wavy stripes that look like “flames” running through the wood. The effect is three-dimensional and changes with the angle of the light.Quilted Maple (Quilted Maple): It features patterns reminiscent of water ripples or clouds, with evident “bubbles” or “quilts”. It is less common and often more expensive than flamed.
Bird’s Eye Maple (Bird’s Eye Maple): Small “bird’s eye” shaped knots scattered on the surface. Highly valued for necks and fretboards, but also for tops.
These figurations are the result of anomalous growth of wood fibers and are not found in all boards of maple. Their rarity and beauty make them highly sought after.
Impact on Tone (Subtle but Present)
A maple top on a body of another wood (often mahogany, but also basswood or alder) modifies the overall sound. Maple, being dense and bright, adds a bit of 'snap' and definition to the attack, balancing the roundness and warmth of softer woods. Don't expect a tonal revolution like you would get by changing the pickups. The effect is more subtle, but perceptible. It helps to slightly 'brighten' the sound, giving more presence and clarity, especially in the high frequencies. It's a bit like adding a pinch of salt to a dish: it doesn't change the main flavor, but enhances it.This combination of woods has been experimented with and refined for decades precisely to create an ideal sound balance: the sustain and warmth of mahogany, with the attack and clarity of maple.
Working a Figured Maple Top: Practical Tips
Working with figured maple requires special attention. The wavy grain that creates the figures can be very difficult to plane or mill without causing tear-out. Sharp Tools: This is even more true here. Cutters and planers must be very sharp.Light Passes: Do not try to remove too much material in one pass. Make very light and controlled passes.
Grain Direction: Try to understand the grain direction and always plane/mill “with” it. In some places, the grain may change direction, making small tears inevitable. In these cases, it's better to switch to sanding.
Sanding: Prepare the surface with extreme care. Every small scratch or imperfection will be amplified by the finish, especially if you use a stain. Start with 180-220 grit and gradually move up to 400-600, or even 800 for a perfect finish. Personal anecdote: My first attempt to make a carved top in flamed maple was a disaster. I used a freehand router without an adequate template and tore the wood in several places. I had to redo the top from scratch. I learned that for carving, a solid template and a bearing router bit are your best friends.
A maple top, with its intrinsic beauty, is also a great opportunity to experiment with different finishes and colors. Transparent or burst tints can really bring out the figuring. If you want to learn more about how the different components influence the sound, check out our guide on modify the guitar.
Working with Maple: Practical Tips and Mistakes to Avoid for the DIY Builder
Well, we've talked about why maple is fantastic, and where we use it. Now, let's get our hands dirty and see how to work with it without going crazy, avoiding the mistakes I made.Maple, with its hardness, can be intimidating. But with the right preparation and a little patience, you’ll see that it’s not as difficult as it seems.
Cutting: Precision and Sharp Tools
When you cut the maple wood, whether with a band saw or a circular saw, the most important thing is the blades. They must be sharp and suitable for hardwood. Dull blades not only make cutting more difficult but can overheat the wood and cause burns. Bandsaw: Use a blade with a high tooth count for a cleaner cut and fewer tears. Proceed with a constant feed rate and do not force the workpiece.Circular/table saw: Tungsten carbide-tipped blades are ideal. Make sure the workpiece is firmly clamped and the fence is precisely set. A clean cut from the start saves you a lot of sanding later. Pain point: The fear of making a crooked cut or ruining an expensive piece of wood. The solution is to practice on scraps, use guides and clamps, and don't rush.
Sanding: Patience, Patience, Patience
Maple has a fine grain and closed pores, which means it can be sanded to an extremely smooth and polished surface. But to achieve this, you need to be methodical. 1. Progression: Start with a coarse grit (100-120 if you need to remove a lot of material, otherwise 150-180 to begin) and gradually work your way up. Never skip more than one grit at a time (e.g., from 180 to 220, then to 320, then to 400, etc.). Each grit must completely eliminate the marks from the previous one.n2. Check: Use a raking light to inspect the surface after each pass. Scratches left by coarser grits are invisible under diffused light, but they pop out like ghosts under angled light.n3. Sanding block: Always use a rigid block for sanding flat or curved surfaces. Freehand sanding with just sandpaper creates dips and uneven surfaces. FAQ: “Does maple stain well?”It's not the easiest wood to stain. Due to its fine grain and closed pores, maple can absorb stains unevenly, creating “blotchy” effects.
Tip: To avoid this, you can apply a pre-stain conditioner or a very light sealer before staining. This helps to even out absorption. Alternatively, opt for transparent or burst finishes that enhance the wood's natural figuring without covering it with a heavy stain.
Finishing: Sealing is the Watchword
As mentioned for fretboards, maple must be sealed. It's not a wood you can leave bare, unless it's an internal part of the body. Types of finish: Polyurethane, nitrocellulose, acrylic. Polyurethane is the most durable and easiest for a hobbyist to apply. Nitrocellulose is more traditional but requires more coats and longer drying times.Sealer: Before the actual finish, apply a layer of sealer. This prevents the wood from absorbing too much finish and creates a uniform base.
Pores: Maple has very fine pores, so it usually doesn't require a pore filler. The finish itself will fill the surface pores. Mistake to avoid: Rushing drying times between coats. Patience. Each layer must be completely dry before the next, otherwise you risk defects and a finish that doesn't cure properly.
Drilling: Preventing Tear-out
Drilling maple requires attention to avoid tears on the exit side of the hole. Sharp tip: Use sharp drill bits suitable for wood.Stand: Place a piece of scrap wood under the piece you are drilling. This supports the wood fibers and prevents tear-out when the bit exits.
Speed: Medium speed and constant pressure. Don't push too hard. Common question: “Is it difficult to work with?”
Maple is not “difficult” in the sense that it requires exotic techniques. It is “challenging” because its hardness requires more force, sharper tools, and greater attention to detail. It is not a wood for those in a hurry or for those who don't want to sharpen their tools. But if you put your mind to it, it will give you great satisfaction.
Gluing: Simple but Effective
Maple glues well with most wood glues, such as aliphatic glue (Titebond, etc.) or polyurethane glue. Make sure the surfaces are clean, well-planed, and fit together perfectly. Pressure: Use clamps to apply even and sufficient pressure during gluing.* Drying time: Respect the manufacturer's drying times before removing the clamps and continuing processing. Reliable source: To learn more about the properties and use of maple and other woods, an excellent resource is The Wood Database, a true encyclopedia for woodworkers: The Wood Database – Hard Maple. I recommend you take a look, there is very detailed information.
 English
  Italiano
Stuck on your build?
If you ran into the same problem or have a question, drop it in the comments. I read and reply to every one.
Write a comment