

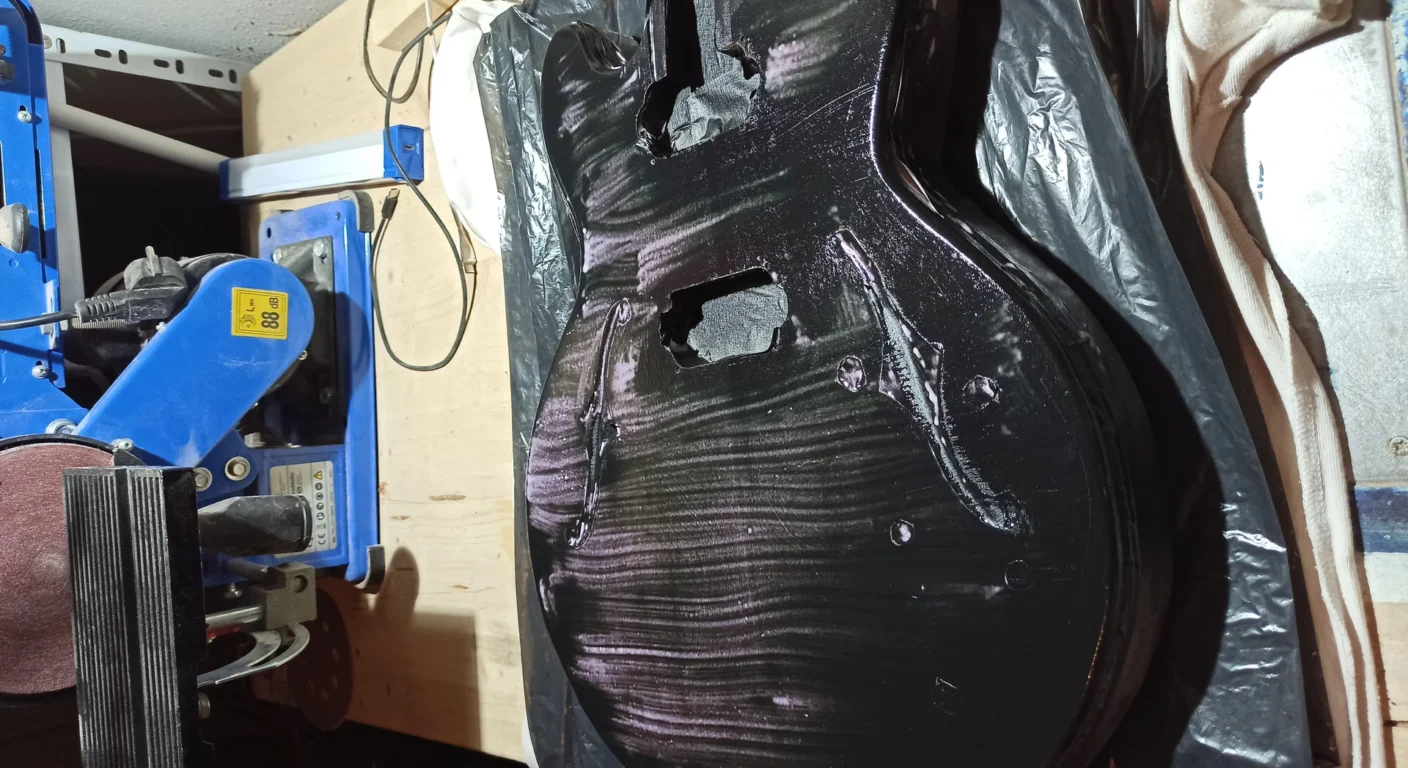
50-pound electric guitar: what to expect?
Let's face it: we've all browsed online and come across those offers that almost seem like a joke. A guitar electric 50 pounds, or thereabouts, brand new. The temptation is strong, isn't it? Maybe to start, for a gift to a kid, or simply for the pleasure of having another “piece” at home. For me, the first time I saw a price like that, I thought: “It must be a toy, impossible that it plays”. And in part I was right, but only in part.
That kind of instrument, if approached with the right mindset, can become a real training ground. It's not a guitar you buy to go on stage tomorrow night, that's clear. It's more of a project, a blank canvas (sometimes a bit crooked, but patience) on which to learn. If you want to get your hands dirty, understand how a guitar really works, and not be afraid to make mistakes, then keep reading. Because if I succeeded, who made more disasters than masterpieces in my beginnings, you can succeed too. Don't expect perfection, not at this price. But if you know where to put your hands and what to expect, a fifty-pound guitar can give you a lot of satisfaction. And above all, it teaches you a lot of things that with a Gibson or a Fender worth thousands of euros you would never dream of touching.
Technical features: the bare minimum (and even less)
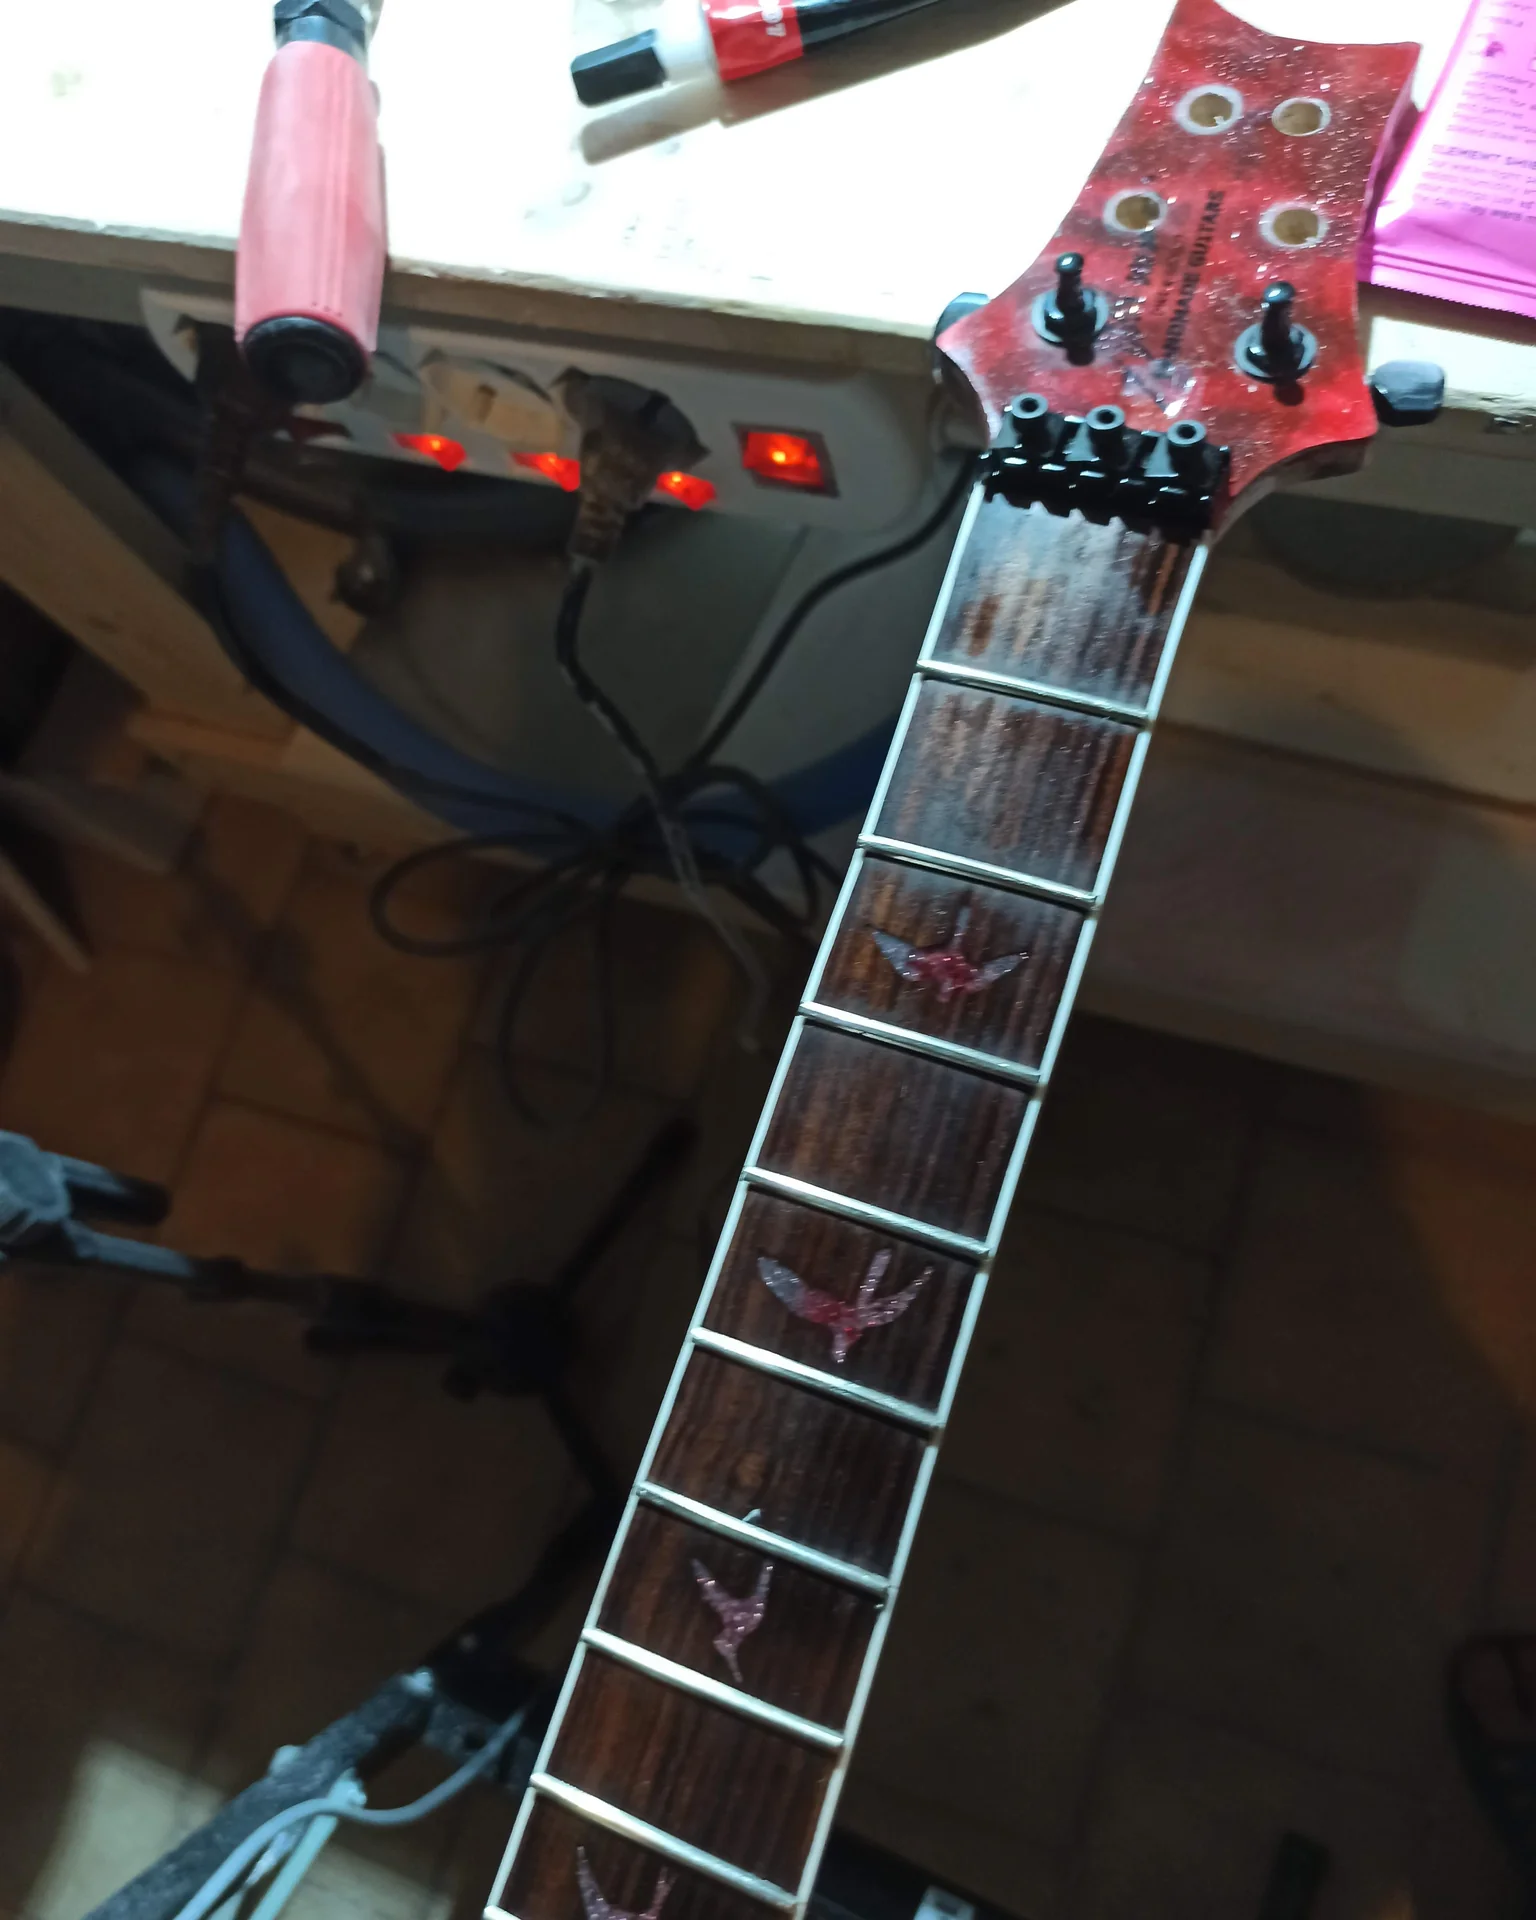
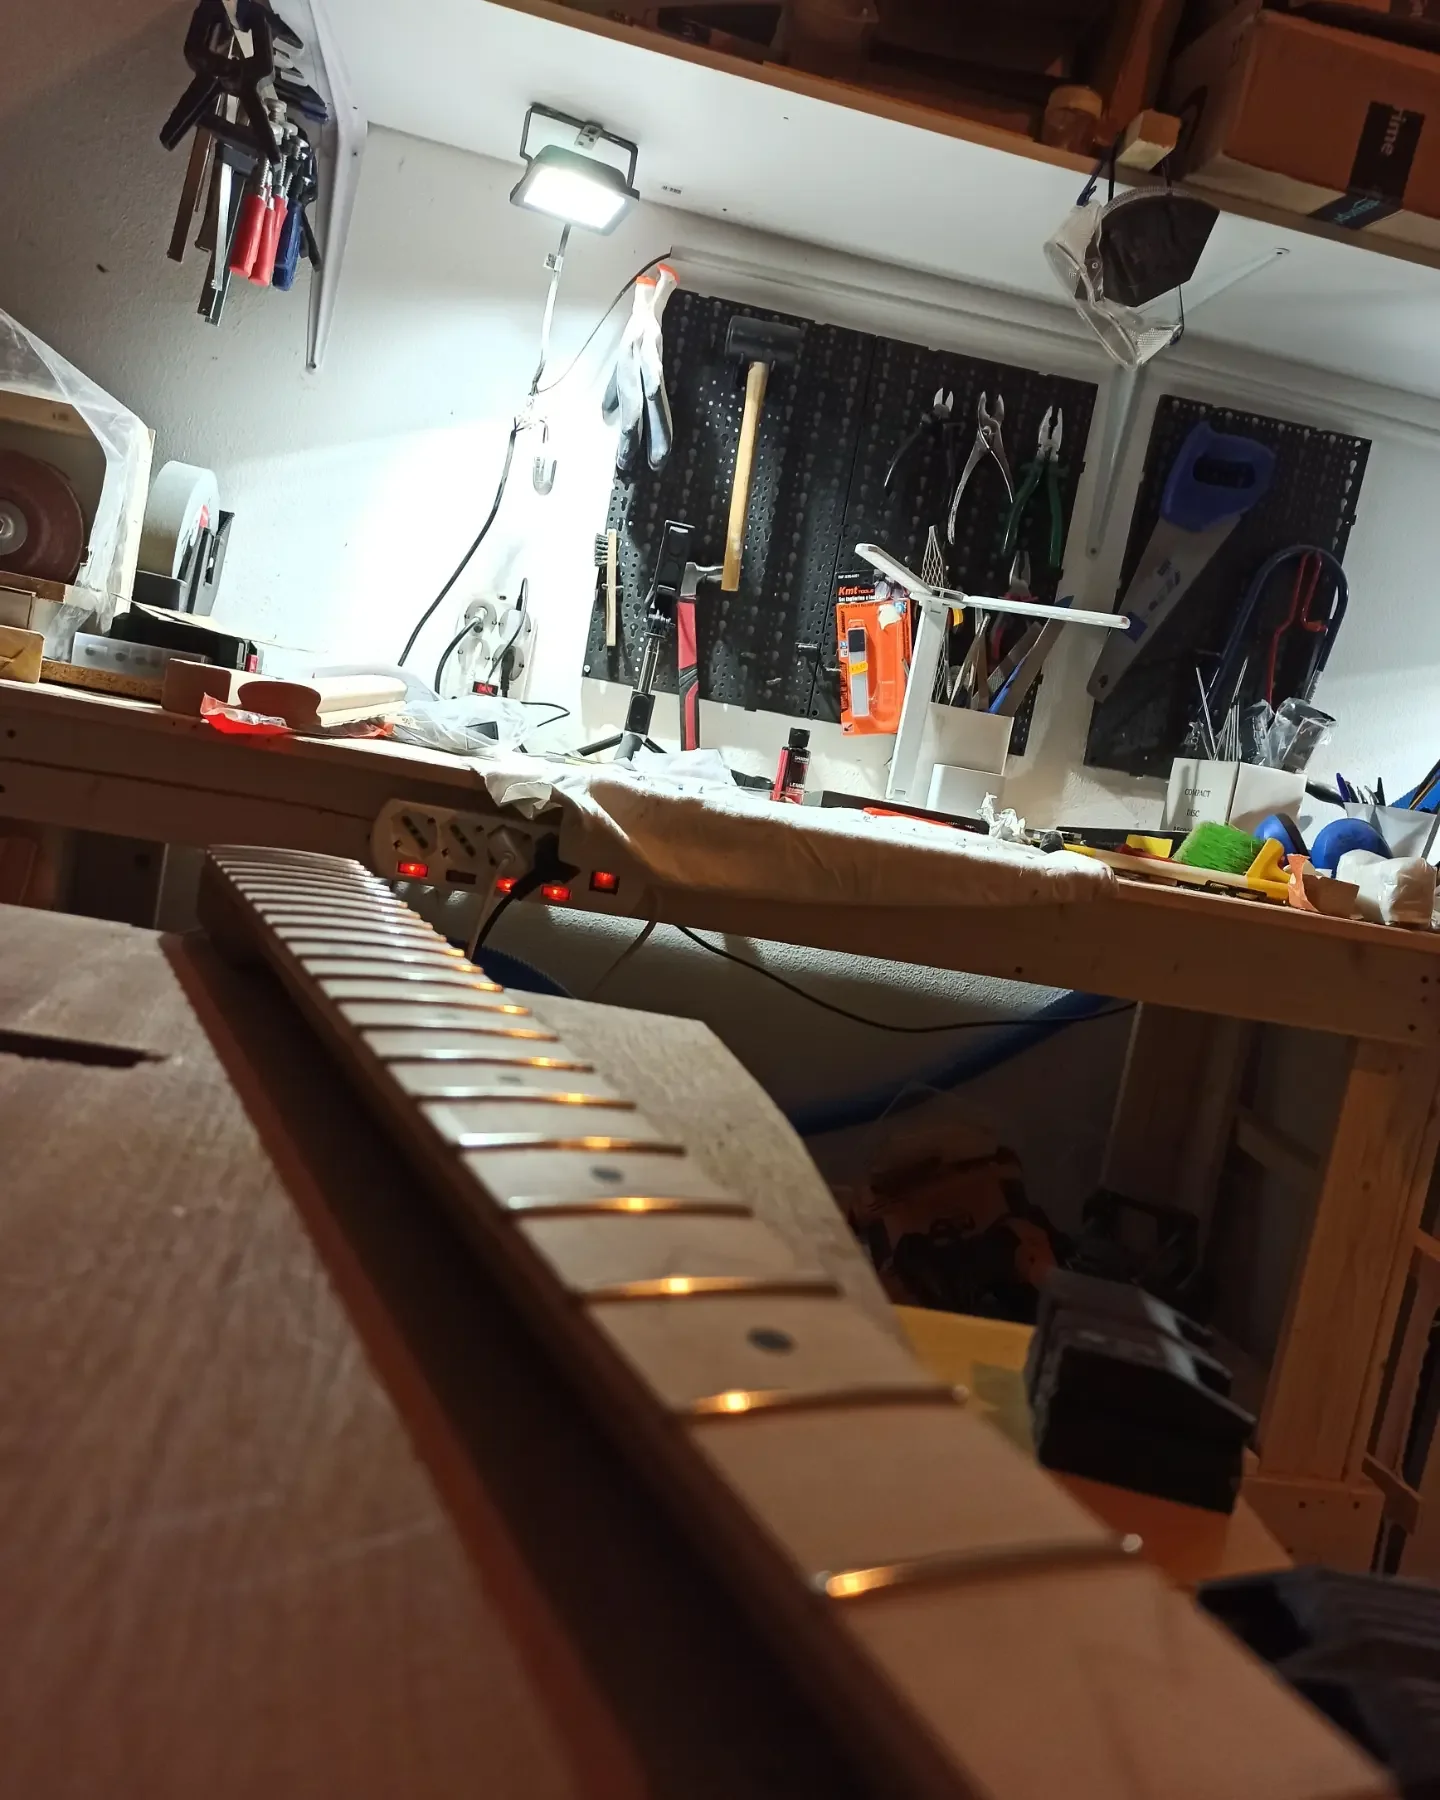

[GRIGLIA FOTO]
If you frequent DIY lutherie forums or guitar enthusiast groups, you'll see that the discussion about low-cost electric guitars is always lively. Some demonize them, calling them “firewood”, while others see them as a goldmine for modding. The truth, as often happens, lies in the middle.
Many buyers, especially absolute beginners approaching the world of electric guitar for the first time, are disappointed. And how can you blame them? An instrument that doesn't stay in tune, with frets that scratch your fingers, a muddy and buzzing sound, certainly doesn't encourage you to continue. The frustration is real and tangible. I've read comments from people who almost gave up the idea of playing because of a bad first experience with such an instrument.
On the other hand, there's a segment of guitarists and hobbyists who adore them. Not so much for what they are, but for what they can become. The logic is simple: spend little, learn a lot. Many, myself included, have used one of these guitars as a guinea pig for their first solders, serious setups, modifications to pickups or electronics. It's the classic “battle axe” on which you're not afraid to make mistakes, to drill an extra hole, to experiment.
The most complained about defects by the community are always the same: 1. Tuning stability: It's the number one problem. Poor mechanics, badly cut nut, cheap bridge.n2. Fretwork (fret processing): Uneven, sharp frets, which make the guitar almost unplayable.n3. Sound of the pickups: Generic, characterless, often with hums and background noise.n4. Overall quality of materials: Feeling of “cheap” to the touch, poor plastics, imperfect finishes.
But there is also an appreciation for the potential: The handle, if it has no serious structural defects, can be recovered. A good sanding and polishing of the keys can do wonders.
The body, even if in multilayer, is a base. You can repaint it, shield it, change the electronics.
The negligible cost allows you to experiment without worries. If you break something, you haven't thrown away a fortune.
So, popular sentiment is polarized: disappointment for those looking for a ready-to-use tool, enthusiasm for those looking for a project to learn and have fun with.
Pros and Cons of a 50-pound guitar (in relation to the price)

[AFFILIATE BOX] We must be honest: you cannot ask a 50-pound guitar to compete with a 500-pound one. The comparison would be unfair and misleading. We evaluate the pros and cons always keeping the ridiculous price in mind.
The Pros (when price is the only parameter)
1. Unbeatable price: This is the highlight, the only real reason why one considers such a purchase. For a few euros, you have something in your hands that resembles to an electric guitar and it makes noise.n2. Excellent base for DIY and modding: It's a blank canvas, a laboratory. You're not afraid to take it apart, modify it, experiment. It's the perfect guitar for learning to solder, shield, and do a complete setup. If you want to understand how every single component works, this is your chance.n3. “Battle” instrument: Perfect for leaving it around, for taking it to situations where a valuable guitar would be at risk (beach, parties, etc.). You don't have to worry if it gets a bump or a scratch.n4. Learning basic lutherie: It forces you to learn. To make it sound decent, you have to get your hands on it. You learn to adjust the truss rod, the action, the intonation. You learn the importance of a good nut and decent tuners. It's an accelerated school of setup and minor repairs.n5. Gift for children or very young beginners: If you don't know if your child will maintain interest in the guitar, this is a low-risk option. If interest then grows, you can move on to something better.
The Cons (and there are many, but predictable)
1. Poor playability: This is the main problem. Poorly finished frets, action too high or too low and buzzing, rough neck. It makes it difficult to learn to play, especially for a beginner.n2. Non-existent tuning stability: It doesn't hold its tuning. You'll have to tune every five minutes, which is frustrating and discouraging.n3. Mediocre sound: Cheap pickups offer a flat sound, without harmonics, dynamics, or character. It's often noisy too due to poor shielding.n4. Low build quality: Imperfect finishes, cheap components that break easily, stripped screws, rough assembly.n5. Potential for frustration: For a beginner who doesn't have the desire or ability to work on it, it can be a very negative experience, leading to abandoning the instrument.n6. Zero resale value: Don't expect to resell it for more than you paid for it, and sometimes not even that. Its value is in the project, not in the object itself.n7. Hidden cost of upgrades: To make it “decent”, you might spend much more than its initial cost on components (pickups, tuners, nut, potentiometers). Sometimes you end up spending more on modifications than on the guitar itself.
My first experience with such a cheap guitar was a disaster. The frets were sharp as blades, the neck felt like a surfboard, and the tuning lasted only a breath. But it was precisely that frustration that pushed me to buy a soldering iron and learn how to do a setup. And from there, my passion for DIY was born.
Enjoying this article? Subscribe to the newsletter: one email a week, zero spam.
Subscribe →Who is a 50-pound guitar suitable for? Who should avoid it?
Understanding who such a product is aimed at is fundamental to avoid making the wrong purchase and not creating false expectations.
This guitar is for you if:
1. You are a hobbyist or an experienced DIY luthier: Looking for an inexpensive base on which to experiment with new techniques, test pickups, do repainting, extreme modifications. It's your perfect guinea pig. You already have the tools and knowledge to solve problems.n2. Want to learn basic lutherie and setup: Have you never adjusted a truss rod, changed a nut, leveled frets? This is your chance. With little money, you have a “practical manual” in your hands that will force you to learn. Every defect is a lesson.n3. Looking for a “battle” instrument: You need a guitar to take camping, to leave in a damp rehearsal room, to use for sound experiments that could destroy it. You have no performance or preservation anxieties.n4. You have a very limited budget and ONLY want to start, aware of the limitations: If you really can't spend more, and you understand that you'll have to deal with the flaws, it can be a starting point. But be prepared to invest time (and maybe some extra money) to make it playable.n5. Do you want a project of guitar modification extreme: Do you have a crazy idea in mind? A homemade multiscale? A particular routing? Use it as a base, the risk is minimal.
You should avoid it like the plague if:
1. You are an absolute beginner and have no intention of touching it: If you just want to pick up the guitar, tune it, and start playing, this will make you hate the instrument. The frustration will be enormous and you might give up everything.n2. You don't have tools or experience for setup and modifications: If every problem means taking it to the luthier, the cost of a 50-pound guitar will increase exponentially until it exceeds the cost of a higher-end instrument.n3. Looking for a “decent” or professional sound: You will never get quality sound from these pickups and woods. If sound is your priority, look elsewhere.n4. Do you want a reliable instrument for studying or performing: It's not reliable. It doesn't hold its tuning, it can have sudden electronic problems. It's not a stage instrument
or for serious study.n5. Do you have high expectations for the quality/price ratio: At 50 pounds, the quality is what it is. Don't expect an incredible deal in terms of performance.
In summary, it's a guitar for those who love the process of building and improving, not for those who want a finished and high-performing product.
My final advice and plausible alternatives
Here we are. If after all this you still have in mind to buy a electric guitar 50 pounds, I tell you this: do it, but with your head. Don't take it with the idea of having a ready-to-use guitar. Take it as an advanced assembly kit, like an educational project.
My advice is: buy it, disassemble it, study it. Learn how to do a complete setup. Watch tutorials on YouTube, read articles (maybe even here on Biafax!). Then, if you get passionate, start changing its parts. 1. Absolute priority: the setup. Before changing anything, you need to learn how to do a serious setup. Adjust the truss rod, the action, the intonation. Fret polishing, edge chamfering. This alone can transform an unplayable instrument into something “decent”. Sometimes, a good setup solves 80% of playability problems.n2. Nut and tuners: They are the main culprits for unstable tuning. A bone or TUSQ nut and a set of decent tuners (even non-locking, but of better quality) make a huge difference. They don't cost much and are an investment that pays off immediately.n3. Electronics and pickups: Once playability and stability issues are resolved, you can think about the sound. Change the pickups with something more interesting, shield the cavities with copper tape or conductive paint. Put quality potentiometers and capacitors. This will give you a much more defined and less noisy sound.n4. Bridge: If it's a tremolo, a steel or brass block can improve sustain and stability. If it's fixed, better saddles can make a difference.
Real (and more sensible) alternatives
If your budget is really tight, but you want an instrument that is Really playable right away, I suggest these alternatives: 1. Guaranteed used: With 100-150 euros (which is double, but the quality is often ten times as much) you can find used guitars from reliable brands like Squier (Affinity or Standard range), Epiphone (Special-II), Yamaha Pacifica (012/112 series), Harley Benton (some models). These instruments, even if cheap, have minimal quality control and are designed to be playable. Often a good setup is enough to make them excellent study companions. Take a look at online marketplaces, in used music stores. Sometimes you can find real bargains.n2. DIY assembly kits: If you like the idea of the project, but want a slightly better base, there are assembly kits (DIY kits) that start from about 100-150 euros. They give you a pre-finished body and neck, and all the electronics to assemble. The quality is often superior to that of a 50-pound guitar already assembled, and you'll have a lot of fun building it. You have control over the finish, wiring, and you can choose the pickups you prefer.n3. Save a little more: Sometimes it's better to wait an extra month and save another 50-100 euros. The difference in quality between a 50 and a 150-200 euro guitar is abysmal. You'll have an instrument that will last longer, give you fewer problems, and make you want to play, not throw it out the window.
Remember, the goal is to play, not to fight with the instrument. A electric guitar 50 pounds can be a great lesson, but it must be approached with the awareness that it is a starting point, not an arrival. And the satisfaction of transforming a “piece of wood” into a playable instrument, that, is priceless.
In-depth: How to deal with the most common defects (and what you can do)
Ok, you've decided to buy your 50-pound guitar. Great! Now let's see what you can do to transform it from “toy” to “acceptable instrument”. You won't need professional luthier tools, but a little patience and some basic hobbyist tools, yes.
1. The Fretwork (Frets): The Thorn in the Side
This is often the biggest problem for playability. Uneven frets mean buzzing strings, high action, and a general “rough” feel. Sharp fret edges (Fret Sprout): Why it happens: The fretboard wood (often poorly seasoned) shrinks with changes in humidity, exposing the fret edges.
What to do: Get a fine file, preferably a fret bevel file (if you have one, otherwise a diamond modeling file will do). Gently file the fret edges at 35-45 degrees, following the fretboard angle. Be careful not to damage the wood. After filing, use fine sandpaper (600, 1000, 2000 grit) to smooth and polish. Protect the fretboard with masking tape.
Result: Your fingers will thank you, and playing will be much more comfortable. Unleveled keys: Why it happens: Non-existent quality control, poorly done fretting.
What to do (rough home leveling): This is a delicate operation. If you don’t have a fret leveling beam, you can use a straight aluminum block or even a mason’s level (check that it is perfectly flat). Use masking tape to protect the fretboard. Mark the top of each fret with a permanent marker. Pass the block with sandpaper (400-600 grit) over all frets with long, uniform movements. The goal is to remove the marker from all frets. When the marker has disappeared uniformly, it means the frets are (more or less) leveled. Then you need to “crown” the frets (restore the dome shape) with a crowning file, and finally polish with progressively finer sandpaper and abrasive paste.
Warning: If you don’t feel confident, take the guitar to a luthier for this operation. It is the most complex and important. But if you want to learn, this is your chance.
2. Tuning Stability: The lost battle (but winnable)
A guitar that goes out of tune by itself is every guitarist’s number one enemy. Nut: Why it's a problem: Cheap plastic deforms, the slots are poorly cut (too narrow or too wide), the strings get stuck.
What to do: Replace it. A bone or TUSQ (self-lubricating synthetic material) nut is an inexpensive and hugely impactful upgrade. You can buy a pre-cut one and adapt it, or a blank one and file the slots with specific nut files (or, with great caution, a nail file or the edge of a razor blade). Lubricate the slots with pencil graphite or a specific nut lubricant.
Result: The strings slide better, tuning is more stable, and sometimes sustain also improves. Mechanics (Tuners): Why they are a problem: Poor gears, excessive play, low gear ratio.
What to do: Replace them with a set of better quality tuners. You don't need to spend a fortune; even an inexpensive Wilkinson or Gotoh set (around 30-50 euros) will make a huge difference. Sometimes cheap tuners are standard and can be mounted without drilling, other times you will need to slightly enlarge the holes or drill new ones for the mounting screws.
Result: More precise and lasting tuning.
3. Electronics and Sound: Giving Voice to the Guitar
Pickups and wiring are the heart of the sound. Pick-up: Why they are a problem: Flat sound, without character, often noisy.
What to do: This is the most expensive upgrade, but also the one that radically changes the sound. Choose a set of mid-range pickups. Even used pickups from well-known brands (Seymour Duncan, DiMarzio, Gibson, Fender) can be found at a good price and do an exceptional job. If you don't want to spend too much, brands like Tonerider, Wilkinson, or Artec offer pickups with excellent value for money.
Result: A defined, dynamic sound, with much more personality. Wiring and Shielding: Why they are a problem: Thin wires, cold solders, no shielding. All this leads to hum and noise.
* What to do:
1. Welding: Redo all solders with good quality tin. Make sure they are clean and robust.
2. Potentiometers and capacitors: Replace the potentiometers (volume, tone) with good CTS or Alpha ones. Change the capacitors with quality .022uF or .047uF ones (Orange Drop or well-made ceramic).
3. Shielding: This is the key to reducing hum. Use adhesive copper tape or conductive paint to cover the inside of the body cavities and the pickup cavities. Ensure there is electrical continuity between all shielded parts and that the bridge is grounded. This creates a Faraday cage that blocks electromagnetic interference.
Result: A cleaner sound, with less background noise, even when the gain is high. The electronics work better and more reliably.
Advise: If you have never soldered, this is the time to learn. Look for online tutorials, get a cheap soldering iron and some solder. It's a fundamental skill for anyone who wants to maintain or modify their guitar. There are also pre-assembled wiring kits that simplify the job.
4. Neck Adjustment (Truss Rod) and Action
The neck is the backbone of the guitar and its curvature directly affects playability. Crooked handle or with incorrect curvature: Why it's a problem: If the neck is too bowed (truss rod too tight), the strings will be too high (high action) and difficult to press. If it is too straight or even concave (truss rod too loose), the strings will buzz on the neck.
What to do: The truss rod is a screw that runs through the neck and adjusts its curvature. The keys for the truss rod are often Allen keys (Allen key) and are located at the bottom of the neck (behind the nut or on the body, depending on the model). ATTENTION: turn the truss rod very little at a time (a quarter or half turn at most) and retune the guitar to check the result. Generally, to increase the curvature (relieve tension), turn counter-clockwise. To decrease it (increase tension), turn clockwise. The goal is to obtain a slight concavity (a very slight “belly” outwards) when pressing a string on the first and last fret.
Result: A straight neck or one with the right curvature allows you to lower the action (the distance between strings and fretboard), making the guitar more comfortable to play. Action too high/low: Why it's a problem: High action = hard to play. Low action = buzzes and strings that “fret out”.
What to do: The action is mainly adjusted by acting on the bridge saddles. On many economic bridges, the saddles are raised or lowered via small side screws. Adjust each saddle so that the string is at a comfortable distance from the frets (usually 1.5-2.5 mm for the low E string and 1-1.5 mm for the high E string, measured at the 12th fret). After adjusting the action, you will probably need to adjust the intonation (see next point) and the truss rod if the string tension has changed significantly.
Result: A guitar that plays in tune and doesn't make unwanted buzzing.
5. Intonation: The Final Touch
Even with good playability and stable tuning, a guitar that is not intonated sounds “out of tune” when playing chords or high notes. Incorrect intonation: Why it happens: The actual string length does not match the instrument's scale length, especially with cheap bridges or non-adjustable saddles.
What to do: If your bridge has adjustable saddles (the screws on the back that move them forward or backward), you can adjust the intonation. Tune it perfectly open. Then, play the note of the string at the 12th fret. Compare this note with the open note an octave above (it should be the same). Use a precise chromatic tuner. If the note at the 12th fret is higher than the open note, you need to lengthen the string by moving the saddle backward. If it’s lower, you need to shorten the string by moving the saddle forward. Repeat for each string.
Result: A guitar that plays in tune across the entire fretboard, making it enjoyable to play chords and solos.
These are the fundamental operations you can do to transform a £50 guitar. They require time, patience, and the willingness to learn, but the satisfaction of having made an apparently unusable instrument “playable” is enormous. Always remember to take one step at a time and not be afraid to ask for help or advice online.
Frequently Asked Questions
Does the 50-pound guitar need an amplifier?
Absolutely yes. An electric guitar needs an amplifier to produce an audible sound with the expected dynamics. Electric guitars produce a very weak signal which is then shaped and amplified by the amplifier. Without an amplifier, you will only hear a faint sound from the strings, similar to that of a very quiet acoustic guitar.
Is it worth changing the pickups on a 50-pound guitar?
It depends on your goal. If you want to radically transform the sound and intend to keep the guitar for a long time, then yes, changing the pickups can give new life to the instrument. If, on the other hand, you see it as a temporary project or a battle instrument, you might consider whether the investment in pickups (which can cost as much as or more than the guitar itself) is justified compared to buying a slightly higher-end instrument right away. Always evaluate the total cost of the project (guitar + modifications) compared to a ready-made alternative.
For further technical details you can consult this external resource.
See also
Download the Luthier Survival Kit
Free PDF with checklist, problem-cause table and project card template.
 English
  Italiano
Stuck on your build?
If you ran into the same problem or have a question, drop it in the comments. I read and reply to every one.
Write a comment