


How to make a sunburst: the essential technique
The sunburst. That iconic, warm finish that immediately evokes the charm of old Fenders and Gibsons. It's a classic, a true symbol of guitar Electric. And, let's face it, it's also one of those things that makes many of us who venture into DIY lutherie wobble. The idea of having to blend colors, of not making a mess, of achieving that smooth transition... it seems like the stuff of master craftsmen with decades of experience.But I'll tell you something: if I could do it in my garage, with a cheap airbrush and a lot of patience (and a few mistakes along the way, which I'll tell you about), you can do it too. It's not magic, it's technique. And a little bit of cunning, which never hurts.
The real pain point, The sore point isn't so much the intrinsic difficulty. It's the fear of ruining hours of work preparing the wood, of throwing away expensive paints, of ending up with a guitar that looks like it was painted by a child. I've been there. The first time I tried a sunburst, the end result looked more like a dartboard than an elegant finish. But I learned. And now I want to share what I've learned with you, to save you a few headaches and, perhaps, a few curses.
So, enough chit-chat. Let's set up the bench, get out the airbrush, and see. how to make a sunburst step by step, without too many frills but with all the details that matter.
Understanding the Sunburst: It's Not Magic, It's Technique (and Patience)
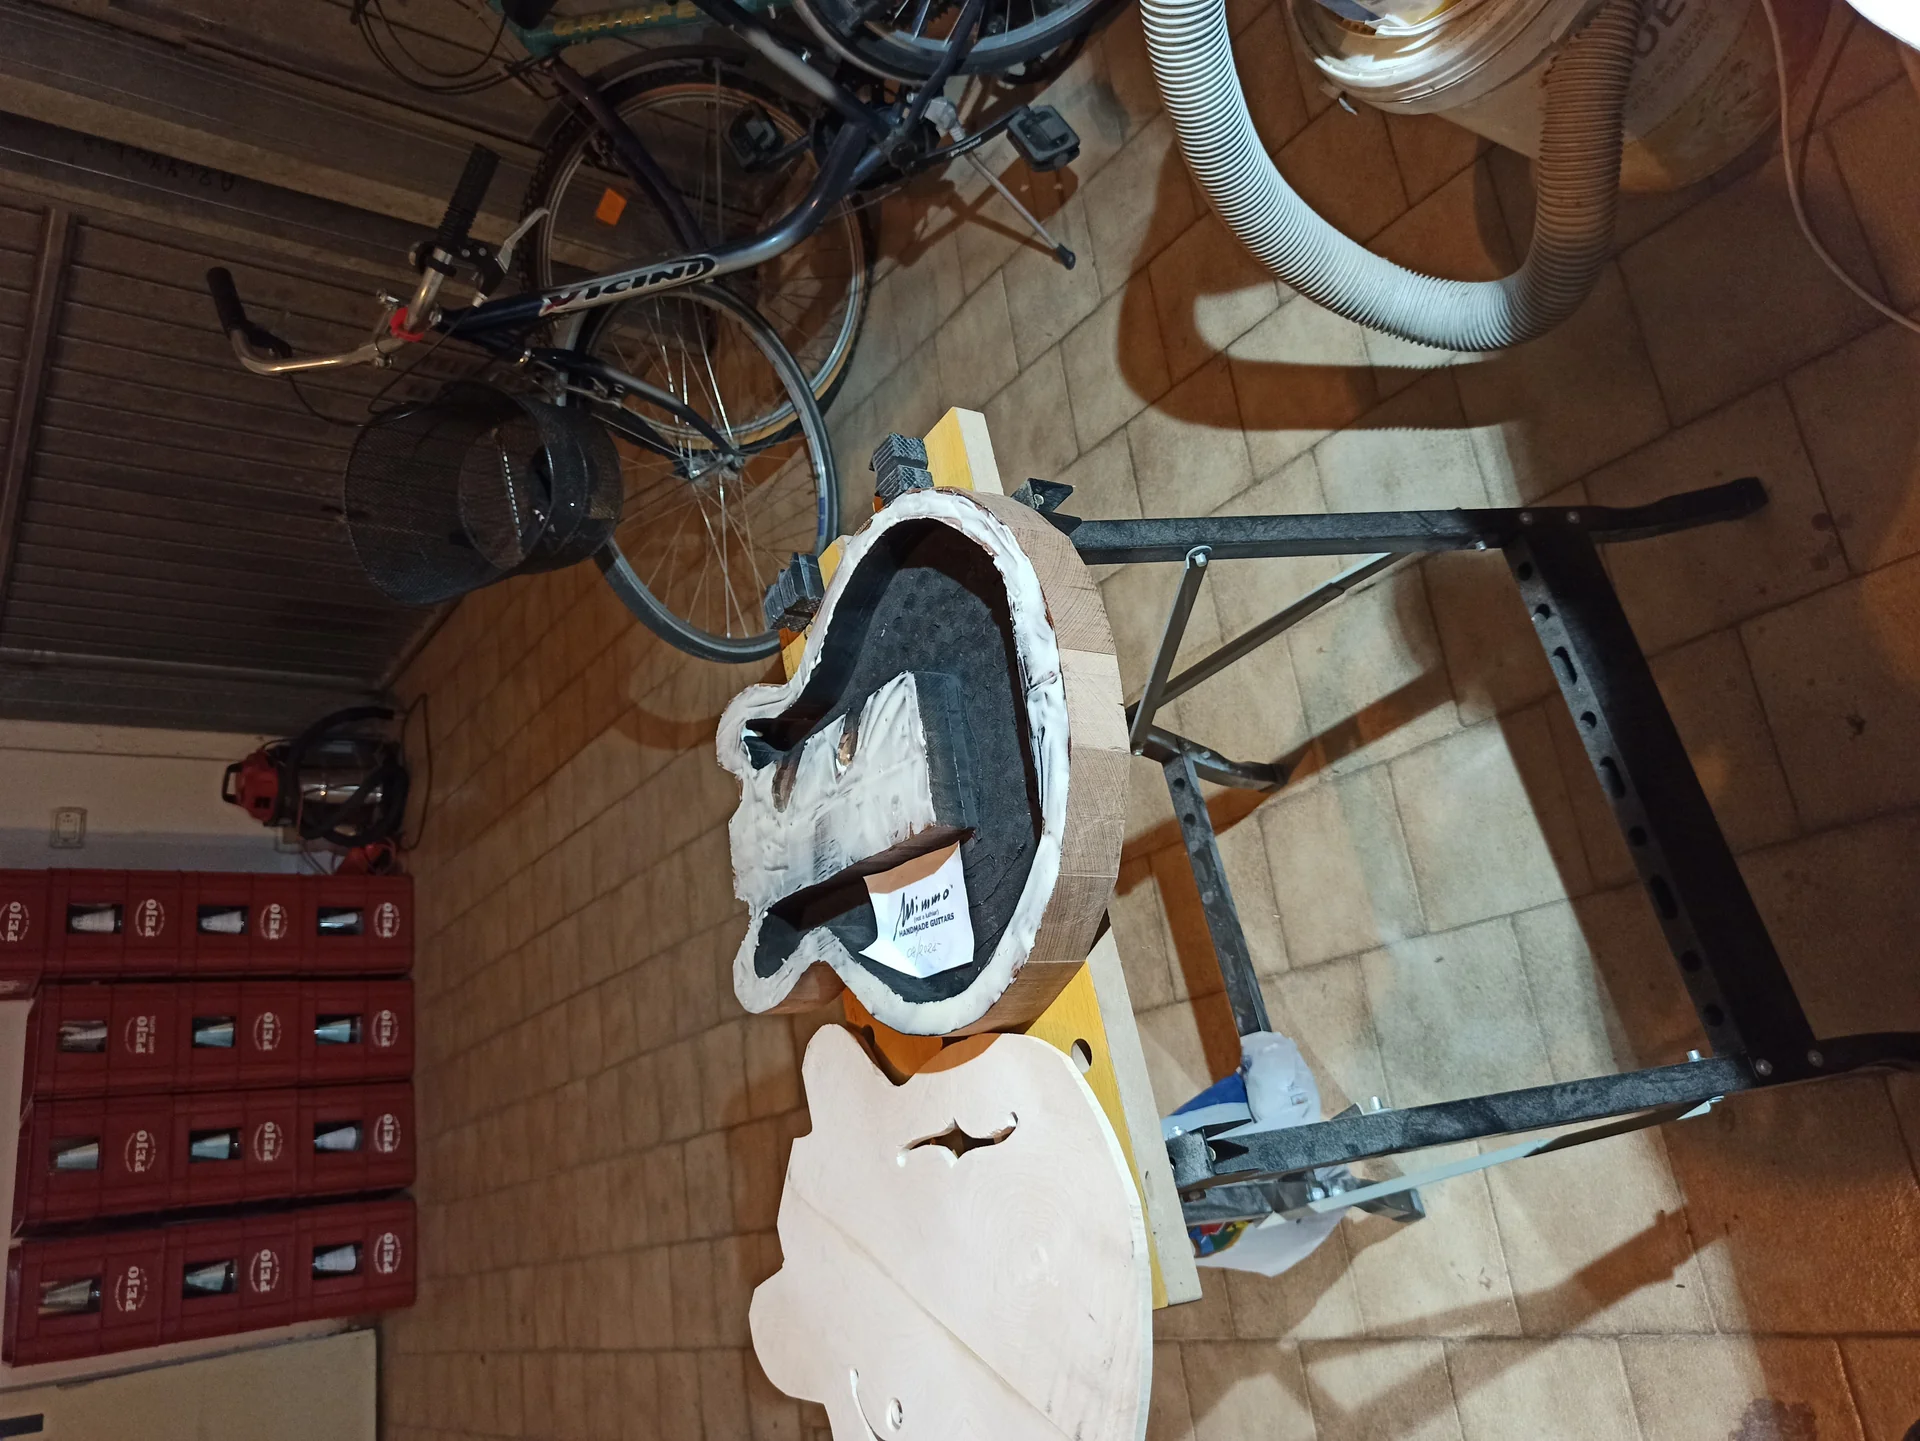
Before we pick up the airbrush, we need to understand what we're about to do. A sunburst is simply a gradient finish, where one or more transparent colors are applied in a gradient from the center to the edges of the body. The effect is that of a rising or setting sun (hence the name), with a lighter center and darker edges.
Its beauty lies precisely in its conceptual simplicity, which, however, requires precision in execution. It's not about covering the wood with a flat stain, but rather enhancing its grain, allowing it to shine through the layers of color. This is why it's often used on figured woods like flamed or quilted maple, but it also looks great on mahogany or ash.
There are several variations: the classic 3-tone sunburst (yellow, red/amber, black/dark brown), the 2-tone sunburst (yellow/amber and black/dark brown), and then all the modern interpretations with more vibrant colors. The basic technique, however, remains the same. And once you master that, you can indulge in any shades you like.
The secret? Many thin layers, not one thick one. It's like painting with watercolor: you add pigment gradually, building the color and blending. If you try to do it all at once, you end up with smudges, runs, and harsh edges that ruin everything. Trust me, I learned this the hard way.
What do you really need? The minimum equipment to get started
You don't need a professional paint shop with pressurized booths and ovens. You'll need a garage, a storage area, or even a well-ventilated area outdoors (but watch out for dust and insects).

Here's a rough checklist: Airbrush or spray gun: A cheap model airbrush might be enough for your first attempts, but a small spray gun (HVLP, High Volume Low Pressure) will give you better and faster results, especially for larger areas. I started with a €50 airbrush, then upgraded to a small HVLP. You can feel the difference.
Compressor: It must be suitable for the airbrush/gun. You don't need a monster, but one that maintains constant pressure.
Paints: This is the crux of the matter. You'll need:
A good one sealer (clear pore filler base).
The transparent colored dyes or lacquers For sunbursts. You can use nitrocellulose or polyurethane lacquers. Nitros are more "vintage" and easier to repair, while polyurethanes are more durable. I prefer nitro for faded finishes; it gives me more time to work and is more forgiving of mistakes.
There final transparent lacquer (clear coat), always nitro or polyurethane, of the same type as the dyes.
Diluent specific to the type of hairspray you use.
Protective mask: Essential. Paints contain toxic solvents. Don't jeopardize your health. Wear a mask with organic vapor filters.
Gloves: To avoid getting dirty and leaving fingerprints on the finish.
Abrasives: Sandpaper of various grits (from 220 to 2000 or 2500, depending on the finish you want to achieve).
Tack cloths: To clean well between one hand and the next.
Body Support: A way to hang the bodysuit or prop it up steadily, allowing you to rotate it and spray from all angles. I use a piece of wood screwed into the handle hole and a bench vise.
Waste wood: ESSENTIAL for practice. Don't start on your leotard, you'll regret it.
Preparation Is Everything: Don't Skip Steps (Like I Did the First Time)
This is the 90% of a job well done. If the prep sucks, the sunburst will suck. Period. There are no shortcuts. I learned this the hard way when, in a rush, I tried to paint a body that still had some planing marks. The result? A sunburst that looked like a map.1. Sanding Raw Wood: The Foundation of Everything
Start with meticulous sanding. And I mean meticulous. The wood should be silky smooth. Start with a medium grit (like 220), then move on to 320, and finally 400. After each sanding, wipe off the dust thoroughly and inspect the wood under a low light for scratches or imperfections. Mimmo's Tip: Always sand with the grain. If you sand crosswise, you'll leave scratches that will show up clearly when you apply the stain. And if you use an orbital sander, do the final pass by hand.2. Grain Filler: If Needed, Use It
If you are working with open-pore woods like mahogany, ash or rosewood, the filler It's your friend. It helps fill the pores of the wood, creating a perfectly smooth surface for the paint to adhere to without sinking into the grain.Apply pore filler, let it dry according to the manufacturer's instructions, and then gently sand with a fine grit (400-600) to remove the excess, leaving it only in the pores. If you don't use it, the pores will remain visible and the finish will never be perfectly smooth and shiny.
3. The Sealer (Transparent Bottom): The Blank Canvas
Once the wood is smooth and, if necessary, filled, it is time for the sealer. This is a clear primer that seals the wood, protects it from moisture, and, most importantly, creates a uniform surface for sunburst stains. Without a good sealer, the stains may absorb unevenly, resulting in blotchiness.Apply 2-3 thin coats of sealer, letting it dry thoroughly between coats. After the final coat, lightly sand with 600-800 grit sandpaper to make the surface even smoother and more opaque, ready for the paint. Wipe clean with a dust cloth before applying the paint. Attention: If you use a water-based sealer and nitro lacquers, there may be adhesion problems. Make sure they are compatible, or always use products from the same system (e.g., all nitro).
Enjoying this article? Subscribe to the newsletter: one email a week, zero spam.
Subscribe →The Heart of the Sunburst: Applying Color (This Is Where You Make Mistakes, and Learn)
Let's get to the point. This is the most delicate part and, let's face it, the one that will make you sweat. But it's also the most rewarding. Here I'll explain the technique for a classic 3-tone sunburst, which is the most common and versatile.Remember: practice on a scrap piece! Don't underestimate this tip. It will help you understand airbrush pressure, distance, and fluidity of movement.
Preparing the Dyes
Sunburst paints are usually pre-colored clear lacquers, or pigments/dyes that can be mixed with clear lacquer. If you use pigments, make sure they're compatible with your chosen lacquer and are well diluted to avoid clumping.For the 3-tone, you will need:
Yellow/Amber: This is the base color, which will cover almost the entire central surface of the body.
Red/Cherry: The intermediate color, which will create the first shade from yellow.
Black/Dark Brown: The outermost color, for the edges.
Dilute paints according to the manufacturer's instructions. For airbrushes, they usually need to be very diluted, almost like colored water. For spray guns, a little less.
Step 1: The Yellow/Amber (The Bright Base)
This is the color that will give the brightness to the center of your sunburst. 1. Apply evenly: Spray the yellow/amber paint over the entire surface of the body. It doesn't need to be a thick layer, but an even, transparent one. The goal is to color the wood a nice, warm yellow without covering the grain. 2. Many thin hands: Apply 2-3 very light coats, allowing the solvents to evaporate between coats (a few minutes). Do not sand at this stage unless there are obvious imperfections. 3. Check coverage: Make sure there are no lighter or darker areas. The yellow should be uniform. Common mistake: Add too much yellow and it will become opaque. It must remain transparent! You should be able to see the wood underneath.Step 2: The Red/Cherry (The First Shade)
This is where the real fun (and tension) begins. The red will create the transition between the central yellow and the dark edge. 1. Set up the airbrush/gun: Reduce the pressure and, if possible, the amount of paint released. You want a more controlled and less diffused spray pattern. 2. Start from the edges: Spray the red starting from the edges of the bodysuit, moving inward. Keep the airbrush at a constant distance (e.g., 10-15 cm) and move your hand in a smooth, continuous motion. 3. Create the gradient: The goal is to create a smooth transition. Don't spray a sharp line. Start at the edge and make overlapping strokes, moving the airbrush slightly further away as you get closer to the center of the body.n4. Build the color: Apply several thin coats, controlling the intensity of the red. Stop when the red has reached the desired intensity and the blend is gradual. It shouldn't be a ring of red, but rather an area that blends into the yellow. Mimmo's Tip: Keep an eye on where you're spraying and anticipate your movement. Never stop with the airbrush pointed at the body, or you'll make a smudge. Start spraying before you reach the body and finish after you pass it.Step 3: The Black/Dark Brown (The Final Edge)
This is the color that defines the outline of the sunburst and gives it depth. It's also the one that, if done wrong, ruins everything. 1. Even more control: Reduce the pressure and spray further. You need to be very precise. 2. Outer edge: Concentrate only on the outer edge of the body. Spray the black/dark brown in very light, quick strokes, holding the airbrush at a slightly greater distance and using a faster motion than the red. 3. Subtle nuance: The goal is to create a very subtle blend that blends with the red, without creating a too-strong black ring or, worse, a sharp line. The black should "wrap" the edges.n4. Depth: Apply 2-3 thin coats, always using a steady motion, until you achieve the desired depth of color on the edge. Some prefer an almost opaque black on the edges, others a dark brown that lets the wood show through. The effect is up to you. Common mistake: Making the edge too thick or too dark at once. The sunburst should have a bright center and a gradually darkening edge. If the edge is too sharp, it will look like a drawn circle. Another scam: The "tiger stripe." If you don't move the airbrush smoothly and consistently, you could create darker streaks that ruin the blend. Practice, practice, practice. Don't try to fix it by adding more color; you'll only make it worse.Once all the colors are applied, let the bodysuit dry for at least 24 hours in a clean, temperature-controlled environment. Don't rush to apply the clear coat.
The Finish: Polishing and Protection (The Job Is Done When It Shines)
You've created your sunburst, now you need to protect it and make it shine. This is the final step, but no less important. A good finishing job enhances your sunburst and makes it durable.1. Clear Coat: The Protective Shell
The clear coat is what will give depth to your sunburst and protect it from wear and scratches. 1. Apply generously (but not too much): Start with a couple of light coats of clear, to "bind" the underlying colors. Then, proceed with fuller coats, but without overdoing it. The goal is to create a thick but even layer. n2. How many hands? It depends on the type of paint and the finish you want. Generally, for a nitro paint, you're talking about 8-12 coats, with at least an hour of drying time between them. For polyurethane paints, fewer but thicker coats are recommended. Drying: Let the clear coat dry for a while Very Long. For nitro, at least 3-4 weeks, ideally a month or more. For polyurethane, a few days to a week. If you don't wait long enough, the paint will continue to shrink and you may have polishing problems. Mimmo's Anecdote: I had a body that I polished too soon, after only two weeks. It looked perfect, but after a month the paint peeled off and some waves appeared on the surface. I had to sand and polish again. Patience is a virtue, especially here.2. Wet Sanding: The Road to the Mirror
Once the clear coat is fully cured, it's time to make it mirror-smooth. 1. Start with fine grain: Start with 800 or 1000 grit sandpaper, using it wet. This means that the paper and the surface should be wet with water (and a drop of soap, if desired). This prevents scratching the surface and cleans away any abrasive dust.n2. Uniform movements: Sand with even, crisscrossing motions. The goal is to remove any surface imperfections (orange peel, small bubbles) and create a perfectly matte and even surface. 3. Grain progression: Gradually move on to increasingly finer grits: 1200, 1500, 2000, and if you like, even 2500 or 3000. After each step, clean the surface well to remove residue from the previous step.n4. Be careful of the edges: Be extremely careful around corners and edges. It's very easy to "burn" through the clear coat and into the underlying color. If this happens, you'll have to start over in that area. A light touch is key here.For tips on how to handle this process in general, you might want to take a look at this guide to guitar modification, where we also talk about finishes and touch-ups.
3. Polishing and Final Cleaning: The Final Splendor
You've sanded down to the finest grit. The surface should now be matte but incredibly smooth. It's time to make it shine. 1. Abrasive pastes: Use progressively finer-grit polishing compounds. You can use a rotary polisher with special pads, or do it by hand with microfiber cloths. 2. Technique: Apply a small amount of paste to the surface and work it in with circular motions, without applying too much pressure. Wipe off any residue with a clean cloth. 3. Clean thoroughly: After using all the pastes, clean the surface with a soft cloth and a specific cleaner for guitar finishes, or simply water and neutral soap. Remove any residue. 4. Admire your work: At this point, your sunburst should be a mirror. Mimmo's Tip: For hand polishing, microfiber cloths are your best friend. They don't scratch and absorb residue well. And take your time; it's the last mile.Variations and Advanced Tips (When You Want to Take the Next Step)
Once you have mastered the basic technique for make a sunburst, you can start experimenting.2-Tone Sunburst
If a 3-tone shade seems too much, try a 2-tone shade. Typically, you start with a central yellow/amber and blend directly to black/dark brown at the edges. It's easier because you have one less step to manage, but the transition must be even softer to avoid being abrupt.Sunburst on Figurative Tops (Flame, Quilt)
On woods like flamed or quilted maple, the sunburst is a must. The trick here is to use very transparent stains, almost like washes, so as not to obscure the depth of the figuring. In fact, you can enhance it by applying a very diluted dark stain to the entire top, lightly sanding to remove any stain from the most prominent areas of the grain (the "pop"), and then proceeding with the sunburst. This really makes the wood's figure pop.Non-Traditional Colors
Who said a sunburst has to be yellow-red-black? You can create a blueburst (dark blue at the edges, light blue in the center), a greenburst, or any combination you like. The important thing is to maintain transparency and the logical gradient.Work Environment Control
Humidity and temperature are the enemies of finishes.Humidity: Too high humidity can cause yellowing of the paint (blushing) or drying problems.
Temperature: Too cold slows drying, too hot can cause it to evaporate too quickly, creating an "orange peel" effect. Try to work in an environment with a constant temperature (20-25°C) and controlled humidity (around 50-60°C).
Cleaning the Equipment
After each painting session, clean your airbrush or spray gun immediately. If paint dries inside, it becomes a nightmare to clean and can ruin your equipment. Use the appropriate thinner and disassemble the parts for a thorough cleaning.Where to find extra inspiration and advice
The online world is full of resources. Specialized forums like StewMac's and other lutherie sites are a goldmine for finding answers to specific problems and seeing how other hobbyists have tackled challenges. StewMac, for example, has great guides on finishing techniques and sunbursts. Don't be afraid to ask and learn from other people's mistakes (and your own!).Making a sunburst is an art, but it's one that can be learned. It requires patience, attention to detail, and the willingness to try again and again. The first attempt won't be perfect, and maybe not even the second. But every attempt will teach you something. And when you see your guitar with that nuanced, brilliant finish, crafted by your own hands... well, that's a priceless satisfaction.
So, don't be afraid. Grab your bodysuit, your tools, and give it a try. If I can do it, you can do it too. It might not be a museum piece, but it will be. your masterpiece. And it will sound amazing, I'm sure of it.
See also
Download the Luthier Survival Kit
Free PDF with checklist, problem-cause table and project card template.
 English
  Italiano
Stuck on your build?
If you ran into the same problem or have a question, drop it in the comments. I read and reply to every one.
Write a comment