

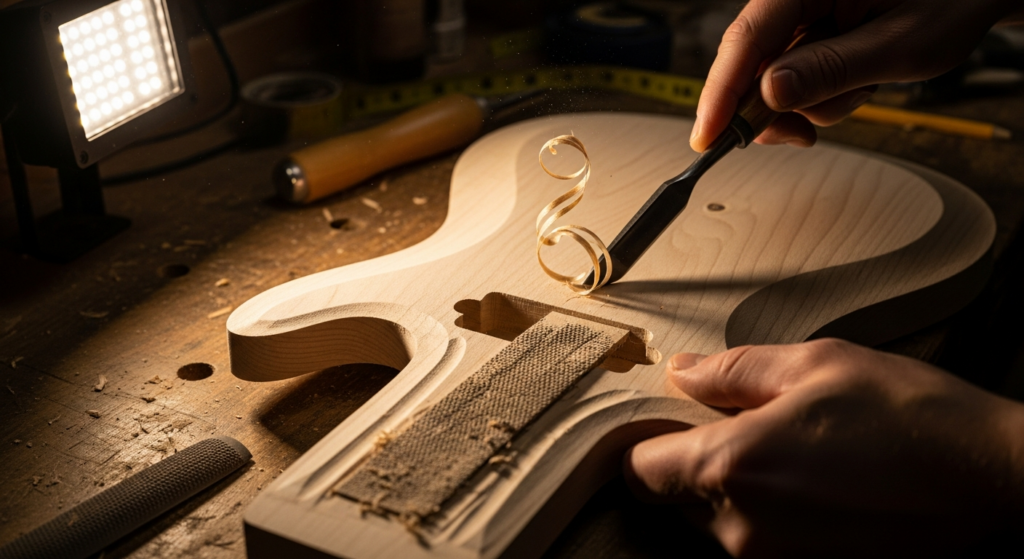
Mahogany Guitar Wood: The 7 Mistakes to Avoid
The mahogany for guitar. Just hearing it opens up a world of warm, full sonorities, with that sustain that makes you dream. It's the sound of many legends, the heart of Les Paul, SG, Explorer. But when you decide to get your hands on it, to build your guitar with this material, that's when the dream can turn into a nightmare. And I speak from experience.
I spent nights studying, days cutting and gluing, and many times I looked at a piece of mahogany guitar wood – maybe not exactly cheap – ruined by a wrong routing or a poorly done finish. I'm not a professional luthier, let's be clear. I'm someone who, like you, learned by making mistakes, getting my hands dirty in my home garage. And precisely for this reason, I want to save you some headaches, some wasted pieces of wood.
Mahogany is wonderful, no doubt. But it's also a wood that requires respect, patience, and a minimum knowledge of its 'whims'. It's not like working with a piece of poplar, I assure you. If you're thinking of building your next instrument with this essence, or even just modify a guitar an existing one using mahogany parts, keep reading. I'll tell you about the seven most common mistakes I've made (and seen made) and how to avoid them.
1. Choosing the Wrong Mahogany (and not just the species)
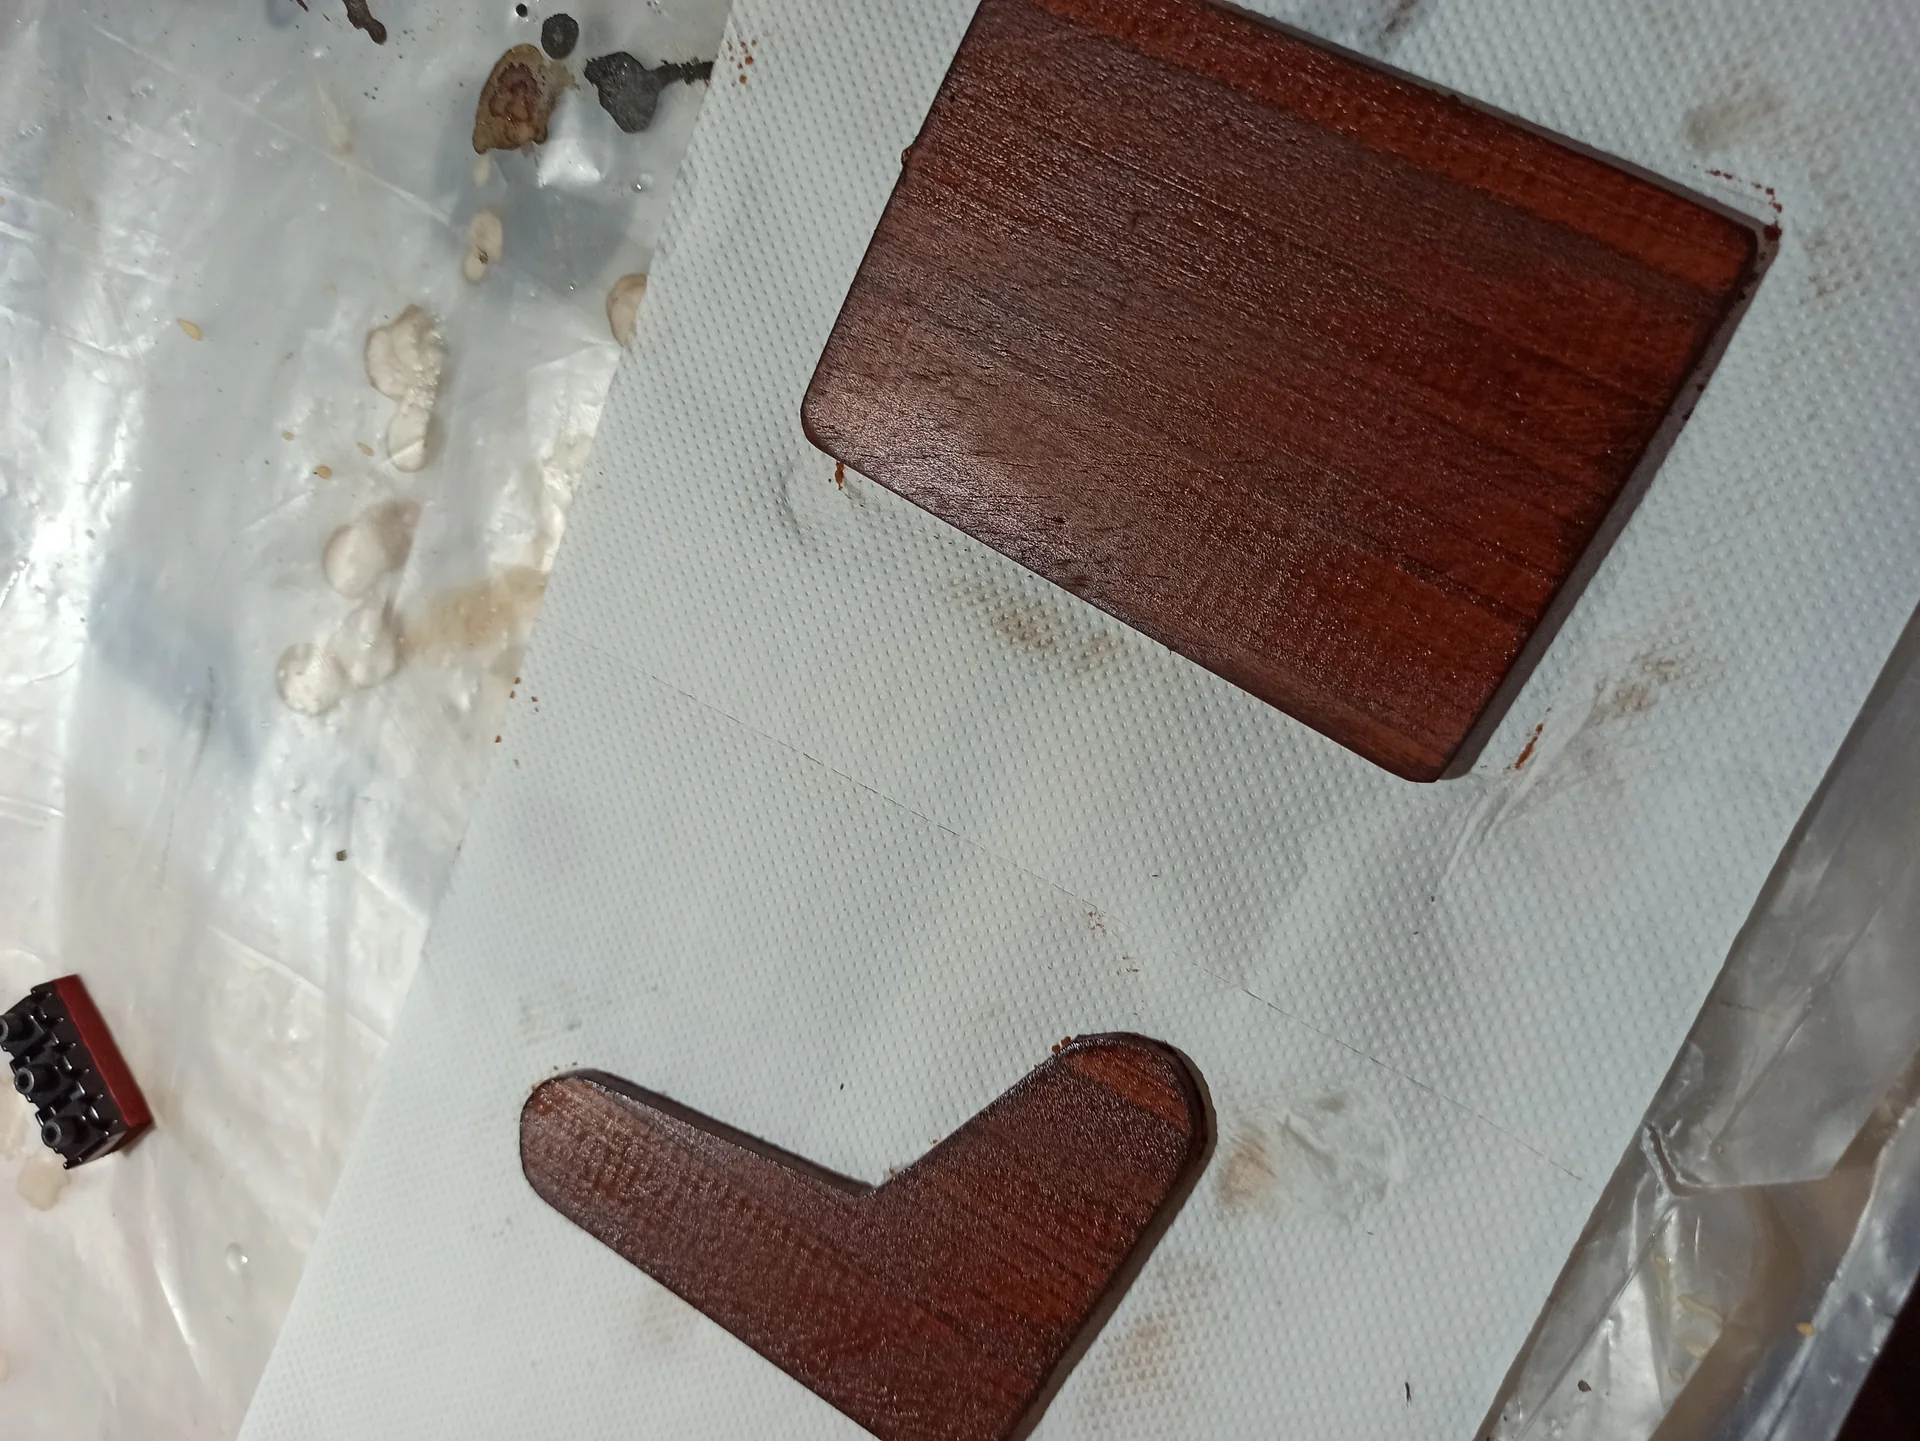
Mahogany, in general, is a wood that works well. It's not as hard as ebony,
nor as soft as poplar. It has a medium density that makes it a good compromise. Yet, it hides pitfalls, especially for those accustomed to more 'docile' woods.
The main problem is its grain, often intertwined or 'interlocked grain'. This means that the fibers do not all run in the same direction, but cross each other. This is why it is so resistant, but also why it can be a nightmare to plane or rout.
The common mistake is to treat mahogany as if it were maple or alder. You plane in one direction, and zap! Tears, splinters, craters on the surface. This is the famous 'tear-out'. And once you have a deep tear, recovering it is a tough job, if not impossible. What to do: Sharpen your tools: This is the number one tip for any wood, but with mahogany it's vital. Routers, planes, chisels must be razor sharp. A dull tool doesn't cut the fibers, it tears them. I've broken a couple of router bits that way, believe me.
Planing and routing in small steps: Plane: When hand planing, observe the grain carefully. If you see the wood starting to tear, try planing in the opposite direction. Sometimes there isn't a 'right' direction, and you have to make very light passes or use a scrub plane with a very narrow mouth.
Router: For routing, make light and multiple passes. Do not try to remove too much material at once. This reduces the risk of tear-out and overheating of the router bit.
“Climb cut” (climb cut): This is an advanced trick that can be a lifesaver. Normally you cut 'downhill', meaning the router bit rotates against the direction of the workpiece's feed. A 'climb cut' is the opposite: the router bit rotates in the same direction as the feed. It's more dangerous because the router bit tends to 'pull' the workpiece, but on difficult grains it can give a very clean cut. It should only be done with very light passes and with maximum attention. Don't try it if you don't feel confident.
Prepare the surfaces: Before gluing, make sure the surfaces are perfectly flat and clean. Every imperfection will be a weak point. The mahogany material absorbs glue well, but only if the surfaces are well prepared.
I remember when I was routing the bridge cavity for a guitar with a mahogany body. I was in a hurry, I tried to remove too much material in one pass. The router bit 'ate' away a piece of the edge that shouldn't have been touched. I had to resort to a scrap piece of mahogany, cut it, glue it, and re-rout. A waste of time and a risk to the integrity of the body. Patience always pays off.
3. Bad Gluing on Mahogany


The classic mistake is to underestimate preparation and pressure. 'The glue will hold everything anyway,' we think. But no. What to do: Cleanliness and flatness: The surfaces to be glued must be impeccable. No dust, no grease or dirt residues. And above all, they must be perfectly flat. Use a planer or an orbital sander with fine-grit paper (like 220) to ensure they fit together without gaps.
Type of glue: For most lutherie gluing, aliphatic glue (like Titebond Original or Titebond II) is excellent. It has good strength, is easy to work with, and sands well. For critical joints that must withstand extreme forces, some prefer epoxy glues, but for most mahogany body or neck joints, Titebond works perfectly.
Amount of glue: More is better than too little, but without overdoing it. Apply an even layer to both surfaces. When you join the pieces and apply pressure, you should see a small 'squeeze-out' (excess glue) along the joint. That's the sign that you've used the right amount. Too much glue means a weaker joint and harder to clean. Too little doesn't fill the gaps.
Clamping pressure: This is fundamental. Mahogany is dense, and the pressure must be uniform and sufficient to perfectly match the surfaces and allow the glue to penetrate the fibers. Don't use clamps randomly. Use an adequate number of clamps, well distributed, and tighten until you see the squeeze-out. But don't tighten 'to death', you might squeeze out all the glue and create a dry joint. A good method is to tighten until you feel slight resistance and see the glue coming out, then give another quarter turn.
Drying time: Haste is a cardinal sin. Read the glue instructions. Usually, for Titebond, it's 30-60 minutes of clamping and 24 hours for maximum strength. Do not touch, move, or work on the piece before the minimum time has passed. When I glued a guitar neck to a mahogany body, I waited well over 24 hours. Better one extra day than a job to redo.
A well-done glue joint is invisible and indestructible. A poorly done glue joint is the Achilles' heel of your guitar.
4. Finishing: Mahogany “Drinks” Too Much (or too little)
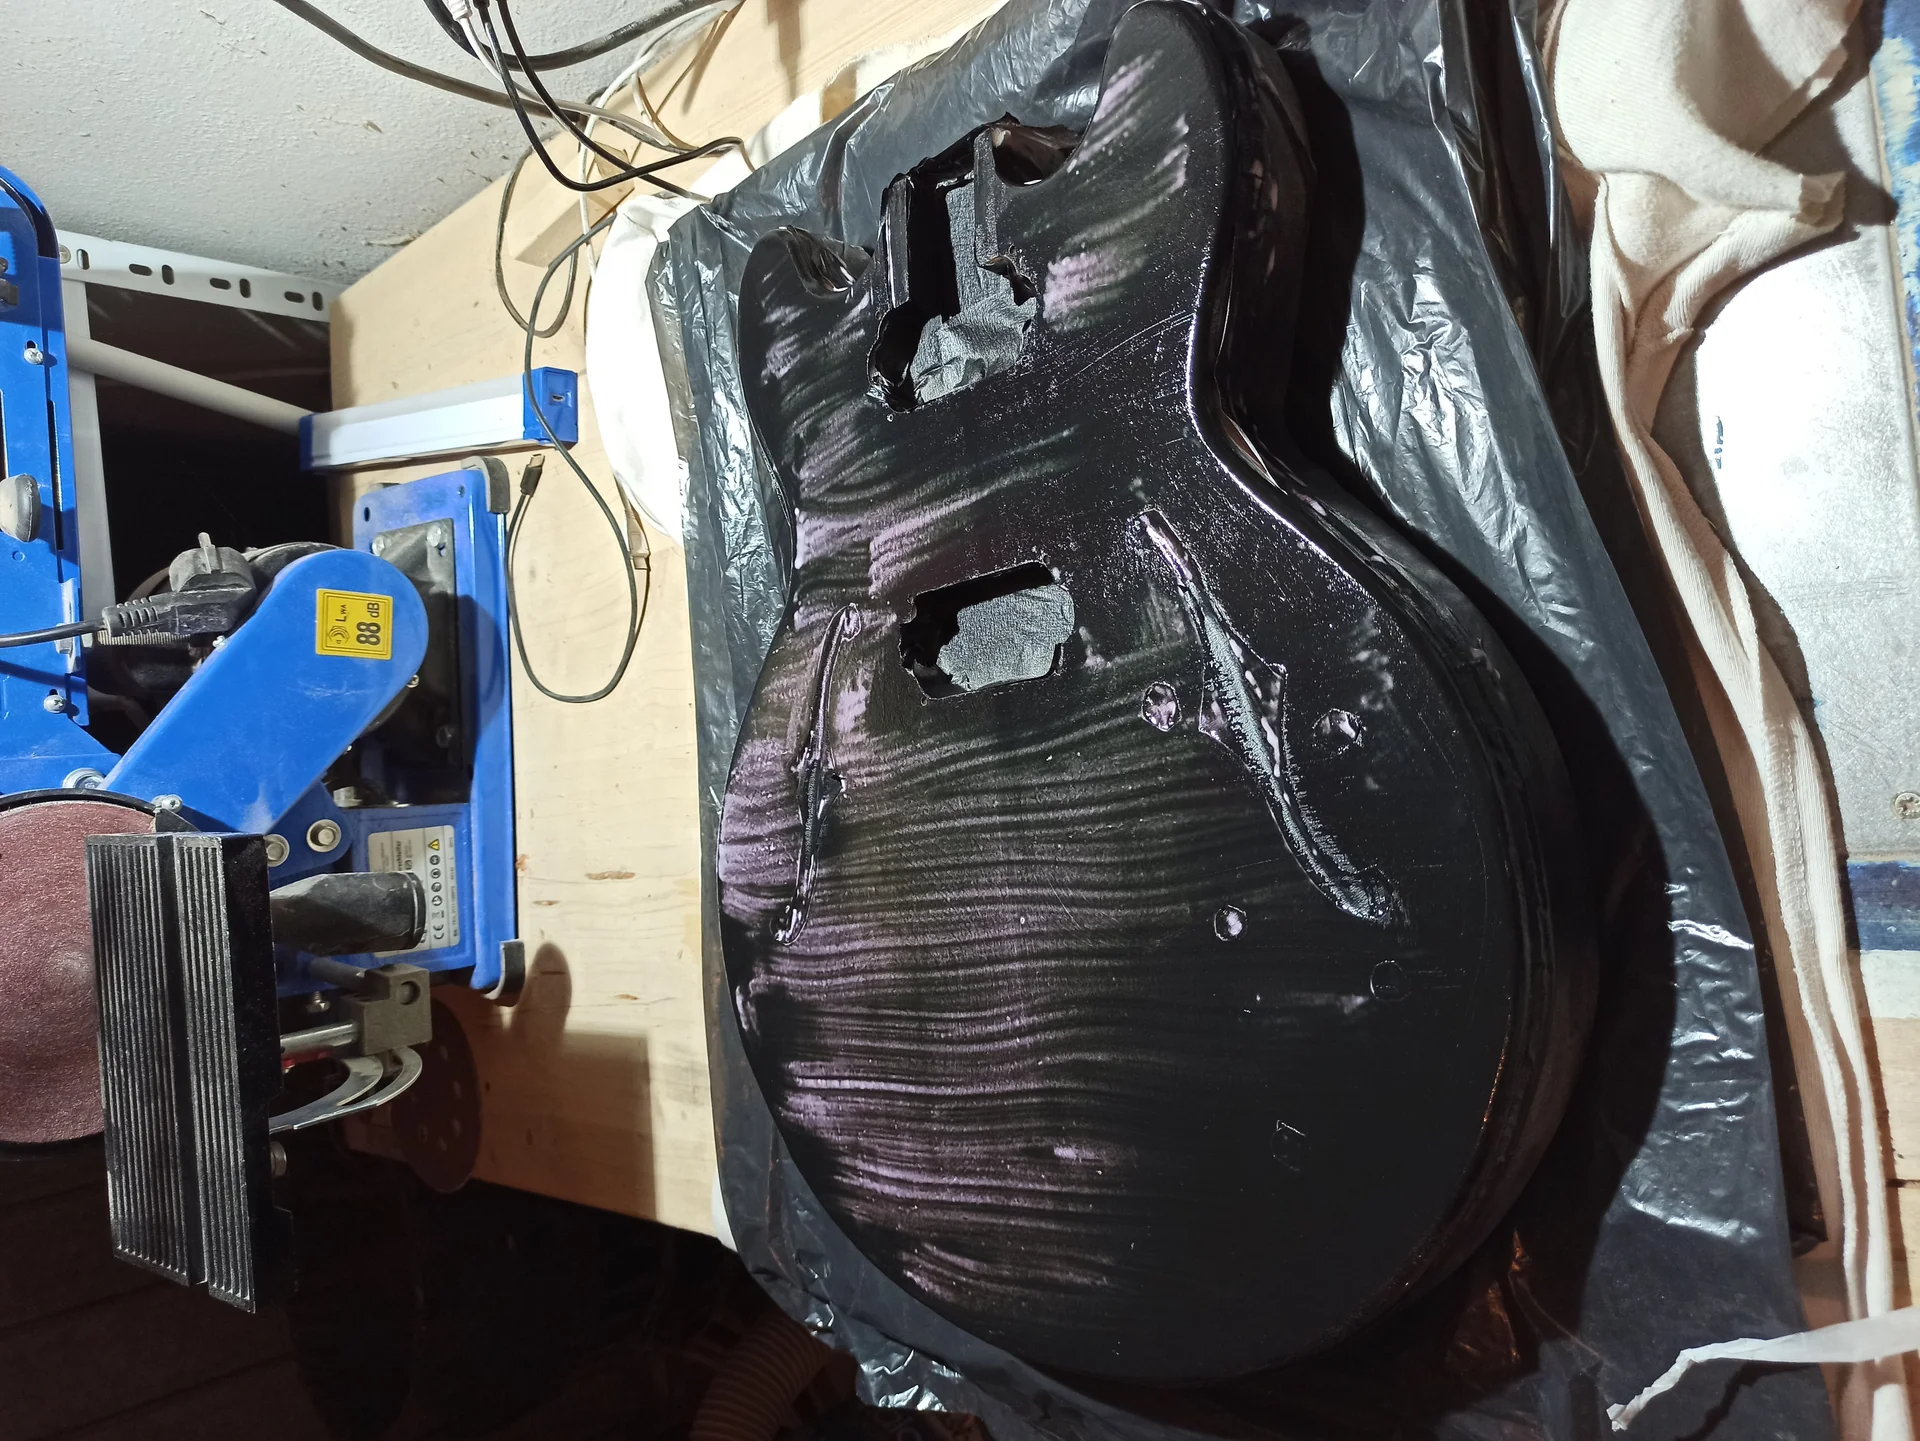
The finish on the mahogany guitar wood is a minefield, I tell you right away. It's beautiful, has a fascinating grain, but it's also a very porous wood. This means it absorbs liquids irregularly and can give unpredictable results if you don't know what to do.
The most common mistake is to apply the finish directly, perhaps a stain, without any preparation. The result? Stains, patches, a finish that looks like 'orange peel' or that highlights the pores in an unsightly way.
What to do:
Grain Filler: Your best friend: Mahogany has open pores. If you want a smooth, mirror-like finish, you need to fill those pores. Grain filler (or pore filler) is the product for you.
Types of fillers: There are water-based fillers, solvent-based fillers, and sometimes abrasive paste is also used. For beginners, water-based fillers are easier to use and less toxic.
Application: Apply the filler with a spatula or a cotton cloth, working it against the grain to push it into the pores. Let it dry, then gently sand off the excess with fine-grit sandpaper (320-400). More than one application may be necessary. You will see the surface become dull and uniform.
Stains and irregular absorption: If you want to stain mahogany, be prepared. Mahogany absorbs stains differently depending on the area and the grain.
Pre-stain conditioner: This product is a lifesaver. It helps to even out stain absorption, reducing blotches. Apply it before staining, following the manufacturer's instructions.
Oil-based vs. water-based stains: Oil-based stains tend to penetrate deeper and can highlight the grain more. Water-based ones are easier to control but can slightly raise the wood fibers, requiring light intermediate sanding.
Choosing the final finish: Oil finishes: Many love oil finishes (such as tung oil or Danish oil) on mahogany because they enhance its natural beauty, its depth, and offer a very “organic” feeling. They are easy to apply and repair, but offer less wear protection than a polyurethane finish. They require more coats and patience.
Polyurethane/lacquer finishes: They offer superior protection and a glossy, durable finish. They are more difficult to apply without professional equipment (sprayers) and can slightly obscure the natural beauty of the wood if applied too thickly. They require impeccable surface preparation (see grain filler).
I once tried to apply a dark stain to a body made of mahogany without filler. The result was patchy, some spots were almost black, others much lighter. I had to sand everything down and start over. A mistake that cost me hours of work and a good dose of frustration. Learn from me: don't skip the grain filler!
5. Drilling and Routing Without a Plan
This is a classic, and a mistake that makes you curse the moment you picked up the drill or the router. The mahogany wood, although relatively soft, it can cause serious problems if you don't treat it with due respect during drilling and routing operations.
“Chipping” or “tear-out” on the edges of drill holes or at the exit of the router is commonplace. And on a body or a neck, a ruined hole is a ruined hole. There's not much to do but fill it and hope it doesn't show too much.
What to do:
Sharp drill bit: It seems trivial, but a blunt bit is a bit that tears the wood instead of cutting it. Use specific bits for wood, possibly with a central point that helps to center and cut the fibers first.
Backing board (support board): This is a simple but life-saving trick. When drilling a piece of mahogany, place a well-secured piece of scrap wood underneath it. When the drill bit passes through the mahogany, it will enter the scrap wood, preventing the fibers from tearing on the underside. It always works!
Duct tape: For shallow holes or to reduce chipping on the top edges, you can apply painter's tape to the area to be drilled. It helps to hold the surface fibers still.
Speed and pressure: Don't rush. Let the drill bit or router bit do its job.
Drilling: Use a medium or low speed for the drill. Too high a speed can burn the wood or the bit. Apply constant but not excessive pressure. Let the drill “bite” into the wood.
Routing: Here too, moderate speed. Make multiple passes, removing only a few millimeters of material at a time. This reduces heat, load on the cutter, and the risk of tearing.
Templates and guides: For precise routing (such as those for pickups, bridge, or electronics cavity), MDF or acrylic templates are indispensable. Secure them firmly to the mahogany piece. Use bearing router bits or guide bushings. Make sure the template is perfect, because what you see on the template will be what you get on the wood.
Routing for pickups: This is a critical point. The pickup cavity must be precise. Too wide and the pickup wobbles, too narrow and it won't fit. Take accurate measurements of your specific pickup (Humbucker, Single Coil, P90). Use a well-made template. I advise you to take a look at guides on how to create your templates, because they will be useful to you on a thousand occasions.
When routing the cavity, make preliminary holes (with a drill) in the corners to facilitate the entry of the router bit and reduce the initial load. Then proceed with light passes.
Once, while I was routing the jack cavity on a body of mahogany, I hadn't properly secured the template. The router bit “bit” the wood and moved the template. Result: an asymmetrical and ruined jack cavity. I had to plug it, glue a new piece of mahogany, and re-route. A huge nuisance that could have been avoided with a bit more attention. Haste and laziness in properly securing the guides are the number one enemies.
6. Ignore the Stability and Movement of Wood
Wood is a living material. Even after seasoning, it continues to interact with the environment, absorbing and releasing moisture. This is particularly true for the mahogany, which is a relatively stable wood, but not immune to changes. Ignoring this aspect is a serious mistake, especially for a handle.
Imagine you've built a perfect guitar, but after a few months the neck warps, or the body deforms slightly. This is the movement of wood.
What to do:
Controlled working environment: Try to work in an environment with humidity and temperature as stable as possible. It's not easy in a home garage, I know. But at least avoid extreme fluctuations. If your garage is humid in summer and dry in winter, the wood will suffer. A dehumidifier or a humidifier can help, even if they are an additional cost.
Wood storage: Store the mahogany guitar wood Store raw and machined parts in a dry, ventilated place away from direct sources of heat or humidity. Stack the pieces with battens (stickers) between them to allow air to circulate uniformly over all surfaces. This helps prevent deformation.
The truss rod is not an option: If you are building a mahogany neck, the truss rod is FUNDAMENTAL. Mahogany is sturdy, but the strings exert enormous tension. The truss rod serves to counteract this tension and allow for the adjustment of the neck's curvature. Without it, the neck would inevitably flex.
Correct installation: Make sure to install the truss rod correctly, following the manufacturer's specifications. The channel must be precise, and the rod must be free to move but without “wobbling”. A poorly installed truss rod is useless.
Protective finish: A good finish is not just aesthetic, it is also a barrier against humidity. It helps slow down moisture exchange between the wood and the environment, making the instrument more stable over time. This is another reason not to underestimate point 4.
I had a mahogany neck that, after a year, started to warp slightly. It was a neck I had assembled during a particularly humid period, and the finish had not been applied with due care. I had to disassemble everything, put it back under pressure for a while, and refinish it. An annoyance that taught me the importance of controlling the environment and not rushing.
7. Rushing and Not Learning from Mistakes
This, more than a technical error, is an error in approach. And it is perhaps the most serious of all. DIY lutherie, especially with a material like mahogany, is not a race. It is a process that requires patience, attention, and the ability to accept that things will not always go as planned.
The mistake is believing you can do everything at once, skipping steps, not testing on scraps. Or, even worse, repeating the same mistake hoping for a different result.
What to do:
Patience is the luthier's virtue: Every phase of the process requires its time. Glue drying, wood seasoning, finish application. Don't look for shortcuts. If you don't have time to do a job well, don't do it. Wait until you have the time.
Test on scraps: Do you have a piece of mahogany wood scrap? Use it! Before making a cut, a milling, a drilling, or a finish test on your precious body or neck, do a test on a scrap piece. It's the best way to understand how the wood reacts, how the tool behaves, and to refine your technique. It's like training.
Document everything: Take photos, take notes. Which router bits did you use? At what speed? What type of glue? How long did you wait? This will help you replicate successes and understand what went wrong in case of failure.
Don't be afraid to make mistakes (and start over): Making mistakes is part of the learning process. I've made a lot of mistakes. I've broken router bits, ruined pieces of wood, made crooked glue joints. The difference between those who succeed and those who give up is the ability to learn from those mistakes. Sometimes it means throwing away a piece of wood and starting over. It hurts the wallet and the ego, but it's the only way to improve.
Ask for help: You are not alone. There are online communities (forums, Facebook groups, Reddit) full of hobbyists who share experiences. If you're stuck or don't know how to tackle a problem, ask. Often someone has already faced your same challenge.
It took me almost a year to finish my first guitar with a body and neck made of mahogany. Not because it was a very complicated project, but because I learned not to rush. I took breaks, I studied, I redid parts when I wasn't satisfied. The result is a guitar that, despite its “handmade” imperfections, sounds and feels the way I wanted it to. It's the satisfaction of having made it with my own hands, overcoming difficulties.
The mahogany is a fantastic wood for lutherie, capable of giving your guitar a unique sound and feel. But, like any valuable material, it requires being understood and treated with respect. It is not a wood “for absolute beginners”, but if you already have some guitars under your belt and want to make a quality leap, don't be intimidated.
Remember these seven mistakes, learn from my errors and, above all, enjoy the process. Because in the end, the true joy is not just playing your guitar, but knowing that every curve, every cut, every glue joint is the fruit of your passion and patience. And if I succeeded, you can succeed too. Good work!
See also
Download the Luthier Survival Kit
Free PDF with checklist, problem-cause table and project card template.
 English
  Italiano
Stuck on your build?
If you ran into the same problem or have a question, drop it in the comments. I read and reply to every one.
Write a comment