


Ebony guitar wood: 5 mistakes not to make
Ebony. Just say it and you immediately think of that pitch-black, smooth, dense fretboard that responds to touch with unique reactivity and sustain. It's the dream of many, the almost obligatory choice for certain high-level instruments. But for us who get our hands dirty in the garage, the idea of working a piece of ebony wood guitar can turn into a nightmare if you don't know what you're doing.I've been there too. The first time I held a rough piece of that precious dark, dense wood, I felt like a child with a new toy, but also with the fear of breaking it immediately. I made a lot of mistakes, some trivial, others that cost me time and some swearing. But it was precisely from those mistakes that I learned, and today I want to share with you five common traps to avoid when you decide to use ebony for your next DIY guitar. If I succeeded, you can too, just with a little attention and less haste.
1. Choosing the wrong ebony (or unseasoned)
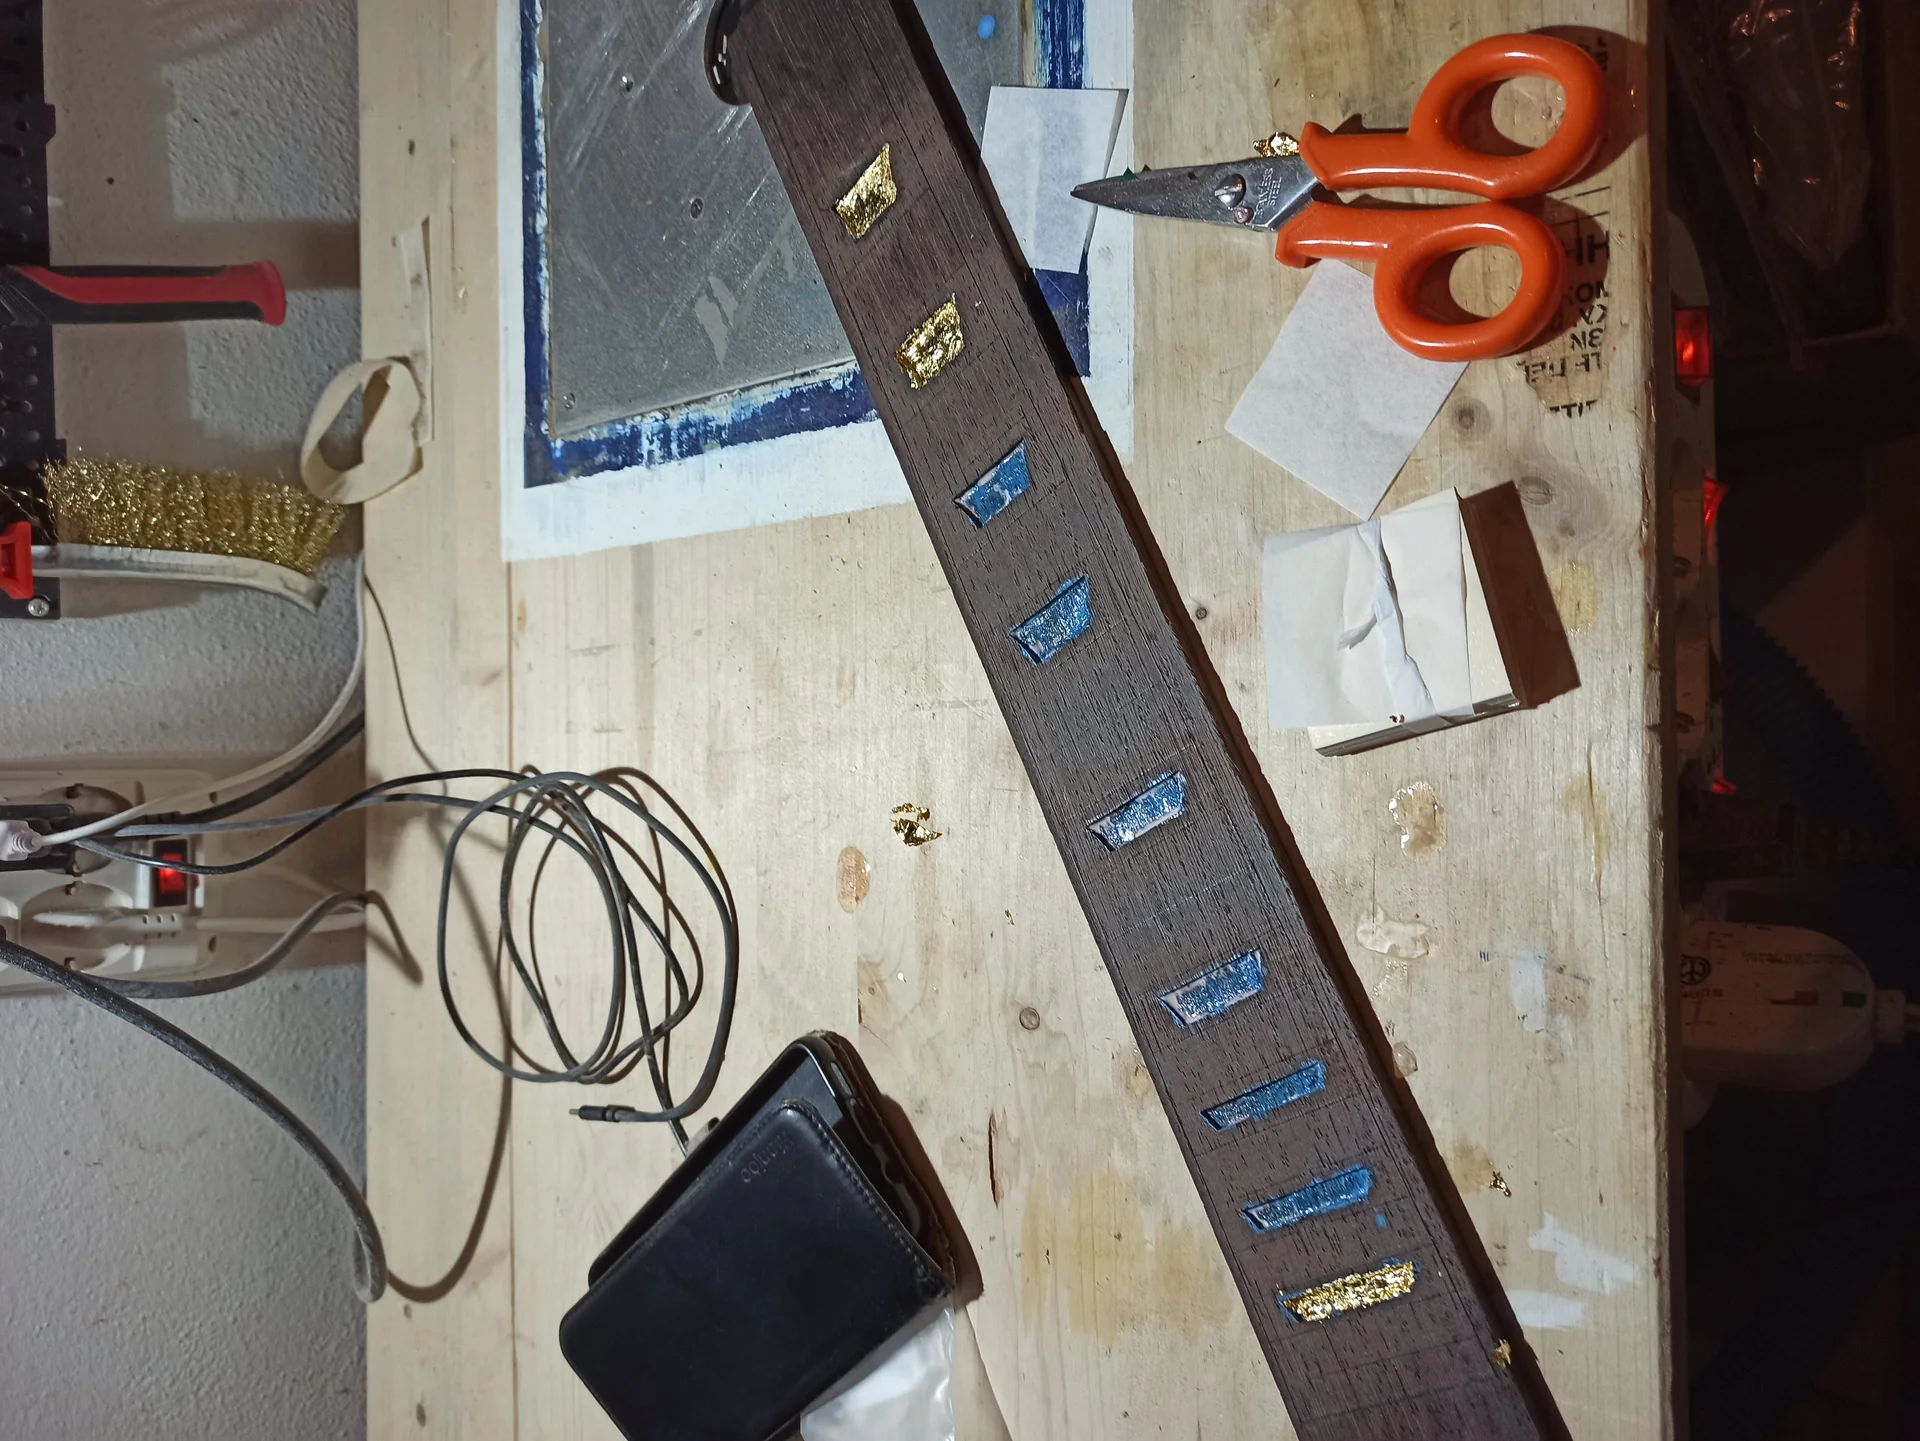
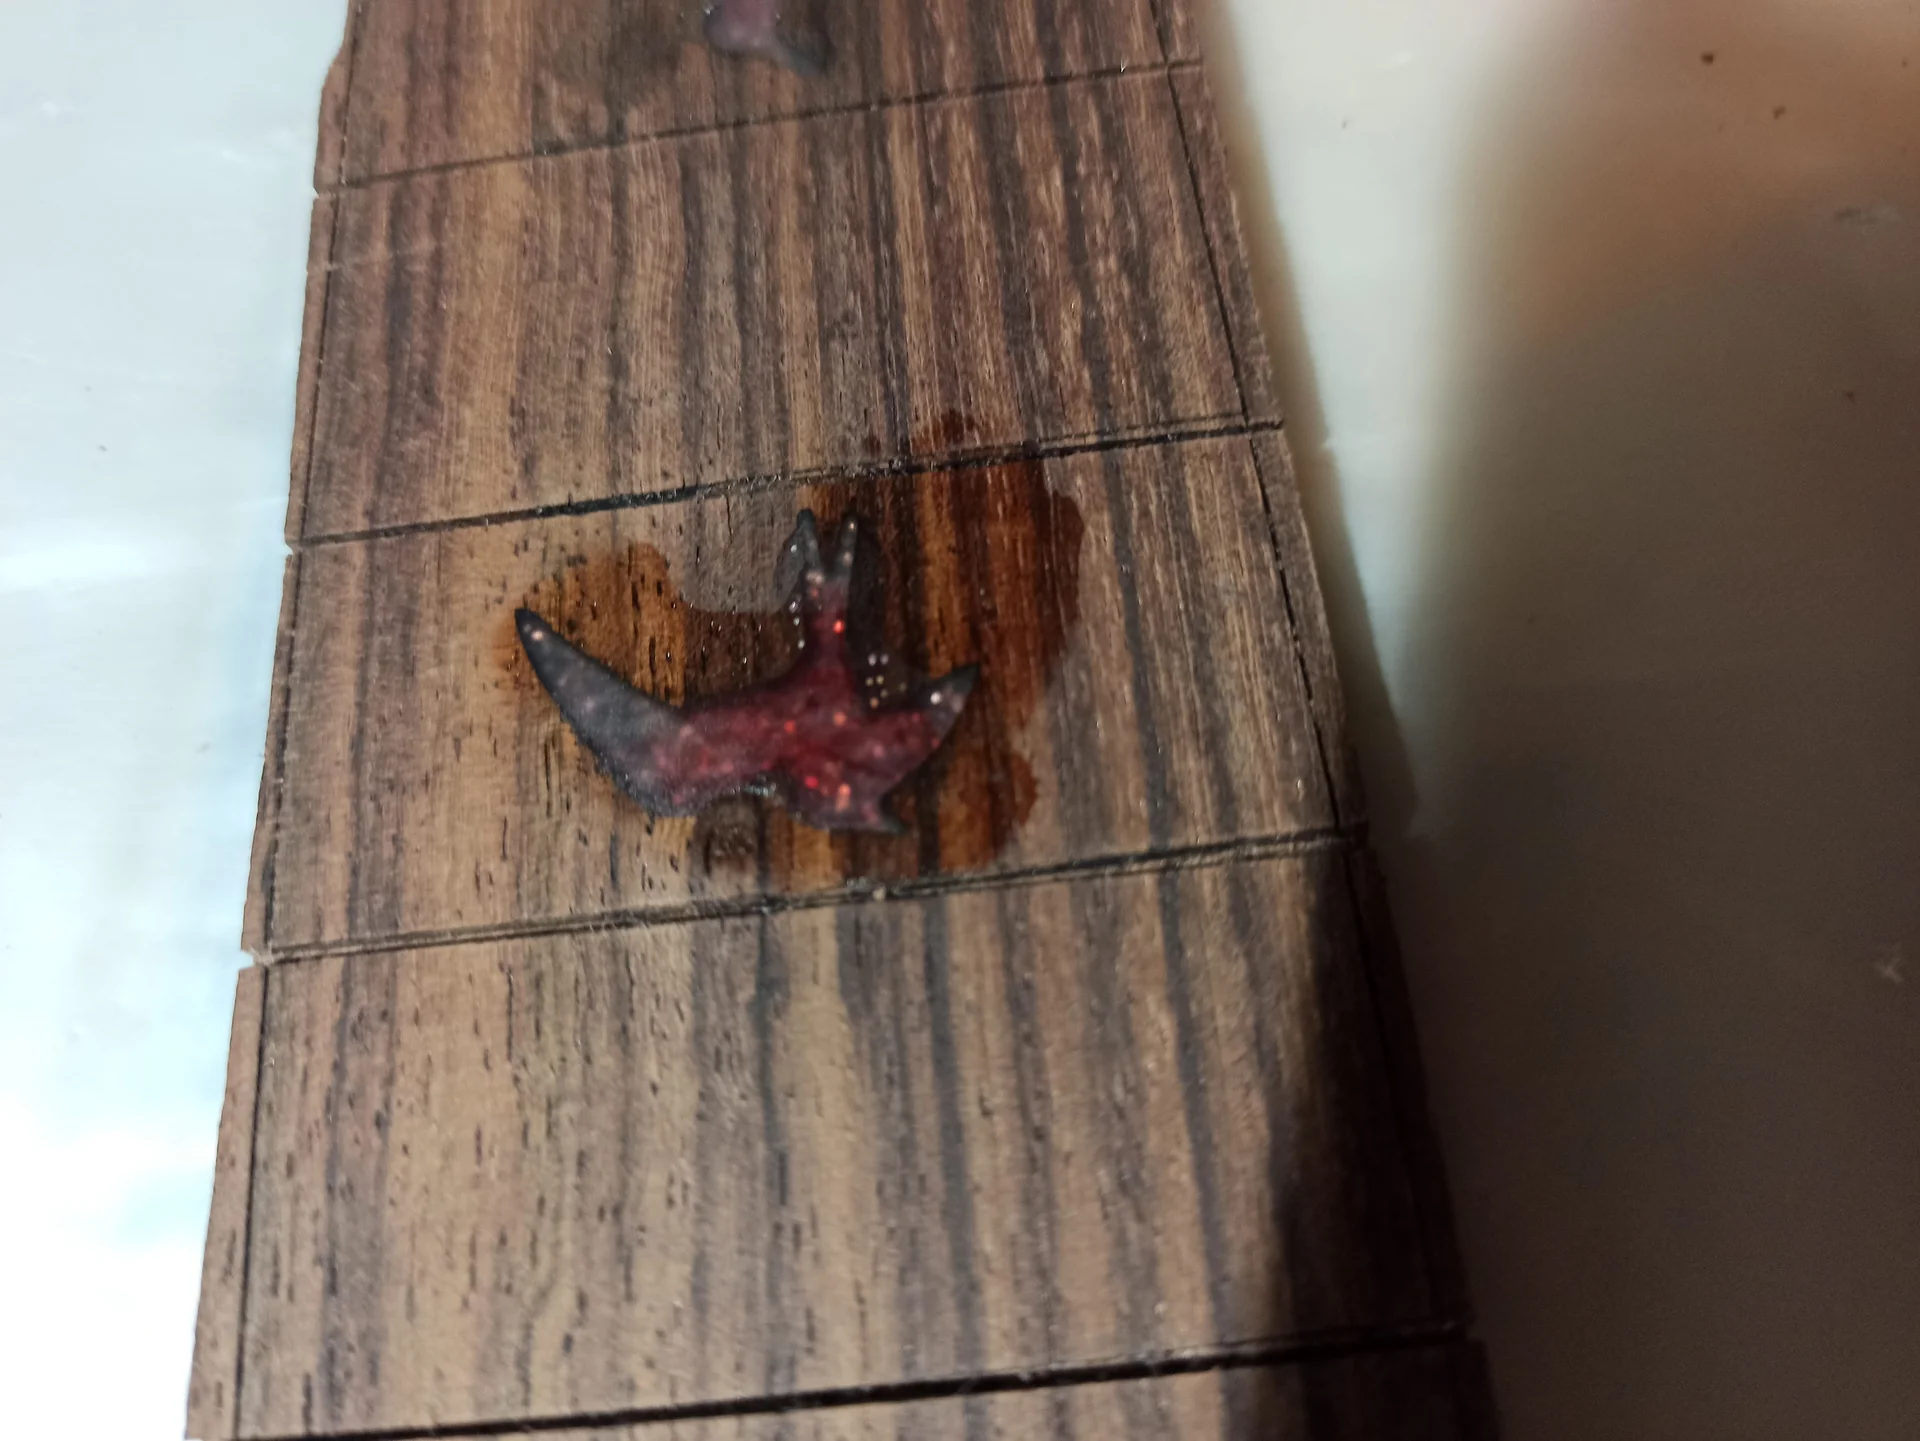
Ebony is hard. Very hard. It is one of the densest and most compact woods you will use in lutherie. This is why it is so prized for fretboards: wear resistance, stability, resonance. But this hardness has a downside: it's a real tool killer and can be surprisingly fragile if not treated with respect. My mistake: I tried to plane an ebony fretboard with my hand plane, thinking I would tame it like a piece of maple. The result? Blade chipped in two places and a messy job, full of tears. I had to resharpen the blade and start over with a different approach. How to avoid it: Sharpen, sharpen, sharpen: Your blades must be razor sharp. And not just once, but constantly. Every time you feel the tool “tearing” or struggling, stop and resharpen. This applies to planes, chisels, gouges, but also to drill bits and routers. Ebony does not forgive dull blades; it will leave you with a rough job and you could ruin the piece.
Work calmly and with light passes: Especially with planes and routers, don't try to remove too much material in a single pass. Prefer many light passes. This reduces stress on the wood and tools, minimizing the risk of chipping or tearing.
Use specific tools: For planing, if you don't have an electric bench planer, a hand plane with a sharp blade and a steeper cutting angle (like a finishing plane or a block plane) will give you better results. For fretboard radiusing, specific templates and sanding blocks are essential. Don't improvise with loose sandpaper, you risk creating dips.
Drilling and routing: When drilling for dot markers or the truss rod, use sharp bits and go slowly. Ebony sawdust is fine and powdery, but its density can generate heat and burn the wood if you're not careful. For routing, use hard wood router bits, preferably tungsten carbide, and don't hesitate to replace or resharpen them as soon as you notice a drop in performance. Ebony dust is irritating, so a mask and goggles are a must.
Fragility: Despite its hardness, ebony is also relatively fragile, especially in thin sections or with particular grain patterns. Be careful when handling the fretboard, especially before gluing it to the neck. A drop or a knock can cause cracks or chips that are difficult to repair. When cutting it, especially at the head or tail, use a support to prevent it from breaking.
The importance of a template: If you need to route the truss rod channel or the holes for the dots, a good MDF or plywood template will save your life. Secure it firmly to the piece of ebony. This will give you precision and reduce the risk of errors. I've learned that investing time in preparing the template is time saved (and stress avoided) on precious wood.
Remember that every piece of ebony guitar wood is an investment. Treating it with care and using the right techniques will reward you with an impeccable final result.
3. Gluing: don't take adhesion for granted

5pcs Linear Guitar Pots Volume 500K Electric Guitar Large Pots 24mm Base with Long Split Shaft Guitar Potentiometer B500K
★ 4.5 (128 reviews)
See on Amazon

Prepare the surfaces for adhesion: Both surfaces to be glued (neck and ebony fretboard) must be perfectly flat and clean. Light sanding with fine grit (220-320) immediately before applying the glue can improve adhesion, creating a slightly more “porous” surface for the glue.
Choose the right glue: For fretboard gluing, aliphatic glue (like Titebond Original or Titebond II) is an excellent choice. It offers good adhesive strength and adequate working time. Some luthiers prefer hide glue for its reversibility, but it requires more experience. Avoid cyanoacrylate glues (Super Attack) for structural bonds of this importance.
Apply the glue evenly: Distribute the glue on both the surfaces to be glued. Don't overdo it, but ensure complete and even coverage. A glue comb or brush can help.
Correct clamping: After positioning the fretboard, apply uniform and constant pressure along its entire length. Use specific fretboard clamps or wooden blocks with shims to distribute the pressure evenly. Tighten the clamps gradually until you see a slight “squeeze-out” (glue overflow) along the edges. Do not overtighten, you could deform the wood. Leave in the vise for the time indicated by the glue manufacturer, usually at least 24 hours.
Alignment: Before clamping, make sure the fretboard is perfectly aligned with the neck. You can use small temporary alignment pins (dowel pins) in pre-drilled holes to help you. This prevents you from having to correct a misalignment after the glue has set, which is almost impossible.
A well-done gluing is the backbone of neck stability. Pay attention to these details when working with your piece of ebony guitar wood.
4. Fretting and inlays: the delicate touch you don't expect
Installing frets or doing inlays on an ebony fretboard requires greater precision and delicacy compared to other woods. Its hardness, combined with a certain fragility, can turn a routine operation into a disaster if you are not careful. My mistake: I tried to hammer the frets in, as I did on rosewood, without checking the slot size. The result? Some frets bent, others caused small cracks along the edges of the slots. Not to mention an inlay that, by pushing it too hard, chipped the surface. How to avoid it: Fret slots: Width and depth: Make sure the fret slots are the correct width for your fretwire. A slot that is too narrow will cause cracks, one that is too wide will not hold the frets. Use a dedicated fret slot saw with the correct thickness. The depth must be sufficient for the fret tang to sit completely.Cleaning: Always clean the slots thoroughly before installing the frets. Ebony dust, even if minimal, can prevent the fret from seating correctly. I use a small sharp chisel or a scraper to clean the inside.
Pressing vs. hammering: On ebony, pressing is almost always preferable to hammering. A fret press (even a modified bench press) distributes pressure evenly and controllably. If you must use a hammer, do so with precise, measured blows, using a fret hammer with a brass or hard plastic head, and ensure the neck is well supported.
Inlays: Cavity preparation: When creating the cavity for the inlay, precision is everything. Use an inlay router bit of suitable diameter and work slowly. Ebony dust is so fine that it can fill the smallest details, making cleaning difficult.
Inlay sizing: The inlay should fit into its cavity with slight pressure, but without forcing it. If it's too tight, you risk chipping the surrounding ebony. If it's too loose, you'll have unsightly gaps to fill.
Gluing inlays: Use a slow-setting two-part epoxy glue for inlays. It allows more working time to position the inlay and fill any small gaps. You can mix the ebony dust you collected with the epoxy to achieve an almost invisible fill. Apply a small amount, position the inlay, and immediately wipe off the excess with a cloth dampened with alcohol.
Sanding: Once the glue is dry, sand the inlay flush with the fretboard, starting with medium grits (like 220) and gradually increasing. Be gentle so as not to damage the surrounding ebony.
Working with ebony guitar wood for fretting and inlays is a test of patience and precision. Don't rush the steps and use the right tools. The final result will be a fretboard that not only plays well but is also a pleasure to behold.
5. Finishing and maintenance: it's not like the rest of the wood
Ebony for fretboards is almost always left natural or treated with a light oil. It is not a wood that is varnished or sealed like the rest of the neck or body. This is because its density and oily nature do not lend themselves well to traditional finishes, and its beauty lies precisely in its bare appearance and silky feel. But this is precisely where common mistakes lie. My mistake: I thought that, being a dark wood, it didn't need much maintenance. I left it there, collecting dust and dirt. After a while, it started to look dry, dull, and faded, with small whitish spots between the frets. I had to do a good job of deep cleaning and rehydration. How to avoid it: No varnish, almost no sealant: Most ebony fretboards do not receive any protective finish like nitrocellulose or polyurethane. This is because ebony is extremely dense and does not “absorb” these finishes well. Furthermore, varnish would ruin its natural feel. The only exception might be a light layer of shellac to further stabilize the grain if present, but this is rare and for specific purposes.Oil yes, but in moderation: The ideal treatment for an ebony fretboard is a specific wood oil, such as Lemon Oil or Boiled Linseed Oil. These oils nourish the wood, hydrate it, and enhance its color, without creating a surface layer.
Application: Apply a minimal amount of oil to a clean cloth, spread it evenly over the fretboard (avoiding the frets), and let it sit for a few minutes.
Excess removal: It is crucial to remove all excess oil with another clean, dry cloth. Unabsorbed excess oil can become sticky and attract dirt.
Frequency: Don't overdo it. Once or twice a year is more than enough, unless you live in an extremely dry environment or play the guitar intensely every day. “Less is more” is the golden rule with ebony.
Regular cleaning: The ebony fretboard, precisely because it is not sealed, is more prone to accumulating dirt, finger grease, and sweat residue. Regularly clean the fretboard with a soft, dry cloth after each playing session. Occasionally, you can use a cloth slightly dampened with distilled water or a specific fretboard cleaning solution, but always drying immediately.
Beware of aggressive products: Avoid household cleaning products or aggressive degreasers. They can dry out the wood, alter its color, or cause irreversible damage.
* The effect of time: Over time, ebony can lose some of its intense black and develop a slight patina. This is normal and part of the wood's character. If you want to revive it, a deep cleaning and a light oiling will work wonders.
Good care of your ebony guitar wood is not just aesthetic. It keeps the wood stable, prevents dryness that could lead to cracks, and ensures your instrument continues to play and feel its best for years. If you want to delve deeper into guitar modifications and general maintenance, you might also want to check out this article on how to modify your electric guitar, there are plenty of useful tips.
Extra considerations for the hobby luthier
Despite these mistakes, ebony remains a fantastic material for fretboards. Its feel, response, and aesthetics are unparalleled. Don't be scared, but approach the work with respect and a bit of preparation. The cost: Ebony is expensive, let's not beat around the bush. This makes every mistake even more “heavy” on the wallet and conscience. That's why it's crucial to proceed calmly and plan every step. If it's your first time, you might consider doing some tests on a scrap piece, perhaps a piece of rosewood with similar hardness characteristics, before diving into real ebony. Sustainability: Today more than ever, the origin of ebony is a hot topic. Many species are at risk of extinction or subject to strict restrictions. When purchasing, inquire about the origin and certification of the wood. Ethical suppliers often offer FSC-certified ebony or ebony from sustainable plantations. This is not just a detail, but a conscious choice. You can find more information on wood sustainability in lutherie on sites like the Wood Database, which is a fantastic resource for wood properties. For example, here you can find details on Gabon Ebony: Gabon Ebony on Wood Database. Alternatives to pure black ebony: If the cost or difficulty of finding pure black ebony discourages you, don't fear. There are excellent alternatives. Macassar ebony, with its light and dark veins, is stunning and has similar characteristics. Or, woods like Richlite or Rocklite, composite materials that replicate the appearance and mechanical properties of ebony, are valid and sustainable choices, even if they are not “real wood”. Many major brands use them on high-end instruments.I remember when I finished my first guitar with a self-made ebony fretboard. It wasn't perfect; it had a few small imperfections that only I could see. But when I plugged it into the amp and heard that sustain, that brilliance, and that feeling under my fingers, I realized that every single mistake, every moment of frustration, was worth it. Don't be afraid to make mistakes. That's how you learn, especially in DIY. The important thing is to understand where you went wrong and not repeat the same mistake. Ebony is a noble material that will teach you a lot about patience and precision. Take your time, be methodical, and you'll see that you too can say “This fretboard in ebony guitar wood I made it myself!”. And the satisfaction, I assure you, is priceless.
See also
Download the Luthier Survival Kit
Free PDF with checklist, problem-cause table and project card template.
 English
  Italiano
Stuck on your build?
If you ran into the same problem or have a question, drop it in the comments. I read and reply to every one.
Write a comment