

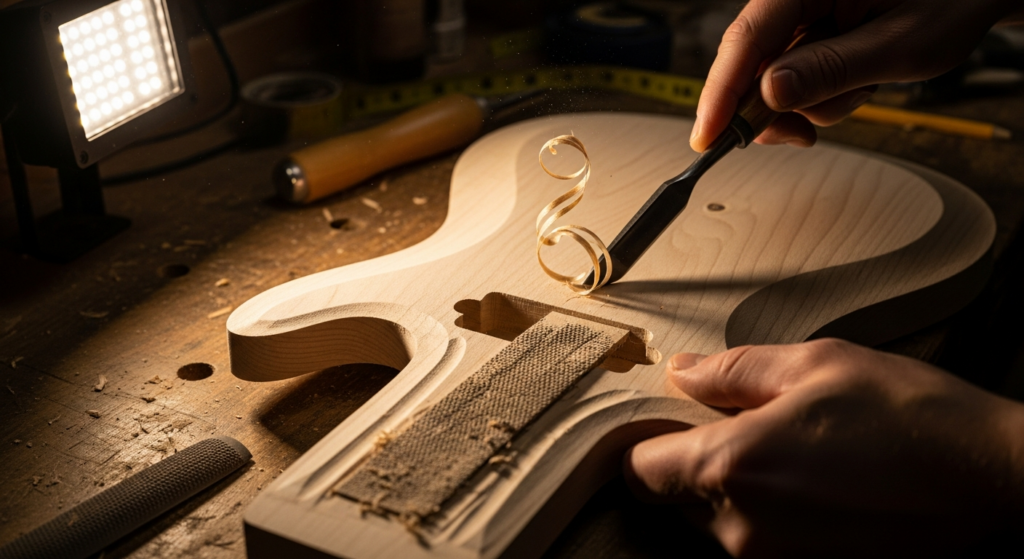
Building a Headless Guitar: Essential Guide
I still remember the first time I got my hands on a headless guitar. It was a Steinberger Spirit, borrowed from a friend. I had always seen it in photos, but touching it, feeling it, understanding how it sounded… well, it was a revelation. Compact, perfectly balanced, and with that feeling of holding an almost futuristic instrument. From there, the idea of building a headless guitar started buzzing in my head, like a worm. I won't hide that at first I was a bit skeptical, and even intimidated. A guitar without a headstock? It almost seemed like heresy for someone like me, used to classic shapes. But curiosity got the better of me, as always. And if I managed it, with my garage tools and a few wrong turns, you can do it too. The important thing is to understand well what you are going to do and not be afraid to make mistakes. Repairing is part of the game, isn't it?Why a Headless? My Story and the Real Advantages
So, why on earth would we want to make a headless guitar? The answer isn't just aesthetic, although the look is unmistakable and, let's face it, you either love it or hate it. I, after a while, learned to love it.
My first approach with a headless, as I said, was a bit traumatic. I saw that kind of stump instead of the headstock and thought: “What is that?”. Then I picked it up. And that's when I understood.
The first advantage, the one that immediately strikes you, is the balance. Without the mass of the headstock and tuners at the end of the neck, the instrument doesn't tend to “dive” towards the ground. That annoying neck dive that forces you to hold up the guitar with your left hand? Gone. For me, who has always had posture problems with heavy instruments, it was a relief.
Then there is the compactness. A headless is shorter, period. This is great if you travel, if you have little space at home, or simply if you like the idea of a more manageable instrument. My first headless build ended up in a gig bag I used for a 3/4 acoustic guitar. Fantastic.
And let's not forget the tuning stability. With the tuners mounted at the bridge, the strings have a much more direct and shorter path. Fewer friction points, less moving mass, fewer temperature fluctuations affecting tuning. In my tests, the Steinberger Spirit held its tuning for days, even with intense tremolo use. This convinced me that it was worth investing time in a headless lutherie.
Of course, there are also “disadvantages”, or rather, peculiarities. The aesthetics, as I said, are not for everyone. And then there's the specific hardware, which is the true heart of such a guitar. You can't just take a standard bridge and tuners. But we'll talk about that shortly. The point is: if you're looking for a different sound and playability experience, and you're not afraid to step outside the box, building a headless guitar is a project that will give you a lot of satisfaction.
The Specific Hardware: The Heart of the Headless Project
Advertisement

5pcs Linear Guitar Pots Volume 500K Electric Guitar Large Pots 24mm Base with Long Split Shaft Guitar Potentiometer B500K
See on Amazon

The heart of every headless guitar is its bridge-tuner system and its string-locking nut. They are two sides of the same coin, working in symbiosis to keep the strings taut and in tune.
Types of Headless Hardware: What I Learned From My Own Experience
On the market, you'll find several solutions. The most common are: 1. Integrated systems: The bridge and tuners are a single block. The strings are fixed at the nut (or a separate string lock) and then pass through the bridge, where they are tuned. Classic examples are Hipshot or ABM systems. Their engineering is designed for maximum stability.n2. Single-string tuners: Each string has its own tuning and anchoring mechanism, mounted individually on the body. This allows for greater freedom in body design but requires more precision in mounting and alignment.When I started my first headless build, I made the mistake of underestimating the importance of choosing the right kit. I bought a cheap system online, attracted by the price. The result? Unstable tuning, stripped screws, and a general sense of frustration. I had to disassemble everything and buy a Hipshot kit again. Higher initial cost, but zero problems. My advice? Don't skimp on hardware. It's the soul of your guitar.
A sore point for many is string compatibility. Most headless systems require double-ball strings (with two balls at the ends) or a system that allows you to use standard strings by cutting them and locking them with a grub screw. Good quality kits usually offer both possibilities, or at least an adapter. Always check before purchasing!
Measurements and Compatibility: The Real Headache
Here we get to the heart of the “pain point” for many hobbyists who want to assemble a headless. The measurements. There isn't much room for error. String spacing at the bridge: You need to know the exact string spacing that your hardware offers. This will influence the body routing and neck width.Bridge block dimensions: The bridge-tuner system has a specific footprint. You need to create a cavity in the body that perfectly accommodates it. Not too wide (for aesthetics and stability), not too narrow (to avoid damaging the wood or the bridge).
String lock position: Here too, millimeter precision. The string lock must be perfectly aligned with the strings and the bridge.
I'll give you a trick I learned the hard way: before touching the wood, create an MDF or plywood template for bridge and string lock routing. Mount the hardware on the template, check alignments, take all measurements. Only when you are 100% sure, transfer everything to your guitar body. This will save you a lot of swearing and unwanted holes.
Another thing to consider, and often ignored, is the height of the bridge system. Some headless systems are taller than a traditional fixed bridge. This means you might have to “sink” the bridge into the body to get decent string action, or plan for a slightly different neck angle. Read the manufacturer's specifications carefully. For example, Hipshot, on its official website, provides all the precise measurements for its headless systems, a real help for those who want to create a headless guitar.
Useful External Link: For an example of detailed technical specifications for headless hardware, you can consult the section dedicated to headless bridges on the website of Hipshot Products. There you will find diagrams and dimensions that will help you with planning.
The Neck: Without Headstock, but with Plenty of Substance
The neck of a headless guitar is, in some ways, simpler to make than a traditional one: no headstock to glue or angle. In other ways, however, it requires specific attention. When deciding to make a headless guitar, the neck is the first element that makes us understand the difference from a classic guitar.Construction and Truss Rod Access
Forget the headstock angle, the recesses for the tuners. Here the head of the neck is truncated, straight. This simplifies the work, but shifts the focus to other details.The first is thetruss rod access. Without a headstock, access is almost always from the heel of the neck. This means you need to plan for the cavity for adjustment Before before gluing the neck to the body (if it's a set-neck) or Before before mounting the pickguard (if it's a bolt-on). It seems trivial, but I've seen people finish the guitar and then realize they can't adjust the truss rod. A classic beginner's mistake, which I myself made on my second headless build.
The String Lock: The String Anchor
The string lock system, which replaces the traditional nut and tuners on the headstock, is a critical piece. It can be integrated directly into the neck or screwed onto the top, just after the zero fret.When I made my first guitar electric DIY headless, I opted for a screwed-on string lock. It's easier to install and, in case of problems, simpler to replace. However, you must ensure that it is perfectly aligned with the center of the neck and that the fastening screws are robust and do not strip in the wood. Here too, a drilling template is your best friend.
Precision is everything. If the string lock is not aligned, the strings will not go straight towards the bridge, creating intonation and wear problems. And it's not pretty to look at, let's face it.
Stability and Reinforcements: Don't Underestimate the Strength
Many fear that a headless neck is weaker. In reality, the lack of a headstock eliminates a point of potential breakage (the famous headstock break). However, stability remains fundamental.For safety, I have always added some carbon reinforcement bars on the sides of the truss rod, as I do for almost all my necks. They are not indispensable, but they provide extra rigidity that never hurts, especially with modern string tensions. Carbon is light and incredibly strong. It's a small extra effort that guarantees you a stable neck for years.
For my last headless guitar, I tried a roasted maple neck, which is already very stable on its own. With the addition of carbon rods, it became practically indestructible.
Shaping and Comfort: Ergonomics Matter
Without the headstock, the left hand has freer access to the first frets. This can be an advantage for some, but it also means that the neck shape and overall ergonomics become even more important. Neck profile: Choose a profile that is comfortable for you. I prefer a thin “C” profile, but it's a matter of personal taste.Keyboard radius: Here too, the choice is personal. For my headless builds, I find a compound radius from 10″ to 14″ or 16″ works well, for a good compromise between chords on the first frets and bending on the last.
Finish: A good neck finish (oil, satin) makes hand sliding more pleasant.
Remember that a well-made neck is the foundation for good sound and excellent playability. Don't rush this phase. Take the necessary time for profiling and sanding.
The Body: Compact, Balanced, Ergonomic
The body of a headless guitar does not have the same design limitations as a traditional guitar. Without the need to balance the weight of a headstock, you can dare more with compact and lightweight shapes. This is one of the most fun aspects when deciding to building a headless guitar: the freedom of design.Design and Balance: Lightness is Key
When designing the body for your headless guitar, think about balance. There's no longer mass at the head, so the center of gravity shifts. The goal is to have an instrument that, when hung on the strap, remains perfectly horizontal, without tending to fallforward
backward.
For my first DIY headless electric guitar, I used a mahogany body, quite thick. The result? A slightly too heavy instrument with a slight tendency to “slip” forward. I learned my lesson.
For subsequent projects, I started using lighter woods like alder, swamp ash, or even basswood. Or, if you want to use denser woods, you can lighten the body with tone chambers (chambering) or internal cavities (weight relief). This not only reduces weight but can also positively influence the instrument's resonance.
The shapes can be varied. Many are inspired by Strandberg, with their ergonomic lines and beveled cuts. I have experimented with very small bodies, almost “travel guitar”, and with more traditional but reduced shapes. The important thing is that the guitar fits you well.
Bridge Routing: Precision is Sacred
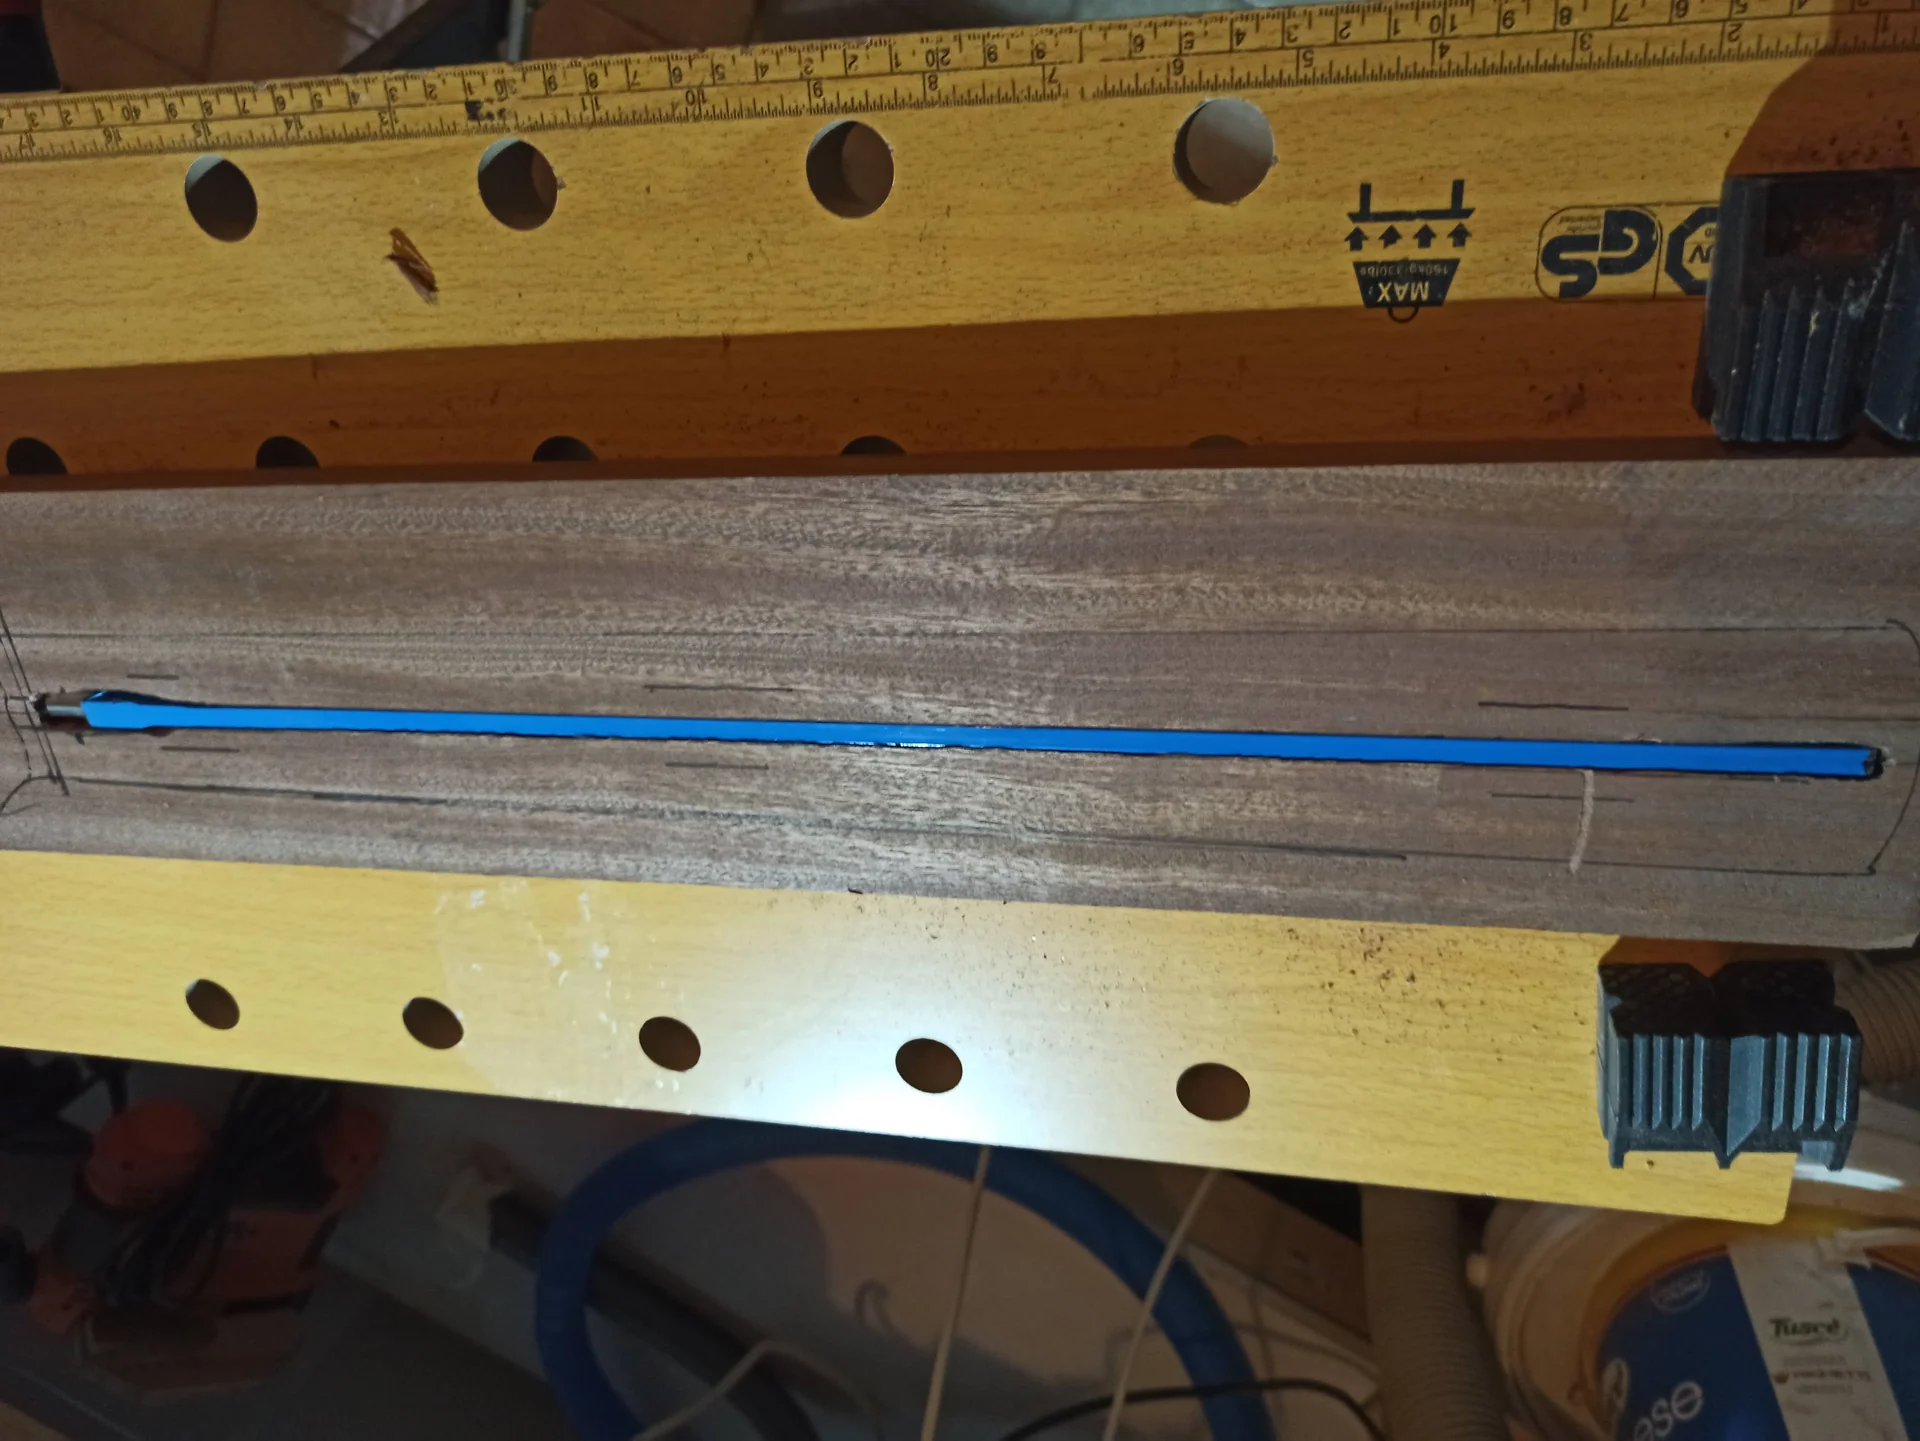
No joking here. Routing for the headless bridge system is the most delicate operation on the body. Precision must be meticulous.The bridge system, as we said, is a single block that houses the tuners. This means you need to create a cavity in the body that perfectly contains it. Not only in length and width, but also in depth. Many headless systems have a base that needs to be recessed into the wood to allow for low and comfortable string action. Take the measurements: Once again, study your hardware specifications. Every millimeter counts.
Template: Create an MDF or plexiglass template with the exact routing dimensions. Secure it firmly to the body.
Milling: Use a Forstner bit or a straight router bit with a bearing. Make light passes, don't try to rout everything at once. Haste is the enemy of precision.
A common mistake is to make the routing too wide or too deep. Too wide, and the bridge will have play, compromising tuning stability and aesthetics. Too deep, and the bridge will be too recessed, making it difficult to achieve comfortable action. I, on my first headless build, I had to put shims under the bridge to compensate for excessive routing. Not the most professional, but it worked!
Ergonomics and Comfort: Where Do Your Arms Rest?
Without a heavy headstock, the problem of the neck dive is solved. But ergonomics doesn't end there. Think about where you'll rest your right arm while playing, or where your leg will go when playing seated.Many modern headless guitars (like the aforementioned Strandberg) have ergonomic bevels and cutouts designed specifically to improve comfort. Don't be afraid to shape the body to fit your body. This is the beauty of DIY: you can tailor it to yourself.
Another thing to consider is the position of the strap button. Experiment. By moving the attachment slightly higher or lower, you can further refine the instrument's balance. On my latest headless guitar, I placed the upper strap button a bit more towards the 12th fret, and the balance became perfect.
Finally, also think about the space for electronics. Headless bodies tend to be more compact, so the cavities for pickups, potentiometers, and switches might be smaller than usual. Plan the component layout well to avoid unpleasant surprises. If you need to refresh your memory on electronics, here on the blog we have a lot of articles on how to modify a guitar, even at the circuit level.
Assembly and Setup: The Last Mile (and the First Chords)
You have the neck, you have the body, you have the hardware. Now it's time to put the pieces together and bring your creation to life. The assembly of a headless guitar has its specificities, especially regarding bridge mounting and intonation.Hardware Mounting: Precision and Patience
This is the phase where precision pays off. Every screw, every hole must be in its place. 1. Mount the string lock: Align it perfectly with the neck. Pre-drill the screw holes with a bit slightly smaller than the screw diameter to prevent wood splitting. Screw gently. 2. Mount the bridge: Insert the bridge system into the cavity you routed. It should fit without forcing, but also without excessive play. Secure the bridge with the provided screws, ensuring it is perfectly perpendicular to the neck and aligned with the strings. A crooked bridge is a disaster for intonation and playability.n3. Pickups and electronics: Install the pickups and connect the electronics. Make sure all cables are well soldered and insulated. Check the space in the cavity: with smaller bodies, it's sometimes a bit of a Tetris.A tip I feel I should give you, and which I learned after 'half stripping' a few screws: always use a little beeswax or soap on screws that go into wood. It will help them slide better and not damage the wood or the screw head itself.
Stringing and Tuning: The Moment of Truth
Stringing a headless for the first time might seem strange. If you use double-ball strings, it's very simple: just thread them through. If you use standard strings, you'll have to lock them at the bridge with the appropriate grub screws, cutting off the excess.Once strung, tune the guitar. With headless guitars, tuning is all at the bridge. The tuners are small and often have a fine reduction ratio, which allows for very precise tuning.
Setup: Intonation and Action
Setup is fundamental for any guitar, but with a headless it is even more critical, given the nature of the hardware. 1. Action (string height): Adjust the bridge height to achieve the desired action. Quality headless systems allow for fine adjustments. Don't be afraid to experiment to find your sweet spot.n2. Intonation: This is the most important step. The intonation of each string is adjusted by moving the saddle forward or backward. With a precision chromatic tuner, play the open string and then at the 12th fret. If the note at the 12th fret is flat, move the saddle forward (towards the neck). If it's sharp, move it backward (towards the bridge). Repeat for all strings until they are perfect. This is crucial for your headless build and for its final sound.Remember that perfect intonation doesn't exist in the guitar world; it's always a compromise. But you can get very close. And take your time. It's not a race.
Common Problems and Troubleshooting: Not Everything Goes Smoothly
It happens, oh yes it happens, that something doesn't go as planned.Strings slipping: If the strings slip from the string lock or the bridge, it's likely that the locking grub screws haven't been tightened enough, or that the strings are too thin for the system. Check the manufacturer's specifications.
Tuning instability: If the guitar quickly goes out of tune, check all string contact points: the string lock, the bridge saddles. Make sure there isn't excessive friction. A little nut lubricant (even if there isn't a traditional nut here, the contact points remain) can help.
Buzzing: If you hear a buzz, check the action, the truss rod, and the pickup height.
My first DIY headless electric guitar had a slight buzzing on the low E. I discovered that the problem was a slight inaccuracy in the milling of the bridge cavity, which caused a screw to vibrate. I solved it with a small piece of felt under the screw. Sometimes, the solutions are simpler than you think.
The First Notes: Your Creation Comes to Life
When everything is finally assembled, tuned, and intonated, the best moment arrives: playing the first chords. That feeling of having created something with your own hands, of having overcome difficulties, and of having learned a lot of new things. It's an invaluable emotion, and the real reason why we get into these crazy projects in the garage. Building a headless guitar is a challenging, but incredibly rewarding project. It requires attention to detail, patience, and the willingness to learn from mistakes. But if I succeeded, with my limited means and my stubbornness, you can do it too. And in the end, you'll have a unique instrument, custom-made for you, that will give you years of satisfaction. Good luck!See also
Download the Luthier Survival Kit
Free PDF with checklist, problem-cause table and project card template.
 English
  Italiano
Stuck on your build?
If you ran into the same problem or have a question, drop it in the comments. I read and reply to every one.
Write a comment