

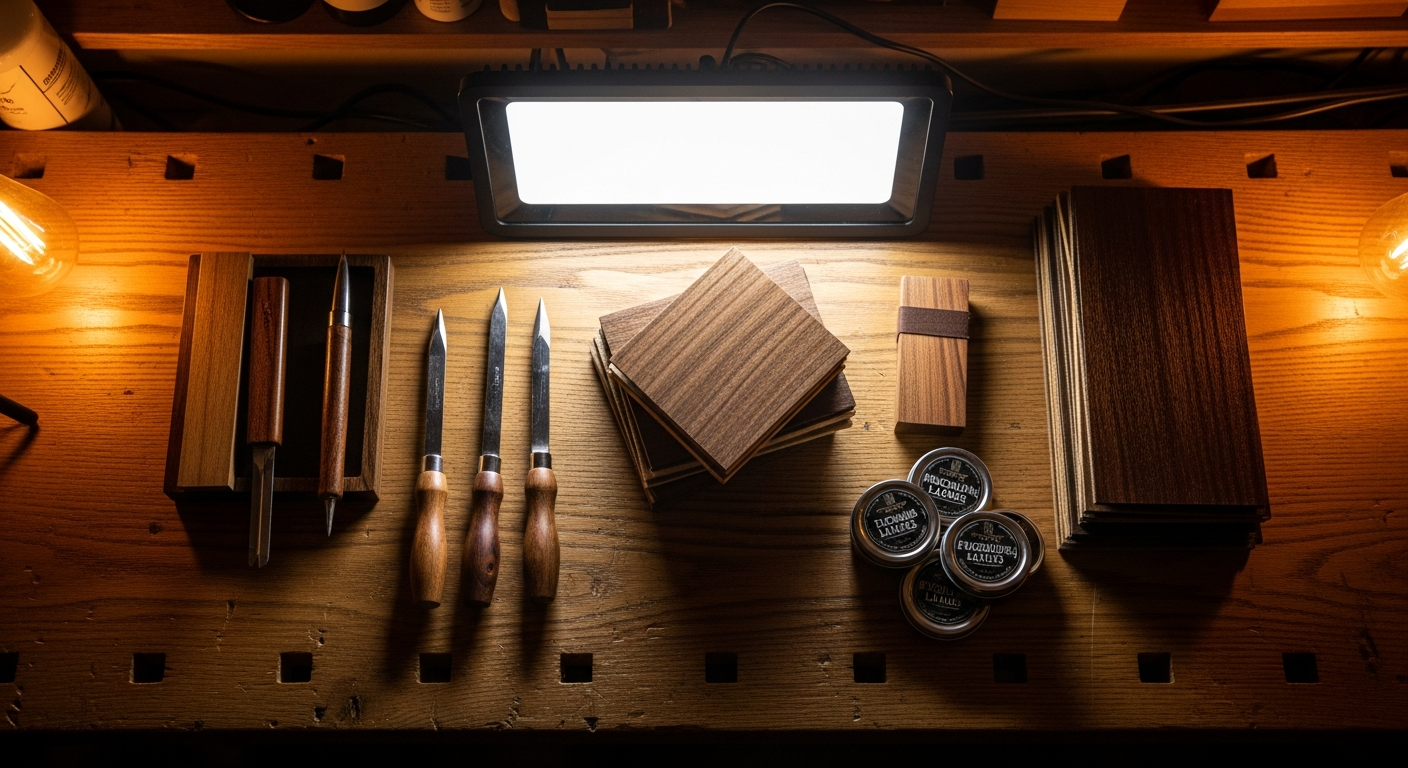
Best guitar capo: buying guide
How many times have you picked up your guitar, tuned it, and after a couple of bends, it already feels out of tune? Or, perhaps, you hear that annoying "ping" when you tighten the vibrato a little, or even worse, the strings buzz on the first fret even though you have the action adjusted correctly on the bridge? Nine times out of ten, the culprit is always the same: the nut of the guitar. Yes, that little piece of material at the top of the neck, often overlooked, but actually crucial for playability, intonation, and, believe me, even sustain.Like many of you, it took me a while to understand how important it was. At first, I thought it was just a piece of plastic holding the strings up. Then, after sweating blood trying to make one of my first DIY guitars sound decent, I realized that a good guitar nut It can make the difference between a "toy" guitar and a serious instrument. And I'm not just talking about custom-shop guitars costing thousands of euros. I'm talking about your garage guitar, the one you assembled piece by piece with your own hands.
In this guide, I take you through everything I've learned about the best guitar capo and how to choose it, install it, and finish it. We'll look at the materials, measurements, and mistakes that made me tear down the saints—and that you can avoid. It's not rocket science, but it does require patience and precision. And if I did it, with my garage tools and my share of mistakes, you can do it too.
Nut Materials: There's a World Beyond Ugly Plastic
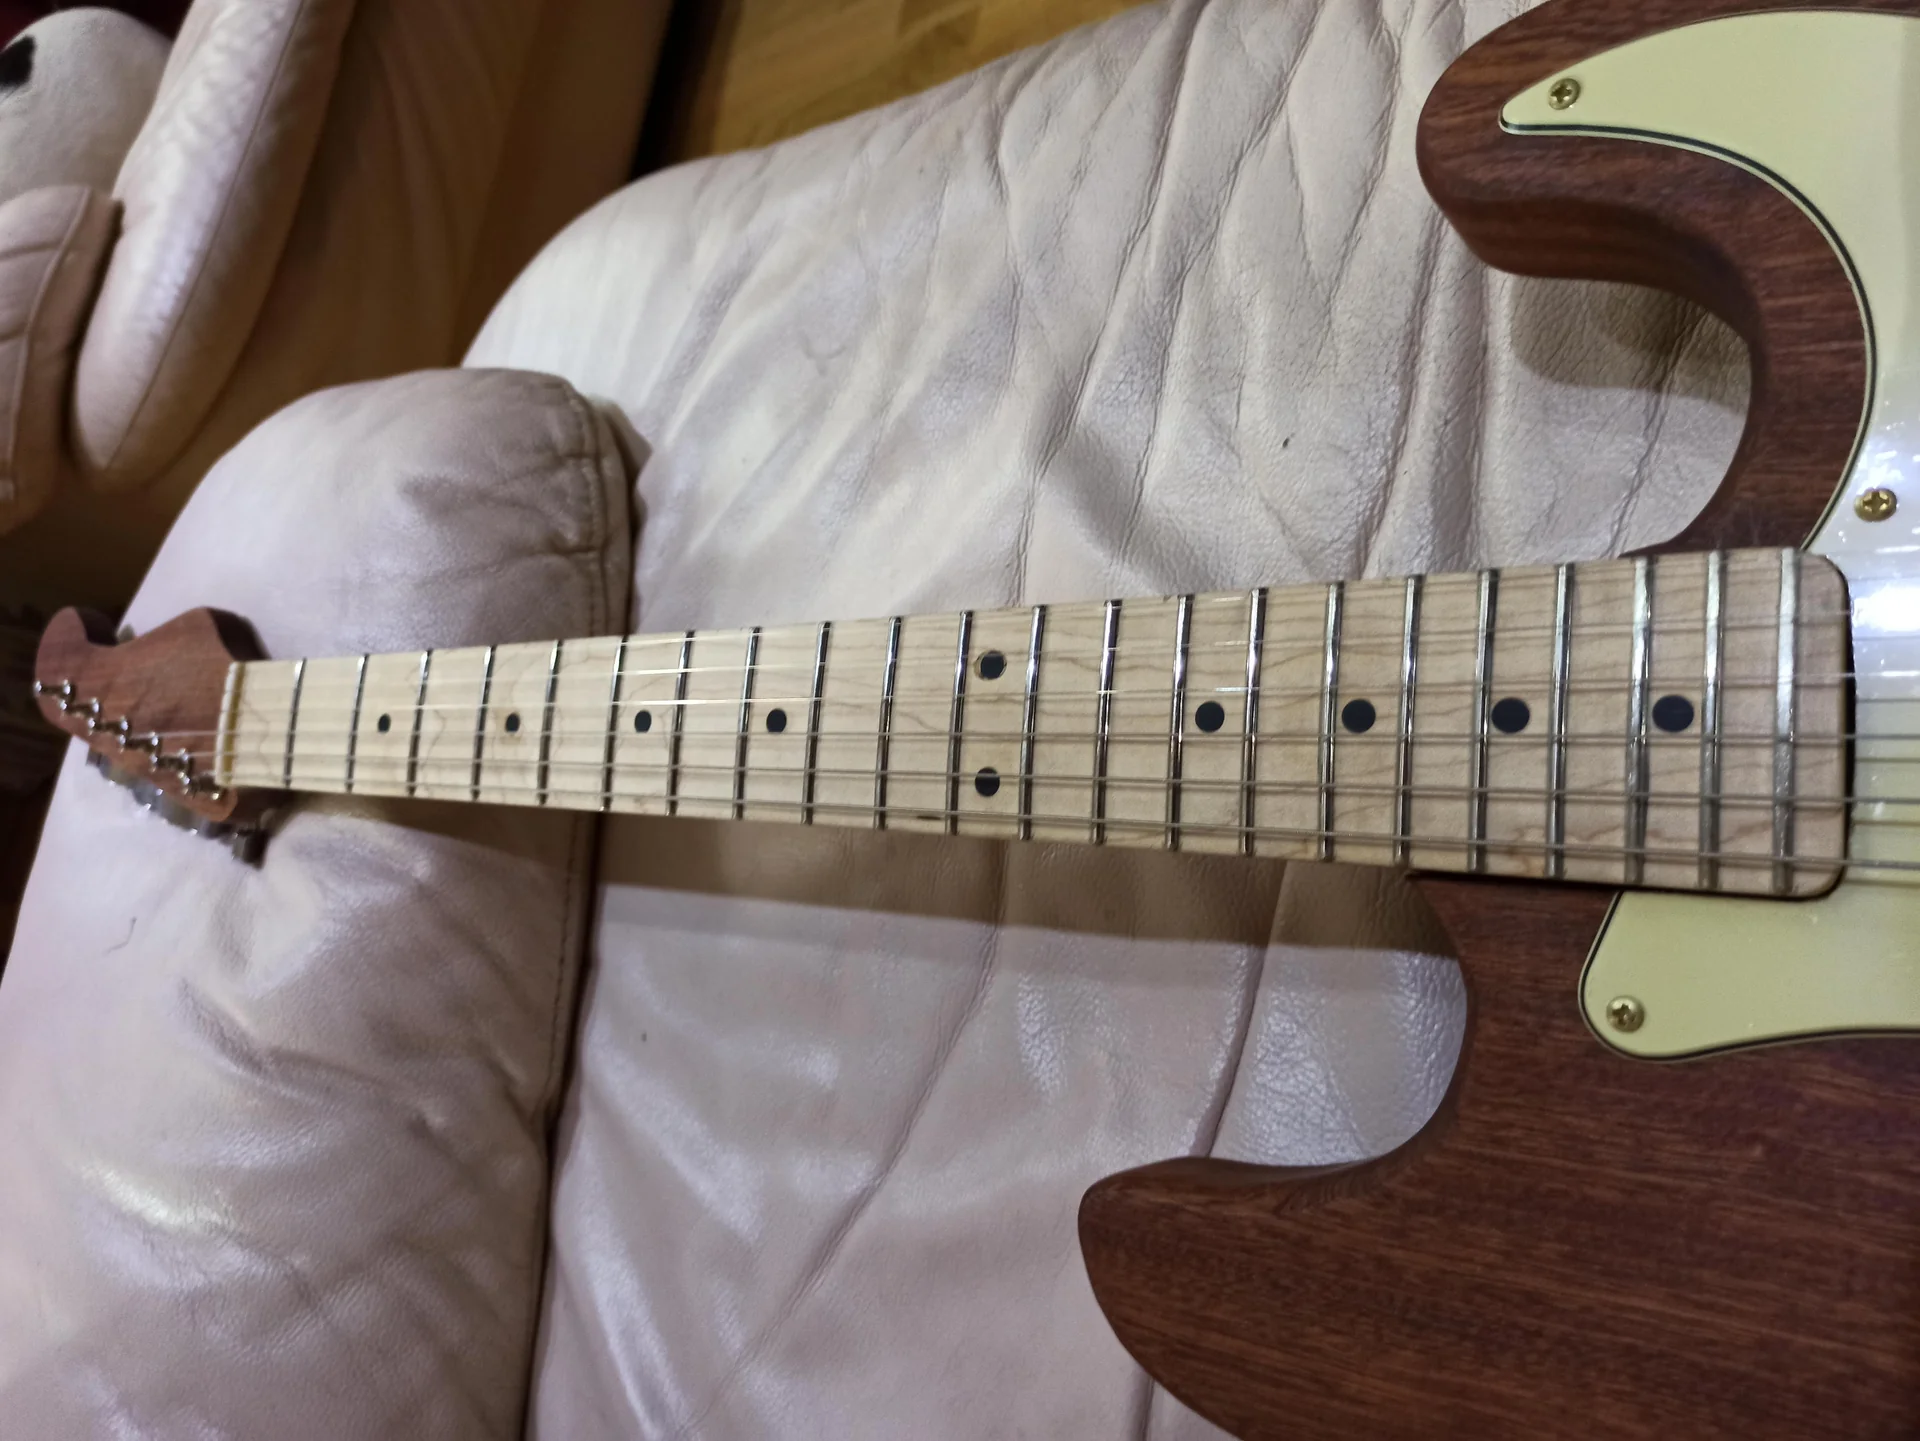
Okay, you've chosen the material. Now comes the critical part: the measurements. This is no joke; one mistake and your beautiful new capo will be nothing more than a paperweight. guitar nut It is not a universal piece, each handle has its own specifications.
The Fundamental Measures

Squier Squier Sonic Precision Bass, California Blue, Maple Fingerboard | Beginner electric bass guitar, 4-string, affordable Fender quality, bright California Blue finish, maple fingerboard
★ 4.4 (103 reviews)
See on Amazon

Flat or Curved Bottom?
It seems like a minor detail, but it's not. Some capos have a flat bottom, while others have a curved bottom to fit the fretboard. If your neck has a radius (curvature) that extends to the nut slot, you'll need a capo with a curved bottom. If the slot is milled flat, then you'll need a capo with a flat bottom.How to find out? Remove the old nut and look at the slot. Or, take a steel ruler and place it on the fretboard. If you see a light in the center, the fretboard is curved. If your neck has a compound radius (curvature that changes along the fretboard), the nut is usually flat. Don't assume anything; always measure!
Pre-slotted or Blank?
This is one of the questions I often get asked on Reddit. “Mimmo, should I buy the pre-grooved one or the unfinished one?”So, a pre-slotted nut (already grooved) may seem like a fantastic shortcut. Just pop it on and go. But trust me, in most cases, it's not the best solution for a hobbyist. The grooves are standard and rarely fit perfectly with your neck, your bridge, and, most importantly, the gauge of strings you use.
A blank capo (unfinished, without grooves) is the way to go. It allows you to customize every single groove for your guitar. Yes, it requires more work and the right tools, but the end result will be light years better. You have complete control over the height, width, and angle of each individual string. And for playability, this is gold. I've always preferred blanks, even though I had a lot of trouble the first time. But it was worth it. Practical advice: Before ordering, measure your old nut with a digital caliper. If you don't have one, buy one; it's inexpensive and will save you a lifetime (and a lot of mistakes) on a thousand other lutherie projects. Write down all the measurements: width, height (at the sides and in the center, if curved), and thickness. Then look for a nut that's slightly larger in height and thickness, so you'll have room for finishing. The width should be as precise as possible.
Installation: The Moment of Truth (and the Dremel, maybe)
Ok, you got your new one capo element in your hand. It's time to assemble it. This requires precision and delicacy. Remember, the neck is the most delicate part of the guitar.1. Remove the Old Nut
This is a step many people hesitate to take for fear of causing harm. And the fear is justified, but it must be done with caution.First of all, loosen the strings and remove them completely.
The old nut is almost always glued on with very little glue. Take a small piece of wood (a dowel, a strip) and place it on the side of the nut facing the headstock. Using a rubber mallet (or a regular hammer, but use gentle taps, using a thick cloth between the two), tap it firmly but gently. It should come off. Attention: If it doesn't budge, DON'T FORCE! You could damage the finish of the neck or even pull off a piece of the fretboard. If this happens, take a sharp utility knife and gently score along the edges of the nut, where it joins the wood. This will cut away any excess paint or glue. Then try again with the hammer. If it still doesn't budge, try using a hair dryer (not a heat gun!) to soften the glue, but be extremely careful. I once found one glued on with superglue by the original manufacturer, and I had to work really hard to avoid damaging it.
Once removed, clean the slot thoroughly to remove any glue residue or dirt. It should be smooth and clean.
2. Prepare the Capo Slot
The bottom of the slot must be perfectly flat (or curved, if your neck requires it) and clean. Use a small flat file or a piece of fine sandpaper (400-600 grit) wrapped around a hard block to smooth the bottom. It should be a perfect fit for the new nut.If your new nut is slightly thicker than the slot, you can gently sand the sides of the new nut with fine sandpaper until it fits flush. Be careful to keep it perfectly square.
3. Glue the New Nut (Just a Little, Very Little!)
This is a crucial point. Many people, fearing it might come off, use too much glue. This is a big mistake! The nut must be easy to remove in the future, should you ever need to replace it again.I use a single drop of cyanoacrylate (Super Attack) or a dab of Titebond glue. No more. Place the drop in the center of the slot, place the nut on it, and press gently for a minute. If you see any glue leaking out, wipe it off immediately with a damp cloth before it dries. The goal is for the nut to stay in place, not for it to become one with the neck.
Let it dry for the time indicated on the glue. I usually wait at least an hour before putting the strings back on. Pain Point: The fear of ruining the neck is real. The key is to be gentle and use the right tools. Take your time. If you're unsure, watch some YouTube videos by expert luthiers showing how to remove a nut. It really helped me to see how they did it before trying it myself.
Grooving and Filing: Precision Surgery
This is the most delicate and important phase. Here, the playability, tuning, and feel of your guitar are decided. There's no rush, no margin for error (or rather, there is, but it can be corrected with patience). And this is where your experience guitar modification It will be useful to you.Essential Tools
Forget the Dremel for this step unless you have a steady hand like a surgeon and the right accessories. You'll need: Nut Files: They're specific files with calibrated thicknesses for each string gauge. They're expensive, I know, but they're an investment that pays off. You can't do a good job with a generic file. At first, I used welding or modeling files, but the results were always a bit the same. Then I invested in a set of specific files, and the difference was huge.Digital caliper: To measure the height of the strings.
Feeler gauges: Useful for measuring the action at the first fret.
Soft pencil (e.g. 2B): To mark the positions of the strings.
Thin steel ruler: To check the height of the grooves.
Fine sandpaper (600-1000 grit) and polishing: To finish the grooves.
Nut Lubricant: Powdered graphite, specific oil, or petroleum jelly.
Step-by-Step Grooving and Filing Process
1. Mark the String Positions: Put the strings on the guitar, but don't tune them yet.Use a soft pencil to mark the position of each string on the nut. How?
The low E string and the high E string should be an equal distance from the edge of the fingerboard.
The other strings should be spaced proportionally. There are special rulers (nut spacing rulers) that help you calculate the correct spacing, distributing the strings more evenly to the eye. You can also use a mathematical formula, but to start, a good ruler or careful visual measurement are fine. I use a ruler; it's more practical.
Make sure the strings line up with the pickup pole pieces if possible, but fingerboard space is the priority. 2. Start the Initial Grooves: Get the right gauge file for the low E string.
Very gently, begin to create a shallow groove at the point you marked. The angle of the file should follow the angle of the headstock, angling toward the tuners. This helps prevent the string from binding.
Do the same for all the strings. These are just initial guides. 3. Groove Depth: This is the most critical step. The goal is for the strings, when pressed at the third fret, to have a minimal gap above the first fret. This gap should be approximately 0.002-0.004 inches (0.05-0.10 mm) for the low strings and slightly less for the high strings. You can measure this with a feeler gauge.
Tune the guitar.
Start filing slowly, checking the depth every few passes. File a little, then press the string to the third fret and check the gap at the first.
Common mistake to avoid: Filing too quickly and filing too deep. If you do this, the string will fry on the first fret, and you'll have to replace the nut. It's happened to me, and it's no fun. A little trick I've learned: put a piece of tape on the fretboard just in front of the nut. This gives you a little safety margin if the file slips.
The string should sit comfortably in the groove, without being too tight (otherwise it will jam) or too loose (otherwise it will move sideways and vibrate). The groove should be shaped like a rounded “U” or “V,” not a pointed “V.” 4. Groove Angle: As I said, the angle is important. The groove should slope slightly toward the headstock. This ensures that the string's contact point is the front edge of the nut (the one facing the fingerboard), maximizing sustain and intonation. If the groove is horizontal, or worse, slopes toward the headstock, the string will bind and the tuning will be unstable. 5. Finishing and Polishing: Once all the grooves are at the right depth, it's time to finish them. Take the finest sandpaper you have (600, 800, 1000 grit) and use it to sand the inside of the grooves. You can cut thin strips of sandpaper and run them back and forth.
The goal is to make the grooves as smooth as a mirror. Any roughness will create friction and tuning instability.
You can also use a little metal polishing compound (such as Sidol or specific for guitars) to give it the final touch. 6. Lubrication: After finishing, good lubrication is always recommended, even with self-lubricating materials such as TUSQ or graphite.
I use a little powdered graphite (the kind found in lock lubricants) or a specific product like Big Bends Nut Sauce. Place a small amount in each groove. This further reduces friction and improves tuning stability. PAIN POINT: The fear of getting the depth wrong is the real obstacle for many. My advice is to proceed in infinitesimal steps. File, check, file, check. Don't rush. It's better to spend an extra hour than ruin your work. Remember, the nut is a relatively cheap part to replace if you make a mistake, but the frustration is immense. The first time I did it, it took me an entire afternoon to fix just one nut. Then, with practice, the time got shorter, but the patience remained the same.
Maintenance and Common Troubleshooting
Even the guitar capo better and perfectly installed requires a minimum of attention.Periodic Lubrication
Regardless of the material, an occasional lubrication never hurts. Every time you change the strings, or if you notice the tuning starting to "stick," put a dot of lubricant in the grooves. This small gesture will prolong the life of the nut and maintain its stability.When to Replace the Capo?
A well-made capo can last for years. But there are signs that indicate it's time for a nut replacement: Worn grooves: If the grooves have become too deep or widened excessively due to string wear, the strings may fret or move excessively.Physical damage: Cracks, chips, or if the nut has come loose and no longer sticks properly.
Unsolvable problems: If you've tried every possible adjustment (bridge height, truss rod) and the action at the first fret remains too high or too low, or the tuning is constantly unstable, it could be a nut problem.
Common Problems and Quick Fixes
“Ping” when tuning or with vibrato: There's almost always friction in the grooves. Lubricate well. If this persists, the grooves may be too narrow or at the wrong angle. You may need to widen them slightly or correct the angle with files.Strings sizzling on the first frets: The nut is too low or the grooves are too deep. If it's just a little, you can try shim-ing the nut with a thin strip of wood or plastic underneath. If it's too deep, you'll need to replace it.
Hard strings to press on the first frets: The nut is too high. The grooves must be deepened, proceeding carefully as explained above.
* The low E string comes off the groove: The groove is too wide or too shallow. You can try filling the groove with a little bone powder or graphite mixed with cyanoacrylate and then trimming it. But often, the best solution is to replace it. This happened to me once with a particularly thick set of strings.
Remember, every problem has a solution. The important thing is not to panic and analyze the situation calmly. Often, the solution is simpler than you think. DIY guitar making is a matter of small adjustments and a lot of patience. And believe me, the satisfaction of fixing your guitar with your own hands is priceless.
I hope this guide is helpful for your next capo choice and for your garage projects. Good luck!
See also
Download the Luthier Survival Kit
Free PDF with checklist, problem-cause table and project card template.
 English
  Italiano
Stuck on your build?
If you ran into the same problem or have a question, drop it in the comments. I read and reply to every one.
Write a comment