

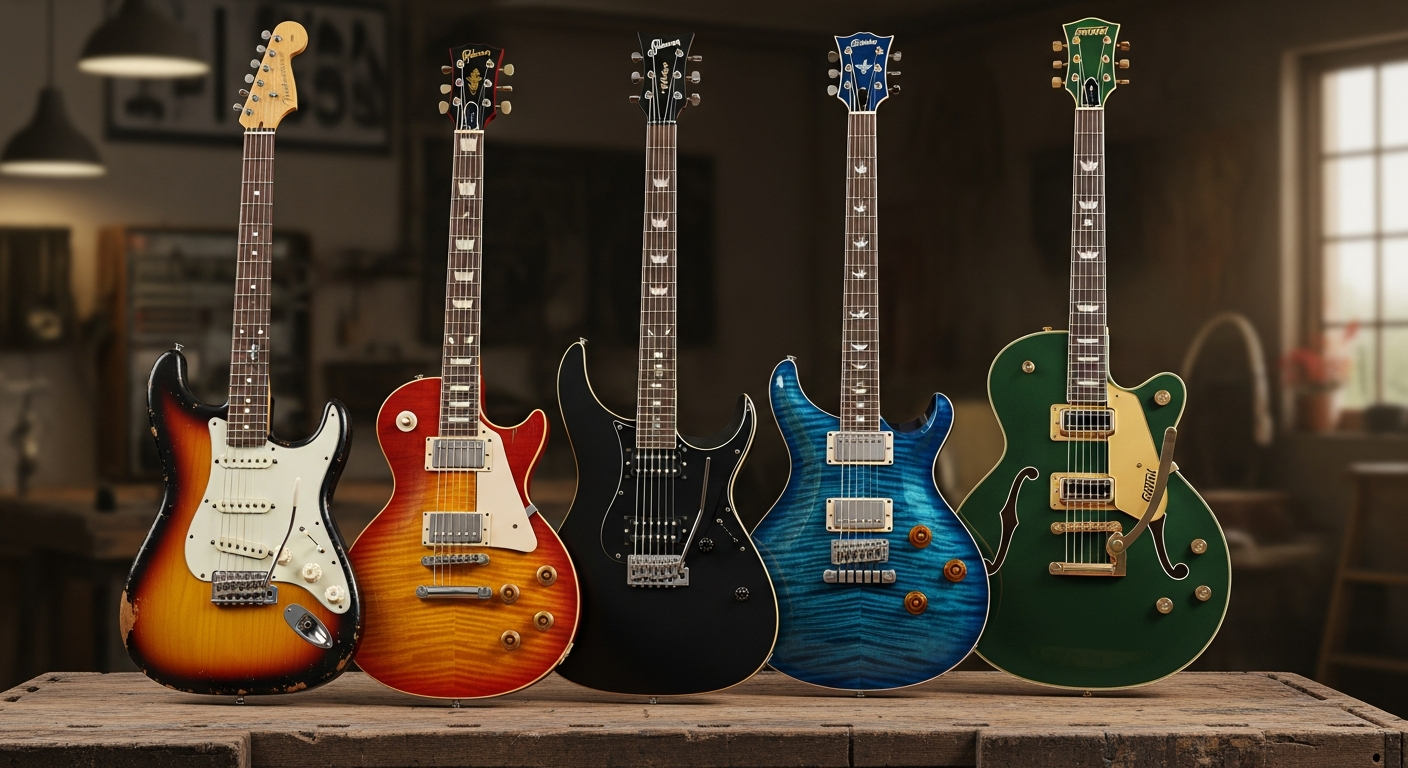
Best electric guitar kit under 100: guide
So, let's put our minds at ease right away: when we talk about a guitar kit electric under 100 euros, we're not looking for the next collectible Les Paul or a Strato that sounds divine right out of the box. No, here we are in the realm of experimentation, of “getting your hands dirty and seeing what happens”, of pure and simple DIY fun.If you've ended up here, you probably have the same illness as me: that crazy desire to understand how a guitar works, to disassemble and reassemble it, to get your hands dirty with wood dust and solder. And maybe, like me years ago, you don't have an unlimited budget to invest in a project. Perfect, you're in the right place. I've made my mistakes, I've bought the wrong wood, I've soldered the wires backward. And I assure you that if I succeeded, you can too.
This article is not a review of a specific kit that promises you the moon. There are no “perfect” kits at this price. Rather, it's an honest guide on what to expect from a electric guitar kit under 100 and, above all, on how to transform a piece of raw wood into something that sounds and gives you satisfaction. We're talking about generic kits, the ones you find online that promise a low-cost building experience.
The Price Compromise: What Does “Under 100 Euros” Mean?
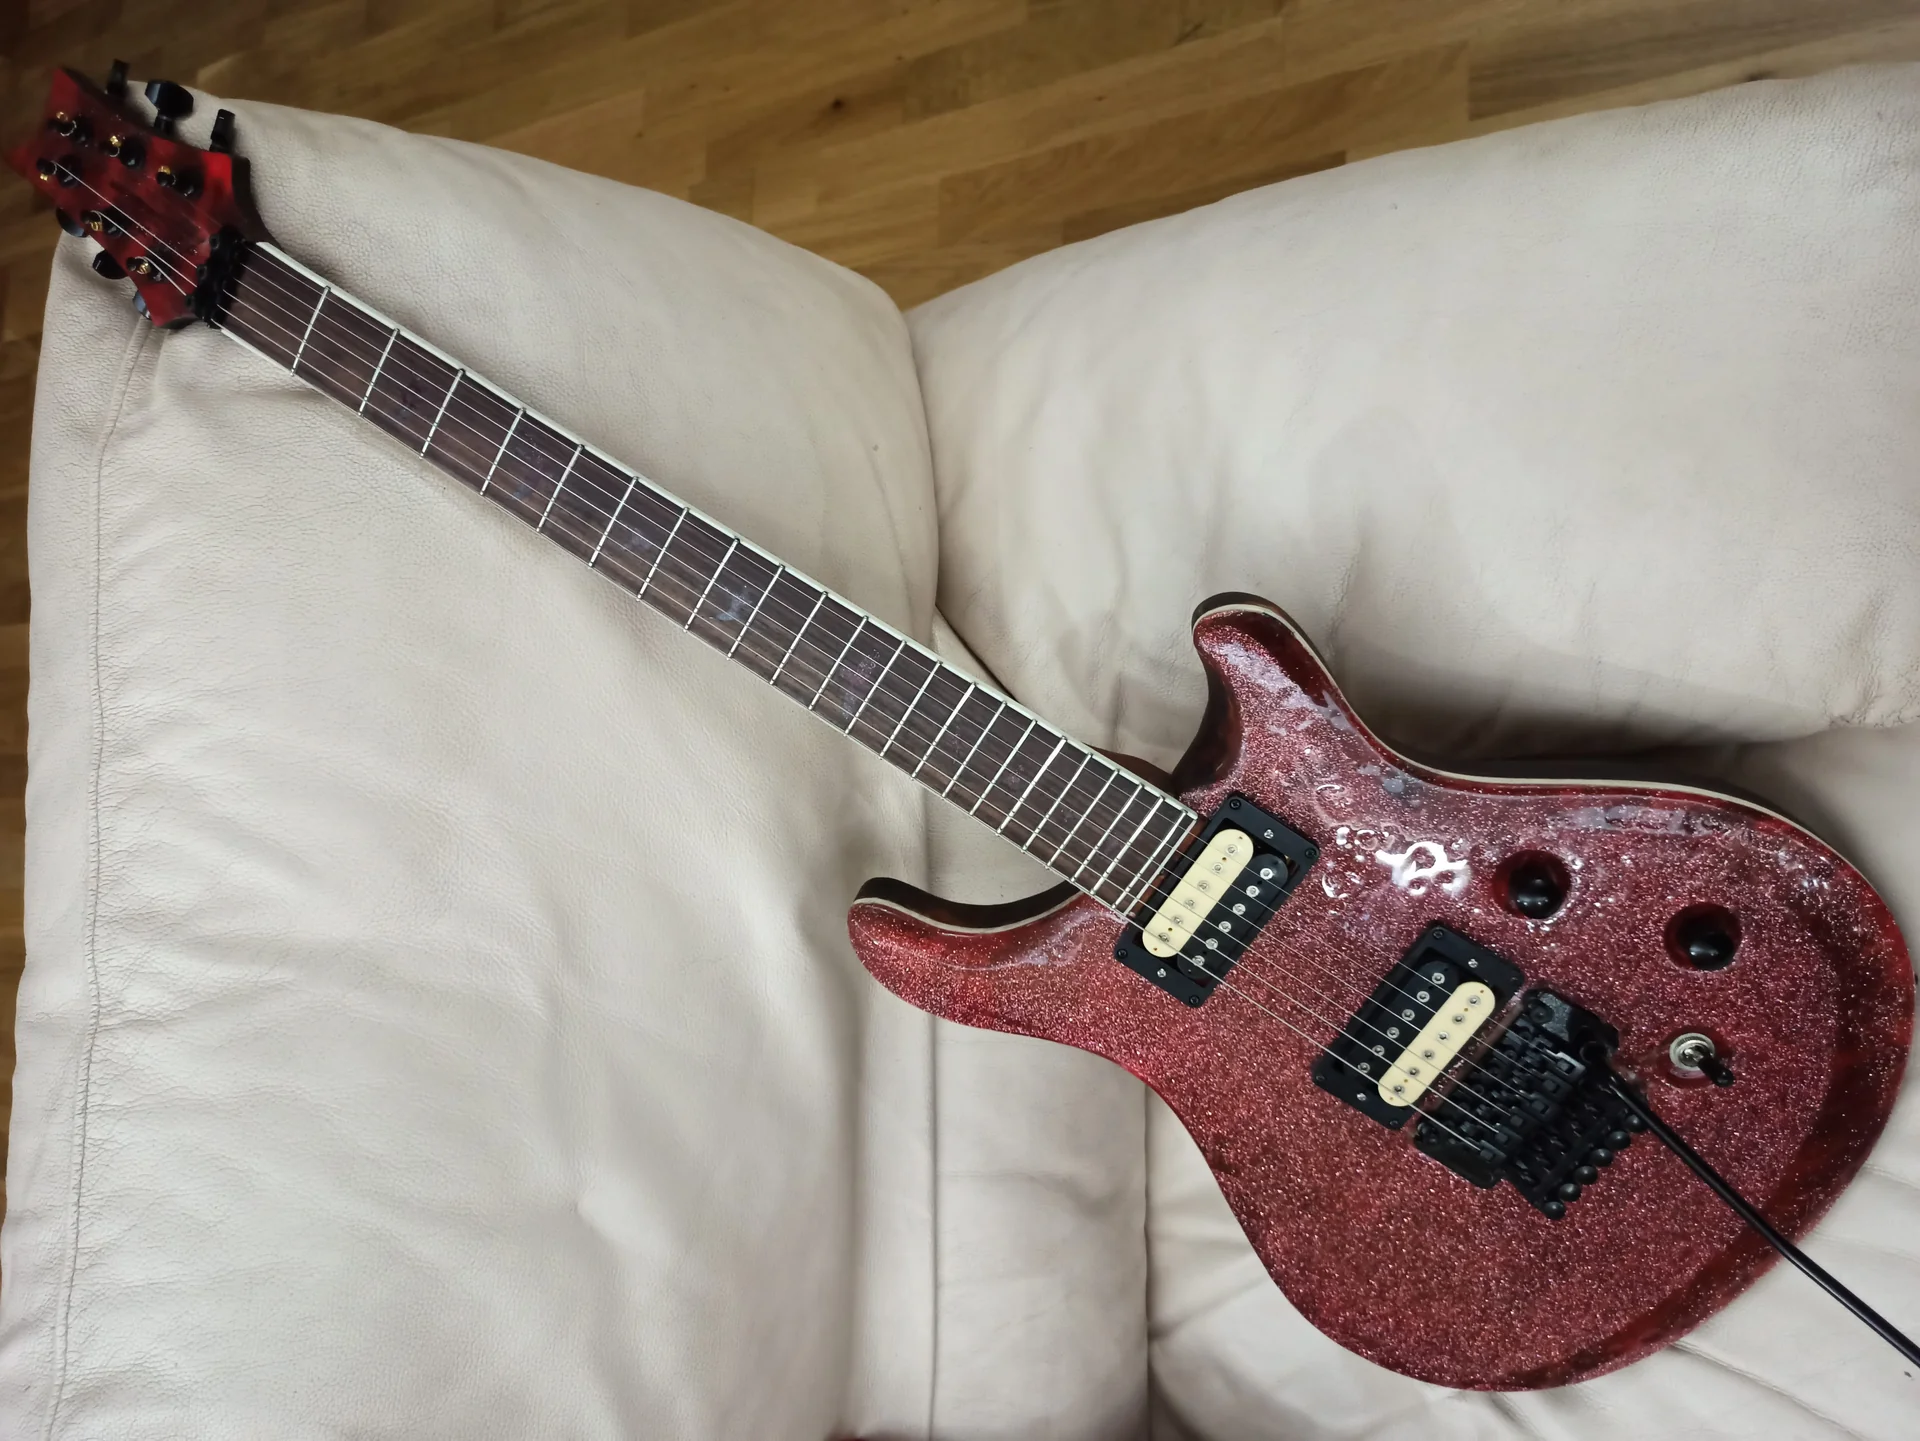
Since there isn’t a best electric guitar kit under 100 euros universal and specific to review, let's talk about the characteristics you almost always find in these products. These are the average specifications I found by analyzing various kits on the market and reading the experiences of other enthusiasts on forums.
Body and Neck: The Wood Fundamentals
Advertising

Electric Guitar Neck for Ib Style, 25.5 Inch Maple Wood with Rosewood Fingerboard, 24 Frets, Natural Wood Finish, Right-Handed Replacement Parts
See on Amazon

Mimmo's Note: Basswood is a good starting point. It's soft, so be careful not to strip the screws. But it sands beautifully and absorbs paints well. I've seen kits where the body was a bit “rough” from the cut, with some small splinters. Nothing a good sanding can't fix.
Handle wood: Generally maple. It's a standard for necks, offering stability and good resonance.
Mimmo's Note: Maple is sturdy, but don't expect spectacular grain. Sometimes the cut is “plain sawn”, so the grain is less resistant to bending. But for a kit like this, it's perfectly fine.
Fretboard: Here we go for savings. Often you find stained poplar (to simulate darker woods), black walnut or, in some cases, “engineered wood” (composite wood).
Mimmo's Note: Engineered wood is not the devil, but it has a somewhat “plastic” look and feel. Stained poplar is acceptable, but keep in mind that if you sand it too much, the color will disappear. The important thing is that the frets are decently placed, but we'll come back to that.
Neck Type and Assembly
Neck-body joint: Almost exclusively bolt-on (bolt-on). It's the simplest and cheapest type of joint to make and assemble for a kit.Mimmo's Note: This is good news for us DIYers. A bolt-on neck is easy to assemble, disassemble, and adjust. It allows you to experiment with the thickness of the shim (shim) to change the neck angle, which is useful for setup. Don't expect a neck pocket milled to the millimeter, eh. Often there's a bit of play, which you'll have to manage to get a perfect alignment.
Electronics and Hardware: The Heart and Soul
Pick-up: Generally generic ceramic pickups. The most common configurations are SSS (three Stratocaster-style single coils), HSS (humbucker at the bridge, two single coils) or HH (two Les Paul-style humbuckers).Mimmo's Note: These pickups are the first thing you change. They often have a flat sound, with little dynamics and sometimes they are noisy. But to start, they work. I bought used pickups for 20 euros at flea markets that sounded ten times better.
Controls: 500k linear potentiometers (for humbuckers) or 250k (for single coils), a 3 or 5-way selector, an output jack. All very basic.
Mimmo's Note: The electronics are the weak point of many of these kits. The potentiometers are often low quality, the selector can be stiff, and the wiring… well, let's just say it's not shielded perfectly. This is where you learn to solder!
Hardware (Bridge, Tuners, Nut): Chrome-plated, die-cast, economically made.
Bridge: For Stratocaster-type models, a 6-screw vintage style tremolo. For Les Paul-type models, a tune-o-matic with stoptail.
Mechanics: Die-cast (pressure-cast) unbranded, often low gear ratio, with a bit of play.
Nut: Often made of cheap plastic, pre-cut (but almost never perfectly).
Mimmo's Note: The hardware is functional, but don't expect studio-level tuning stability. The tuners have play, the bridge is light. The plastic nut is the first upgrade to make, perhaps with a bone or Tusq one.
Finish and Construction Details
Finish: The kits always arrive raw, ready to be sanded and painted.Mimmo's Note: This is the part where you have fun (or despair). Sanding is essential for a good finish. I spent hours with increasingly fine-grit sandpaper. And then the painting… a whole world opens up there. Spray cans, oils, anilines. It's time to add a personal touch.
Relevant construction notes: Drilling: Often the drillings for the bridge screws, tuners, or pickguard are not precise to the millimeter. Sometimes they are slightly crooked or not perfectly aligned.
Frets: This is a critical point. The frets are almost always installed, but rarely are they properly leveled and polished. There are often sharp edges and irregular heights.
Pockets: The pockets for the pickups or electronics can be a bit rough or not perfectly sized.
Mimmo's Note: The frets are the most troublesome part. If they are not leveled, you will have buzzing notes and intonation problems. I had to learn to level, crown, and polish the frets on one of these kits. It's a job that requires patience, but it can be done. And, trust me, when the guitar plays in tune across the entire fretboard, the satisfaction is double.
Popular Sentiment: The Voice of the Community
I spent hours sifting through forums, Facebook groups, and online reviews from those who tried to build a electric guitar kit under 100. The truth is that sentiment is polarized, but there's a common thread.Many buy it as a first approach to lutherie, a gift for a child or a friend, or simply out of curiosity to see “what comes out of it”. And expectations are, for the most part, aligned with the price: low.
What DIY Fans on a Budget Say
“It's a great way to learn the basics. I learned to solder, paint, and do a decent setup. It doesn't sound like a Fender, but it's mine!” “Perfect for a summer project. I modified it with cheap pickups found on eBay and now it has a surprisingly acceptable sound for the price.” “The initial frustration is high, but when you see the final result, even with its flaws, it's immense satisfaction. I recommend it to those who have patience and are not afraid to make mistakes.” “I bought it for my son. We had a blast painting and assembling it together. The guitar is a bit of a toy, but the experience was priceless.”The Dark Sides: Common Complaints
All that glitters is not gold, and defects are not lacking. “The frets were a disaster. I had to level them and recrown them from scratch. If you don't have the right tools, it's a nightmare.” “The electronics were noisy and the potentiometers crackled. I had to change everything.” “The holes for the bridge were not aligned. I had to fill and redo the holes. Extra work I didn't expect.” “The body wood was very soft. I stripped the pickguard screws just by looking at them.” “The instructions were almost non-existent. If I hadn't had experience, I wouldn't have known where to start.” “The neck had a truss rod that didn't do its job. It was warped and there was no way to straighten it.” (This is rare, but can happen).The picture is clear: a electric guitar kit under 100 is a blank canvas, often with some blemishes. But for those with the right mindset, it's an opportunity.
Pros and Cons in Relation to Price
Let's analyze the strengths and weaknesses of these kits, always keeping in mind the negligible cost.PRO: The Advantage of Low Price
Unbeatable Cost for a DIY Project: It's difficult to find a cheaper starting point for building a guitar from scratch. It's a minimal investment for a huge learning experience.Complete Learning Experience: It forces you to learn the basics of lutherie: sanding, painting, mechanical assembly, electronic soldering, basic setup (action, intonation). Every step is a practical lesson.
Ideal Platform for Extreme Modding: You're not afraid of ruining an expensive piece. Do you want to try a strange circuit? Change the pickup configuration? Do an aggressive relic? This is the perfect kit to experiment without regrets. It's the ideal base for a project of guitar modification without limits.
Personal Satisfaction: The pleasure of saying “I made it myself” is priceless. Seeing your instrument take shape under your hands, even with its flaws, is a unique joy. Every scratch, every imperfection, tells a story.
Customization Opportunity: From the color to the shape of the pickguard, from the choice of pickups to the knobs. Every detail can be chosen and made by you, making the instrument truly unique.
CONS: The Compromises to Accept
Low Build Quality and Materials: This is the downside of the price. Soft woods, cheap hardware, basic electronics. This results in a not excellent sound and durability that, without intervention, could be limited.Requires Time and Additional Tools: It's not a “plug and play” kit. You'll have to invest time (hours and hours of sanding, painting, assembly) and money in basic tools (sandpaper, paints, soldering iron, screwdrivers, fret files, gauges). It's not an afternoon project.
Final Result Not Guaranteed (Without Further Investment): If the goal is to have an instrument that sounds good and is reliable for playing in a band, the basic kit is not enough. You'll have to factor in changing at least the pickups, electronics, and nut, which increases the final cost.
Potential Frustration for Beginners: If you're not prepared for the flaws and challenges, you might get discouraged. Misaligned holes, frets to level, wiring problems can be difficult obstacles to overcome for beginners who have no one to guide them.
Instructions Often Scarce or Absent: Many of these kits come with meager leaflets, sometimes only in English or with unclear diagrams. You'll have to rely on online tutorials and your intuition.
Who It's Suitable For / Who Should Avoid It
This is the crucial point. Not everyone is made for a electric guitar kit under 100 eurosMindset is everything.This Kit Is For You If:
You are an Absolute Beginner in Luthierie: You want to understand the anatomy of a guitar, how the components are assembled, and you’re not afraid to make mistakes. It’s a perfect training ground.You Have a Very Limited Budget but a Strong Desire to Do: You don’t have the money for a more expensive kit or a ready-made guitar, but you have time, patience, and a passion for DIY.
Looking for an Economical Base for Extreme Modding: You want to create a unique guitar, with custom pickups, crazy paint jobs, or strange shapes. The kit gives you the body and neck at almost zero cost to start.
Want a Project to Do with Children (or Friends): A fun and educational activity. Learning to use tools, solder, paint. The final result is secondary to the shared experience.
You Need a Guitar to Hang on the Wall: You want a decorative object, a DIY sculpture, that maybe you can strum occasionally. Performance is not the priority.
Better to Avoid It If:
You are Looking for a “Ready-to-Use” Instrument or One That Sounds Good Immediately: If you don’t intend to spend hours and hours on it, and you want a guitar that works decently as soon as it’s assembled, this is not for you. You’ll need a bigger budget.You Don’t Have Time, Patience, or Desire to Solve Problems: Economical kits have problems. If the mere idea of having to level the frets or redo wiring gives you hives, stay away.
You Don’t Own Basic Tools: If you don’t have a soldering iron, screwdrivers, sandpaper, files, a multimeter, you’ll have to buy them. This increases the cost and complexity.
You Want a Professional Sound Without Additional Costs: The basic components won’t give you a stage or studio sound. For that, you’ll have to invest in pickups, potentiometers, and maybe a better bridge, far exceeding the initial budget.
You are a Musician with Specific Performance Needs: If you need a reliable instrument for concerts, recordings, or intensive practice, a 100-euro kit, even if carefully assembled, will hardly be up to par without significant upgrades.
My Final Advice and Valid Alternatives
So, Mimmo, do I buy this or not electric guitar kit under 100?My advice is this: buy it, but with the right mindset.Don't see it as buying a guitar, but as buying a project. An educational project, a hobby, a challenge. Expect to spend time, a lot of patience, and maybe a few tens of euros more to improve the key components.
If you approach it with this perspective, you'll have a blast and learn things that will be useful for your entire life as a guitarist or hobbyist. It will be your lab-guitar, your test bench. And every time you play it, you'll know that behind it is your sweat, your curses, and your satisfaction.
Alternatives if the Budget Is Flexible or Expectations Are Different
If the “cons” have scared you, or if your budget can stretch a little, here are some alternatives: 1. Used (with Caution): With 100-150 euros, in the used market you can find entry-level guitars from decent brands (Squier Bullet, Harley Benton, old Ibanez Gio, Cort) that are already assembled and playable. They will still require a setup and maybe a cleaning, but the base is better. Be careful though: a low-cost used item can hide serious problems (bent neck, dead electronics). Have an expert accompany you if you don't know what to look for.n2. Slightly Higher-End Kits (150-250 euros): If you can reach this amount, you will find kits with better woods, more robust hardware and, sometimes, already slightly more decent pickups. Brands like Harley Benton, Fazley or some generic kits on European websites offer a decidedly more solid starting point, reducing unpleasant surprises and the amount of extra work required.n3. New Entry-Level Guitars (150-200 euros): Brands like Harley Benton, Donner, Glarry, or the economic lines of Squier and Yamaha, offer guitars already assembled and ready to use. They are often decent instruments to start with, requiring only a good setup. This is the path if you want to play immediately without too much hassle.In the end, the choice is yours. But remember: in the world of DIY, value is not measured only in euros, but in experience, knowledge, and the joy of having created something with your own hands. And a electric guitar kit under 100 euro, however rough, is a cheap ticket to an incredible journey.
If you want to delve deeper, I recommend checking out reliable external resources that talk about DIY lutherie and setup techniques. An excellent starting point for understanding basic materials and techniques is the StewMac website, which offers a myriad of guides and tutorials, even if their products are higher-end, the knowledge is universal: StewMac – How to Build an Electric Guitar. It will give you an idea of what it means to build a guitar, even if with more professional tools and materials. Adapt those concepts to your situation and budget.
See also
Download the Luthier Survival Kit
Free PDF with checklist, problem-cause table and project card template.
 English
  Italiano
Stuck on your build?
If you ran into the same problem or have a question, drop it in the comments. I read and reply to every one.
Write a comment