


Mistakes to avoid when building the guitar
When you decide to build your first electric guitar, or even your second or third, the enthusiasm is sky-high. You already have the sound, the color, maybe even the first riff you'll play on it, in your head. It's a fantastic feeling, I know it well. But enthusiasm, sometimes, makes us skip a few steps, and that's where the trouble begins. I speak from experience, mind you. I've built quite a few guitars in my garage, and I assure you I've collected a nice series of 'uhm, maybe I should have thought about it first'. This is not an article to scare you, quite the opposite. It's here to give you a hand, to help you avoid some of my own blunders. Because if I succeeded, with my hobbyist means and my good dose of stubbornness, you can do it too. The important thing is to know where the most common pitfalls lie, those that can turn a beautiful piece of wood into an expensive ornament. Let's see together what the mistakes to avoid when building a guitar, those I learned the hard way.Planning is Half the Battle (and Half a Pain in the Ass)
Don't Choose the Right Project for You
The first, huge, misstep. You fall in love with an exact replica of a Flying V with a Floyd Rose bridge and active circuitry, but you only have a jigsaw and a cheap soldering iron? Well, stop. Starting with a project too complex for your skills and tools is the quickest way to get frustrated and give up everything. Start simple. A bolt-on Telecaster or Stratocaster are excellent schools. They have clear geometries, not too complex electronics, and allow you to focus on the basics of woodworking and assembly. It's not a sign of weakness, it's intelligence.

Ignoring Measurements and Tolerances
This is a classic. You buy a neck from one seller, a body from another, and maybe pickups from a third. You expect everything to fit perfectly, but that's not always the case. Each manufacturer has its own tolerances, its own standards. A neck pocket, for example, can vary by a few tenths of a millimeter. And believe me, a few tenths make a difference. Before making any purchase, check the specifications. What is the scale length (scale length) of the neck you chose? Is the body designed for that length? The neck pocket is the right size for the neck heel? And the depth? If the neck fits too tightly, you risk splitting the wood. If it's too loose, you'll have problems with stability and vibration transmission. Once I happened to buy a body with a neck pocket slightly deeper than it should have been. The result? The neck was too recessed, and the bridge didn't allow me to get a decent action. I had to shim the neck with a thin wooden plate, not the most elegant solution, but it saved the project.Buying Components Without an Electronic Plan
Another of the mistakes to avoid when building a guitar is compulsive buying. You see a super cool set of pickups on a forum, a 'vintage correct' potentiometer and an exotic capacitor, and you buy them. Then, when it's time to wire, you realize that the pickups have four wires and you have two-wire potentiometers, or that the values are not compatible. Before spending a euro, draw your electrical schematic. Decide how many volumes, how many tones, what type of switch. Then, based on that, choose the pickups (humbucker, single coil, P90?), the potentiometers (250k, 500k, 1M?), the capacitors (0.022uF, 0.047uF?). And don't forget shielded cables! Good wiring prevents a lot of unwanted noise.Not Creating a Detailed Template
Even if you've bought a pre-routed body and neck, there will always be something to do: holes for the bridge, tuners, potentiometers, the switch. Relying only on a tape measure and pencil is risky. Precision is everything. A good template in MDF, plexiglass or even plywood saves your life. It allows you to mark the exact points for the holes, to do the cavity routings cleanly and symmetrically. For the tuner holes, for example, use a template to ensure they are all aligned and at the correct distance from the edge of the headstock. An error here is obvious and difficult to correct. I remember when I had to enlarge the hole for a potentiometer that wouldn't fit. I used a drill bit that was too large and chipped the top. With a template, I would have marked the exact center and used the right drill bit, perhaps starting with a smaller diameter and gradually enlarging. Patience, in these cases, is your best friend.Wood Cutting: Where Haste Causes Irreparable Damage
Okay, you have your project, the components, the templates. It's time to get to work on the wood. Here, the mistakes to avoid when building a guitar they are often irreversible. A crooked cut, a milling too deep, a chip… and the precious piece of wood you had so desired becomes firewood. Or, at best, a piece to patch up with putty and a lot of patience.Underestimating Safety
First of all: safety. It seems obvious, but when you get carried away, you tend to forget the basics. Safety glasses, gloves, noise-canceling headphones. And above all, respect for the tools. A router, a band saw, a Dremel with cutters: they are not toys. They can hurt, and a lot. Make sure the piece of wood is always firmly secured, clamped with robust clamps. Never hold the piece with one hand while working with a powerful tool. A moment of distraction and your hand ends up where it shouldn't.Inaccurate and Superficial Marking
“I'll just eyeball it, my hand is steady.” This is the phrase that always precedes a disaster. Every cut, every hole, every routing must be marked with extreme precision. Use a well-sharpened pencil, a steel ruler, a square. Check and recheck the measurements. And don't limit yourself to just one line. If you are cutting a shape, draw the cutting line, and perhaps a “safety” line inside, to have a small margin of error. It's always better to cut a little more later than to have cut too much at the beginning. For cavity routings, use your templates. Secure them firmly to the body with strong double-sided tape or screws. The template will guide you and ensure clean edges and consistent depth.Wrong Tool Choice or Improper Use
Not all tools are equal, and not all are suitable for all jobs. For rough cuts of a body, a band saw is ideal. For precise routings, a router is indispensable. For smaller details, such as potentiometer holes or cable channels, a Dremel with the right cutters works wonders. Avoid using a freehand circular saw to cut the profile of a body. The result will be crooked and irregular. Do not use a router without the right guide or a template. The risk of damaging the wood is very high. A mistake I made at the beginning was using dull cutters. Not only was the cut bad, but the wood burned and the cutter overheated. Invest in good quality cutters and keep them sharp. They make the difference between a professional job and a mess.Ignoring the Wood Grain
Wood is a living material, and it has its own direction, its “grain”. When you cut or rout it, you must respect this direction. Going against the grain, especially with a router, can cause a tear-out, that is, a tear of fibers that ruins the surface and creates a jagged edge. When routing, always try to work in the direction where the wood fibers are “supported” by the cutter, not torn. Sometimes this means making multiple passes, with small material removals, instead of trying to do everything at once. Patience pays off here. For pickup or neck pocket routings, start with shallow passes. Do not try to reach the final depth in a single pass. This reduces stress on the wood and the cutter, and gives you more control. And if you see the wood tearing, stop, change direction, or reduce the cutting depth.Neck, Frets and Intonation: The Heart of Playability
The neck is the soul of the guitar. If the body is its voice, the neck is its ability to speak. Here, the mistakes to avoid in guitar building can turn a beautiful instrument into an almost unusable object. A crooked neck, poorly positioned or poorly leveled frets, and goodbye playability.Neck to Body Fitting: The Perfect Marriage
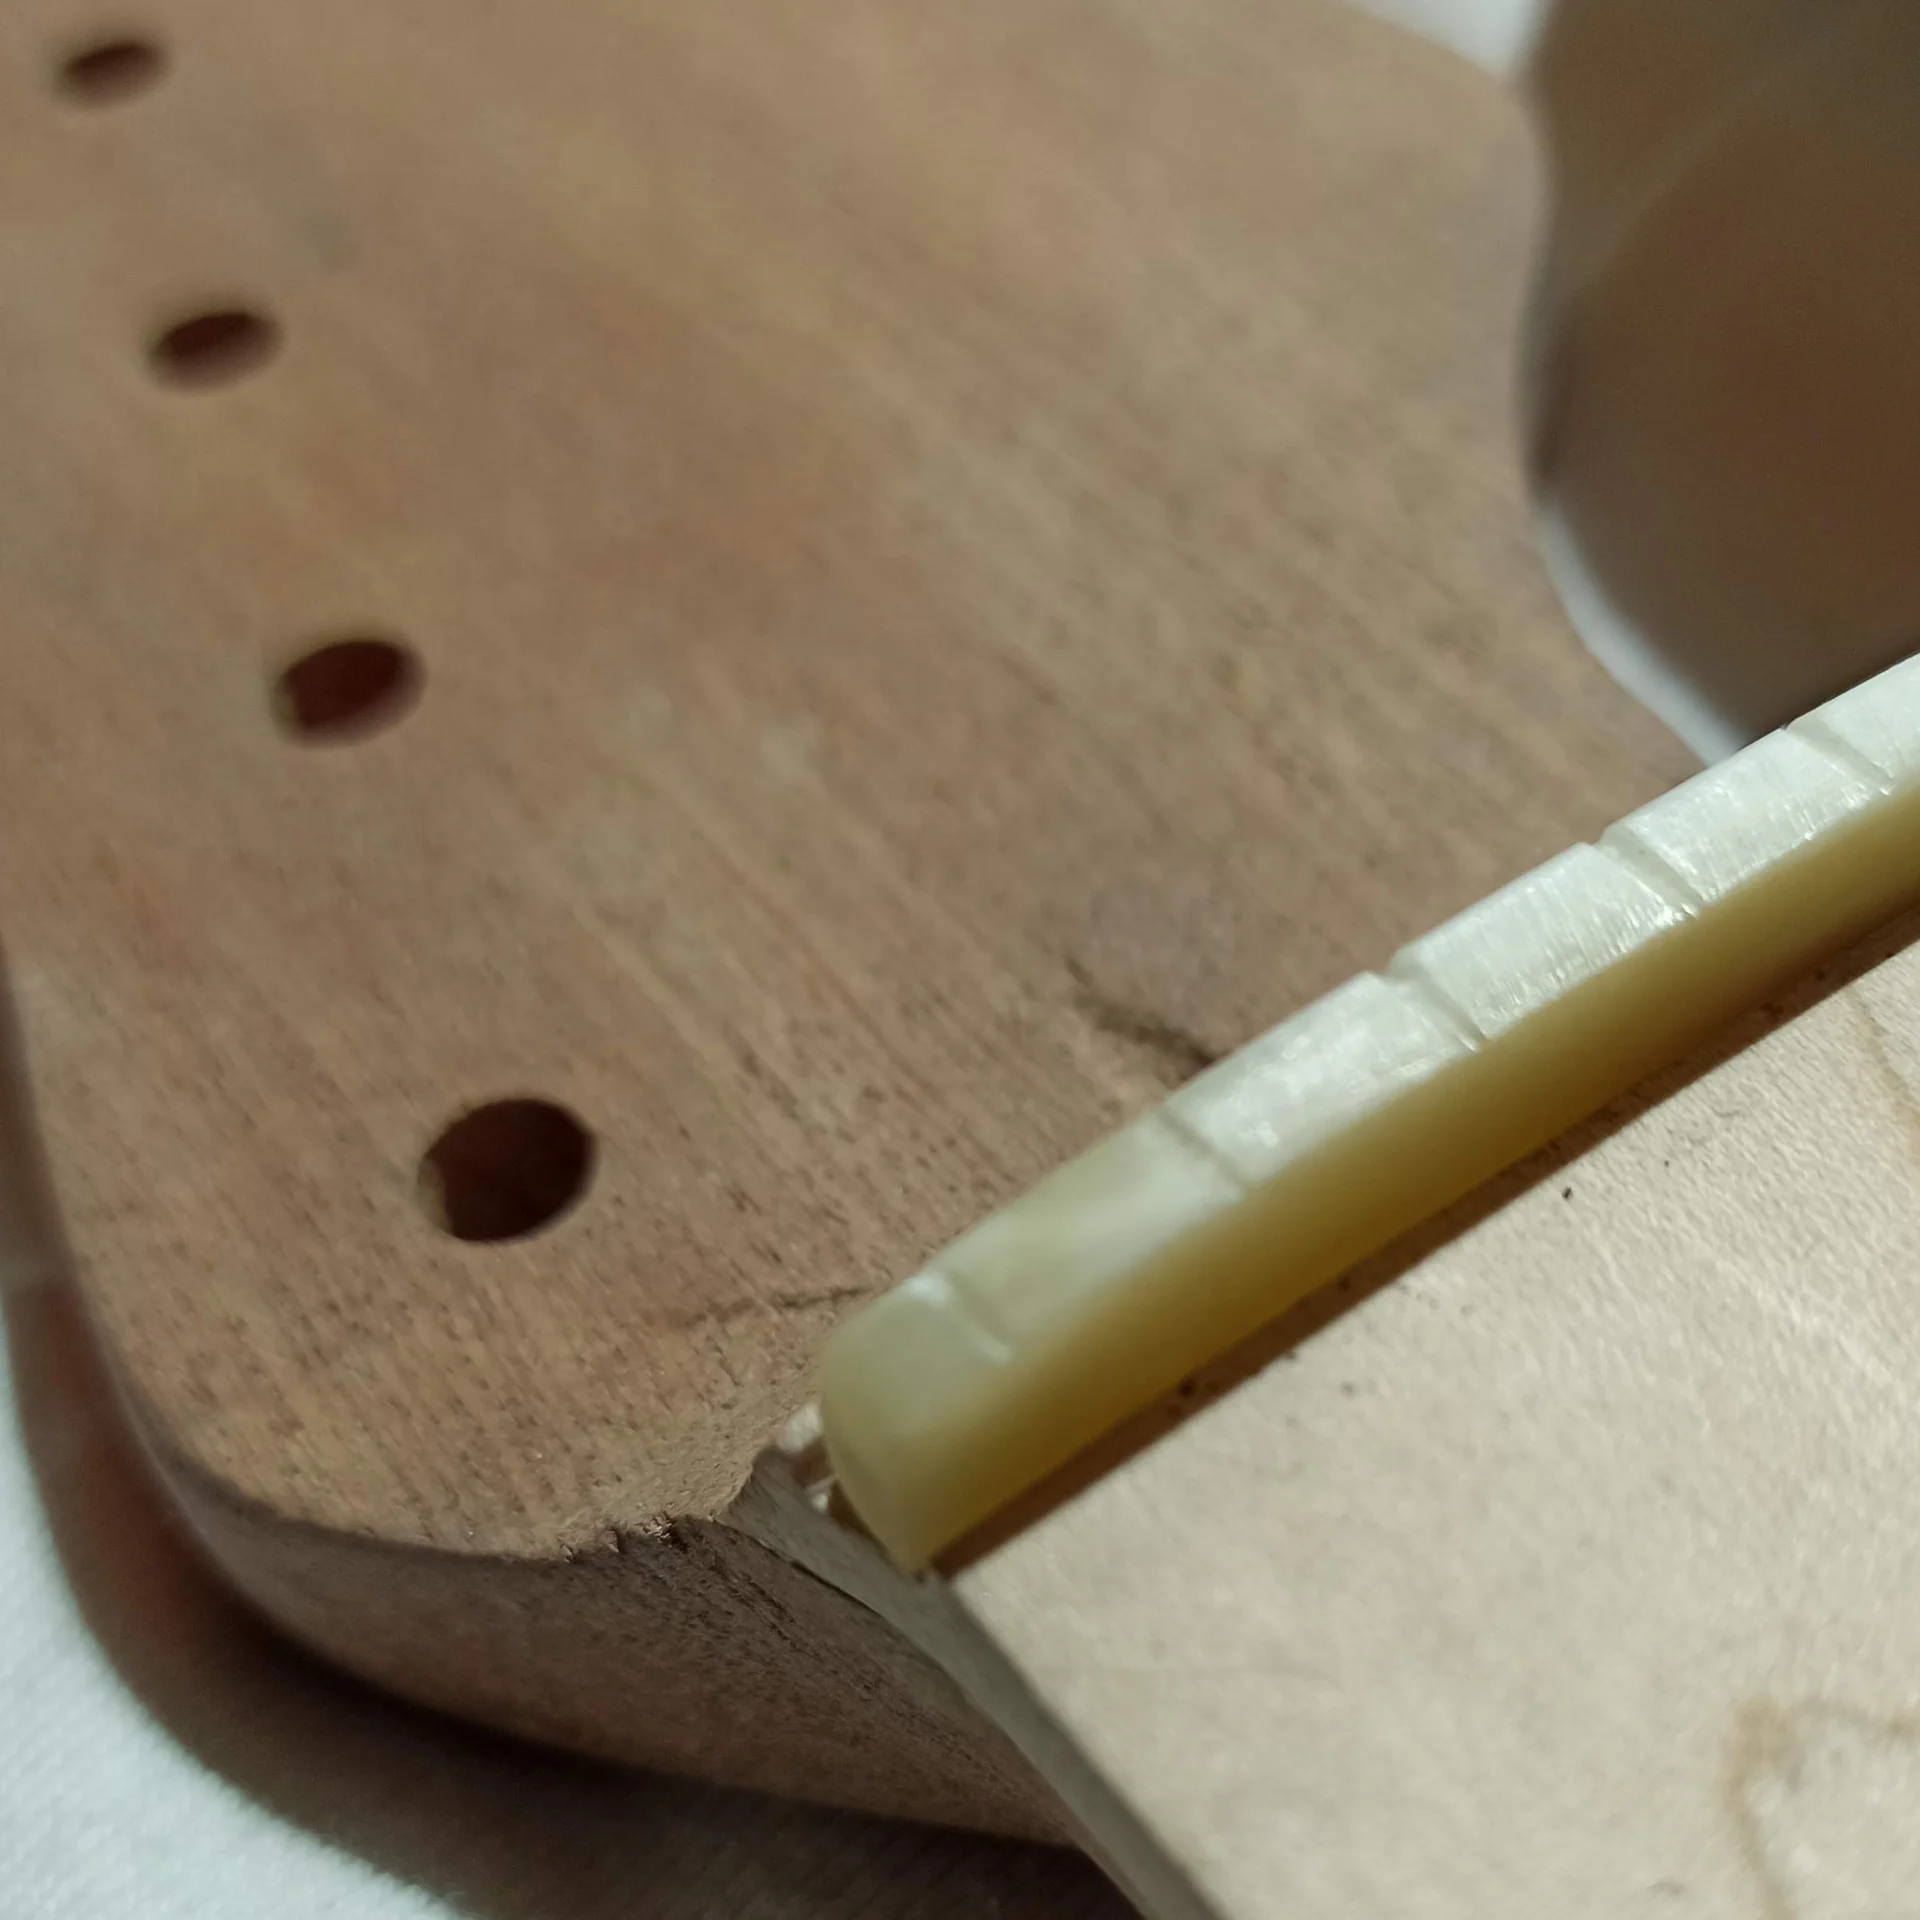
The way the neck couples to the body is crucial for stability, resonance, and intonation. The neck pocket must be precise:is too wide,
is too tight. A loose coupling reduces vibration transfer and can cause stability issues. A too-tight coupling can make it difficult to insert the neck and potentially crack the wood. If you bought a separate neck and body, you will likely need to make some minor adjustments. Use fine sandpaper or a wood file to gently widen the neck pocket, if necessary. Continuously test by inserting and removing the neck until it fits with slight pressure, without play. Alignment is fundamental. Before drilling for the neck screws, ensure it is perfectly centered with respect to the body and the bridge. Use a taut string or a long ruler to visualize the alignment. A crooked neck is an error that is immediately noticeable and makes the guitar almost unplayable.
Truss Rod Installation: The Hidden Soul
If you are building the neck from scratch, or if you are replacing a truss rod, its installation is critical. The truss rod serves to counteract string tension and adjust the neck's curvature. It must be correctly positioned in its channel, with the right curvature (if it's single-action) or flat (if double-action), and glued so it doesn't vibrate. A common mistake is not gluing the truss rod well, leaving empty spaces. This can cause unwanted vibrations or ineffective operation. Use a bit of glue and, if necessary, small wooden shims to fill the spaces and hold it in place.The Fret War: Fretwork Without Compromise
This is the battlefield where I have shed the most sweat and curses. The fretting, that is, the installation of frets, is perhaps the most delicate part and requires the most precision. If the frets are not installed, leveled, and crowned correctly, the guitar will have problems with buzz (string buzz), dead spots (dead spots on the fretboard where the note doesn't sound) and intonation.Fretboard Preparation
Before inserting the frets, the fretboard must be perfect. The fret slots (the fret slots) must be clean, of the correct width and depth. If they are too narrow, the frets will not fit well. If too wide, they might move. The fretboard itself must be perfectly flat (or with the correct radius, if you prefer a curve). I use an orbital sander with a wooden block with the desired radius, or a straight sanding block, to ensure everything is smooth and without dips.Fret Installation
Frets can be pressed or hammered. Both methods require attention. If you hammer them, use a fret hammer with a plastic or rubber head, and strike firm and even blows, starting from the center and moving towards the edges. If you press them, use a fret press or a vise with the correct inserts. The goal is for each fret to be perfectly seated in its slot, with no gaps underneath. A typical mistake is not cutting the ends of the frets to the correct length, leaving them protruding too much. This is not only unsightly but can also scratch the musician's hand. Use fret nippers to cut the excess and then carefully file the edges.Leveling and Crowning
This is the step that separates a playable guitar from a phenomenal one. Even with the utmost care, it's almost impossible to install all frets at the same perfect height. You need to level them. Use a fret leveling beam (or a straight block with sandpaper glued on) and gently sand all frets until they are perfectly flat. Once leveled, the frets will have a flat surface. You need to “crown” them (crowning), meaning to restore their rounded shape. This is done with a crowning file. The goal is for the highest point of the fret to be in the center, for clean string contact and precise intonation. Finally, polishing. The frets must be smooth as a mirror. Use various grits of very fine sandpaper and then polishing compounds. Polished frets are not only beautiful but also reduce friction with the strings and improve bending. I've spent hours polishing frets, but the result is felt under the fingers.Nut Slot: The Gateway to Playability
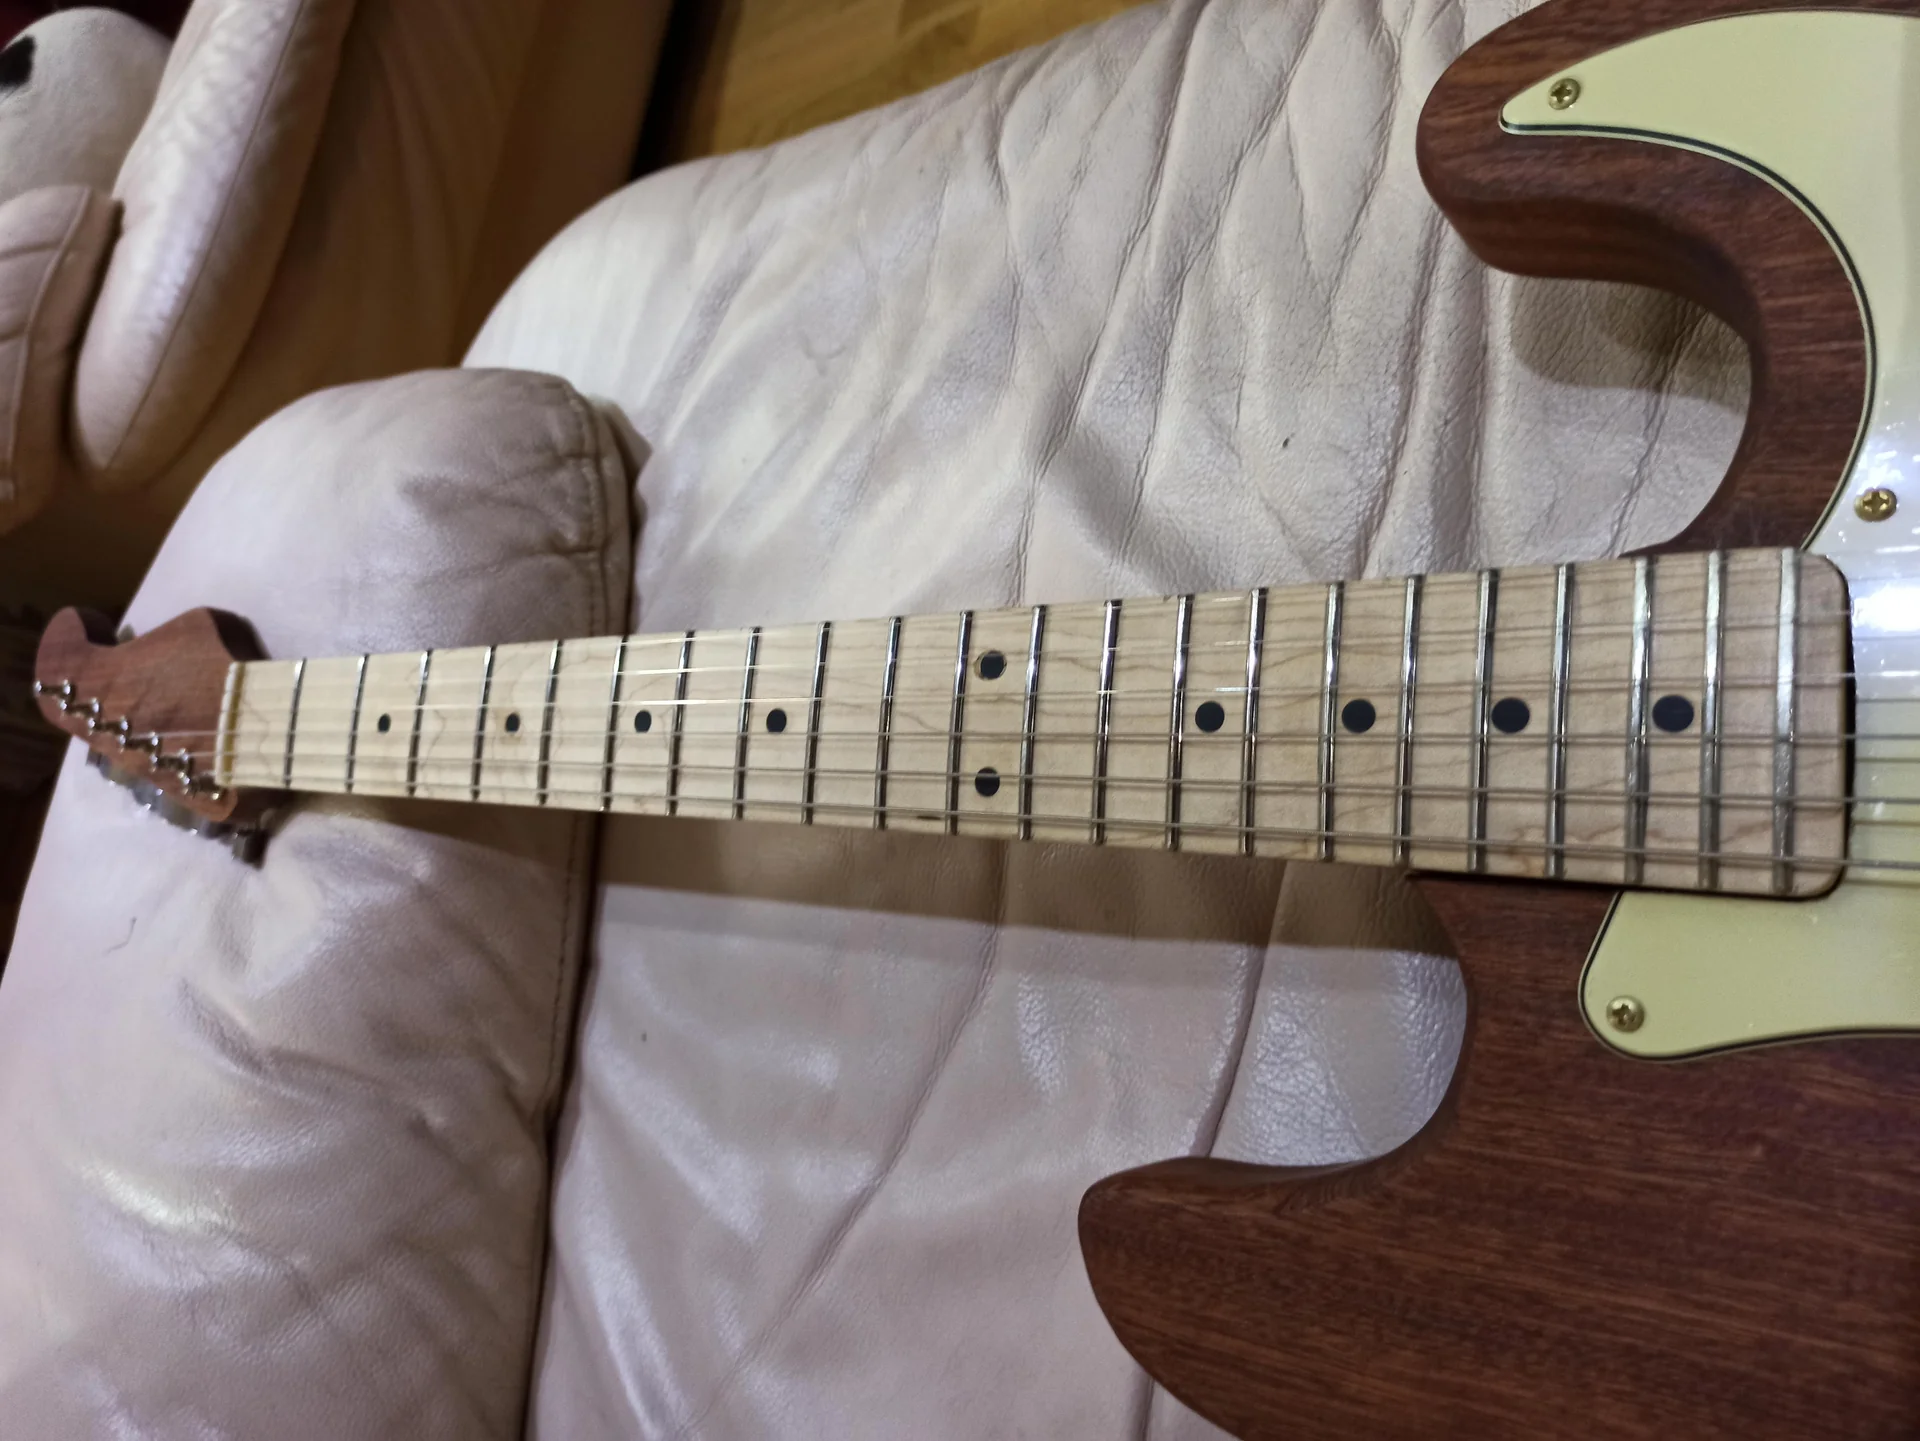
The nut (nut) is the starting point of the strings. If its slots (nut slots) are not well made, you will have problems. The strings must slide freely, without getting caught, and the height of the slots must be correct. If they are too high, the guitar will be hard to play on the first frets. If too low, the strings will buzz. Use specific nut files, with the correct sizes for the strings you will use. Start with shallow slots and gradually lower them, continuously testing. Remember that it's easier to remove material than to add it! String spacing is equally important: they must be equidistant and well-aligned with the pickups.Finishing and Assembly: The Devil is in the Details
After all the woodworking and fretwork, you get to the part that gives your creation its face: the finish. And then the final assembly, where all the pieces must come together into a single, harmonious instrument. Here too, the most common mistakes in guitar making can ruin months of work.Wood Preparation for Finishing: The Foundation of Everything
A beautiful and durable finish depends 90% on wood preparation. If the surface is not perfectly smooth, every imperfection, every scratch, every sanding mark will show through the paint. And I assure you, it will show a lot. Sand the body and neck with different grits of sandpaper, starting from a coarse one (like 120) and gradually moving up to a very fine one (400, 600, or even 800). Each step must remove the marks of the previous one. Be methodical. And after sanding, clean the surface thoroughly from dust. I use an anti-static cloth and, sometimes, a bit of compressed air. Then there's the grain filling, or pore filling. Some woods, like ash or mahogany, are very porous. If you don't fill the pores, the finish will be uneven and won't have that smooth, deep look you're after. There are specific products for this, to apply and then sand off the excess.Choosing the Wrong Finish or Applying It Poorly
There are several options for the finish: polyurethane, nitrocellulose, oil, shellac. Each type has its pros and cons, its drying times, and its application techniques. Polyurethane: Very resistant, easy to apply (even with a spray can), but it can be thick and not let the wood “breathe”. Requires fewer coats. Nitrocellulose: The “vintage” finish par excellence. Thin, it allows the wood to resonate better, ages well (cracking). But it is more delicate, toxic to apply (requires a mask and ventilated environment) and requires many thin coats and long drying times between coats. Oil: The most natural, easy to repair, makes the wood feel good. But it offers less protection and requires periodic applications. A common mistake is not respecting the drying times between coats. The rush to see the result can lead to a finish that doesn't harden well, cracks, or remains sticky. Read the manufacturer's instructions and be patient. Sometimes it takes days, or weeks, between coats, especially with nitro. Another thing not to underestimate is the environment. Dust, humidity, extreme temperatures can ruin the finish. If you don't have a spray booth, look for an environment that is as clean and controlled as possible. I once painted in the garage on a day of crazy humidity. Result? Orange peel guaranteed. I had to sand everything down and start over.Wiring and Soldering: The Electrical Heart
Electronics can seem intimidating, but with a good diagram and a little practice, it's within everyone's reach. The mistakes to avoid in guitar building here are often trivial but annoying: cold solders, wrong wiring, poorly connected grounds.Clean and Solid Solders
A “cold” solder is a solder that has not made good contact, or that has broken. It causes intermittent interruptions or noises. The secret is a soldering iron with a clean tip and at the right temperature, good quality solder, and a quick and firm contact. Always clean the tips of wires and components before soldering. Heat the component, not the solder. The solder must melt on contact with the hot component. Use only the necessary amount of solder. * Let the solder cool without moving it.Wiring Diagrams and Grounds
Follow the wiring diagram to the letter. If you are unsure, look for diagrams online (there are fantastic resources on Seymour Duncan, DiMarzio, and other pickup manufacturers). A very common mistake is a ground (ground) poorly managed. All metal components (bridge, strings, cavity shielding, cable shielding) must be grounded. A common and well-connected ground reduces noise and hum. If you have a hum that disappears when you touch the strings or the bridge, it is almost certainly a ground problem. For those who want to delve deeper into electronics and perhaps make some modifications, I recommend taking a look at the section as well modification and upgrade of the site. There you will find ideas to improve the sound of your guitar even after building it.Hardware Installation: Alignment is the Keyword
The installation of the bridge, tuners, pickups, and all final hardware is the last step. Here, precision and alignment are crucial.Bridge
The bridge must be positioned exactly at the correct distance from the nut, according to the scale length. Even a millimeter error here can compromise intonation. Use a ruler and calculate the distance from the twelfth fret (which should be exactly half of the scale length). Then, mark the holes for the bridge screws or posts with maximum precision. If the bridge is a tremolo type, make sure it is centered and has enough space to move.Tuners and Pickups
The tuners must be installed so that they are straight and aligned. The holes must be the correct size for the bushings. Pickups must be centered under the strings. Check that the pole pieces (the magnets) are aligned with the strings. This ensures a balanced response and good volume from each string. Adjust the height of the pickups with the side screws to find the right balance between volume and tone.Final Setup and Intonation: Don't Underestimate Tuning
You've assembled everything, the guitar is beautiful, the electronics work. You're ready to play, right? Almost. Many of the errors in guitar building manifest here, in the final setup phase. Skipping this part means having an instrument that, despite being well-built, sounds bad or is difficult to play.Truss Rod Adjustment: The Right Curve
The truss rod is not just for keeping the neck straight, but for giving it the right curvature (relief). A neck that is too straight or curved too far backward (back bow) will cause buzz on the first frets. A neck too curved forward (forward bow) will cause high action and difficulty playing. With the strings mounted and tuned, hold down the sixth string at the first and last fret. Then check the space between the string and the seventh or eighth fret. There should be a small space, like the thickness of a business card. Adjust the truss rod (generally tighten to straighten, loosen to curve forward) with small rotations and let the neck rest for a few hours, or even a day, before making another adjustment.String Height (Action): The Ideal Compromise
THE'’action, i.e., the height of the strings from the fretboard, is a matter of personal preference, but it must be adjusted correctly. Action that is too high makes the guitar hard to play. Action that is too low causes buzz and dead notes. Adjust the height of the bridge saddles until you find the right compromise between playability and absence of buzz. Remember that the action must be adjusted after setting the truss rod.Int
See also
Download the Luthier Survival Kit
Free PDF with checklist, problem-cause table and project card template.
Download the Luthier Survival Kit
Free PDF with checklist, problem-cause table and project card template.
 English
  Italiano
Stuck on your build?
If you ran into the same problem or have a question, drop it in the comments. I read and reply to every one.
Write a comment