

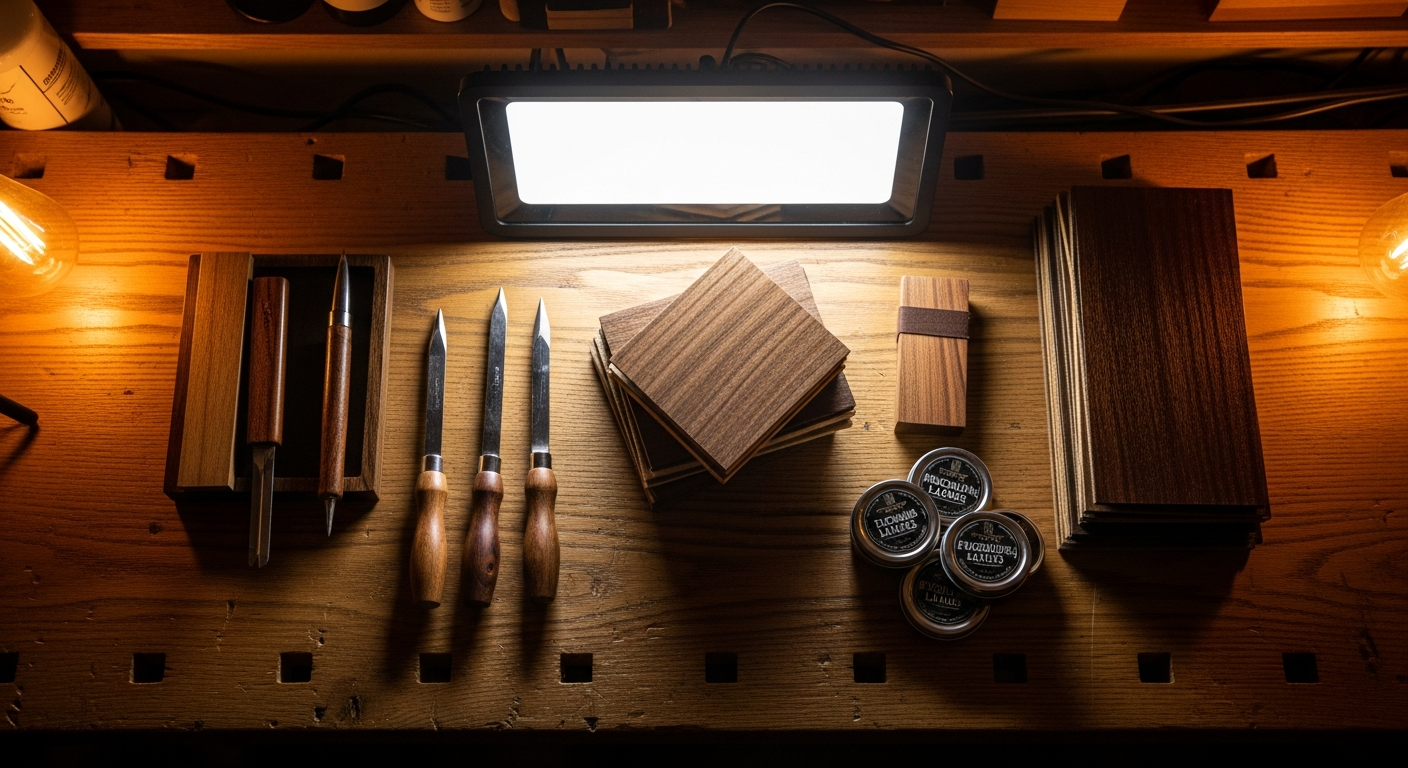
The 7 essential tools for building a guitar
When they ask me “Mimmo, where do I start to make a guitar?”, the answer is always the same: come on tools for building a guitar. I'm not talking about the professional ones worth thousands of euros that you see in famous luthiers' workshops. I'm talking about the ones I used, in my garage, making mistakes, learning, and ultimately bringing home a result that sounds good and I like. I've seen a lot of people get stuck before even starting, terrified by the idea of having to buy dizzying equipment or not being “good enough” with their hands. But the truth is, it can be done, with the right tools and the patience of a Tibetan monk. And if I succeeded, believe me, you can too. In this article, I guide you through the seven tools that, in my experience in the field (and after burning a few pieces of wood, I won't deny it), are truly fundamental. You don't need everything right away, but it's good to know what awaits you.
1. The saw: the basis of every shape
[GRIGLIA FOTO] 
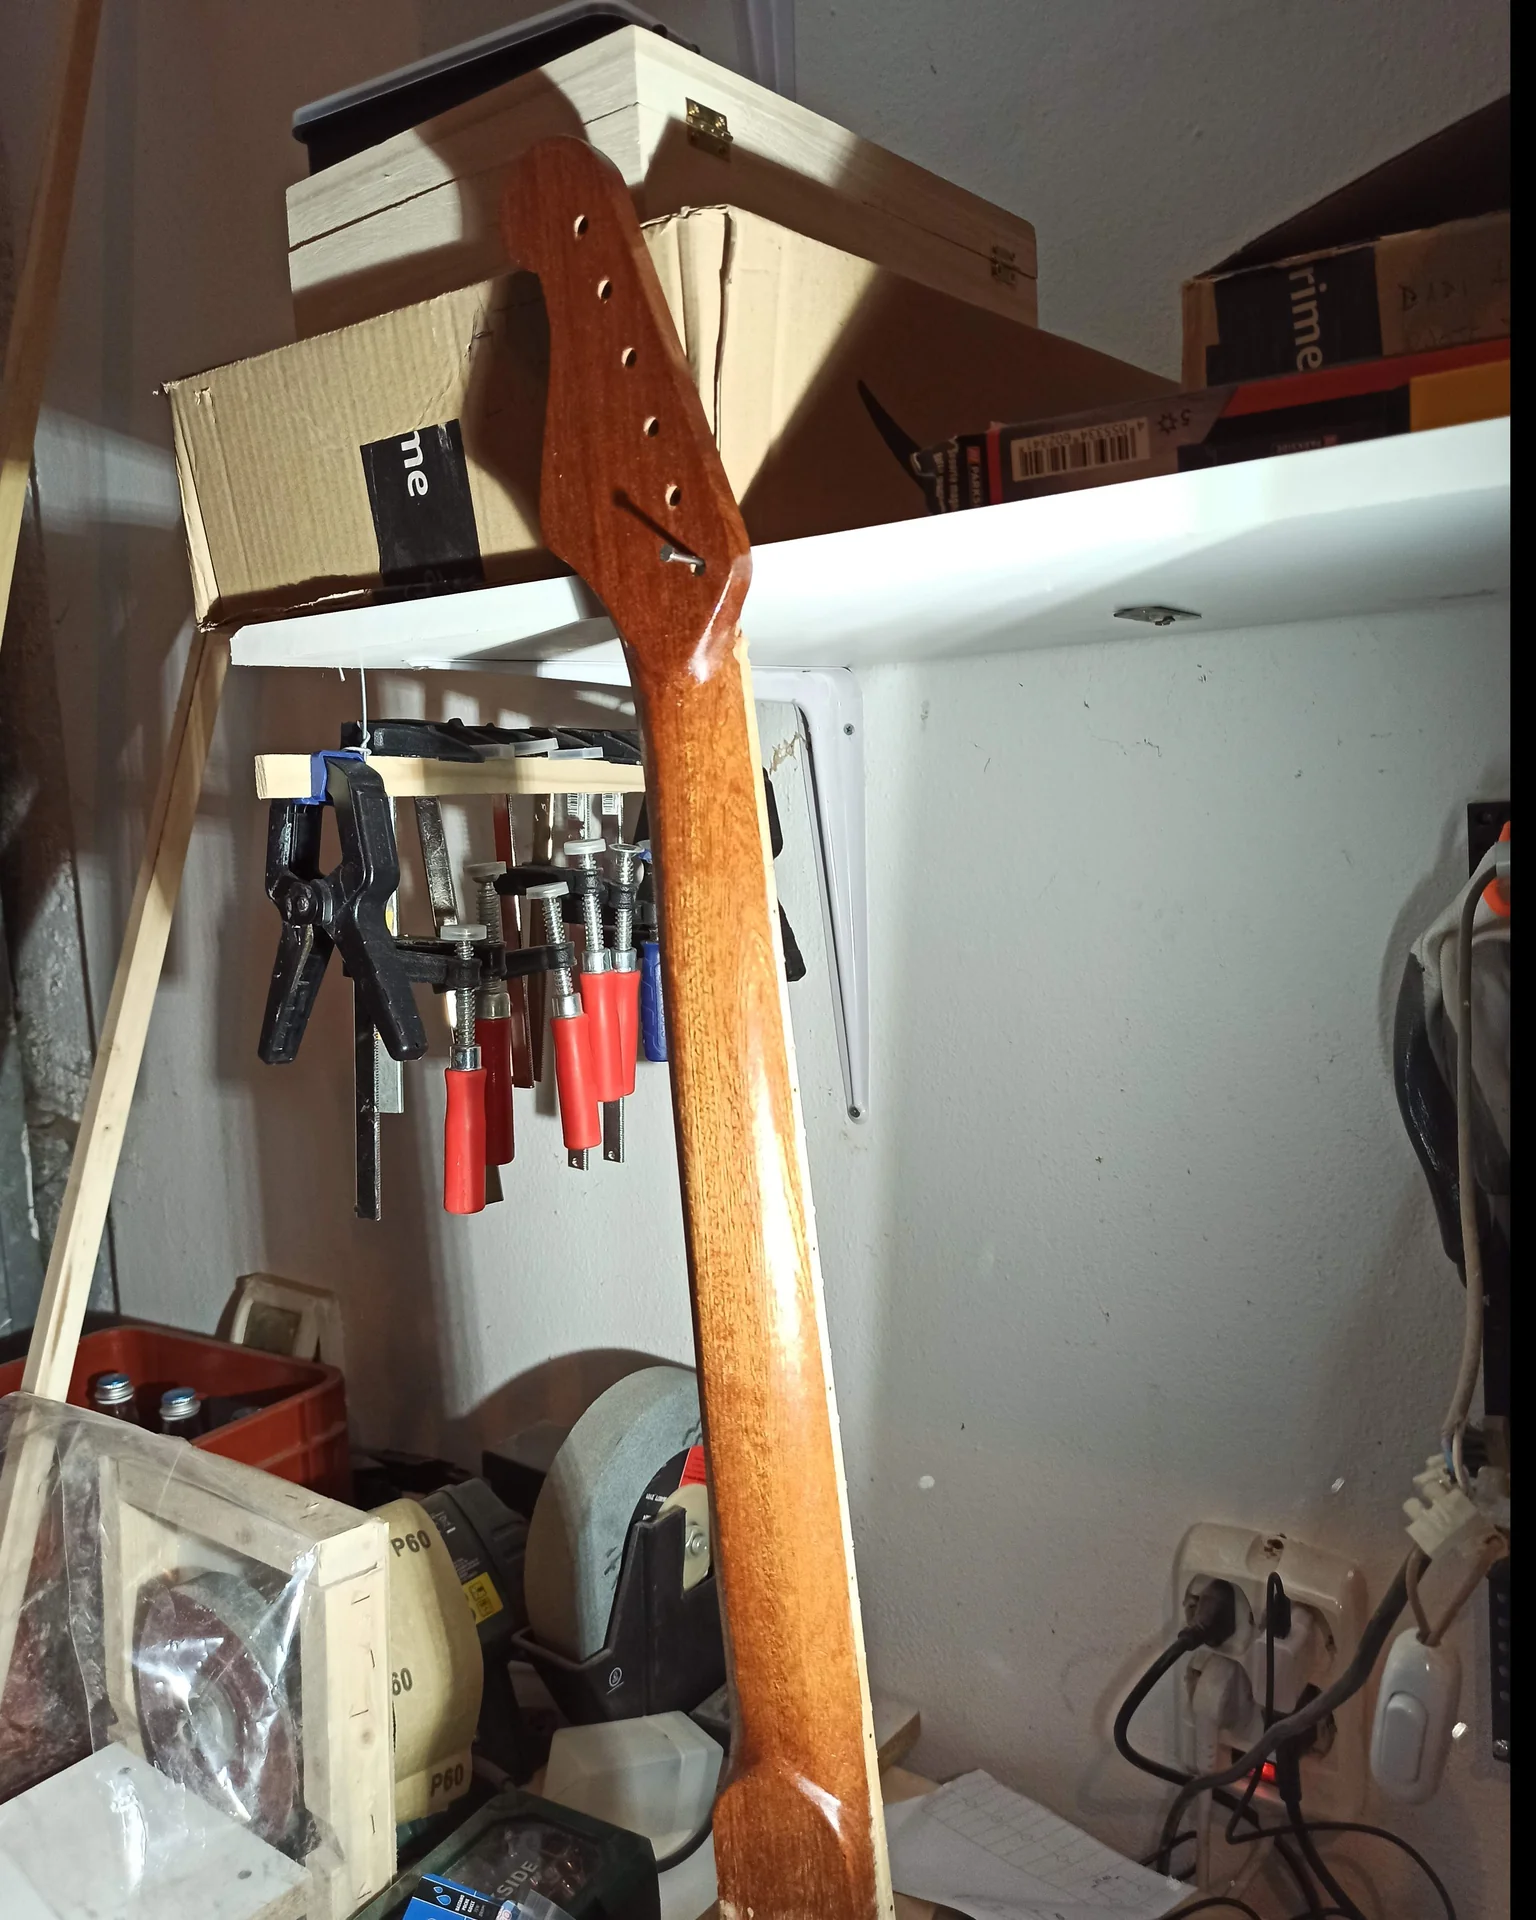
Let's start with the basics. When you have a raw block of wood, whether for the body or the neck, the first thing to do is give it a rough shape. And this is where the jigsaw comes in. Don't immediately think of an industrial woodworking band saw. Of course, it's convenient, cuts fast and quite straight. But how much does it cost? And how much space does it take up? To start, and even to continue, there are more affordable alternatives that do their dirty work.
The jig saw


[BOX AFFILIAZIONE]
This was my first love. A good jigsaw, perhaps with adjustable cutting angle and speed, is a real all-rounder. I used it to cut my first bodies, my first neck blanks, and even some test templates. Why it is essential: It allows you to follow the curves of your drawing with a fair amount of ease. Don't expect surgical cuts, mind you. They'll be rough, with some imperfections, but that's the starting point. The important thing is to stay focused. Always a couple of millimeters off the mark, leaving room for subsequent finishing. I learned the hard way that “cutting on the mark” with a jigsaw almost always means “cutting in the sign”. And you can’t add a piece of wood. Advice from Mimmo: Invest in good-quality blades. Cheap ones bend, get too hot, and leave an uneven cut that requires much more effort to repair. For wood, look for blades with specific teeth, perhaps with a coarser pitch for quick cuts and a finer pitch for tighter curves.
Hand alternatives: Japanese saws
If space is an issue or you want a more "zen" approach, Japanese saws are fantastic. They cut on the pull stroke (when you pull the saw toward you, not when you push it) and are incredibly precise for hand tools. They require more time and a bit of muscle, but you get total control. The pain point resolved: The fear of ruining an expensive piece of wood with a crooked cut. With a jigsaw, that's a risk. With a handsaw and a little practice, you can be much more precise and controlled, albeit slower. Practical tip: When cutting, never force it. Let the blade do its job. And always use clamps to secure the workpiece to the bench. A piece that moves is a piece that will cut poorly, or worse, a finger that will cut itself.
2. The vertical milling machine (Router): the armed arm of precision
[BOX AFFILIAZIONE] If the saw gives you the rough shape, the vertical milling machine It's the tool that allows you to make it precise, functional, and aesthetically pleasing. This is, in my opinion, the most important investment after the wood itself. This is where your project goes from "a piece of cut wood" to "a guitar part.".
What is the milling machine used for in violin making?
Body routing: create the cavities for the pickups (humbucker, single coil), for the electronics (control cavity) and for the tremolo. Neck pocket: dig out the neck recess, which is essential for good fit and sustain. Binding channels: if you want to add binding to the body or neck. Truss rod channel: the channel for the handle adjustment bar. Precision Shaping: finish the edges of the body or neck following a template. My experience: I bought my first router after trying to make a neck pocket with a chisel. The result? A disaster. From that moment on, I realized you couldn't improvise. A router, used with the right templates, opens up a whole new world. My first routings were a bit clumsy, but they were already a thousand times better than trying by hand. Enjoying this article? Subscribe to the newsletter: one email a week, zero spam.Types of cutters and their use with templates
For violin making, you will mainly need bearing bits and straight bits. Bearing cutters: The bearing slides along a template (an MDF or plywood shape) and the blade cuts the wood, replicating the shape of the template. They're perfect for finishing the edges of the body or neck and for pickup cavities when you have an external template. Straight cutting cutters: Used for hollowing out cavities. They come in various sizes. For cavities, 1/4-inch (about 6.35 mm) or 1/2-inch (12.7 mm) cutters are often used. The pain point resolved: “How do I make cavities as clean as real guitars?” “I'm afraid of messing up and ruining the body irreversibly.” The answer is: template and patience. Advice from Mimmo: 1. Quality templates: Don't skimp on templates. You can make them yourself with the printer and some MDF, or buy them. The important thing is that they are precise and robust. 2. Read more: Don't try to dig everything in one go. Make light passes, a few millimeters at a time. This reduces the effort of the router, avoids overheating, and gives you much more control, minimizing the risk of tears or errors. 3. Cutting direction: Always rout so that the router bit “bites” the wood, not “tears” it. This means routing clockwise for external edges and counter-clockwise for internal cavities (climb cutting). If you feel vibrations or see the wood splintering, you are going in the wrong direction or the router bit is dull. 4. Safety: Glasses, ear protection, and hands well away from the moving router bit. It seems trivial, but I've seen accidents due to distraction. Always secure the workpiece firmly to the bench with robust clamps. A good router, combined with a set of decent router bits and well-made templates, will give you results you never thought you could achieve in your garage. It’s the tool that makes the difference between a “project” and a “guitar”. 3. Planer and thicknesser (or the art of the hand plane)
When it comes to precision in violin making, flatness and consistent thickness of the wood pieces are crucial. A body that isn't perfectly flat will cause problems with the neck and bridge. A neck with variable thickness will be a pain to work with. This is where the plane and thicknesser come into play. The importance of flatness and thickness
Imagine trying to glue two pieces of wood together to form a bookmatched body. If the surfaces aren't perfectly flat, you'll get cracks, the glue won't hold, and the resonance will suffer. The same goes for a neck: it must have a uniform thickness along its entire length before being shaped. My discovery: At first, I thought it was enough to buy pre-planed wood. Then I realized that even "pre-planed" wood needs a little polishing, especially if it's to be glued or if you're looking for maximum precision. I bought a small hobby combination plane, and the difference was enormous. The pain point resolved: “How do I get perfectly flat surfaces and consistent thicknesses without spending a fortune on industrial machinery?” Alternatives for the hobbyist: hand planes
If a planer/thicknesser is out of your budget or you don't have the space, don't despair. The manual alternative is the hand plane. It's an ancient art, requiring patience, meticulous blade sharpening, and good technique, but it gives you incredible control. Bench planes: They exist in various sizes (e.g. No.4, No.5, No.6, No.7). A No.4 or No.5 plane is a good starting point for leveling surfaces and reducing thickness. Edge planes: Specifications for finishing edges. Advice from Mimmo: If you decide to use hand planes: 1. Sharpening: A sharp blade is everything. Without it, you tear the wood instead of cutting it. Invest in sharpening stones and learn how to use them. There are a lot of tutorials on YouTube. 2. Technique: Learn to “read” the wood, to understand the direction of the grain. Always plane following the grain to avoid tears. 3. Check: It takes practice to keep the plane straight and apply the right pressure. Although slower, working with hand planes gives you a unique satisfaction and a connection with the wood that machines cannot give you. And then, having perfectly flat pieces of wood is the basis for stress-free assembly. 4. The pillar drill: vertical precision
Drilling straight holes is another one of those things that seems easy, but isn't. Especially when we're talking about through holes or holes for the neck's tuning machines. A crooked hole can ruin a piece of wood in an instant. That's why column drill It is a precious ally. Why is the drill press so important?
Precision: It ensures that the hole is perfectly perpendicular to the wood surface. Goodbye, slanted holes! Controlled depth: You can set the maximum drilling depth, avoiding drilling into a piece where you shouldn't (such as a bridge body, drilling too deep). Repeatability: Useful if you need to drill multiple identical holes, such as those for the tuning machines on the headstock. My story: I drilled my first holes for the tuning machines with a hand drill, trying to keep the headstock square and not let the bit slip. The result? A couple of slightly skewed holes that I had to correct with slightly wider bushings. From there, I realized that a drill press, even a small one, was a must. The pain point resolved: “I’m afraid I’ll drill crooked or through holes in the wrong spot, ruining the body or the handle.” The drill press eliminates much of this anxiety.
Alternatives and tips for the drill press
If you don't have a drill press, you can get by with a good hand drill and a few precautions: Drilling template: You can build a jig out of wood or MDF to guide the drill bit. It's a block of wood with a perfectly perpendicular hole through which you'll pass the bit. It's not as precise as a drill press, but it helps a lot. Quality tips: Don't skimp on bits. Sharp, wood-safe bits (such as those with a center point or Forstner bit) reduce the risk of splinters and give you a cleaner cut. Pilot holes: For small screws or holes, always start with a smaller diameter pilot hole. Duct tape: To prevent the wood from splintering when the bit exits the opposite side, apply masking tape (paper) to the exit area. Tip from Mimmo: When drilling, don't force it. Let the bit do its job. And if you need to drill a deep hole, pull the bit out every now and then to clear the chips. This prevents overheating and improves the cleanliness of the hole. Always remember to use clamps to secure the workpiece to the bench. A workpiece that shifts while drilling is a surefire disaster.
5. Files, rasps and sandpaper: the art of finishing
After shaping the wood with the saw and router, and drilling all the holes, comes the part where the raw piece comes to life: shaping and sanding. Here, hand tools take center stage.
Shaping of the neck and body
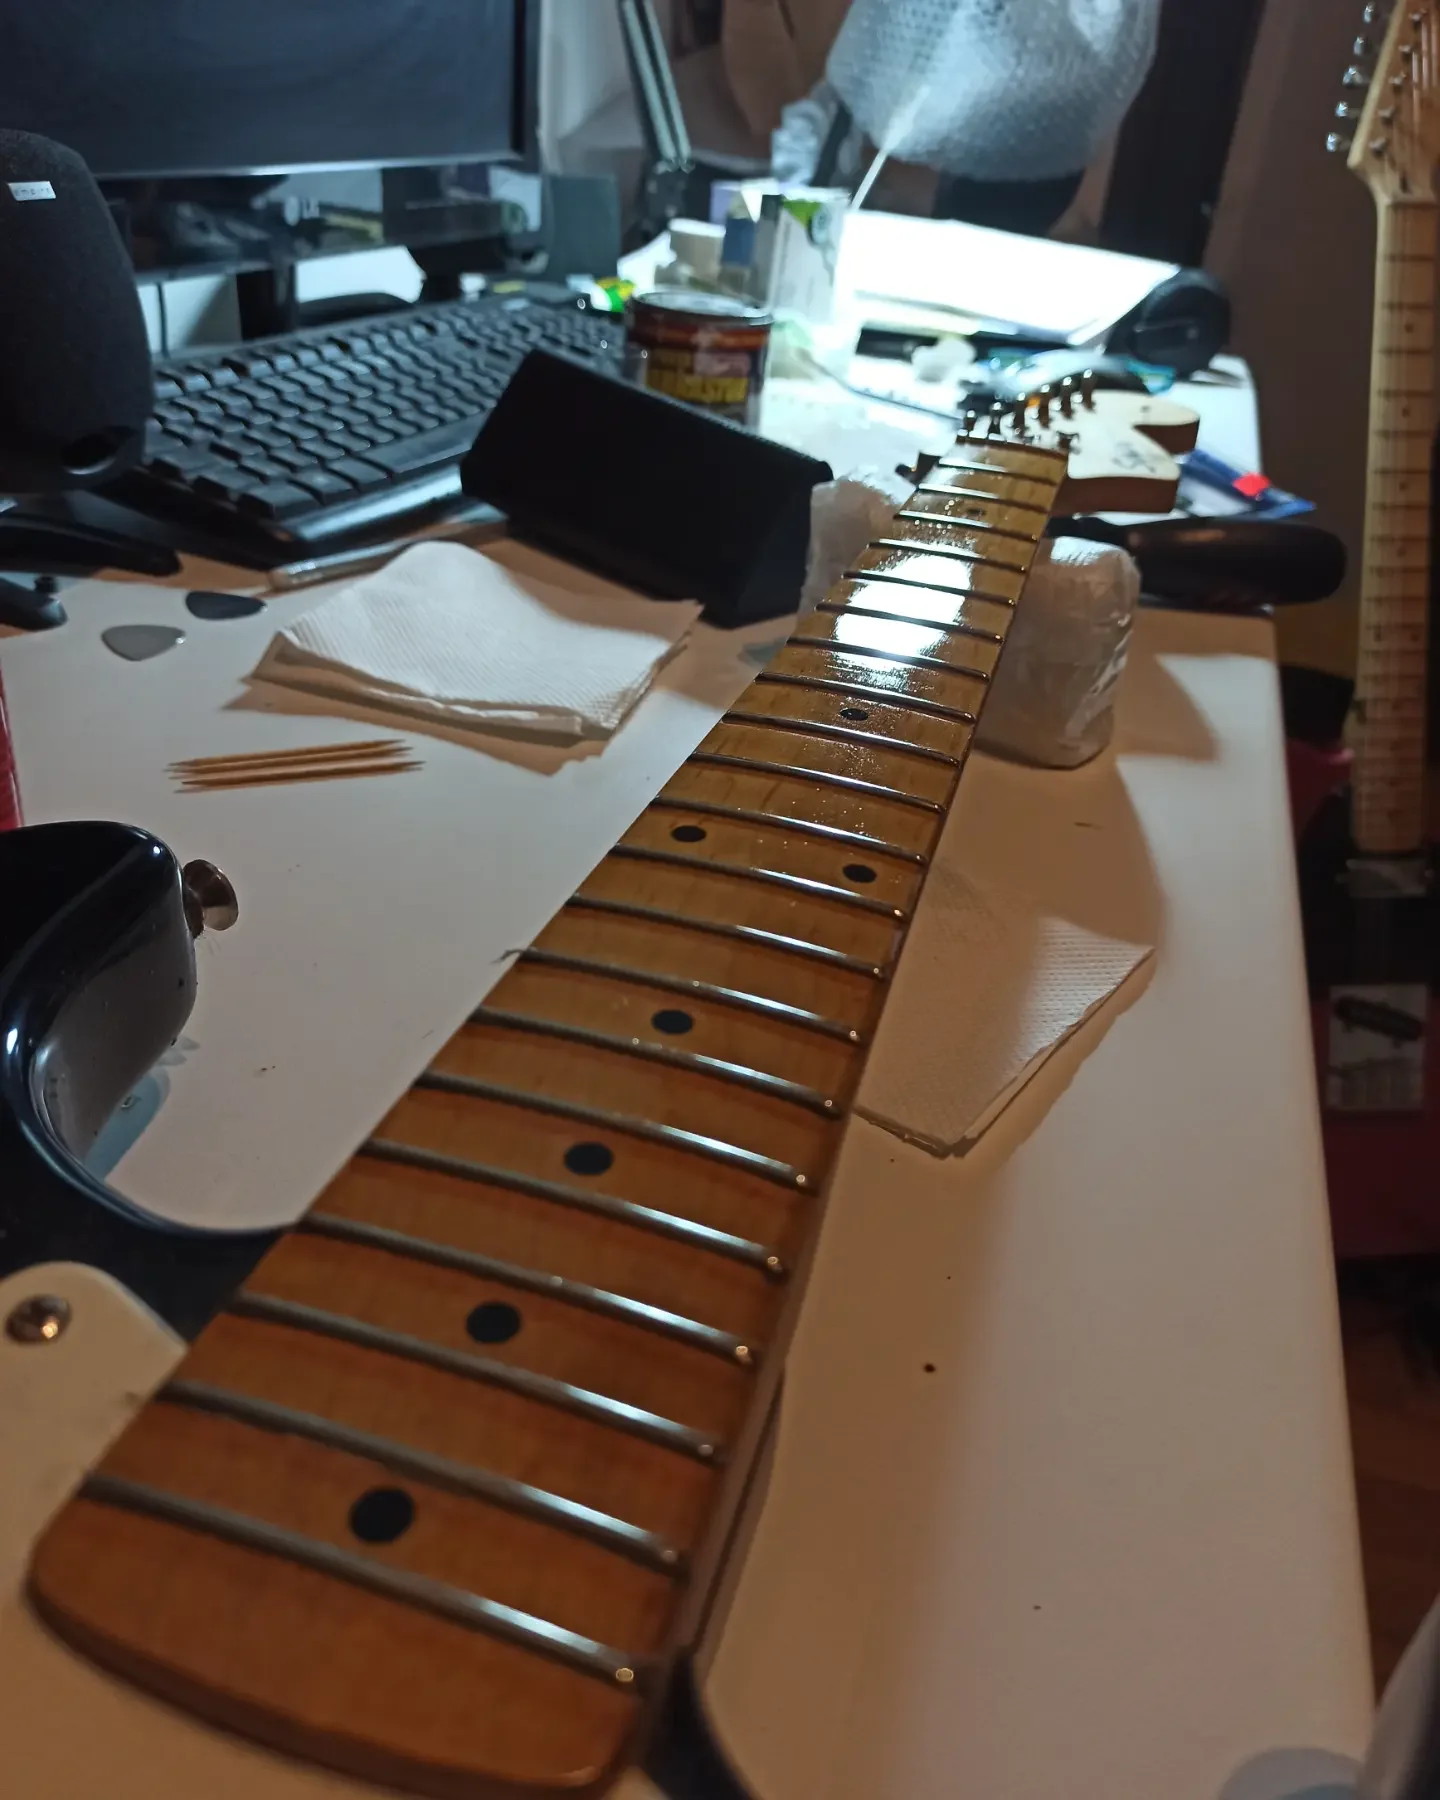
Neck profile is a very personal thing. Some people like it thicker, some thinner, some like a C-shape, some like a V-shape. Rasps and files are your best friends for sculpting these curves. Rasps: For quickly removing large amounts of wood. Coarse-grit rasps are ideal for initial shaping of the handle. Lime: To refine the rasp's work, making curves smoother and more precise. They come in various shapes (flat, half-round, round) to adapt to any curve. My favorite torture: I've spent hours working on the handle profiles, and every time it's a meditation. I messed up one profile, making it too thin in one spot, and had to redo the whole thing. The lesson? Go slowly, check frequently with your fingers and a caliper, and don't rush. Haste is the enemy of perfection here.
Sanding: the secret to a perfect finish
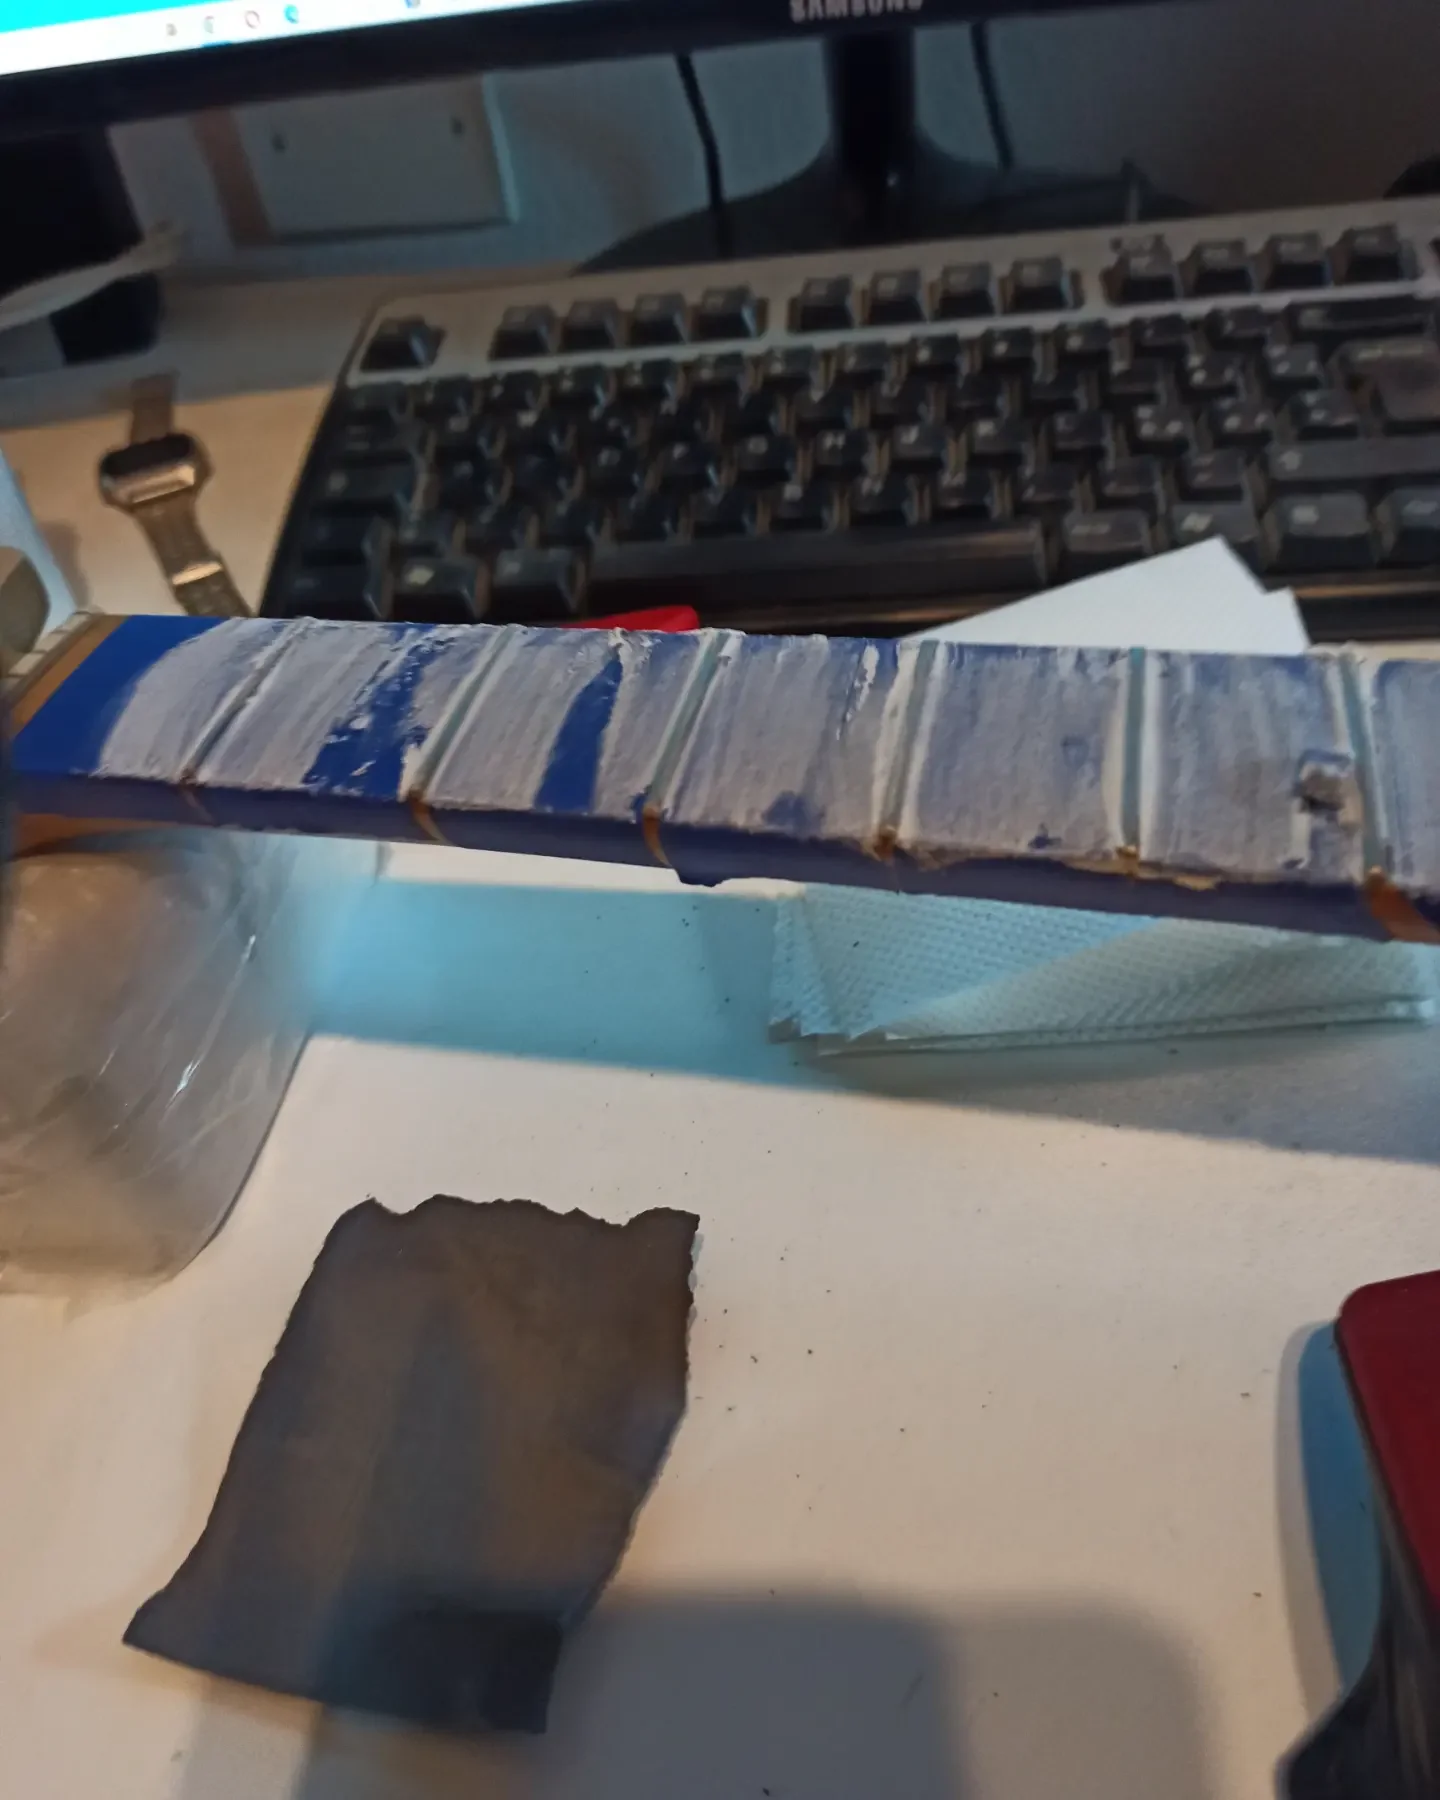
Once the shape is right, we move on to sanding. It's a tedious process, I know, but it's fundamental for the finish. A good sanding is the basis for a flawless paint job. Sandpaper: Of different grits, from coarse (80-100) to remove the most obvious tool marks, to very fine (up to 1000-2000) to prepare the wood for painting. Abrasive blocks: To smooth flat surfaces and better control pressure, you can make one yourself by gluing sandpaper to a flat piece of wood. The pain point resolved: “How do you sand it properly? How do you shape the handle properly without overdoing it?” Advice from Mimmo: 1. Gradual progression: Don't skip grits. If you go from 100 grit to 400 grit, you won't remove the marks of 100. Go gradually: 100, 150, 220, 320, 400 and so on. 2. Grazing light: To see the smallest marks, use a grazing light (a flashlight or a table lamp) that illuminates the surface from the side. Shadows will reveal every imperfection. 3. Cleaning: Always clean the surface between one grit and the other to remove the dust, which could scratch the wood if mixed with the next grit. 4. Sensitivity: Listen to the wood. Feel with your fingers if there are still rough spots. Your fingers are the best sensors. This is the fine work, what distinguishes a homemade guitar from one made “well” at home.
Build better. Subscribe for updates, guides and free ebooks.
Subscribe →6. Measuring and marking tools: the luthier's compass
If there's one thing I've learned the hard way, it's that precision isn't optional. Every millimeter counts, every degree of angle makes a difference. measuring and marking tools I am your compass, your map, without which you get lost in the forest of errors.
The importance of precision
Imagine drilling a hole in a tremolo bridge without precise measurements. The result? The strings won't be aligned, or worse, intonation will be a nightmare. The same goes for the neck scale, fret placement, and nut height. Everything starts with correct measurements. My lesson: The first time I installed a fixed bridge, I measured the distance from the nut "by eye." I drilled the holes, installed the bridge, stringed it... and the intonation was a disaster. I had to plug the holes and redo everything. Since then, I've had a mantra: "Measure twice, cut once." Or rather, "Measure three times, think, then cut once.". The pain point resolved: “"How can I be precise with the measurements? I'm afraid I'll get the measurements wrong and compromise the overall playability of the guitar."”
The essentials for measuring and marking
Digital/Analog Caliper: Essential for measuring thicknesses, diameters, and depths with precision to the nearest tenth of a millimeter. I use a digital caliper, which is quicker to read. Precision rulers and squares:A good steel ruler (even a 50 cm one) and a carpenter's square will help you draw straight lines and right angles. Compass: To draw circles or arcs, useful for body or headstock curves. Sharp pencil and awl: To mark drilling points or cutting lines. The awl is essential for marking the exact center of a hole before using the drill, preventing the bit from slipping. Protractor: To measure angles, such as headstock angle or neck pocket slope. Feeler gauge set: Useful for checking pickup heights, neck relief, and other fine adjustments. Advice from Mimmo: 1. Reference points: Always choose a fixed reference point (e.g., the center of the body, the edge of the neck pocket) from which to take all other measurements. 2. Marking accuracy: A line drawn with a blunt pencil is an imprecise line. Always sharpen your pencil or use a fine point. For holes, a small mark with an awl is much more precise than a pencil cross. 3. Cross-check: If possible, measure the same thing in two different ways or from two different reference points to check for consistency. Do not underestimate the importance of these tools. They are the true silent heroes of every successful lutherie project.
7. Soldering iron and multimeter: the electronic soul
Okay, I know, it's not luthiery in the strict sense of the word. But what a guitar! electric Would it be without its electronic soul? Without pickups, potentiometers, jacks, and cables, your beautiful creation would just be a beautiful, mute piece of wood. That's why a good welder and a multimeter they are absolutely indispensable.
The Soldering Iron: Connecting the Sound
Soldering is an art that is learned with practice. At first, my solder joints looked like balls of cold, gray solder. I burned out a few potentiometers from excessive heat and had to redo dozens of connections. But with a little patience, you get better. Why it is essential: To connect the pickups, volume and tone controls, the selector switch, and the output jack, every internal electrical connection on the guitar is soldered. The pain point resolved: “Electronics scares me, I don't know how to solder and I'm afraid of doing damage.” Advice from Mimmo for the welder: 1. Temperature-controlled soldering iron: Invest in one of these. It allows you to set the right temperature so as not to burn the components or to avoid cold solders. A power of 30-60W is sufficient. 2. Good quality tin: Use flux-cored solder (preferably lead-free, for health). The flux helps the solder flow better and create a solid joint. 3. Clean tip: A clean and tinned tip (with a thin layer of tin) conducts heat better. Use a damp sponge or a metal scourer to clean it. 4. Technique: Heat the component (the pot terminal, the pickup lug) and not the solder. When the component is hot, bring the solder closer, which will melt and form a nice shiny, 'cone-shaped' solder joint. 5. Wiring diagram: Always follow a wiring diagram. If you don't know where to start, you can find hundreds of diagrams online for every pickup and control configuration. Or, take a look at how modify the electronics of your guitar to understand the basics.
The multimeter: the eye that sees the current
The multimeter is your personal detective. It allows you to understand what's happening in your guitar's electrical circuitry. Why it is essential: Continuity test: To check that your soldering is good and that there are no breaks in the circuit. Resistance measurement: To check the value of the potentiometers and pickups. * Troubleshooting: If your guitar doesn't play, a multimeter will help you figure out where the problem lies. My experience: How many times have I assembled everything, connected it to the amp, and... silence! The multimeter saved me. I discovered cold solder joints, broken wires, faulty potentiometers. Without it, I would have gone crazy disassembling and reassembling everything every time I encountered a problem. Advice from Mimmo for the multimeter: 1. Continuity function: It is the most used in lutherie. It warns you with a “beep” if there is an electrical contact between two points. 2. Resistance measurement (Ohm): For pickups, it gives you an idea of their output. For potentiometers, it ensures they are of the correct value. 3. Simple is better: To start, you don't need a laboratory multimeter. An inexpensive one for a few euros with these basic functions is more than enough. Electronics can seem scary, but with these two tools and a little practice, it will become a breeze. And the satisfaction of hearing your creation play for the first time, thanks also to your soldering, is priceless.
Budget Considerations: how much to spend on your first tools?
Let's be clear, DIY guitar work can become a bottomless pit if you're not careful. But to start, you don't need to empty your bank account. Let's see how to distribute the spending.
Low Budget (under 300€ for the entire set)
With a reduced budget, you need to be strategic. Focus on multi-function tools and don't be afraid of manual ones.
- Jigsaw: A basic model from brands like Bosch, Makita or even a great budget brand like Parkside (Lidl) can cost between 50€ and 100€. Look for models with variable speed.
- Router: This is where it gets tough. You might find a good “trim router” (small router) from brands like Dremel or even inexpensive Chinese models (between 50€ and 100€). Don't expect miracles in terms of power or precision, but for initial light routing work, it's fine. Alternatively, you could opt for a good set of files and rasps to shape the body by hand, but for cavities, it's almost impossible.
- Hand planes: A set of used hand planes, perhaps needing a bit of restoration, can be a great deal. Look on online marketplaces or second-hand shops. You might get by with 50-80€ for a decent No.4/5 plane.
- Pillar drill: Here the sacrifice is greater. A basic drill press for 100-150€ is necessary if you want to make precise holes. If you really can't, focus on manual jigs with a hand drill.
- Files, rasps, sandpaper: A good assortment of sandpaper grits costs little (20-30€). Medium quality files and rasps can be found for 30-50€.
- Measuring tools: A digital caliper for 20-30€, a steel ruler and a carpenter's square (another 20-30€).
- Soldering iron and multimeter: A basic kit with a temperature-controlled soldering iron (30-50€) and a digital multimeter (15-25€).
Estimated total: Approximately 285€ – 495€. It can be done, but with some compromises.
Medium Budget (300€ – 700€)
Here we start to get serious. You can afford better quality and more specific tools.
- Jigsaw: A mid-range model from Bosch, Makita, DeWalt (100€ – 150€) offers more power, precision, and durability.
- Plunge router: A good 1/2 inch (12.7 mm) router from DeWalt, Makita or Bosch (150€ – 250€) is an investment that will pay off. Look for models with fixed and plunge bases.
- Hand plane: If you aim for manual excellence, a good quality Stanley or Veritas plane (100€ – 200€) will be a pleasure to use. Otherwise, an inexpensive used benchtop jointer/planer might be an option.
- Pillar drill: A more robust and precise benchtop model (150€ – 250€) will make a big difference.
- Files, rasps, sandpaper: You can invest in professional sets from brands like Nicholson or Bahco for files and rasps (60€ – 100€).
- Measuring tools: A reliable brand digital caliper (e.g., Mitutoyo, though more expensive, or a good budget model) and precise squares (50€ – 80€).
- Soldering iron and multimeter: A Weller or similar soldering station (70€ – 150€) and a good quality digital multimeter (30€ – 50€).
Estimated total: Approximately 610€ – 1130€. An excellent compromise between quality and price.
High Budget (over 700€)
If you have space, time, and the desire to invest, you can consider more serious machinery.
- Jigsaw: It's not the main machine, but a compact band saw (200€ – 400€) can be a fantastic addition for cutting more complex shapes and more cleanly.
- Plunge router: A powerful and versatile router, perhaps with an efficient chip extraction system (250€ – 400€).
- Jointer/planer: Here the price goes up. A quality benchtop jointer/planer (500€ – 1500€) will save you a lot of time and effort.
- Pillar drill: A larger and more precise model, perhaps with electronically adjustable speed (300€ – 600€).
- Specific equipment: You might consider a belt or disc sander, a Dremel for fine work, etc.
- High-precision measuring tools: Calipers and rulers from professional brands.
- Professional soldering station and precision multimeter.
Estimated total: From 1500€ upwards. This is the level of an almost professional workshop.
Mimmo's advice on budget: Start with a low or medium budget. Don't buy everything at once. Purchase the essential tools and then add others as you need them and better understand your requirements. A kit of inexpensive but well-used tools is worth more than a single expensive tool you don't know how to use. And remember, the used market is your best friend!
Assessing quality: what to look for in tools
Not all tools are created equal. When you go to buy, keep an eye on these aspects.
Jigsaw
- Motor power: A more powerful motor cuts harder woods effortlessly.
- Speed adjustment: Essential for cutting different types of wood (soft, hard, plywood).
- Adjustable orbit: Useful for cutting faster, but to be used with caution.
- Quick blade change: It saves you time when changing blades.
- Aluminum base: More robust and precise than plastic ones.
- Ergonomic handle: For more comfortable working.
Router
- Power (Watts or HP): To tackle even the hardest woods and most demanding tasks.
- Speed adjustment: Essential for milling different materials and using cutters of variable diameter.
- Cutting depth: Make sure it is sufficient for your needs (e.g., pickup cavities).
- Fixed and plunge base: Offers more versatility.
- Quality of the body and moving parts: Must be robust and precise.
- Compatibility with standard cutters (1/4″ and 1/2″): To have access to a wide range of cutters.
Drill press
- Spindle travel: The maximum drilling depth.
- Rotation speed (RPM): A wide range allows you to adapt to different bit diameters and wood types.
- Robustness of the column and base: A drill that vibrates is not precise.
- Spindle precision: Little “play” (runout) on the bit's rotation.
- Tilting/rotating table: Useful for angled holes.
Soldering iron
- Controlled temperature: The most important feature.
- Adequate power (30-60W): To heat up quickly and maintain temperature.
- Interchangeable tips: To adapt to different types of soldering.
- Comfortable and insulated handle.
Real durability: Don't just trust the specifications. Look for reviews from other users, watch test videos, and, if possible, try the ’tool before buying it. A tool that “feels” solid and well-built, even if inexpensive, will often last longer than a light and fragile one, even if from a more renowned brand.
Who are these tools for?
These seven tools are designed for anyone who wants to build a guitar from scratch, starting from raw wood or a very basic kit.
- Who it's suitable for:
- Serious hobbyists who want to learn lutherie in depth.
- Guitarists who want a unique instrument, built to their own specifications.
- Anyone with good manual skills and patience, and who wants to challenge themselves.
- Those who have space in a garage or a dedicated room, and can afford a minimum investment in equipment.
- Not suitable for:
- Those who only seek to assemble a guitar kit with pre-processed parts (in that case, a few basic tools are enough).
- Those who lack patience or are unwilling to learn new techniques.
- Those with very little space or budget (in these cases, it's better to focus on modifications and repairs).
Final Advice and Common Risks
Building a guitar is an incredible journey. These tools are your map and your compass, but the real difference will be made by your desire to learn and not give up.
My heartfelt advice:
- Start with a simple project: A guitar with a solid body and a bolt-on neck is ideal. Avoid complex shapes or elaborate constructions for the first attempt.
- Do research: Watch videos, read books, consult forums. The more you know, the fewer mistakes you make.
- Safety first: Always use safety glasses, a dust mask and, if necessary, ear protection. Power tools can be dangerous if used without knowledge.
- Don't rush: Haste is the hobby luthier’s worst enemy. It’s better to do a slower but well-done job than a quick job full of errors to correct.
- Have fun! In the end, it’s a hobby. Enjoy the creative process and the satisfaction of playing your instrument.
Common risks to avoid:
- Buying cheap and low-quality tools: They often break immediately, make the work frustrating, and the final result poor. It’s better to invest a little more in mid-range tools or look for good deals on used ones.
- Not using precise templates: For critical routings like the neck pocket or pickup cavities, a well-made template is essential.
- Ignoring wood flatness: A non-flat body or neck will cause assembly and playability problems.
- Underestimating sanding: A rough finish ruins even the most beautiful guitar.
- Skipping measurement checks: Every millimeter counts. A poorly mounted bridge or badly positioned frets make the guitar almost unusable.
- Fear of electronics: With a soldering iron and a multimeter, and following a diagram, it’s easier than it seems.
Remember, every luthier started from scratch. These seven tools are your foundation. If you use them with intelligence, patience, and a touch of passion, you can build a guitar that will not only sound good but also give you immense satisfaction.
FAQ
What is the most important tool for beginners?
If I had to choose just one tool to start with, I’d say the vertical router. It allows you to do the most critical jobs with precision, like neck pockets and pickup cavities, things that are almost impossible to do well by hand.
Can I build a guitar without a router?
Technically yes, but it would be extremely difficult and the final result probably compromised. Operations like the neck pocket or pickup cavities require precision that only a router can easily give you. You could try with a hand router (trim router) which is smaller and cheaper, but the result will still be better than completely manual methods.
For further technical details you can consult this external resource.
Download the Luthier Survival Kit
Free PDF with checklist, problem-cause table and project card template.
 English
  Italiano
Stuck on your build?
If you ran into the same problem or have a question, drop it in the comments. I read and reply to every one.
Write a comment