

Building a baritone guitar: The practical guide
Do you feel that call? That thump deep, almost a growl, that a normal guitar can't give you? It's the call of the baritone, friend. It's not a trend, it's a sound world of its own, and if you're here, you probably already have that spark, that idea of wanting to build it with your own hands. Well, you're in the right place. I'm not a luthier with a historic workshop and tools worth thousands of euros. I'm someone who, like you, has built, made mistakes, redone, and in the end pulled out a sound that made him smile. And I tell you: if I succeeded, with a bit of patience and the right tools (and by “right” I mean garage tools, not space lab ones), you can succeed too. The first time I got my hands on a project for build a baritone guitar, I was convinced it was like making a Stratocaster, but with a longer neck. Beginner's mistake! Of course, the basics are the same, but the nuances, the details, are what make the difference between an instrument that plays and one that is just “long”. Here I explain what I've learned, what I would have liked to know before starting, and how to avoid my own blunders.
Why a Baritone? It's not just a longer guitar.
[GRIGLIA FOTO] Let's start from the beginning: why should we embark on the undertaking of creating an extended-scale instrument? It's not just a matter of low tunings; you can also achieve those with thick strings on a standard guitar. But the feeling, the tension, the clarity of the notes... there the baritone plays in a different league. Imagine wanting to tune down to B (Si) or A (La). On a normal guitar, even with a 0.012-0.056 string set, the strings become floppy. You lose attack, the notes get muddy, the intonation goes out the window after the fifth fret. It's not ideal, trust me, I've been there. I've tried all possible modifications on a old guitar, but there’s a physical limit. The baritone, with its longer scale – we usually talk about 27 inches (685.8 mm) or more, up to 30 inches (762 mm) – maintains adequate tension even with very low tunings. This means defined notes, impressive sustain and that chug that makes your guts vibrate. It's not a bass, let's be clear. It's a guitar that explores lower frequencies, with a unique voice.
What makes it special?
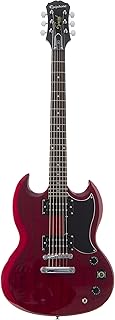

[BOX AFFILIAZIONE] Longer scale: is the fundamental characteristic. It allows the use of thicker strings without the tension becoming excessive and without sacrificing playability. Optimized string tension: even when tuning low, the strings remain adequately taut. This is crucial for attack, sustain, and intonation. If the strings are too loose, the sound is weak and the notes are not defined. Extended tonal range: it opens the doors to sounds ranging from doom metal to surf rock (yes, surf rockers used it a lot!), from country to avant-garde jazz. It's an incredibly versatile instrument. Better intonation: with an adequate scale, intonation remains precise even on higher frets, a common problem with standard guitars tuned very low. I remember when I assembled my first baritone, a project born almost as a joke from a salvaged body. I mounted the neck, put on the strings, and tuned it to A. The sound was… enormous. It wasn't just loud, it was dense, with a weight I had never heard from a guitar. That's when I realized I wasn't just building a guitar, I was creating an instrument with its own personality. And the great thing is, you can do the same.
Project Planning: The Crucial Choices Before You Start Cutting.
Before grabbing saws and routers, stop. Breathe. Planning is 90% of the work, especially when it comes to a somewhat unconventional project like building a baritone. Here it's not just about choosing a nice wood, but about understanding how each component will interact with the extended scale.
1. The Scale: The Heart of Your Baritone
This is the most important decision. The scale length defines everything. The most common scales for baritone guitars range from 27 to 30 inches. 27 inches (685.8 mm): It's a good starting point, not too extreme. It allows you to comfortably tune to B (Si) or A (La) with standard baritone strings (like 0.012-0.062 or similar). The feeling is not so different from a standard 25.5-inch guitar, so adaptation is easier. 28-28.5 inches (711.2-723.9 mm): A great compromise. It gives you more tension for even lower tunings (like G or F#) without making the neck a highway. It requires a bit more finger stretching, but the sound benefits. 30 inches (762 mm): Here we enter the territory of “short basses” or “bass VI”. The tension is significant, the strings will be thick. Perfect for extremely low tunings, but playability becomes more challenging, almost like a bass. My advice: If it's your first time, aim for 27 or 28 inches. It will give you fewer headaches and a more rewarding experience. I tried a 30-inch one and, for my hands, it was quite a challenge. 2. Body Design: Aesthetics and Balance
A longer neck means more weight towards the headstock. This can lead to imbalance, with the guitar tending to dive forward. Shape: Classic shapes like Strat or Tele work, but you might want to slightly enlarge the body or lengthen the upper horn to improve balance. Guitars with a more massive body or an asymmetrical shape tend to balance better. Body wood: Denser, heavier wood (mahogany, walnut) can help balance the long neck. Alder or ash are great, but you might have to compensate with a slightly larger body. Routing: The pickups and controls will be the same as a normal guitar, so the cavity routing don't change much.
3. Neck Design: Stability is the Watchword
The neck is the most critical element for the stability and intonation of your baritone. Handle wood: Maple is a classic and reliable choice. For a long scale, consider a laminated neck (three or five pieces of maple, perhaps with walnut or bubinga strips). This enormously increases stability and reduces the likelihood of twisting. A laminated neck is a bit more complex to make, but it's worth it for the longevity of the instrument. Truss Rod: Essential. A long neck withstands more tension. A double-action truss rod is almost a must. It allows you to adjust both concavity and convexity, offering superior control over the neck's curvature. Headstock: It must be robust. An adequate headstock angle (between 13 and 17 degrees) is important for string tension at the nut. Some prefer Fender-style headstocks (no angle, with retainers), but for a baritone, an angle can help. Make sure the wood is sufficiently thick. 4. Hardware: Don't Skimp on Quality
Bridge: It must be robust and, above all, have sufficient travel for intonation. Many standard guitar bridges work, but make sure the saddles have enough room to move back, especially for the low strings which require greater compensation. A tune-o-matic bridge with a separate tailpiece, or a fixed hardtail like Gotoh, are excellent choices. Tremolos can be more problematic for tuning stability on very taut strings. Mechanics (Tuners): Locking tuners are always a good idea for tuning stability, especially with thick strings and high tensions. Don't skimp here, stable tuning is half the battle. Nut: Bone, TUSQ or brass are the best materials. It must be cut with extreme precision for the baritone strings you will use. This is a detail that many underestimate, but a poorly cut nut can ruin the sound and intonation.
5. Electronics: Amplifying the Deep Voice
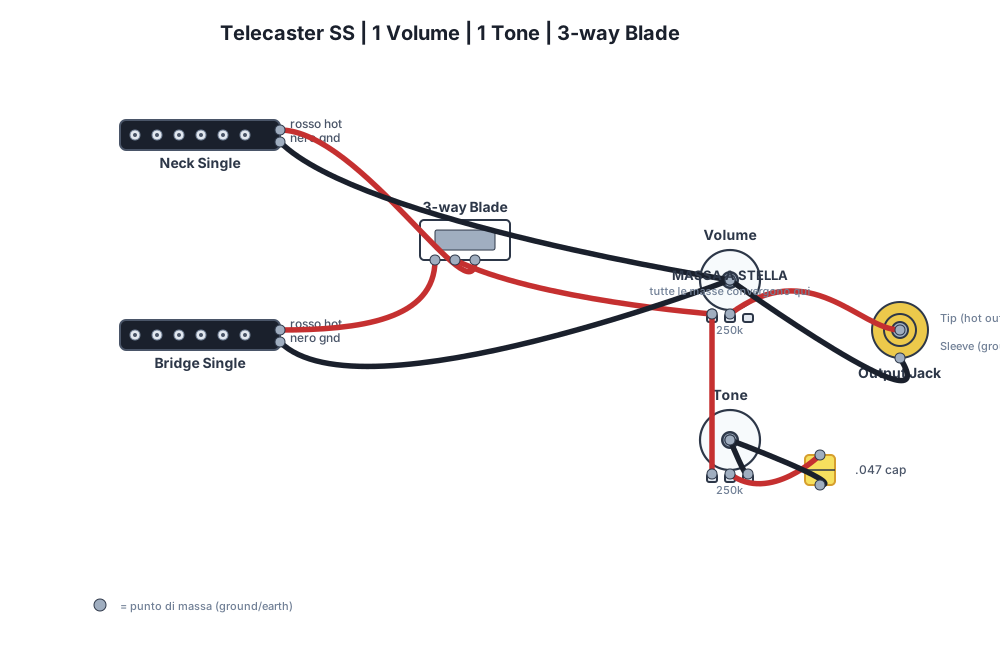
Pick-up: Standard passive pickups can work, but you might prefer something with a slightly higher output or with a specific voicing for low frequencies. Humbuckers with ceramic or Alnico V magnets are often preferred for clarity and power in the bass. Active pickups (EMG, Fishman Fluence) are another excellent option, offering a very defined and silent sound, ideal for extreme tunings and heavy distortions. Potentiometers and wiring: Standard (500k for humbuckers, 250k for single coils) is fine. Pay attention to cavity shielding; baritones can sometimes be more sensitive to noise due to their frequency range.Tool Checklist (Garage Version)
Bandsaw or jigsaw (for rough shapes)Manual router (router) with wood bits Dremel (for details and finishes) Planer (manual or electric) Grinder/sander (orbital, belt) Lime and rasps Clamps and clamps Squares, rulers, precision caliper (digital is better) Drill press (very useful, but a hand drill with a good guide can suffice) Chisel set Sandpaper of various grits Templates for body, neck and routing (you can make them yourself from MDF) Wood glue (Titebond or similar) Solder and soldering iron Circuit tester Set of hex keys and screwdrivers Remember: you don't need a professional's workshop. I started with a hand drill and a jigsaw. Patience and precision count more than cool tools.
The Baritone Neck: Length, Stability, and Perfect Intonation.
If there's one part of the construction of a baritone guitar that will make you sweat and give you the most satisfaction, it's the neck. No joking around here, this is where the most important game is played. A well-made neck means an instrument that plays, holds its tuning, and gives you pleasure. A poorly made neck... well, you'll have a nice piece of wood to hang on the wall.
1. Scale Calculation and Fret Placement
This is the starting point. The formula for fret placement is always the same, regardless of scale length. But here we're talking about larger numbers. The formula is: Scale Length / 17.817 = Distance from nut to first fret. Then, (Scale Length – Distance to first fret) / 17.817 = Distance from first to second fret, and so on. There are online calculators (StewMac has an excellent one, for example: StewMac Fret Calculator) Advice from someone who made mistakes: don't trust the first calculation. Compare with other calculators. If you have a precision metal ruler, use it to mark the points. Precision here is everything; a half-millimeter error on the first fret amplifies all the way to the bridge.
2. The Neck Wood: The Choice That Matters
As mentioned, maple is king. But for a baritone, stability is even more critical. Maple “Quartersawn” (Radial Cut): If you can find it, it's the best choice. Wood cut this way is much more stable and less prone to twisting. It costs more, of course, but it's an investment. Laminated Neck: Three or five pieces of maple glued together, with alternating grain, create an incredibly stable neck. You can insert strips of other hardwoods (walnut, bubinga) for an aesthetic touch and additional stability. This is my preferred method for long necks. It requires more routing and gluing work, but the final result repays the effort.
3. The Truss Rod: The Nerve of the Neck
It's not an option, it's vital. For a baritone neck, a double-action (or bi-directional) truss rod is almost mandatory. It allows you to compensate for both string tension and ambient humidity, adjusting the neck's curvature in both directions. Truss Rod Choice: Make sure it's the right length for your neck. Usually, the rod goes from the nut to about an inch before the end of the heel. Cavity Routing: This is delicate. You need to rout a precise channel in the center of the neck. Use a straight router bit and a securely fixed template. The depth must be such that the truss rod is just below the fretboard surface, but not too deep as to weaken the neck. Installation: Place the truss rod in the channel. Sometimes, a thin layer of glue and sawdust (or a thin piece of wood) is added over the truss rod before gluing the fretboard, to fill any gaps and prevent vibrations. Common mistake to avoid: A truss rod channel that is too wide or too shallow. If it's too wide, the truss rod can vibrate. If it's too shallow, you won't have enough wood above for the fretboard, weakening the whole thing. Do some tests on a scrap piece. 4. The Fretboard: Precision and Patience
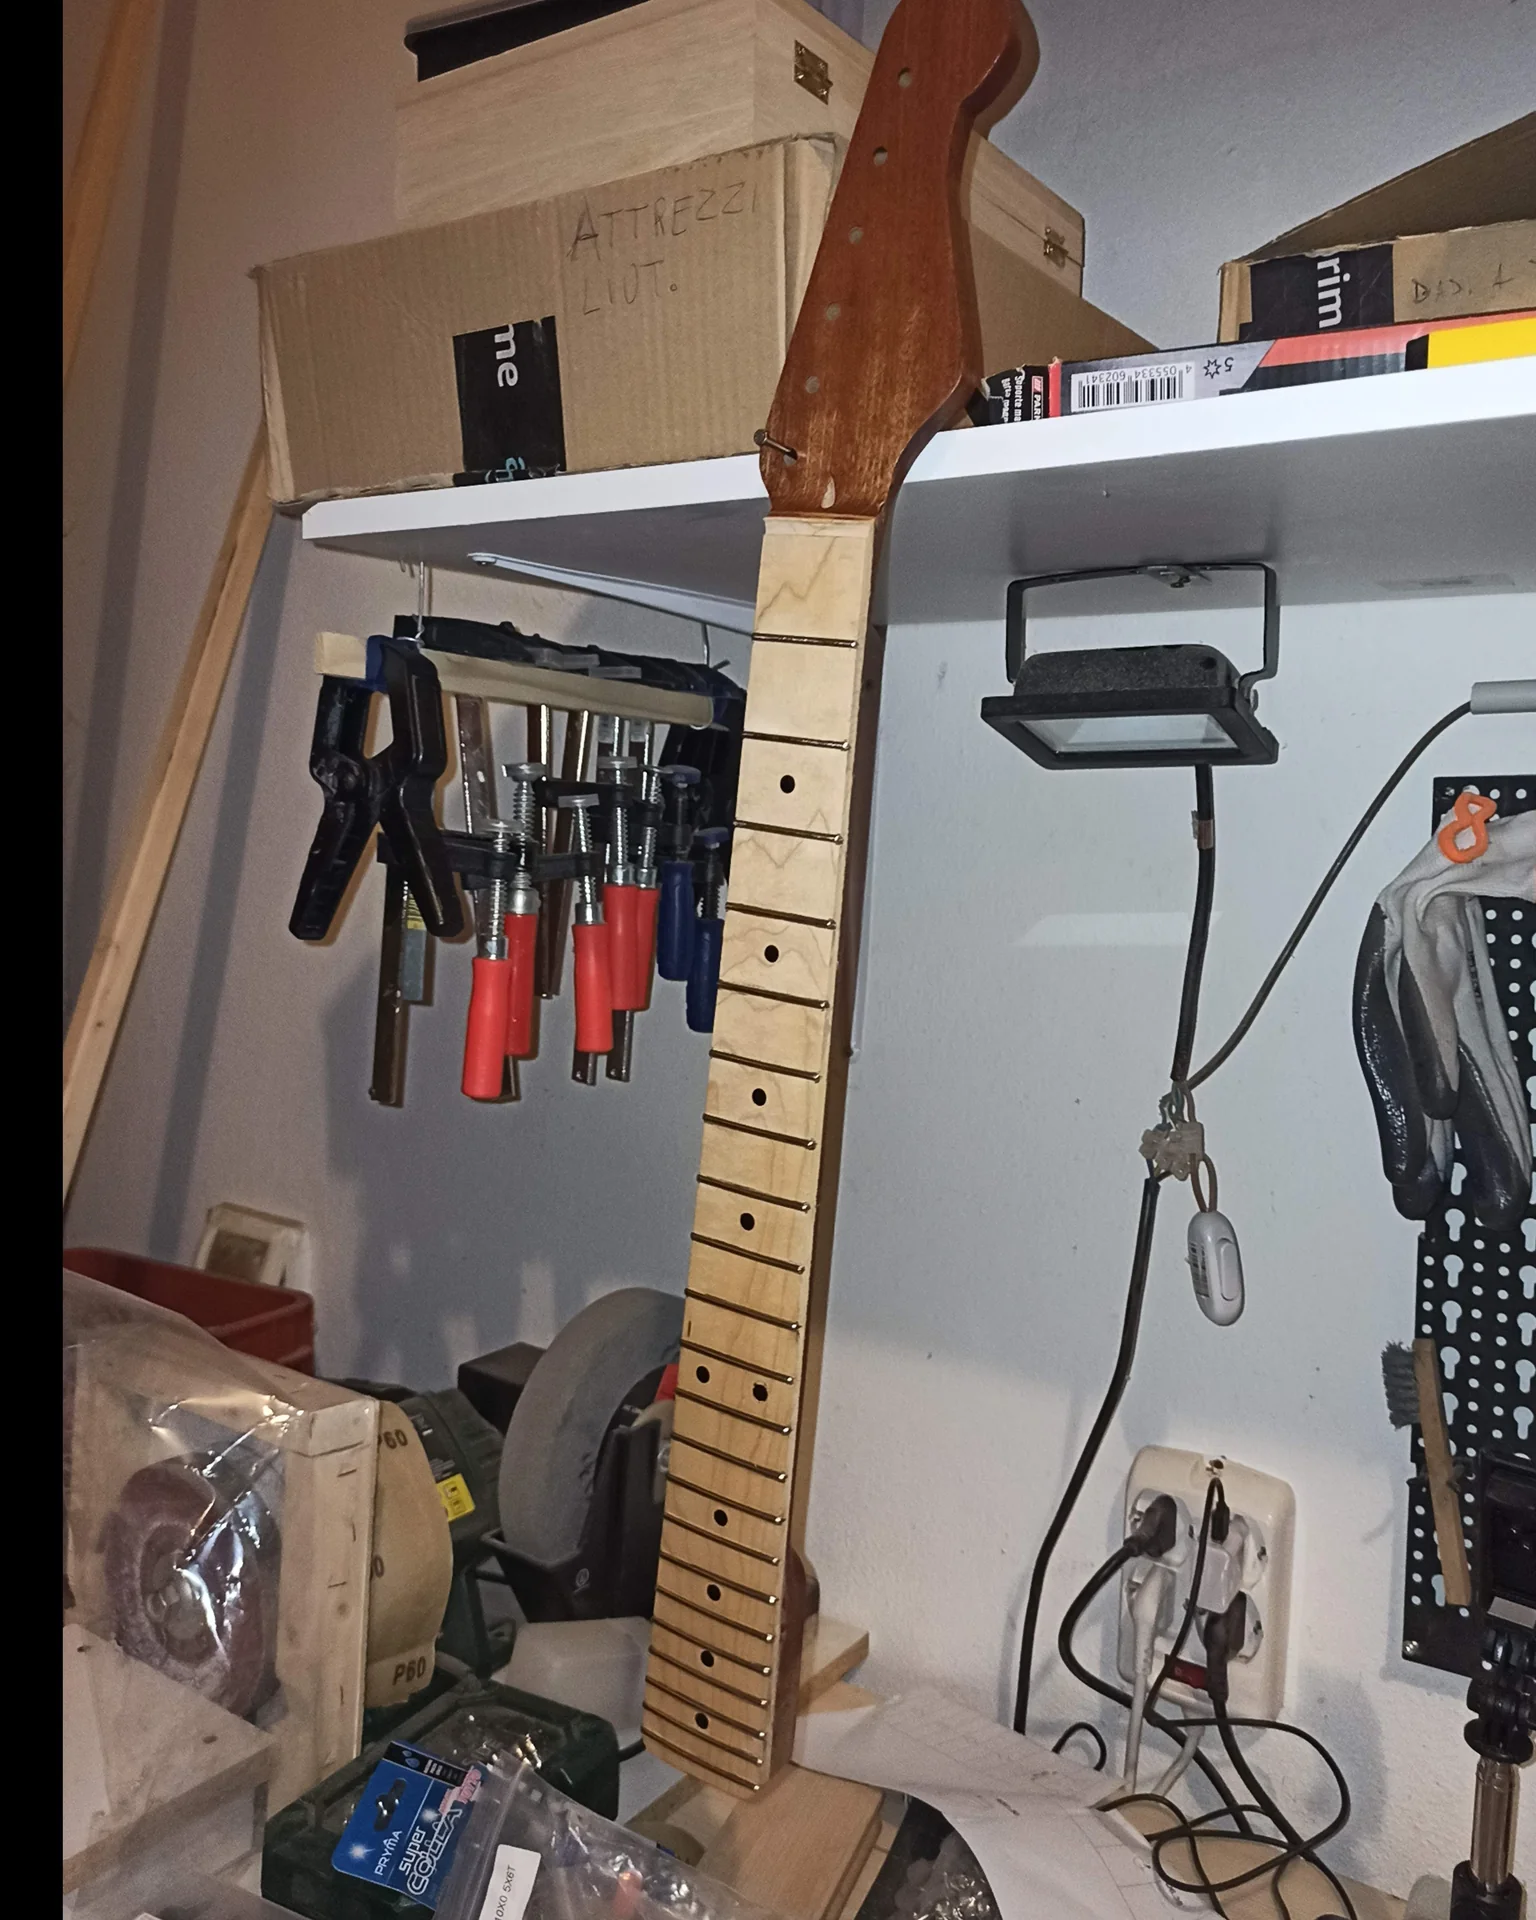
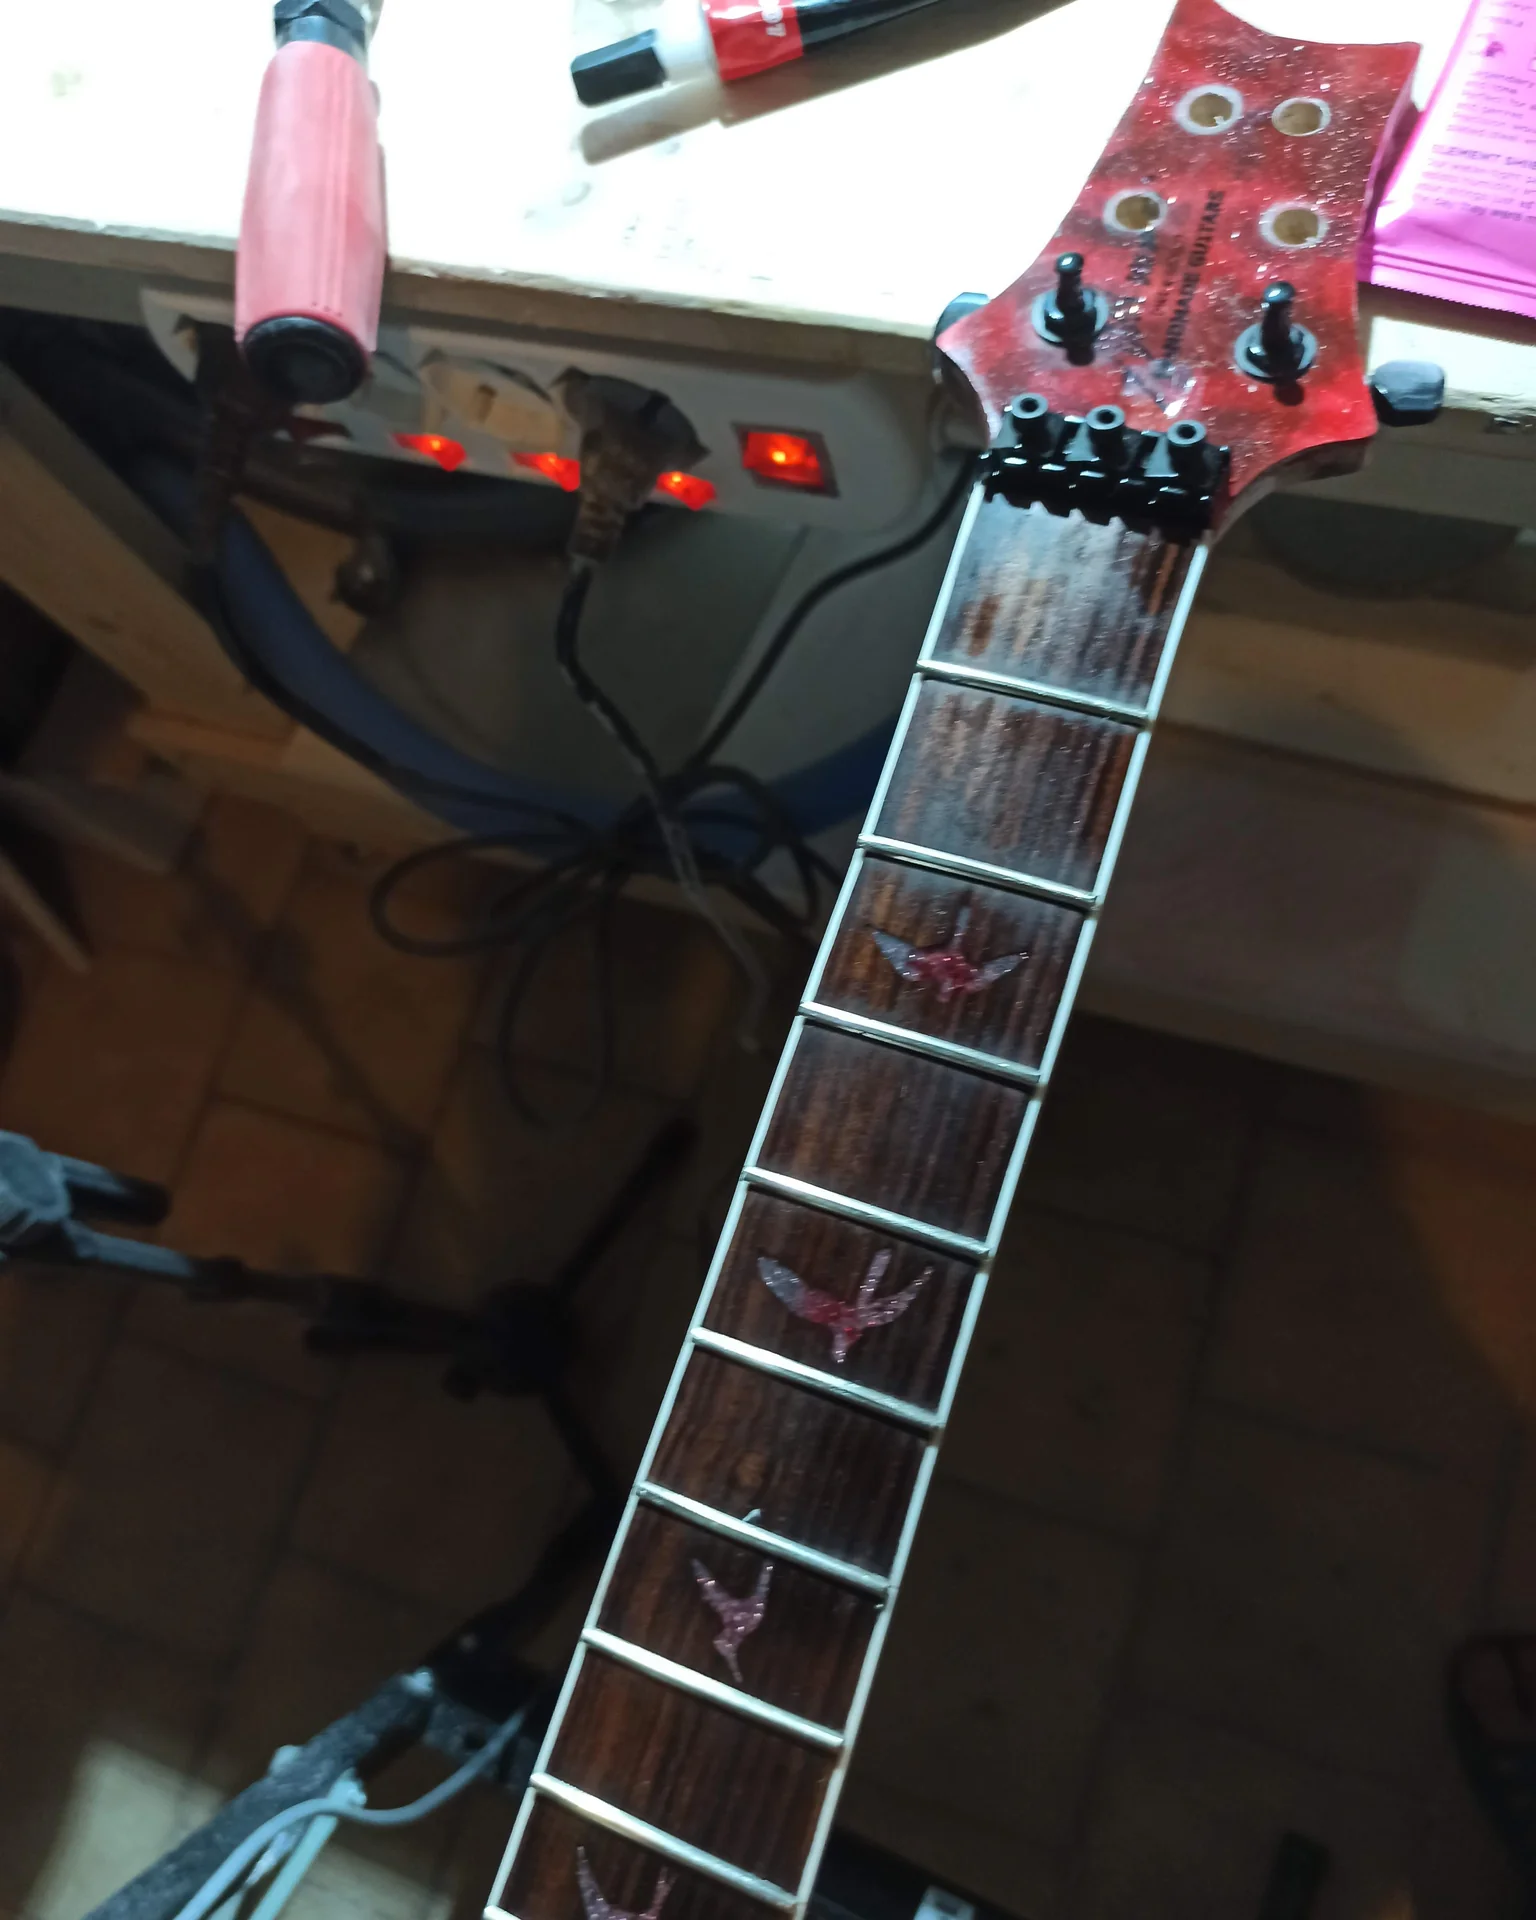
Once you have the neck with the truss rod, it's time for the fretboard. Fretboard Wood: Rosewood, ebony, maple (if you have a maple neck, you can make an integrated fretboard or glue a separate piece). Choose a hard and stable wood. Fret Slot Cutting: This is the moment of truth. Use your template (the one with the calculated measurements) and a fret saw with the right width for your frets. The fret saw has a “depth stop” that prevents you from cutting too deep. Fretboard Gluing: Apply an even layer of glue to the neck and fretboard. Align precisely (use alignment pins to avoid mistakes) and secure with many clamps. Make sure the pressure is uniform across the entire surface. Let it dry for at least 24 hours.
5. Fretting: The Frets, Friends or Foes?
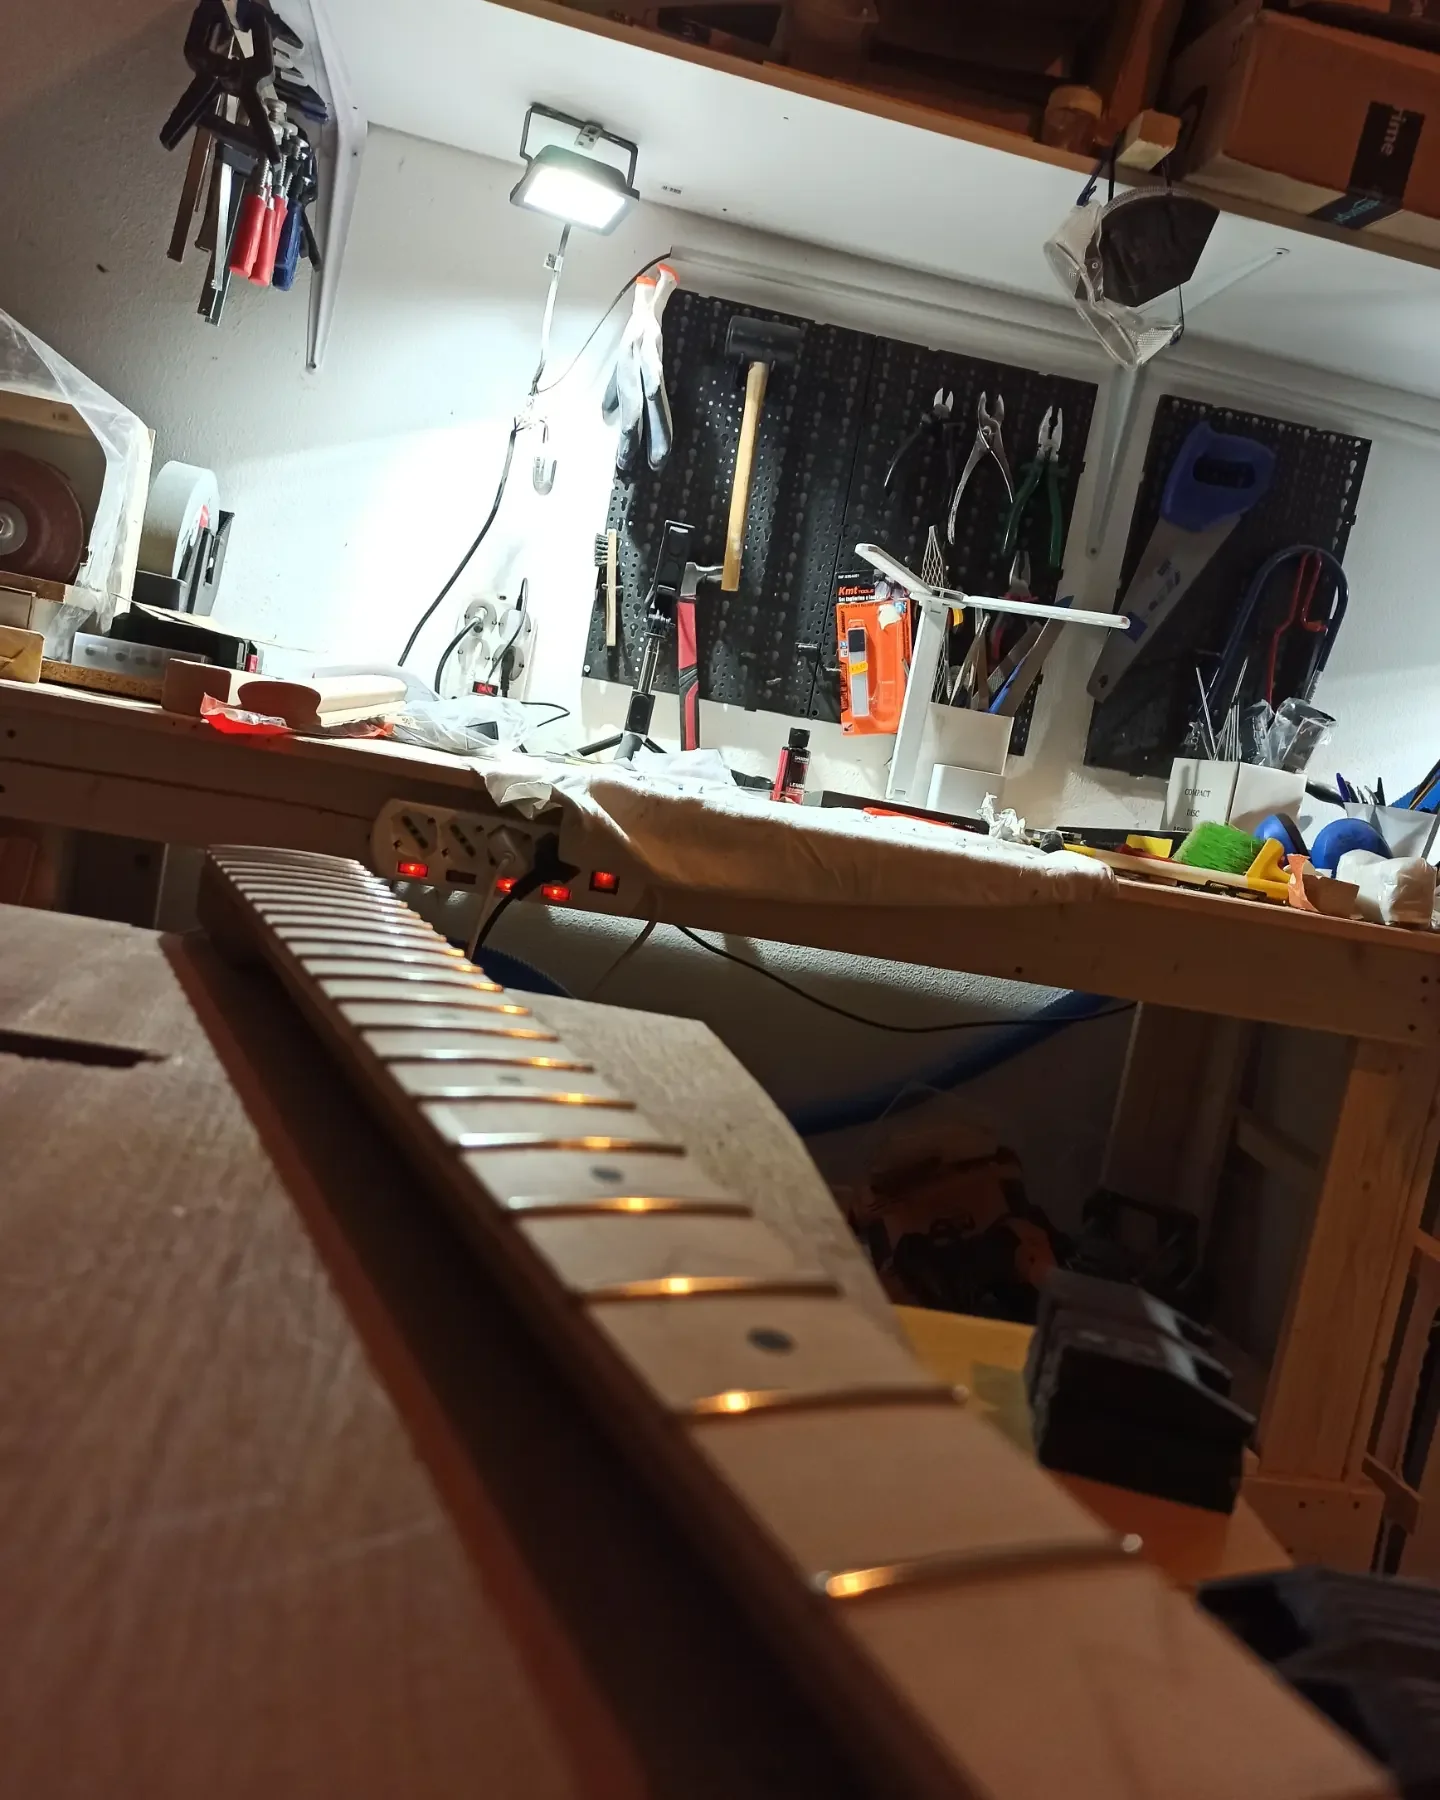
Fretting is an art. For a baritone, with its long scale, precision is even more important. Fret Choice: Choose good quality fret wire. Nickel-silver is the standard, but you can opt for stainless steel for greater durability (harder to work with). The size (medium-jumbo, jumbo) is a matter of personal preference. Installation: Apply a little glue in the slots (super glue or epoxy glue, sparingly!). Insert the frets using a fret hammer or a fret press. Make sure they are well seated and that the ends are flush with the fretboard. Leveling and Beveling: This is the step that separates a playable guitar from one that buzzes everywhere. After installing all the frets, you need to level them with a fret file, ensuring they are all at the same height. Then, bevel the ends and polish the surface. This is a job of patience and precision. If you haven’t done it before, look for specific tutorials or ask a local luthier for help to show you how it's done. 6. Shaping the Neck and Headstock
Once the fretboard is glued and the truss rod is installed, you can shape the neck. Profile: Choose a profile that is comfortable for you (C, D, V). Start by removing excess material with rasps and files, then refine with sandpaper. This is a very personal process. Headstock: Cut the headstock to the desired shape. Drill the holes for the tuners with precision. Make sure they are straight and at the correct distance. A baritone neck is a work of engineering. Take your time, don't rush. Every mistake here is costly. But when you hold it in your hand, shaped, smooth, with shiny frets… well, that's a priceless satisfaction. Body and Assembly: From Board to Sound.
Ok, the neck is (almost) ready. Now it’s time to shape the body, the “body” of our baritone. If the neck is the brain, the body is the heart and lungs. It must be solid, resonant, and fit the neck like a glove. 1. Body Shaping
You have already decided on the shape during the planning phase. Now it’s time to transfer the design onto your piece of wood and start cutting. Template: Use an MDF or plywood template to trace the shape onto the body wood. This will ensure symmetry and precision. Rough Cut: With a band saw or a jigsaw (with a robust blade), cut the body following the line, leaving a couple of millimeters of margin. Finishing with a Router: With a hand router and a bearing bit, finish the edge of the body using the template as a guide. This will give you a smooth and precise edge.
2. The Neck Pocket: The Crucial Cavity
This is perhaps the most delicate step for the neck-body coupling, and consequently, for the sustain and intonation of your guitar. A neck pocket (the cavity where the neck heel is inserted) precise is fundamental. Measurement: Measure the dimensions of your neck heel (width, length, thickness) with extreme precision. Routing: Create a template for the neck pocket. It must be slightly narrower than the neck heel, in order to have a pressure fit. Use a straight router bit and a bearing bit for the routing. Take gradual steps, don't try to dig everything at once. Neck Angle (Neck Angle): For baritones, sometimes a slight neck angle (or a deeper recess on the bridge side) is necessary to achieve the desired action, especially if you use a Tune-o-Matic type bridge. This allows the bridge to be at an adequate height. If the bridge is too high or too low, you will have problems with the string action. Mimmo's Pain Point: “The first time I made the neck pocket too wide. I tried to fill it with glue and sawdust, but it never turned out well. I had to redo the body. From there I learned: better a slightly narrow pocket to widen with sandpaper, than a wide one to fill.” 3. Routing for Pickups and Controls
These are more standard, but precision is still important for a clean job. Templates: Use specific templates for your pickups (Humbucker, Single Coil, P90) and for the control cavity. Routing: With the router, cut the cavities. Make sure the depth is sufficient for the pickups and potentiometers. Connection Holes: Drill the holes for the cables that will go from the pickup cavity to the control cavity, and from there to the output jack.
4. Bridge Placement
This is another crucial moment for intonation. The distance from the nut to the center of the sixth string saddle at the bridge must be exactly your scale length. Measure: Measure from the nut side of the neck (where the fretboard begins) to the scale length. This is where the center of the sixth string saddle of the bridge should be. Compensation: Remember that the bridge saddles must have space to move back for intonation. Therefore, the reference point for bridge placement is usually a little closer to the neck than the exact scale length. Do a test, position the bridge and check that the saddles have space to move back and forth. Drilling: If it's a fixed bridge or Tune-o-Matic, mark and drill the holes for the mounting studs or screws. 5. Hardware Installation and Wiring
Now your baritone begins to take shape. Mechanics: Install the tuners on the headstock. Bridge and Tailpiece: Mount the bridge and, if present, the tailpiece. Pickups and Electronics: Install the pickups, potentiometers, switch, and jack. Perform the wiring following a standard guitar wiring diagram (you can find hundreds online, for example on Seymour Duncan or DiMarzio). Make clean and secure solders. Shielding: To reduce noise, shield the pickup and control cavities with copper tape or conductive paint. Ground the shielding. 6. Wood Finishing
Here you can go wild. Oil, clear coat, lacquer, stain. Preparation: Sand the body with progressively finer grits (from 120 to 400 or 600) to obtain a perfectly smooth surface. Application: Follow the manufacturer's instructions for the type of finish you have chosen. Many thin layers are always better than a few thick layers. Let it dry well between coats. Finishing is a job of patience. Don't rush. A good finish enhances all the work done. Setup and Finishing: When the Devil is in the Details.
You're almost done! Your baritone guitar is assembled, wired, and finished. Now comes the part that transforms a beautiful piece of wood into a playable and enjoyable instrument: the setup. This is a process that cannot be skipped, and for a baritone, it has specificities that are good to know. 1. The Nut (Nut): The Starting Point of Sound
A well-made nut is crucial. If the strings are too high at the nut, the guitar will be hard to play on the first frets and will intonate poorly. If they are too low, it buzzes. Material: Bone, TUSQ or brass are the best choices. I used bone for my first baritone and it works great. Slotting: This is a precision job. Use specific nut files of the right size for your baritone strings. File the slots gradually, checking the string height at the first fret. The ideal height is for the string to be just above the first fret, without touching it when not pressed. Spacing: Make sure the strings are equidistant and well-aligned with the neck. Practical advice: To check the nut height, press the string at the third fret. If there's a small gap between the string and the first fret, you're on the right track. If it touches, it's too low. If the gap is too large, it's too high.
2. String Installation and Initial Tuning
Finally! The strings. For a baritone, you cannot use standard strings. String Gauge: For a 27-28 inch scale and tunings in B or A, a set of 0.012-0.062, 0.013-0.065 or 0.014-0.068 strings is a good starting point. For even lower tunings, you might have to go up to 0.015-0.070 or more. The choice depends a lot on the feel you're looking for and the desired tension. Assembly: Thread the strings through the tuners and bridge. Tune them to the desired tuning. Let the guitar settle for a few hours, tuning it several times. New strings stretch.
3. Truss Rod Adjustment: Neck Relief
Once the strings are under tension, the neck will curve slightly. You need to adjust the truss rod to get the right “relief” (curvature). Checking the Relief: Press the sixth string at the first fret and then at the last fret (or where the neck joins the body). Check the gap between the string and the seventh or eighth fret. There should be a small gap, about the thickness of a business card or a couple of sheets of paper. Adjustment: If the gap is too large (neck too concave), tighten the truss rod (generally clockwise). If the gap is too small or the string touches the frets (neck too straight or convex), loosen the truss rod (counter-clockwise). Make small adjustments (a quarter turn at a time) and wait a few minutes for the wood to settle.
4. Action Adjustment: String Height
The action is the height of the strings from the fretboard. For a baritone, you might prefer a slightly higher action than a standard guitar to avoid fret buzz with thicker strings and different tensions. Measurement: Measure the string height at the 12th or 17th fret. For low tunings, an action between 1.5mm and 2.5mm for the thinnest string and 2mm and 3mm for the thickest string is a good range. Adjustment: The action is mainly adjusted by acting on the bridge screws. If you have a fixed bridge, you might have to slightly file the nut or adjust the neck angle (if possible).
5. Intonation: The Key to Perfect Tunings
This is the last step to ensure your baritone plays well across the entire fretboard. Check: Tune it perfectly. Then, play the open string note, and then the same note by pressing on the 12th fret. They should be identical. Adjustment: If the note at the 12th fret is higher than the open string, the saddle must go back (lengthen the vibrating string length). If it is lower, the saddle must go forward (shorten the vibrating length). Move the saddles back and forth with a screwdriver, making small adjustments and retuning each time. Patience: Intonation is a process that requires time and precision. Don't get discouraged if you don't succeed immediately. Every movement affects the other strings. Final Touches
Cleaning: Clean the instrument thoroughly from dust and processing residues. Polishing: Give the finish a final polish. General Check: Check that all screws are tightened, that there are no hums or unwanted noises. Now you hold your self-built baritone guitar. Pick it up, tune it, play it. Hear that sound. It's the fruit of your patience, your work, your sweat. And believe me, there's nothing more rewarding.
FAQ
Can I use a standard body for a baritone guitar?
Yes, you can use a standard body, but pay attention to the balance. A longer neck can make the guitar “head-heavy”, tending to fall forward. You might need to consider a slightly larger body or one with a shape that helps with balance, or use a wider, more comfortable strap.
What are the indicative costs for building a DIY baritone guitar?
Costs vary enormously. If you start with reclaimed wood and used hardware, you might get by with 200-300 euros. If you buy all new, good quality components (wood for neck and body, hardware, pickups), you can easily exceed 500-800 euros, even reaching over 1000 euros for precious woods and high-end components. Labor, of course, is free!
See also
Download the Luthier Survival Kit
Free PDF with checklist, problem-cause table and project card template.
 English
  Italiano
Stuck on your build?
If you ran into the same problem or have a question, drop it in the comments. I read and reply to every one.
Write a comment