


Ash wood for guitar: the right choice
Let's be honest: when it comes to choosing wood for a new guitar project, your head starts to spin. Mahogany, alder, basswood, maple... and then there's him, theash wood for guitar. A classic, for sure, but also a wood that generates a lot of questions, especially for those who, like me, started building in the garage with a limited budget and a lot of good will.I still remember the first time I got my hands on a piece of ash raw wood. It was for a Telecaster-style body that I wanted to make from scratch. The enthusiasm was sky-high, but also the fear of wasting a good piece of material. I had read everything: "bright sound", "crazy grain", "difficult to finish". In short, a mix that makes you think: "Will I succeed? Or will I end up making a cutting board?"
Well, if you've asked yourself these questions too, you're in the right place. I'm not a professional luthier, I've always said that. I'm someone who has tried, made mistakes, learned, and now tells you what I've understood. The goal here is not to give you an academic lesson, but to give you the tools, tips, and some anecdotes to tackle instrument wood in ash without giving you an ulcer.
Let's start from the beginning: why is ash so popular, especially for certain iconic guitars? And above all, how do you choose, work, and finish it to get a result that doesn't make you regret not having bought a pre-made body?
Ash: It's not all the same. And here's the catch (or the luthier)
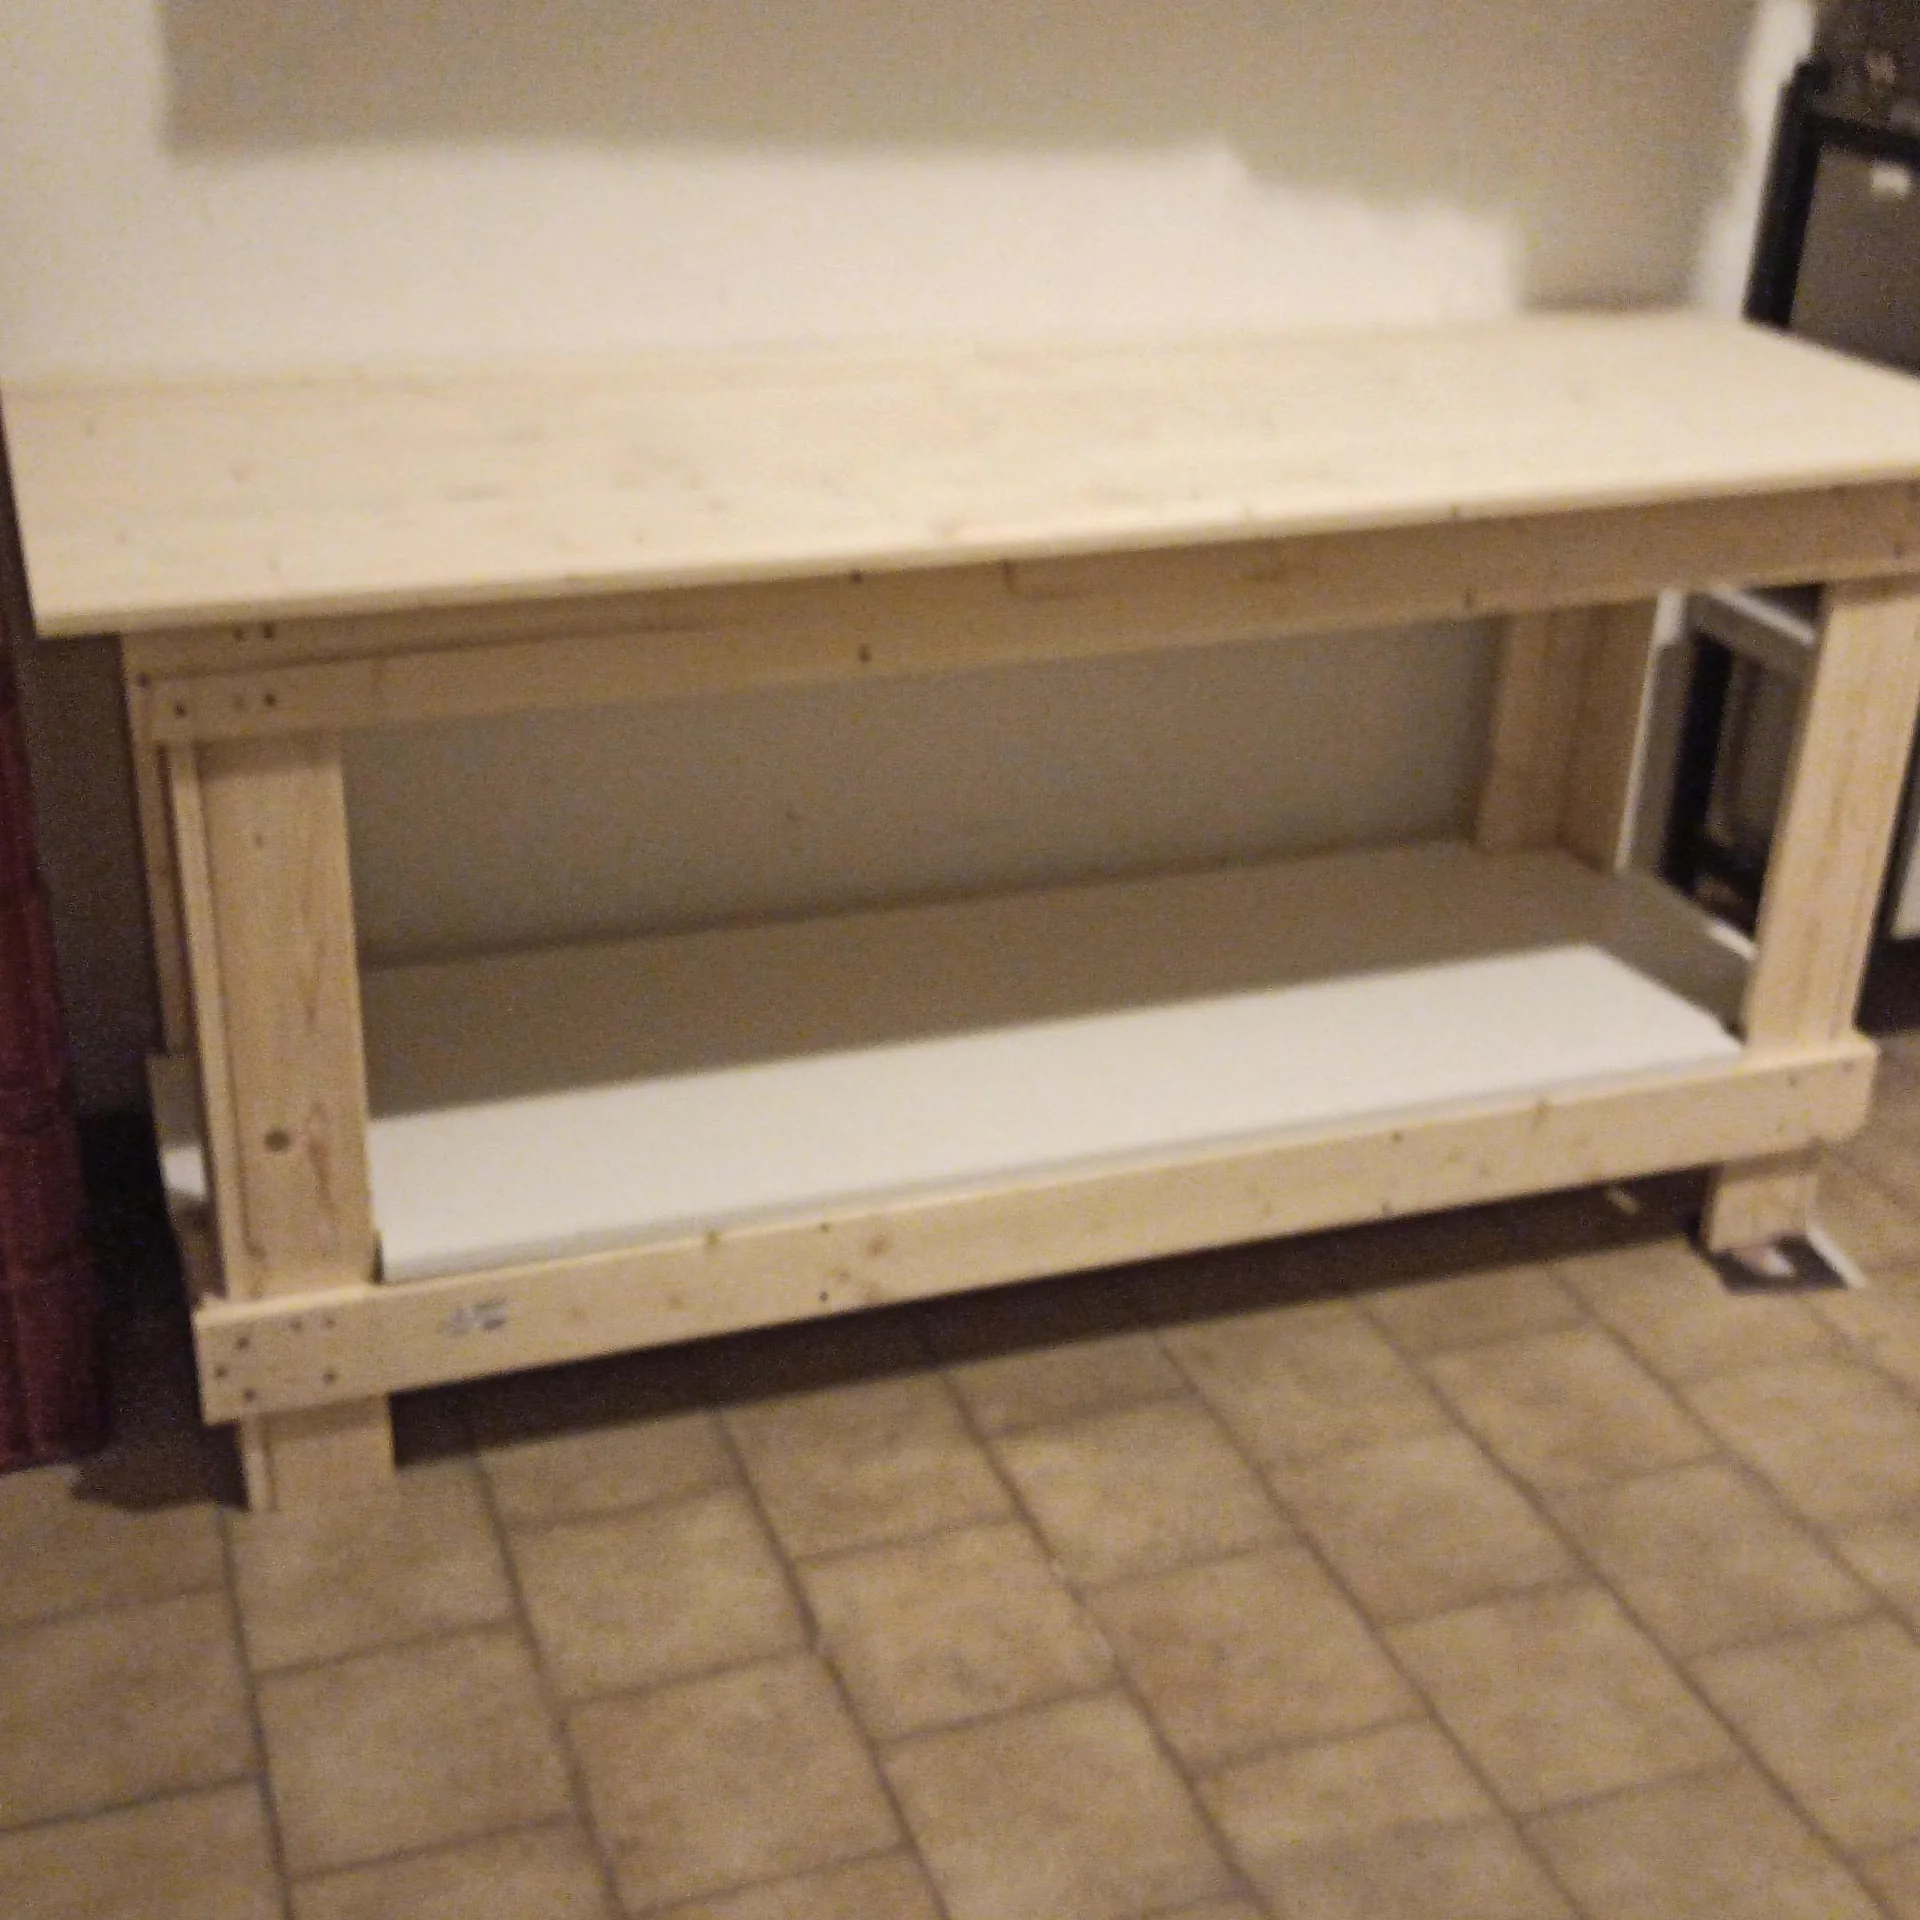
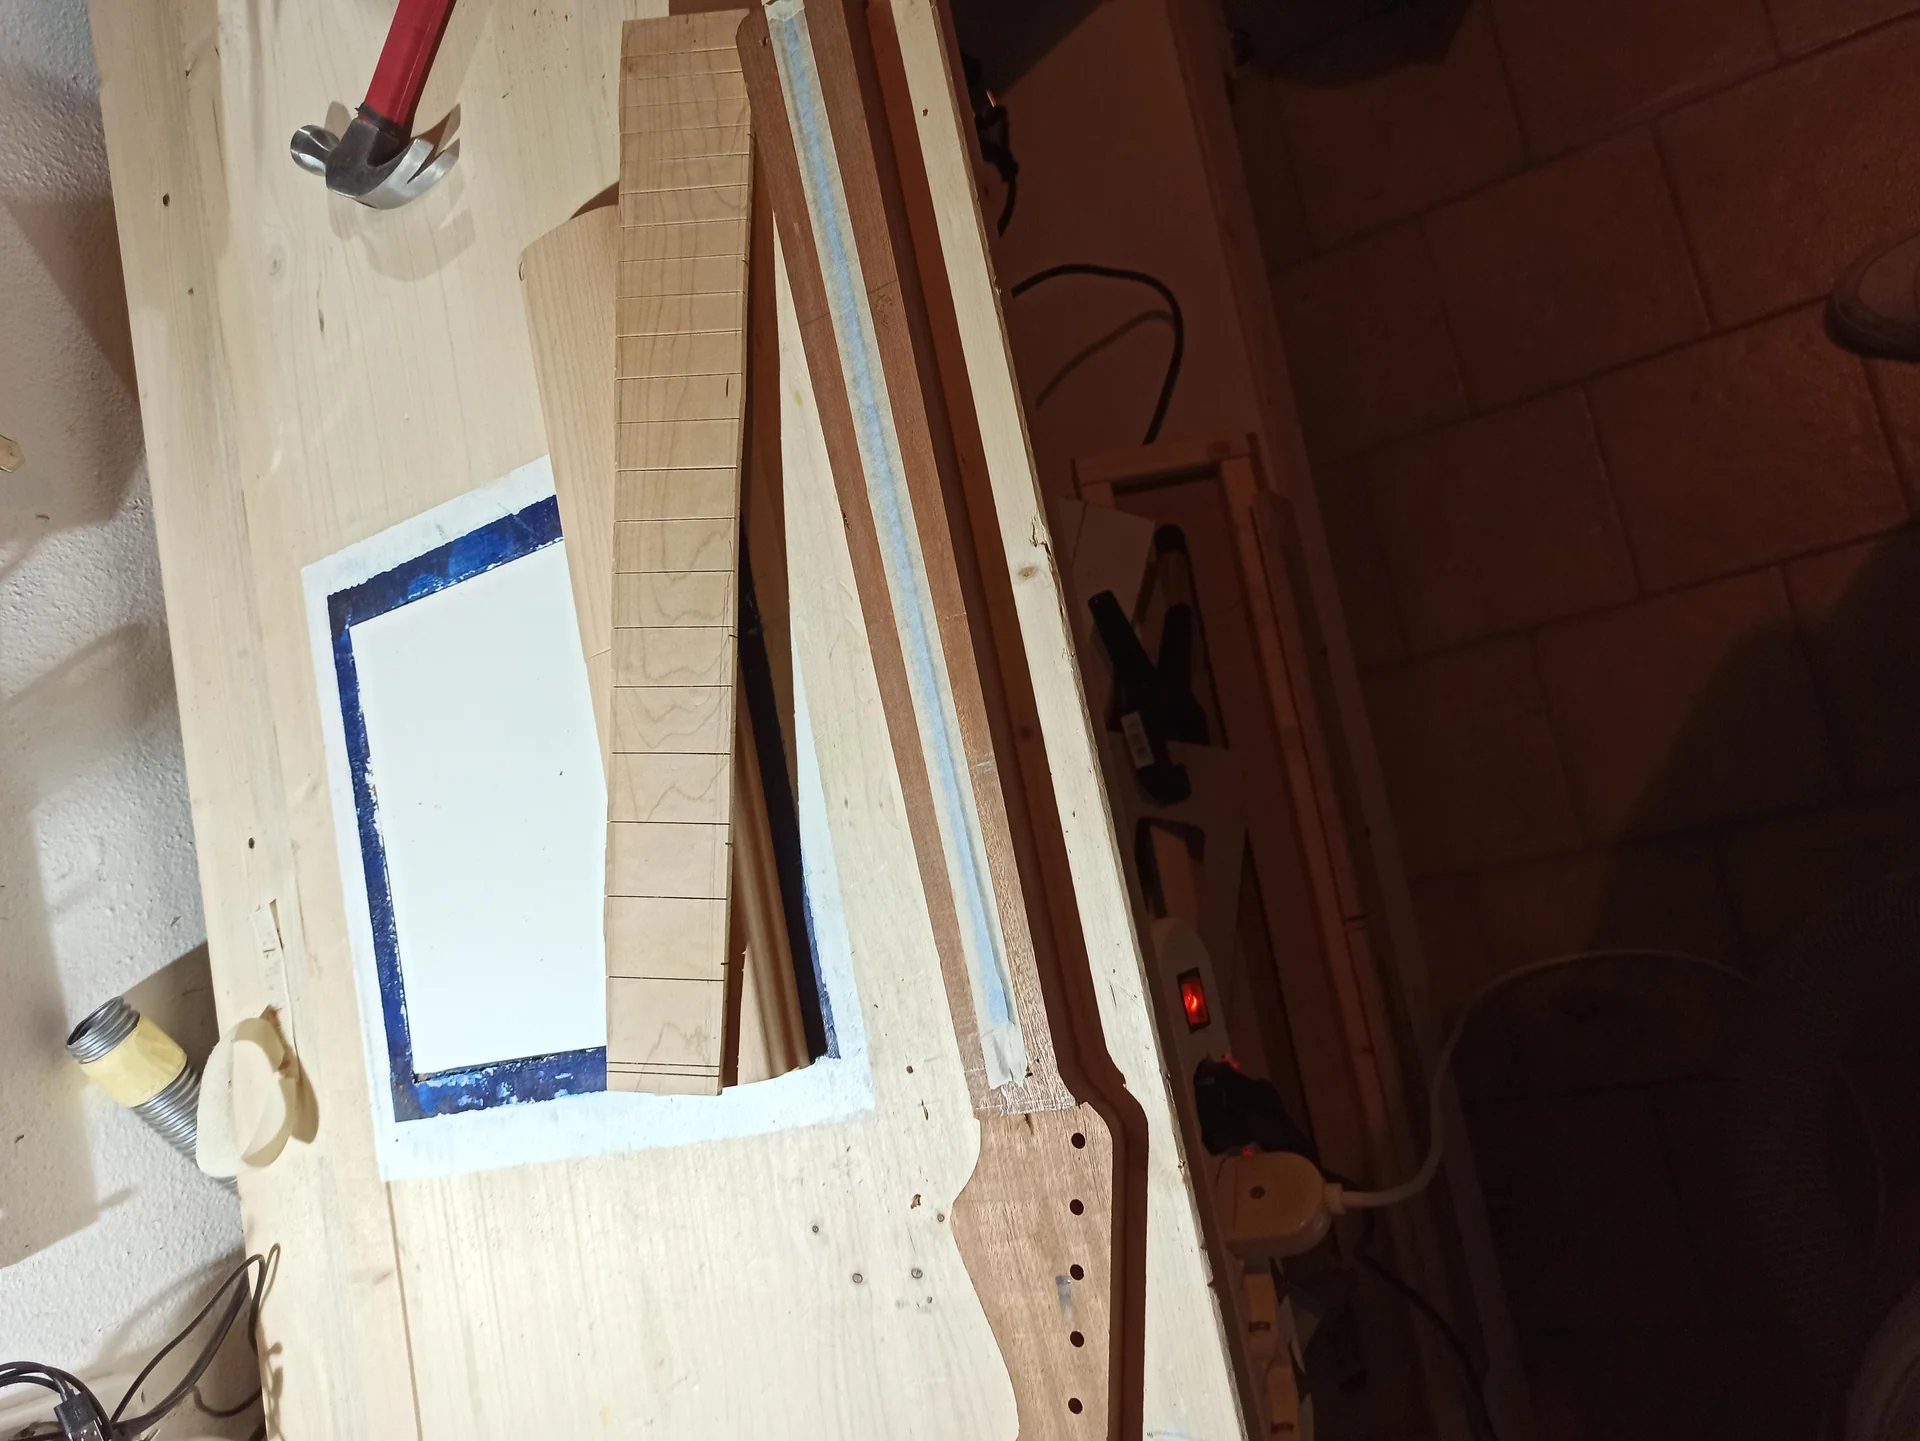
Okay, we've understood that not all ash trees are the same. But beyond the differences between Swamp and Hard, what are the general pros and cons of using ash body for your next creation? ### The Advantages that won me overnn1. Characteristic Sound: Ash has an unmistakable tone. It's bright, with a decisive attack and remarkable sustain. For genres like blues, country, funk, and classic rock, it's a fantastic sonic foundation. If you're looking for clarity and definition, ash rarely disappoints.n2. Crazy Aesthetics: The open and pronounced grain of the ash body is, for me, one of its strengths. Each piece is unique, with grain patterns that look painted. With a transparent finish or a beautiful sunburst, the visual effect is simply spectacular. It's a wood that “shows itself off”, and that's no small thing for a guitar that also needs to be beautiful.n3. Strength and Stability: Although it can be light (in the case of Swamp Ash), ash is a robust and stable wood. Once properly seasoned, it maintains its shape well and resists temperature and humidity fluctuations, which is fundamental for the structural stability of an instrument.n4. Versatility: Despite its defined character, ash pairs well with a wide range of pickups and configurations. You can combine it with single coils for a more traditional sound or with humbuckers for higher output and a fuller tone, without losing its distinctive clarity. ### The Disadvantages that made me sweat (and curse) 1. The Open Grain: Love and Hate: While on one hand it's beautiful, on the other it's the main reason many hobbyists get scared. The porosity of the ash guitar wood means that, to achieve a smooth, mirror-like finish, a grain filler. Skipping this step means having a “holey” finish, with the wood pores visible and tangible. And believe me, the first time I tried to apply the clear coat without properly filling the pores, I had a shock. It looked like the lunar surface!n2. Weight Consistency: Especially with Swamp Ash, finding two pieces with the same weight can be a challenge. This means that if you order online, you might end up with a body lighter or heavier than expected. It's a lottery, and you don't always win the “featherweight” jackpot.n3. Risk of Tear-out: During processing, especially with a router or planing, the open fibers of ash can tear out if the tools are not extremely sharp or if you don't work in the right grain direction. An error here can ruin a contour or a cavity, forcing you to fill, sand, and pray. I have a body with a small “bite” on the edge that still reminds me to always sharpen the bits.n4. Cost: In general, good quality ash, especially light and well-seasoned Swamp Ash, can cost a bit more than other common woods like basswood or lower quality alder. It's an investment, so it's even more important not to make mistakes during processing.
In short, the ash wood is a material that rewards you with fantastic sound and aesthetics, but requires a bit more attention on the workbench. It's not a wood for the hasty or for those who don't love details. But if you have patience, the result will fill you with pride.
Working with Ash: Practical Tips and Tools
Donner DST-100S 39 Inch Full Size Electric Guitar Kit Solid Body Sunburst, Beginner Starter, with Amplifier, Bag, Capo, Strap, String, Tuner, Cable, Picks
See on Amazon

Your goal is a smooth body, with precise cavities and perfect edges. Sounds easy, right? It's not, but with a few tips and without rushing, you'll get there. ### 1. Cutting and Roughingnn Planning: First of all, a good template is essential. Don't go freehand, unless you're a carpenter with decades of experience. I use 6mm or 10mm MDF templates, secured with strong double-sided tape.
Bandsaw or jigsaw: For cut the rough shape of the body, use a bandsaw if you have one, otherwise a good jigsaw with a blade suitable for hardwood. Always stay a couple of millimeters out from the edge of the template. Don't look for perfection at this stage, you'll do it later with the router.
Grain Direction: Pay attention to the grain direction of the instrument wood. Try to cut so that the fibers are as parallel as possible to the cutting direction, this reduces the risk of tear-out. ### 2. Routing of Cavities and ContoursnnThis is the most critical phase with the ash body. An error here is difficult to recover from. Sharp Router Bits, Always: I cannot stress this enough. A dull router bit on ash is a recipe for disaster. It overheats, burns the wood, and, even worse, brutally tears the fibers. Invest in good carbide bits and, if you use them a lot, learn to sharpen them or have them sharpened.
Light Passes: Don't try to remove too much material at once. Make shallow passes, 3 to 5 mm at most for cavities. For contours, even less. This reduces the strain on the router bit and the wood, minimizing the risk of tear-out.
Climb Cut (up-cut) and Conventional Cut (down-cut): For contours, use a climb cut light (moving the router in the opposite direction of the bit's rotation) for the first superficial pass, to clean the outer fibers, and then proceed with a conventional cut (in the same direction of rotation) for deeper passes. This helps prevent tear-out on the edges. I ruined a body trying to do everything in one go, and the edge frayed. Never again.
Fixing: Make sure the body is securely clamped to the workbench. It must not move a millimeter. Use sturdy clamps and, if necessary, scrap wood blocks.
Drilling: For potentiometer holes, jack, etc., use sharp drill bits and always place a piece of scrap wood under the exit point of the bit. This prevents fiber tear-out when the bit exits the wood. For the neck pocket hole, use a jig. ### 3. Sanding: Patience is a Virtue
Sanding on the ash wood is fundamental, not only for sanding but also for preparing the wood for grain filler and finishing. Gradual Progression: Start with a coarse grit, like P80 or P100, to remove router or planer marks. Then gradually move up: P120, P180, P220. Never skip a grit! Each grit removes the scratches left by the previous one. If you skip, the coarser scratches will remain visible under the finish. And there, my friend, you're in trouble.
Sanding Block: Always use a sanding block, do not sand freehand. It helps keep surfaces flat and even. For contours, you can use abrasive sponges or shaped blocks.
Cleaning: After each grit step, thoroughly clean the body of sanding dust. Use compressed air or a slightly damp cloth (and make sure the wood is completely dry before moving to the next grit or filler). Residual dust can clog the next sandpaper or cause problems with the filler. A little Mimmo style trick: To check for residual scratches, after sanding with P220, slightly dampen the wood surface with a damp cloth. This will make the fibers “rise” and reveal any scratches you hadn't noticed. Let it dry completely and then sand only the problematic spots again with the same grit. It's an extra step that saves you a lot of headaches later.
Finishing on Ash: Bringing out the character (or hiding defects)
Here we are at the part that can make or break your project: the finish. With the ash wood for guitar, the finish is an art in itself, mainly due to its open grain. There's no escaping it here: either you accept an “open pore” finish (open pores) or you make peace with it and use the grain filler.I've tried both ways. The first time, naive, I thought: “Oh well, a few pores won't be visible.” Oh, they were visible alright! It looked like the body had chickenpox. Since then, I've learned that grain filler is your best friend for a mirror finish. ### 1. Grain Filling: Your best friend for a smooth finish Grain filler is a dense paste used to fill the pores of wood. It's a step that requires time and patience, but it's essential for a perfect finish. Filler Choice: There are water-based or solvent-based fillers. I prefer water-based ones for cleanliness and less intense odor, but both work. You can find them transparent, white, black, or colored. If you want to enhance the grain, a black or contrasting colored filler can create a dramatic effect. If you want a more uniform look, opt for a transparent filler or one that matches the wood color.
Application:
1. Preparation: Make sure the wood is sanded up to P220 and completely clean of dust.
2. Application: Apply the filler generously with a rubber spatula, pushing it well into the pores. Work on small sections at a time. Don't be afraid to overdo it, we'll remove the excess.
3. Partial Drying: Let the filler dry for the time indicated by the manufacturer (usually 15-30 minutes, until it becomes opaque but not completely hard).
4. Excess Removal: This is the crucial step. With a rubber spatula or a piece of rigid cardboard, scrape off the excess filler across the grain. Do not go along the grain, otherwise you'll pull the filler out of the pores! The goal is to leave the filler only inside the pores.
5. Final Cleaning: With a burlap cloth or a microfiber cloth, gently clean the surface, always going against the grain to remove any residue.
6. Complete Drying: Let the filler dry completely, even 24 hours or more, depending on the product and humidity.
7. Light Sanding: Once dry, lightly sand with P320 or P400 to remove any filler residue and make the surface perfectly smooth.
Repetition: If the grain is very open (as often happens with Swamp Ash), a second layer of filler may be necessary to fill all pores. Don't be discouraged, it's normal.
My favorite anecdote about grain filler is the time I used a black filler on a natural Swamp Ash body. The contrast was crazy, the grain almost looked 3D. A long job, but the final satisfaction was immense. ### 2. Types of Finishes: Which to choose for your ash body?
Once the grain filler is in place and the surface is smooth as silk, you can proceed with the actual finishing. Oil Finish (Oil Finish): Pros: It is the easiest to apply for a hobbyist, it highlights the natural grain of the wood in an incredible way, and gives a very natural feel to the touch. Any repairs are simple.
Against: It offers less protection from humidity and impacts compared to other finishes, and sustain might be slightly lower (although it's an endless debate). It requires periodic maintenance.
Mimmo says: If you want a natural look and aren't afraid of a bit of maintenance, oil is a fantastic choice. I often use it for necks, but also for bodies where I want to “feel” the wood.
Polyurethane Finish (Polyurethane – Poly): Pros: Extremely durable, it offers excellent protection and a glossy, durable finish. It is relatively easy to apply with a good spray gun and dries quickly.
Against: It can tend to create a thicker layer that, according to some, “muffles” the sound of the wood a bit. Repairing deep scratches can be complex.
Mimmo says: For a workhorse guitar that needs to withstand anything, poly is the practical choice. A good compromise between protection and aesthetics.
Nitrocellulose Finish (Nitrocellulose Lacquer – Nitro): Pros: The vintage finish par excellence. It is thin, allows the wood to “breathe” (even if it's a somewhat romantic concept), ages beautifully (checking, yellowing) and is easier to repair than poly. Many believe it improves resonance.
Against: It is much more difficult for a hobbyist to apply (requires many coats, long drying, specific equipment), it is toxic, flammable, and less resistant to impacts and some solvents (like those in guitar stands).
Mimmo says: If you want the vintage look and feel, nitro is the way to go. But be prepared for a long and complex process, with all the necessary safety devices. It's not for the faint of heart, and the first time I made a mess that looked like orange peel.
Whatever finish you choose, remember: preparation is 90% of the job. Good grain filling and accurate sanding will save you a lot of frustration and guarantee a result you'll be proud of.
Sound Considerations and Combinations: Making your sound best ash wood
We have the body ready, beautiful, smooth and finished. Now we have to make it sound. How does the sonic character of the ash wood for guitar integrate with the rest of the components? This is the part where choices become personal, but there are guidelines that can help you.Ash, I repeat, has a bright sound, with a fast attack and good sustain. This means it’s an excellent base for guitars that require clarity and definition. ### Pickup Choicenn Single Coil: If you’re aiming for the classic Fender sound (Telecaster, Stratocaster), single coils are the obvious choice. Ash enhances the brightness and the “bell-like” tone typical of these pickups.
For Strat: Vintage-sounding pickups, perhaps with Alnico V magnets for a bit more punch, or Alnico II for a softer, warmer touch. Ash will balance their brightness well.
For Tele: Traditional Telecaster pickups. The ash bridge pickup is legendary for its twang and aggression.
Humbucker: Although ash is often associated with single coils, it also works very well with humbuckers.
Vintage/PAF Style Humbuckers: If you want a warmer, fuller sound without losing the clarity of ash, opt for humbuckers with moderate output. The wood will help maintain definition even with a bit of gain.
High Output Humbuckers: For more aggressive genres, ash can provide an excellent foundation. Its natural clarity will prevent the sound from becoming too muddy, even with powerful pickups. I mounted P.A.F. type humbuckers on a Swamp Ash body and the result was a guitar that sang with incredible clarity, even under distortion. ### Neck ChoicennThe neck is the other half of the tonal equation. Maple with Maple fretboard: This is the most common combination with ash, and for good reason. Maple is bright and adds further attack and clarity, reinforcing the characteristics of ash. It’s the classic setup for many Strats and Teles.
Maple with Rosewood fretboard: Rosewood tends to soften the highs a bit and add some warmth and complexity to the mids. It can be an excellent choice if you find the pure ash/maple combination a bit too bright for your taste.
Mahogany with Rosewood fretboard: A less common, but interesting, combination with ash. Mahogany is warmer and has more mids, which can balance the brightness of ash and add a more “singing” sustain. If you’re looking for a thicker, rounder sound, but with the attack of ash, you might try it. ### Bridge and Hardwarenn Fixed Bridges vs. Tremolo: Ash performs well with both. A fixed bridge (like a hardtail for Telecaster or Tune-o-matic) will maximize sustain and direct attack. A tremolo (like a Synchronized Tremolo for Stratocaster) will introduce some resonance and different harmonics, but ash will maintain its underlying clarity.
Bridge Material: Steel or brass bridges tend to enhance high and mid frequencies, which pairs well with the character of ash.
Remember that these are all just guidelines. The most important thing is to experiment and find the combination that sounds best for you. There’s no right or wrong answer, just the one that makes you smile when you play it. And if the sound doesn’t convince you right away, don’t despair! There are a lot of things you can do to modify your guitar, starting with the pickups or electronics. That’s the beauty of DIY, isn’t it?
Common Mistakes to Avoid (and that I made for you)
I wouldn't be Mimmo if I didn't also tell you about the mistakes I made, so maybe you can avoid them. Building a guitar is a journey, and mistakes are part of the game. The important thing is to learn. 1. Don't Choose the Right Type of Ash: As I said at the beginning, the first mistake was thinking that “ash” was a monolith. I bought a piece of very heavy northern hard ash for a guitar I wanted to be light. Result? A body that weighed like a brick. If you want lightness and a more “vintage” sound, look for Swamp Ash. If weight doesn't scare you and you're looking for more brightness, Northern Hard Ash is fine.n2. Underestimating Sanding and Grain Filler: This is the classic beginner's mistake of wanting to finish quickly. “Oh yes, another pass of P220, who's going to notice it?” You will notice it, when the finish is dull and full of scratches. And above all, if you don't use grain filler on ash, prepare for a “open-pore” finish that can be beautiful for certain looks, but which is often just a sign of laziness. I spent hours trying to fix imperfect finishes, and I assure you it's better to spend 3 more hours sanding and filling than 10 hours refinishing from scratch.n3. Using Unsharpened Tools: Ash is a tough wood due to its open fibers. A router with a dull bit will give you a tear-out* that will make you want to throw everything out the window. The same goes for drill bits. Get into the habit of always checking the sharpness of your tools before you start working on wood. You'll save yourself a lot of frustration and, above all, you won't ruin your precious ash wood.n4. Rushing: Luthiery is an art of patience. Every step requires its time, from glue drying to finish hardening. If you try to speed things up, you will almost certainly end up making a mess. Let the grain filler dry for the necessary time, don't rush to apply the next finish. Haste is the number one enemy of DIY.n5. Don't Protect Yourself: Ash dust is fine and irritating. Finish solvents are toxic. Always wear a dust mask (a real FFP2 or FFP3 mask, not a handkerchief), safety glasses, and gloves. Your health is more important than any guitar. I learned this by coughing for days after a sanding session without a mask.Conclusions: If I succeeded…
I hope this guide on ash wood for guitar has given you the information and confidence needed to tackle your next project. It's not a difficult wood, but it requires respect and attention to detail. It's not a forgiving wood for superficiality, but it rewards you with a truly unique result.Remember, you don't have to be a master luthier to build a fantastic guitar. You just need to have a desire to learn, patience
 English
  Italiano