

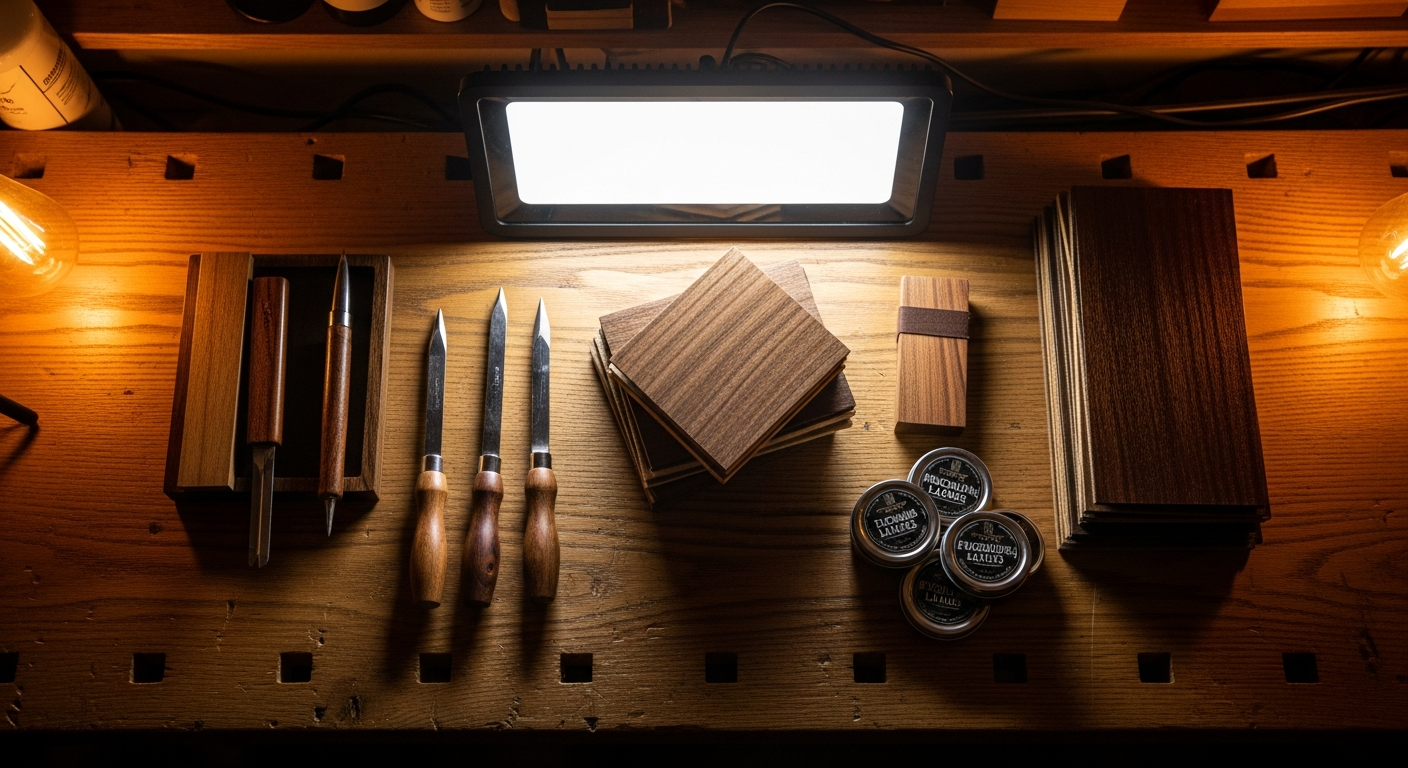
Electric Guitars: Which Wood to Choose? Guide.
So, let’s be clear: when you decide to get down to it, in the garage, to take out your guitar electric, the first thing that stops you is almost always the same. “But what wood are electric guitars made of that matter? And I, with my hobbyist tools, what can I use without making a mess?”. I’ve been there too. Many nights on Reddit, reading endless discussions, with people arguing about mahogany vs. alder as if it were a religious war.The truth is that there is no “perfect” wood in absolute terms. There is the right wood for that project, for that sound you have in mind, and above all, for your hands and your tools. We are not professional luthiers here, we don’t have CNC routers worth thousands of euros. We work with a Dremel, a band saw that makes a bit of noise and a lot, a lot of patience. And believe me, incredible results can be achieved.
What I want to do today is give you a compass. I’ll tell you what I’ve learned, what woods I’ve used (and which ones I’ve avoided, maybe after hitting my head on them), and how you can make your choice without getting a stomach ache. Because if I managed it, who the first time almost turned a nice piece of ash into a crooked coffee table, you can do it too.
It’s not just about sound: wood matters (and I’ll explain why)
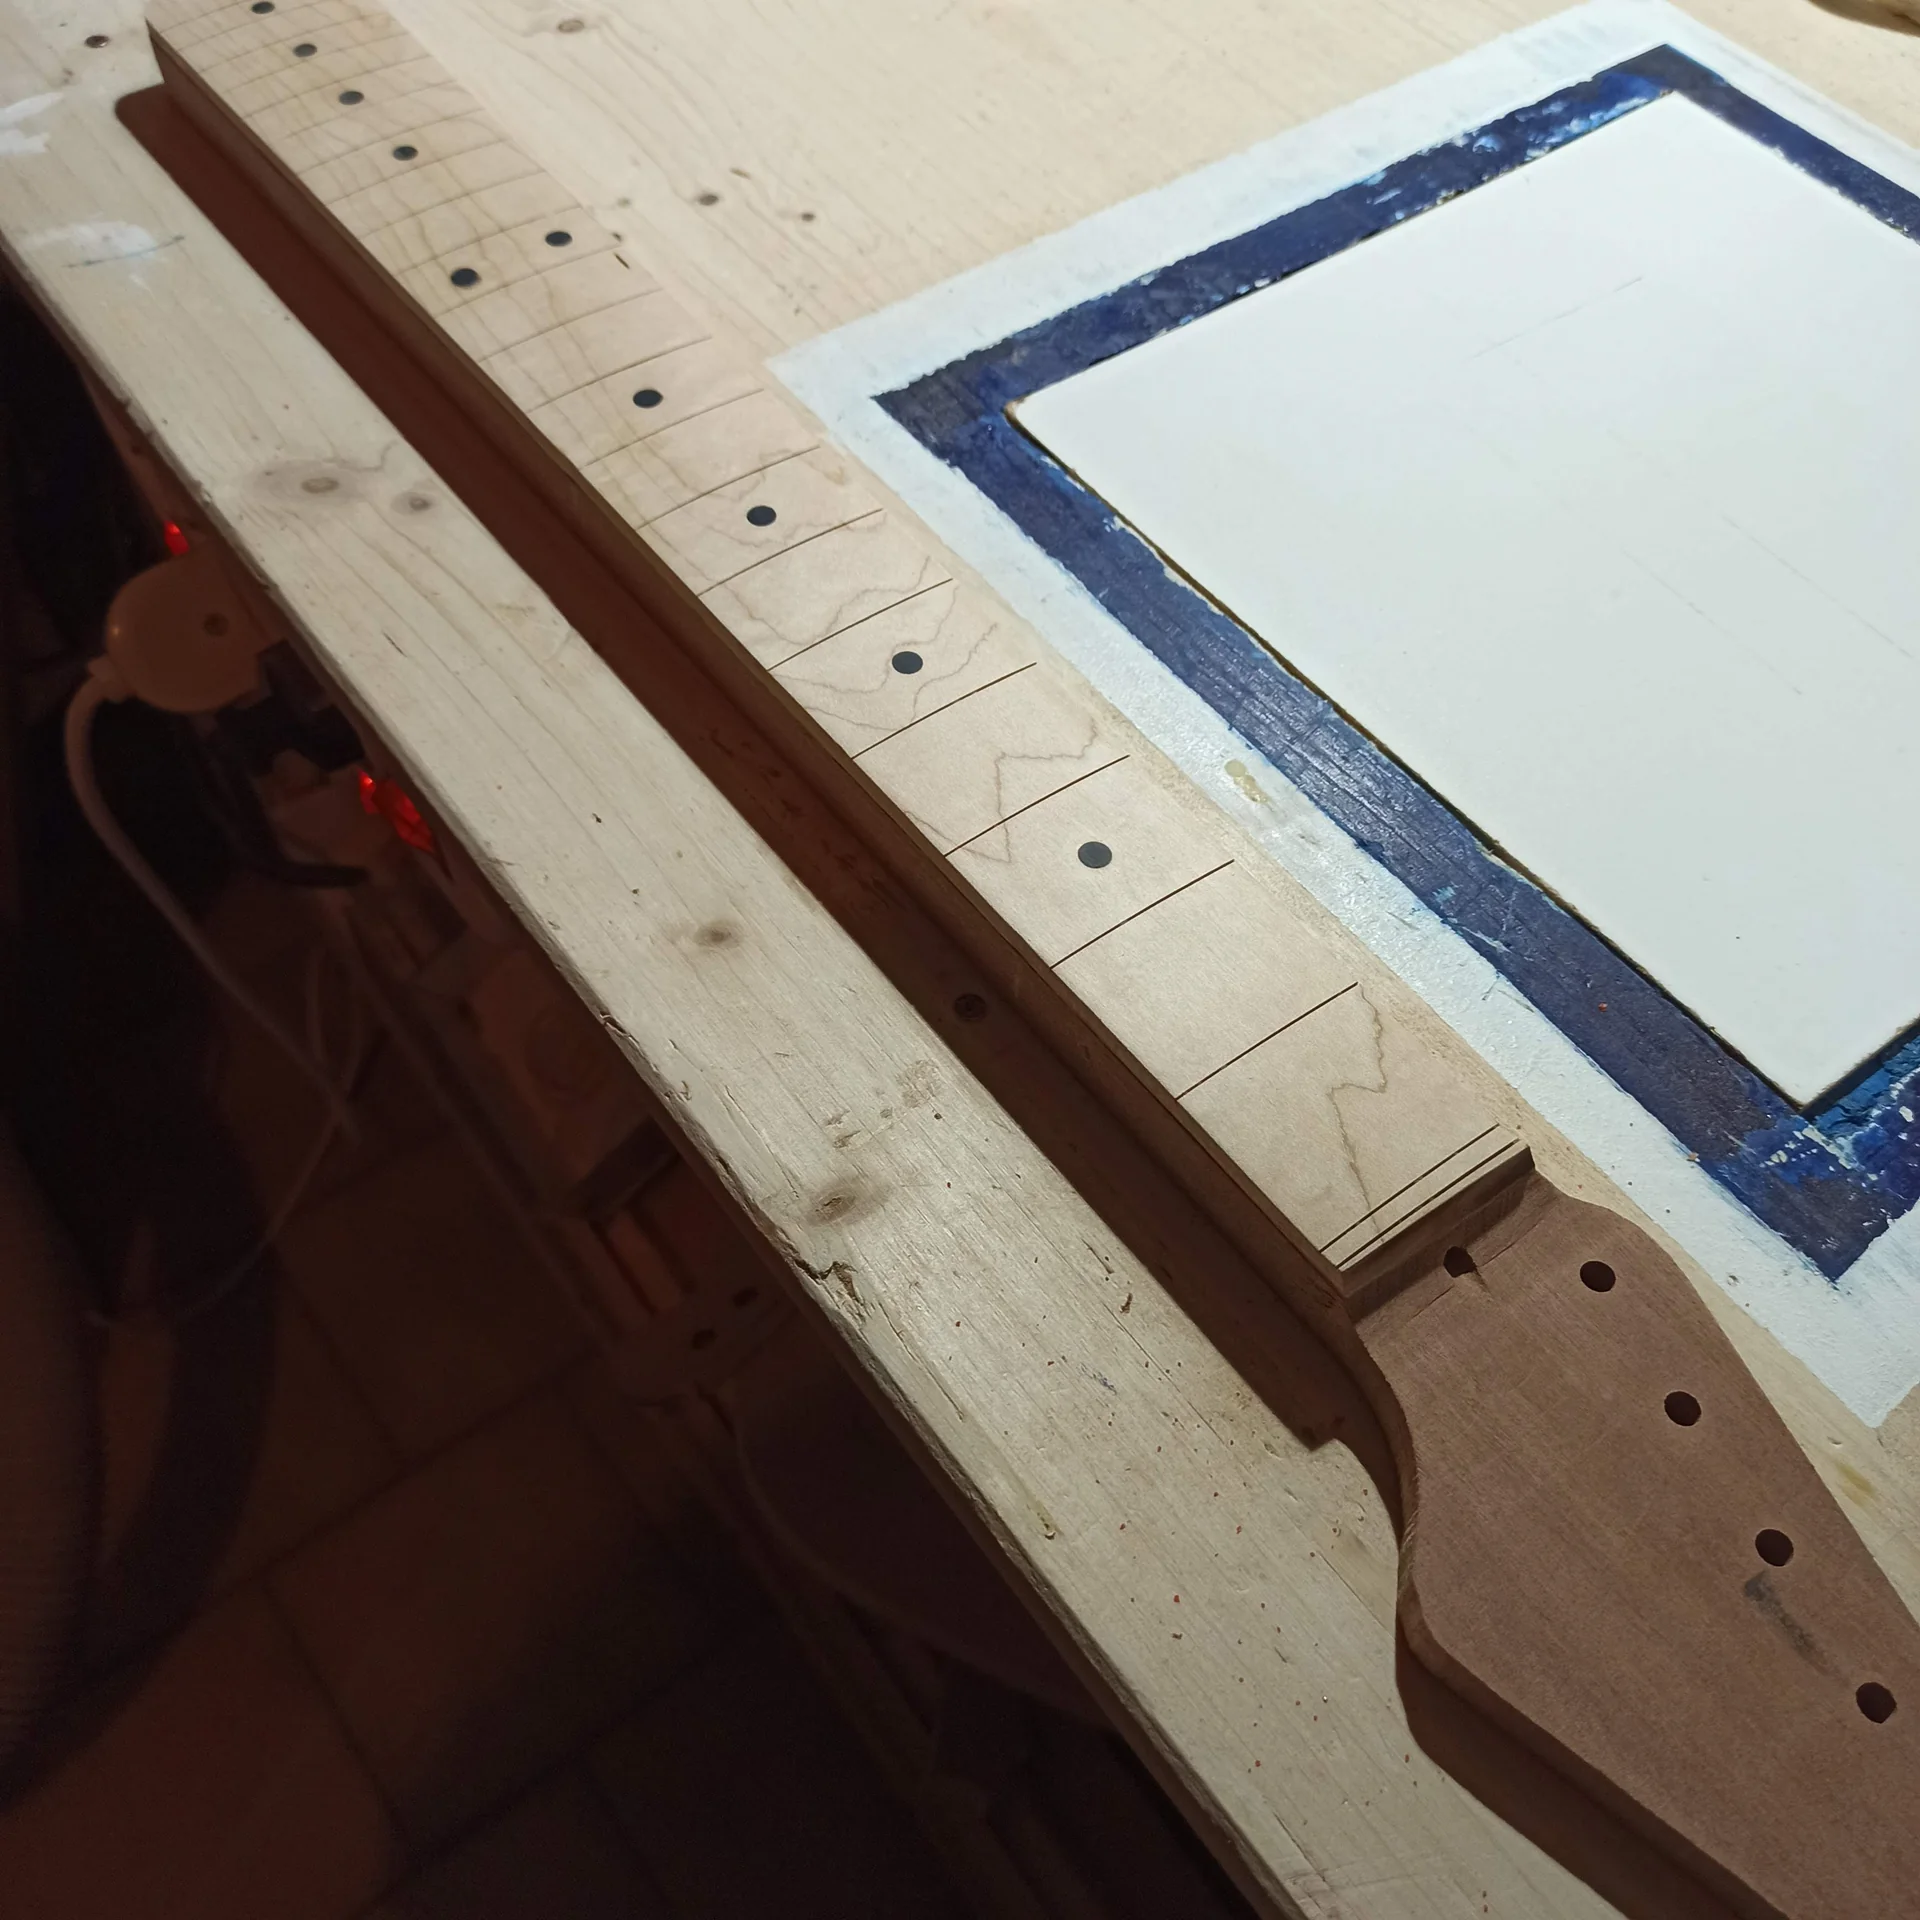
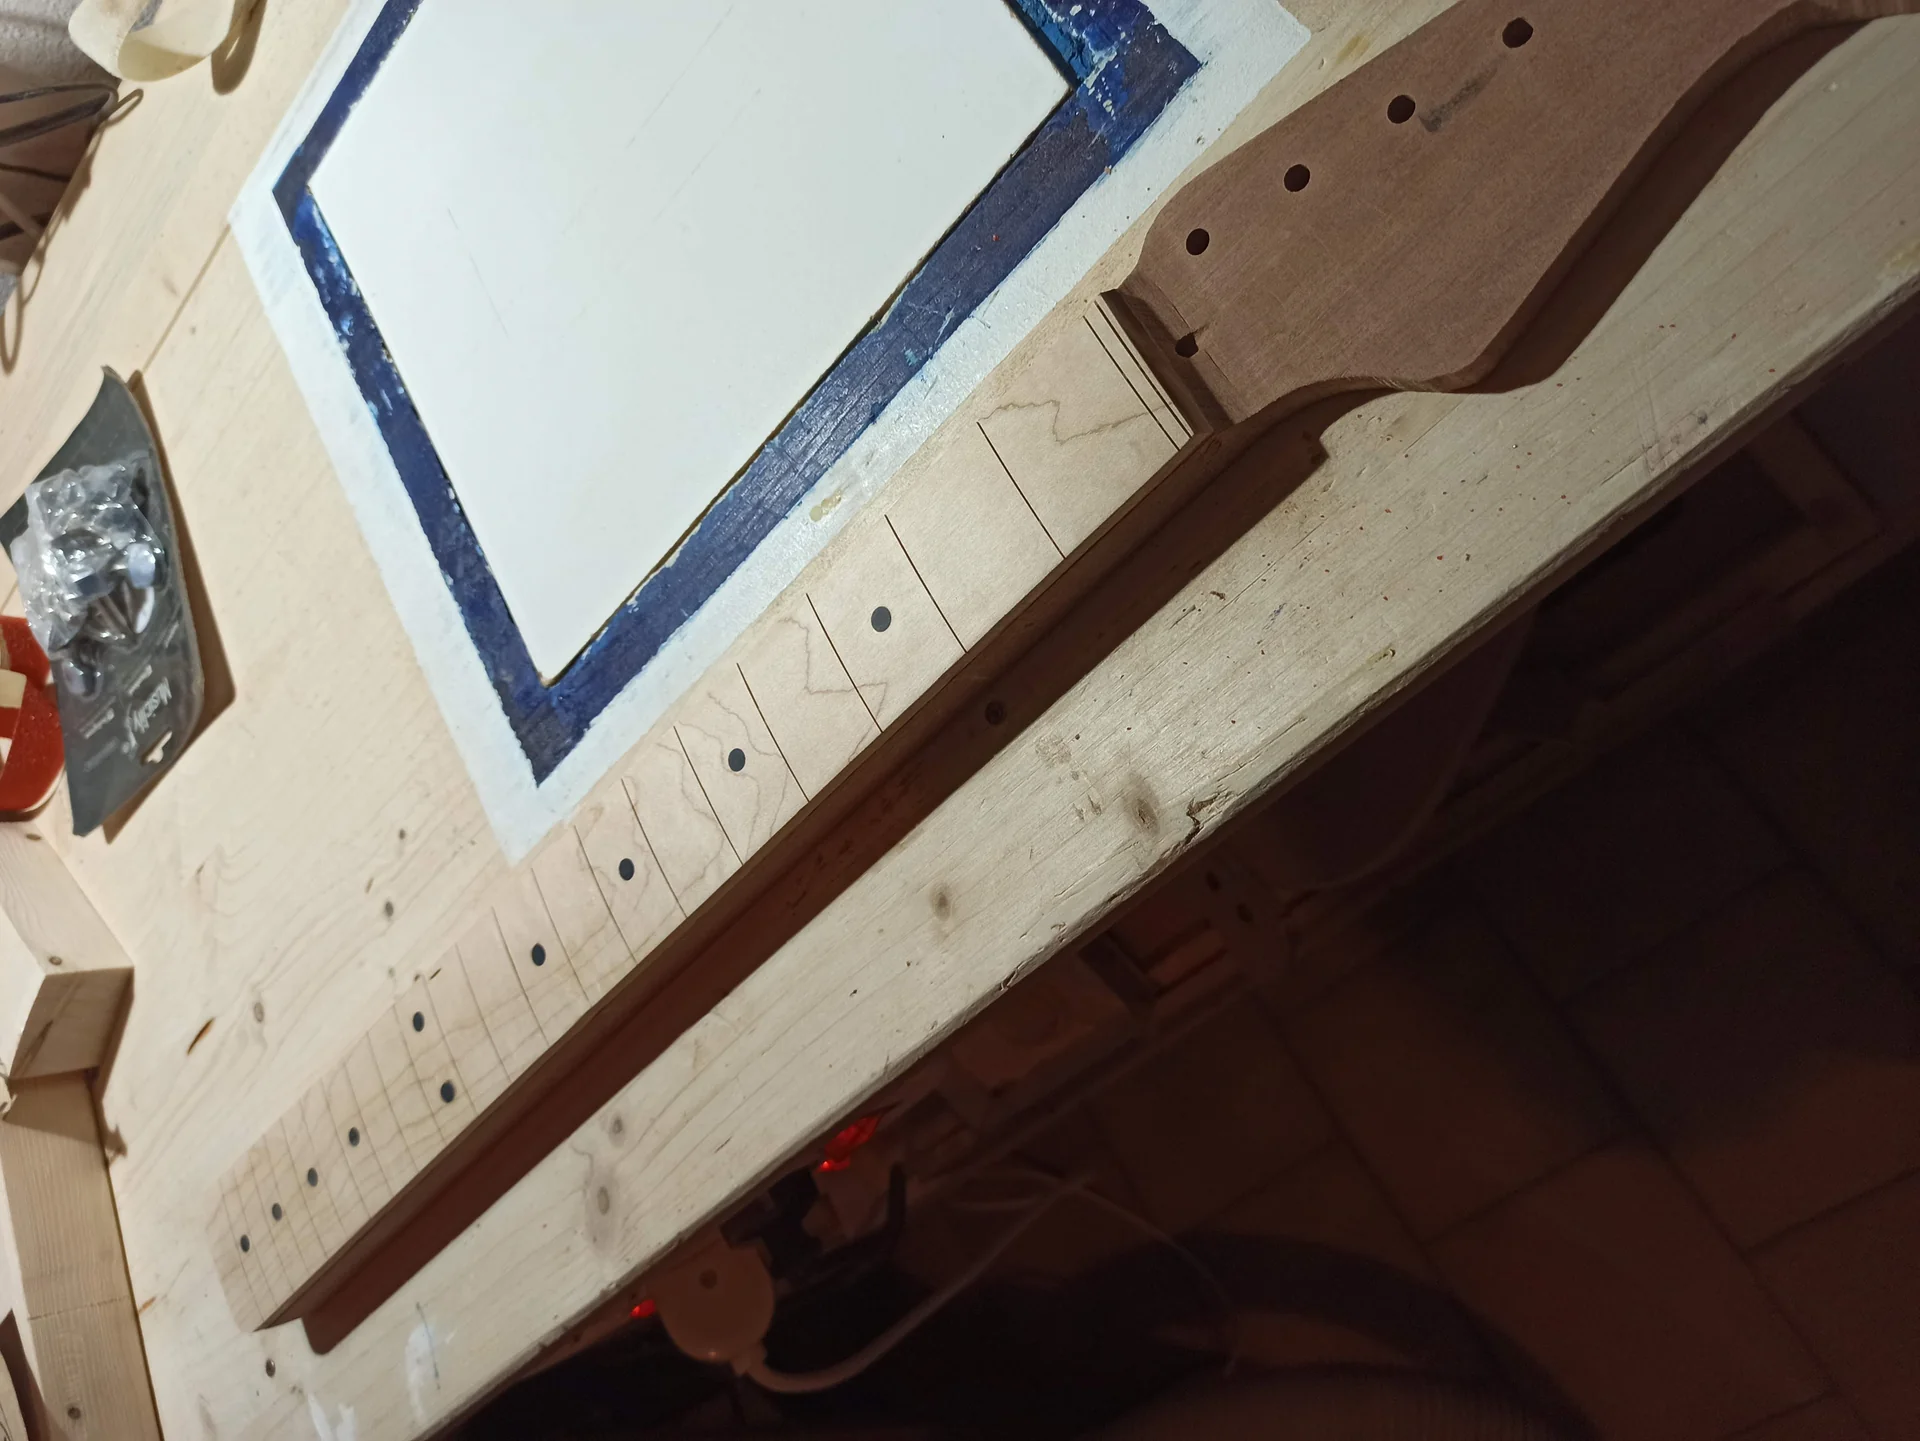
Okay, let’s start with the workhorses. These are the woods you find in most of the guitars that have made history. If you’re just starting out, or if you want to play it safe, start here. These are woods that are good to work with and give predictable results.
Mahogany

Fender Frontman 10G Electric Guitar Amplifier, 10-Watt Practice Amp with 6" Speaker, Built-in Overdrive, Headphone Jack & Aux Input, Black/Silver, with 2-Year Warranty
See on Amazon

Processing: Quite easy to work with, not too hard, sands well and absorbs finishes well.
Stability: Good, if well seasoned.
Against: Cost: It’s not cheap, especially if you’re looking for quality pieces without knots.
Weight: It can be heavy. If you have back problems, a solid mahogany body might not be the best choice.
Advice from Mimmo: If you want a full-bodied sound, it’s a solid choice. For the weight, you can consider a chambered body (hollowed out) or a lighter version like Honduran Mahogany, although it’s now very difficult to find. Most of the mahogany you find today is African (Sapele, Khaya) and works perfectly fine.
Alder
The faithful companion of Stratocaster and Telecaster. Alder is a light, porous wood with a light, almost white-yellowish color. Pros: Sound: Very balanced, with good attack, a present but not intrusive midrange, and clear highs. Versatile for every genre.Weight: Light, which makes guitars comfortable to play for hours.
Processing: Very easy to work with. It cuts, routs, and sands like a dream. Great for beginners.
Cost: Quite accessible.
Against: Aesthetics: The grain is not as spectacular as that of other woods, so it is often painted with solid colors.
Advice from Mimmo: If you want to build a versatile, light, and relatively easy-to-work guitar, l’alder is an excellent choice. I've used tons of it for my bodies, and I've always been happy with it.
Ash
Another Fender classic, especially for Telecasters and Stratocasters from the ’50s and ’70s. There are two main types: 1. Northern Hard Ash: Denser and heavier, with a bright sound and remarkable sustain.n2. Southern Soft Ash (Swamp Ash): Lighter and more porous, with a more open and resonant sound, a pronounced attack, and excellent sustain. This is the most sought-after for guitars. Pros: Sound: Bright, with ringing highs, defined lows, and good attack. Swamp Ash is very resonant.Aesthetics: The grain is stunning, perfect for transparent or burst finishes.
Workability (Swamp Ash): Quite easy, similar to alder.
Against: Cost: Quality Swamp Ash can be expensive and hard to find.
Weight (Northern Hard Ash): It can be very heavy, even heavier than mahogany.
Advice from Mimmo: If you find a nice piece of Swamp Ash, don't let it slip away. It's a fantastic wood for a light and resonant body. For Northern Hard Ash, evaluate the weight before buying it: you don't want to end up with a 5 kg brick.
Maple
Maple is a very hard and dense wood, mainly used for necks and fretboards. Sometimes it is also found as a top (flamed or quilted) on mahogany bodies, to add brightness and a breathtaking aesthetic. Pros: Sound: Very bright, with a fast attack and long sustain.Stability: Exceptional. A maple neck is a tank.
Aesthetics: Flamed or quilted maple is simply beautiful.
Workability (for necks): Requires sharp tools, but is very precise.
Against: Hardness: It's a difficult wood to work with. Router bits wear out quickly, and sanding it takes time.
Weight: Very heavy. An entire maple body would be a nightmare for the back.
Advice from Mimmo: For the neck, maple is an almost obligatory choice. It ensures stability and a bright tone. If you use it for the fretboard, it will give you a very defined attack. I tried making a maple body once... never again! Too heavy and difficult to manage for my garage tools.
Rosewood (Rosewood)
Rosewood is the king of fretboards. There are several varieties (Indian Rosewood, Brazilian Rosewood – the latter now unobtainable and protected). It is a dense, oily wood, with a color ranging from brown to dark purplish. Pros: Sound: Warm, soft, with good sustain and a more rounded attack compared to maple.Feeling: Very pleasant to the touch, smooth and natural. Requires no finish.
Stability: Excellent.
Against: Cost: Quality rosewood is expensive.
Processing: The high oil content can clog cutters and sandpaper. The dust is irritating, so a mask is mandatory!
Availability: Brazilian Rosewood is protected. Indian Rosewood is still available but under CITES control.
Advice from Mimmo: For the fretboard, rosewood is a guarantee. If you want a 'sweeter' sound than maple, it's the right choice. Remember to wear a mask and clean your tools well after working with it.
Ebony (Ebony)
Ebony is an extremely hard, very dense wood of a deep black, sometimes with brown streaks. It's another premium choice for fretboards. Pros: Sound: Extremely bright, with a very fast attack and incredible sustain.Feeling: Super smooth and fast, ideal for shredders and those seeking speed.
Aesthetics: Its black color is unmistakable and adds a touch of elegance.
Stability: Excellent.
Against: Cost: Ebony is very expensive and increasingly difficult to find in quality pieces.
Processing: It's so hard that it wears out tools like nothing. It requires cutters and blades sharpened to the maximum.
Fragility: Paradoxically, being so hard, it can be more fragile to impacts than rosewood.
Advice from Mimmo: If the budget allows and you're looking for the ultimate in attack and speed for the fretboard, ebony is fantastic. But be prepared to spend and work with great caution.
Alternative woods and 'clever' choices for your project
You don't necessarily have to stick to the classics. The world is full of interesting woods, some of which offer excellent alternatives, both for your wallet and for the sound. Many of these I discovered precisely by trying to save some money or find something different for my next project.Poplar (Poplar)
An underrated wood, widely used by large companies for the bodies of inexpensive guitars, but not only. Poplar is light, soft, and has a greenish color that can turn gray. Pros: Cost: Economical, one of the cheapest overall.Weight: Lightweight, great for comfortable guitars.
Processing: Very easy to work with, it cuts and mills like butter. Perfect for beginners.
Sound: Similar to alder, with a balanced sound and good attack.
Against: Aesthetics: The grain is not very attractive, and the greenish color is not the best. It almost always requires a solid finish.
Hardness: Being soft, it dents and scratches easily.
Advice from Mimmo: If you have a limited budget and want a functional and lightweight body, poplar is a smart choice. Don't be afraid to use it, it's a great 'battle' wood for your first builds. I've made a couple of Stratocasters with poplar bodies and they sound great, especially under a nice matte finish.
Basswood (Basswood)
Another light and soft wood, widely used for Ibanez or Jackson guitars, especially in the metal genre due to its ability to emphasize the mids. Pros: Cost: Inexpensive.Weight: Very light.
Processing: Very easy to work with, soft and homogeneous.
Sound: Neutral, with a pronounced midrange and smoother lows and highs. Excellent for high-output pickups.
Against: Aesthetics: Uninteresting grain, pale white color. Here too, a solid finish is almost mandatory.
Hardness: Very soft, dents easily. Screws can strip if you're not careful.
Advice from Mimmo: If you're looking for a lightweight, inexpensive, and easy-to-work-with body, and you don't care about the aesthetics of exposed wood, basswood is perfect. It's an excellent base for modify a guitar with powerful pickups. Remember to always pre-drill screw holes precisely.
Pau Ferro
An alternative to rosewood that has gained popularity, especially when rosewood became harder to find. It is a dense wood, with a color ranging from light brown to reddish, often with dark streaks. Pros: Sound: Very similar to rosewood, but perhaps with a bit more brightness and attack, almost a bridge between rosewood and ebony.Feeling: Smooth and pleasant.
Stability: Excellent.
Availability/Cost: Easier to find and less expensive than high-quality rosewood.
Against: Processing: Similar to rosewood, but can be a bit harder.
Advice from Mimmo: If you want a fretboard that sounds and feels like rosewood, but with an extra touch of brightness and without the CITES hassle, Pau Ferro is a fantastic choice. I used it on one of my Telecasters and was very satisfied.
Heat-treated Maple (Roasted Maple)
It's not a different wood, but thermally treated maple. This process makes it more stable, resistant to humidity, and gives it a beautiful caramel color. Pros: Stability: Extremely stable, almost immune to humidity changes.Weight: Slightly lighter than regular maple.
Sound: More resonant, with a faster attack and improved sustain.
Aesthetics: The caramel color is gorgeous and requires no finish.
Against: Cost: More expensive than normal maple.
Processing: It can be a bit more fragile and chip easily if sharp tools are not used.
Advice from Mimmo: If you want a super stable neck that doesn't give you adjustment problems, roasted maple is a godsend. I have one on my Stratocaster and truss rod adjustments have almost become a distant memory. It's worth the extra expense, especially if you live in a place with strong temperature fluctuations or humidity.
Wenge
A dark African wood, with a very pronounced and porous grain. Sometimes used for necks or fingerboards, or even for custom guitar bodies. Pros: Sound: Excellent sustain, with a pronounced midrange and a fast attack.Stability: Very stable and dense.
Aesthetics: Its dark and porous grain is unique and very beautiful.
Against: Cost: Not cheap.
Processing: Its extreme hardness and open grain can make it difficult to work with. It requires a good pore filler if you want a smooth finish. The dust is irritating.
Advice from Mimmo: A wenge neck or fingerboard is a bold choice that pays off in terms of sound and feel. But be prepared to work hard and use all necessary precautions for the dust.
Choosing the right wood: a garage checklist
Ok, we've seen some woods. Now, how do you choose the right one for your project? It's not just about 'I want sound X'. There are practical factors that, I assure you, can make the difference between a fun project and one that makes you want to throw everything out the window.Here's a small checklist I use, very 'garage-style' but effective: 1. Budget: How much are you willing to spend? Exotic or high-quality woods cost a lot. If you're just starting out, good poplar or basswood allows you to learn without breaking the bank.n2. Tools: What tools do you have? If you only have a jigsaw and a hand drill, a soft wood like alder or basswood will be much more manageable. If you have a router and sharp bits, you can tackle harder woods. Remember: worn bits on hard woods = frustration and bad cuts.n3. Experience level: Is this your first guitar? Start with something easy to work with, that forgives some mistakes. An alder body is much more forgiving than a maple one.n4. Desired weight: Do you want a light guitar for playing live for hours, or a 'heavyweight' that gives you a feeling of solidity? This influences the choice between mahogany/hard ash and alder/poplar/basswood.n5. Finish you have in mind: Do you want a transparent finish to show the grain? Then ash, mahogany, flamed maple are excellent. If you're thinking of a solid color, the aesthetic of the base wood is less important, and you can go with poplar or basswood without problems.n6. Availability: Not all woods are easy to find everywhere. Look for luthier wood suppliers in your area or online. Check CITES certifications for exotic woods.n7. Wood conditions: This is FUNDAMENTAL. The wood must be well seasoned and with stable humidity. Buy from reliable suppliers. 'Green' wood will warp or crack, ruining your work. Always ask for the moisture content.n8. Grain and defects: Check the piece of wood carefully. Knots, cracks, crooked grain can compromise stability and workability. A straight and regular grain is always preferable, especially for necks.
Where to buy wood?
Don't go to a hardware store to buy a piece of spruce! You need specific luthier wood, already cut to size and above all seasoned. Search online “luthier wood” or “tonewoods”. There are several specialized suppliers that offer ready-made body blanks, neck blanks, and fretboards.I usually check a couple of sites, compare prices and especially the wood specifications (type of cut, seasoning, humidity). Don't be afraid to send an email and ask for photos of the specific piece that would be shipped to you. It's an investment, so be picky. A good (external) source to understand wood properties and how they are used is the “Tonewoods” section of the StewMac website, a reference in the industry: [StewMac Tonewoods Guide](https://www.stewmac.com/tonewoods/).
From the sawmill to the neck: working wood at home (and not getting hurt)
Once you have your nice piece of wood, the real fun begins. And also the real challenges. Working wood at home, without the equipment of a real luthier workshop, means adapting, inventing, and above all, being careful.Preparation and storage
Before you even start cutting, leave the wood in your workspace for at least a couple of weeks. It needs to acclimatize. Maybe buy a cheap hygrometer to check the humidity. It's not a professional thing, but it gives you an idea. The ideal humidity for luthier wood should be between 6% and 8%.Cutting the body and neck
The template: This is your best friend. Don't try to draw freehand. Buy a good quality MDF or plexiglass template, or make one yourself with maniacal precision. It's the basis of everything.The saw: If you have a band saw, you're a king. If you have a jigsaw, arm yourself with sharp blades and patience. Always cut out from the template line, leaving a safety margin of a couple of millimeters.
The router: This is where it gets serious. With a router and a flush trim bit (router bit with bearing) you can finish the edge of the body following the template perfectly. Practice on a scrap piece first! Hold the router firmly, make light passes, and don't rush. Common mistake to avoid: Wanting to cut everything in one pass. Don't do it. The wood tears, the router bit overheats, the result is a disaster. Make progressive passes, removing a little material at a time.
Routing the cavities
The cavities for the pickups, electronics, tremolo… here too, templates are fundamental. Depth: Always check the specifications of your pickups and bridge. You don't want to make a hole too deep or too shallow. Measure, measure, measure.Dremel with router base: If you don't have a large router, a Dremel with a router base and a small router bit can work wonders for small cavities, like those for the jack or the selector. Here too, templates and light passes. The pain of the hobby builder: The routing of the electronics cavity. Too often it's done in a hurry, the edge gets chipped, and then you have to hide it with the cover. Take a breath. Secure the template well. Use sharp bits. Go slow.
Neck working
The neck is the most critical part. Here, precision is everything. Truss Rod Channel: If you're making a neck from scratch, the truss rod channel requires precision. A router with a straight guide is the ideal. Check the width and depth according to your truss rod.Keyboard radius: If you start from a flat blank, you'll need to give it the radius. There are pre-formed radius blocks that make your life easier. Glue sandpaper to them and use some elbow grease.
Keys: Inserting frets is an art. The slots must be the right width and depth. I've made mistakes many times, with frets that wouldn't go in or that popped out. You need the right tool (a fret saw, or a Dremel with the right fine bit) and, above all, a fret hammer and a press (even a hand press) to insert them properly. Advice from Mimmo: Don't be afraid to make mistakes. The first time I tried to make a neck, I ruined two pieces of maple. I bought a third piece, re-watched all the YouTube tutorials, and tried again. In the end, it turned out decent. The important thing is not to give up.
Sanding and finishing
Sanding is 90% of the finishing work. Start with coarse grit (120-180) and gradually work your way up to 400-600, or even higher. Every time you change grit, clean the dust thoroughly and make sure you've removed the scratches from the previous grit. Finish: Oil, lacquer, polyurethane... here the world is vast. For beginners, an oil finish (like Tru-Oil or specific wood oils) is more forgiving. It's easy to apply, forgives mistakes, and gives a nice natural feel to the wood. A polyurethane finish is more durable but requires more care in application. Practical tip: After the first sanding with medium grit, lightly wet the wood with a damp cloth (distilled water). This will raise the wood fibers. Let it dry and then sand again with the same grit. Repeat a couple of times. You will get a much smoother and more stable surface for finishing. I learned this after having finishes full of 'fuzz'.Conclusion: wood is a journey, not a destination
I hope this guide has given you some clarity on the vast world of woods for electric guitars. As you can see, it's not just a matter of 'which sounds better', but a balance between sound, workability, cost, aesthetics, and your patience.The choice of wood is one of the most important decisions when building a guitar. But it doesn't have to be a roadblock. Start with the classics, experiment with alternatives, and most importantly, have fun in the process. Every wood has its own story, its own scent and
 English
  Italiano