

250k vs 500k Potentiometers: Guide to choosing.
If you've ever tinkered with your guitar's electronics, or if you're thinking of doing it for the first time, you'll have come across a dilemma that gives many a headache: 250k vs 500k potentiometers. It's not a small choice, believe me. It seems like a minor detail, a small number printed on a component that costs a few euros, but I assure you it can radically change the sound of your guitar. And I'm not talking about imperceptible nuances, mind you. I'm talking about that “something” that makes you say: “Wow, now it sounds just like I want it to!” or, on the contrary, “What the hell have I done?”.I'll tell you right away, there isn't a universal “right” answer. There is the right answer for you, for your guitar, for your pickups, and for the sound you're looking for. And to get there, it takes a bit of theory, a bit of practice, and, I tell you from experience, the willingness to make mistakes. Because yes, the first time I changed the pots on an old Stratocaster, I made a mess. I installed 500k where they shouldn't have been, and the result was such a shrill sound that it sounded like a giant mosquito in mid-summer. But from there I learned, and now I want to spare you the same frustration.
This article is for you who already have some familiarity with solder and soldering iron, who perhaps have already made some modifications to your electric guitar, but who want to deeply understand the “why” behind certain choices. I won't just give you rules to follow, but I'll explain the reasoning, so you'll be able to decide knowingly, and perhaps experiment.
The heart of the matter: what potentiometers are and why they interest us
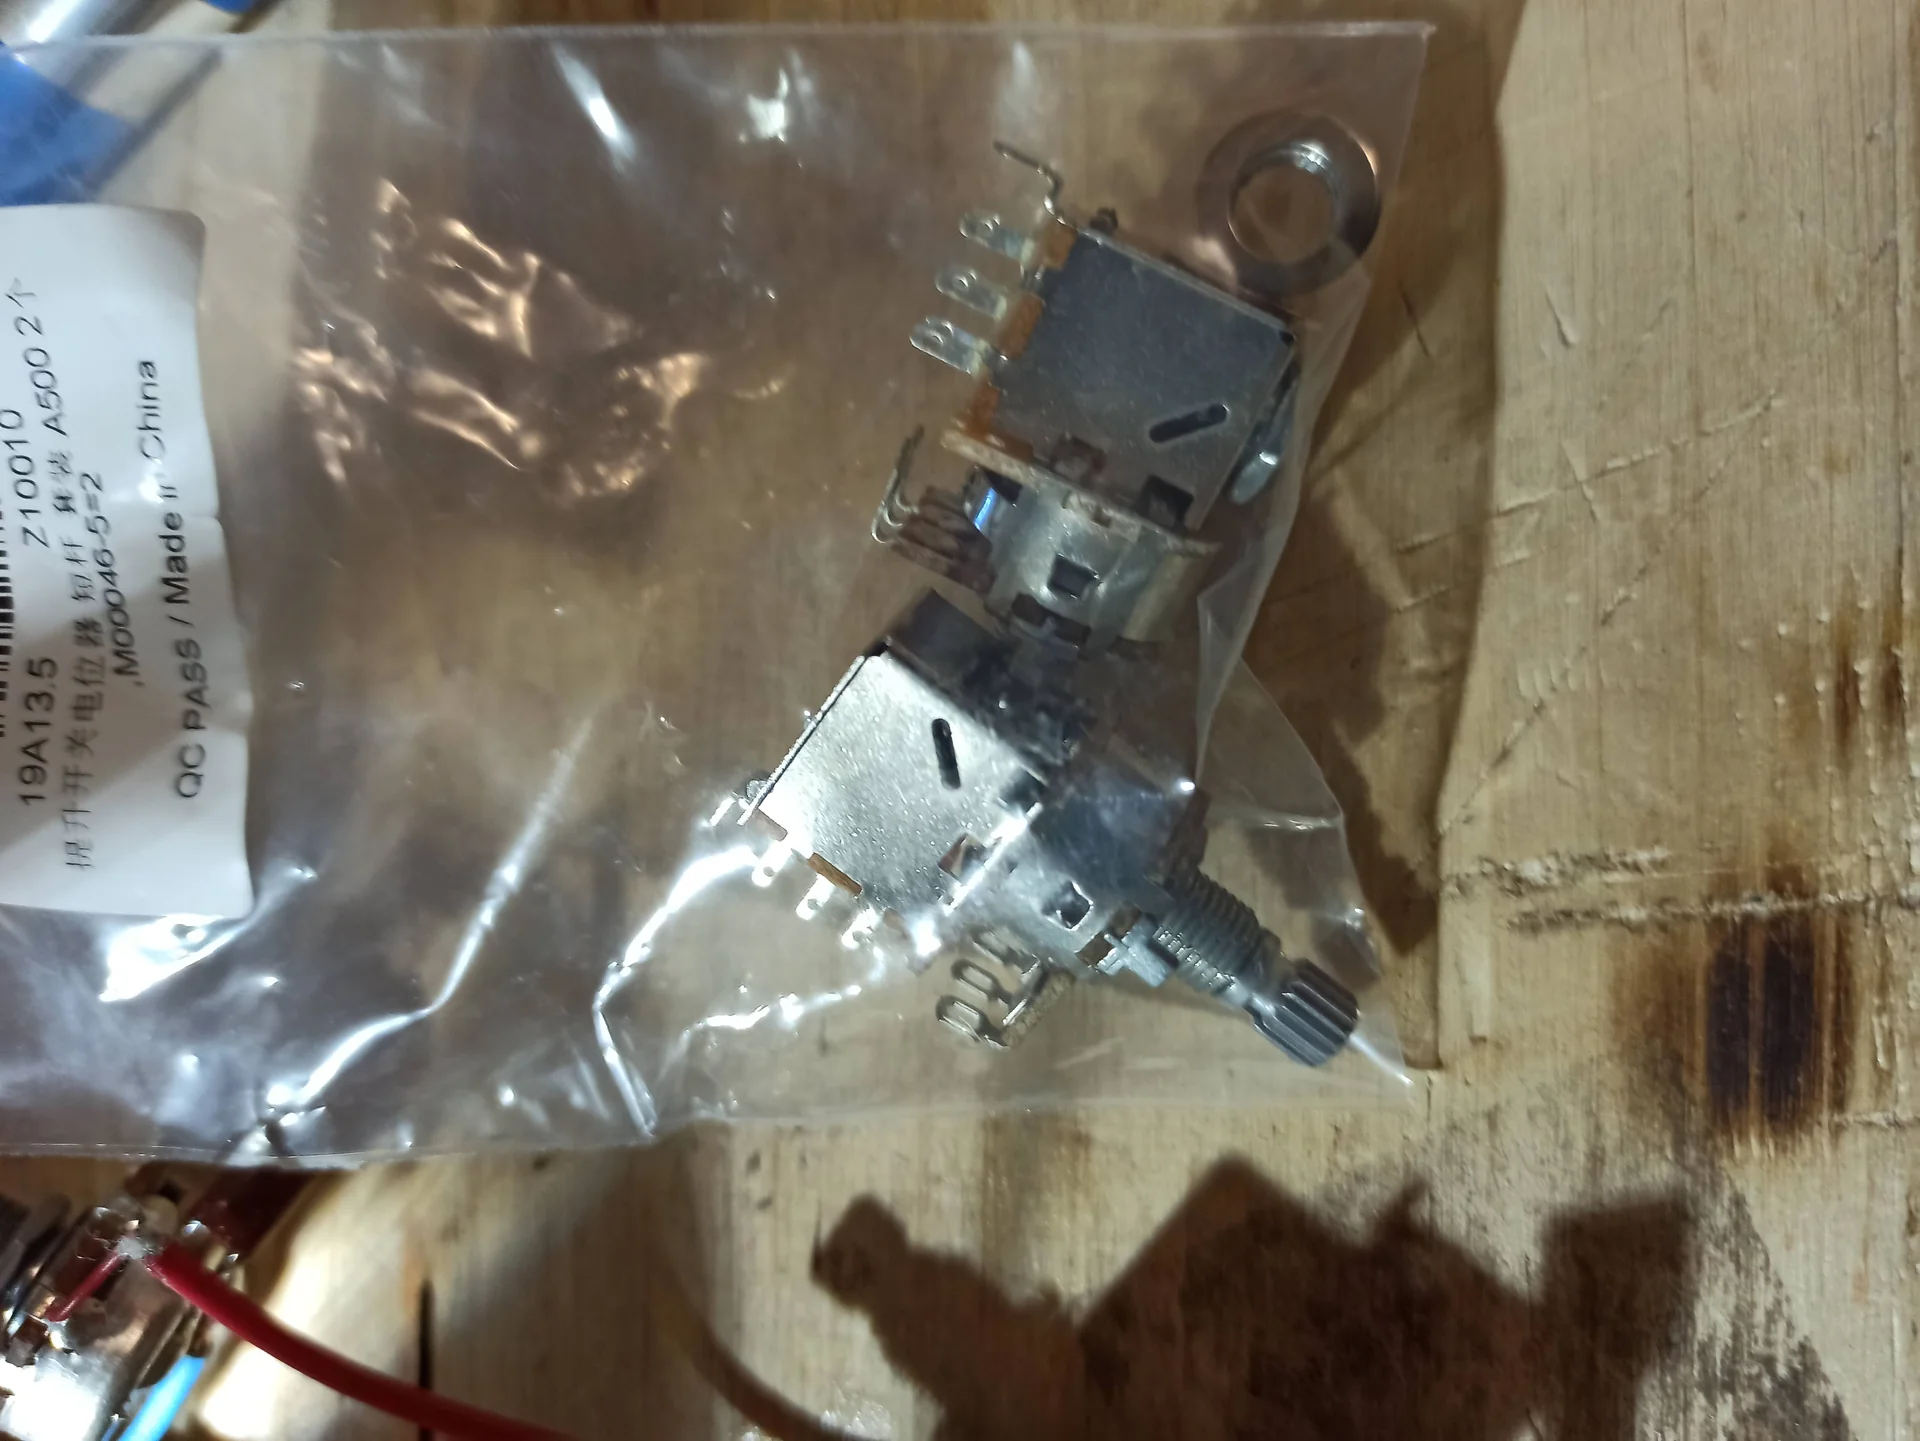
Ok, let's get technical, but without giving you a headache. The difference between a 250kΩ potentiometer and a 500kΩ one lies in their internal resistance. A 500kΩ potentiometer offers greater resistance. This means that, when at maximum, it “loads” the circuit less than a 250kΩ.
What does “load less” mean? Imagine the signal from your pickups as a small river. If you place an obstacle (the potentiometer's resistance), part of the ’water is diverted or slowed down. A potentiometer with higher resistance (500kΩ) is like a smaller, or more distant, obstacle. It lets more signal pass through, especially higher frequencies, towards the amplifier.
Consequently, a 500kΩ potentiometer will tend to make the sound brighter, more open, and with a greater presence of high frequencies. This is because higher resistance allows more high frequencies to pass through the circuit and reach the amplifier, instead of being diverted to ground.
Conversely, a 250kΩ potentiometer, having lower resistance, “loads” the circuit more. It's like a bigger obstacle in the river. It tends to divert a greater amount of high frequencies to ground, even when at maximum (at “10”). The result? A warmer, rounder sound, with less “sparkle” on the highs.
This “load” is a fundamental aspect of passive electronics. Pickups, especially passive ones, are sensitive to the impedance of the circuit that follows them. A higher load impedance (given by higher value potentiometers, such as 500kΩ) allows pickups to more fully express their frequency spectrum. A lower load impedance (given by lower value potentiometers, such as 250kΩ) tends to dampen the pickup's high-frequency resonances, making the sound darker and less bright.
This is why, traditionally, single coils are paired with 250kΩ and humbuckers with 500kΩ. But as we will see, there are many exceptions and they often depend on personal taste. The beauty of DIY is precisely this: there are no rules carved in stone, only guidelines to start from to find the your sound.
Which value for which pickup? The practical guide

5pcs Linear Guitar Pots Volume 500K Electric Guitar Large Pots 24mm Base with Long Split Shaft Guitar Potentiometer B500K
★ 4.5 (128 reviews)
See on Amazon

Single Coil Pickups (Stratocaster, Telecaster)
The general rule, the one you find on almost all stock Fender guitars, is: 250kΩ potentiometers.Why? Single coils, by their very nature, are pickups with a lower output and a generally brighter, more harmonically rich sound than humbuckers. If you paired them with 500kΩ pots, you'd risk getting a sound that's too sharp, almost "shrill," with high frequencies that can be annoying, especially if you're using an already bright amp or if you play with a lot of gain. The 250kΩ pots dampen these high frequencies a bit, making the sound sweeter, more manageable, and less penetrating. Advantages of 250kΩ single coil: Warmer, rounder, less harsh sound. Less perceived background noise (the "hum" typical of single coils can be slightly attenuated). More control over high frequencies with the tone knob.
Disadvantages: It might lack a bit of ’openness“ and brightness if you are looking for a very crystalline and modern sound.
When to use them: If you have a Stratocaster or Telecaster with standard single-coil pickups and you're looking for that classic vintage Fender sound. Or if your single-coil pickups already sound too bright for your taste. An anecdote: My first DIY Telecaster had single coils that were a bit too sparkly. I tried setting them to 500kΩ, thinking it would give them a little more life, but the sound was unlistenable. Going back to 250kΩ, I found the smoothness and twang I was looking for. Sometimes, classic is classic for a reason.
Humbucker Pickups (Les Paul, SG)
Here the story changes. For humbuckers, the standard choice is almost always 500kΩ potentiometers.Humbuckers are designed to have a higher output and a fuller sound, with a more pronounced mid-range and, often, a natural high-frequency roll-off compared to single coils, precisely because of their dual-coil construction that eliminates noise. If you paired them with 250kΩ potentiometers, the risk is that the sound becomes too dark, “muddy”, losing definition and clarity, especially on clean tones or with low gain. 500kΩ allows humbuckers to “breathe” more, to maintain that brightness and definition that would otherwise be lost. Advantages of 500kΩ with humbuckers: More open, bright sound, with greater clarity and definition. Maintains high frequencies.
Disadvantages: It might be too bright or “harsh” if your humbuckers are already very bright (e.g., some modern high-output pickups) or if you use a very treble-heavy amplifier.
When to use them: If you have a Les Paul or a guitar with humbuckers and are looking for the classic rock sound, warm but defined. Or if your humbuckers sound a bit too dark and you want to give them a boost of brightness.
P90 and High Output Single Coil Pickups
P90s are an interesting case. They are single coils, but with a higher output and a fatter sound compared to traditional single coils. They sit halfway between single coils and humbuckers.With P90s, you can go with either 250kΩ or 500kΩ. 250kΩ with P90s: They'll give you a smoother, less aggressive sound, with a bit of that typical P90 growl but without overdoing the highs. Great for blues or more vintage rock.
500kΩ with P90: They'll give you a brighter, growlier sound, with more attack and presence. Perfect if you're looking for a more modern or aggressive P90, perhaps for more hardcore rock.
The choice here is really a matter of taste. Personally, on some P90s, I've preferred 500kΩ to bring out a bit more punch, but on others, more vintage-oriented, I've gone back to 250kΩ. There's no mistake, it's just a different sound.
For high-output single coils (like Texas Special or some Seymour Duncan Quarter Pound), 500kΩ are often preferred, precisely to prevent the sound from becoming too compressed and dark due to the high output which already tends to load the circuit more. But even here, it depends on how “open” you want the sound.
Mixed Configurations (HSS, HSH)
Ah, mixed configurations! Here things get a little complicated, but not too much.If you have a guitar with humbuckers at the bridge and single coils in the middle and neck (HSS), or even HSH, the question is: what do I install?
The most common solution, the one that gives you the best compromise, is to use 500kΩ potentiometers for volume and then, if you want, 250kΩ for the tones of the single coils and 500kΩ for the humbucker tone. Or a single 500kΩ tone potentiometer. 500kΩ Volume: Allows the humbucker to best express its brilliance. The problem is that it might make the single coils a bit too sharp.
Solution to the problem of overly sharp single coils:
1. Parallel resistance: You can solder a 470kΩ or 500kΩ resistor in parallel with the single coils (or just those that seem too bright to you) to lower the perceived impedance only for those pickups. This is a 'garage luthier' trick that works great.
2. Dedicated tone: Use a 250kΩ tone potentiometer for the single coils and another 500kΩ for the humbucker, if your guitar has two tones.
3. Compromise: Many simply use 500kΩ for everything and learn to manage the high frequencies of the single coils with the tone knob or with the amplifier.
My advice, if you're new to mixed configurations, is to start with a 500kΩ for volume and maybe a 500kΩ for the general tone. If you find the single coils too shrill, then you can consider adding a parallel resistor, or modify your guitar with a 250kΩ tone potentiometer just for the single coils. It's a journey, not a destination.
Beyond the value: taper, treble bleed and other DIY luthier subtleties
and the feeling and the sound.The Taper: linear or logarithmic?
The “taper” refers to how the resistance of the potentiometer varies as you turn the knob. There are two main types: 1. Linear Taper (Type B): The resistance varies linearly. If you turn the knob halfway, the resistance is exactly half of the maximum value.Common use: Often used for tone controls, where a more gradual and predictable variation is desired. Sometimes also for volume, but they can be a bit abrupt.
Pros: Predictable variation.
Against: Regarding volume, you may notice that most of the volume is concentrated in the first part of the run, and then drops dramatically at the end. Or vice versa. This isn't "natural" to the human ear. 2. Audio Taper (Logarithmic Taper, Type A): The resistance varies logarithmically, to reflect the way the human ear perceives volume. This means that the variation is more gradual at the beginning and end of the travel, and faster in the middle.
Common use: Almost always used for volume controls. They make the volume variation more “smooth” and natural to the ear.
Pros: More natural and musical volume variation.
Against: Not ideal for tone, where a more linear variation is often preferable. My advice: For volume, go to Audio Taper. You can never go wrong. As for the tone, you can choose, but many prefer the Linear Taper For more precise control, especially if you use the tone pot frequently. Some people, however, prefer the Audio Taper for tone as well, for a smoother variation. Experiment!
Treble Bleed Mod: The Solution to "Dark Tones" When You Turn Down the Volume
This is one of my favorite tricks, and it solves a pain point Common: When you turn down the volume on your guitar, the sound tends to become darker and lose its brilliance. This happens because turning down the volume knob creates a low-pass filter that cuts out high frequencies.The treble bleed mod It's a small circuit (a capacitor and sometimes a resistor in parallel) that is soldered between the input and output terminals of the volume pot. Its purpose is simple: to allow high frequencies to bypass the resistance of the volume pot when it is turned down, thus maintaining the clarity and brightness of the sound. Components: Usually a capacitor from 0.001uF (1nF) to 0.0022uF (2.2nF), sometimes with a parallel resistor (e.g. 150kΩ).
Effect: Maintains brightness when you lower the volume, making the volume control much more usable and musical.
Installation: It's a simple solder, but the choice of capacitor and resistor values can vary depending on your pickups and potentiometer. I usually start with a 1nF without a resistor and see how it sounds. If it's too bright, I add a parallel resistor (e.g. 150kΩ) or change the capacitor. Another tip: There are ready-made kits, but you can make it yourself with two components that cost a few cents. It's a simple modification with a huge impact on the playability of your guitar. It's life-changing!
Tone capacitors: the faithful companion of the potentiometer
The tone capacitor also plays a crucial role. It works hand in hand with the tone potentiometer to form the low-pass filter. The capacitor value (expressed in microfarads, uF, or nanofarads,F) determines how many high frequencies are cut and at what frequency the cut begins. Common values: 0.022uF (22nF): The most common for humbuckers and Fender single coils. Offers a good balance.
0.047uF (47nF): Often used on vintage Telecasters or Stratocasters. It cuts more of the high frequencies, for a darker, jazzier sound when the tone is turned down.
0.1uF (100nF): Even darker, for those who want very aggressive tone control. My advice: Start with a 0.022uF. If you want a darker sound, try a 0.047uF. Experiment; don't be afraid to try different values. Capacitors are inexpensive and easy to replace.
Your First Pot Change: A Checklist to Avoid Mistakes
Ok, you've decided. You understand what value you need, what taper, and maybe you even want to try a treble bleed. Now it's time to get your hands dirty. It's not difficult, but there are some things to keep in mind to avoid causing damage and wasting time.Here's a checklist I always use, based on my experiences and the mistakes I've made (and seen made) repeatedly. 1. Prepare the material: The new potentiometers (volume, tone) with the chosen values and tapers.
Tone capacitors (if you change them).
Components for the treble bleed (if you do it).
Good quality solder (I use 60/40 lead/tin, it's easier to work with).
Soldering iron (with a clean and well-tinned tip).
Desoldering pump or desoldering braid.
Screwdrivers (to remove the pickguard or plate).
Needle-nose pliers and wire cutters.
Wrenches or socket wrenches (for the pot nuts).
Multimeter (to check solders and values, essential!).
Electrical tape (to insulate wires after soldering, if necessary). 2. Document everything: Take photos: Before touching anything, take clear photos of the wiring existing from different angles. They will save your life if you get lost.
Draw a diagram: If you feel more confident, draw a diagram of the current wiring. It doesn't have to be perfect, it just needs to help you remember where each wire goes.
Look for diagrams online: Find the wiring diagram for your guitar or a similar one. Sites like Seymour Duncan or DiMarzio have huge libraries of diagrams and are a reliable source. For example, you can find excellent diagrams at [Seymour Duncan Wiring Diagrams](https://www.seymourduncan.com/resources/pickup/wiring-diagrams). 3. Disassemble calmly: Unplug your guitar from the amplifier.
Remove the knobs from the potentiometers.
Unscrew the pickguard or control plate. Pay attention to the wires, don't pull!
Place the pickguard/plate on a soft cloth, so as not to stress the pickup wires. 4. Desolder and remove the old pots: Identify the wires connected to the potentiometers you want to replace.
Use the soldering iron and the pump/braid to remove the solder. Be gentle, do not overheat the components or wires too much.
Once the wires are unsoldered, unscrew the nuts holding the potentiometers to the pickguard and remove them. 5. Prepare the new potentiometers: Sometimes the new potentiometers have unbent or slightly messy pins. Gently bend them as the old ones were, to facilitate soldering.
If necessary, you can pre-tin the terminals of the new potentiometers. This helps the solder adhere better. 6. Soldering: the moment of truth: Mass: Start by soldering all ground wires and the potentiometer casing itself, if needed. A good ground is essential to avoid hum.
Pickup wires: Solder the hot wires of the pickups to the correct terminals of the volume potentiometer and the selector.
Capacitors and jumpers: Solder the tone capacitor between the tone pot and the volume pot (or to ground, depending on your schematic). Solder any jumper wires between the pots.
Treble Bleed: If you do, solder the capacitor (and resistor, if using one) between the input and output terminals of the volume potentiometer.
Output wires: Solder the wires going to the output jack. 7. Check and test: Visually inspect: Check each weld. It should be shiny, conical, and not "cold" (dull and lumpy).
Use the multimeter: Set the multimeter to continuity mode and check for unwanted short circuits (e.g., between positive and ground). Check that the potentiometers are working properly by measuring the resistance as you turn them.
Open guitar test: Before putting everything back together, plug the guitar into the amplifier and test it out. Check that all the pickups are working, that the volume and tone controls are working properly, and that there are no unusual hums. This is the time to correct any errors without having to disassemble the guitar again. 8. Reassemble and enjoy the sound: If everything works, reassemble the pickguard/plate. Be careful not to pinch the wires.
Put the knobs back on.
Enjoy your new sound!
Common mistakes to avoid
“Cold” welds: These are weak solders that do not conduct the signal well and can cause noise or interruptions. Make sure the soldering iron is hot and that the solder flows well.Overheating: Do not hold the soldering iron on the components for too long. You could damage the potentiometers or capacitors. A few seconds are enough.
Short circuits: A stripped wire touching another wire or ground can cause problems. Insulate all wires well.
Crossed wires: Always check the diagram. A wire connected to the wrong terminal may prevent the potentiometer from working or create noise.
Do not test before reassembling: It'll save you a lot of time and frustration. Believe me, I learned this the hard way.
When the rules bend: Experimenting and trusting your ears
So far, I've given you a lot of "rules" and "guidelines." I've explained the theory, the practice, and given you a checklist. But the truth is, in the DIY world, rules are meant to be bent, and sometimes broken.Sound is an extremely personal thing. What sounds "bright" to me might sound "shrill" to you, and vice versa. Your amp, your pedals, even your playing style, heavily influence the final result. Don't be afraid to try something that's "wrong" according to theory. Want to put a 500kΩ amp on a Stratocaster? Go for it! If you like the sound, who am I to tell you it's wrong? Maybe you'll discover a unique combination that gives you exactly the tone you've been looking for.
I myself, on a guitar with humbuckers, tried putting a 250kΩ volume potentiometer for a darker, “vintage” sound, almost bluesy. And you know what? I liked it a lot! Of course, it lost a bit of brightness, but it gained in warmth and smoothness, perfect for that genre. It wasn't the “standard” configuration, but for me, it was the right one.
So, my last piece of advice is this: use this information as a starting point. Build your knowledge, practice with the soldering iron, but then trust your instinct and your ears. The true DIY luthier is not afraid to experiment and find their voice, even if it means going against the grain. Grab your potentiometers, your soldering iron, and start creating the your sound. There's no greater satisfaction.
See also
Download the Luthier Survival Kit
Free PDF with checklist, problem-cause table and project card template.
 English
  Italiano
Stuck on your build?
If you ran into the same problem or have a question, drop it in the comments. I read and reply to every one.
Write a comment