

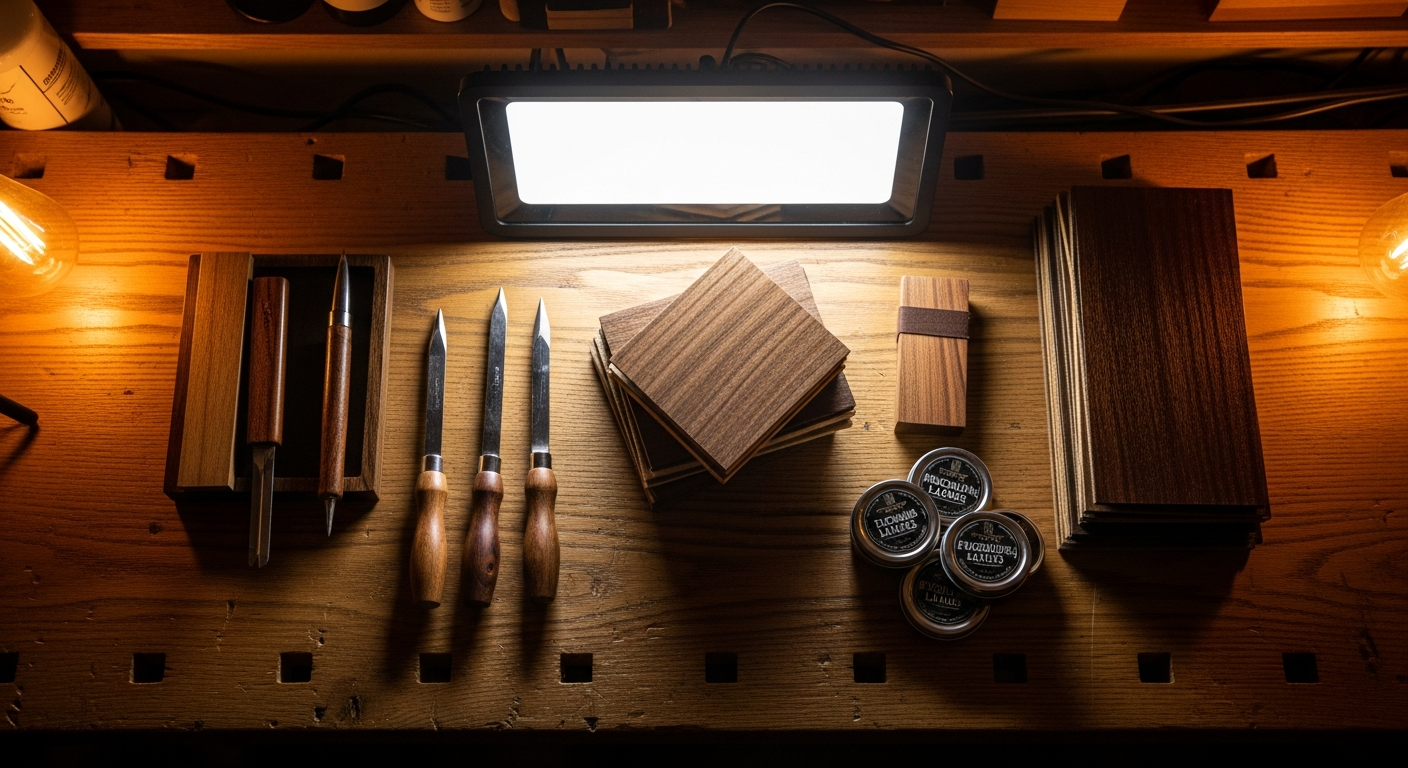
Acoustic Fret Wire: Choose The Best in 5 Points
Ok, let's be clear: working on the frets of an guitar acoustic is one of those jobs that makes you break out in a cold sweat. It's not like changing a pickup on a Strat, where at most you make a wrong connection and redo it in ten minutes. Here we're talking about an operation that, if done incorrectly, can compromise the playability and even the value of the instrument. But it's not impossible, trust me. I've been through it, and I made quite a few mistakes before understanding what worked for me.I still remember the first time I tried to refret an old beat-up acoustic. I had picked a random wire, “it's all the same,” I thought. The result? Frets sticking out, others not going in, an infernal buzzing, and a neck that looked like a minefield. A tragedy. I had to redo everything, right from scratch. From that experience, I understood that the choice of the best fret wire for acoustic guitar it's not a detail, it's the basis of everything.
This article is not intended to be a complete guide to refretting (that would require an entire book!), but a focus on the first, crucial step: how to choose the right wire. Because, believe me, if you start with the wrong material, even the most refined technique won't save you. We'll look together at what to consider, based on what I've learned in the field and by reading hundreds of forum discussions, a bit like we've read Reddit's refretting FAQs and extracted the essence.
Why the Right Fretwire Matters (and why getting it wrong hurts)
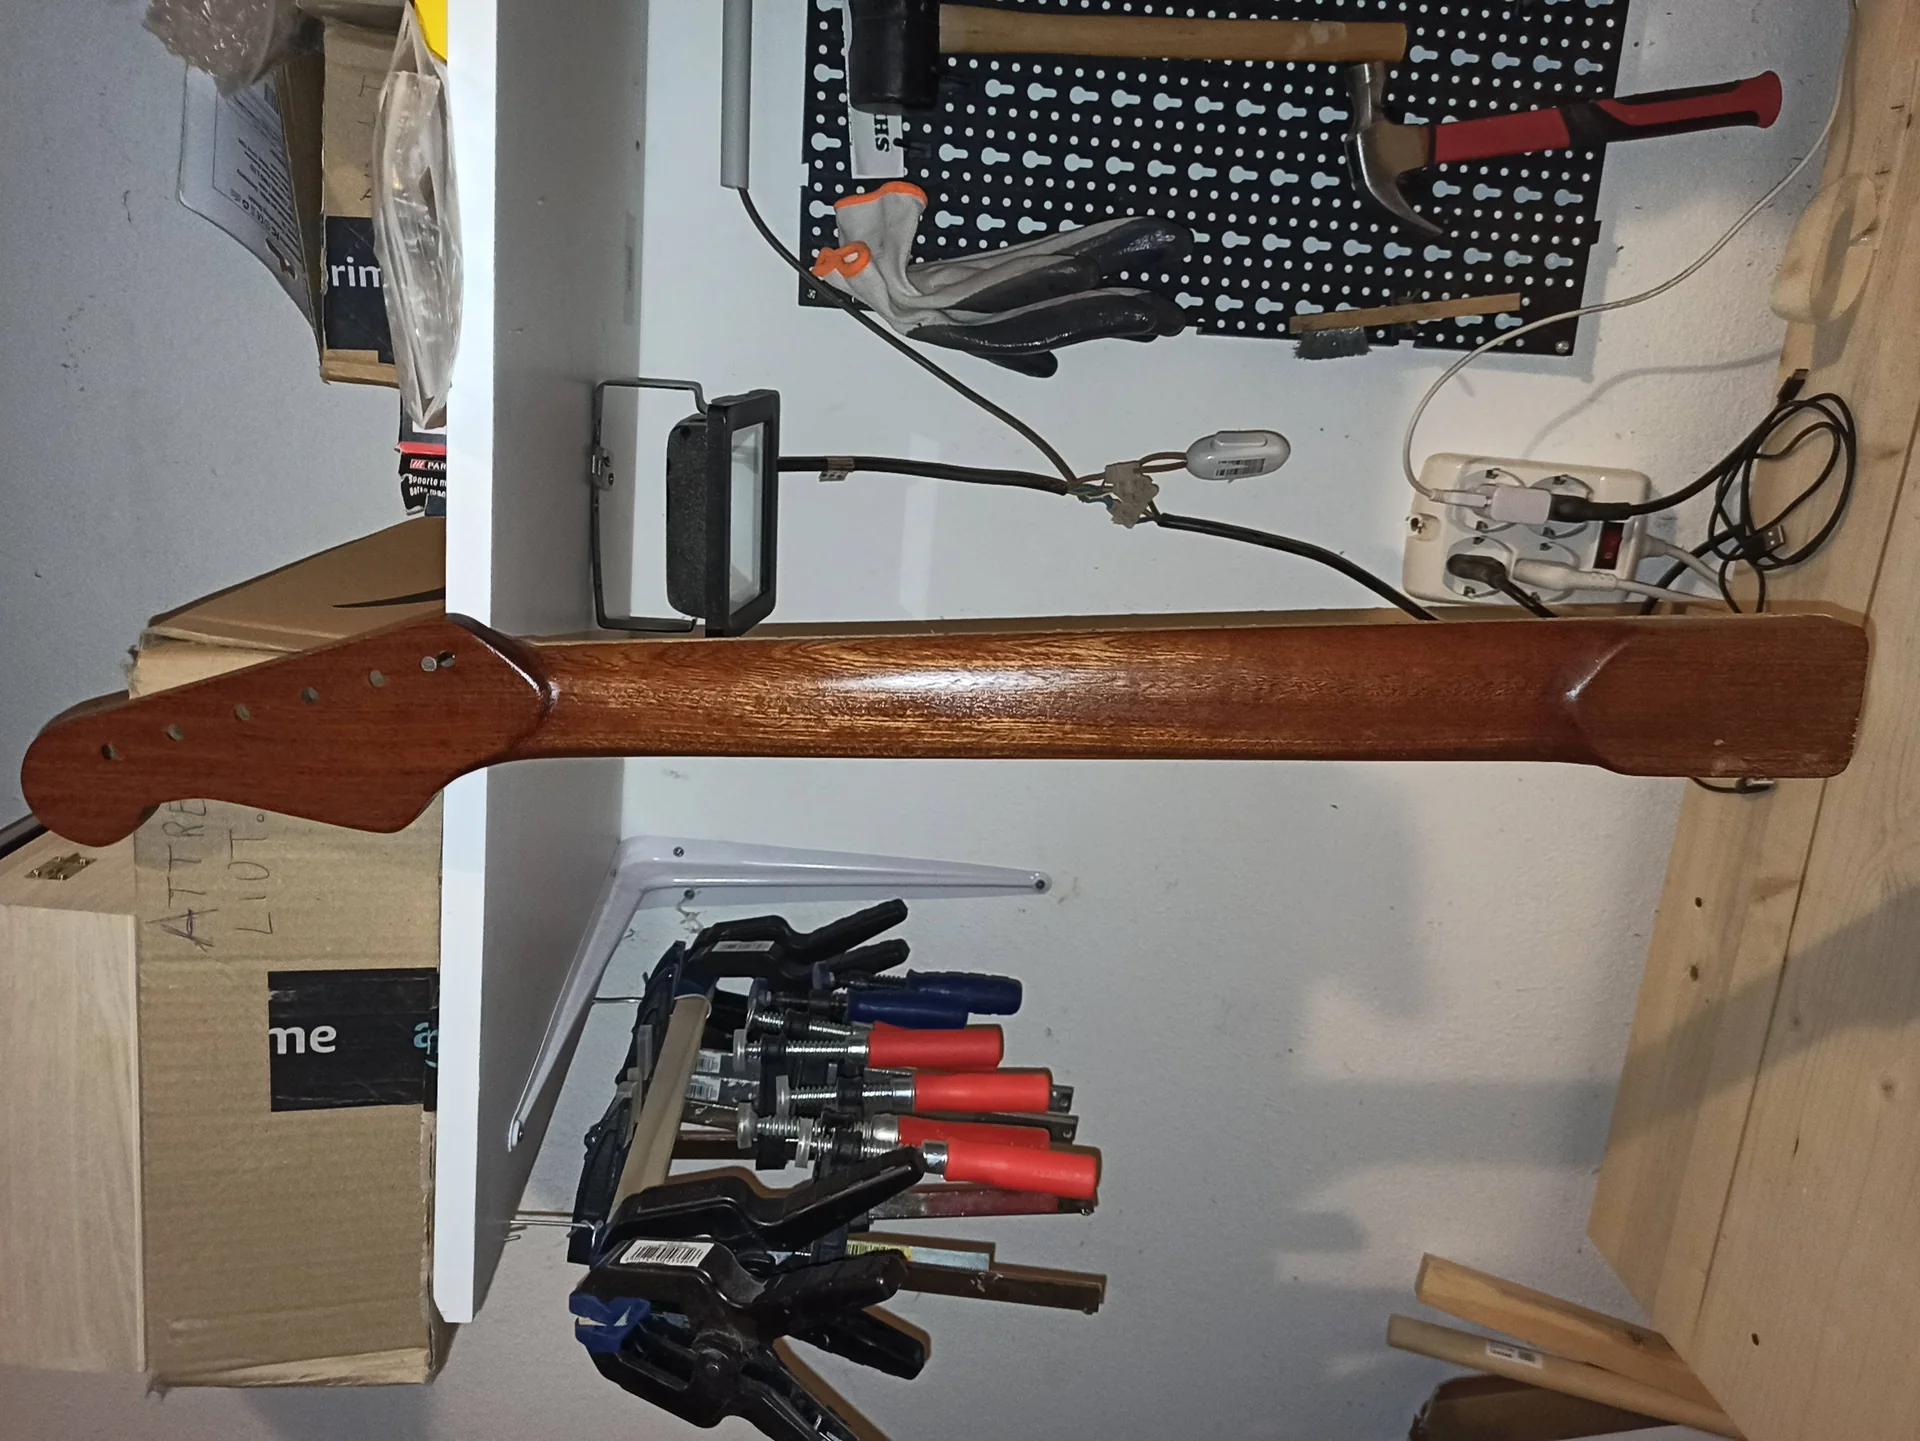
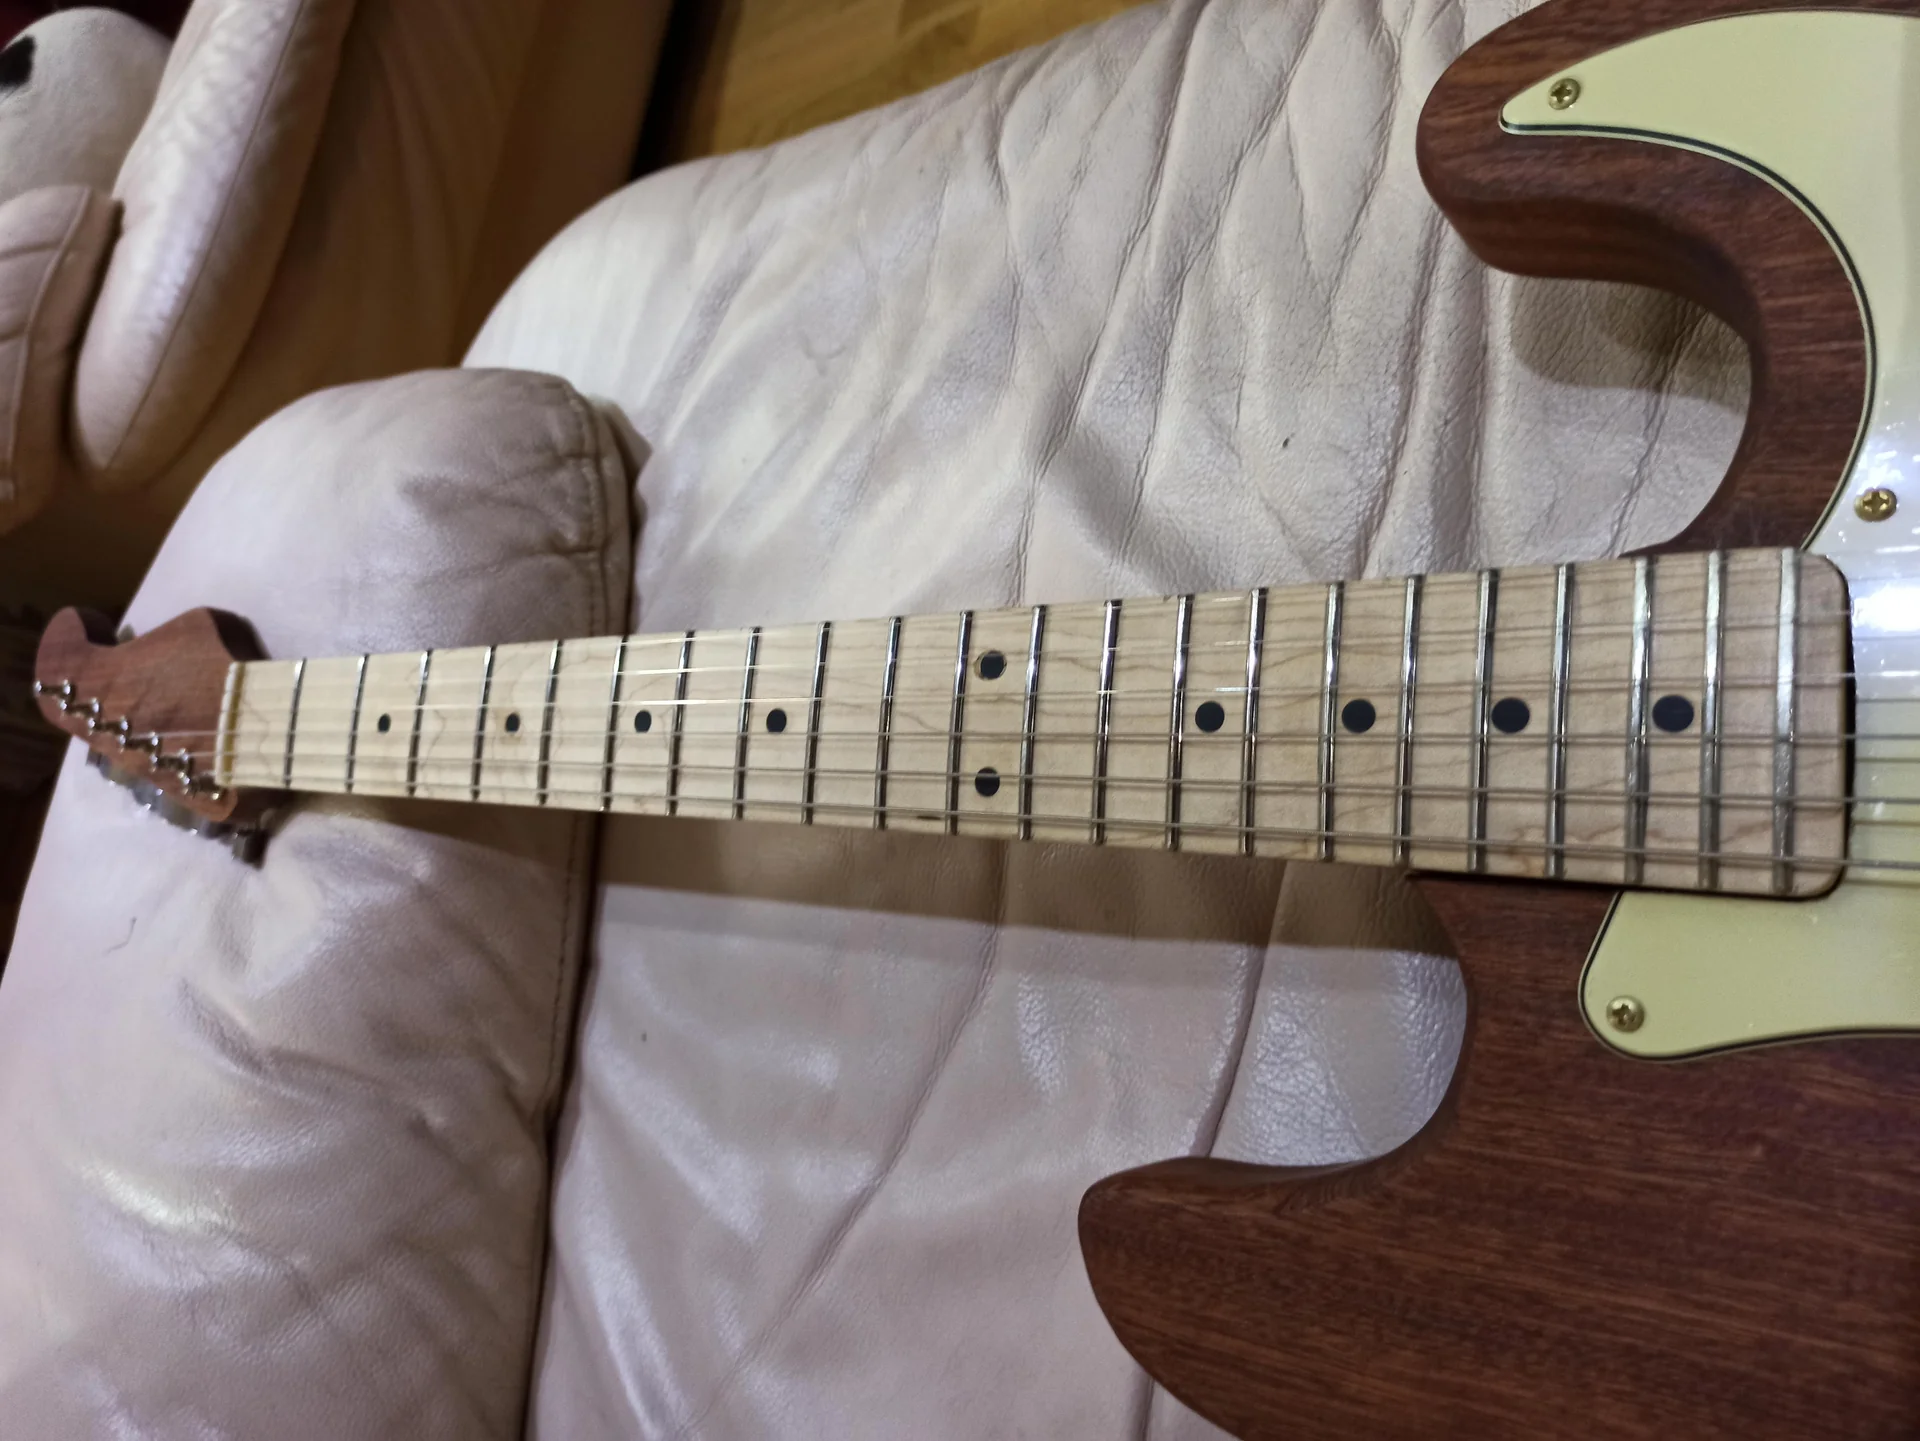
When it comes to fretwire, there's no universal solution. There are several options, and each has its pros and cons. We need to consider two main factors: the material and the dimensions. These two elements, combined, will determine much of the feel and durability of your frets.
1. The Materials: It's Not Just Metal
It all looks the same, but the materials frets are made from have very different characteristics. There are three main types you'll find on the market.

a. Nickel-Silver
This is the most common and traditional material for frets, used on virtually all guitars, from entry-level to professional models, for decades. Despite the name, it does not contain pure silver, but is an alloy of copper, nickel, and zinc. The percentage of nickel is what makes the difference: the higher it is, the harder the fret will be. Usually, we talk about alloys with 12% or 18% nickel. Pros: Ease of processing: It is relatively soft compared to other materials, which makes it easier to bend, insert into slots, level, and polish. For beginners, this is a significant advantage.Cost: It's the most economical option.
Sound: Many argue that nickel-silver has a more “warm” or “traditional” sound, although its impact on tone is a hotly debated topic among luthiers and musicians. Personally, I find the difference to be minimal, almost imperceptible, compared to stainless steel, but some swear by the opposite.
Availability: You can find it everywhere, from StewMac to small online suppliers. Against: Durability: It is the least resistant to wear. If you play a lot, or if you have a heavy touch, or use very hard strings, you will see grooves and flattening appear more quickly. This means more leveling or a complete refretting in a shorter time.
Allergies: Some people are allergic to nickel and may develop skin irritations with prolonged contact. in my garage, I used nickel-silver for the first acoustics I refretted. It's a great starting point to get familiar with the technique, as it's more forgiving of errors during processing.
b. Stainless Steel
In recent years, stainless steel has become increasingly popular, especially on high-end and custom guitars. It is a much harder alloy than nickel-silver. Pros: Durability: This is its strong point. It is extremely resistant to wear. Stainless steel frets last a lifetime, or almost. If you hate refretting your guitar, this is your choice.Smoothness: Strings glide over them with minimal friction, making bends and vibratos incredibly smooth. Once you try it, it's hard to go back.
Corrosion resistance: They don't oxidize, so they maintain their polish and shiny appearance for a long time. Against: Difficulty of processing: Being much harder, stainless steel is a nightmare to work with. You'll need specific, high-quality tools (dedicated files, robust nippers, silicon carbide sandpaper), which will wear out faster. My first attempts to level stainless steel were frustrating, and I ruined a few files.
Cost: It is more expensive than nickel-silver, both for the material and for the necessary tools.
Sound: Some find it a bit more “bright” or “cold” compared to nickel-silver. Here too, the difference is subtle and subjective.
If you've already done some refretting and want a durable and smooth result, stainless steel is an excellent choice. But be prepared to work a little harder.
c. EVO Gold (or Jescar EVO Gold)
EVO Gold is a relatively new alloy on the market, developed as an alternative to nickel-silver and stainless steel. It is a copper alloy with a bit of tin and iron, without nickel. Pros: Durability: It offers significantly greater wear resistance than nickel-silver (we're talking 2-3 times more), while not reaching the levels of stainless steel. It's an excellent compromise.Ease of processing: It is much easier to work with than stainless steel, approaching the ease of nickel-silver. It won't ruin your tools.
Aesthetics: It has a beautiful golden color that can add a touch of elegance to instruments with special finishes.
Hypoallergenic: Being nickel-free, it is ideal for those who suffer from allergies. Against: Cost: It is more expensive than nickel-silver, and sometimes approaches the price of stainless steel.
Availability: It is not as widespread as nickel-silver, although it is gaining ground. You might have to order it from specialized suppliers like Jescar or StewMac.
Sound: Here too, discussions about the “golden tone” are mostly marketing. The impact on sound is probably minimal.
I tried EVO Gold on one of my custom acoustics and I must say I was impressed by the compromise between durability and workability. If you are looking for something more resistant than nickel-silver but don't want to deal with the hardness of stainless steel, it is a choice to seriously consider.
2. The Dimensions: Width and Height (Crown Width & Height)
Fret wire dimensions are fundamental for feel and playability. Each manufacturer has its own nomenclature, but generally we talk about crown width and crown height. The “tang” (the part that inserts into the neck) and its “barbs” (the wings that hold it in place) are equally important, but the choice of dimensions focuses more on the crown. Crown Width (Crown Width): Narrow (Narrow): Typically from .078″ to .084″ (approx. 2.0mm – 2.1mm). Often found on vintage guitars or models seeking a more traditional feel. It makes intonation more precise if you play with a light touch, but can be less forgiving for bendings.Medium (Medium): From .090″ to .095″ (approx. 2.3mm – 2.4mm). It's a middle ground, very versatile and common on many modern acoustics. A good compromise for most guitarists.
Wide (Wide) / Jumbo: From .100″ to .118″ (approx. 2.5mm – 3.0mm). It offers a larger surface for finger contact, facilitating bendings and vibratos. It can give a faster “feel” but also requires lighter pressure to avoid lowering the intonation. Crown Height (Crown Height): Low (Low): From .037″ to .043″ (approx. 0.9mm – 1.1mm). Less space between fingers and the fretboard. It can be more comfortable for complex chords but less forgiving for bendings and requires more precise pressure.
Medium (Medium): From .045″ to .050″ (approx. 1.1mm – 1.3mm). Here too, the ideal compromise for many.
High (High) / Tall: From .053″ to .060″ (approx. 1.3mm – 1.5mm). It creates more space between the fingers and the fretboard, facilitating bendings without touching the wood. It requires a light touch to avoid “choking” the notes and can make the fretboard feel a bit less “direct” to the touch.
The combination of these dimensions creates different profiles. For example, a fret Narrow/Tall (narrow and tall) is often preferred by those who play with great precision and want a “clean” touch, while a Wide/Jumbo (wide and tall) is loved by those who do a lot of bends and seek a smooth feel. A heartfelt piece of advice: If you are refretting a guitar whose sound you already like, try measuring the dimensions of the original frets. You can do this with precision calipers. This will give you an excellent starting point. If, on the other hand, you want to radically change the feeling, think about what you don't like about the current frets and look for a profile that can solve that problem. Do you have difficulty with bends? Perhaps a taller fret would help. Do you feel that the frets are too “chunky” under your fingers? Try a narrower profile.
Remember that the tang width (tang width) is crucial for correct installation. It must be slightly wider than the fret slot to ensure a firm grip. Always measure the width of the slot on your neck before ordering the wire! A mistake here and you'll end up with frets that don't fit or are loose, and that's a real nightmare to fix. I've tried to salvage enlarged slots with glue and sawdust, but the result is never the same.
Choosing Your Best Fretwire: 5 Practical Points
Okay, now that we've dissected the materials and dimensions, it's time to put the information together and make a choice. There isn't a best fret wire for acoustic guitar absolute best, but there is one that is best for you And for your guitar. Here are the 5 points you need to consider.1. Sound Style and Musical Genre
The type of music you play and your style influence the choice. Fingerstyle, Jazz, Classical: If you have a delicate touch, play fingerstyle, or genres that require precision and cleanliness, you might prefer Narrow/Tall or Medium/Tall frets in nickel-silver or EVO Gold. This will give you greater control over intonation and a more “direct” feel with the fretboard. Durability won't be a primary concern if you don't “abuse” the frets.Heavy Strumming, Blues, Acoustic Rock: If you hit the strings hard, do a lot of aggressive slides or bends, or simply play for hours every day, durability is key. Stainless steel or EVO Gold, perhaps with a Wide/Tall profile, will give you the resistance and smoothness you're looking for. Wider and taller frets will help you avoid touching the wood during bends.
Think carefully: how do you play? Are you a “string whipper” or do you caress the neck? The answer will give you a clear indication of the material and dimensions.
2. Comfort and Personal Preference
This is perhaps the most subjective but also the most important point. Comfort is everything. Feeling under the fingers: Do you like frets that feel subtle, almost “submerged” in the fretboard, or do you prefer to clearly feel the profile under your fingertips? Lower frets give a more “flat” sensation, while higher ones make you feel like you're playing only on the metal.Bending and Vibrato: If you do a lot of bendings, a taller fret (Tall) will allow you to move the string without your skin rubbing on the fretboard wood. This reduces friction and makes playing smoother. Stainless steel amplifies this feeling of smoothness.
Pressure: With taller frets, you need to apply less pressure to get a clean note, but you also need to be careful not to flatten the intonation by pressing too hard. Lower frets require more pressure, but are more “stable” in terms of intonation if you tend to press hard.
The best way to understand what you like is to try it. If you have friends with different guitars, ask to try them. Go to a store and try models with different fret sizes. No theory holds up against practical testing. I remember trying a guitar with jumbo stainless steel frets and it felt like flying! From there I understood that for my electrics I would only want that. For acoustics, I found a good compromise with medium-high EVO Gold.
3. Durability and Maintenance
How willing are you to redo the work or take the guitar to a luthier? Maximum Durability: If you want to install the frets and not think about them for years and years, stainless steel is the obvious choice. It is the most durable and will give you peace of mind.Good Compromise: EVO Gold offers excellent durability, definitely superior to nickel-silver, with much simpler workability compared to stainless steel. It's an excellent choice if you want to avoid premature wear without going crazy during installation.
Traditional (and less durable): Nickel-silver is a classic, but it wears out faster. If you don't play a lot, or if you like the idea of a guitar that “ages” with you (even if that means refretting more often), it's perfectly fine.
Also consider the cost of maintenance: leveling stainless steel frets costs more because it requires more time and specific tools.
4. Tools and Expertise
Be honest with yourself about your skills and your equipment. Beginner with basic tools: If it's your first refretting and you only have the essential tools (nippers, fret hammer, standard files, sanding blocks), nickel-silver is the wisest choice. It's softer, more forgiving of mistakes, and won't ruin your tools.Intermediate hobbyist with decent tools: If you've already done some lutherie work, have good quality files and maybe a specific fret nipper, EVO Gold is within your reach. Its intermediate workability will allow you to achieve good results without too much frustration.
Advanced hobbyist with specific tools: If you already have consolidated experience, own diamond or silicon carbide files, and are not afraid to tackle more demanding work, then stainless steel is a valid option. It will give you maximum durability and smoothness. Do not try to install stainless steel frets with poor tools. You will get frustrated, do a terrible job, and probably ruin your tools. Investing in good tools is essential, and for certain materials, it is a requirement. Sometimes, the best thing is to take a step back and understand if we are truly ready. I have learned that sometimes it is better to invest in a good tool than in failed attempts. If you want to learn more about what tools are needed for the guitar modification, I have written several articles about it.
5. Budget and Availability
Finally, the wallet always has the last word. Economical: Nickel-silver is the most economical option. Perfect for low-cost projects or for 'battle' guitars.Medium-High: EVO Gold is positioned in a higher price range, but the quality-price ratio in terms of durability and workability is excellent.
High: Stainless steel is the most expensive, both for the material and for the specific tools that might be needed. But if durability is your priority, the investment pays off over time.
Availability is also a factor. You can find nickel-silver everywhere. EVO Gold and stainless steel are easier to find from specialized suppliers like StewMac (which is an incredible resource for us hobbyists, I always recommend it for specifications and quality materials – you can find the specifications for various types of fret wire directly on their website: StewMac Fretwire). You might have to wait a bit for shipping, but it's worth it to get the right material.
Practical Tips and Mistakes to Avoid (The Voice of Experience)
Ok, we've talked about materials and dimensions. But there are a couple of things I've learned the hard way and want to share, because they can make the difference between a nightmare refret and a job you'll be proud of.Measure, Measure, Measure (and then Measure Again)
This is the hobbyist luthier's mantra: never take anything for granted. Before ordering any wire, you must measure the width of the fret slots on your neck with extreme precision. The slots are not all the same, not even on the same brand of guitar. Use a precision digital caliper.Why is it so important? If the tang of the wire is too narrow for the slot, the fret won't hold. It will wobble, lift, cause buzzing. I've tried to fix it with cyanoacrylate and wood dust, but it's a patch, not a solution. If the tang is too wide, you won't be able to insert the fret without damaging the neck, or you'll crack the fretboard. And there, my friends, is real trouble. The damage is almost irreversible. Take a caliper, measure multiple slots at different points on the neck, and take the average. Then order a wire with the tang slightly (like .002″ – .003″) wider than the slot. This will give you the right friction.
Pre-bending the Wire: An Often Overlooked Step
Fret wire comes straight, in standard lengths. But your acoustic guitar's fretboard is curved (it has a radius). If you try to insert a straight wire into a curved slot, the central part of the fret will put more pressure on the edges of the slot, while the ends will tend to lift. This can lead to frets that don't seat well and protrude at the sides.The solution is to pre-bend the wire with a radius slightly tighter than that of the fretboard. If your fretboard has a 12″ radius, bend the wire to about 10″ or 11″. There are specific tools for this, called fret benders, but you can also do it by hand with a little patience, using wooden blocks and a vise, or even just with your hands and some force (but be careful not to bend it too much or create angles). This small precaution ensures that the fret seats perfectly in the slot, with uniform pressure along its entire length. I learned the importance of this after struggling with frets that mysteriously lifted after installation.
Don't Be Afraid to Try Different Types (on 'battle' guitars)
Initially, you might be undecided between two types of wire. If you have an old 'battle' guitar or a spare neck, use it as a test bench. Order a small quantity of two different types and try installing them on different sections of the neck. Level, polish, and feel the difference. There's no better way to understand your preferences than through direct experience. Maybe you'll discover that you like the feel of stainless steel for bends, but prefer the workability of EVO Gold. Or vice versa. Every hand is different, every guitarist has their preferences. Don't be afraid to experiment. The garage is the perfect place to experiment and, if necessary, make mistakes without too much damage.The Importance of Good Leveling and Polishing
Even the best fret wire for acoustic guitar of the world, if it is not properly leveled and polished, it will make the guitar unplayable. After installation, the frets will have slightly different heights and probably won't be perfectly rounded (crowned). Leveling: You will need to level the frets to ensure they are all at the same height. This prevents buzzing.Crowning: After leveling, the frets will have a flat surface. You will need to restore their crown shape with specific files. This is fundamental for intonation and playability.
Polishing: Finally, you will need to polish the frets until they shine like mirrors. This is not just for aesthetics, but it reduces friction with the strings, making bends and vibratos smooth and pleasant.
This process is laborious and requires patience. Don't rush. Every step is crucial. Skipping a step or doing it poorly will compromise all the work. I have spent hours and hours polishing frets, and every time the final result is immense satisfaction.
When to Ask for Help (or Start Over)
Don't be ashamed if things don't go as planned. It has happened to me several times. If you find yourself in difficulty, if the frets don't go in, if they lift, or if the buzzing is unsolvable, there are two paths: 1. Ask for help: There areSee also
Download the Luthier Survival Kit
Free PDF with checklist, problem-cause table and project card template.
 English
  Italiano
Stuck on your build?
If you ran into the same problem or have a question, drop it in the comments. I read and reply to every one.
Write a comment