

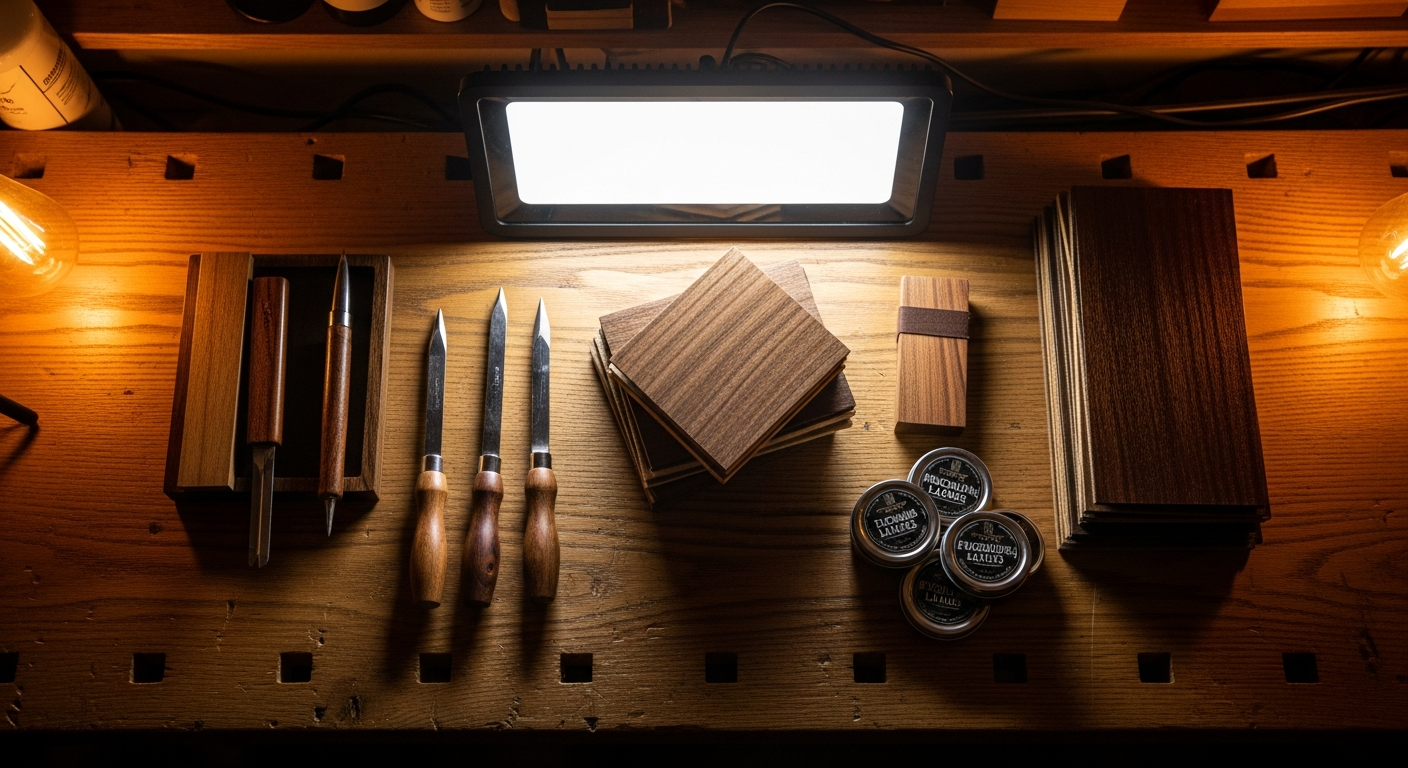
Guitar Fret Kits: 5 Things to know before buying
Sooner or later, that moment arrives for everyone. The one where you look at your favorite guitar, perhaps the one that accompanied you through a thousand evenings, and you realize that its frets have had enough. They are flat, worn, full of grooves. They no longer intonate as they should, and doing a bending has become a painful endeavor.
That's when the idea flashes in your mind: "What if I tried refretting it myself?". A thought that can generate a mix of enthusiasm and terror. I understand you perfectly, I've been there too. The first time I tackled a refretting job, I did more damage than good. I learned the hard way that buying a generic guitar fret kit is not like getting a new set of strings. There's much, much more to know.
I'm not a professional luthier, let's be clear. I'm someone who has destroyed and repaired more guitars than he has bought, in his garage. I got the measurements wrong, I used the wrong glue, I sanded too much. But in the end, every time, I learned something. And if I succeeded, with a little patience and the right information, you can do it too.
So, before clicking “add to cart” for the first fret set you come across, stop for a moment. There are at least five fundamental things you absolutely need to know. They will save you headaches, frustrations, and, most importantly, money.
1. It's not just "wire": Fretwire Material and Alloy
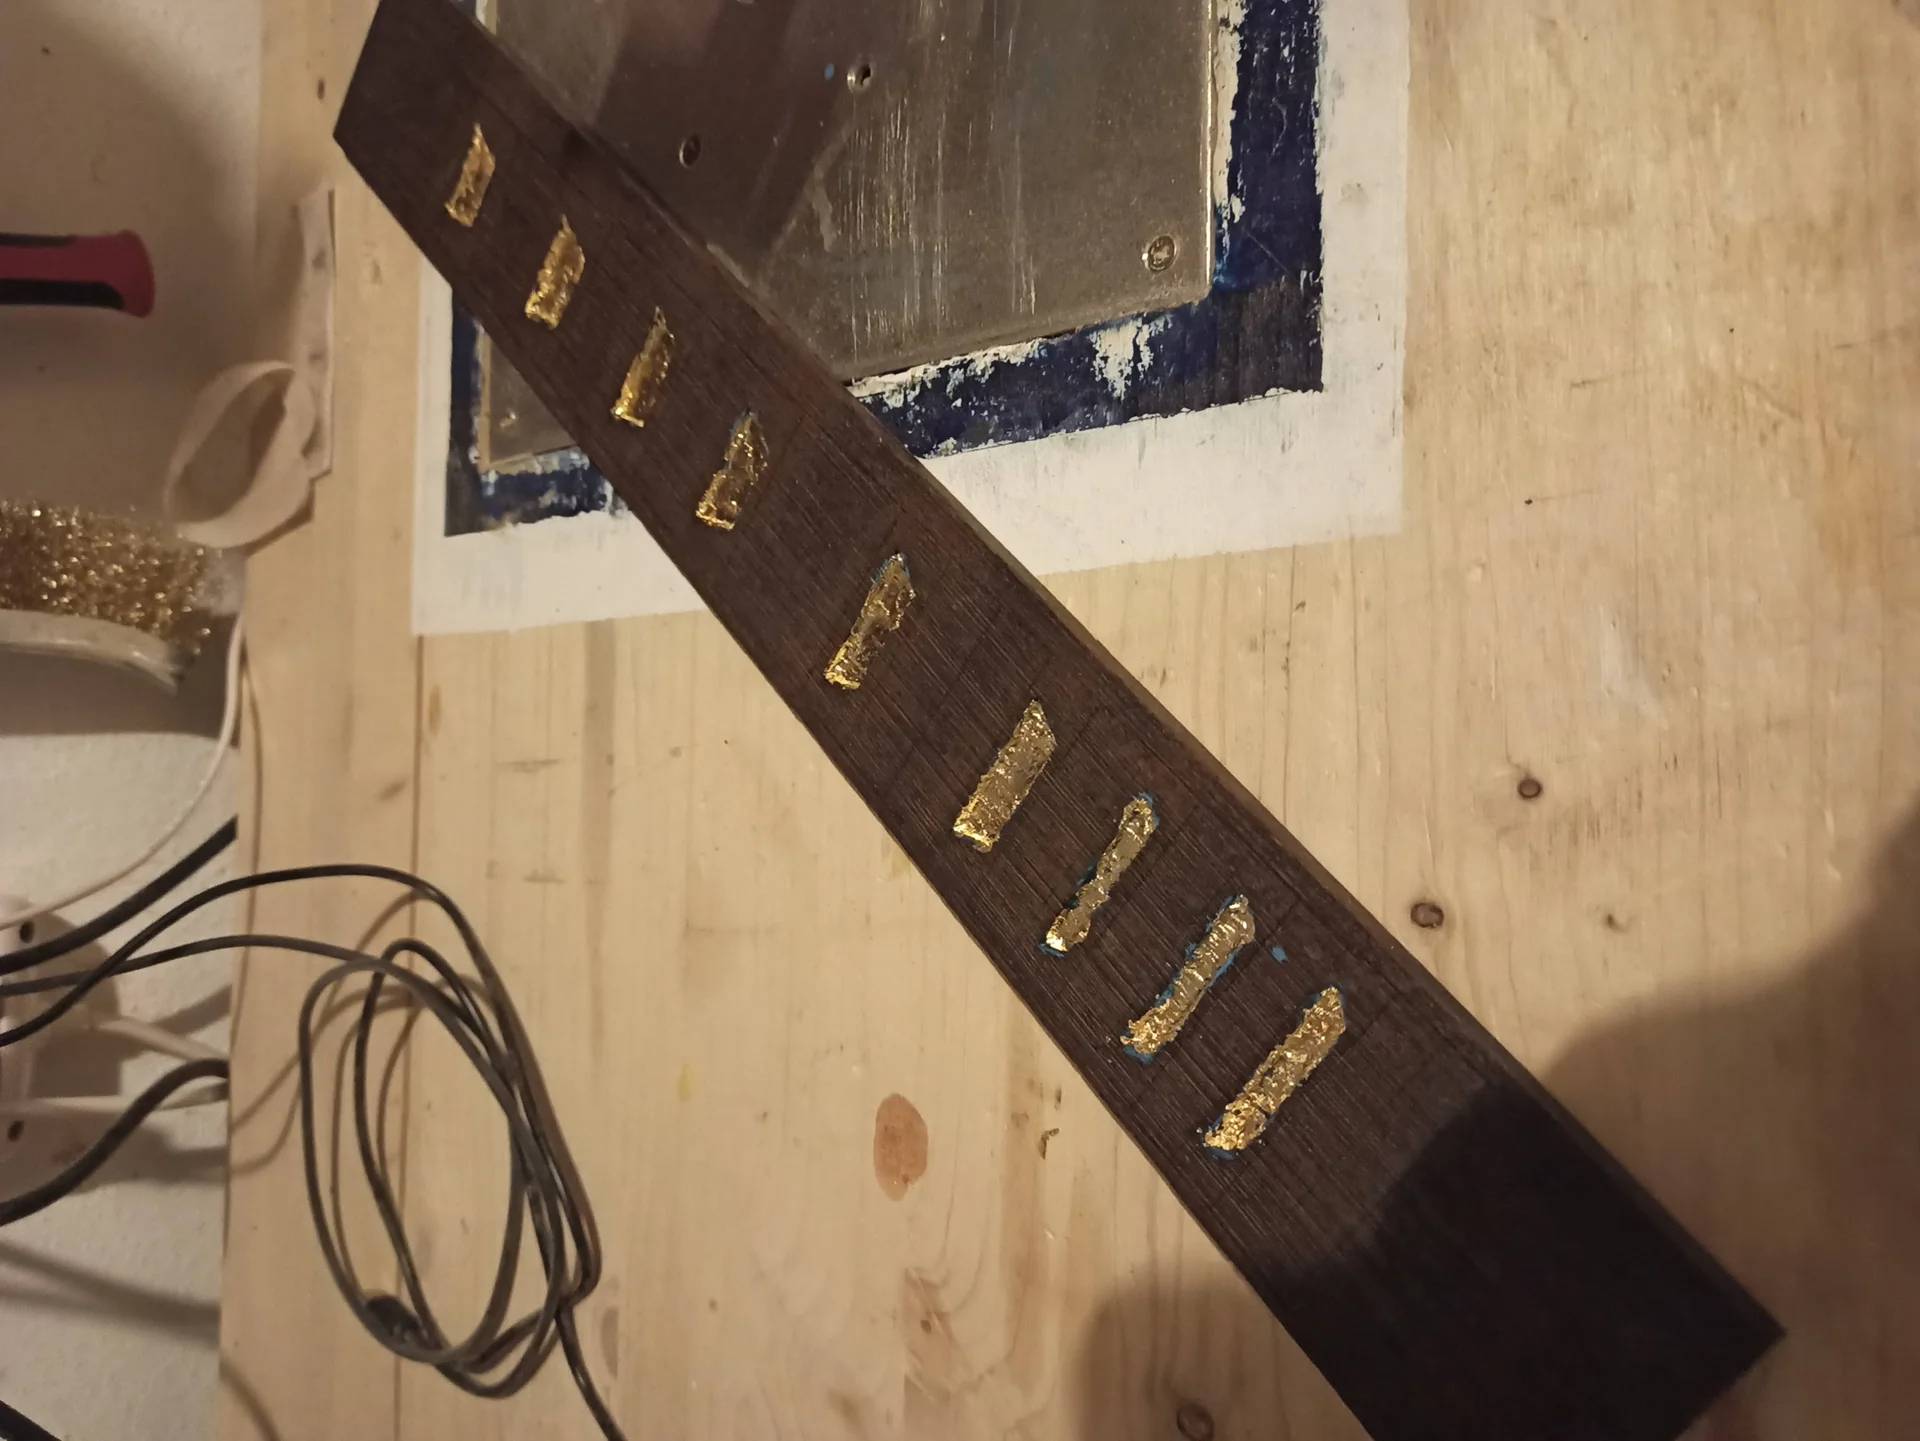
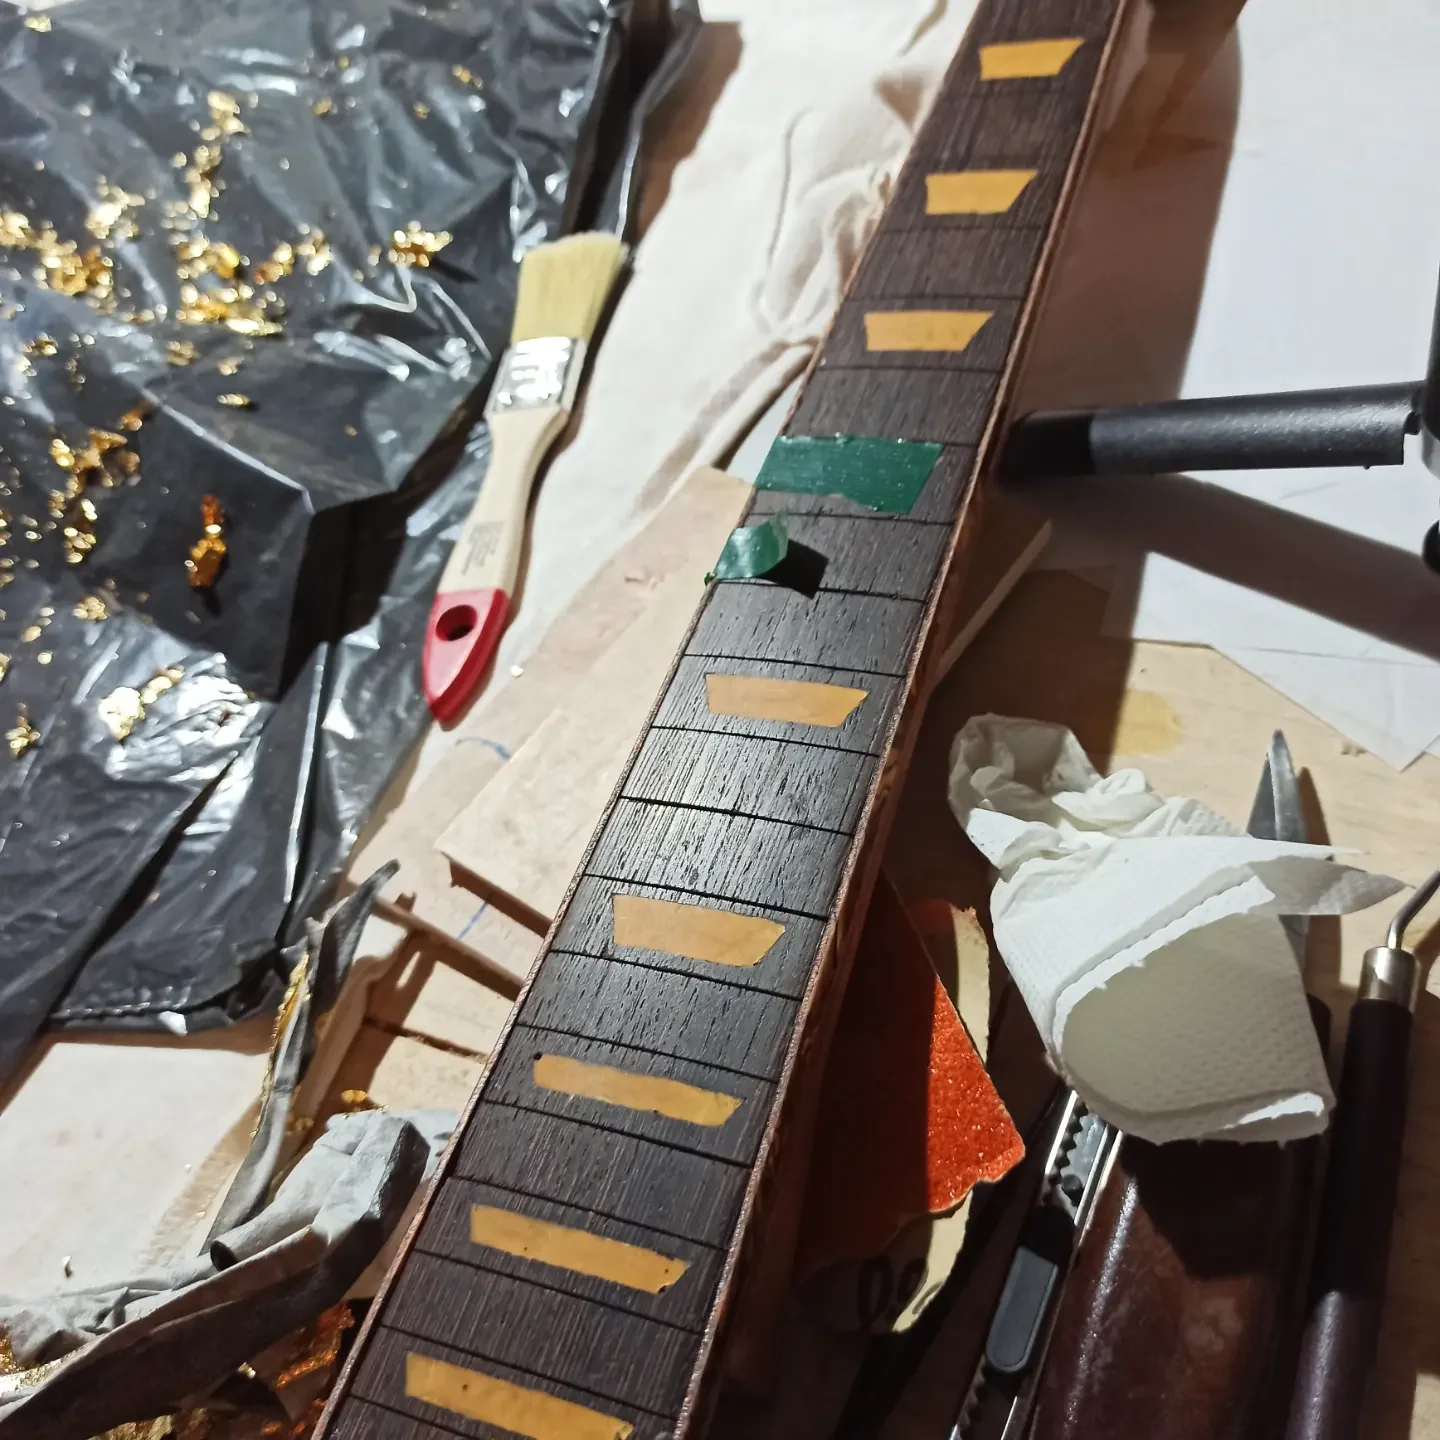
Here we get to the heart of your guitar's feel. When you're looking for a fret wire, you'll come across a myriad of numbers and acronyms: 6105, 6150, 6100, medium jumbo, vintage, jumbo… It sounds like something for engineers, but in reality, it's simpler than you think. These numbers refer to the dimensions of the fret, specifically its height and width.
The fret profile directly influences playability. A higher fret allows you to press the string with less effort, almost without touching the fretboard, facilitating bends and vibratos. A wider fret can provide more contact surface for the fingers, depending on the style.
Let's look at the main categories: Vintage (e.g. Dunlop 6230): They are the smallest and lowest. Typical of old Fender and Gibson.
Pros: Your hand feels the fretboard more. This can appeal to those with a strong grip who seek a traditional feel. Intonation may seem more precise for some, because the contact point with the string is closer to the fretboard.
Against: They require more force to press the strings. Bends are more tiring and, if you have a heavy touch, you might “choke” the sound by pressing the string against the fretboard, especially after leveling the frets multiple times. If you're used to larger frets, these will seem tiny.
Medium Jumbo (e.g. Dunlop 6105, 6150): An excellent compromise and probably the most popular choice today. They are taller and/or wider than vintage frets. The 6105, for example, is narrow but tall. The 6150 is wider and a bit lower.
Pros: They offer a good balance between ease of playability and contact with the fretboard. Bends are simpler, and there's less risk of choking notes. They allow for lower string action.
Against: They might not be “big” enough for those seeking maximum comfort with extreme bends.
Jumbo (e.g. Dunlop 6100): They are the largest and tallest. Very popular among shred and metal guitarists and generally those seeking maximum speed and ease of execution.
Pros: They offer a “slippery” feel, almost like playing without touching the fretboard. Bends and vibratos are extremely easy and require very little force. Ideal for those with a light touch or who play very fast.
Against: Your hand feels the fretboard less, which can be strange at first. If you're not used to it, you might have intonation problems, because it's easy to press the strings too hard and pull them slightly sharp. The first time I tried jumbo frets, it felt like playing on a marble fretboard, all smooth and without feedback. It takes a while to get used to it.
How to choose the right profile?


Remember that the choice of profile will also influence the installation and leveling process. Wider and taller frets require a bit more attention during crowning, to ensure that the string contact point is always in the center.
A common mistake, in the panic of choice, is to play it “safe” with a medium jumbo without ever having played on one. Then you end up with a feeling you don't like. Don't rush. This is one of the most important decisions when choosing a guitar fret kit.
3. The Dragon's Tooth: Tang Thickness and Width
This is a detail that many hobbyists, including myself at the beginning, tend to underestimate. And yet, believe me, it is fundamental. We're talking about the “tang,” that part of the fret wire that inserts into the fret slot (the groove in the fretboard). It's the “tooth” of the fret, and its width and thickness are critical for a correct and lasting installation.
What is the Tang?
Imagine the fret as an inverted “T”. The upper part, which your fingers touch, is the “crown”. The lower part, which slides into the fretboard, is the tang. Along the tang there are small barbs, which serve to grip the wood.
Why is Tang Width Crucial?
The problem arises when the tang doesn't mate well with your fretboard's fret slot.
Tang too wide for the fret slot: This is the worst case. If you force a fret with a tang that is too wide into a slot that is too narrow, you risk splitting the fretboard. I have seen, and unfortunately caused, cracks in the wood, especially on maple fretboards or those with delicate finishes. It's not pretty. The frets go in with tremendous difficulty, and the tension they generate in the wood can lead to future problems, such as loosening of the truss rod or neck deformations.
Tang too narrow for the fret slot: In this case, the fret will not have enough grip. It might not stay in place, lift slightly in some spots, or, worse, move freely, causing buzz and intonation problems. It will be necessary to use a lot of glue (CA glue, cyanoacrylate) to fix it, but this is never the ideal solution. A good mechanical fit is always preferable.
How to measure and what to do?
Before buying your fret wire, you need to measure the width of your fretboard's fret slots. The best way is to use a precision digital caliper or, even better, a set of fret slot feeler gauges.
Caliber: Insert the caliper tip into the slot and measure. Take several measurements along the entire fretboard, because the width of the slots can vary slightly.
Feeler gauges: These are specific tools, metal blades of calibrated thickness that you insert into the slot until you find one that enters with slight resistance.
Most fretwire manufacturers specify the tang width in their technical datasheets. For example, Dunlop offers different tang widths for the same fret profile.
Another aspect to consider: the tang must not extend beyond the width of the fretboard. If your fretboard has binding (the decorative edge), the tang will need to be cut (or “nibbled”) at the binding to prevent it from damaging it or preventing the fret from seating properly. For this, specific pliers called “tang nippers” or “fret tang crimpers” are used. Without these tools, or without a good precision file, finishing the binding can become a nightmare.
Remember, refretting is a precision job. It's not just a matter of hammering a piece of metal into the wood. Every detail counts, and a good tang fit is the basis for a solid job. And don't forget that modify a guitar it's not just changing pickups, but taking care of every small element.
4. The Radius of Curvature and the Scale: Never Underestimate Them
Well, we've talked about material, profile, and tang. Now let's address two concepts that, if ignored, can turn refretting into a disaster: the fretboard radius and the scale length.
The Fretboard Radius (Fretboard Radius)
Most electric guitar fretboards are not flat, but have a slight curvature, a radius. This radius can be constant (e.g. 9.5″, 12″, 16″) or compound (compound radius), where the radius changes along the neck (e.g. from 10″ at the nut to 14″ at the bridge).
The fret wire you buy must have the same radius as your fretboard, or a slightly narrower.
Pre-radiused wires: Some manufacturers sell the fret wire already pre-curved to the desired radius. It's convenient, but you have to make sure the radius is exactly what you need.
Bending the wire by hand: Most of the time, the wire comes straight in pieces or in a coil. It will be your job to curve it. To do this, you need a “fret bender”, a tool that allows you to bend the wire to the desired radius. At first, I tried to do it by hand, with pliers and a lot of patience. The result? Frets curved in a “V” instead of a “U”, or with irregular curves. A fret bender, even an inexpensive one, saves your life. It allows you to curve the wire to a radius slightly narrower than that of the fretboard (like 1″ or 2″ narrower), so when you press it, the ends lift slightly, ensuring uniform pressure in the center and at the ends once installed. This is fundamental to prevent the frets from lifting at the edges.
The Pain Point: If you install a straight fret on a curved fretboard, or a fret with the wrong radius, its ends will tend to lift. This means that the fret will not be firmly seated, it will cause buzz and you will have to resort to massive doses of glue, which is never the optimal solution. If, on the other hand, you curve the wire too much, you might have a hump in the center of the fret that will require excessive leveling.
How to measure the radius? You will need “radius gauges”, metal or plastic templates with the most common radii. You place them on the fretboard to find the one that fits perfectly. Do this operation in several points of the neck, especially if you suspect a compound radius.
The Scale Length
It's not a mystery, but it's a detail that can leave you without fret wire halfway through the job. The scale length of your guitar determines how many frets you will need and, consequently, how much wire you will have to buy.
Fender-style (25.5″): Guitars like Stratocaster and Telecaster have a long scale.
Gibson-style (24.75″): Guitars like Les Paul and SG have a shorter scale.
Other scales: There are also 25″, 25.3″, etc.
A typical guitar fret kit is sold in pre-cut pieces (e.g. 24 pieces for a 24-fret guitar) or in coils of 2 or 3 meters. If you have a 24-fret guitar with a long scale, you will need more wire than for a 21-fret guitar with a short scale. It seems obvious, but in the enthusiasm of buying, it's easy to order a kit that's too small. I have a friend who had to wait an extra week for a new order because the first fret set he bought wasn't enough for his 7-string!
Always make sure you have some margin. It's better to have a few extra centimeters of wire than to find yourself with a missing fret.
5. The “Kit” is not a Magic Wand: What You Really Need
This is the point where many, including myself at the beginning, fall into error. When talking about guitar fret kit, most of the time it refers only to the fret wire, perhaps pre-cut and pre-radiused. Rarely does a “kit” include all the necessary tools to do the job from scratch. And believe me, without the right tools, refretting is torture.
The first time I refretted a guitar, I thought I could get by with a carpenter's hammer, any pair of wire cutters, and some sandpaper. The result was a ruined neck, crooked frets, and a lot of frustration. Don't do it.
Here is a list of the tools essential (or highly recommended) that you will need, in addition to your fret set:
1. Tools for removing old frets: Soldering iron: To heat the frets and soften the glue or moisture, making them easier to extract without chipping the fretboard.
Fret Puller: Specific flat-head pliers, designed to pry under the fret without damaging the wood. Do not use normal wire cutters, you would ruin the fretboard.n2. Tools for installing new frets: Fret Bender: To bend the fret wire to the correct radius (as discussed before).
Fret Hammer or Fret Press: The hammer has a brass or soft plastic head, designed not to mark the fret. It requires a solid, flat support surface under the neck.
The press, on the other hand, is a tool that exerts uniform pressure. It is more expensive but makes the job easier and cleaner, especially if you plan to do a lot of refretting. There are also benchtop versions or those that mount on a drill press.
Cyanoacrylate glue (CA Glue): To secure any frets that don't seat perfectly or to fill small gaps.n3. Tools for finishing frets (the most critical part): Straightedge (Straight Ruler): A precision straightedge, usually made of steel, to check the flatness of the neck and frets. Indispensable for leveling.
Fret leveling block (Fret Leveling Beam): A rigid and perfectly flat block, usually aluminum, to which abrasive sandpaper is attached. It is used to level the surface of the frets once installed, ensuring they are all at the same height.
Fret crowning files (Fret Crowning Files): After leveling, the frets will be flat on top. These files are used to restore the “crown” (rounded) shape to the fret, leaving only a small contact point for the string. They are available in different sizes to suit various fret profiles.
Files for beveling the ends of the frets (Fret End Dressing File): To round and smooth the edges of the frets, so they don't protrude and cut your fingers. Good work here makes the difference between a comfortable guitar and one you can't wait to put down.
Sandpaper and polishing pads: Of various grits (from 400 up to 2000 or more) to remove file marks and polish frets to a mirror finish. Specific fret polishing pads are excellent.
Radius Gauges: To check the fretboard radius.
Digital caliper: To precisely measure thicknesses, heights, and widths.
Tang Nippers: To cut the tang when there is binding or to shorten the wire.
Fretboard protectors (Fretboard Guards): Thin metal masks that are placed on the adjacent fret to protect the fretboard during filing and polishing.
Budget and DIY alternatives:
Of course, the list is long and can seem daunting for the wallet. Many of these tools are expensive if purchased from professional brands (like StewMac, an excellent source for luthier tools, but not cheap: here's an example of a complete tool kit). However, there are cheaper alternatives, often of Asian production, which are perfectly fine for the hobbyist. The key is patience and attention to detail.
Don't be afraid to start with a more basic set of tools and then expand as you gain experience. The important thing is to have the tools right* for the critical phases, especially for leveling and crowning. Good leveling is the secret to perfect intonation and low action.
To recap, the world of guitar fret kit it's more complex than it seems at first glance. It's not just about choosing the size, but considering the material, profile, tang width, fretboard radius and, above all, the tools you'll need to do a decent job.
Don't be afraid to make mistakes: I did, and I learned. The satisfaction of playing a guitar refretted by your own hands, which intonates perfectly and has a fantastic feel, is priceless. Prepare your workbench, study well, take your time. And good luck!
See also
Download the Luthier Survival Kit
Free PDF with checklist, problem-cause table and project card template.
 English
  Italiano
Stuck on your build?
If you ran into the same problem or have a question, drop it in the comments. I read and reply to every one.
Write a comment