


Removing Guitar Frets: An Essential Guide.
The first time I had to remove the keys guitar, I was terrified. I'm not kidding. I had a handle worth a few hundred euros in my hand, and the thought of ripping off those little pieces of metal, ruining the wood forever, stopped me. It all looks easy on video, right? A swipe of the pliers, and the key is off. But the reality, in my garage at home, is a different story. And often, reality throws out a few splinters of rosewood.But I'll tell you something: if I could do it, with my initial clumsiness and a few too many mistakes, you can do it too. You don't need to be a luthier with years of experience. You just need patience, the right tools (or almost the right ones, if you're creative), and understanding. Why you do something in a certain way.
This is not a manual for professionals, but a guide for those who, like me, want to get their hands dirty and perhaps transform an old neck into something new, whether for refretting or a fretless conversion.
Why remove the keys? And what scares you the most?
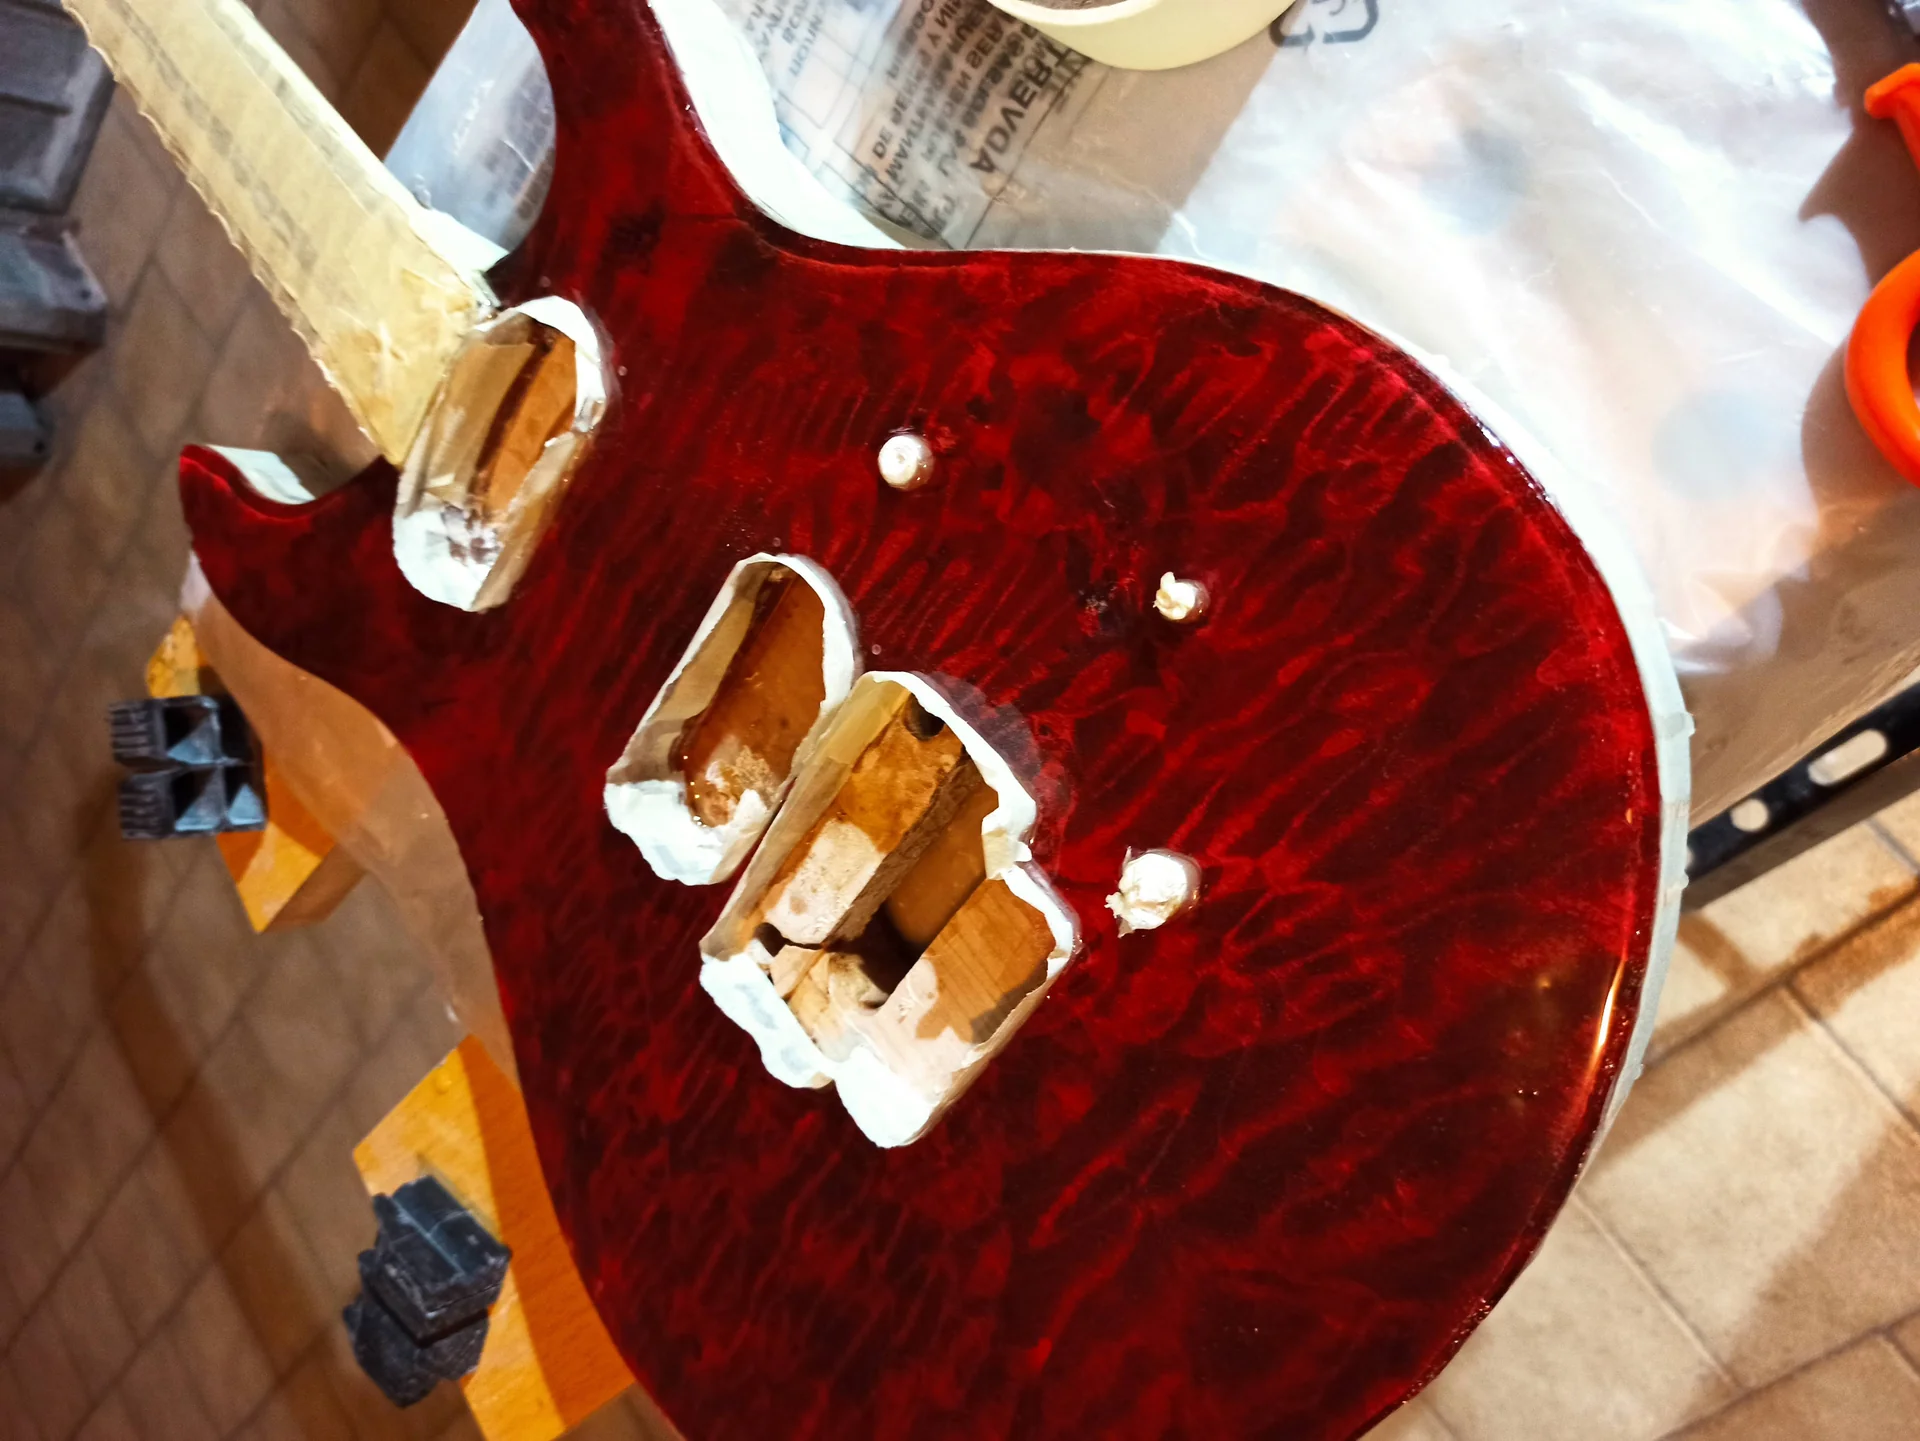
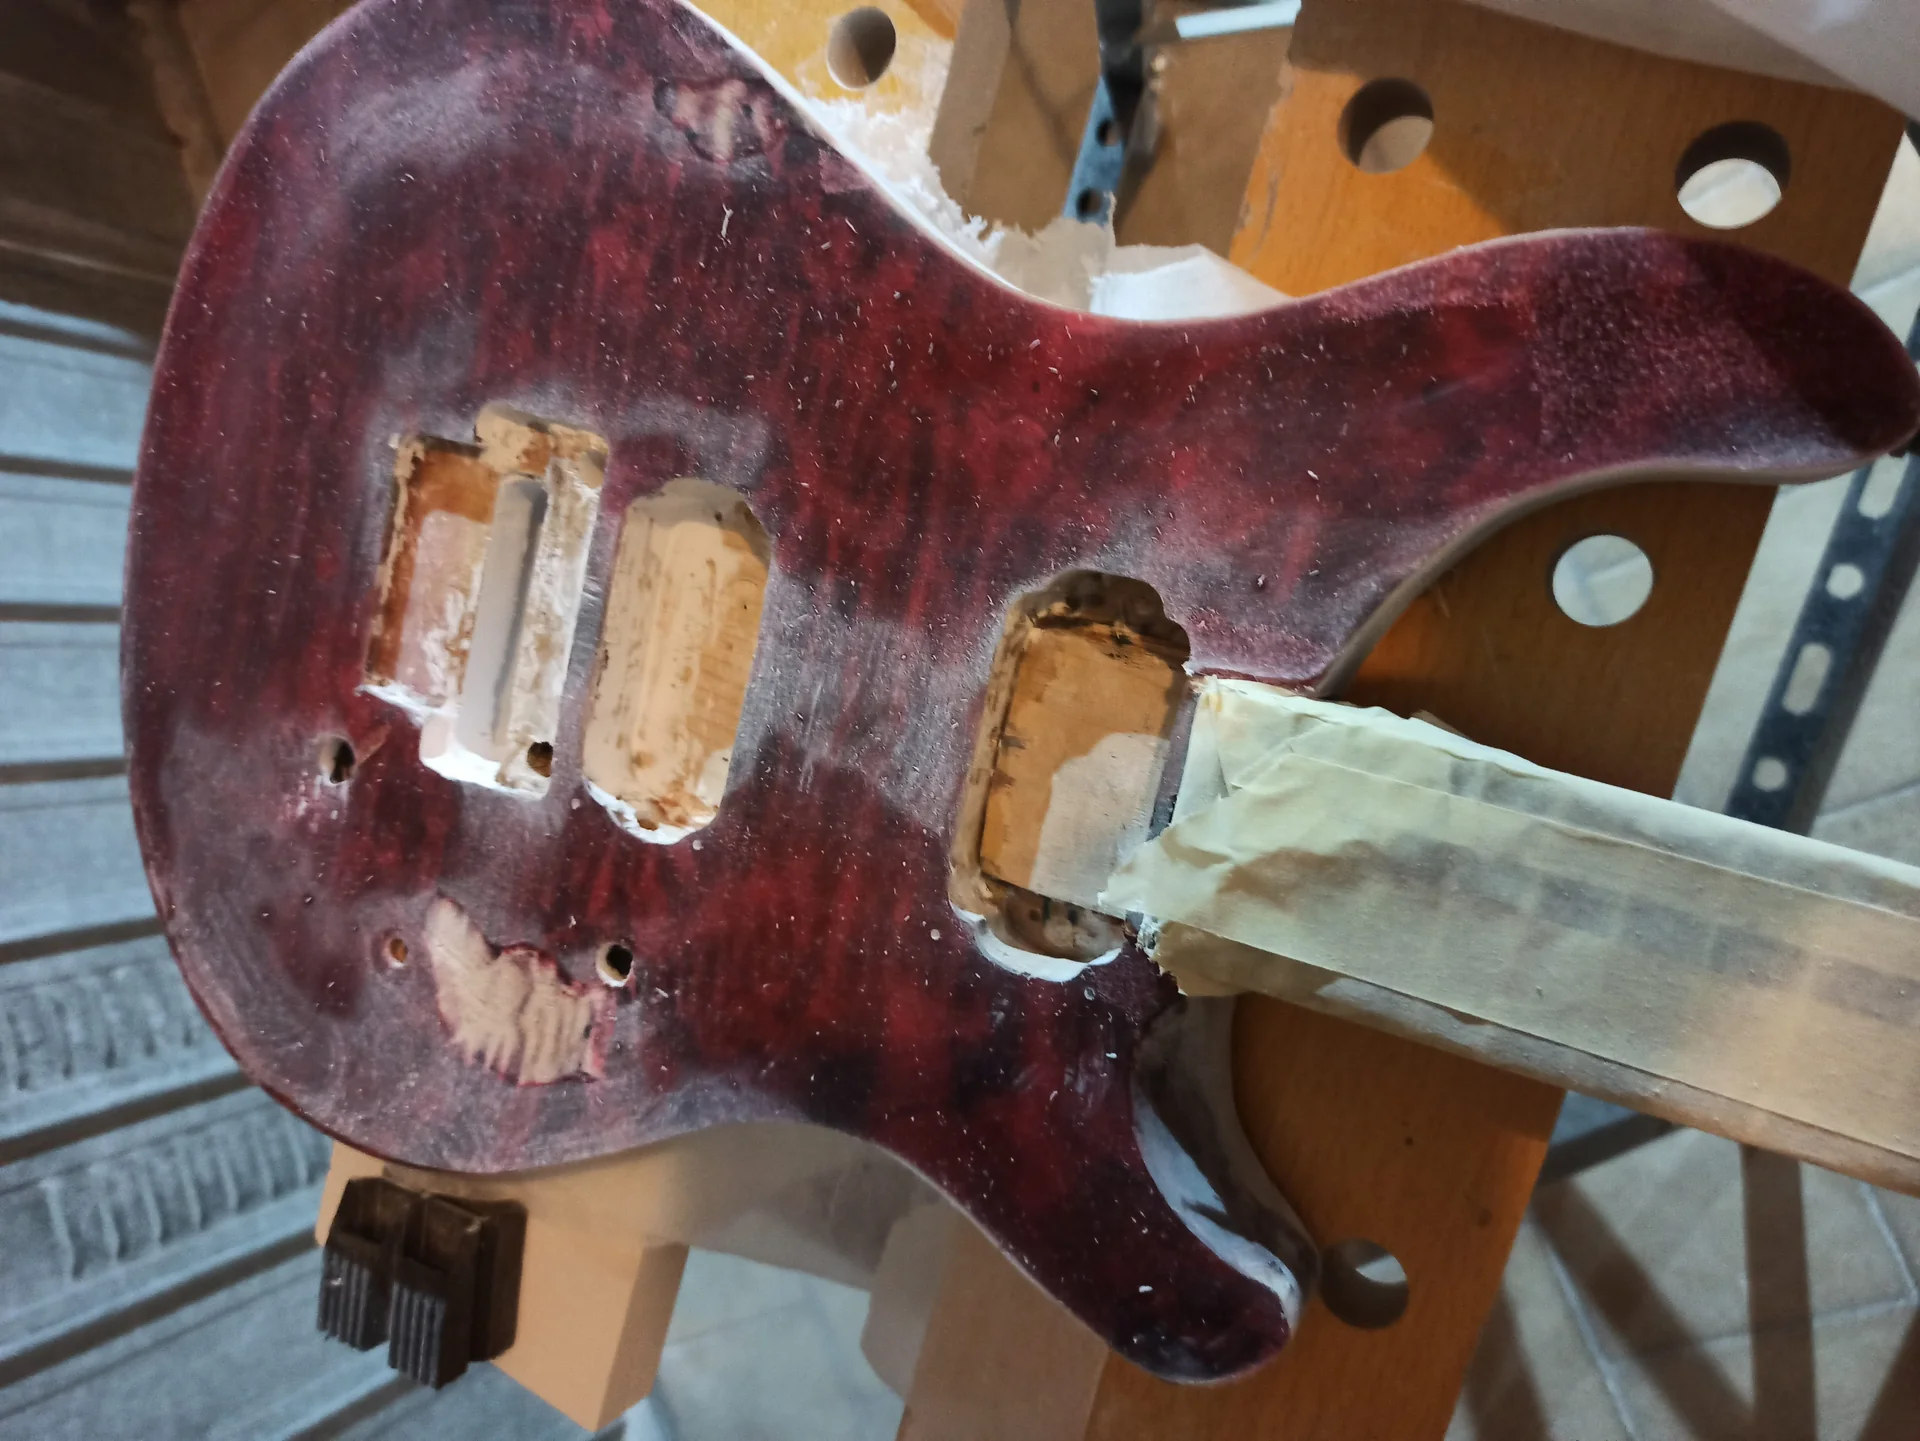
For remove the keys In a clean and safe manner, there are specific tools that can make your life easier. Not all of them are mandatory, but some really make a difference.
Here's the shopping list: Soldering iron or low-temperature heat gun: This is ESSENTIAL. Heat is your best friend for softening the glue (if any) and expanding the metal of the button, making it easier to remove without tearing. A 40-60W soldering iron is perfect. If you have a heat gun, use it carefully, at a low temperature, to avoid charring the wood.
Fret Puller: They look like electrician's pliers, but they have flat, sharp tips designed to fit under the keycap and apply even leverage. This is the investment I highly recommend. I've tried several, and those from StewMac and Hosco are excellent, but less well-known brands also make good tools.
Sharp razor blades or cutters: To engrave the edge of the fret. This helps prevent chipping.
Fretboard Guards: These are thin metal plates placed on the sides of the fret to protect the wood during extraction. They're not strictly necessary if you're very precise, but for beginners, they're a godsend.
Rubber or plastic hammer: Useful for giving the key a little push before pulling it out, sometimes it helps to “unlock” it.
Work gloves: To protect your hands from heat and splinters.
Goggles: Always a good idea when working with metal and wood. Garage alternatives (for the more adventurous):
If you don't have the specific pliers, you could try with a good electrician's flat-nose pliers, but you have to be extremely Be careful and perhaps file the jaws to make them thinner and less aggressive. The risk of damaging your fingerboard is much higher. Honestly, I recommend investing the 30-50 euros for this tool. It will pay off in peace of mind and saved necks.
For heat, if you don't have a soldering iron, some people use an iron (with a damp cloth between them) or a very powerful hair dryer. But a soldering iron is more precise and controllable. The goal is to heat the key, not cook the keyboard.
The step-by-step process: calm and collected
Okay, we understand why and we have the tools. Now let's get to work. Remember, haste is the worst enemy of good lutherie. ### Step 1: Preparing the Neck1. Remove the strings and disassemble the neck: If the guitar is assembled, detach the neck from the body. Working on a free neck is much more comfortable and safe. 2. Clean your keyboard: A little dirt or grease can prevent the soldering iron from sticking or the cutter from working properly. Clean with a damp cloth and, if necessary, a little isopropyl alcohol.3. Fix the handle: Clamp the handle to a workbench, using soft cloths to protect it. It must be stable and not move during the operation. ### Step 2: Score the fret edges. This is a crucial step to prevent chipping. 1. Take the razor blade or sharp cutter.n2. Rest it against the edge of the key crown, where it meets the wood of the fingerboard.n3. Apply light pressure and score along the entire length of the key, on both sides. You don't need to cut deeply, just break the wood finish and any fibers that might be lifted by the key. Make a couple of firm passes.

Mimmo's tip: On lacquered fretboards (like maple), this step is even more important to prevent the lacquer from chipping off. ### Step 3: Heat the fretnnThis is the secret to a clean fret pull. 1. Turn on the soldering iron and let it heat up well.n2. Place the tip of the soldering iron directly on the crown of the button, for about 5-10 seconds. Don't worry, the metal of the key disperses heat well. The goal is to heat the metal so that it expands slightly and softens any glue or resin in the slot. #3. Move the soldering iron along the button, covering its entire length. Be careful not to burn the surrounding wood, but a slight temporary darkening of the key is normal.
Attention: On lacquered maple fingerboards, be quicker and more careful. Excessive heat can ruin the finish. ### Step 4: Removing the fretnnNow comes the moment of truth. 1. Immediately after heating a section of the key (or the entire key, if small), take the key extraction pliers.n2. Insert the tips of the pliers under the crown of the fret, as close to the wood as possible. If you have keyboard protectors, place them on now.n3. Apply gentle, steady pressure, levering the key up. Don't tear! The goal is to lift the key slowly and evenly.
Technique: Start at one end and lift a small piece, then move the pliers a few millimeters and lift another small piece. Proceed as if you were "unrolling" the key from its slot.
Common mistake to avoid: Don't try to pull the entire fret off at once from the center. This is the best way to tear the wood.n4. If the button feels too resistant, heat it again. Don't force it. The heat will make the difference.n5. Once the key is removed, examine the slot. It should be fairly clean, with minimal chipping.
Repeat these steps for all the keys. It may seem slow, but it's the safest way. One key at a time, with patience.
“The first time I tried to remove a fret sideways, almost as if I wanted to create a cavity in the neck. The result? A nice hole in the fretboard. From there, I learned that the pull must be perpendicular and gradual. Learn from my mistakes!”
Practical advice and troubleshooting for common problems
Even with all the precautions, something can still go wrong. Here are some scenarios and how to deal with them. The button does not move: Did you heat it enough? Try holding the soldering iron a little longer. Sometimes, a little tap on the side of the button with a rubber mallet before heating can help loosen it.Minimal chipping: If you see small chips at the edges of the slot, don't worry too much. For refretting, they can often be filled with cyanoacrylate glue (superglue) mixed with wood dust (of the same wood, if possible) before installing the new frets. For a fretless guitar, the final sanding will cover them.
Major chips: If a significant piece of wood comes off, the situation is more serious. You can try gluing it back together with wood glue or cyanoacrylate. If the piece is missing, you'll need to create an inlay (patch) with a piece of wood of the same species. This is a job for an experienced luthier, but if you're in DIY mode, it's a challenge.
Very worn or flat keys: Sometimes the keys are so flat that it's difficult to pry them open with pliers. In these cases, you can try heating them and then using small, straight-nose pliers to grasp the slightest protruding edge. Be even more gentle.
Lacquered maple fingerboards: As I said, they're the most delicate. The lacquer can crack or lift. Scoring with the cutter is essential. If you see the lacquer cracking, stop, reheat, and be even slower in removing it.
Handles with binding: If your neck has binding (the plastic or wooden strip along the edge of the fretboard), be very careful not to damage it. The clamp should only apply to the fret.
Remember that practice makes perfect. The first few keys you remove will be the most difficult. By the third or fourth, you'll have gotten the hang of it.
After removal: cleaning and preparation
Once you've removed all the keys, the job isn't done. The keyboard needs a little love. 1. Clean the slots: Using a thin blade or a small flathead screwdriver, remove any glue residue, wood dust, or key fragments from the slots. They must be clean and free to accommodate the new keys or keycaps. 2. Inspect the keyboard: Check for hidden chips or damage you may not have noticed.n3. Leveling (if necessary): Sometimes, removing frets can cause small variations in the fretboard's flatness. If you're refretting, this is the ideal time to sand and level the fretboard (fretboard planing) before installing the new frets. This ensures a perfect foundation. For a fretless conversion, leveling is even more critical.To learn more about the modification process and the various operations you can do on a guitar, check out our section dedicated to guitar modifications. There you'll find other helpful guides for your DIY projects.
Reflections on the “after”: refretting or fretless?
The choice between refretting and fretless conversion will influence your next steps. ### For refretting:You'll need to prepare the slots for the new keys. This may mean cleaning them even more thoroughly, and in some cases, if the slots are too wide (perhaps for thinner keys), you'll need to tighten them slightly. There are techniques for this, such as using cyanoacrylate glue and wood dust, or inserting small strips of wood. Make sure you have the new keys on hand and that you've chosen the right profile and alloy for your needs.
For fretless conversion:
Here, the work is different. Once the slots are cleaned, you'll need to fill them. You can use different materials: Wooden strips: Typically, strips of maple or ebony are used, cut to the exact size of the slots. They are glued and then sanded flush with the fingerboard.Wood filler or epoxy resin: These materials can be colored to contrast or match the keyboard.
Plastic or other composite materials: Some experiment with materials like binding plastic or other polymers.
Whatever your choice, the filling must be made with precision and then sanded perfectly flush with the fretboard. This requires a lot of patience and different grits of sandpaper until you achieve a smooth, even surface. And don't forget to condition the fretboard wood afterward, perhaps with a good lemon oil or a specific product for fretboards.
If you're interested in how professionals approach refretting and preparing a keyboard, I recommend checking out StewMac's resources, such as their article on how to level a keyboard. It's a reliable source full of practical advice: StewMac: How to Level a Fretboard.
Final thoughts: don't be afraid to make mistakes
As I mentioned at the beginning, the fear of ruining everything is the biggest obstacle for anyone approaching these jobs. But it's precisely by making mistakes that you learn. The first time I removed the keys, I made a small mess, sure. But from that mistake I learned to be more methodical, to use heat correctly, and to never force it.Every neck is a lesson. Every fret removed is a step forward in your DIY luthier journey. The important thing is to start, not get discouraged, and always try to understand the Why behind every step.
Take your time. Prepare your workspace well. Don't be afraid to take breaks if you feel frustrated. And when you're done, you'll look at that bare handle and know you've accomplished something many consider only professional. And you'll have done it with your own hands, in your garage. And that, for me, is the greatest satisfaction.
See also
Download the Luthier Survival Kit
Free PDF with checklist, problem-cause table and project card template.
 English
  Italiano
Stuck on your build?
If you ran into the same problem or have a question, drop it in the comments. I read and reply to every one.
Write a comment