

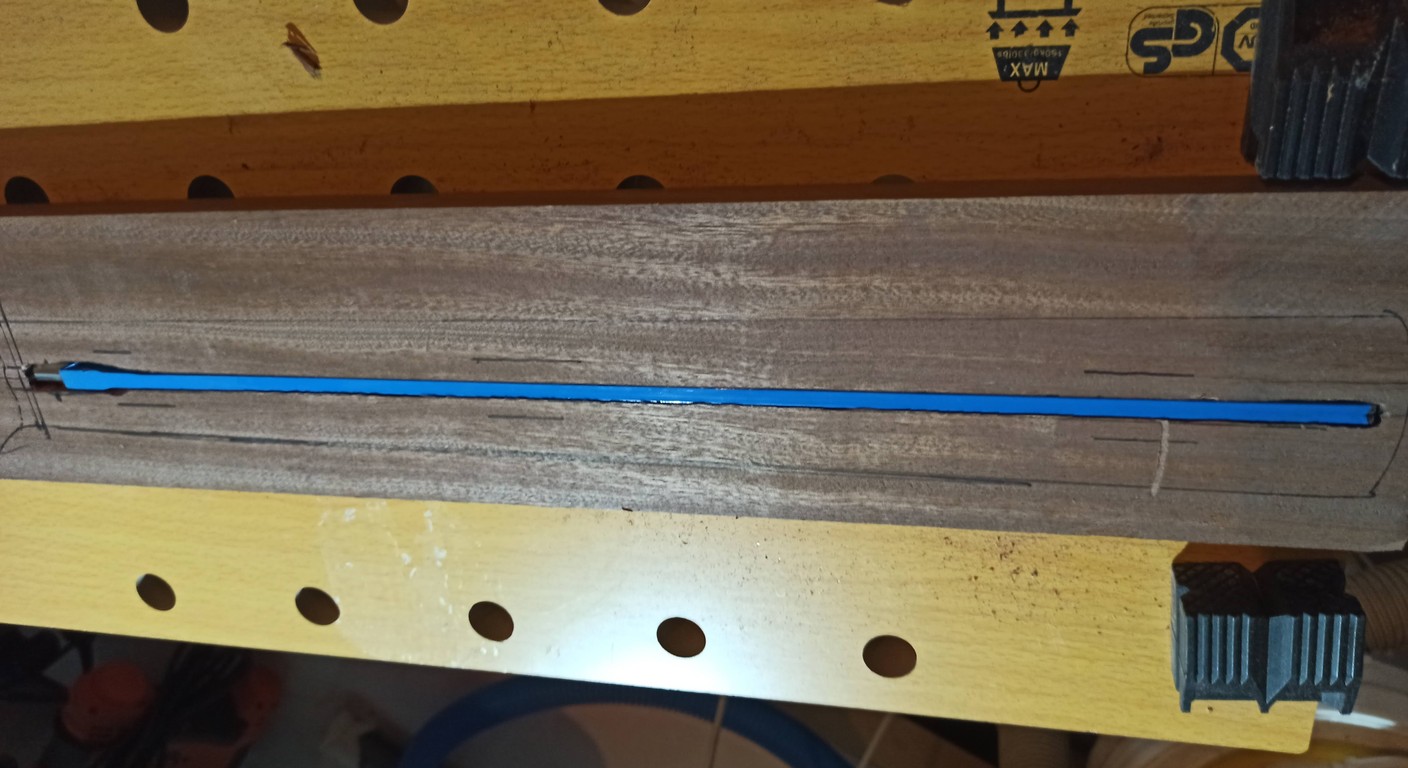
Fix the neck: Adjust the truss rod.
The guitar neck, as we know, is not an inert piece of wood. It lives, breathes, and moves. It reacts to changes in temperature, humidity, and above all, the constant tension of the strings. It's a delicate balance, and when something isn't right, your guitar lets you know right away: high strings, annoying hissing, or uneven intonation.For years, just the thought of touching the truss rod It gave me a terrible sense of anxiety. It was that mysterious thing, hidden in the neck, that everyone said you shouldn't touch unless you were an expert. As a garage luthier, I've seen few experts and I've caused a lot of damage. But I've learned one thing: if you're patient and understand what you're doing, adjusting the neck tension rod is one of the most rewarding and fundamental maintenance jobs you can do on your guitar. It's not magic, it's mechanical. And yes, if I could do it, you can too.
What is the truss rod and what is it for? The heart of the neck.
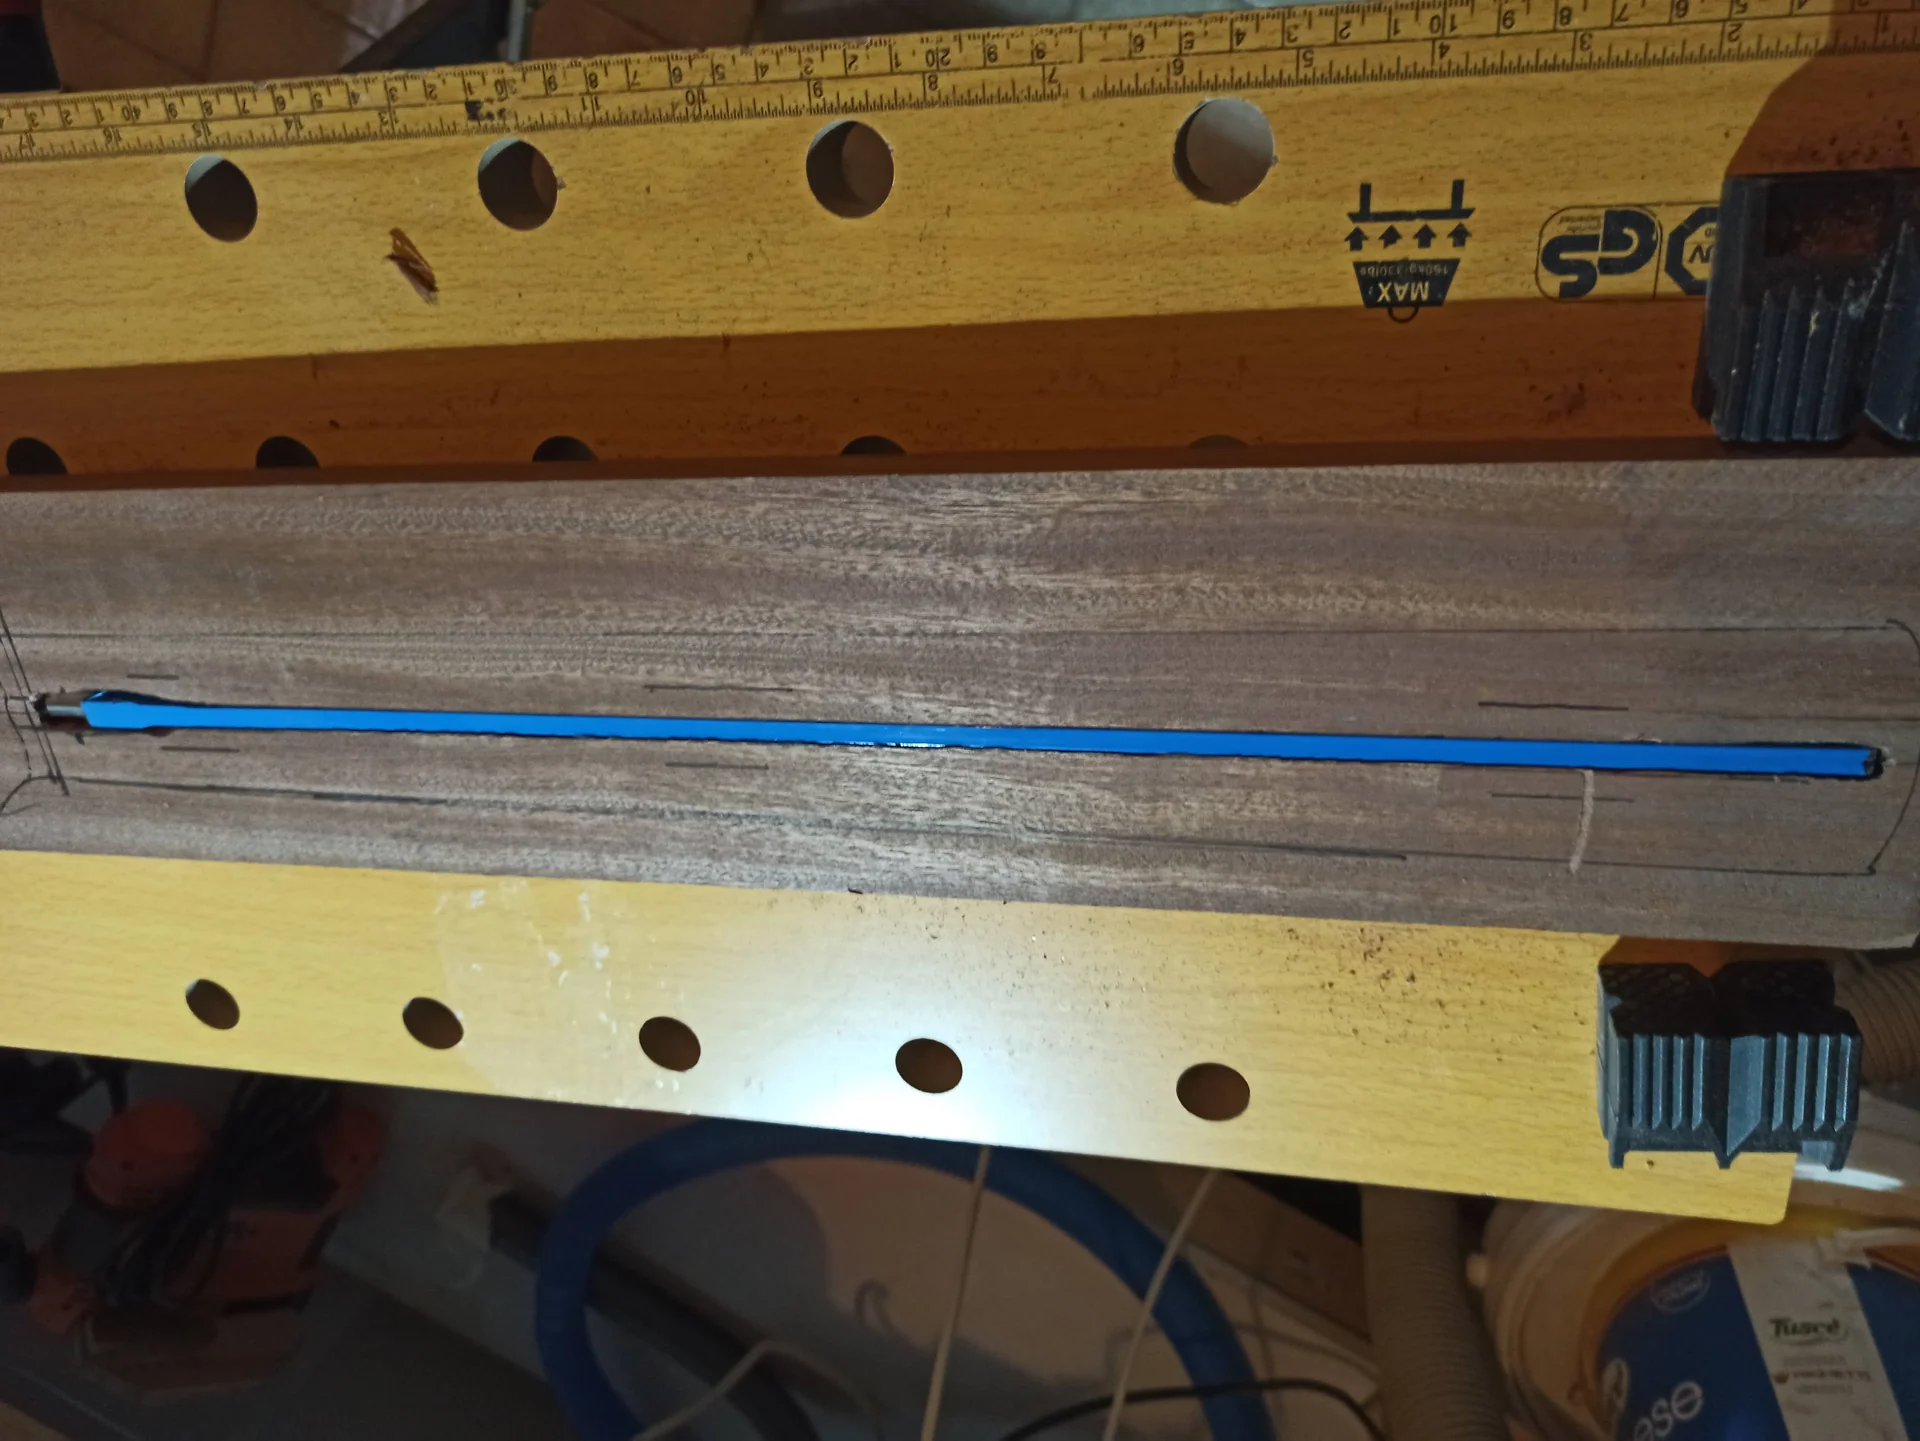
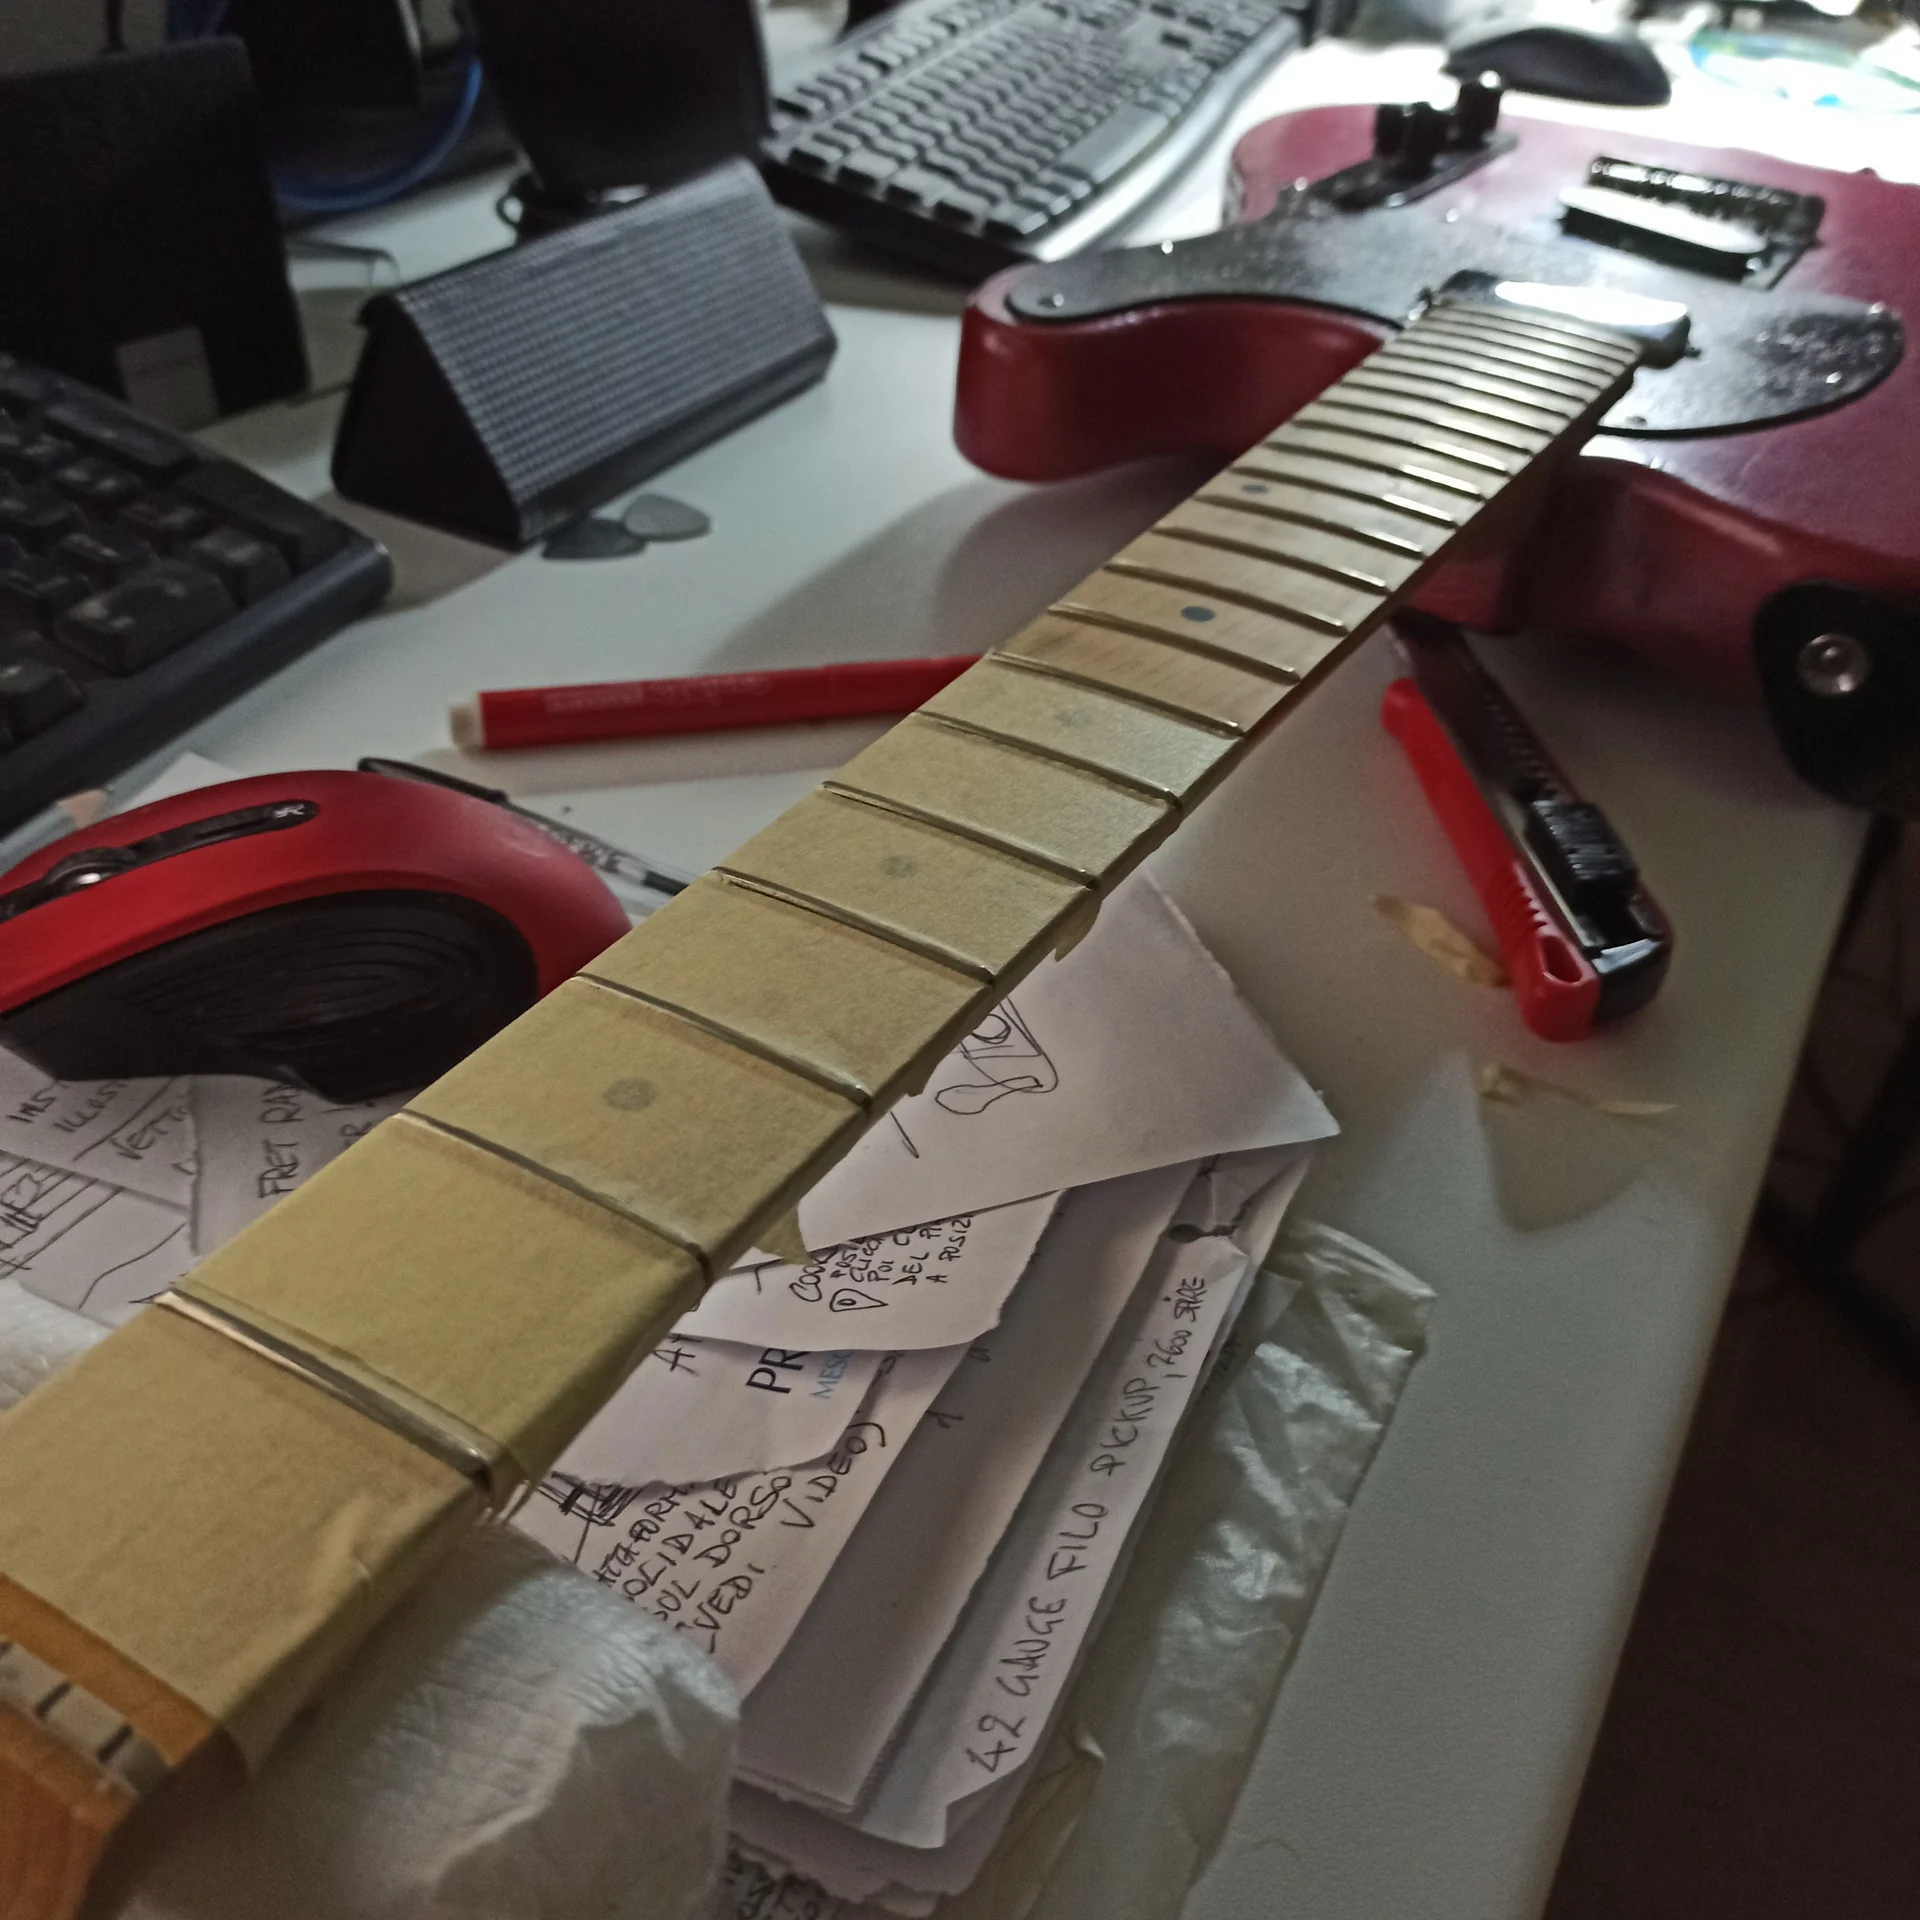
What are the symptoms that tell you it's time to check the curvature of your handle? High strings (high action): If the strings are too far from the fingerboard, especially halfway up the neck, and you feel like you're having to strain to play, that's a sign. The neck might be too concave.
Hissing or buzzing noises on the low keys: Conversely, if the strings rustle on the first few frets (from the nut to the 5th-7th fret), and the action seems low there, the neck may be too straight or even slightly convex.
Ballerina intonation: A neck with the wrong curvature can affect the overall intonation of the instrument, making it difficult to set correctly.
Difficulty in bending: If bending feels harder than usual, or notes are cutting out, it could be an action problem and therefore a bending problem.
Okay, you have the symptoms. Now you need to diagnose. How do you check the curvature of the handle? It's easier than it looks. 1. Place a capo on the first fret. This simulates the pressure of the finger at the nut.n2. Press a string (usually the sixth, thickest one) at the last fret. Don't worry if your guitar has 21, 22, or 24 frets, press the last free fret.n3. Look at the space between the string and the top of the fret, around the 7th or 8th fret. This is the point where the curvature of the handle is most evident.
What do you need to see? Too much space: If there's a nice gap, like one you can fit a credit card or more in, the handle is too concave. You need to straighten it out a bit, that is, Pull The truss rod.
No space or the string touching the fret: If the string is resting on or near the fret, the neck is too straight or convex. You must loosen The truss rod to give it a bit of concavity.
A small space: This is what we are looking for. How small? This is where the measuring instrument comes in, the feeler gauge (feeler gauge).
To measure accurately, use a feeler gauge. Most builders, and the common experience of luthiers, suggest a relief value ranging from 0.008 to 0.012 inches (about 0.20 to 0.30 mm). Personally, for a guitar electric, I'm comfortable with around 0.25 mm. For an acoustic guitar, where the strings are thicker and the tension is higher, maybe a little more, like 0.30-0.35 mm. But it's a matter of taste and sensitivity. My garage advice: Don't rush. Check every string, though the sixth is usually the most telling. Do this in good light, perhaps shining a flashlight on the neck to better see the space. And don't be afraid of getting it wrong on your first reading; it takes a bit of practice. The first time I thought I was seeing ghosts, then I realized I just needed to be more systematic.
Preparation and Tools: The Garage Luthier's Kit.
Before we get started, we need to prepare. You can't just "adjust the handle" with your bare hands, in a dark corner, hoping for the best. You need a minimum of equipment and a suitable environment. What you need, in order of importance: 1. Truss rod wrench: This is the most important thing. Don't use pliers, improvised screwdrivers, or anything else. Each guitar has its own type of access to the tie rod. This could be an Allen key, a hex key, of a specific size (often 4mm or 5mm for modern truss rods, but Fender uses imperial sizes like 1/8″ or 3/16″), or a nut driver, for truss rods that are accessible from the headstock with a nut. Make sure you have the right one. I have a universal set that has saved my life several times. 2. Capotasto (head): Essential for holding the string down at the first fret while measuring.n3. Feeler gauge: To accurately measure the handle's relief, you can find it at hardware stores or auto parts stores. Get a set with several inches and millimeters. 4. Straight ruler or straightedge: A precision ruler, at least 18 inches (about 45 cm) long, to check the flatness of the handle. It is not strictly necessary for adjusting the truss rod, but it is very useful for a complete setup.n5. Tuner: Of course, to tune the guitar before and after each adjustment.n6. Screwdriver: If the tie rod It's hidden under a plate (like many Gibsons), you'll need a small screwdriver to remove it.n7. Soft cloth: To avoid scratching your precious guitar. The environment: Stability: Try to work in an environment with stable temperature and humidity. Significant fluctuations can affect the wood and therefore its curvature. You don't have to turn your garage into a climate chamber, but avoid doing it in the dead of winter with the door wide open or in the dead of summer with temperatures of 40 degrees Celsius and humidity of 90%.

Flat and padded surface: Place the guitar on a stable workbench, perhaps with a rubber mat or thick cloth under the body and a neck support (a pillow or covered block of wood works well). You don't want it to move while you work. Preliminary steps: New strings? If the strings are old and rusty, or if you plan to change the gauge, change them. Before to adjust the neck. The tension of the strings directly affects the truss rod, and changing the scaling after adjusting means having to redo everything.
Tuning: Make sure your guitar is perfectly tuned to the tension you'll be using. This is essential for accurate measurements.
The first time I put my hand to the string tensioner When I was working on a guitar, I was breaking out in a cold sweat. I was afraid of damaging it. But with the right tools and an understanding of what I was doing, the process gradually became easier. And I'll tell you, buying a good truss rod wrench is an investment that will pay off a thousandfold.
The Procedure: How to adjust the truss rod step by step.
Okay, we're at the crux of the matter. You've got the tools, you've set up the guitar, you've diagnosed the problem. Now let's see how. adjust the truss rod Don't panic. Remember the mantra: small steps, patience, and no force. 1. Perfect tuning: Make sure your guitar is tuned to standard tension (or the one you usually use). This is the crucial starting point.n2. Current relief check: Use the capo at the first fret and fret the sixth string at the last fret. Measure the gap between the string and the seventh or eighth fret with your feeler gauge. Record the value. This will give you a reference point. Identify the truss rod access: At the headstock: Many Fenders, Ibanez, and others. The adjustment nut or screw is visible at the end of the headstock, sometimes under a plate (like on Gibsons). If there is a plate, remove it with a screwdriver.At the heel of the handle: Typical of some vintage Fenders or Telecasters. In this case, you may have to loosen the neck screws and pull the neck slightly out of the body pocket to access the screw. Or, if you're lucky, there's an opening in the pickguard. If you have to remove the neck, be prepared to retune from scratch and be more methodical.n4. Choose the right key: Insert the appropriate key into the head of the tie rod. It should fit easily and without excessive play. If it doesn't fit properly, stop and check the fit. Using the wrong wrench is the quickest way to ruin the nut head.n5. Minor adjustments: This is the secret. Never do more than an eighth or a quarter of a turn at a time.
To reduce relief (too concave neck, high strings): Turn the key clockwise (to the right, to tighten). You're pulling the handle backward, straightening it.
To increase relief (neck too straight/convex, crackling on the first frets): Turn the key counterclockwise (to the left, to loosen). You're allowing the strings to pull the neck forward, increasing the concavity.n6. Tuning and waiting: After each little turn, retune the guitar. Then, and this is crucial, wait a few minutes. The wood needs time to settle and respond to the new tension. I've seen people twist it, retune, and then twist it again. That's a mistake. The neck is not a switch.n7. New verification: After waiting and retuning, check the relief again using the capo and feeler gauge.n8. Repeat: If you haven't reached your desired level, repeat steps 5, 6, and 7. Continue doing this, making small adjustments and waiting, until you reach the optimal relief for you. IMPORTANT NOTICE: Never force. If the truss rod If it's hard to turn, or you feel excessive resistance, STOP. Don't push. It could be stuck or rusty. Forcing it risks stripping the nut or, worse, breaking the bar. In these cases, it's best to take the guitar to a professional luthier. It's not worth risking ruining an entire neck through stubbornness.
“Loosen before tightening”: If the string tensioner If it's very tight and you want to loosen it, sometimes it helps to turn it counterclockwise (loosen) a little before starting to tighten. This can help "unlock" the mechanism.
I still remember the first time I adjusted a handle. I thought I'd have to make who knows how many rotations, but a couple of eighths of a turn is enough to see significant differences. What surprised me most was the importance of waiting. At first, it seemed like a waste of time, but then I realized that wood has its own memory and its own timing. It's not like just tightening a bolt.
After the tie rod: fine tuning and intonation.
Adjusting the curvature of the handle is the first step, the most fundamental, but it's not the only one. It's like building the foundations of a house: they're essential, but you can't live in them until you've built the walls and put on the roof. truss rod adjustment This is just the beginning of the full setup.Once you have set the correct neck relief, you will almost certainly have to intervene on two other crucial aspects: 1. The action of the strings at the bridge (height of the saddles): With the neck at its ideal curve, you can now adjust the string height. If they were previously too high for a concave neck, they might now be too low, or vice versa. You'll need to adjust the bridge saddle screws to raise or lower each string until you find your ideal balance between comfort and noiselessness. Remember, action is a very personal preference. Some people like it flat, while others prefer it a little higher for aggressive bending. For more information on this, check out our article on How to change the action of your guitar.n2. The intonation: This is a mandatory step after touching the neck and the action. Changing the neck curvature and string height changes the effective vibrating length of the string, albeit slightly. This can cause notes played at the high frets to no longer be perfectly in tune with those played open. You'll therefore need to get a tuner, play the open string and then the 12th fret, and adjust the bridge saddles back and forth until the two notes match perfectly. The philosophy of the system:
What you have to understand is that all of these elements – truss rod, bridge action, intonation, pickup height (yes, that too!) – are interconnected. They form a system. Changing one of them will affect the others. That's why guitar setup is an iterative process: you adjust the tie rod, then the action, then the intonation. Maybe you should double-check the truss rod after a few days, and so on. It's not a linear process that you do once and that's it. The guitar is a living instrument and needs constant care. In my experience, after adjusting the neck and action, I've often found myself needing to make small adjustments to the intonation even after a day or two, once the wood has fully settled. Don't be discouraged if it doesn't turn out perfect the first time. It's part of the game.
Common Mistakes and Advice from a Friend.
I have made every mistake imaginable with the truss rod, so you don't have to make them. Here's a list of the most common mistakes and some advice I wish I'd received when I started: Ignore the symptoms: Many musicians get used to playing an uncomfortable guitar, thinking it's "normal." It's not! If your guitar doesn't sound good or feels uncomfortable, there's a reason. Learn to read the signs.Spinning too much and too quickly: This is mistake number one. Haste is the enemy of the luthier. A quarter turn is already a lot. An eighth is often enough. And waiting between adjustments isn't optional, it's a necessity.
Don't retune your guitar: Every time you touch the string tensioner, the overall tension of the neck changes, and consequently the tuning. You must always retune to get a correct reading of the curvature.
Using the wrong key: I've seen people use pliers, screwdrivers, and who knows what else. Don't do it. You'll ruin the nut head and then you'll be forced to take the guitar to a professional for a job you could have done yourself. The right wrench is essential.
Haven't checked the handle for a while: Seasonal changes, humidity, heat, cold... everything affects the wood. A good guitarist checks the neck relief at least a couple of times a year, or whenever he or she senses something isn't right.
Thinking that the truss rod fixes everything: The tie rod Adjust the neck curvature. It doesn't solve problems with uneven frets, a nut that's too high or too low, or a poorly fitted bridge. If after adjusting the neck, you still have problems with buzzing in specific areas, or the action is still unmanageable even with the bridge at its lowest setting, you may have fret or nut problems. That's where things get more serious.
Not knowing when to stop: If the truss rod If it's stuck, if you hear a strange noise, if it doesn't move at all, or if you've made several turns and see no change, stop. Don't insist. It's time to throw in the towel and seek professional help. An experienced luthier has the tools and knowledge to diagnose and fix more complex problems, such as a truss rod A stuck or crooked handle. Sometimes, DIY has its limits, and recognizing them is a sign of wisdom, not weakness. A piece of advice from a friend, which I learned the hard way: Don't be afraid to experiment. Your guitar is your instrument, and you're the only one who knows how you like it to sound and feel. There's no "perfect amount" of relief that works for everyone. There's the perfect amount. for you. Start with standard measurements (0.20-0.30 mm), then experiment with slightly different ones. Maybe you like a slightly straighter handle, or a slightly more concave one. The important thing is that you're in control of the process.
If you'd like to delve deeper into the mechanics and operation of truss rods, I recommend checking out resources from reputable manufacturers like StewMac, which offer detailed guides and demonstration videos. For example, here's a good primer on how a truss rod works: StewMac: Truss Rod Basics and Adjustments. It's a great resource, albeit in English, for getting a clearer idea of the theory behind the practice.
Ultimately, adjust the truss rod It's one of those skills every guitarist or hobbyist builder should learn. It gives you a deep understanding of how your guitar works and allows you to keep it in tip-top shape, without having to go to the luthier every time for a simple adjustment. It's incredibly satisfying when you feel the neck respond to your commands and the guitar sounds like a dream again. Try it and believe it!
See also
Download the Luthier Survival Kit
Free PDF with checklist, problem-cause table and project card template.
 English
  Italiano
Stuck on your build?
If you ran into the same problem or have a question, drop it in the comments. I read and reply to every one.
Write a comment