
Electric guitar saddles: do-it-yourself guide.
How many times have we found ourselves there, with the guitar in your hand, feeling like something wasn't right? A fluctuating intonation, an action that seems designed to break your fingers, or maybe a string that always breaks in the same spot. Most of the time, the fault isn't bad luck, but a small, almost invisible component, which makes the difference between an enjoyable sound and constant frustration: the electric guitar saddles.
I'm not a luthier with years of experience, you know. I'm someone who, like you, started tinkering in the garage, bought bodies and necks, soldered pickups, and tried to figure out why the hell his Stratocopia sounded like a broken pot. I made mistakes, I redid them, I broke screws and lost springs. And in the end, I learned that saddles They're a crucial piece of the puzzle. You don't need expensive tools, just a little patience, the right tools, and a willingness to understand what you're doing.
In this guide, I'll take you into the world of these small but crucial components. We'll see what they are, what they're for, which ones to choose, and, most importantly, how to get your hands on them without causing irreparable damage. If I could do it, you can too. I promise.
What Are These Blessed Saddles and Why Do They Drive Us Crazy?
.biafax-photo-grid { display: grid !important; gap: 12px; margin: 24px 0; }
.biafax-photo-grid-3v { grid-template-columns: repeat(3, 1fr) !important; }
.biafax-photo-grid-2h { grid-template-columns: repeat(2, 1fr) !important; }
.biafax-photo-grid a { display: block; overflow: hidden; border-radius: 6px; line-height: 0; }
.biafax-photo-grid img { width: 100%; height: 100%; object-fit: cover; aspect ratio: 4 / 3; transition: transform 0.3s ease; }
.biafax-photo-grid a:hover img { transform: scale(1.03); }
.biafax-photo-grid br { display: none; }
.biafax-photo-grid-caption { text-align: center; font-style: italic; color: #555; margin: -12px 0 24px; }
.biafax-lightbox-overlay { position: fixed; inset: 0; background: rgba(0,0,0,0.92); display: flex; align-items: center; justify-content: center; z-index: 99999; cursor: zoom-out; }
.biafax-lightbox-overlay img { max-width: 92vw; max-height: 92vh; object-fit: contain; border-radius: 4px; }
@media (max-width: 768px) {
.biafax-photo-grid-3v { grid-template-columns: 1fr !important; }
.biafax-photo-grid-2h { grid-template-columns: 1fr !important; }
}
(function() {
if (window.biafaxGridLightbox) return;
window.biafaxGridLightbox = true;
document.addEventListener(‘click’, function(e) {
var a = e.target.closest(‘a[data-lightbox]’);
if (!a) return;
e.preventDefault();
var overlay = document.createElement(‘div’);
overlay.className = 'biafax-lightbox-overlay';
overlay.innerHTML = '‘‘';
document.body.appendChild(overlay);
overlay.addEventListener(‘click’, function() { overlay.remove(); });
document.addEventListener(‘keydown’, function handler(ev) {
if (ev.key === 'Escape') { overlay.remove(); document.removeEventListener('keydown', handler); }
});
});
})();
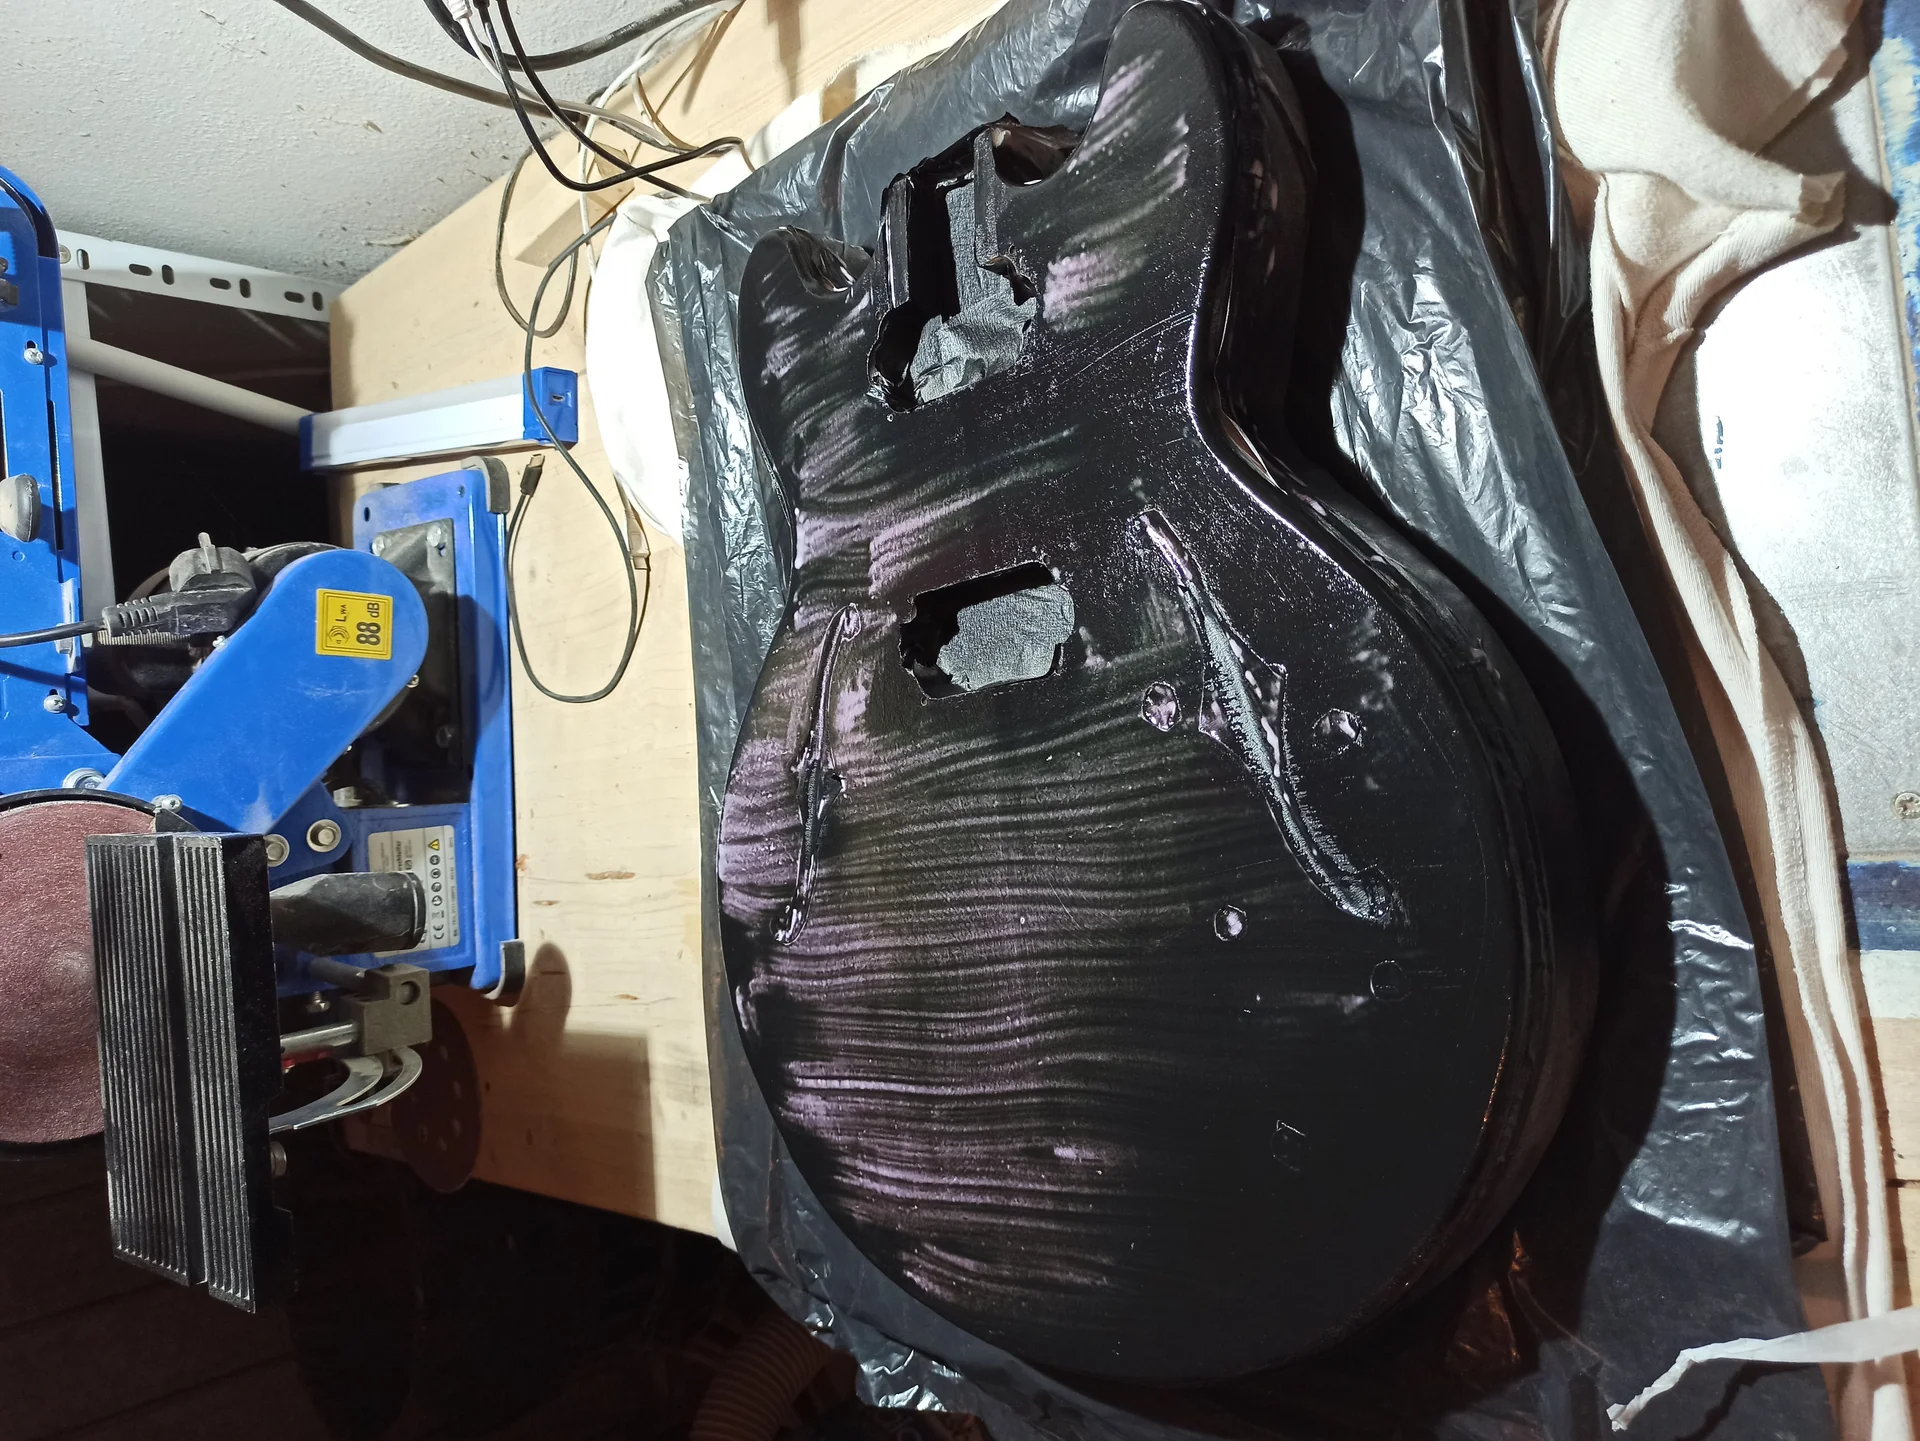
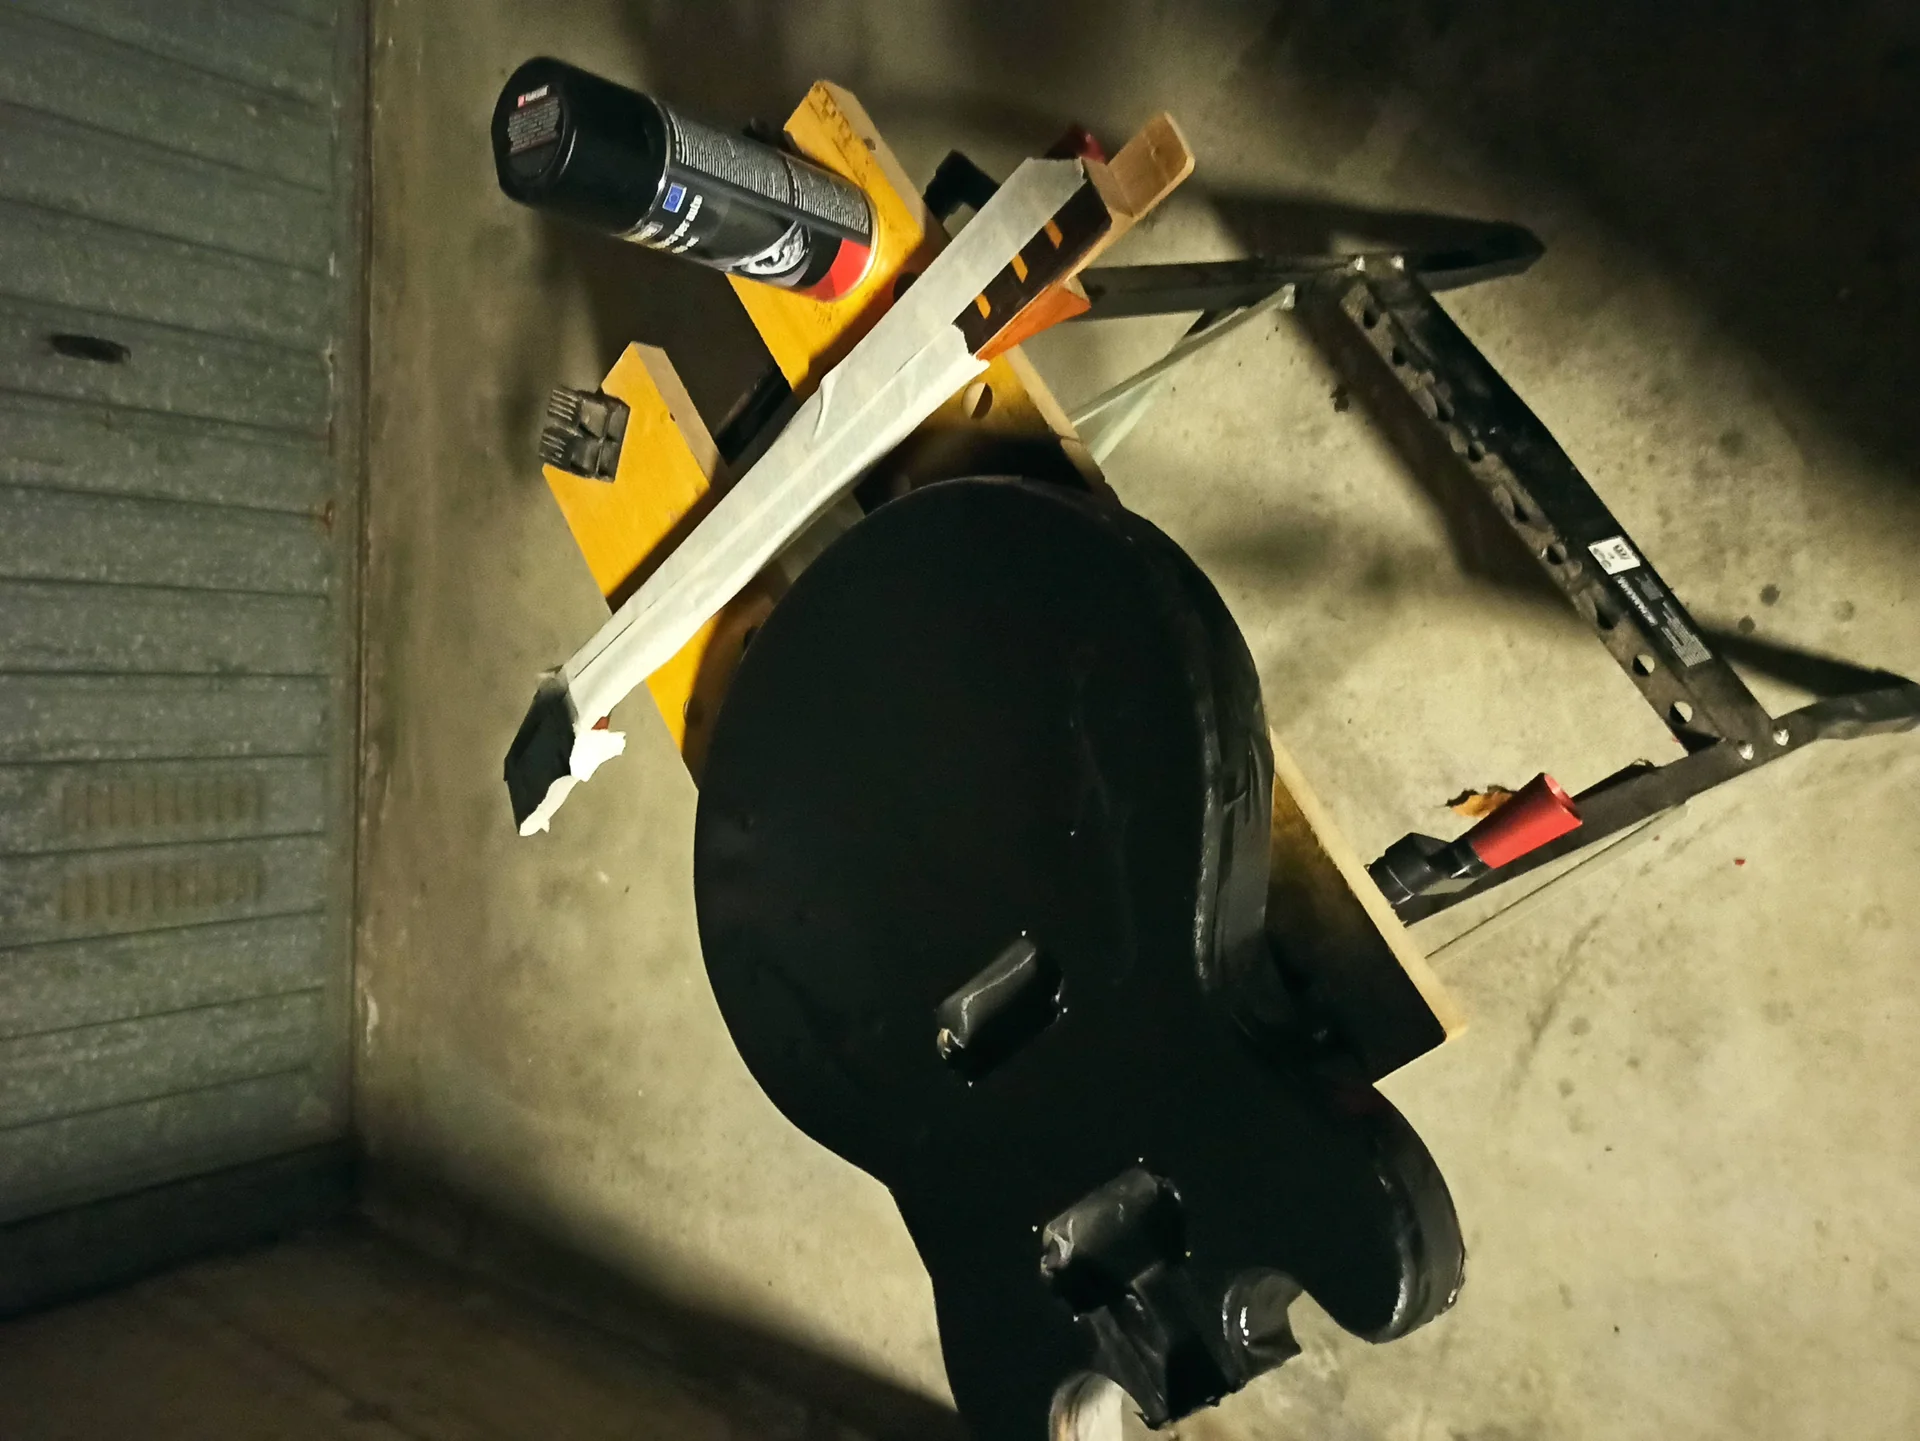
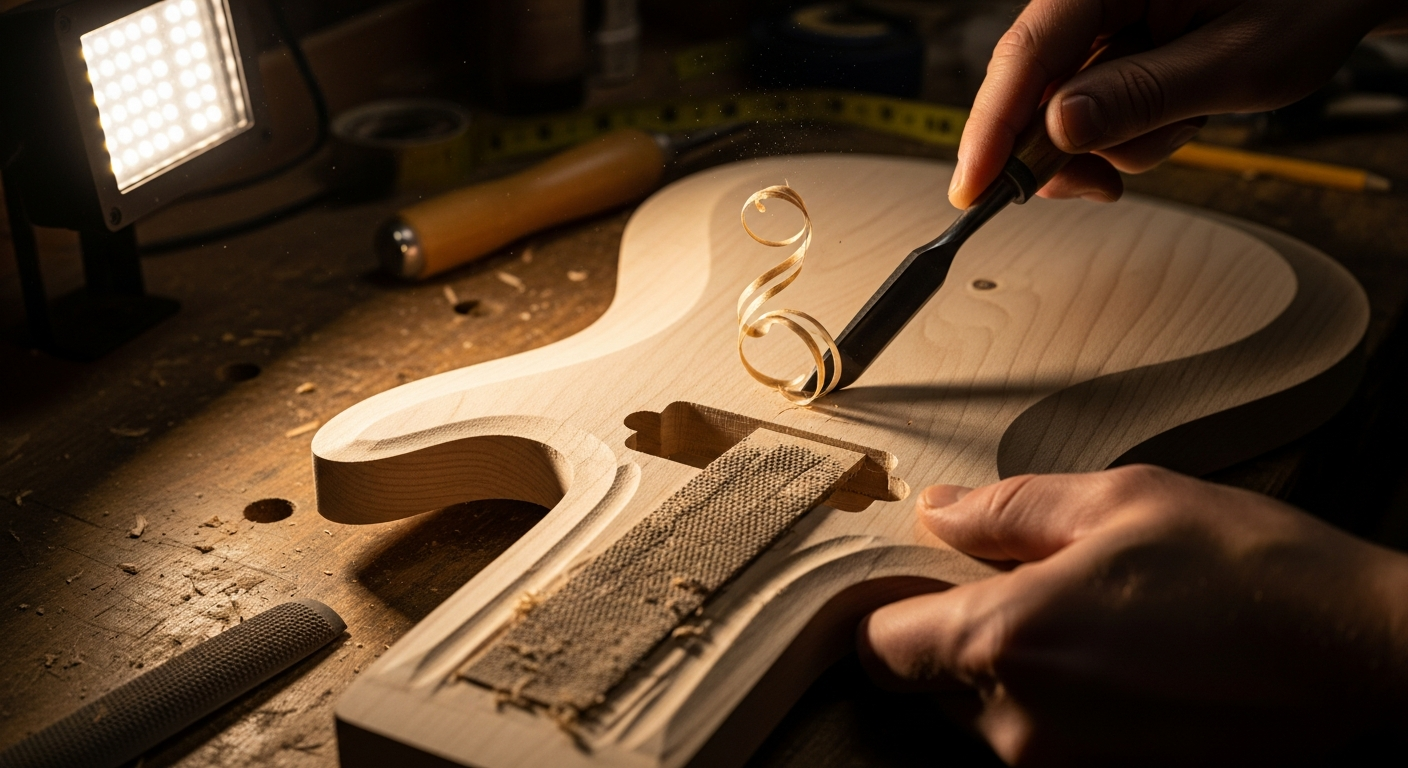
In this gallery: paint, body and electrical.
.biafax-photo-grid { display: grid !important; gap: 12px; margin: 24px 0; }
.biafax-photo-grid-3v { grid-template-columns: repeat(3, 1fr) !important; }
.biafax-photo-grid-2h { grid-template-columns: repeat(2, 1fr) !important; }
.biafax-photo-grid a { display: block; overflow: hidden; border-radius: 6px; line-height: 0; }
.biafax-photo-grid img { width: 100%; height: 100%; object-fit: cover; aspect ratio: 4 / 3; transition: transform 0.3s ease; }
.biafax-photo-grid a:hover img { transform: scale(1.03); }
.biafax-photo-grid br { display: none; }
.biafax-photo-grid-caption { text-align: center; font-style: italic; color: #555; margin: -12px 0 24px; }
.biafax-lightbox-overlay { position: fixed; inset: 0; background: rgba(0,0,0,0.92); display: flex; align-items: center; justify-content: center; z-index: 99999; cursor: zoom-out; }
.biafax-lightbox-overlay img { max-width: 92vw; max-height: 92vh; object-fit: contain; border-radius: 4px; }
@media (max-width: 768px) {
.biafax-photo-grid-3v { grid-template-columns: 1fr !important; }
.biafax-photo-grid-2h { grid-template-columns: 1fr !important; }
}
(function() {
if (window.biafaxGridLightbox) return;
window.biafaxGridLightbox = true;
document.addEventListener(‘click’, function(e) {
var a = e.target.closest(‘a[data-lightbox]’);
if (!a) return;
e.preventDefault();
var overlay = document.createElement(‘div’);
overlay.className = 'biafax-lightbox-overlay';
overlay.innerHTML = '‘‘';
document.body.appendChild(overlay);
overlay.addEventListener(‘click’, function() { overlay.remove(); });
document.addEventListener(‘keydown’, function handler(ev) {
if (ev.key === 'Escape') { overlay.remove(); document.removeEventListener('keydown', handler); }
});
});
})();
Well, now that we have understood what they are for, let's move on to the "why" certain saddles They cost more or are praised by some and denigrated by others. Material and shape aren't just aesthetic concerns; they directly influence sound and durability.
When I started, I thought "metal is metal." Wrong. I tried. saddles I bought a cheap one and then upgraded to something better. You can definitely feel the difference.
The Most Common Materials and What They Do
1. Steel: Characteristics: It is the most common material, especially for the saddles Stratocaster-style. Stamped steel (like that of old Fenders) is lightweight and resonant, with a bright tone and good sustain. Stainless steel is more resistant to corrosion.
Pros: Bright sound, good resonance, long lasting.
Against: It can be a little ’hard“ on the strings if the edges are not well rounded.
My experience: I mounted some steel saddles Printed on my assembled Stratocaster. The sound opened up considerably, with more twang than the original zamak ones. It was worth it.
2. Brass: Characteristics: Brass is softer and denser than steel. It tends to produce a warmer sound, with a rounder sustain and less brightness. Very popular on Telecasters and some hardtail guitars.
Pros: Warm and rich sound, excellent sustain, less aggressive on the strings.
Against: It may not appeal to those looking for a very bright tone. It tarnishes more easily than steel.
My experience: I have some brass saddles on a Telecaster Custom I built. The sound is fat, almost like a neck humbucker. Perfect for blues and slightly dirtier rock.
3. Zama (Zinc Alloy): Characteristics: Very common on budget guitars. It's an alloy of zinc, aluminum, and copper. Easy to work with, therefore inexpensive to produce.
Pros: Economical.
Against: Less resonant, reduced sustain, duller sound. The edges are often poorly finished, causing string breakage.
My experience: I changed them almost immediately on my first guitar. The difference was noticeable. I'm not saying they're bad, but if you can, spend a little more.
4. Graph Tech (TUSQ, String Saver): Characteristics: Self-lubricating synthetic materials. Designed to reduce friction and prevent string breakage. They have a neutral sound, but tend to smooth out the high frequencies a bit.
Pros: Great for preventing string breakage, tuning stability (especially with tremolo), balanced sound.
Against: The sound may be perceived as less “alive” or “tinny” by some.
My experience: On a Floyd Rose guitar that was giving me string breakage problems, I installed String Savers. Problem solved. The sound changed slightly, but the stability improved dramatically. Worth it if you have reliability issues.
5. Ceramic/Titanium: Characteristics: More exotic and expensive materials. Ceramic offers a very bright sound and remarkable sustain. Titanium is lightweight and highly resonant, with a transparent tone and a quick attack.
Pros: Unique sound, great resonance and sustain, extreme durability.
Against: High cost, hard to find.
My experience: I've never had the opportunity to test them thoroughly, but I've heard enthusiastic reviews from those who have mounted them on high-end instruments.
Shape Matters: Barrel, Block, Bent Steel
Even the shape of the saddles It has its weight. The bent steel saddles of vintage Stratocasters are lightweight and contribute to the characteristic twang. Block saddles, found on modern bridges, tend to provide more sustain and a fatter sound. The barrel saddles of Telecasters, often made of brass, give that warm, rounded sound, but as mentioned, intonation is a compromise.
When you choose some replacement saddles, Think about the sound you want to achieve and the problem you want to solve. There's no absolute "best" choice, just the one that best suits your needs and your instrument. Don't be afraid to experiment. It helped me really understand the differences.
Editing and Adjustment: The Moment of Truth
Okay, we've understood what they are and what types there are. Now comes the fun part: getting started. This is the part where many hobbyists get stuck, fearing they'll mess up. Don't worry, it's easier than it seems; just follow the steps carefully.
Necessary Tools (Your Garage Kit):
You don't need a workshop, but you do need some basic tools:
Precision screwdrivers: Small, cross-cut and slotted.
Hex keys: For action adjustment screws, these are often imperial (inch) for American guitars and metric for Asian or European guitars. Make sure you have the right set.
Chromatic tuner: Essential for intonation.
Steel ruler or caliper: To measure the action.
Feeler gauges: Useful for precise measurements of neck action and relief.
Nut/Saddle Lubricant: Graphite or specific products (e.g. Big Bends Nut Sauce) to reduce friction.
Fine-nose pliers: Useful for Strat-style saddle springs.
Patience: Lots of patience.
The Step-by-Step Procedure (Without Panic)
This procedure applies mainly to Stratocaster, Telecaster hardtail, or similar bridges. For Tune-o-Matics, the action adjustment is separate (the entire bridge is raised or lowered).
1. Preparation: Place the guitar on a stable, soft surface (a cutting mat, a thick cloth).
Loosen the strings completely. If you are changing the saddles, remove them.
If you are just adjusting, proceed with the strings loosened but still fitted.
2. Disassembly (if you are replacing saddles): For Strat-style guitars: note how the springs and intonation screws are mounted. Loosen the intonation screw, remove the spring, and slide off the saddle. Do this one at a time to avoid confusion.
For Tune-o-Matics: the saddles They're stuck and can be removed by pushing them sideways. Sometimes they slide out from the top. Be careful not to lose them.
3. Installing the New Saddles: Mount the new ones saddles in the same order and orientation as the old ones.
For Strat-style guitars, insert the intonation screw into the saddle, then the spring, and screw it into the bridge block. Don't overtighten; leave a little slack.
For Tune-o-Matics, fit them gently.
4. Initial Action Adjustment (String Height): Retighten the strings, bringing them back into tension, but don't tune them perfectly yet.
Using the Allen wrench, raise or lower the two screws on each saddle to set an approximate height. The goal is for the strings to be neither too high nor touching the frets.
A good starting point for a Stratocaster is about 1.8-2mm at the 12th fret for the low E and 1.5-1.6mm for the high E. Adjust by eye, then we'll fine-tune.
Tune your guitar.
5. Lubrication (Optional but Recommended): Place a small amount of lubricant (pencil graphite or a specialized product) in the groove of each saddle and the nut. This will reduce friction and help the tuning remain stable.
6. Adjusting Intonation: The Crucial Step: Tune your guitar perfectly.
Play the harmonic of the 12th fret on a string (by lightly touching the string above the 12th fret and then releasing). The tuner should read the exact note.
Now press the string at the 12th fret (fretted note) and play it.
Compare the two values: If the rushed note is waning Compared to the harmonic, the string is too long. You need to shorten it: tighten the intonation screw (the saddle will move towards the handle).
If the rushed note is growing Compared to the harmonic, the string is too short. You need to lengthen it: unscrew the intonation screw (the saddle will move away from the handle).
Make small adjustments, retune the string, and repeat the harmonic/fret test. This process requires time and patience. Don't rush it.
Repeat for all six strings.
7. Refine the Action: Once you've tuned it, play the guitar. Listen for any buzz.
If there is buzz, slightly raise the screws on the affected saddle.
If the action is too high for your taste, lower the screws a little.
Adjust the low E and high E, then use a ruler to create a similar curve on the rest of the strings, following the radius of the fingerboard.
A great resource to better understand the overall setup, which also includes the height of the saddles, this article is about guitar modification and setup.
Advice from someone who has lost a spring (me!)
Patience is the key word. There's no rush. Each adjustment influences the others.
Tune often. Every time you touch a pitch or intonation screw, the string tension changes. Retune before testing.
Start from a known point. If you have a guitar that sounds good, take its measurements as a reference.
Don't tighten too much. The vines of the saddles They are small and delicate. They tear easily.
Watch out for the springs. Those of the Strat-style saddles They're small and tend to fly away. Work on a cloth so you don't lose them.
Mimmo's Anecdote: The first time I adjusted the intonation, I couldn't figure out why the 12th fret was always sharp. I kept unscrewing the screw, and the saddle kept moving further and further back, until I realized the spring was compressed to the max and couldn't move anymore. I'd made the wrong initial adjustment. A classic beginner's mistake that cost me a good hour!
Common Problems and How I Got It Wrong (So You Don't)
Mistakes happen to everyone, especially when learning to do something new. electric guitar saddles, however small, can cause a lot of headaches. Here I'll share some of my biggest mistakes, so you can avoid them.
1. Frequent String Breakage
The Problem: A string always breaks in the same place, right on the saddle. It happened to me many times, especially with the E string. I was convinced it was the cheap strings' fault.
My Wrong Solution: I tried changing the brand of strings, using thicker strings, but nothing worked.
The True Cause: Often the saddles They have sharp edges or casting burrs where the string rests. This creates a stress point that cuts the string. Or, the groove is too narrow and the string gets stuck, pinching.
The Right Solution: Inspect the saddles: Remove the string and run your finger along the groove. Feel for any sharp edges.
Smooth: Using a thin nail file or fine sandpaper (400-600 grit) wrapped around a toothpick, gently smooth the edges of the groove. Do this carefully so as not to widen the groove too much or change its shape.
Lubricate: A little pencil graphite in the groove helps reduce friction.
Consider Graph Tech: If the problem persists, the String Saver saddles or in TUSQ are an excellent solution.
2. Unbearable Buzzing
The Problem: Every time I played a note, I heard an annoying “frrr” or “zzzz.” I thought it was a faulty fret or a crooked neck.
My Wrong Solution: I tried adjusting the truss rod randomly, changing the height of the pickups, praying.
The True Cause: The action of the saddles It was too low for my playing style or neck setup. Or, sometimes, the saddle spring was loose and would vibrate.
The Right Solution: Raise the action: Increase the height of the saddles Use the Allen screws, a quarter turn at a time, until the buzzing goes away. Then, if necessary, you can lower the pickup a little to compensate for a slightly higher action.
Check the springs: Make sure the springs of the saddles (if present) are well positioned and do not vibrate. Sometimes just tightening the intonation screw a little is enough to get them taut.
Consider the relief of the handle: A neck that is too straight can cause buzzing even with saddles Adjusting the truss rod is another story, but it goes hand in hand with the action.
3. Intonation That Never Holds
The Problem: I'd tune the guitar, play a chord, and it would sound good. Then I'd play higher on the fretboard, and it would be completely out of tune.
My Wrong Solution: I thought it was the tuner's fault, or my ears. Or that the guitar was "born badly.".
The True Cause: The intonation of the saddles It hadn't been set correctly. Each string has its ideal vibrating length.
The Right Solution: Follow the procedure to the letter: Harmonic at the 12th fret vs. fretted note at the 12th fret. It's a repetitive but essential process.
Small adjustments: Don't make complete turns. Make small adjustments, retune, test.
Check the nut: A capo that is too high or too low can affect intonation even with the saddles perfectly adjusted.
4. Stripped or Stuck Screws
The Problem: I was adjusting the action or intonation and the screw wouldn't turn, or worse, the screwdriver was spinning freely.
My Wrong Solution: I forced it, I used the wrong size screwdriver, I tried to unscrew it with brute force. The result: a screw destroyed or a stripped head.
The True Cause: I used the wrong tool (a screwdriver that was too small or an Allen key that wasn't the right size) or I tightened it too much. Sometimes screws rust.
The Right Solution: Use the right tools: It seems obvious, but it's crucial. For Allen keys, imperial (inch) measurements are different from metric measurements. Always use the exact measurement.
Don't force: If a screw is stuck, try a little penetrating lubricant (like WD-40, but be careful not to get it on wood or plastic). Let it soak in.
Prevention: Every now and then, unscrew and screw the screws again saddles To clean the threads and prevent rusting. Never overtighten.
These are mistakes I've made personally, one by one. There's nothing to be ashamed of; they're part of the learning process. The important thing is to understand what went wrong and how to fix it next time.
Advice from Those Who've Had Their Hands on It (and a Few Scratches)
After years of fiddling with guitars of all kinds, I've accumulated a few tips that I wish I'd had when I first started. electric guitar saddles They're a small detail, but if cared for properly, they can make the difference between a guitar that sounds "so-so" and one that inspires you to play for hours.
1. Don't Be Afraid to Experiment
DIY lutherie is a matter of trial and error. If your saddles If your current ones aren't working for you, try replacing them. Maybe brass will give you the warmth you're looking for, or steel that extra "zing." You don't have to spend a fortune to try. There are kits available. replacement saddles decent at affordable prices online.
I remember when I bought a set of brass saddles for my Stratocaster, thinking of giving it a fuller sound. In the end I didn't like that sound on that guitar, and I went back to steel. But I learned the difference and now I know what to look for.
2. Cleaning and Maintenance Matter
The saddles They're exposed to sweat, dust, and oxidation. Clean them regularly when you change the strings. Use a damp cloth, then a dry one, and sometimes a little isopropyl alcohol for stubborn dirt. If they're metal, a gentle polish can restore their shine.
Check the condition of the screws and springs. If a screw is heavily oxidized, it's best to replace it before it seizes or becomes worn. If the springs are too loose, they can vibrate and ruin the sound.
3. The Setup Is a Whole
you can't think about it saddles as an isolated component. They are part of a complex system that includes the nut, the truss rod, the frets and the bridge itself. An adjustment of the saddles Even a well-made guitar will be of no use if the nut is too high or the neck is too curved.
Learn how to do a complete setup. It doesn't have to be as perfect as a professional's, but it should work for you. There are tons of guides online, and I assure you it's one of the most rewarding skills a guitarist can acquire.
Mimmo's Insight: Once, I spent hours adjusting the intonation of my saddles, but my E string just wouldn't get it right. Eventually, I discovered the nut was cut poorly and the string was too high at the first fret, ruining everything. Moral of the story
See also