

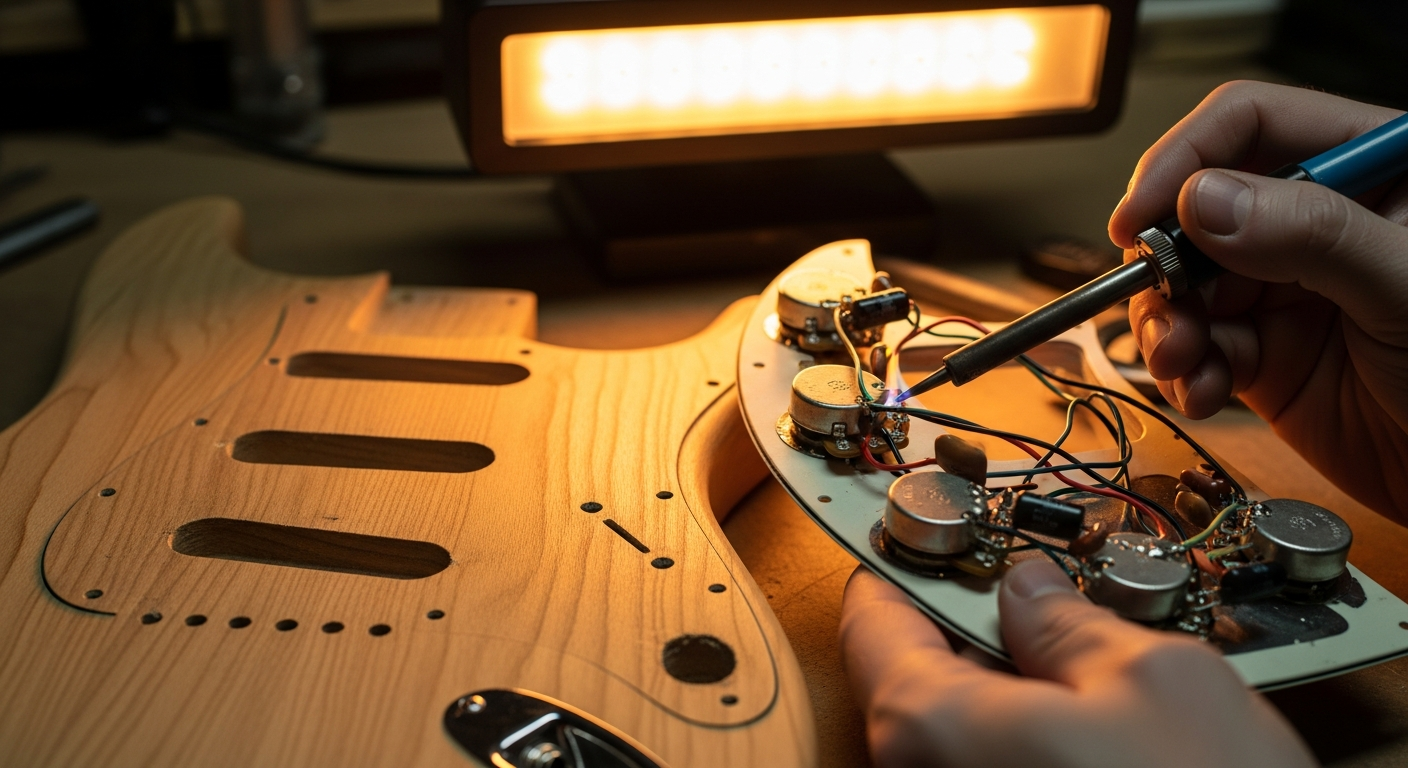
Adjust the guitar action: solve problems
I still remember the first time I tried to get my hands on the’guitar string height. It was my first assembled Stratocaster, a project born amidst a thousand hopes and some contained curses. It played, yes, but it was a struggle. The strings felt like steel cables, my fingers hurt after ten minutes, and the bending… well, bendings were a luxury for a select few with steel hands. I was there, with a school ruler, randomly turning screws, hoping for a miracle. The result? Buzz all over the fretboard, intonation that seemed like a joke, and an action so high you could drive a train under the strings. That scene, I tell you, is a classic in the garage of anyone starting to tinker. The guitar action adjustment is one of those steps that seem easy on paper, but hide a lot of pitfalls. The fear of causing damage, of overtightening the truss rod and breaking the neck, or filing the nut until it's unusable, is real. I've experienced it firsthand. But trust me, if I succeeded, with my share of errors and restarts, you can do it too. The important thing is to understand the right sequence and why each step is fundamental. It's not just about “string height”, it's about playability, about feeling with the instrument, about how much you enjoy playing your six-string. And a well-set action makes an abysmal difference.
What is guitar action and why is it so important?
We talk about “action” to define the distance between the strings and the surface of the frets. Low action means strings close to the fretboard; high action implies a greater distance. It seems like a small thing, but this measurement influences almost every aspect of your guitar experience. A well-calibrated action is the key to a guitar that responds well, is comfortable to play, and sounds in tune across the entire fretboard. There isn't a single “perfect” measurement: it depends on your style, your preferences, and the type of guitar. For a shredder guitarist, very low action is fundamental for speed, even at the cost of a slight fret buzz. A bluesman might prefer a slightly higher action for greater sustain and to facilitate bending. Acoustic guitars generally have a higher action than electrics, to allow the strings to vibrate freely and produce greater volume, without sacrificing too much tone. Understanding these differences is the first step to a good setup.
The symptoms of a wrong action: the diagnosis before the cure
Before getting your hands on screwdrivers and wrenches, we need to understand what's wrong. A good mechanic doesn't start disassembling an engine without having heard the “symptoms” of the car. The same goes for your guitar. Listen to your instrument. Feel how it responds.
Strings too high: the wall to climb
If you feel that the strings are “hard” to press, if playing a chord tires your hand in a few minutes, or if the bending tear your fingers, it's very likely that the action is too high. This is the most common problem, especially on new guitars or those that have never seen a setup. Excessively high action can also cause intonation problems. When strings are pressed hard on the frets, they stretch slightly more, causing notes to sound sharp, especially on the higher frets of the fretboard. The sound might be less resonant, almost “dull”, because the strings struggle to vibrate freely. Playing comfort is compromised, and this can discourage anyone, from beginner to experienced guitarist.
Strings too low: the annoying buzz
The other extreme is action that is too low. The most obvious and annoying symptom is the fret buzz, that metallic buzz you hear when a string vibrates and touches subsequent frets before its vibration has fully decayed. Sometimes it's a slight rustle, other times it's a real “sizzle” that makes the instrument unplayable. This buzz can be present across the entire fretboard, only on the first frets, or only on the higher frets. Its location will give you valuable insight into which part of the setup needs correction. Action that is too low can also cause “dead notes” (dead notes), where a string, pressed on a fret, doesn't sound at all or produces a very weak sound with no sustain. This is the classic sign of a nut that is too low or saddles that are excessively lowered.
Intonation problems: the out-of-tune melody
Even if intonation is the last step of a setup, incorrect action can mask or amplify intonation problems. If your guitar is perfectly tuned open but sounds out of tune when you play chords or notes on the frets, the action could be one of the causes, in addition, of course, to incorrect bridge adjustment.
The tools of the trade: what you need
You don't need a luthier's workshop for a good setup, but some specific tools will make your life much easier and the results more precise. Remember, precision is fundamental to avoid damage. Precision steel ruler: an indispensable tool for measuring string height at the 12th fret and neck relief. Look for guitar-specific ones, with measurements in millimeters and inches, often equipped with notches for pickup height. A good example is the StewMac String Action Gauge, but a metal carpenter's ruler with a millimeter scale can also work well. Feeler Gauges: a series of calibrated metal blades, essential for measuring the relief of the neck with extreme precision. You can find them in any well-stocked hardware store. Screwdrivers: you will need Phillips and flat-head screwdrivers of various sizes for the saddle screws, pickups, and tremolo springs. Allen Keys: almost all modern guitars have Allen screws for adjusting the truss rod and for the bridge saddles. Make sure you have the correct size for your guitar (often provided by the manufacturer). Electronic tuner: a good tuner, preferably chromatic and precise, is crucial for intonation. Clip-on tuners are perfectly fine, but phone software or a pedal tuner are also excellent. Capo: you will need it to check the relief of the neck and the height of the strings at the first fret. Nut Lubricant: Powdered graphite, a soft pencil or specific products like Big Bends Nut Sauce can help the strings slide better in the nut, improving tuning stability and preventing wear. Soft cloth: to protect the guitar and clean it during work. These are the basic tools. Over time and with experience, you might want to add nut files (nut files), but these are specialized tools that require a lot of practice and a steady hand. To start, it's best to avoid filing the nut if you are not sure.
The correct sequence: one step at a time to avoid damage
This is the heart of the guitar action adjustment. The order in which you perform the steps is fundamental. Skipping a step or doing it in the wrong sequence almost certainly means having to start over or, worse, causing additional problems. Imagine building a house: you don't put the roof on before you've erected the load-bearing walls. Similarly, you don't adjust the height of the saddles before you've adjusted the neck. Each step affects the others.
1. Initial inspection and tuning
First of all, tune the guitar. It seems trivial, but the string tension influences the neck curvature and the string height. Use a precise tuner and bring the instrument to the standard tuning you usually use. Then, observe carefully. There's a fret buzz Obvious? Where? Are the ropes visibly high? Take note of these “initial symptoms”. It is your preliminary diagnosis.
2. Neck adjustment (Truss Rod)
The truss rod It is a metal bar that runs inside the guitar neck. It serves to counteract the tension of the strings and to adjust the curvature of the neck, or relief. A neck that is too straight or too curved will directly affect thestring height and playability.
Why it's the first step: The neck's curvature is the basis of the entire setup. If the neck is not right, any other adjustment will be useless or temporary.
⚠️ WARNING: The regulation of the truss rod It is the most delicate and potentially damaging step. Turn the Allen key (or screwdriver, depending on the type of truss rod) for no more than a quarter turn at a time. Tune the guitar after each small adjustment and let the wood settle for at least 15-30 minutes, or even a few hours, before checking the relief. Excessive force or too abrupt adjustments can irreparably damage the handle.How to check the relief:
1. Place a capo on the first fret.
2. With your dominant hand, press the sixth string (low E) on the last free fret of the neck (usually the 17th or 20th).
3. With your free hand, check the space between the bottom of the string and the top of the 7th or 8th fret. This is the relief.
4. Use a feeler gauge to measure this space. A good starting point for electric guitars is between 0.008″ and 0.012″ (about 0.20-0.30 mm). For acoustics, it might be slightly more, up to 0.015″ (0.38 mm).
How to adjust the truss rod:
If the space is too large (neck too curved, “banana-shaped”), it means that the truss rod is too loose. You need to tighten it (turn clockwise) to straighten the neck.
If the space is too small or non-existent (neck too straight or even concave), it means that the truss rod is too tight. You need to loosen it (turn counter-clockwise) to give it a little more curvature.
Once the relief is correct, you can move on to the next step.
3. Saddle height (Bridge Saddles)
The saddles on the bridge are the points where the strings rest before reaching the body of the guitar. Each saddle has small screws that allow it to be raised or lowered, adjusting the ’height of each individual string.
Why is the second step: Now that the neck has the right curvature, we can set the string height on the bridge, which will affect the action across the entire fretboard, but especially from the middle onwards.
How to adjust the saddle height:
1. Tune the guitar.
2. Measure the height of each string at the 12° fret using your precision ruler. Measure from the top of the fret to the bottom of the string.
3. Standard values vary, but a good starting point for electric guitars is:
High E string (1ª corda): 1.5mm – 2.0mm
Low E (6th string): 2.0mm – 2.5mm
The central strings will have an intermediate height, following the curvature of the fretboard (the so-called radius).
4. Use the screwdriver or Allen key to raise or lower the two adjustment screws of each saddle.
5. Adjust a little at a time, checking for fret buzz and playability after each change. Play each string on all frets to ensure there are no unwanted buzzing or dead notes.
💡 Tip: If your guitar has a Tune-o-Matic type bridge (Gibson style), the height is adjusted by two screws on the sides of the bridge, not by each individual saddle. For Stratocaster type tremolo bridges, the saddles are individually adjustable.
After setting the saddle height, recheck the tuning and fret buzz.
4. Nut height (Nut Height)
The nut (nut) is the small part, usually made of bone, plastic or synthetic material, placed at the beginning of the neck, where the strings rest before reaching the tuners. Its height is crucial for the action on the first frets. A nut that is too high will make chords difficult on the first fret; one that is too low will cause fret buzz when open or on the first frets.
Why is it the third step: The nut influences the action on the first frets, which is independent of the adjustment of the neck and saddles.
How to check the nut height:
1. Press a string (for example, the sixth) on the third fret. 2. Check the space between the bottom of the string and the top of the first fret. 3. There should be a minimal, barely perceptible space, where you can pass a thin sheet of paper or a feeler gauge from 0.002″ – 0.004″ (0.05-0.10 mm). If the space is greater, the nut is too high. If the string touches the first fret, the nut is too low.
How to adjust the nut height:
This is the most delicate and risky step. Capo too high: The string grooves (nut slots) must be slightly filed to lower the string. This requires specific nut files (nut files) and a very steady and precise hand. Filing even a little too much means rendering the nut unusable and having to replace it. Capo too low: This is a more serious problem. If the nut is too low, the only solution is to replace it with a new one, or fill the grooves with bone dust and cyanoacrylate glue and then refile them (expert luthier technique).
⚠️ WARNING:
If you have no experience with nut files, it is advisable to leave this job to a professional luthier. It is much easier to do damage here than with the truss rod or the saddles. A slightly high nut is annoying, but one too low is a disaster that requires replacement.
5. Intonation (Intonation)
Intonation is the precision with which your guitar reproduces notes across the entire fretboard. An intonated guitar plays the same note (an octave higher) at the 12th fret and open.
Why it's the last step: Intonation is influenced by all previous steps (neck, string height). Adjusting it first would mean having to redo it after modifying the action.
💡 Tip: This process requires patience. You may need to repeat the adjustments several times for each string, as modifying one saddle can slightly affect the overall tension and thus the tuning of the other strings.How to tune the guitar:
1. Perfectly tune the sixth string (low E) open with a chromatic tuner.
2. Press the sixth string at the 12° fret and play the note.
3. Compare the note at the 12° fret with the open note on the tuner.
If the note at the 12° fret is sharp (higher), the saddle must be moved back (towards the back of the guitar).
If the note at the 12° fret is flat (lower), the saddle must be moved forward (towards the neck).
4. Use a screwdriver or an Allen key to move the saddle forwards or backwards.
5. Repeat steps 1-4 for each string, always tuning the open string before checking the 12° fret.
6. Pickup height (Pickup Height)
Even though the pickup height does not directly affect the string action, it is the last step of a complete setup and deserves a mention. The pickup height influences the volume, sustain, and tonal character of your guitar.
How to adjust: There are two screws on the sides of each pickup. Moving the pickup closer to the strings increases volume and sustain, but it can also cause a more “compressed” sound or even magnetic interference that “pulls” the strings, causing intonation and sustain problems (especially on single coils). Moving it away reduces volume and makes the sound more “open”.
Typical values: As a starting point, for humbuckers, measure approximately 2-3mm from the underside of the string (pressed at the last fret) to the top of the pickup poles. For single coils, 3-4mm. These are just suggestions; experiment to find the sound you prefer.
At this point, your guitar should be set up perfectly, or almost. If you want to further explore the modifications you can make to your instrument, I recommend checking out our guide on guitar modification, where you will find interesting ideas to customize your instrument.
Common errors and how to avoid them
Even the most experienced among us has made mistakes. The important thing is to learn from them. Here are some of the most common:
Skipping steps or not following the sequence: As we have seen, the order è crucial. Each adjustment affects the others.
Not giving the wood time to settle: Wood è a living material. After a significant truss rod adjustment, it needs time to stabilize under the new tension. Haste è the enemy of a good setup.
Adjust the truss rod too abruptly: This è the fastest way to crack the neck. Always a quarter turn at a time, with patience.
Filing the nut without experience: If you don't have the right files and a steady hand, è better not to risk it. A luthier will do a precise job and save you a lot of headaches.
Not using precision tools: A school ruler or a tape measure are not precise enough. Invest in a good steel ruler and a feeler gauge.
When to consult a professional?
Despite the encouragement for DIY, there are situations where the intervention of a luthier è not only advisable but necessary. There è no shame in asking for help: è a sign of respect for your instrument and your time. Nut replacement/refiling needed: If your nut è too low or severely damaged, or if you feel that filing work è too risky for your current abilities, a luthier can replace or refile it perfectly. Worn frets (Fret Wear): If the frets show deep grooves (especially under the most used strings), they can cause fret buzz even with correct action. This requires a “fret leveling” (fret leveling) or, in more severe cases, a “refretting” (refret), jobs that are definitely beyond the scope of the average garage-luthier. Twisted or warped neck: Sometimes, a neck can warp in complex ways that the truss rod cannot correct (e.g., twists). These problems require specialized straightening techniques or, in extreme cases, neck replacement. If you don't feel confident: The fear of causing damage è an important signal. If you feel uncomfortable with any step, especially the more delicate ones like the truss rod or the nut, è better to spend a few tens of euros for a professional setup. A good luthier will not only solve the problem but could also give you valuable advice for the future. A professional setup è not just an adjustment, è an art. An experienced luthier can work wonders on the playability and tone of your instrument, bringing out the best in your guitar. You can search for a luthier in your area or consult online resources like the Fender setup guide, which offers detailed specifications for their models and a general overview of the techniques.
Conclusion
There guitar action adjustment è an art learned with practice, patience, and, yes, even some mistakes. That assembled Stratocaster of mine, with its strings that looked like cables and its buzz omnipresent, è was my school. I learned that every guitar è a world unto itself, and that the perfect setup è one that suits your hands and your style. Don't be afraid to get your hands on your instrument. With the right tools, the correct sequence, and a bit of courage, you can transform a difficult-to-play guitar into a fluid extension of your creativity. The journey into the world of DIY lutherie è made of small victories and great satisfactions, and a good setup è certainly one of them.
FAQ: Frequently Asked Questions about Action Adjustment
How long does a full setup take?
A complete setup, done calmly and carefully, can take one to three hours, depending on the complexity of the guitar and your experience. Remember to allow time for the wood to settle after the adjustments of the truss rod, which could extend the process over several days.
Do I need to do a setup every time I change string type or tuning?
Yes, è strongly recommended. Changing the string gauge (e.g., from 0.009 to 0.010) or tuning (e.g., from E standard to Drop D) changes the tension on the neck and the entire instrument. This will alter the relief, action and intonation, making a new setup necessary to optimize playability and tone.
Download the Luthier Survival Kit
Free PDF with checklist, problem-cause table and project card template.
 English
  Italiano
Stuck on your build?
If you ran into the same problem or have a question, drop it in the comments. I read and reply to every one.
Write a comment