

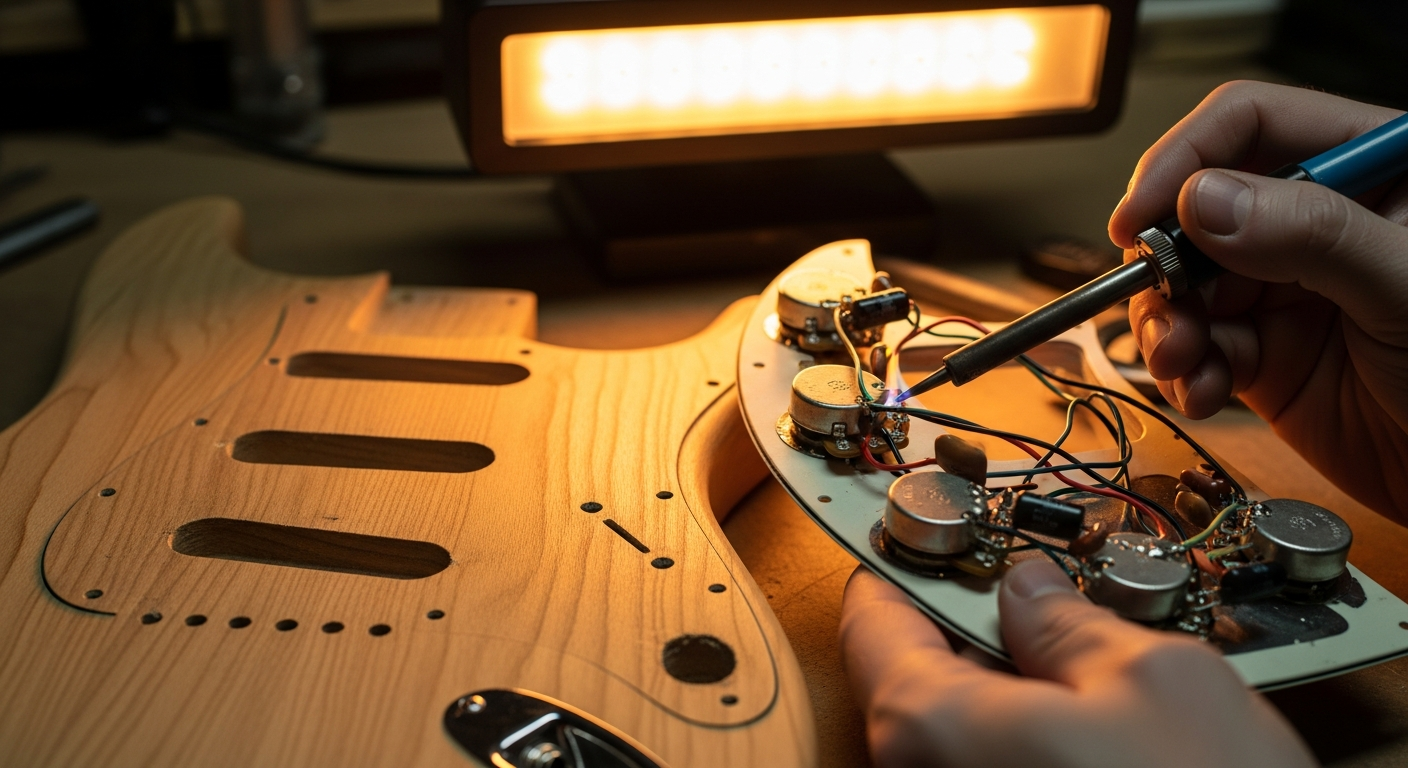
Guitar string height: solve problems.
I still remember my first assembled guitar, a kind of botched Stratocaster that looked more like a saw than a musical instrument. The strings were too high, or too low and buzzed everywhere. Playing a barré was torture, and the slides felt like they were made with sandpaper. I was there, in my garage, with an elementary school ruler and a frustration that grew with every attempt. I wondered: “How the hell do these luthiers adjust them?”
Well, if you find yourself in this situation, know that you are not alone.’guitar string height, or as we hobbyists call it, the action, is one of the biggest worries for those who venture into DIY setup. It's that point where theory meets practice and, often, clashes with our inexperience. But I'll tell you one thing: it's not rocket science. It takes method, patience, and the willingness to get your hands dirty. And to make mistakes, maybe a couple of times, before getting it right.
This article doesn't aim to give you the magic formula for a perfect setup – that doesn't exist, it's always a personal compromise. However, I will give you a practical, step-by-step guide to understand What you are adjusting, why you're adjusting it and as how to do it without causing irreparable damage. I learned in the field, sometimes the hard way, and now I'll tell you how I did it. If I succeeded, with my battle tools and my dose of stubbornness, you can succeed too.
Why string height is a mess (and why it's important)
Here's what I recommend you put on the counter: Precision ruler: This is fundamental. It must be metal, with clear markings in millimeters and, if possible, also in inches. Those from 15-30 cm are perfectly fine. Please, don't use a tailor's tape measure. A good ruler costs you less than ten euros and changes your life.
Feeler gauges: A series of slats of different thickness, perfect for measuring the relief of the handle. You can find them at hardware stores, they're cheap and super precise.
Capotasto (head): One of those you use for playing. It's used to hold the strings at the first fret.
Allen keys: For bridge saddles and truss rods, check which sizes you need for your guitar. They're often included with the instrument, but if you have a complete set, even better.
Screwdrivers: Slotted and cross-headed, of various sizes, for saddle screws, pickups, etc.
Electronic tuner: Of course, reliable and precise. What you can improvise (but it's not ideal): Radius gauges: They are used to measure the fretboard radius and set the saddles accordingly. Useful, but if you don't have them, you can eyeball it, with a bit more patience. I did it that way for years.
String action gauge: A specific ruler for string height. Convenient, but a good metal ruler does the same job, with a bit more attention.
The key is precision. Even a tenth of a millimeter can make the difference between a playable guitar and a frustrating one. So, take your time and measure calmly.
The Process: Three Essential Steps to a Garage Setup


Here's the sequence I've learned to follow, the one that works for me and has saved me from many headaches.
1. Adjusting the Neck Relief (Truss Rod)
This is the first, fundamental step. The relief is that slight concave curvature of the neck, necessary to allow the strings to vibrate without touching the intermediate frets. A neck that is too straight or, worse, convex, will cause fret buzz on the central frets. A neck that is too curved will make the action high and the strings hard to press. How to check relief:n1. Tuning: Make sure your guitar is in perfect tune.n2. Capo: Place the capo on the first fret.n3. Press the last string: With one hand, press the sixth string (low E) at the last fret of the neck (or at the 17th if you have a very long neck and can't reach the last).n4. Check the space: With the other hand, look at the space between the bottom of the string and the top of the fret, approximately between the 7th and 9th fret. There should be a small space.n5. Use the feeler gauge: Insert a feeler gauge blade into that space. For electric guitars, a typical value is between 0.2 mm and 0.3 mm. Some prefer even less, like 0.15 mm, but this depends a lot on your sensitivity and the general setup. For me, 0.25 mm is a good starting point. How to adjust the truss rod:The truss rod is a metal bar inside the neck that serves to counteract string tension and adjust the curvature.
If the space is too much: The neck is too concave. You need to tighten the truss rod (turn clockwise) to straighten the neck.
If the space is too little or none: The neck is too straight or convex. You need to loosen the truss rod (turn counter-clockwise) to increase the curvature. Critical points and suggestions: Patience: Make small adjustments, like a quarter turn at a time. Re-tune and wait a few minutes (sometimes even an hour) for the wood to settle. Don't rush it.
Don't force: If the wrench doesn't turn or you feel excessive resistance, stop. There might be a more serious problem. I don't want you to break the truss rod, it's a real disaster!
Access: The truss rod can be adjusted at the headstock (more common) or at the heel of the neck. If it’s at the heel, you might have to loosen the neck screws or even remove it. A bit of a hassle, but it’s doable.
Once you have satisfactorily set the relief, you can move on to the next step. This is the pillar on which everything else is based.
2. Saddle Height
With the handle adjusted, we can finally tackle the’string height The actual bridge. The saddles are the small metal blocks on the bridge that hold the strings. Each saddle has one or two screws that allow you to raise or lower it.
How to measure string height:n1. Tuning: Guitar in tune, obviously.n2. Measure at the 12th or 17th fret: Using your precision ruler, measure the distance between the bottom of the string and the top of the fret (not the fingerboard, but the fret wire same). You can measure at the 12th fret, or if you prefer, at the 17th to get a more “played” idea of the action. I usually measure at the 12th.n3. Reference values: Let me sing (high E): Between 1.5 mm and 1.8 mm. I usually aim for 1.6 mm for electrics.
Low E: Between 2.0 mm and 2.5 mm. For me, 2.2 mm is a good compromise.
These are just starting points. Some go lower, some go higher.
How to adjust the height of the saddles: Adjustment screws: Each saddle has small Allen (or sometimes slotted) screws that raise or lower it.
Adjust one string at a time: Start with the low E. Raise or lower the saddle until you reach the desired pitch. Then move on to A, D, etc., until you reach the high E.
Follow the keyboard radius: This is important. The fretboard surface is not flat, but has a slight curvature (the radius). The saddles must follow this curvature. If you don't have radius gauges, you can do it by eye. Place a ruler across the strings and make sure they follow a harmonious curve. The middle strings (D and G) will be slightly higher than the outer ones (low E and high E).
For example, on a Stratocaster with a 9.5″ radius, the middle strings will be a little higher than on a guitar with a 12″ or 16″ radius.
Common mistakes to avoid: Forget the radius: If the saddles are all at the same height, the middle strings will be too low or the outside strings too high.
Don't control the buzz: After each adjustment, play the string on all frets to see if there are any frets. If you hear buzz, raise that saddle a little.
Skip this step: You cannot adjust the intonation if the action is not set correctly.
This is the phase where you really see the change. Your guitar starts to take shape under your hands. Every guitar is different, so don't get discouraged if it takes a while to find your ideal combination. Sometimes, a small tweak here, another adjustment there, and magically everything falls into place. If you are thinking of modify your guitar more radically, the setup is always the starting point to understand how it reacts to changes.
3. Intonation
Intonation is the third and final step in adjusting thestring height. An unintonated guitar will sound out of tune on high notes, even if it's perfectly tuned open. It's like having a clock that tells the right time only twice a day.
How to check intonation:n1. Perfect tuning: Tune again, with an accurate tuner.n2. Harmonic at the 12th fret: Play the natural harmonic at the 12th fret of a string. The tuner should indicate the correct note.n3. Fretted note at the 12th fret: Fret the same string at the 12th fret and play the note.n4. Comparison: The tuner should indicate the same note, at the same pitch as the harmonic.
If the fretted note is flat: The string is too long. You need to shorten it by moving the saddle forward (towards the handle).
If the fretted note is sharp: The string is too short. You need to lengthen it by moving the saddle backwards (towards the bridge).
How to adjust the intonation: Tuning screws: Each saddle has a screw (often longer and thinner) that moves it forward or backward on the bridge.
Make small adjustments: Slightly loosen the string, turn the intonation screw, retune the string, and recheck. Repeat until the harmonic and the fretted note at the 12th fret are identical.
Proceed one string at a time: From low E to high E.
The order is crucial: Adjust the pitch After setting the relief and the action is fundamental. If you change the string height after intonating, you will have to re-intonate. The string tension and its effective length change when the saddle is raised or lowered.
This step is the one that requires the most patience and precision. A well-intonated guitar is a joy to play, especially when using complex chords or soloing on high notes. Do not underestimate the importance of this step.
Pickup Height: The Finishing Touch for Your Tone
Ok, the’string height is adjusted, the guitar is intonated. Now, let's not forget about the pickups. It's not an action adjustment in the strict sense, but it affects enormously the sound and playability. A pickup that is too high or too low can ruin all the work done so far.
Why pickup height is important: Output volume: The closer the pickup is to the strings, the stronger the signal.
Stamp: Height affects frequency response. Too close, the sound can become too aggressive, nasal, or 'compressed'. Too far, it becomes weak and thin.
Sustain and intonation (the “magnet pull”): Pickup magnets exert an attraction on the strings. If they are too close, they can "brake" the strings' vibration, reducing sustain and causing problems intonation, especially on high frets. This effect is more evident with single coil pickups, but humbuckers are also affected.
How to measure and adjust pickup height:n1. Press the last string: Press the low E string (or high E) at the last fret.n2. Measure the distance: Measure the distance between the bottom of the string and the top of the pickup's magnetic pole piece.n3. Reference values (generic): Humbucker: Low side E: 2.0 mm – 3.0 mmn High side E: 1.5 mm – 2.5 mmn Single Coil: Low side E: 3.0 mm – 4.0 mmn High E side: 2.0 mm – 3.0 mmn These are just starting points. Many manufacturers provide their specifications, for example Seymour Duncan or DiMarzio. A good reference point is to consult their websites or the manuals you find online for specific models.n4. Adjust with screws: Each pickup has two screws on the sides (sometimes three, like on some Telecasters) that allow you to raise or lower it. Adjust one side at a time, then tune and try it out.
Tips and Experimentation: Use your ears: This is the most subjective part. Adjust the pickups and play. Do you like the sound? Is it balanced between the pickups? Is the sustain good?
Balance the pickups: Make sure the volume between the various pickups (neck, middle, bridge) is balanced when you select them. Often the bridge pickup is slightly closer to the strings to compensate for the lesser string movement in that position.
Be careful of the “magnet pull”: If you feel that the strings vibrate strangely, or the intonation is unstable only on some frets, try lowering the pickups slightly. This is a problem that tormented me for a long time on my first Stratocaster, before I realized that the pickups were too high.
Adjusting pickup height is like putting the icing on the cake. It's the final touch that defines the sonic character of your guitar. Don't be afraid to experiment.
Common Problems and How I Made Mistakes (So You Don't)
Even after following all the steps, problems may arise. It's normal. I've faced all sorts of headaches in my garage, and often the solution was simpler than I thought.
Fret Buzz (The Frying)
The dreaded metallic buzz. It's every guitarist's number one enemy.
Common causes: Action too low: It's the most obvious cause.
Insufficient relief: Neck too straight, strings buzz on the middle frets.
Irregular keys: Some frets might be higher than others. This is a more advanced problem that requires fret leveling, a job that if you're not experienced, it's better to leave to a professional, at least at the beginning. I tried it, and I had to redo everything.
Capo too low: The strings sizzle on the first frets.
Solutions: Increase relief: Give the truss rod a quarter turn counterclockwise.
Raise your saddles: Make small adjustments.
Check the keys: Use a short, straight ruler to see if some frets are higher than others.
Hard Strings to Press (The Fatigue)
If your fingers get incredibly tired, even after a few minutes, the action is too high.
Common causes: Action too high: The distance between the strings and the fretboard is excessive.
Excessive relief: The neck is too curved.
Strings of too heavy gauge: If you are used to light strings and install a thicker set, you will feel the difference.
Capo too high: The strings are high from the beginning of the neck.
Solutions: Lower the saddles: Make small adjustments.
Decrease relief: Give the truss rod a quarter turn clockwise.
Try lighter gauge strings: If you don't need a massive sound, a 0.09 or 0.10 can do wonders for comfort.
Strings That “Brake” at the Nut (Nut Height)
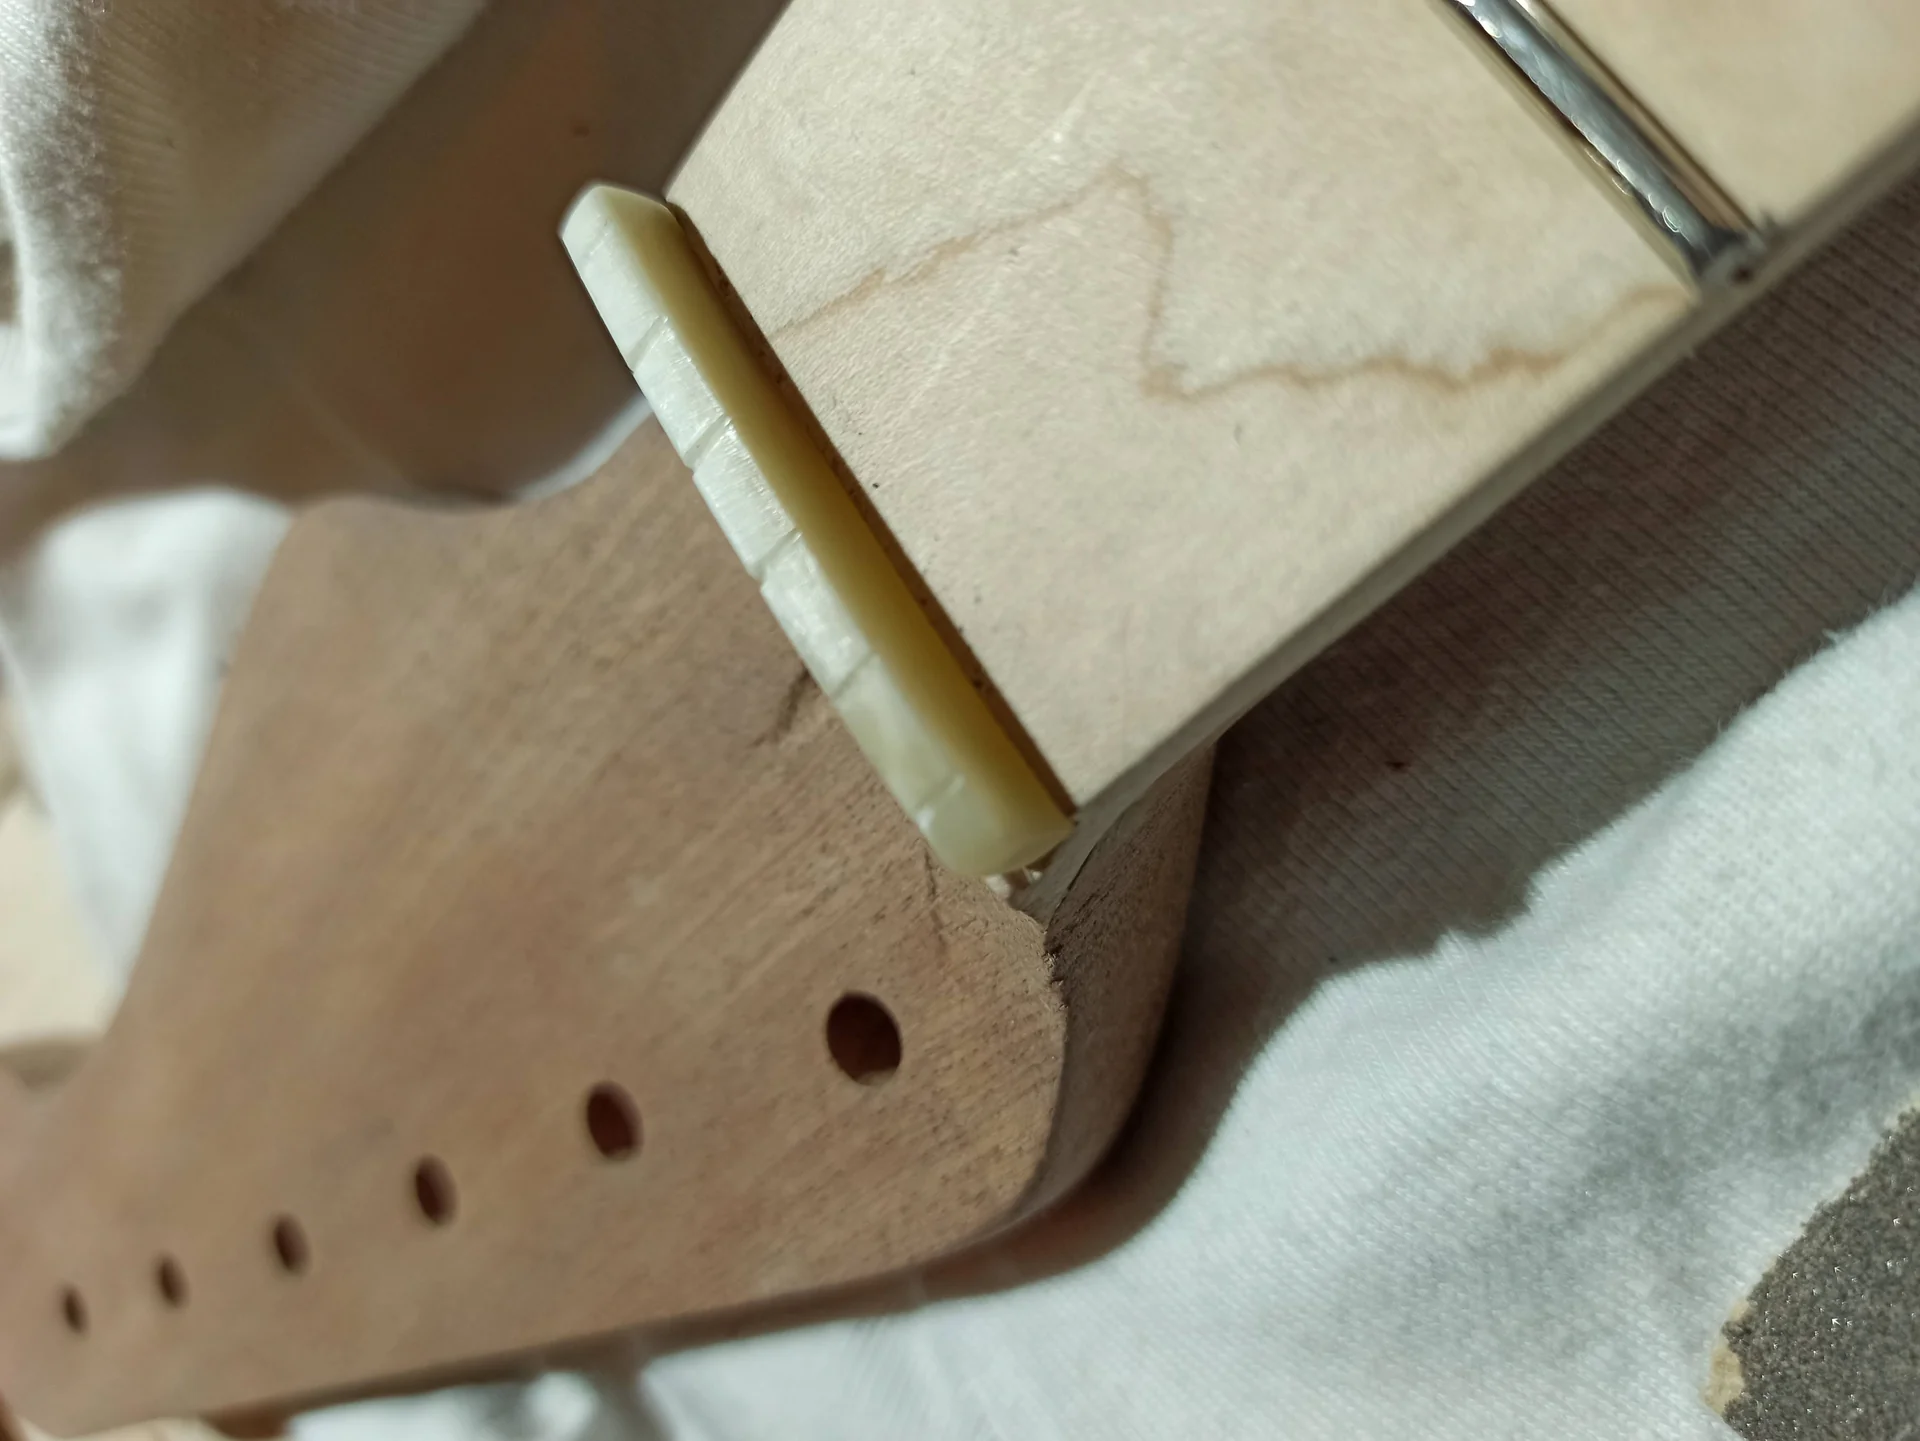
This è a delicate point, and where I personally am still a bit hesitant. The nut è the small bar at the beginning of the fretboard, where the strings rest before reaching the headstock. If the slots are too high, the action will be high on the first frets, making it difficult to play. If they are too low, the strings will buzz on the first frets.
How to check the nut height:
1. Capo at the 3° fret: Place the capo at the 3° fret.
2. Check the space at the 1° fret: Look at the space between the bottom of the string and the top of the 1° fret. There should be a very small, barely perceptible space. If the string touches the 1° fret, the nut è too high. If the space è very obvious, it è too high.
3. A good reference è that the string should be just free, with a space similar to what you would have between the 2° and 3° frets.
Adjusting the nut: This è a precision job that requires specific nut files. Do not use generic files, you could ruin everything.
If the nut è too high, you need to widen and deepen the slots. Do it little by little, checking often.
My heartfelt advice: If you are not sure, or è your first time, take the guitar to a luthier for this specific job. Making a mistake here means having to change the nut, and it è not a trivial operation. I ruined a couple of bone nuts before realizing it was better to proceed with caution, or delegate. I found excellent advice and in-depth discussions on nut filing techniques on specialized forums like [Ultimate-Guitar Forum](https://www.ultimate-guitar.com/forum/forumdisplay.php?f=11), where the community shares real experiences.
Remember, every problem has a solution. Sometimes it just takes a little research and the right amount of patience.
Bottom Line: Your Guitar, Your Setup
We have reached the end of this journey into the regulation of the’guitar string height. I hope you understand that it è not a dark art reserved for a select few, but a logical and meticulous process that anyone can learn. I learned it, and I assure you I am not a genius.
The most important thing è experimentation. There is no universal “perfect” setup. There is the setup that works best for you*, for your sound style, for your touch, and for your specific guitar. Start from the values I gave you, use them as a reference point, and then adjust to your liking. Maybe a tenth of a millimeter more on the Mi cantino gives you that sustain you were looking for, or a little less relief makes chords easier.
Don't be afraid to make mistakes. I made mistakes, and I learned. I adjusted the truss rod too tight, I lowered the saddles until everything buzzed, I intonated a guitar with old strings (beginner's mistake!). But every mistake taught me something.
Grab that ruler, the hex keys, and get to work. Your guitar will thank you with playability and a sound you never thought possible. And you, you will have the satisfaction of having set it up with your own hands. This, for me, is priceless. Good job!
See also
Download the Luthier Survival Kit
Free PDF with checklist, problem-cause table and project card template.
 English
  Italiano
Stuck on your build?
If you ran into the same problem or have a question, drop it in the comments. I read and reply to every one.
Write a comment