


Broken electric guitar strings? Quick-change guide.
Let's face it: there's nothing more frustrating than a guitar string electric route Just when you're about to start a practice session, or worse, a concert. That metallic "clack," followed by the awkward silence, is a classic we all know. And it's not just a matter of annoyance; a broken string means your guitar is silent, and you're stuck.
I've been there, too, a thousand times. The first time a string broke on stage, I broke out in a cold sweat. I didn't know what to do; I felt like an amateur. I learned the hard way that repairing electric guitar strings It's not black magic, but a simple procedure that, with a little practice, becomes automatic. And trust me, if I could do it in my garage, you can do it too.
Many hobbyists, and even some more experienced musicians, get stuck when it comes to changing strings. The fear is always the same: ruining something, not being able to get it to sound like it did before, or simply wasting an hour on a seemingly complicated task. "What if it doesn't hold tune?", "I'm afraid I'll overtighten it and break the new string!", "I don't know what kind of strings to buy!" These are all legitimate questions I've heard and asked myself. But the truth is, once you've learned the basic steps and a few tricks of the trade, changing strings it will become a quick and painless routine.
In this guide, I'll take you step by step through the process. I won't tell you any lies or make you think you need astronaut tools. I'll show you how to make a quick and effective change, with the hands and tools you probably already have at home.nn
When it's time to change your strings (and not just when they break)
n
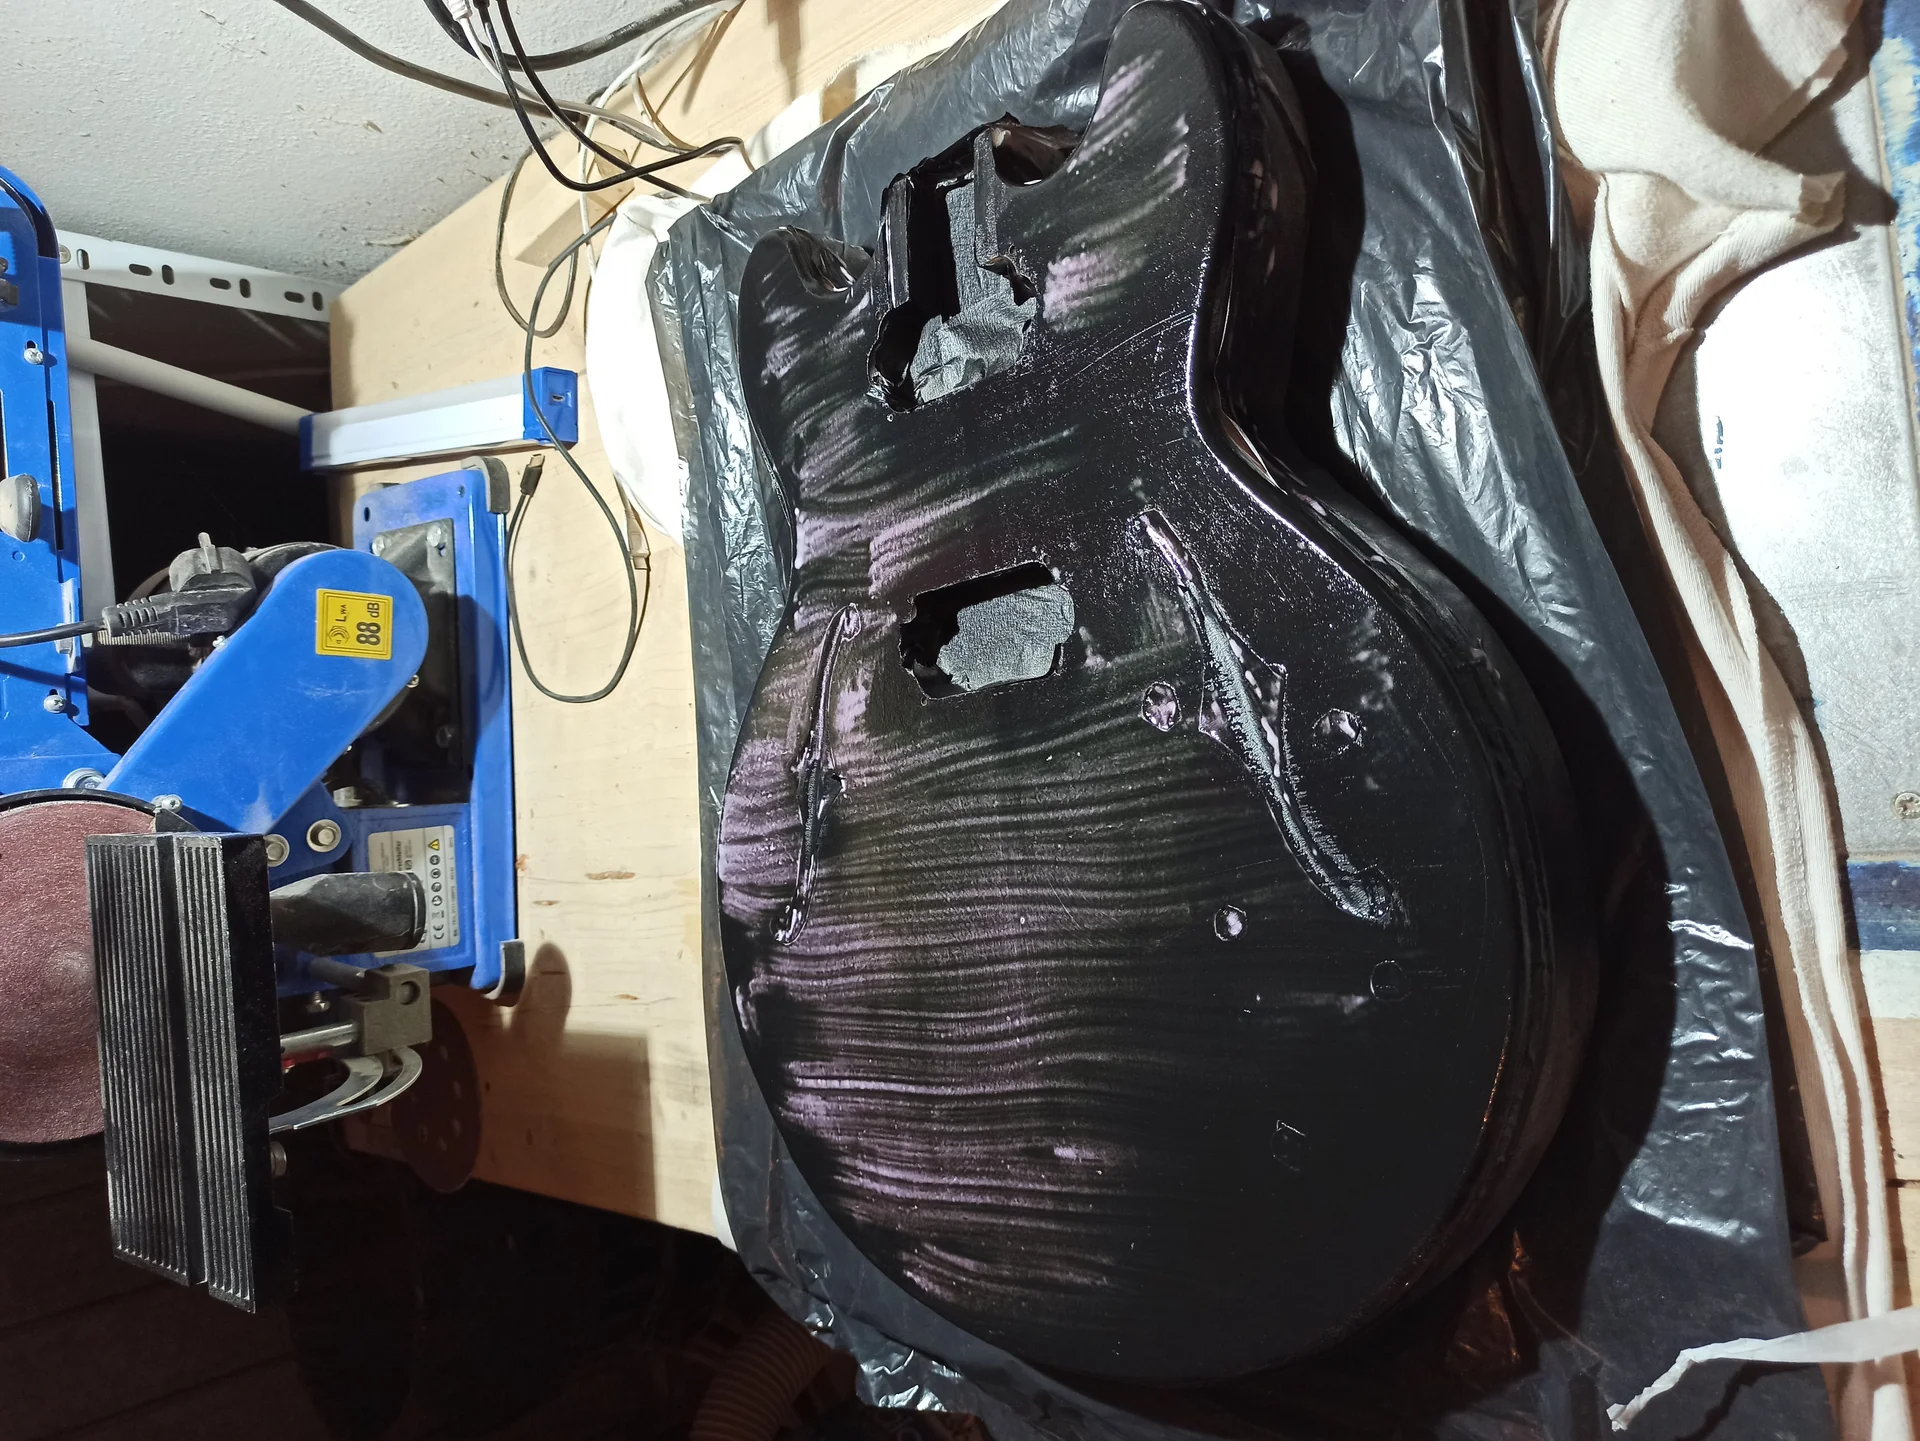
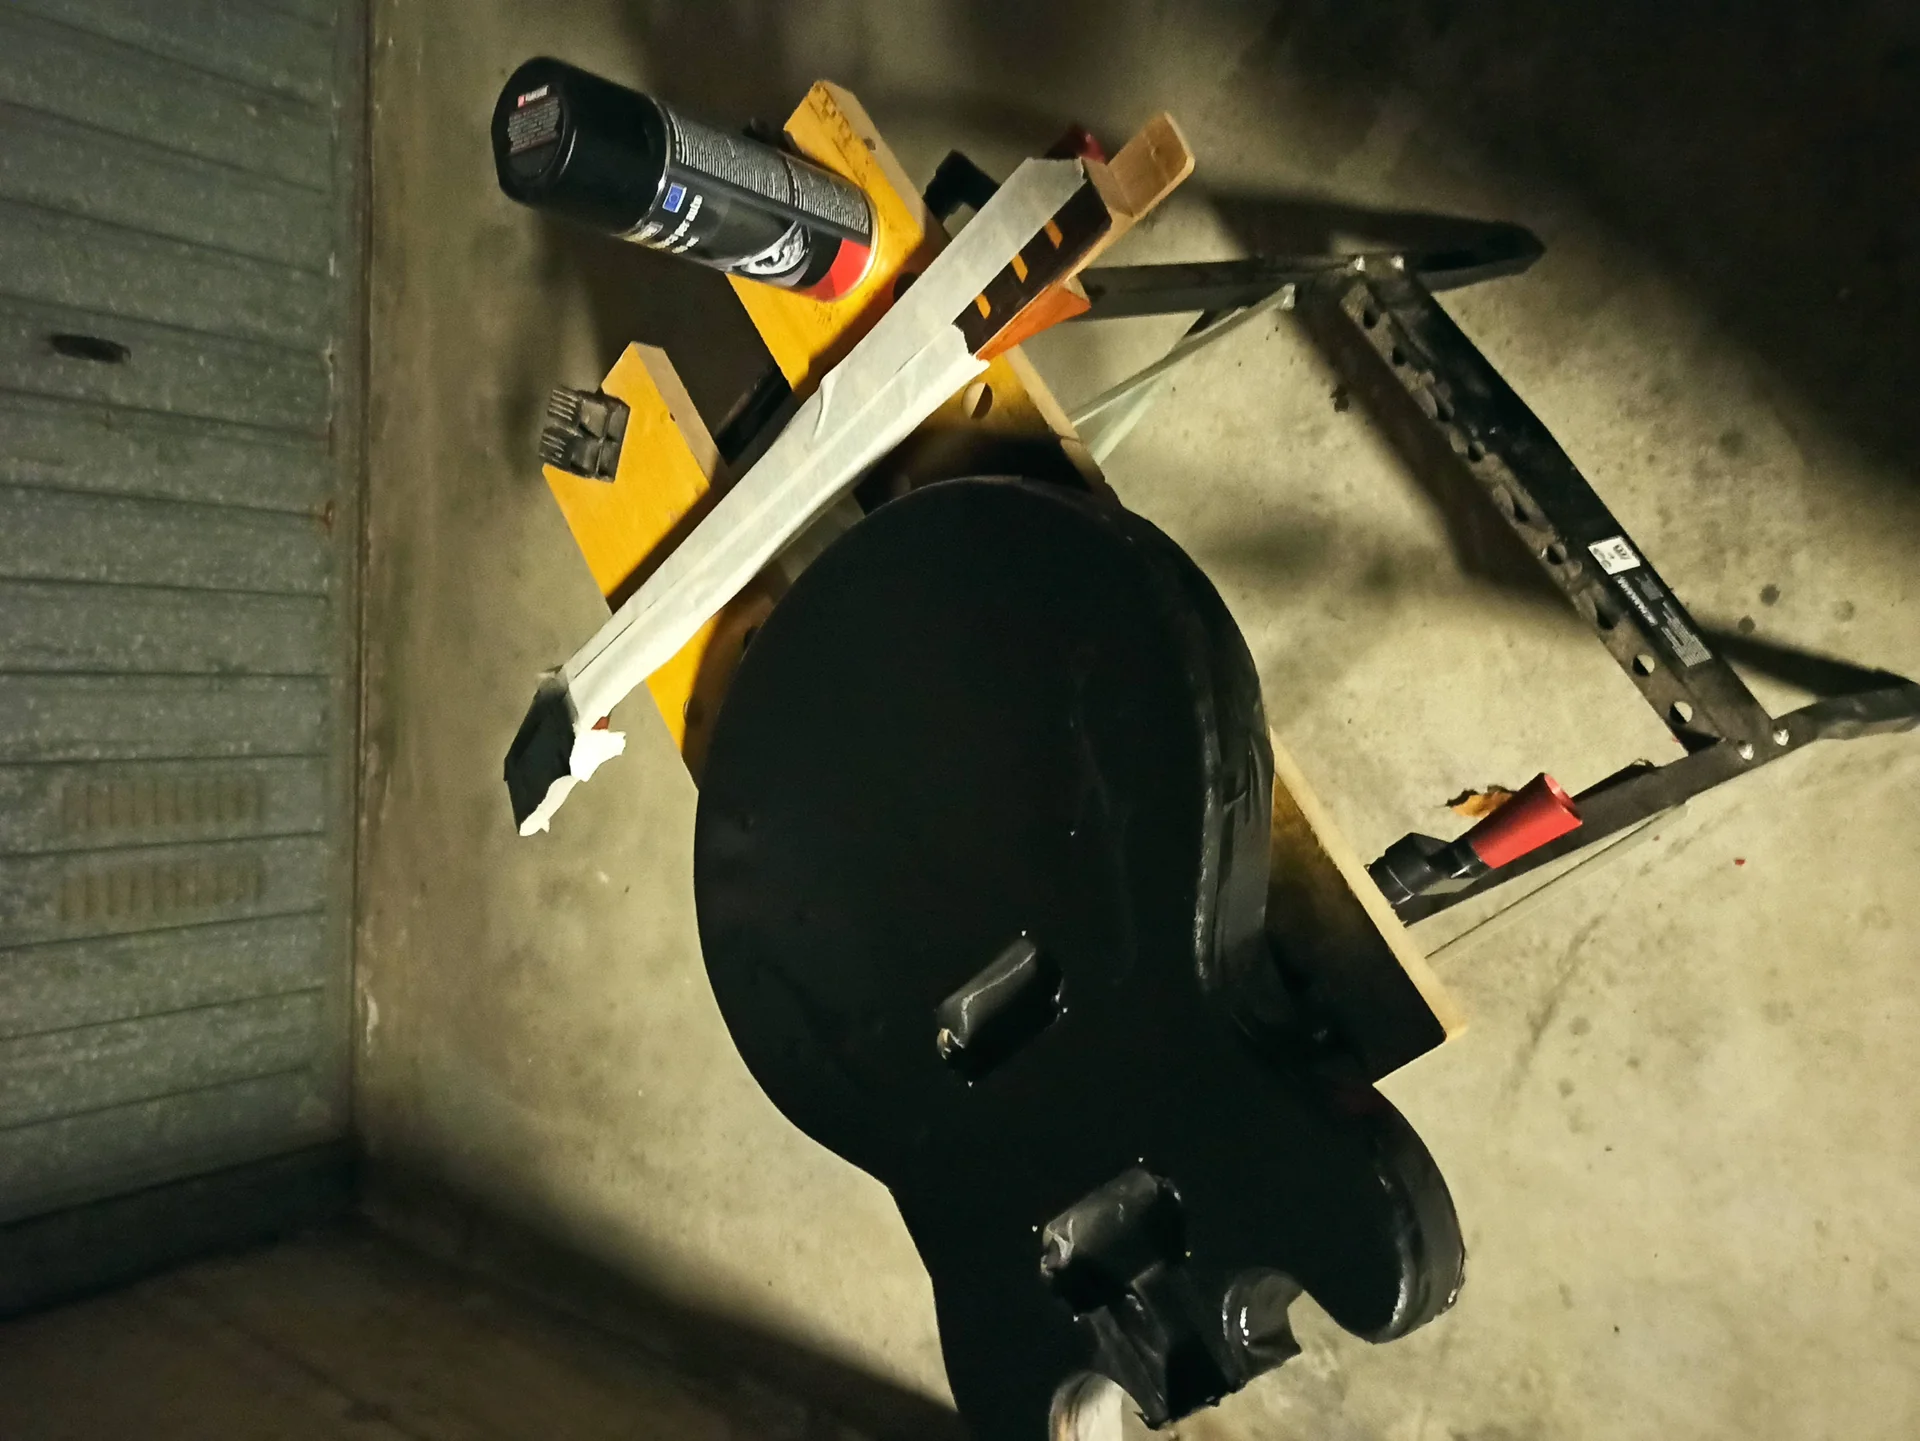
Here is my “garage toolbox” for the narrowing:nn New set of strings: Obvious, but not necessarily. Make sure they're the gauge you normally use. Changing gauges often involves adjusting the truss rod and intonation, which isn't the purpose of this quick guide.
String cutter: A good pair of wire cutters is essential. Don't use kitchen scissors; they'll ruin your hands and damage the strings. Guitar-specific wire cutters are sharp and cut cleanly.
String Winder: This is a patience saver. It allows you to loosen and tighten the strings much faster. You can find inexpensive ones at music stores.
Clean microfiber cloth: To clean the fingerboard and body of the guitar.
Keyboard Cleaning Product (Optional but recommended): Lemon oil for rosewood or ebony fingerboards, or a good specific cleaner.
Tuner: Whether it's a clip-on, pedal, or a phone app, you need it for the final stage.nnAdvice from Mimmo: Don't underestimate the string winder. I spent years turning the tuning pegs by hand, and every time I told myself "Mimmo, how stingy are you?". It costs a handful of euros and saves you a lot of time and effort.nn
The step-by-step process: Out with the old, in with the new


nn
nHere we get to the point. There isn't just one way to change strings, but there is a way that works well, is safe, and guarantees stability. Follow these steps for a string maintenance impeccable.nn1. Loosen and remove the old strings
This is the first step, and it should be done with some discretion. Don't cut the strings abruptly while they are under tension! Especially if you have a floating bridge (like a Floyd Rose or a Stratocaster-style tremolo), sudden tension on the system can cause problems.nn1. Loosen each string gradually: Use the string winder to loosen each string, a couple of turns at a time, starting with the outer strings (low E and high E) and working toward the middle. The goal is to reduce the tension evenly across the entire neck. If you have a tremolo, loosen each string until the bridge rests against the body. 2. Cut the strings: Once the strings are completely loose (there's no tension left, you can almost pull them off by hand), use the string cutter to cut them in the center. This prevents long, dangling coils. 3. Remove the strings from the bridge: Pull the cut ends off the bridge. If you have a hardtail or Tune-o-matic, the strings pass through the body or the bridge itself. For a tremolo, they usually slide out through lugs on the back. #4. Remove the strings from the tuners: Unwind and pull off the remaining ends from the tuning pegs.nnPAIN POINT from Mimmo: The first time I dealt with a Floyd Rose, I cut all the strings at once. The bridge shot forward and it took me an eternity to level it again. From there I learned the lesson: gradualness, always.nn2. Deep cleaning
Now that the guitar is "naked", it's the perfect time for a cleaning you usually can't do.nn1. Clean your keyboard: Use a microfiber cloth to remove accumulated dirt and sweat. If the fretboard is rosewood or ebony (unfinished), apply a little lemon oil or a specific product. Let it sit for a few minutes, then wipe off the excess. This moisturizes the wood and keeps it in shape. For finished maple fretboards, just use a damp (not wet) cloth and a little polish. Clean the keys: Use the cloth to clean the keys as well. You may see a dark ring around them, which is the accumulation of dirt. 3. Clean the body and handle: Use a soft cloth and a guitar cleaner (or just a well-wrung damp cloth) to remove fingerprints and dirt from the body and back of the neck.A clean guitar is not only beautiful to look at, but it sounds and feels better. The strings glide better, and the wood is happier.nn
3. Installing the new strings: The heart of the matter
This is where the tuning stability and ease of tuning is decided. narrowing. There are different schools of thought, but I'll give you the method that always works for me.nn1. Insert the strings from the bridge: Take one string at a time, starting with the low E (E) or high E (E), and insert it into the bridge. Make sure the ball end is seated properly.Hardtail/Tune-o-matic Bridges: The strings pass through the body or bridge block.
Tremolo Bridges (Strat type): They pass through the block on the back.
Floyd Rose: This is a little more complicated. You have to secure the end of the string to the bridge saddle with an Allen key. Some people cut the ball end off, others leave it. I prefer to leave it on; it seems more sturdy. No. 2. Pull the string towards the paddle: Pass the string through the nut and then into the hole of the corresponding machine head.n3. The wrapping technique (fundamental!): This is the crucial part for a tuning stability lasting.
For non-locking tuners (most): Pull the string taut through the tuning machine and then back about an inch and a half (about the length of a finger). This is the amount of slack you need to wind. The amount of slack is important: too little and the string won't lock; too much and you'll have too many windings that can slip. For thicker strings (low E, A, D), an inch is enough. For thinner strings (G, B, high E), an inch and a half or two.
Bend the string outward, locking it into the hole in the tuning machine.
Start wrapping with the string winder, always downwards on the peg. The first wrap should pass over the string exiting the hole, securing it. Subsequent wraps should be underneath the first, creating a tight spiral that pushes the string down into the peg. This increases the angle of the nut and prevents slippage. Aim for 3-4 wraps for the bass strings, 5-6 for the treble strings.
For locking tuners: Thread the string through the hole in the mechanics.
Pull the string tight.
Tighten the locking screw on the mechanism.
Give the string winder a half or full turn to make sure it's tight. The beauty of locking tuners is that you don't need many wraps. Fewer wraps = fewer slippage points. 4. Tighten the string and roughly tune: Once wound, tighten the string until you reach a rough tuning. You don't need to be precise to the cent at this stage.n5. Repeat for all strings: Proceed string by string, from the thickest to the thinnest (or vice versa, it doesn't make much difference once you've learned).nnCommon mistake to avoid: Too many messy windings. Does it look like a bird's nest? You did it wrong. Too many windings mean the string has more room to move and slip, making tuning unstable.nn
4. Stretching the ropes: The secret to stability
You've just put on new strings, you've tuned them. You play a bit and... it goes out of tune immediately! Frustrating, right? This is because new strings need to be "stretched" to settle in.nn1. Tune your guitar: Tune all the strings perfectly.n2. Stretch each string: Take one string at a time, insert your thumb under it (about halfway up the handle) and gently pull upward for a couple of seconds. Don't overdo it; you don't want to break it! Repeat this process at 2-3 different points along the handle. 3. Re-tune: The string will be quite out of tune. Retune it.n4. Repeat: Repeat this "stretch and retune" process 2-3 times for each string. You'll feel the string settling and the tuning becoming more and more stable.This process is fundamental. Don't skip it. It will save you a lot of time and nervousness during the first hours of using new strings. It's the trick I learned after spending months retuning the guitar every two minutes.nn
5. Cut off the excess and finely tune
We are almost at the end.nn1. Cut off the excess: Using the string cutter, cut off the excess strings protruding from the tuning machines. Cut as close to the tuning peg as possible, but without touching it. 2. Final tuning: Do a fine tuning with your tuner.n3. Check your intonation (if you have time): If you've changed string gauges, or haven't done so in a while, it's a good idea to check the intonation. This means making sure the string sounds in tune both open and at the twelfth fret (harmonic and fretted). If it doesn't, you'll need to adjust the bridge saddles. This is a more advanced topic, but it's the ideal complement to a changing strings well done. For now, if you haven't changed gauge, it's likely that the intonation is still acceptable.nnSometimes, changing strings is just the beginning of a journey of improvement. If you're passionate about making your guitar truly yours, you might want to learn more about how modify your guitar with upgrades or small improvements. It's a fascinating world!
nnFAQ from Mimmo (and answers from Mimmo)
I have collected here some of the questions that I have been asked most often (and that I have asked myself too) about changing the strings of an electric guitar.nnnnQ: Do I have to change all the strings at once or can I just change one broken one?
A: You can change just that one string in an emergency. But for optimal sound and stability, it's always best to change the entire set. A new string on an old set will sound brighter and have a slightly different tension, creating an imbalance.
nnQ: What gauge of strings should I use?
A: It depends on your style and your guitar. The most common gauges are .009 (super light), .010 (light), and .011 (medium). Thinner strings are easier to bend and have a brighter sound, but less sustain. Thicker strings are harder to play but have more body and sustain. If you change gauges significantly, you may need to adjust the truss rod and intonation of your guitar. Start with what you usually use, or try a .010 if you're unsure where to start. You can find excellent guides on manufacturers' websites, like this one from D'Addario, which explains the different gauges and materials well: D'Addario Electric Guitar Strings.
nnQ: Are coated strings worth the extra cost?
A: It depends. They definitely last longer because the coating protects them from oxidation and dirt. If you play a lot and your sweat is particularly corrosive, they can be a great investment. Some people don't like the feel, others don't notice any difference. Try them once and see if you like them.
nnQ: I have a Floyd Rose type floating bridge, is it more difficult?
A: Yes, it's a little more complicated, but not impossible. The trick is to keep the bridge level. Many use wooden blocks or a tremolo stopper to hold the bridge in place while changing strings. Change one string at a time, retuning as you go, or gradually loosen them all as I mentioned, but be prepared to spend a little more time adjusting the springs and the bridge height at the end. Don't be discouraged, it's just practice.
nnQ: How often should I clean my keyboard?
A: Any time you change your strings is the ideal time. If you play a lot, you could also give them a quick clean between string changes, perhaps every two or three weeks, just to remove excess dirt.
Extra advice from someone who's seen it all
After years of putting on and taking off strings, I've accumulated some tips you won't find in all manuals.nn Prepare your space: Work on a clean, soft surface (a cloth, a work mat) to avoid scratching the guitar. There's nothing worse than doing a good job on the strings and then finding a mark on the body.Don't be afraid to make mistakes: The first time, it'll all seem like a mess. The second time, it'll be a little better. By the tenth time, you'll do it automatically. I've broken new strings, I've done terrible windings, I've lost ball ends in the guitar body. It's normal. It's part of the game.
Check the nut and saddles: While changing strings, take a quick look at the nut and bridge saddles. Are there any signs of wear? Are the strings sticking? Sometimes, a little graphite (from the tip of a pencil) in the nut grooves can help reduce friction and improve tuning stability.
Experiment with brands: Not all strings are created equal. Each brand has its own unique characteristics in terms of sound, feel, and durability. Don't settle for the first one you try. When you have a moment, try a set from another brand. You might discover your favorite.
Always keep a spare set: Murphy's Law says that the string will break when you least expect it and when you don't have spares. Having an extra set in your case will save your evening.nn
Conclusions: Mastery is a matter of practice
The quick change of electric guitar strings It's not just a technical skill, it's a fundamental part of caring for your instrument. It's not a task to be delegated to the technician every time, because every musician, every hobbyist, should know how to do it. It's like knowing how to change a tire on a car: you don't enjoy it, but it gets you out of trouble.
Remember, no one is born knowing. I learned by making mistakes, redoing them, and then making mistakes again. And every time I learned something new. The satisfaction of refurbishing your guitar, of hearing that fresh, ringing sound with a set of new strings that you assembled yourself, is priceless.
So, the next time you hear that "clack", don't panic. Grab your tools, follow these steps, and you'll see that in no time your guitar will be singing again. And you'll have another small victory to add to your baggage of experiences as a garage luthier. Good luck, and good music!nn
nnnn
See also
Download the Luthier Survival Kit
Free PDF with checklist, problem-cause table and project card template.
 English
  Italiano
Stuck on your build?
If you ran into the same problem or have a question, drop it in the comments. I read and reply to every one.
Write a comment