

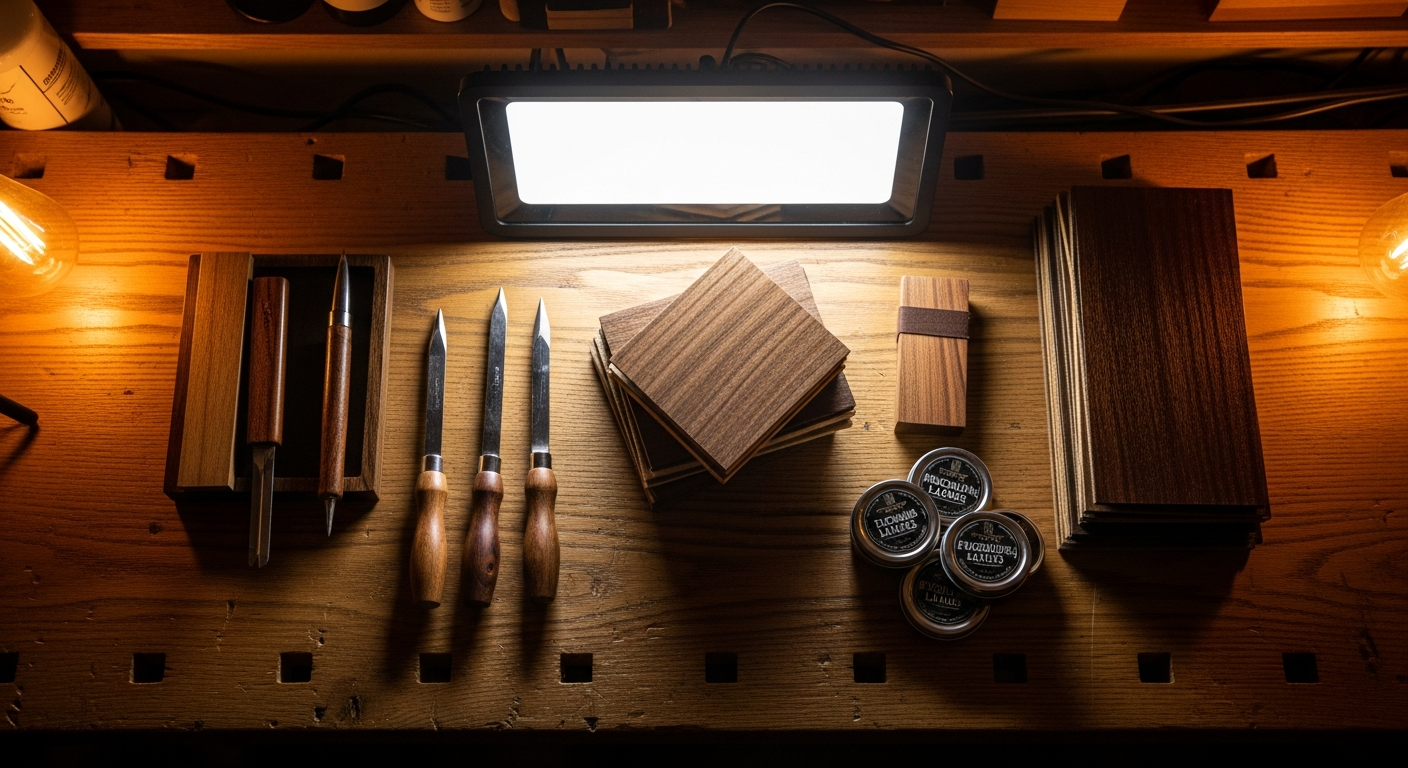
Choose the keys guitar right: the definitive guide for the hobbyist
When you venture to build your first guitar electric, or even just making a significant upgrade, there are a lot of things that make you sweat. Among these, the choice of guitar keys It's one of those that raises the most doubts. "Should I get the cheap ones? The branded ones? But are the holes in the handle okay? And besides, are the self-locking ones really necessary?".I've been there too, believe me. The first time I had to choose the tuning machines I was assembling a Stratocaster and was more confused than a cat on a freeway. I bought a set, got the measurements wrong, resold it, and bought it again. It was a mess, in short. But I learned a lot from making mistakes, and now I want to save you from going through the same thing.
In this article, I will guide you step by step through the maze of guitar keys, explaining what to look for, what to measure and, above all, what common mistakes to avoid. Because, let's face it, tuning stability is fundamental, and there's nothing more frustrating than a guitar that is forgotten every three minutes.
Not all keys are created equal: Understanding the basics
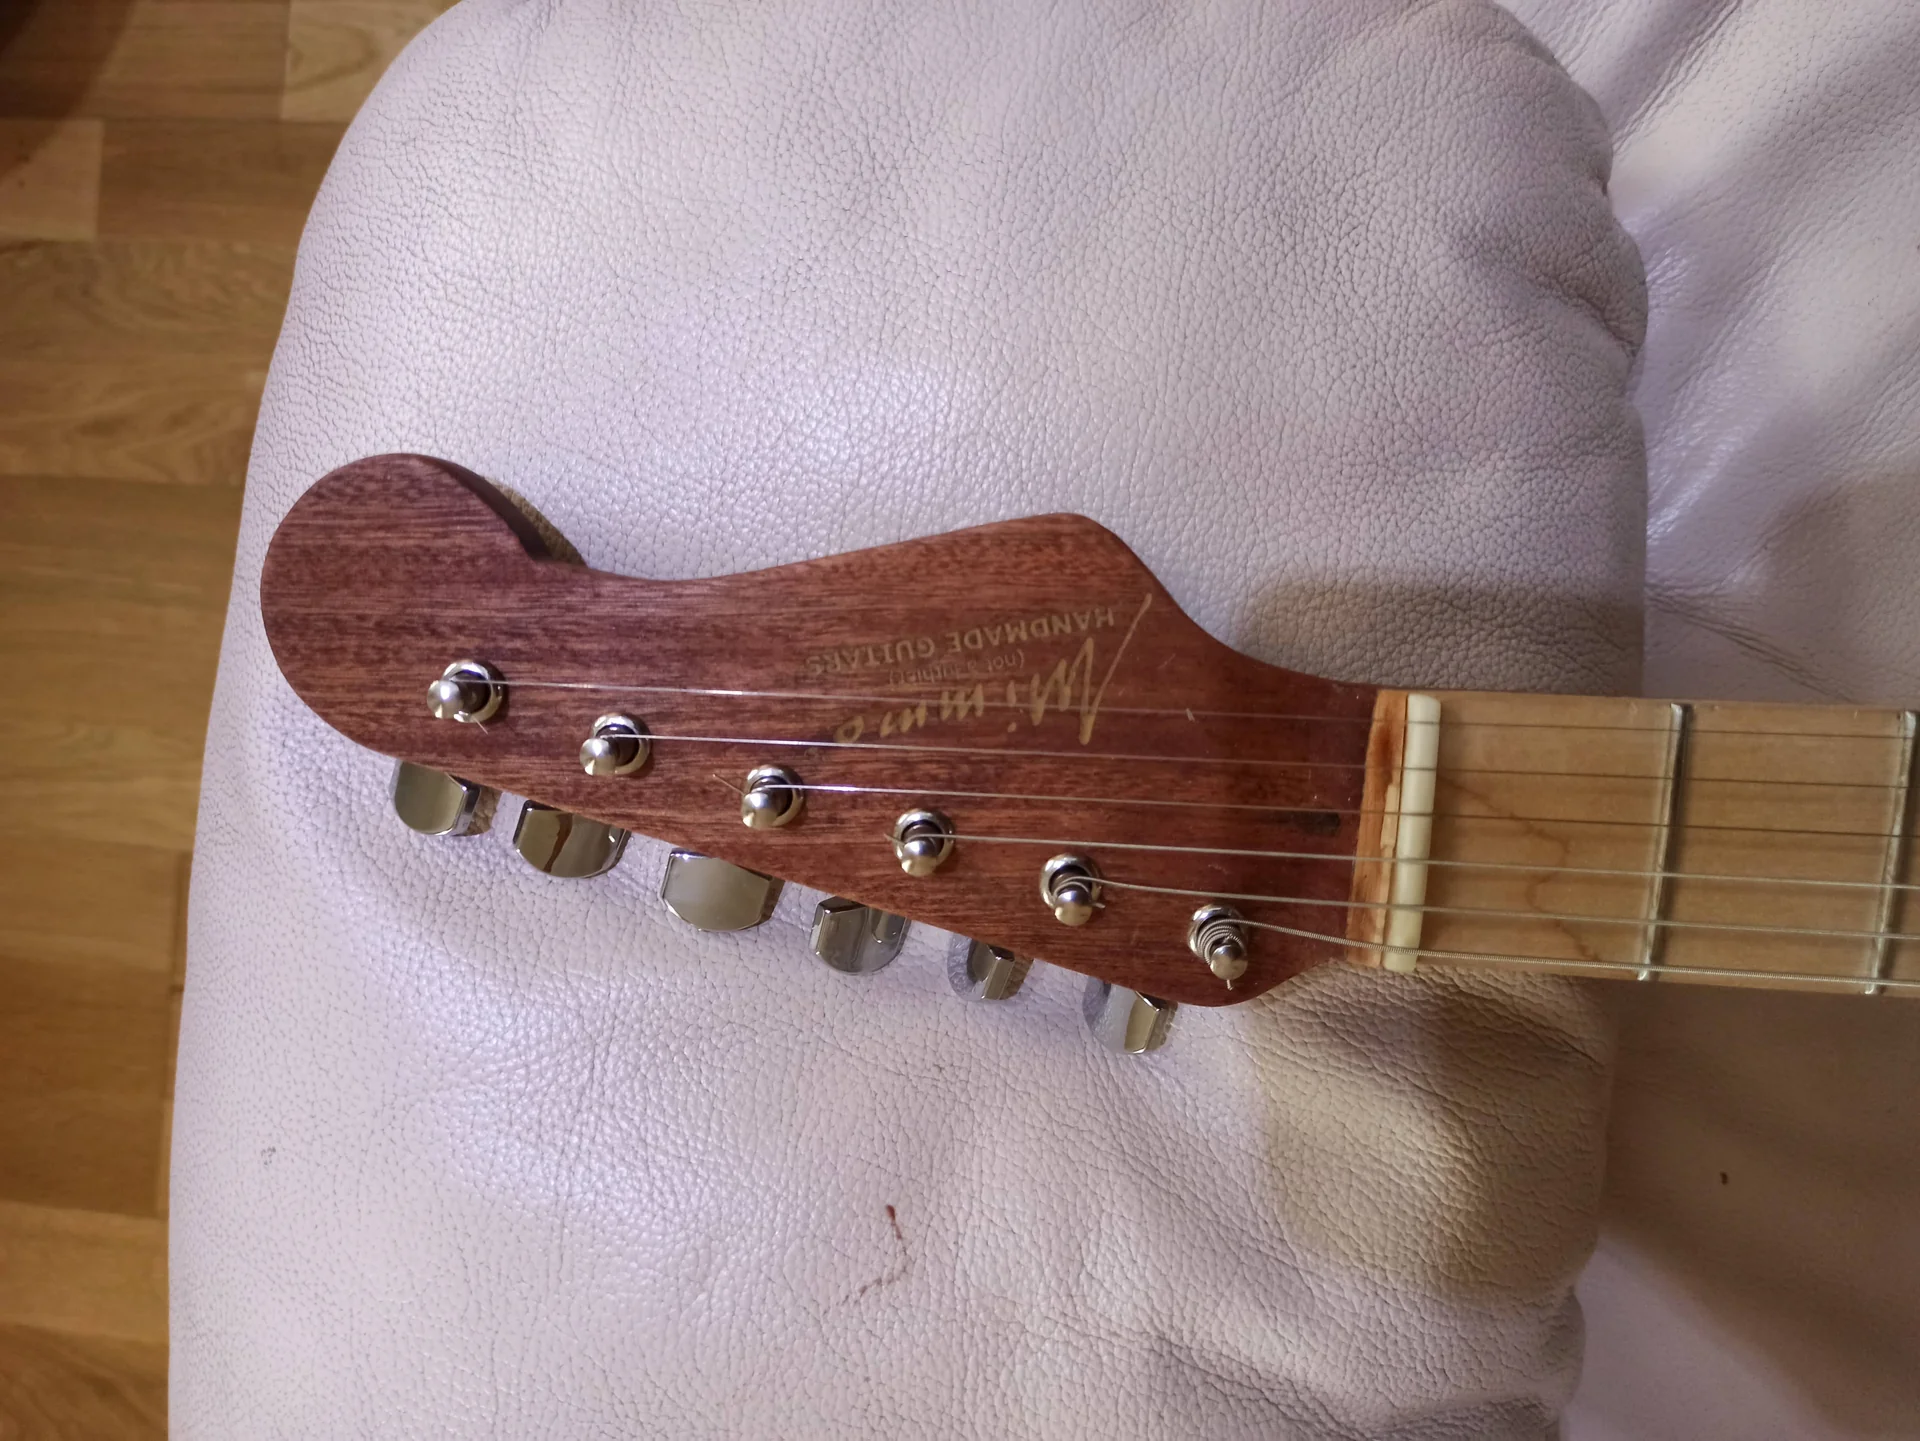
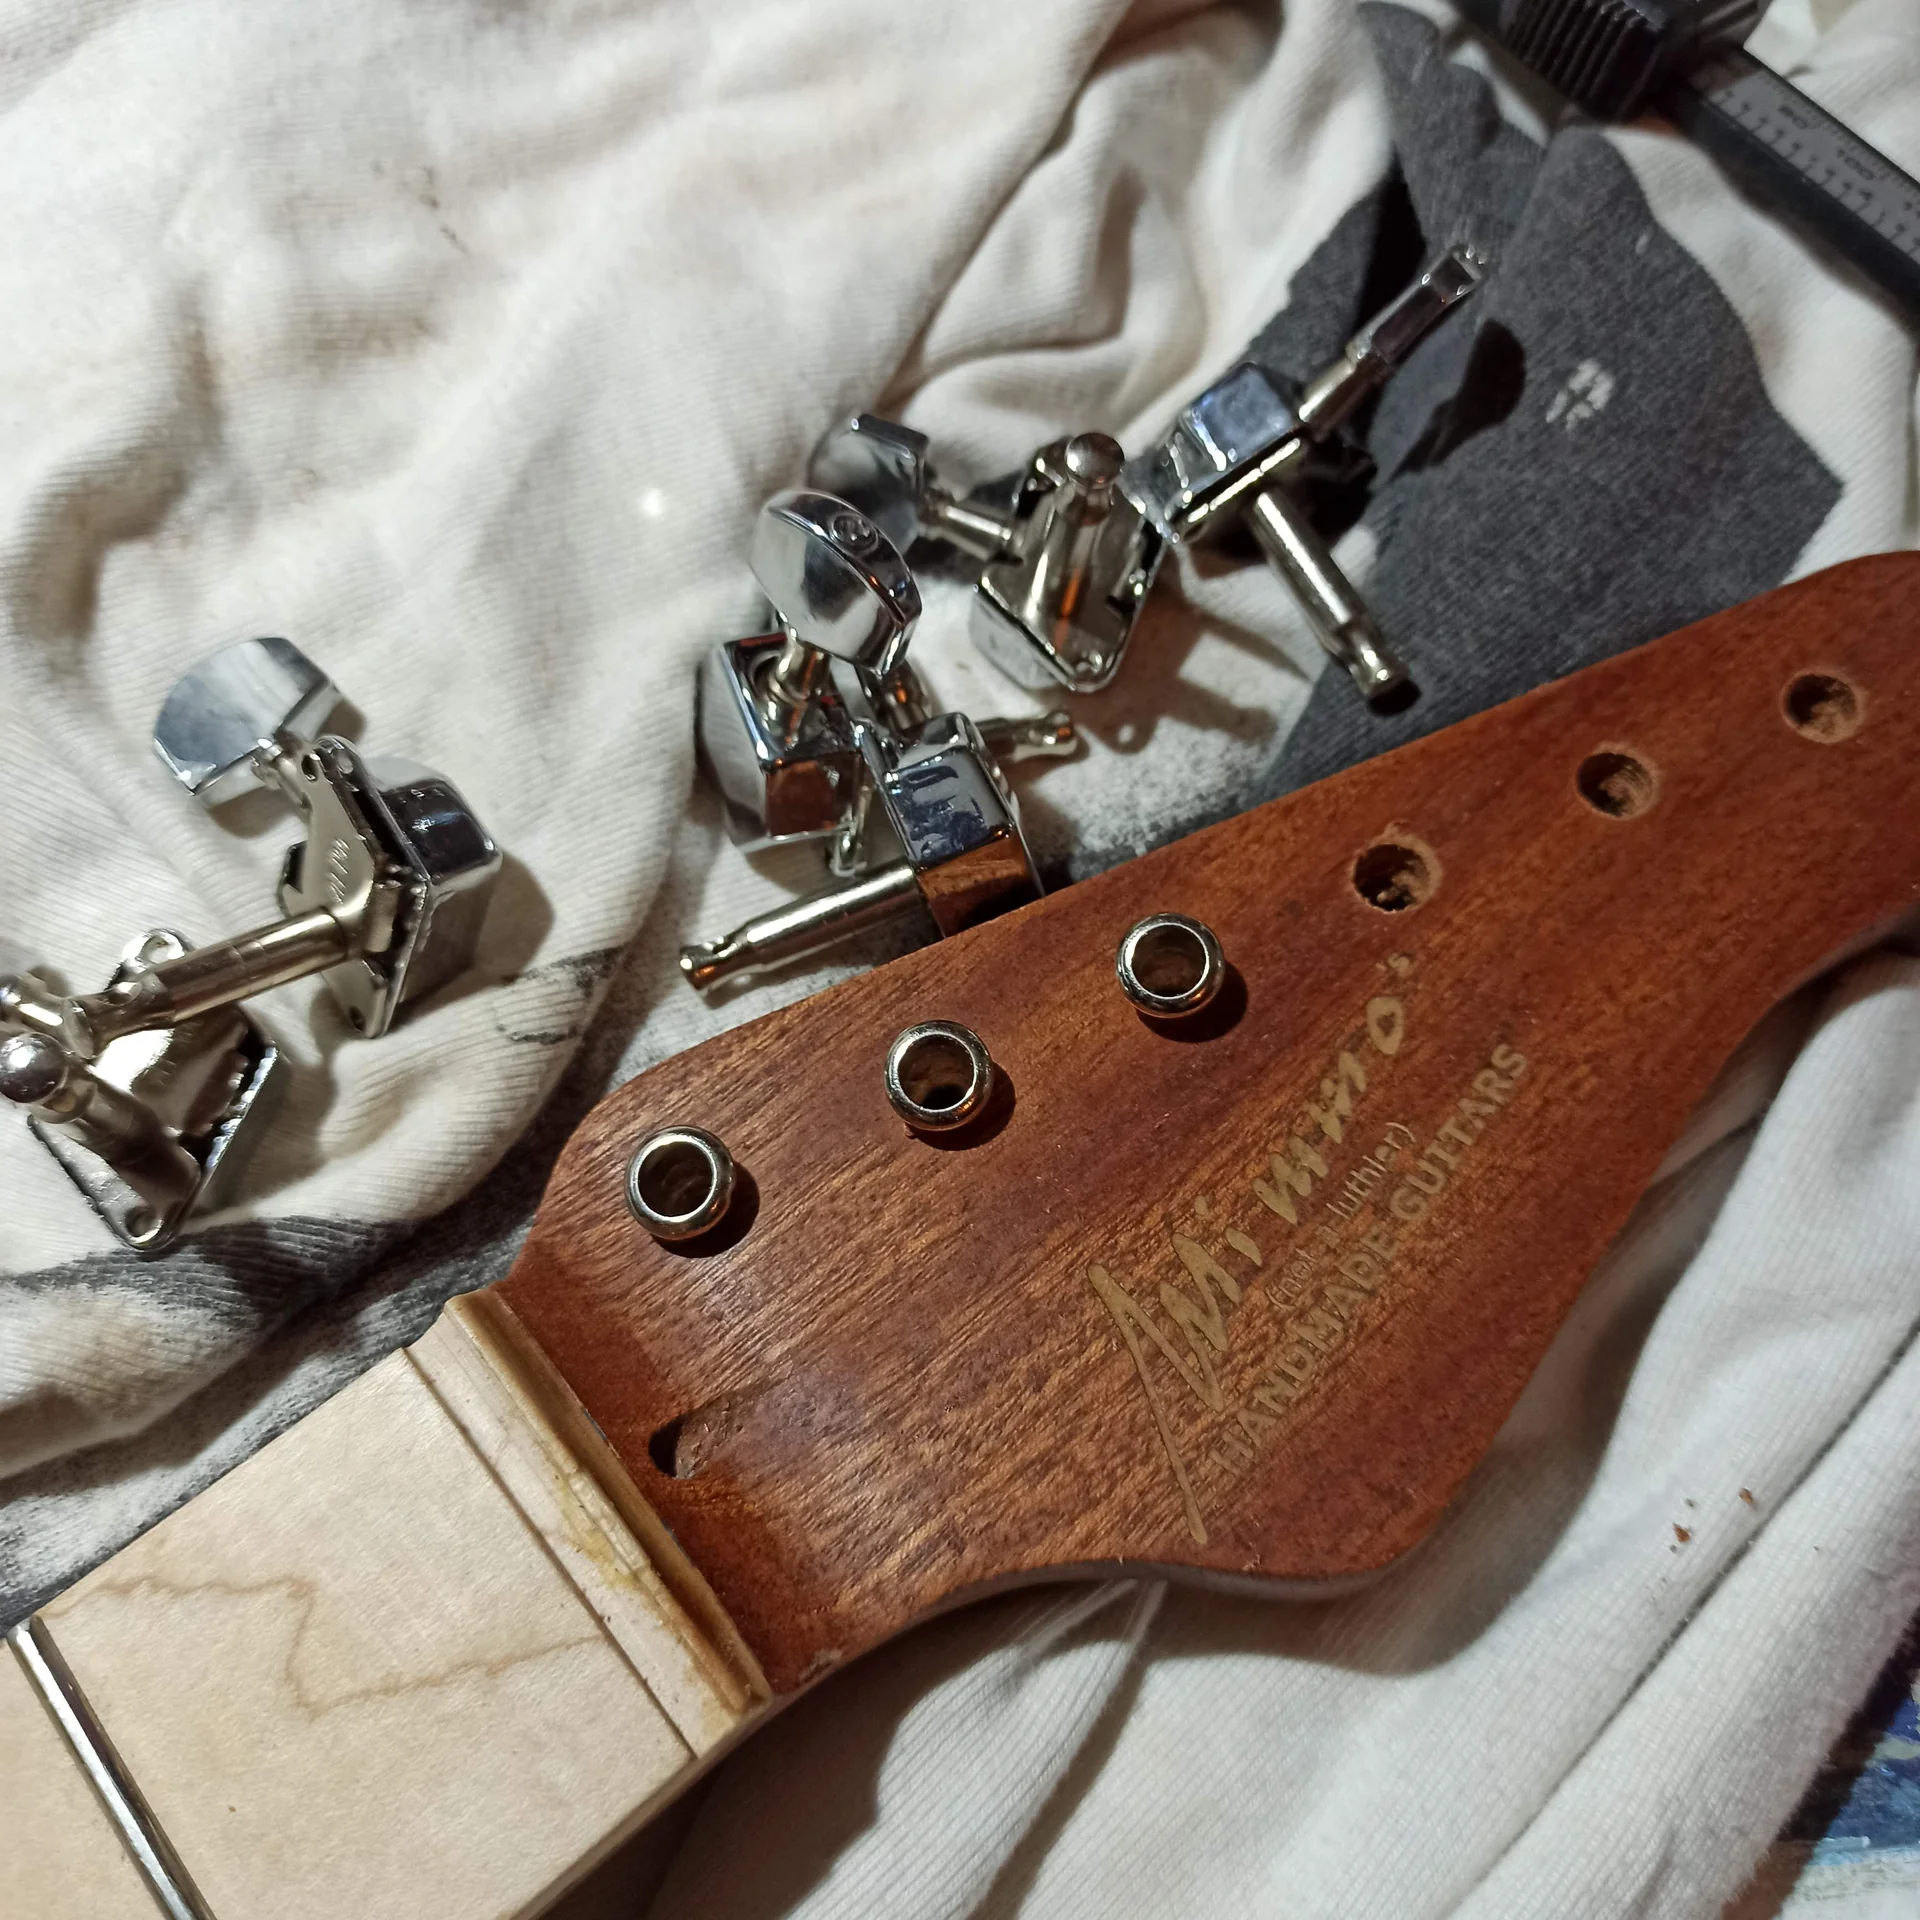
Well, this is the sore point for many. The fear of getting a bad puncture, of buying tuners That don't fit, or worse, that wobble in the existing holes. I totally understand. I ruined a pair of handles precisely because I didn't measure carefully.
The mantra here is: measure three times, buy once.
The diameter of the hole on the headstock (Headstock Boring)
This is the most critical data. The guitar keys They have a shaft that fits into a hole in the headstock. There are two main standard diameters: 1. Vintage style: About 8.5mm or 1/4 inch (about 6.35mm). These are for tuners with a press-fit bushing or a screw hole on the back of the headstock. No. 2. Modern style: About 10mm (often written as 10mm or 13/32 of an inch). These are for tuners with a threaded ring that screws into the front of the headstock. What to do: If you are building a neck from scratch, you can drill the holes to any diameter you like, based on the tuning machines you have chosen.

If you are replacing the tuning machines On an existing handle, you need to precisely measure the diameter of the existing holes. A digital caliper is your best friend here. Common mistake to avoid: Don't assume that the holes are a certain diameter just because the neck is "vintage" or "modern." Measure! If the holes are too large for your new vintage-style tuners, you can use conversion bushings (conversion bushings) that reduce the internal diameter. They're a godsend and have saved me several times.
The pattern of the mounting screws
Many guitar keys Modern ones are secured with a small screw on the back of the headstock. The problem? Every manufacturer has its own pattern! Gotoh, Grover, Schaller, Sperzel… each places the screws in slightly different positions. If you are building: It's not a problem, you'll drill the screw holes after you've placed the tuners.If you are replacing: This can be a mess. If the new set of tuners It has a different screw pattern, so you'll end up with old holes exposed and will have to drill new ones. It's not the end of the world, but it requires precision. You can fill the old holes and repaint, or simply ignore them if they don't bother you. I usually fill and, if possible, touch up the color. A practical tip: they exist tuning machines They attach with a small pin on the underside (like some Gotoh SGS510s or Magnum Locks) that fits into a small hole in the headstock, eliminating the need for rear screws. If you're building from scratch, this is a clean, elegant solution.
Post Length and Diameter
It seems like a minor detail, but it isn't. The spindle is the part you wind the string around. Length: If the nut is too short, the string may not have enough room to wrap, especially thicker strings. If it is too long, the string may wrap too low, creating an excessive angle at the nut. guitar keys They usually have standard shafts, but some brands offer different options.Diameter: This is important for winding the string. A thinner shaft can accommodate more turns, but may be less sturdy.
For Stratocaster-type guitars, some manufacturers (like Gotoh) offer tuning machines with trees of different heights (staggered posts). This means that the tuning machines for the thinner strings (E, B, G) have shorter shafts. This increases the angle of incidence on the nut and often eliminates the string trees, as I was saying before. An excellent solution for improving stability.
The world of self-locking mechanics: a game changer?
Ah, the locking tuners! How much people talk about them. The first time I tried them, on a guitar who had a Floyd Rose, I realized I would never go back, at least for certain instruments. But I'm really a game changer for everyone? Let's see.How self-locking keys work
The concept is simple but ingenious. Instead of wrapping the string around the shaft to lock it, the self-locking mechanisms They have an internal mechanism (often a screw or wheel on the back) that locks the string inside the shaft itself.You thread the rope, lock it, and then tighten it with a few turns. The rope is secure and doesn't slip.
The pros of self-locking mechanisms
Improved tuning stability: Fewer wraps on the headstock mean fewer places for the string to loosen or slip. This is a huge advantage, especially if you use a tremolo (movable bridge).Faster string changes: You no longer have to do dozens of perfect turns. You thread, block, tighten. Done. When you're in a hurry, or on stage, it's a blessing.
Less stress on the strings: Fewer wraps mean less stress on the string, potentially extending its life.
Eliminating string trees: Many locking tuners I am staggered, eliminating the need for string stops, as already mentioned.
The cons (because there's always a "but")
Weight: The guitar keys Locking strings tend to be a bit heavier than their non-locking counterparts due to the additional mechanism. This can slightly upset the balance of some guitars.Cost: They generally cost more. It's no small investment, especially if you're just starting out and have a limited budget.
They don't solve all problems: If yours guitar Remember, the tuners aren't always to blame. Often the real culprit is a poorly cut or worn nut, or a poorly functioning bridge. locking tuners They help, but they don't work miracles if everything else isn't in place.
Are they always needed? My opinion from the garage
It depends. If yours guitar has a fixed bridge (tune-o-matic, hardtail) and you don't use vibrato, good tuning machines Non-locking strings with a high gear ratio and a well-lubricated nut already do a great job. You don't necessarily need to spend more on locking strings.If you have a tremolo (like Floyd Rose, Wilkinson, or even the classic Fender tremolo) or you are someone who abuses the tremolo arm a lot, then the guitar keys self-locking are a must. They'll make a huge difference in tuning stability. For me, on certain guitars, they've become indispensable.
Installation and setup: the details that make the difference
Now that we have chosen our beloved ones guitar keys, Now, let's move on to the practical part: installation. This is where patience and precision pay off. Don't rush.Necessary materials and tools: your survival kit
Before you begin, make sure you have everything you need: Your new ones tuning machines.A digital caliper: essential for measuring.
A column drill (if you are drilling from scratch) or a good hand drill with a wood bit.
Wood drill bits just the right size for the spindle and screw holes.
A reamer (reamer) conical (if you need to slightly enlarge existing holes).
A screwdriver suitable for mounting screws.
A drilling template (drill guide) or a sacrificial block of wood: essential for drilling straight.
A marker or pencil to mark the points.
A ruler or team.
Paper tape (masking tape): to protect the finish and prevent chipping.
The step-by-step process for installation
1. Preparing the palette: If you're working on a new handle, carefully mark the holes. Use a template if you have one, or measure carefully.Apply masking tape to the front and back of the headstock where you will be drilling. This will reduce chipping. 2. Drilling the main holes: If the handle doesn't have any holes, use a drill press (the safest way to drill straight holes) or a hand drill with a drill guide. Drill the holes for the spindles of the guitar keys to the correct diameter (8.5mm or 10mm, depending on your mechanics).
Advice from Mimmo: Always start with a smaller bit for a pilot hole, then widen it with the final bit. And drill from both sides of the blade to avoid chipping when the bit exits. 3. Temporary assembly of the mechanics: Enter the tuning machines into the holes. If they are the threaded ring type, screw the ring in by hand (don't tighten yet!).
Align all the tuning machines so they are straight and parallel to each other. This is important for aesthetics and functionality. 4. Mark and drill the mounting screw holes: With the tuners aligned, use a fine-tip marker to mark the locations of the small set screws on the back of the headstock.
Remove the mechanics.
Using a very thin wood drill bit (usually 1.5mm or 2mm, check the screw!), drill pilot holes for the screws. ATTENTION: Don't drill too deep! Just let the drill penetrate a few millimeters, just enough to guide the screw. A piece of tape on the drill bit can serve as a depth gauge. 5. Final fixing: Reassemble the guitar keys. Screw on the front bezels (if applicable) with a socket wrench, but don't overtighten! Just make sure they're snug; overtightening can damage the finish or wood.
Tighten the small rear screws. Again, do this by hand, without overtightening.
The right tension: don't ruin everything at the end
Once assembled the tuning machines, it's time to put the ropes in. Here, too, there are a couple of tricks: With non-locking mechanics: Insert the string into the hole (or slot) and pull it taut. Then, with your other hand, loosen the string by about 1.5 to 2 string lengths the distance between the nut and the first tuning machine. This will give you enough windings on the spindle. Wind the string from top to bottom, so that the windings overlap neatly and push the string down onto the spindle. Clamp the end of the string under the last winding to secure it.With locking mechanics: Thread the string, pull it taut, and lock it with the mechanism. Then tighten it. One or two turns at most is enough. A common mistake: Overtightening the front rings or rear screws. This can create tension in the wood, ruin the finish, or even prevent the tuners from turning smoothly. A hand-tightening with a little extra torque is more than sufficient.
Another critical aspect is the nut. Often, the blame for poor tuning stability is placed on the guitar keys, when in reality the problem is the nut. If the slots are too tight or not lubricated, the string gets stuck and doesn't slide freely, causing a "ping" effect when tuning and a subsequent detuning. Here's a link to learn more about how modify the guitar to optimize the nut and other components.
Quality and price: how much to spend without getting ripped off
The market of guitar keys It's vast, and prices range from a few euros to over a hundred. How do you navigate your way? My experience tells me there's a "sweet spot" where quality meets a reasonable price.Price ranges and what to expect
Ultra-cheap (less than €20-25): They're often found on Amazon or eBay. They're the ones that make you say, "What a bargain!" The truth is, they're almost always a gamble. Poor materials, imprecise gear ratios, mechanisms that jam or have play. I've had forgettable experiences with these. If you're building your first guitar and just want some assembly experience, fine. But don't expect miracles of stability.Mid-range (€25-60): This is where the thinking begins. Brands like Wilkinson, some entry-level Gotoh or Kluson series, or good-quality white label brands. They offer a good compromise between price and performance. The gear ratio is decent (14:1 or 16:1), the materials are better, and the durability is acceptable. For many DIY projects, this is the ideal range.
High-end (€60 and up): Here we enter the realm of tuning machines Professional. Gotoh (510 series, Magnum Lock), Grover, Schaller, Sperzel. Excellent materials, high gear ratios (18:1, 21:1), precise and reliable mechanisms, often with locking options and staggered spindles. They are an investment, but they pay off in terms of stability, durability, and feel.
Brands I recommend (and ones to stay away from)
Over the years, I've tried a little bit of everything. Here's what I've learned: Gotoh: They're my workhorse. They offer a wide range, from mid-range to high-end, with excellent build quality and an almost unbeatable price-performance ratio. The 510 series are fantastic. Their locking tuners they are among the best.Grover: An American classic. Reliable, sturdy, with an iconic look. Excellent for those seeking a more "vintage" sound but with modern reliability.
Schaller: German quality, without compromise. Precise, durable, but also more expensive.
Kluson: Perfect for vintage replicas. Their mechanics are faithful to the original, but sometimes less precise than their modern counterparts. If you're looking for authenticity, they're the right choice.
Wilkinson: They're often found on budget guitars, but their quality is surprisingly good for the price. A great budget-friendly option.
Sperzel: Much loved for their locking tuners Light and precise. An excellent alternative to Gotoh for the high-end segment. To stay away from: Avoid the guitar keys Off-brand, with questionable reviews and low prices. They're often a waste of money. A set of poor-quality tuners can ruin even the finest guitar.
How much to spend? Do the math with your build.
My rule of thumb is this: the cost of the tuning machines It should be proportionate to the overall value of your guitar. If you're building a guitar with a cheap body and a cheap neck, it doesn't make sense to spend €150 on tuners. A good set for €30-50 will do just fine.If you are using premium tonewoods, a quality pickup and have invested time and effort into high-end construction, then don't skimp on the guitar keys. A set of Gotoh 510s or Schallers will make a difference and enhance your work.
Remember, tuning stability is one of the most important aspects of a guitar. This is no time to be stingy. A good set of tuning machines will pay you back with years of stable tunings and less frustration.
Final thoughts: don't be afraid to make mistakes
Here we are at the end of this long chat about guitar keys. I hope I've clarified things a bit and given you the tools to make an informed choice.The most important thing I've learned in years of garage work is that making mistakes is part of the game. I've drilled crooked holes, bought incompatible parts, broken screws. But every time I've learned something. Don't let the fear of making mistakes hold you back.
Measure carefully, do your research, and if you have any doubts, ask. There are online communities (like Reddit, where I learned a lot) full of people willing to help.
The satisfaction of building an instrument that sounds good, stays in tune and is yours*, it's priceless. Go there, choose yours guitar keys, assemble them, and enjoy the process. And if it doesn't turn out perfect the first time, don't worry. It'll be better next time.
For more information on the technical specifications of some mechanical models, you can take a look at the dedicated page of a reliable manufacturer like Gotoh: Gotoh SG510 Series. This will give you a concrete idea of how the specifications we've discussed are presented.
Good work and good music!
See also
Download the Luthier Survival Kit
Free PDF with checklist, problem-cause table and project card template.
 English
  Italiano
Stuck on your build?
If you ran into the same problem or have a question, drop it in the comments. I read and reply to every one.
Write a comment