


Guitar Neck Construction: 5 Mistakes to Avoid
Making a guitar neck electric From scratch, I know, it can seem like a mountain to climb. When I started, the first thing that held me back was the fear of throwing away hours of work and a beautiful piece of wood, perhaps even an expensive one. Who among us hasn't watched those YouTube videos of professional luthiers, with their CNC machines and hands that seem to sculpt wood with magic, and thought: "But how can I do it in my garage with a Dremel and my dad's circular saw?"“Well, the truth is, it can be done. It won't be as perfect as a Custom Shop neck, at least not on the first try, but it will be. your. And I assure you, the satisfaction of playing a guitar with a neck you made yourself is priceless. I've been there, I've made mistakes, I've redone them, I've cursed, and in the end, I've learned. And today I want to share with you some of the most common mistakes I've made (and seen others make) in construction of an electric guitar neck, and above all, how to avoid them.n You don't need to be an experienced carpenter or have a workshop worth thousands of euros. You need patience, attention, and the desire to learn from your mistakes. This is the DIY mantra, isn't it?nn
1. Wood Is Not Just Wood: Underestimating Preparation
nn nnnnnn
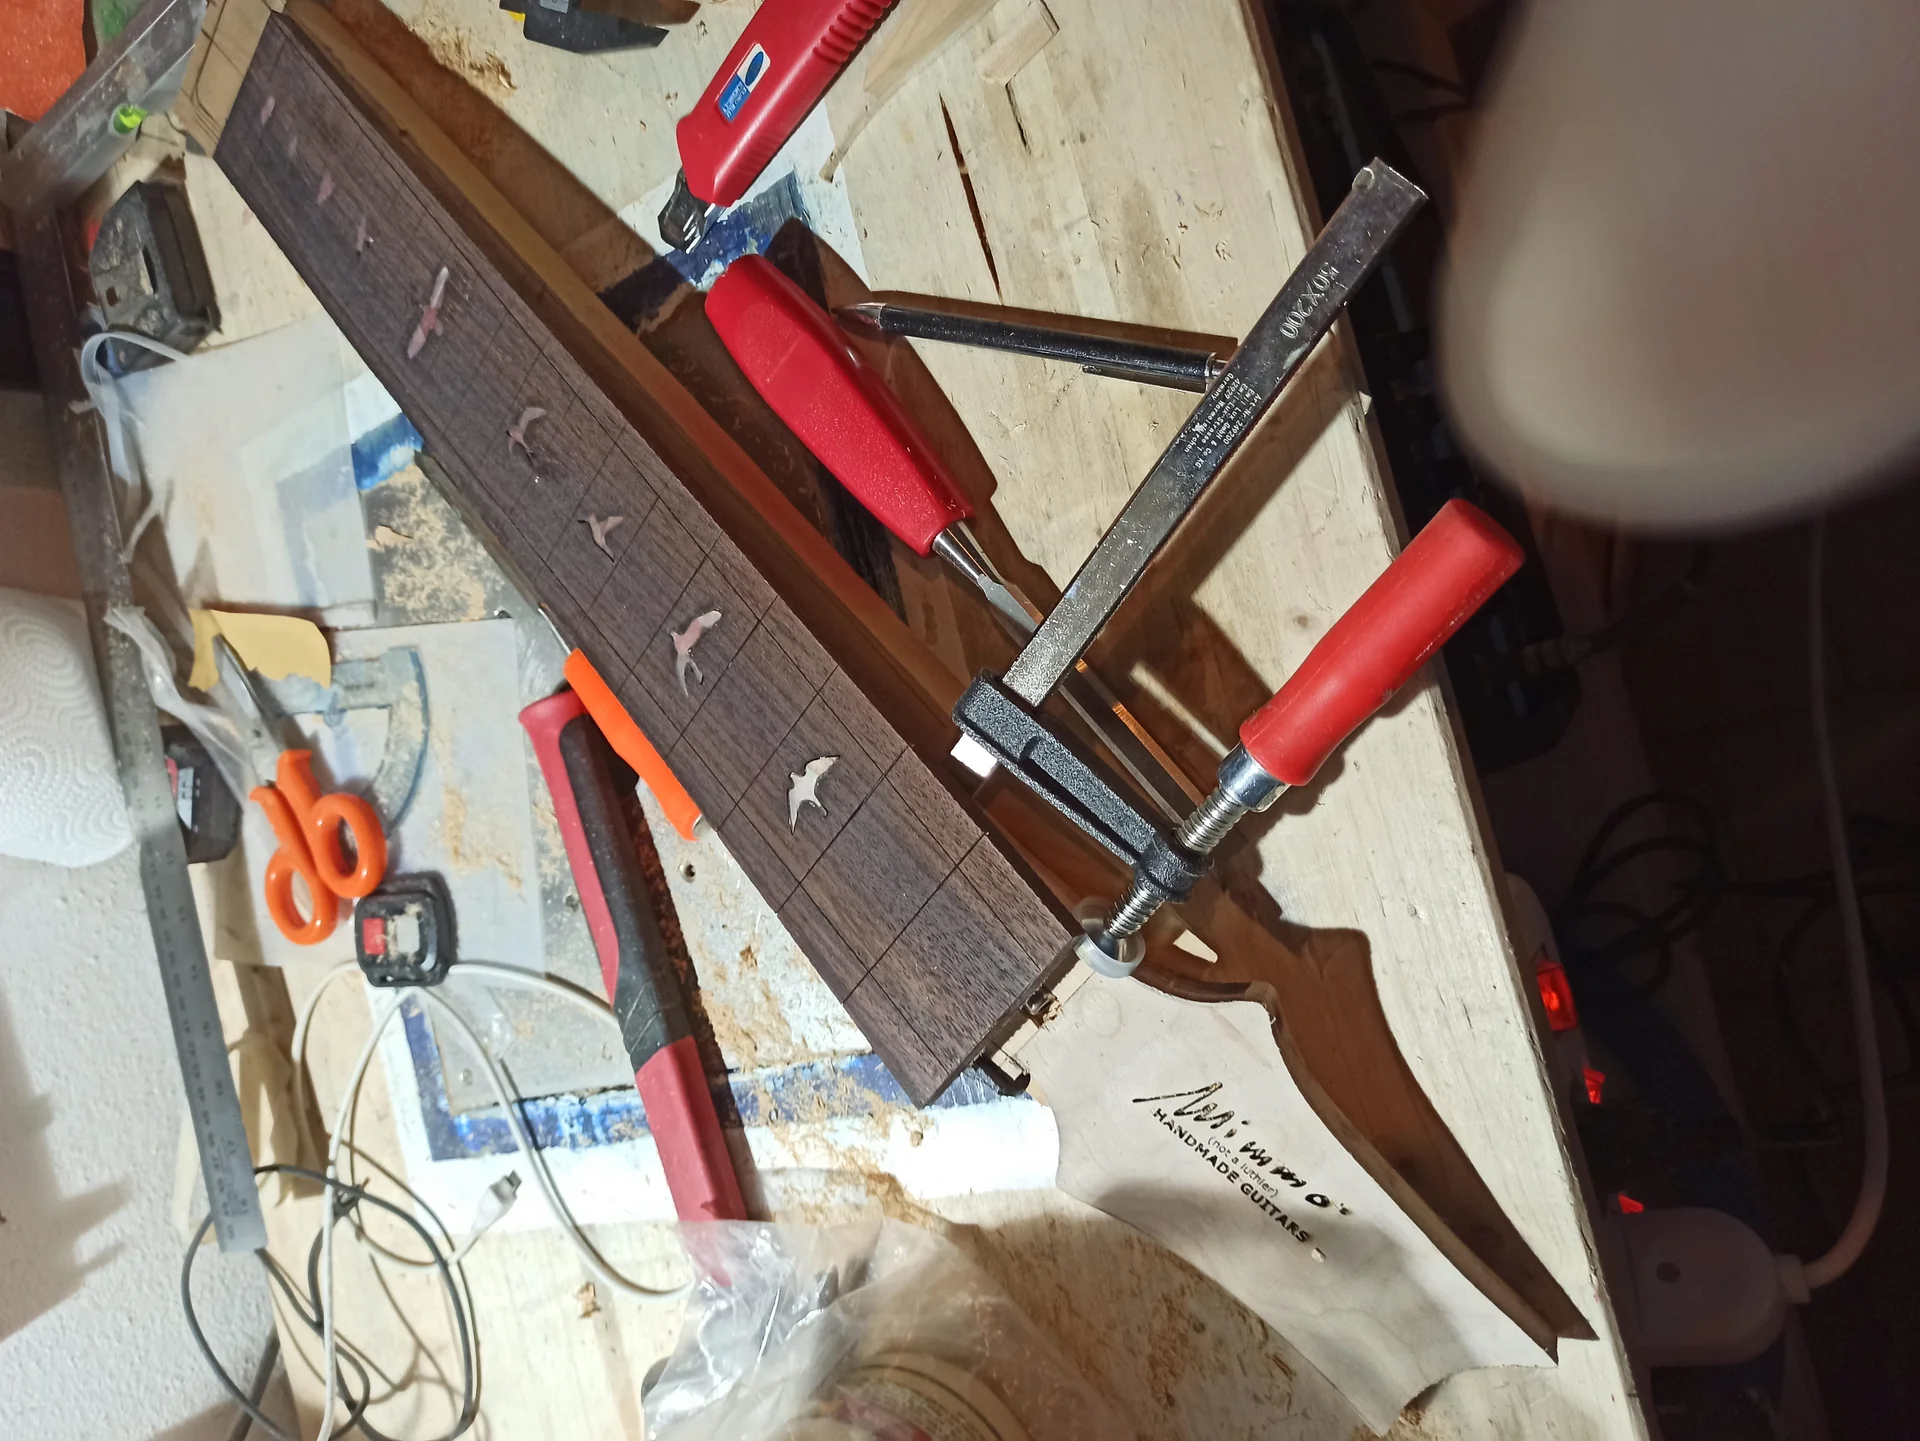
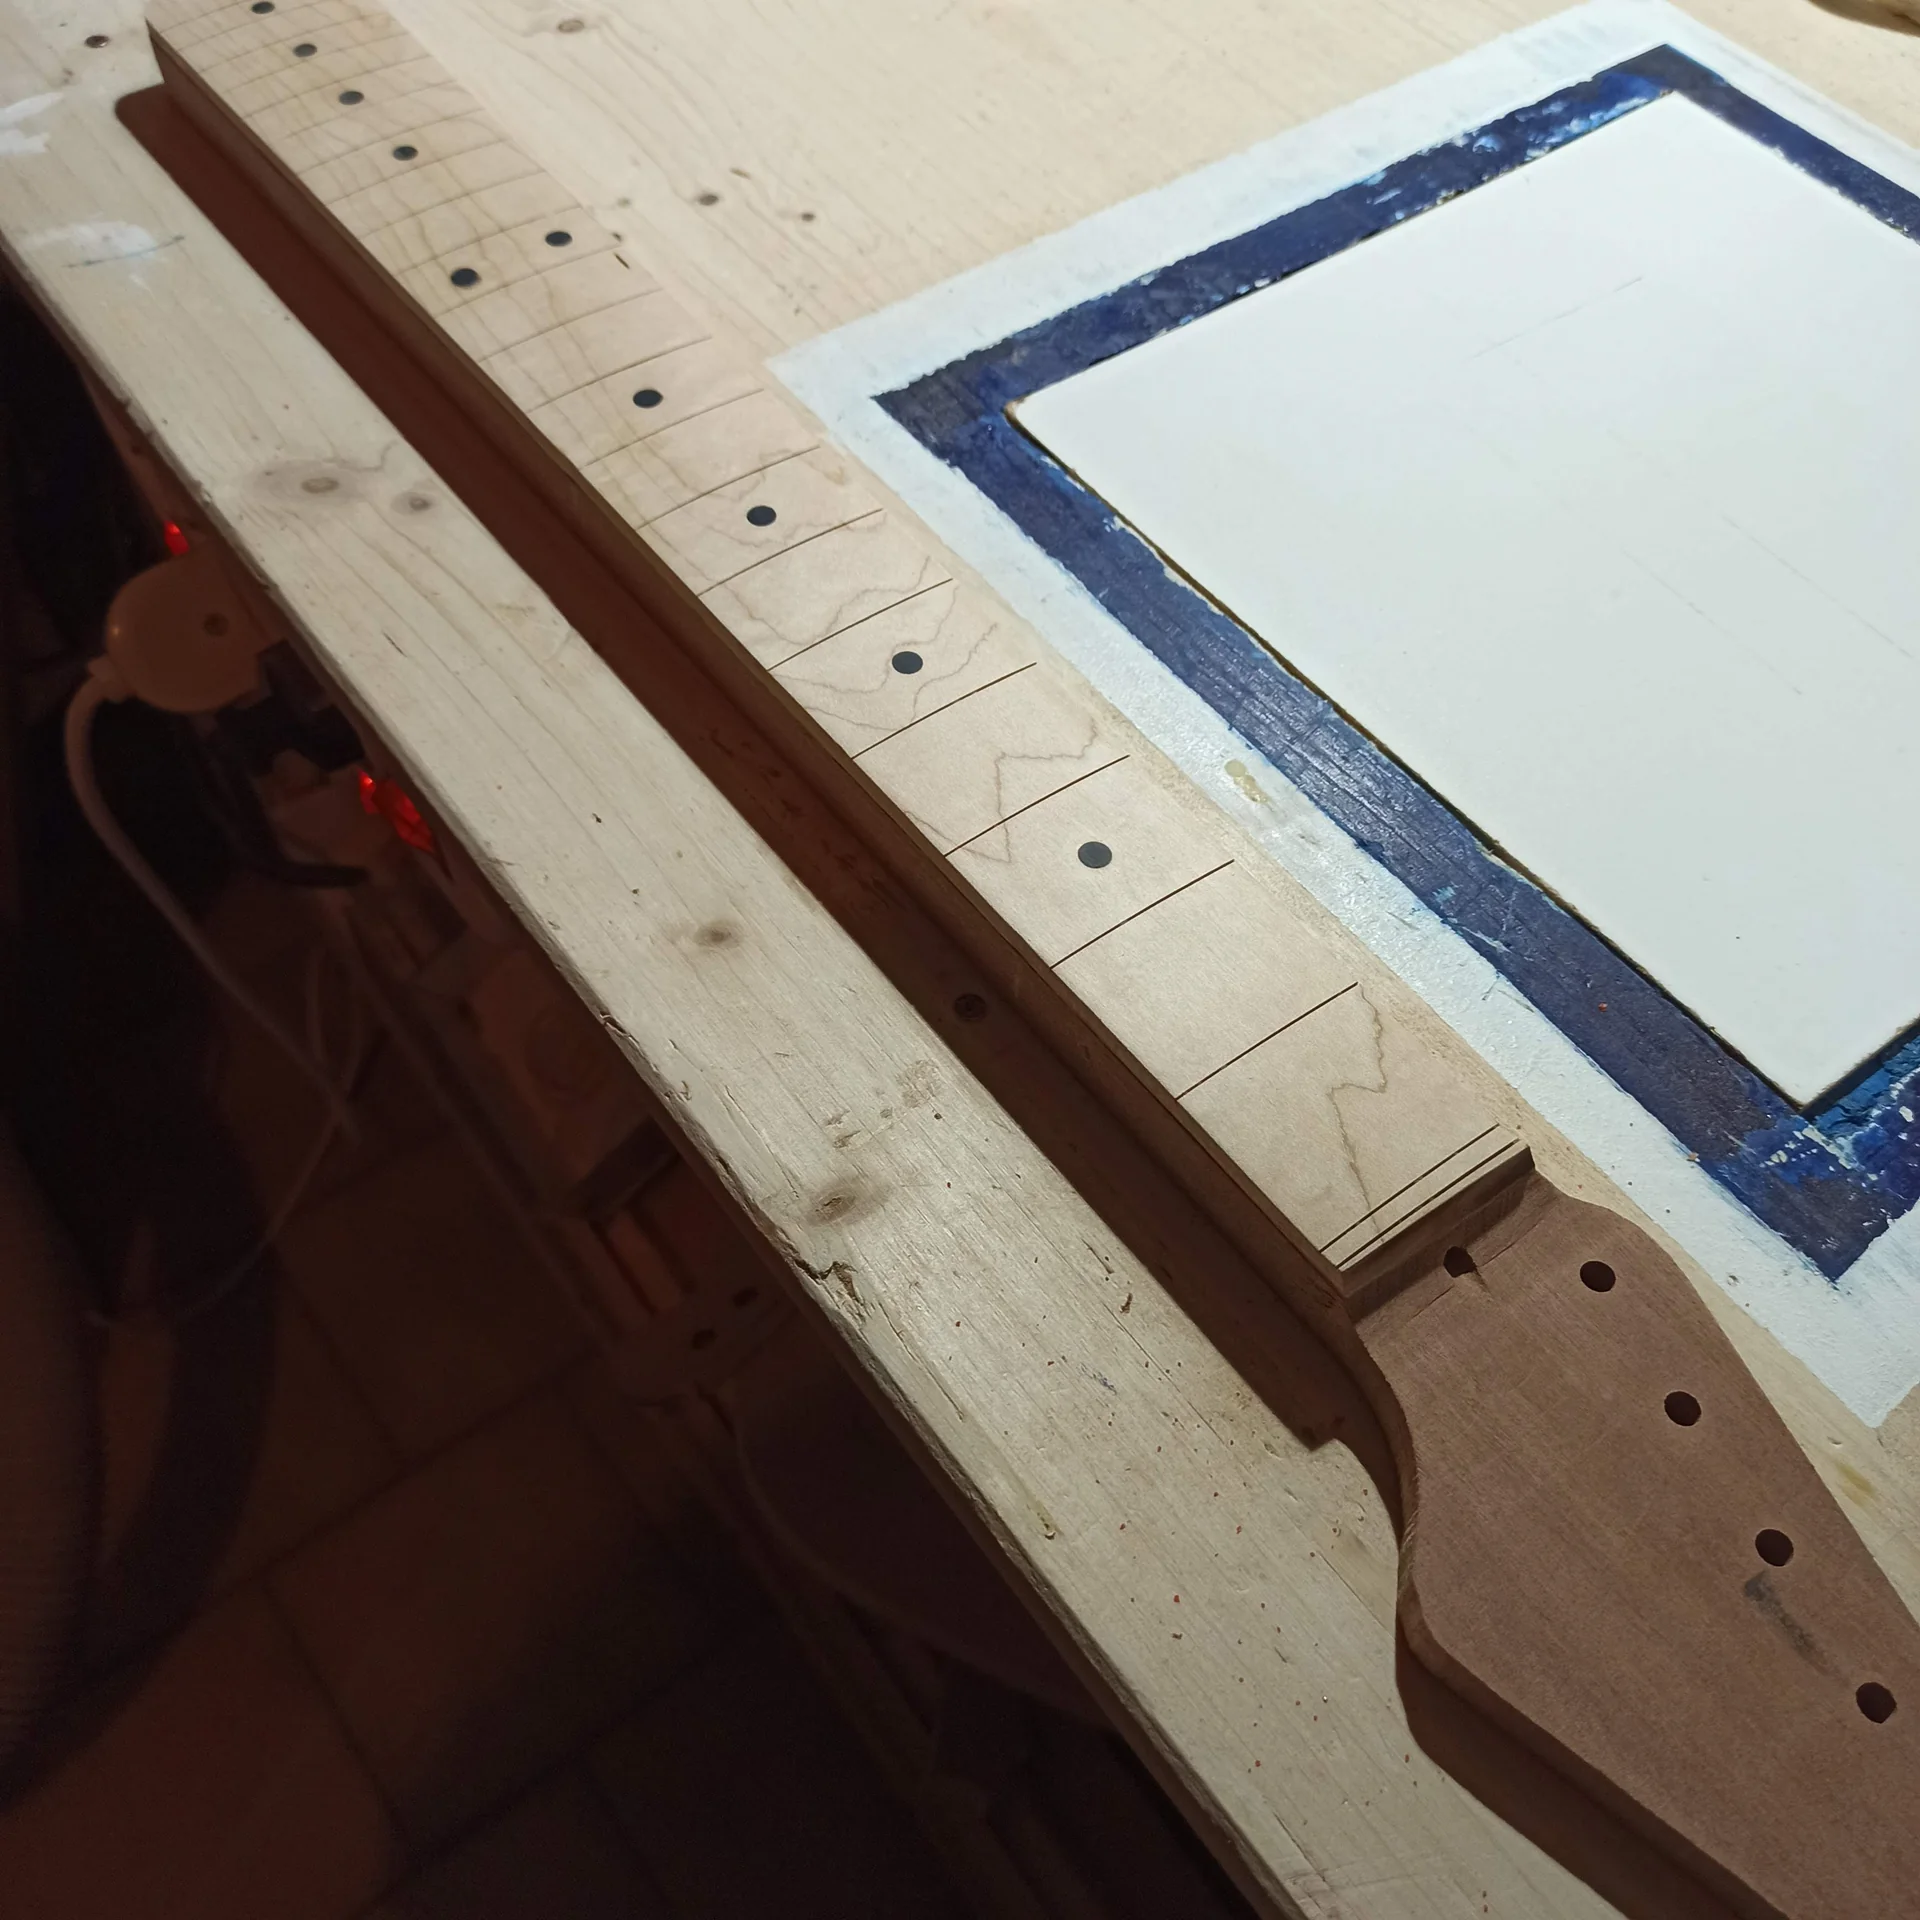
The first, and perhaps most subtle, mistake you can make when you start the manufacturing the handle is to think that “wood is wood”. It's not like that. Wood is a living material that breathes, moves, and deforms. And if you don't treat it with the respect it deserves, it will come back to haunt you with interest.nn
The mistake: Not considering humidity and seasoning
nnnn
nHas it ever happened to you to finish a neck, assemble everything, and after a few weeks see it warp like a banana? It happened to me. The first time I tried to make a neck for a custom Telecaster, I took a piece of maple I had in the garage, straight to the eye, and just went for it. The result? After a month, the neck had a twist that made the fretboard look like a ski slope.The problem was humidity and seasoning. The wood was not “dry” enough or, even worse, had not been seasoned correctly. When wood loses or gains moisture, its dimensions change. And a neck that moves is a nightmare for action and tuning.nn
Why is it a problem? Dimensional stability
A guitar neck must be incredibly stable. It is subjected to constant tension from the strings (we're talking tens of kilos!) and to variations in temperature and humidity. If the wood is not stable, no truss rod will hold it. The playability of your guitar will be compromised forever.nnHow to avoid it: Choose and prepare wood carefully
The first step to the creating a handle The choice of material is solid and long-lasting. Don't skimp here.Look for “quarter-sawn” (radial cut) or “rift-sawn” (oblique cut) wood if possible. These cuts offer greater stability compared to “flat-sawn” (tangential cut), where the grain is parallel to the wide face of the wood, making it more prone to movement.nn Check the humidity: If you buy from a specialized supplier of lutherie wood, the wood is usually already seasoned and has the right moisture content (around 6-8%). If you're using generic wood, get a wood hygrometer. Leave the piece in the garage for a few weeks, checking to see if the humidity stabilizes. It may seem like a waste of time, but I assure you it will save you from future problems.
Select the grain: Observe the grain. For the handle, we want the grain to be as straight and parallel as possible along the entire length. Avoid knots, broken grain, or irregular grain. The strength and stability of the handle depend on this.
Generous dimensions: Always buy a piece of wood slightly larger than you need. This will allow you to "clean up" the faces and edges, eliminating any small surface deformations and arriving at a perfectly square block before starting to trace the shape. A good starting point for the thickness is at least 22-25mm for the neck section, plus the thickness for the fingerboard if you are gluing it separately.
Remember, a good start is half the battle. Take your time for this phase. Don't rush to cut.nn
2. Crooked Shapes: Inaccuracy in Cutting the Shape and the Paddle
Advertising

Cradle Cube Guitar Neck Rest & Support for Guitars (MN206) | Five Neck-Rest Angles Support Acoustic, Electric and Bass Guitars During Setup, Repair and String Changes.
See on Amazon

The Mistake: Not Using Templates or Using Them Wrong
The first time I tried to cut the outline of a neck, I drew freehand. Yes, I know, a rookie mistake. The result was a neck that looked more like an abstract work of art than a piece of luthiery. The headstock was crooked, the heel was asymmetrical, and the entire piece was slightly curved.Even when I started using templates, at first I wasn't precise enough. I fixed them with adhesive tape that moved, or I cut too close to the line without leaving a margin for milling.nn
Why is this a problem? Ergonomics and functionality
An asymmetrical neck is not just ugly to look at. It's uncomfortable to play. If the heel is not well squared and straight, it won't couple correctly with the body pocket, causing string alignment and intonation problems. A crooked or asymmetrical headstock can affect string tension and tuning stability, besides being an eyesore.nnHow to avoid it: Precision and quality templates
The key here is precision. You cannot improvise.nn Reference template: Get (or make) precise templates for the neck and headstock shapes. You can find them online, print them, and glue them onto 6mm MDF or 9mm plywood, then trim them with a router. These will be your "master" templates. Make sure they're perfect, as any imperfections will be transferred to your neck.Secure fixing: When using the template to rout the final shape of the neck, secure it to the piece of wood with strong double-sided tape or, even better, with screws in places that will later be removed (for example, the heel portion that will go into the body pocket, or the headstock area that will later be trimmed). It should not move even a millimeter.
Preliminary cutting: Before using the copy cutter, cut the rough shape of the handle with a band saw or jigsaw, leaving a safety margin of about 2-3 mm from the template. This will reduce stress on the cutter and give you a cleaner cut.
Copy milling: Use a bearing-type copy router. Use light passes, especially if the wood is hard. Don't try to remove too much material in one pass. If you have a benchtop router, that's ideal. Otherwise, with a good handheld router and a little practice, you can achieve excellent results. Pay attention to the direction of the router to avoid chipping (usually counterclockwise for the outside of the piece).
A trick I learned: if your template is well made, before milling the final neck, do a test on a scrap piece. It will give you confidence and allow you to understand any problems with the router or the clamping.nn
3. The Hidden Heart: Excavation of the Rough Truss Rod Seat
The truss rod is the soul of your neck. It's what allows you to adjust the neck's curvature and maintain the right action. Don't mess with it. The biggest mistake in handle construction is to treat the truss rod cavity as a minor detail.nnThe error: Wrong or poorly positioned seat
I still remember my first attempt at installing a truss rod. I didn't have a router, so I tried with a Dremel and a makeshift guide. The result? An uneven groove, too deep in some places and too narrow in others. The truss rod didn't fit properly, and when I tried to adjust it, I could hear a strange clicking sound.Another classic mistake is not considering the correct depth or the type of truss rod. Some are single-action, others double-action. They have different routing requirements. And don't forget the space for adjustment access!nn
Why is this a problem? Regulation and structural integrity
If the truss rod slot is wrong, the truss rod will not function correctly. You won't be able to adjust the neck's curvature, and your guitar will be unplayable. Furthermore, a cavity that is too deep or too wide can structurally weaken the neck, making it more prone to twists or breaks. A truss rod that “wobbles” in its slot can also cause unwanted resonances.nnHow to avoid it: Measure, plan, and mill precisely.
This phase requires maximum attention.nn Know your truss rod: Before making any cuts, purchase your truss rod. Measure it accurately: overall length, body width and height, and adjustment nut size. Dual-action truss rods (like modern ones) require a deeper and wider groove than vintage single-action truss rods.Plan your excavation: Decide whether the adjustment will be at the headstock or the heel. Most modern dual-action truss rods adjust at the headstock. If so, you'll need to mill a slot that ends in a "slot" for the adjustment nut, accessible after installing the fretboard.
Use a milling machine: A router is almost essential here. You can use a straight cutter of the correct diameter (usually 6-7mm wide, depth varies).
Guide and depth: Clamp a straight guide to your piece of wood to ensure the groove is perfectly straight. Set the depth of the router bit very precisely. Make several light passes, gradually increasing the depth. Measure often. For a double-action truss rod, the typical depth is about 9-10mm.
Nut housing: If the adjustment is at the headstock, you'll need to create a small, deeper and wider recess at the end of the groove to accommodate the adjustment nut and hex key. This can be done with a larger cutter or a sharp chisel, but be careful.
A piece of advice I feel I should give you: if you don't feel confident, do a test on a scrap piece of the same thickness as the neck. It's better to ruin a piece of wood worth a few euros than your precious maple neck. And don't forget to clean the groove thoroughly of dust before inserting the truss rod. Sometimes, a bit of glue and sawdust (or epoxy) can help to lightly secure it, but it shouldn't be forced.nn
4. The Playing Hand: Profiling the Neck and Fingerboard Without a Method
We have the shape, we have the truss rod. Now comes the part that, for me, is the most "artistic" and personal in the production of a handle: the profiling. This is where the neck comes to life under your hands. But it's also a point where gross errors can be made.nnThe error: Uncomfortable profile and irregular keyboard
I remember when I profiled my first handle. I had no idea what I was doing. I started scraping with a rasp and a hand plane, trying to give it a more or less comfortable shape. The result was a handle that was too thick in some places, too thin in others, with sharp edges and a general feeling of unfinishedness. It looked like a brick.And then the fretboard… ah, the fretboard! I hadn't leveled it well before routing the fret slots, and the radius was irregular. The frets didn't sit properly, there were dead spots everywhere. A disaster.nn
Why is it a problem? Playability and intonation
The neck profile is fundamental for playability. A neck that is too thick tires the hand, one that is too thin can be fragile. It must be comfortable, smooth, and uniform. The fretboard, then, is the playground for your fingers. If it's irregular, the frets won't be aligned, intonation will be a problem, and you'll have annoying “fret buzz” (string slapping) or notes that don't sound at all.nnHow to avoid it: Studying the profiles, the right tools and Zen patience
This is the phase where patience is golden.nn Choose a profile: Before you begin, decide what profile you want to give your neck. The most common profiles are C, D, V, and U. You can measure the profile of a guitar you like and try to replicate it. There are also templates for profiles. I personally have a modified guitar which I use as a reference for testing profiles.Keyboard flattening: If the fingerboard is a separate piece, flatten it Before to glue it to the handle and Before Mill the fret slots. Use a sharpened hand plane or an orbital sander with a long, flat block of wood. Then, create the radius. You can use sanding blocks with the desired radius (7.25", 9.5", 10", 12", 14", 16"). Slide the block over the fretboard with sandpaper, checking the profile with a radius gauge.
Precise Fret Slots: The fret slots (the grooves for the frets) must be perfect. Use a specialized fret slot saw with the appropriate blade thickness for the frets you will be using. Attach a guide to ensure they are parallel and the correct distance apart. There are precise charts for fret spacing (25.5" scale for Fender, 24.75" for Gibson, etc.). The depth should be uniform, deep enough to seat the frets snugly but not so deep as to weaken the fingerboard.
Handle profiling:
1. Initial cut: After gluing the fingerboard and cutting the fret slots, use a band saw to cut the corners of the neck, approximating the desired profile. Always leave a little margin.
2. Scraping and smoothing: Start with a wood rasp to remove excess material, following the profile you have in mind. Then move on to finer files and finally to progressively finer sandpaper (from 80 to 220 grit).
3. Constant monitoring: Touch the handle and feel how it fits your hand. Turn the handle over and over, looking at it from every angle. Use a caliper and a template to check the thickness at various points. Symmetry is key.
4. The “feeling”: This is the most subjective part. You have to feel that the neck is "right." I often stop, pick up the neck, hold it, and play a few chords. If there's a point I'm not satisfied with, I work on it further.
Remember, it's not a race. You can take days to profile a neck. Every layer of wood you remove is forever. It's better to remove a little at a time than to end up with a neck that is too thin and fragile.nn
5. Haste is a Bad Advisor: Rushed Gluing and Finishing
You're almost at the end. The neck has the right shape, the fretboard is radiused, the fret slots are ready. Now you need to glue the fretboard (if separate) and apply the finish. These are the moments when, after so much effort, the temptation to speed things up is strong. And predictably, mistakes are made.nnThe mistake: Weak bonds and surface finishes
I glued the fretboard on my second neck using too little glue, and I didn't tighten the clamps enough. Moral of the story: after a few months, the fretboard started lifting in some places. A nightmare.And then the finish. The first time I used an acrylic spray paint from a hardware store, without sanding well between coats, and without applying a primer. The result was a sticky neck, with peeling paint and a decidedly amateurish look.nn
Why is this a problem? Durability, aesthetics, and playability.
A defective gluing compromises the structural integrity of the neck. It can lead to dead spots, intonation problems and, in the worst case, to the detachment of the fretboard. A poorly done finish is not only ugly to look at, but can affect the smoothness of the hand on the neck (a sticky neck is horrible) and will not protect the wood from humidity and wear.nnHow to avoid it: Glue, clamps and patience for the finishing
Here we proceed with method and attention to detail.nn Gluing the keyboard (if applicable):1. Prepare the surfaces: Make sure the surfaces to be glued (neck and fingerboard) are perfectly clean, flat and free of dust or residue.
2. Glue: Use a good-quality wood glue, such as Titebond Original or Titebond III (the latter is more waterproof, making it ideal for handles). Apply an even coat to both surfaces. Don't overdo it, but make sure it's completely covered.
3. Clamps: This is crucial. You'll need a lot of clamps. Place them evenly spaced (every 5-7 cm) along the entire length of the neck, both above and below. Use wooden blocks between the clamps and the fingerboard/neck to distribute the pressure evenly and protect the wood.
4. Alignment: Before tightening completely, check the alignment of the fretboard with the neck. Once the clamps are tight, it will be difficult to move.
5. Drying time: Strictly adhere to the drying times indicated by the glue manufacturer. Usually, at least 24 hours before removing the clamps and starting to work on the piece. Resist the temptation to remove them sooner!nn Handle finish:
1. Progressive sanding: Before applying any finish, the handle should be silky smooth. Sand with increasingly finer grits, starting with 220, then 320, 400, and even 600 or 800 if you want a truly smooth surface. Wipe away dust between each grit.
2. Choice of finish: There are many options.
Oil: Oil finishes (like tung oil, Danish oil, or specific guitar neck products) are fantastic. They penetrate the wood, offering a natural feel and good protection. They're easy to apply and repair. They require multiple coats and drying time between coats.
Lacquer (nitrocellulose): The quintessential "vintage" finish. It offers excellent protection and a beautiful feel, but is more complex to apply (requiring multiple coats, sanding between coats, and long drying times) and is toxic.
Polyurethane: A modern finish, very resistant and durable. This one also requires multiple coats and sanding.
3. Application: Whatever finish you choose, apply it in thin coats. Many thin coats are better than a few thick ones. Between coats, lightly sand with very fine sandpaper (e.g., 600-800 grit) to even out the surface and improve adhesion for the next coat. Thoroughly clean off any dust.
4. Drying care: Again, respect the drying times. Some finishes require weeks to fully cure. Don't assemble the guitar until the finish is fully cured.
A little trick for oil finishing: after the first coat, let it dry, then sand lightly. The wood fibers will rise. The second coat will “block” them and subsequent coats will make the surface smoother and smoother. It's a slow process, but the result is wonderful.nn
Beyond Error: The Value of Experience and Patience
At this point, you will have understood that the construction of an electric guitar neck it's a process that requires method, precision and, above all, a lot of patience. It's not something you do in an afternoon, especially the first few times.nnDon't be afraid to make mistakes (and to do them again)
I hung my first neck, the one from the "banana" Telecaster, on the garage wall as a reminder. The second, with the crooked headstock, I used to experiment with finishes. Every mistake was a lesson I wouldn't have learned by reading a thousand guides. I've seen kids on Reddit get discouraged after their first failed attempt, but that's the beauty of DIY: you don't have to be perfect right away.What matters is learning to identify the problem, understand its cause, and find a solution. Maybe your first neck won't be your masterpiece, but it will be the foundation for the next one. And the one after that.nn
Checklist for your DIY handle:
nn Wood: Stable, seasoned, straight grain, generous size.Template: Precise, well fixed.
Cut: Preliminary with saw, finishing with copying cutter.
Truss Rod: Selected first, precisely milled groove, correct depth and width.
Keyboard: Precisely ground, radiused and fret slotted before gluing.
Profiling: Slow, gradual, with constant checks.
Gluing: Quality glue, uniform pressure with many clamps, drying times respected.
* Finish: Progressive sanding, thin coats, long drying times.
An excellent resource for delving deeper into the concepts of wood stability and different types of cuts is the LMI (Luthier’s Mercantile International) website, one of the most authoritative sources for luthier woods and tools: [https://www.lmii.com/](https://www.lmii.com/). They also have very detailed guides on how to choose and treat wood.nn
The finishing touch: Tuning and setup
Once the neck is finished, glued to the body and assembled with the tuners and nut, it's not over yet. You'll need to do a good setup. Adjust the action, intonation, pickup height. These are all crucial steps that will transform your piece of wood into a playable instrument. And trust me, every time you adjust a truss rod you installed yourself, or lower the action on a fretboard you radiused yourself, the satisfaction is double.nnConclusions: The Neck, the Heart of Your DIY Guitar
There construction of a guitar neck It's probably the most complex and rewarding part of the entire DIY lutherie process. It's the heart of the instrument, largely determining its feel and playability.Avoiding these five common mistakes won't guarantee first-time perfection, but it will put you on the right path. It will save you time, money, and, most importantly, a lot of frustration. Always remember that DIY is a journey, not a destination. Every guitar you build or modify is an opportunity to learn something new.
So, get out your tools, choose your wood, and don't be afraid to get started. If I could do it in my garage, despite all the mistakes I made, you can do it too. And when you hold your finished neck in your hands, you'll feel that special connection with the instrument that only someone who has created something with their own hands can understand.
Good work and good music!nn
nnnn
See also
nnDownload the Luthier Survival Kit
Free PDF with checklist, problem-cause table and project card template.
 English
  Italiano
Stuck on your build?
If you ran into the same problem or have a question, drop it in the comments. I read and reply to every one.
Write a comment