


Building Martin Koch Electric Guitars: 5 Key Steps
When I decided to tackle the building a guitar electric Martin Koch, I remember thinking, “Okay, the plans are so detailed, I can’t make any mistakes.” Then I started. And I made a mistake. I did it again. I discovered that even with the best plans in the world, the difference is always made by the neck (and not just the guitar neck, I mean your experience).Martin Koch is something of a legend among DIY luthiers. His projects are a bible, full of dimensions and details. But they're also a mountain to climb, especially if it's your first time tackling such an ambitious project. If I could do it, with my garage as a workshop and a pizza-and-beer budget, you can do it too. The important thing is to take your time and accept that some mistakes will be made. It's part of the game.
Here I'll explain the five crucial steps, the ones where there's the most risk and where a little cleverness or a piece of advice given at the right time can save you from hours of wasted work. Let's talk about how to approach the production of electrical instruments on Koch planes without going crazy.nn
1. Wood, supplies and the first cut: don't underestimate preparation
nn nnnnnn
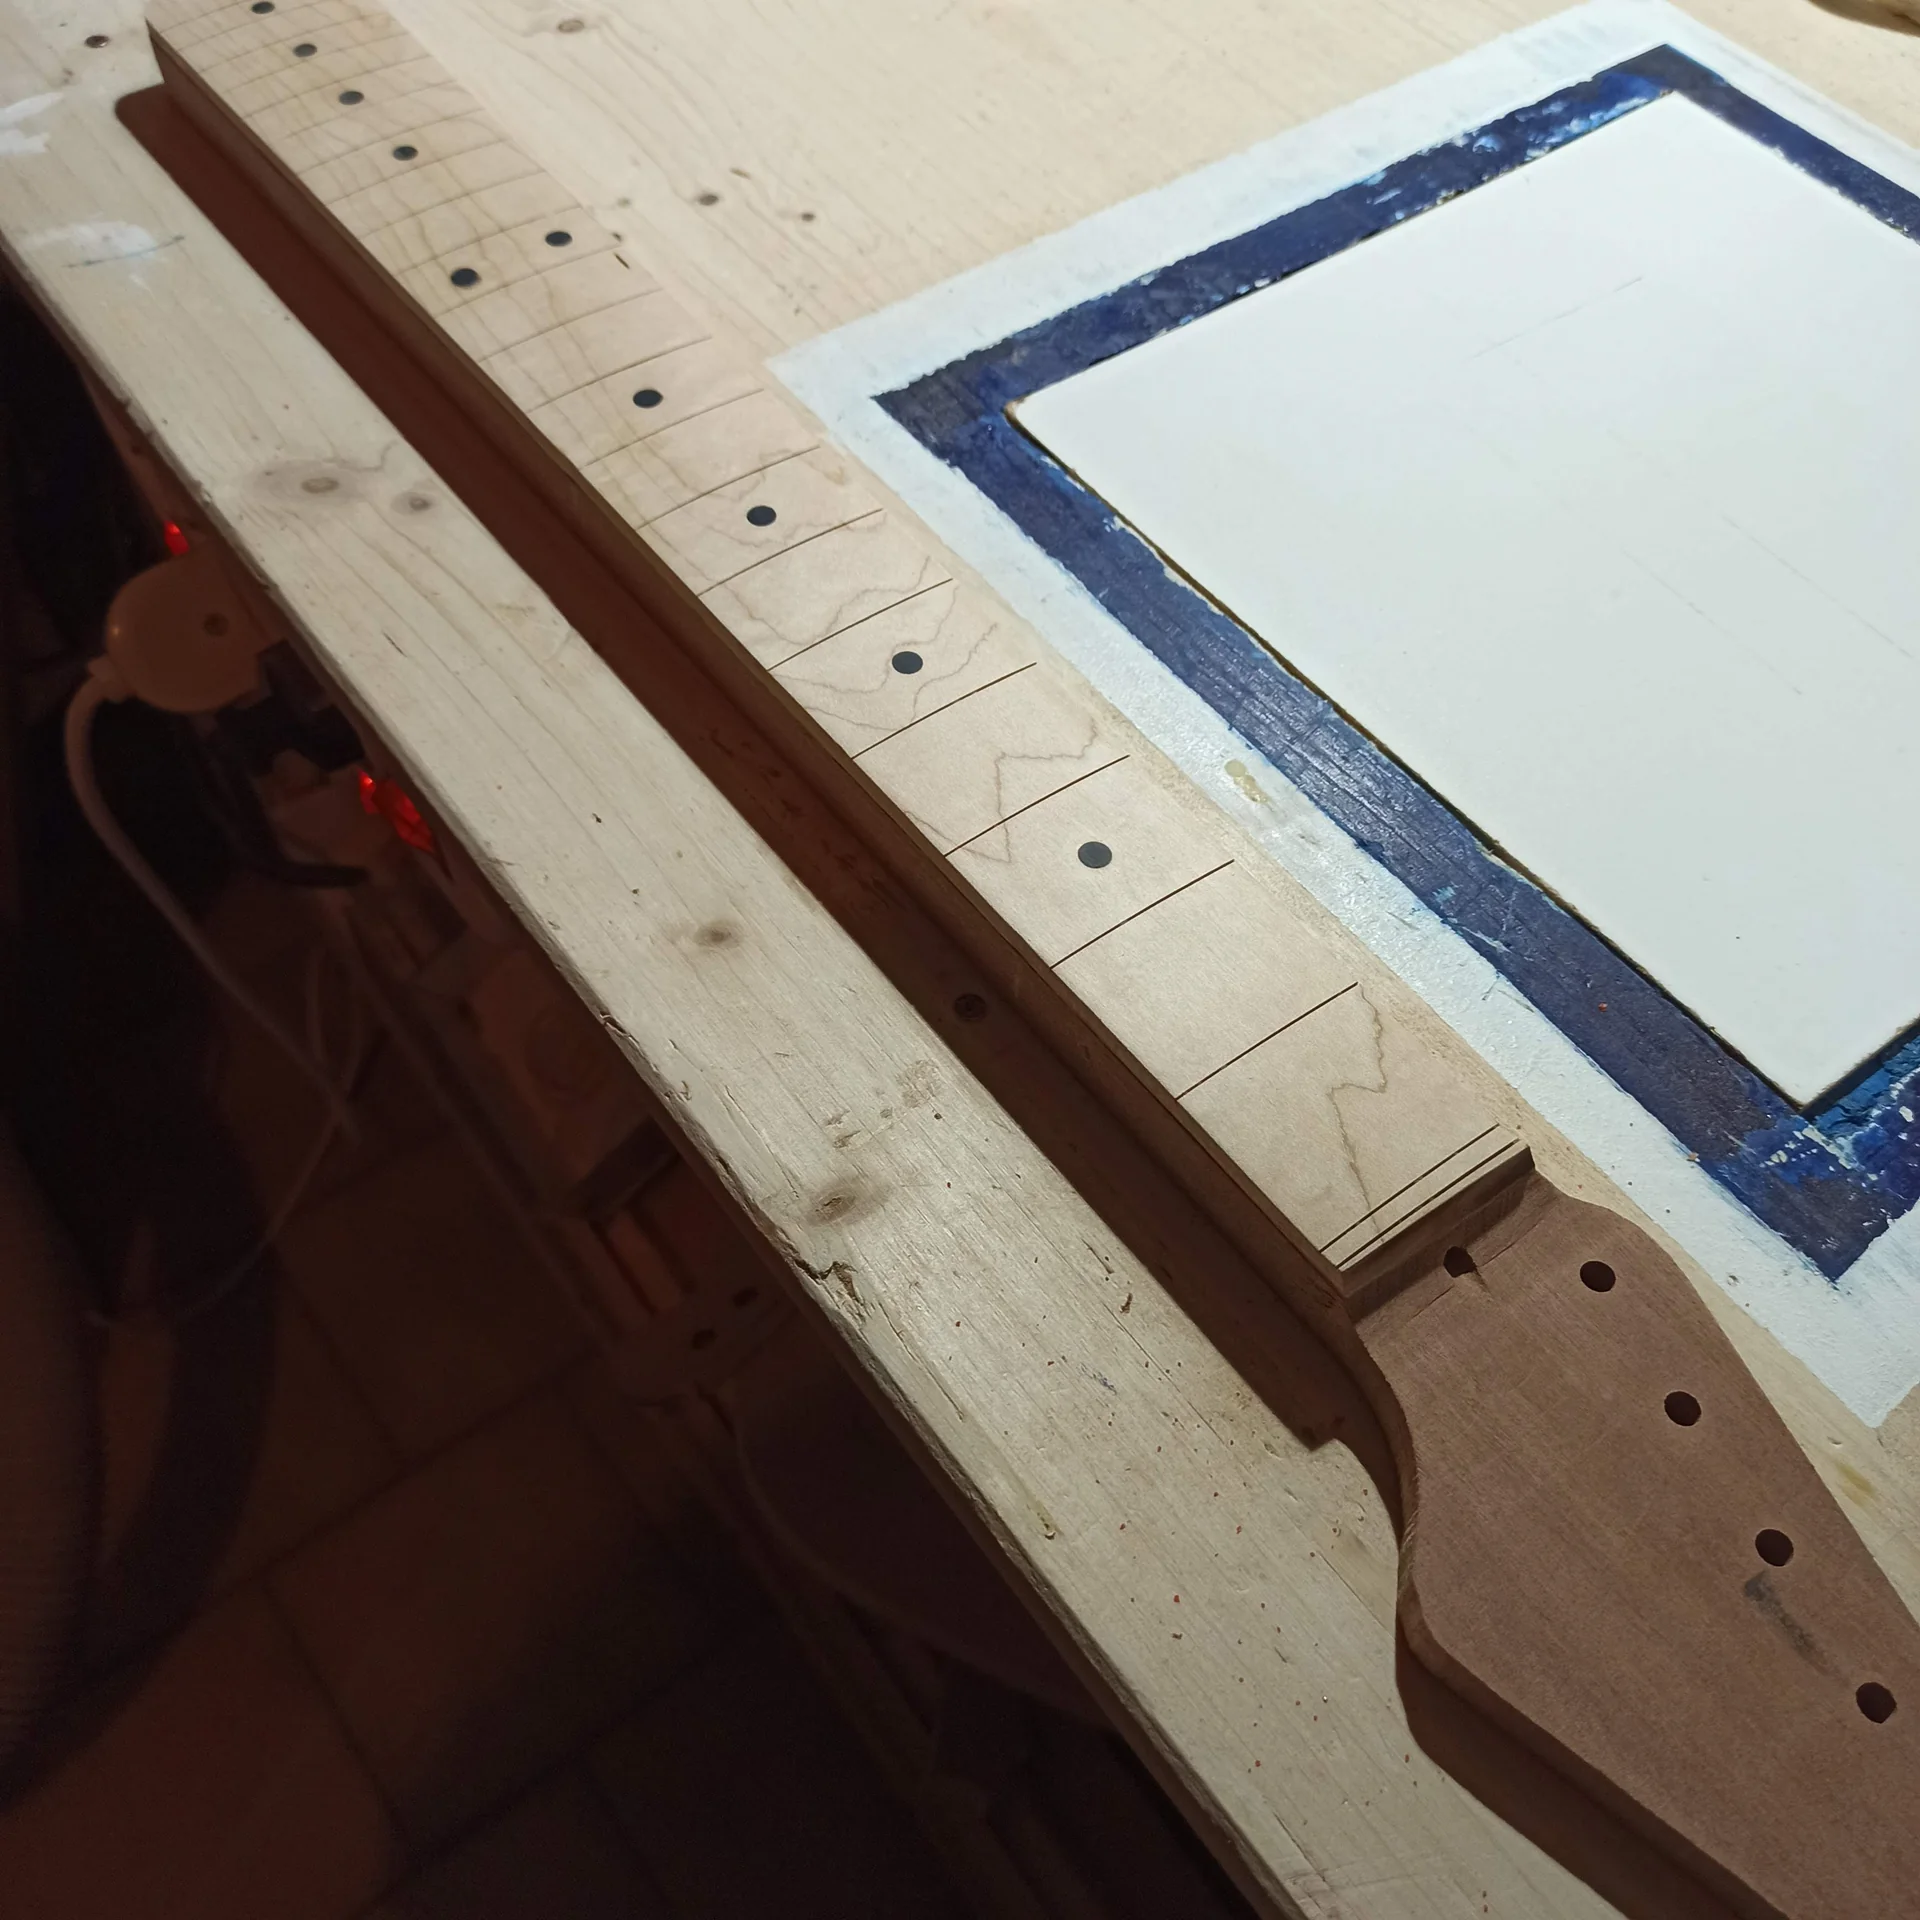
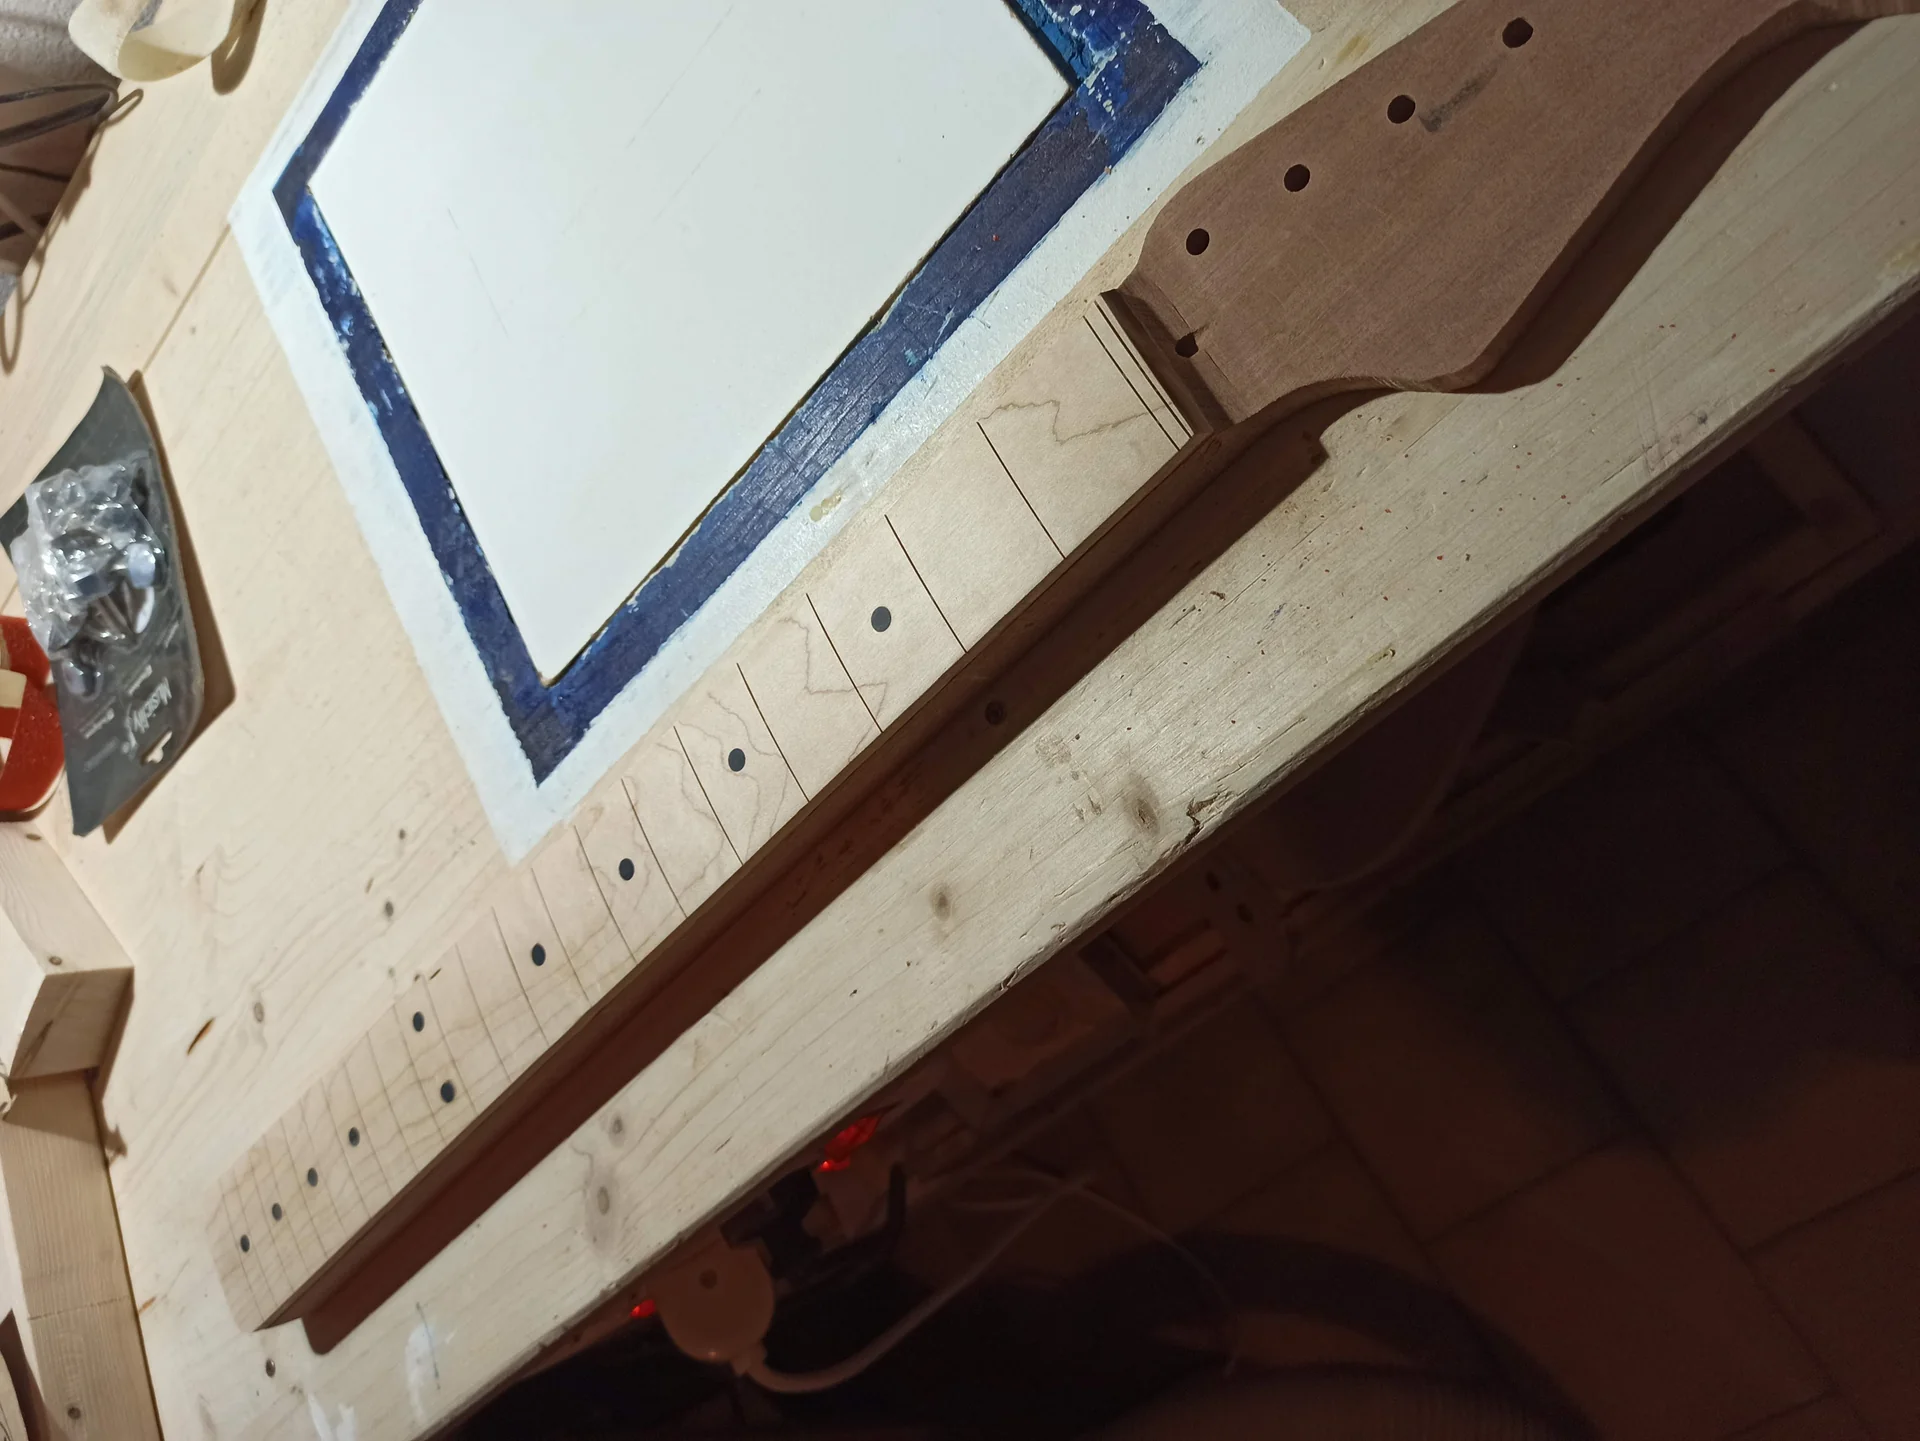
The Martin Koch project you've chosen, whether it's an LP style or an SG, always starts with the raw material: wood. And here, believe me, it's no joke. It's not just a matter of “beautiful or ugly”, but of stability, resonance, and workability. The first time, I took what cost less, and then I ended up with a body that “breathed” more than I did after a run.nn
The choice of wood: more than an aesthetic whim
nnnn
nFor a project of Martin Koch electric guitar construction, Mahogany is usually used for the body and neck, with a flamed or quilted maple top for the more classic models. Rosewood or ebony are the most common choices for the fingerboard. But the type isn't enough.You need to look at the grain. It must be straight, without knots or obvious defects that could weaken the structure or create problems during processing. Well-seasoned wood is essential. If it's too "green," it will move, warp, and you'll find yourself chasing measurements that won't stay put.
A good supplier will give you already dried wood, but checking the humidity with a hygrometer is always a good idea. You should aim for a humidity between 6% and 8%. I learned the hard way that unstable wood can ruin even the most meticulous project.nn
From stocks to blank: the first, feared cut
You've got the wood. Perfect. Now you need to cut the blanks for the body, neck, and fingerboard. Koch's plans give you all the measurements, but you'll need to add a little allowance for subsequent machining. We're talking about an extra 3-5 mm per side, just to be on the safe side.The first cut is always the most scary. It's not the end of the world if it's not perfect, but it needs to be as straight and clean as possible. A band saw is ideal, but a table saw with a good blade will also do the trick. The important thing is to work calmly and safely.
I remember when I cut the first blank for the body: I was so tense it felt like I was defusing a bomb. I took a deep breath and went for it. It turned out decent. The important thing is not to panic and not to rush the steps.nn
Preparing Templates: Your Infallible Guide
Koch plans are incredibly detailed, but to transfer them accurately to wood, you need templates. You can make them from 6mm or 10mm MDF. They're your lifeline for routing and shaping. They have to be perfect, because any mistakes here will affect the final wood.Cut the templates with maniacal precision, sanding the edges until they are smooth as crystal. I spent hours perfecting my templates, and every minute spent there paid off in terms of fewer errors on the real wood. For an excellent guide on how to create and use templates, I recommend checking out resources like Luthier’s Mercantile International (LMI), which offers a lot of tutorials and materials for instrument builders. [external link: https://www.lmii.com/blog/category/how-to]nn
2. The handle: millimetric precision and strong nerves for the profile
Advertising

Bulk 12 Sets, Ernie Ball, Electric Guitar Strings, Hybrid Slinky Gauge (9-46)
See on Amazon

The neck blank and the truss rod channel
Start with the neck blank, already cut to size. The first thing to do is mill the truss rod groove. This is a critical step. The groove must be perfectly straight and the right depth. A mistake here will compromise the neck's stability and adjustability.I use a vertical router mounted on a workbench, with a straight guide and solid clamps. I broke out in a cold sweat the first time I had to rout the channel: one mistake and the piece of mahogany was scrap. Measure and re-measure. Check the depth with a caliper. The truss rod must fit snugly, but without excessive play. Koch's plans will give you the precise dimensions of the channel based on the type of truss rod you will use (single action, dual action).nn
Gluing the keyboard and key slots
Once the truss rod channel is routed, you can glue the fingerboard to the neck. Make sure the surfaces are perfectly flat and clean. Use a good-quality wood glue (Titebond Original is a classic) and apply even pressure with suitable clamps. Let it dry for at least 24 hours.Now comes another scary step: the fret slots. Koch plans will give you the precise distances for each fret. You can use a handheld fret saw with a template, or a table saw with a thin blade and a special jig. The depth must be sufficient to accommodate the fret tang without protruding too much.
A common mistake is not checking the squareness of the saw, ending up with slots that are not perpendicular to the fretboard. This makes intonation a nightmare. I've seen people go crazy over this. The first time, I used a hand saw and a homemade jig, fearing I would ruin everything. But with patience and measuring every single cut, the result was excellent.nn
Neck Profile Shaping: The Art of Removing Wood
After gluing the fingerboard and routing the slots, you can start shaping the neck. Martin Koch's plans usually include detailed profiles (C, D, V, etc.). You won't need a CNC router here, but a good set of rasps, files, and sandpaper will do.Start by roughing out the wood with rasps, following the template's guidelines. Then refine with files and sandpaper. The goal is to achieve an ergonomic and symmetrical profile. This is a process that takes time and a good feel. Every now and then, hold the handle in your hand, close your eyes, and feel the curve. It should be comfortable.
I spent hours sanding, feeling the curve, making small adjustments. It's an almost meditative work. Don't be afraid to remove wood, but do it little by little. It's much easier to remove than to add.nn
3. Body: digging, drilling and the question of coupling
The body is the most massive part of the guitar, and its processing may seem less delicate compared to the neck. But here too, pitfalls are around the corner, especially when it comes to routing and drilling. The goal is to create a resonant chamber that houses the electronics and couples perfectly with the neck.nnJoin the pieces and shape the body
If your Koch design calls for a multi-piece body (as is often the case with mahogany), the first step is to glue them together. The joints must be perfect, with no gaps. Use wood glue and clamps, letting them dry thoroughly. A weak joint can compromise the body's resonance and stability.Once glued, you can shape the body. Here, you'll use the templates you prepared earlier. A router with a bearing bit is the ideal tool. Use light strokes, especially on harder woods or those with complex grain patterns, to avoid chipping.
I remember the first time I made a flamed maple top. I was terrified of ruining that beauty. I made very small passes, almost grazing the wood, and the result was a clean edge without tear-out. Patience always pays off.nn
Cavity Routing: Pickups, Controls, and Jacks
Now it's time to carve out the cavities for the pickups, controls (pots, switches), and output jack. Here, too, Martin Koch's plans are your guide. Templates are essential for obtaining precise and clean cavities.For pickup routing, make sure the depth is sufficient to accommodate the chosen pickup, but not excessive, otherwise you'll need to fill it with shims. For control cavities, consider the space needed for potentiometers (usually 24mm in diameter for full-size models), capacitors, and wiring.
A common mistake is making the cavities too small or not perfectly rectangular. This makes installing electronics a nightmare. If you already have experience with modify a guitar, you know how critical the fit of components is. I've seen neck pockets with highway-like tolerances, which then create sustain and stability problems. The secret is patience and a good set of sharp router bits.nn
Drilling holes for bridge, neck and tuners
Drilling is another critical point. The holes for the bridge, the tailpiece (if fixed), the tuning machines on the headstock, and the neck screw holes must be precise and perpendicular. A drill press is a great help, but with a well-made template, a good hand drill, and a keen eye, you can get by.For the bridge holes, a jig to help you maintain perpendicularity is essential. A bridge mounted crooked or out of alignment with the neck is disastrous for intonation and playability. The same goes for the neck holes: they must align perfectly with those in the neck itself.
A tip: use sharp bits and drill a smaller pilot hole before moving to the final bit. This reduces the risk of chipping and helps you maintain precision. And measure, measure, measure.nn
4. Finishing and assembly: patience pays off (or makes you redo everything)
We come to the finish. This is a step that may seem purely aesthetic, but it has a huge impact on the feel, protection, and even a bit on the sound of the guitar. And believe me, the finish is where you see who is in a hurry. I learned the hard way that a rushed paint job is a paint job that needs to be redone.nnPreparing for finishing: non-stop sanding
Before applying anything, the wood must be sanded to perfection. And when I say perfection, I mean you shouldn't see a single scratch. Start with a coarse-grit sandpaper (like 120-180) to remove any sanding marks, and then gradually work your way up: 220, 320, 400.Between grits, clean the surface thoroughly from dust. A trick I learned is to lightly wet the wood with a damp cloth between grits (only if you use water-based or nitro finishes, be careful with oils). This raises the fibers, which you then sand away. The result is an incredibly smooth surface.nn
The finish: oil, nitro or poly?
The choice of finish depends on your taste and experience.Oil/Wax: For a more natural and "alive" wood feel. Easy to apply, even in the garage, but offers less protection. Excellent for Martin Koch-style projects that want to highlight the wood.
Nitrocellulose: The quintessential "vintage" finish. Thin, resonant, but delicate and difficult to apply without proper equipment (spray gun, ventilated booth) due to the solvents. It requires multiple coats and long drying times.
* Polyurethane: Very strong and durable, but also thicker and less resonant for some. Easy to apply with a good gun, but still requires a clean environment.
Whatever you choose, follow the manufacturer's instructions to the letter. Apply thin coats, let dry completely between coats, and lightly sand with very fine grit (800-1000) between coats to ensure adhesion. Finishing is a job of patience, not force.nn
Electronics assembly: soldering without burning
Once the finish is completely dry and polished, you can begin the final assembly. Start with the electronics. Install the potentiometers, switch, jack, and pickups in their respective cavities.For wiring, Martin Koch's plans usually do not include electrical diagrams, but you can find an infinite number of diagrams online for the type of guitar you are building (e.g., Les Paul wiring, SG wiring). A good fine-tip soldering iron, quality solder (60/40 or 63/37), and a bit of flux are your best friends.nDon't be afraid to solder, it's not brain surgery. The important thing is to make clean and solid solders. Heat the terminal, not the solder. When the solder melts and forms a small shiny “mound”, you've done a good job. If it's dull and lumpy, redo it. And don't forget to shield the cavities with conductive paint or copper foil; it will save you from a lot of unwanted noise.nn
5. Final setup: when the guitar comes to life
You've assembled everything. The guitar is there, beautiful, but it's not yet alive. The final setup is the moment when all the elements come together and the instrument becomes playable. This is the moment when you feel all the work taking shape. That feeling when the first note plays clean, without buzzing... priceless.nnHardware and string assembly
Install the tuners on the headstock, the bridge, and the tailpiece on the body. Screw gently, do not overtighten. Insert the strings. This is where the guitar starts to pull.nnTruss Rod Adjustment: The Backbone of the Neck
The truss rod is the backbone of the neck. Its adjustment is crucial for setting the correct neck curvature (relief). The strings, once tensioned, pull the neck forward. The truss rod serves to counteract this tension.nDo not overtighten the truss rod on the first try. Make small adjustments (a quarter turn at a time), wait a few hours for the wood to settle, and then check the relief. You can do this by holding down the first and last frets and checking the space between the string and the fret at the 7th/9th fret. You should see a slight gap, equivalent to the thickness of a business card.A neck that is too straight (or even with a “back-bow”) will cause buzzing on the first frets. A neck that is too curved will make the action too high. It's a delicate balance that requires patience.nn
Action and intonation: the finishing touch
With the relief set, you can adjust the action, or the height of the strings from the fingerboard. This is done by adjusting the height of the bridge saddles (and, if necessary, the height of the nut, although that should be done first). A low action is comfortable, but too low will cause fretting. A high action is less comfortable but provides more sustain. Find your own compromise.Intonation is the final step. Each string must sound in tune across the entire fretboard. Play the harmonic at the 12th fret and compare it to the note pressed at the 12th fret. If the note pressed is flat, move the saddle toward the neck. If it's sharp, move it away. Do this for each string. It's a repetitive process but crucial to the instrument's playability.
And don't forget to adjust the pickup height! Too close to the strings, they can create intonation problems and a sound that is too loud and compressed. Too far away, the sound will be weak and without character. Play around with the heights until you find the sound you like.nn
A living, breathing organism
Remember, a guitar is a living, breathing organism. Wood moves with changes in temperature and humidity. Don't be afraid to make small adjustments over time. Setup isn't a one-time thing. It's an ongoing process.And when you finally plug it into the amplifier and hear the sound you created with your own hands… well, there is no better feeling.
Building a Martin Koch electric guitar is a journey, not a race. There will be moments of frustration, doubt, and wanting to give up. I've had them all. But every time I overcame an obstacle, the satisfaction was immense. And in the end, holding an instrument you built yourself, that sounds the way you want it to, is a priceless experience. So, roll up your sleeves, don't be afraid to make mistakes, and give it a try. If I succeeded, you can too.nn
nnnn
See also
nnDownload the Luthier Survival Kit
Free PDF with checklist, problem-cause table and project card template.
 English
  Italiano
Stuck on your build?
If you ran into the same problem or have a question, drop it in the comments. I read and reply to every one.
Write a comment