

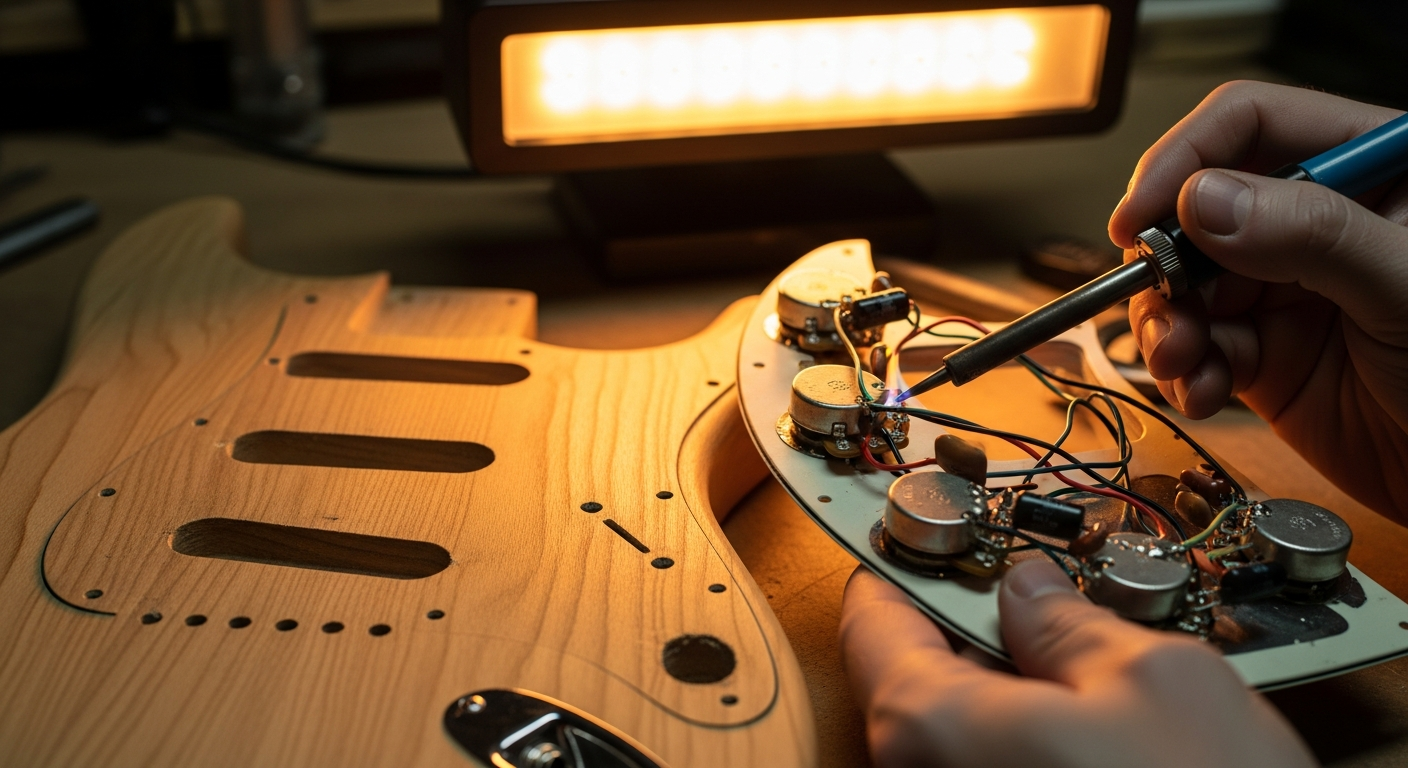
Your guitar needs re-keying? 3 signals
How many times have I heard people say “my guitar It doesn't sound like it used to,” “It has a weird sustain,” or “I can't get it set up properly, it's always buzzing somewhere.” And how many times, at first, did I blame the setup, the truss rod, maybe even the bridge, without looking at the most obvious thing: the frets. Yes, the frets on the guitar, those little metal bars that seem eternal but aren't at all.
The truth is, for a guitarist who plays a lot, fret wear is inevitable. It's like engine oil; at some point it needs to be changed. And the idea of having to do a re-keying of guitars can be daunting. It seems like a job for a professional luthier, laboratory stuff with tools that cost an arm and a leg. Instead, I'll tell you, with the right patience, some targeted tools, and the willingness to learn, it's an operation you can tackle yourself in your garage. Of course, it won't be perfect the first time, but who ever is? I made my mistakes, and from those, I learned.
The point is not just “knowing how to do it”, but “understanding when to do it”. It's not a race, but a careful evaluation. I want to tell you about the three unmistakable signs your six-string companion is sending you, asking for an intervention on its frets. It's not a seven-headed monster, I assure you.nn
What is the re-keying (and why it's not a seven-headed monster)
n
The first and most obvious sign that your frets need attention is visible to the naked eye: grooves. Those small, yet unmistakable, depressions that form on the surface of the fret, right where the strings rest when pressed.
Every time you press a string against the fret, you are exerting a force. Every time you make a bending, the string “digs” into the metal. Over time, this repeated action creates actual grooves. If you play a lot, or if you have a particularly energetic touch, these grooves can become deep.nnHow to spot them:n1. Visual inspection: Hold the guitar so the light hits the fretboard from the side. You'll see the irregularities on the fretboard. They'll look like small "valleys" where the string has been pressed down harder. 2. Reflection of light: A trick I often use is to reflect light (even from a cell phone) off the surface of the key. If the reflection is interrupted, distorted, or shows "shadows," it means the surface is no longer perfectly smooth and curved.n3. The line test: It's not as scientific as using a fret rocker, but it gives you an idea. Take a straightedge (or the edge of a credit card) and place it transversally across three adjacent frets. If the straightedge doesn't touch the middle fret, or if it “wobbles” a bit, it's a sign that the frets are no longer aligned or that the middle one is worn down.nnThe impact on sound and playability: Buzzing (frying): Grooves create uneven spots on the fret surface. When the string vibrates, it can come into contact with the edge of the groove or other irregularities, causing annoying "frying.".
Ballerina intonation: An uneven surface means the string's contact point with the fret is no longer precise. This can lead to slight intonation inaccuracies, especially when playing single notes or complex chords.
Difficulty in bending: If the keys are very hollow, the bending The string becomes more difficult and less fluid. The string tends to get stuck in the grooves, making the performance less pleasant and more tiring.
Action too high: To compensate for the fret fretting caused by uneven frets, you may be forced to raise the string action higher than necessary. This makes the guitar more uncomfortable to play and less responsive.
When these grooves are superficial, a complete grinding (leveling, crowning, and polishing) is the ideal solution. It allows you to remove the worn surface layer, restoring the original curvature of the fret. But if the grooves are very deep, to the point that the frets are too low after grinding, then it's time to consider key replacement.nnA little tip for those who venture out: before deciding on the guitar re-fretting, try measuring the height of the frets. There are specific gauges, but a good digital gauge can also give you an idea. If after a hypothetical adjustment your frets would fall below a certain threshold (let's say 0.8-0.9mm for medium jumbos, but it also depends on your preferences), then it is almost certain that a refret is the best choice. Remember, frets that are too low can make the guitar less resonant and bending uncomfortable.nn
Signal 2: Frustration on high (and low) notes – Goodbye sustain and intonation


nn
nDo you know that feeling of playing a note on the 15th fret and hearing that it doesn't sound with the same brilliance or sustain as one on the 5th? Or maybe, you try to play an open chord, and one of the strings has a “dead” or poorly intonated sound, even though you're sure you've pressed it well? Here, this is the second important signal your frets are sending you.Worn frets don't just create buzzing. They significantly alter the string's behavior. The surface, no longer perfectly smooth and rounded, prevents the string from vibrating freely and with proper intonation.nnHow this frustration manifests itself: Lack of sustain: If the string doesn't rest optimally on the fret, part of the vibration energy is dispersed. This results in a note that fades out more quickly, lacking that ring that we love so much. I myself, with one of my first guitars, cursed the bridge and pickups for months, convinced that it was a problem of body resonance, until I realized that it was all the fault of the worn frets that "killed" the vibration.
Incorrect intonation on some positions: This is one of the most subtle signs. Maybe your guitar is in tune open and at the 12th fret, but when you play a chord at the 7th or 9th fret, you feel like something's off. This happens because the grooves or irregularities on the frets alter the actual contact point of the string, effectively modifying the vibrating length of the string in an unpredictable way. It's one of the main causes of uneven intonation that drives you crazy.
Localized frying that doesn't go away: You've tried adjusting the action, the truss rod, and checked the nut. Yet, one or more strings always buzz on a specific fret, no matter how you adjust the rest. This almost always indicates a problem with that specific fret: either it's too low compared to the others, or it's excessively hollow.
Difficulty in bending fluid: We have already mentioned the grooves, but a key that is not perfectly “crowned” (i.e. with a rounded top) makes the bending “"Jerky" or tiring. The rope doesn't slide smoothly, but tends to rub.
This problem is particularly evident on the high notes, where even minimal differences in fret height and surface area have a greater impact on the string's vibrating length and intonation. But don't underestimate the upper positions either, where wear is often greater due to intensive use for chords.
A good one key maintenance It also involves a careful observation of these dynamics. The solution is not always a refret complete. Sometimes, a simple fret dressing (leveling, crowning, and polishing) is enough to restore the situation. But it's essential to understand the difference. If problems persist after a good fret dressing, or if the frets are now too low to be rectified without compromising playability, then the intervention of key replacement becomes indispensable. Don't be afraid, it's an investment in your instrument and your enjoyment.nn
Sign 3: Setup is a nightmare – You never get it right
This is perhaps the most frustrating sign of all. The one that makes you doubt your abilities, your instrument, and sometimes even your sanity. You've spent hours adjusting the string height, the truss rod, the bridge saddles, and yet the guitar never sounds right. Either it buzzes, or the action is too high, or the intonation is always a little off. Welcome to the club of those who have discovered that fret problems can turn setup into a veritable never-ending nightmare.
When the frets are unevenly worn, no setup adjustment will hold. It's like trying to make a table stand straight with legs of different lengths: you can add shims, but it will never be stable.nnWhy setup is impossible with worn keys: Different heights: The frets are no longer all the same height. Some will be more hollow, others less so. This means that if you lower the action to avoid fatigue, the string will touch the higher frets and buzz. If you raise the action to avoid buzz, the guitar will become uncomfortable to play, and perhaps the intonation will suffer as well.
Dead spots: Some frets, if excessively flat or hollow, can create real "dead spots" where the string doesn't vibrate properly or sounds dull. This is particularly evident if you press a note and feel that the sound is dull compared to the previous or following note.
Endless compromises: You find yourself making compromises: “Okay, so it only buzzes a little on the 3rd fret of the G string, but at least the rest is playable.” But a guitar with a compromised setup will never give you maximum pleasure.nnHow to tell if setup is locked by keys:n1. Check the handle: Make sure the handle is straight or has the right neck relief (the slight concave curvature). Use a straightedge and a feeler gauge. If the neck is fine, and the problems persist, then it's likely the frets.n2. Check the nut and bridge: Make sure the nut grooves aren't too low or too high and that the bridge saddles are adjusted correctly. These are crucial factors for a good setup. If you'd like to learn more about how these elements affect sound and playability, check out our article on guitar modification in general, where we also talk about these components.n3. The fret rocker: This is the ultimate tool. It's a small metal plate with ground edges, usually with four different lengths. You place it on three adjacent frets. If it “rocks” (i.e., if it moves like a rocking chair, touching only two frets and leaving the third free), it means there's a fret higher or lower than the others. Do this test across the entire fretboard, fret by fret. If you find many spots where the fret rocker it moves, it is a clear sign of non-uniformity.
If, after checking and adjusting everything else (truss rod, string height at the bridge and nut), the guitar continues to present buzzing, imprecise intonation, or uncomfortable action, it is almost certain that the cause is your frets. At that point, there is no other way than a serious intervention. The good news is that, once the fret problem is resolved, your guitar will be transformed. It will sound like new, be easy to set up, and give you a pleasure you haven't felt in a long time. It's an investment worth making, both in terms of time and, if you decide to do it yourself, of some tools.nnWhat to do after identifying the problem: Re-keying or rectification?
Well, you've inspected your guitar, done the tests, and realized your frets aren't looking their best. Now what? The question is: do you need a complete rekeying Or is a good grinding (leveling, crowning, and polishing) enough? This is the most important decision and, for a hobbyist, often the most difficult.
My advice is always to start with the least invasive solution. If the wear is moderate, a grinding can work wonders and extend the life of your frets for years. If, however, the frets are really worn, low, full of deep grooves, and perhaps you can already feel that the neck has been grinded several times in the past, then the key replacement is the only way for a lasting result.nnWhen rectification is enough (Fret Leveling, Crowning, Polishing): Surface wear: The grooves aren't very deep, and the frets still have a good amount of height left (say, above 1mm for a medium-jumbo fret).
Minor leveling issues: The fret rocker It only indicates a few slightly higher or lower keys, but not a general unevenness.
Budget and time: It is a less expensive and quicker operation than a re-keying complete.nnEssential tools for grinding: Key Leveler (Leveling Beam): A perfectly straight metal bar with sandpaper to level the frets.
Crowning File: To restore the rounded shape of the keys after leveling.
Fine sandpaper: From 400 to 2000 grit for sanding.
Polishing Compound: To make the keys shine and reduce friction.
Fretboard Guards: To avoid damaging the fretboard wood during filing.nnWhen complete refretting is needed: Keys too low: The keys have been ground too many times and are now so low that they make it uncomfortable to bending or not allow adequate action.
Deep furrows: The grooves are so pronounced that grinding them would only remove them and render the keys unusable.
Change of material/size: You want to upgrade to stainless steel keys for increased durability and smoothness, or you want to change the size (for example, from vintage small to jumbo).
Extensive damage: Some frets are bent, damaged, or have cracks that cannot be resolved with a simple dressing.nnThe process of re-keying: it's not a surgical operation, it's a puzzle
Ok, if you have decided for the guitar re-fretting, know that it's a commitment. But, as I told you, it's doable. The first time, it took me an entire weekend, between fears and curses, but in the end, the result was incredible. And the satisfaction... that's priceless.nnMaterials to consider for new keys: Nickel-Silver: The most common material. It is relatively soft and easy to work with, but wears quickly. There are various alloys with varying nickel percentages.
Stainless Steel (Acciaio Inossibile): Much harder and more wear-resistant. The sound is a little brighter and the bending are super smooth. The only downside is that it's harder to work with, requires specific tools and a good deal of patience. But for me, it's worth the candle.nnKey Sizes:
Dimensions are a world apart. We're talking about height and width. The most common are:
Vintage Small: Thin and low, typical of old Fenders.
Medium Jumbo: A good compromise, very versatile (e.g. Dunlop 6105, Jescar FW47095).
Jumbo: Wide and tall, preferred by those who love the bending extremes and a light touch (e.g. Dunlop 6100, Jescar FW57110).
The choice depends a lot on your personal preferences. On almost all my guitars, I install medium jumbo steel frets; I find them perfect for my style.nnThe tools you'll need (and they're not from NASA):n1. Fret Puller: It must be very sharp so as not to damage the fretboard. I have learned that slightly heating the key with a soldering iron before removing it helps dissolve any glue residue and reduce the risk of chipping the wood. This is my real pain point Initially, it took me three tries before I figured out the heat trick!n2. Fret Nippers: To cut the key bar to the right length.n3. Fret Hammer or Fret Press: I started with a hammer; it's more "rustic" but it works. Pressing (even by hand) distributes pressure more evenly, reducing the risk of keys that don't seat properly. n4. Radius Block: To press the keys or to sand the fingerboard to ensure it maintains the correct radius.n5. Fret Glue (CA Glue – cyanoacrylate): If the fretboard has small imperfections, a super-thin bead of glue helps fill the gaps and hold the key in place.n6. Fret End Dressing File: To make the edges of the keys smooth and not sharp.n7. Leveling, crowning and polishing tools: The ones we talked about before.nnThe key steps (an overview to help you understand that it's a logical process):n1. Remove old keys: With tongs and, if necessary, a little heat. Clean the fret slots.n2. Prepare the keyboard: Check the radius, sand lightly if there are small imperfections.n3. Install the new keys: Cut the keys to the right length, insert the bars into the slots using a press or hammer. If you use a hammer, don't strike like a blacksmith, but with firm, even blows.n4. Trim and chamfer the edges: Remove excess keycaps from the edges of your keyboard and smooth them for a comfortable touch.n5. Level the keys: With the leveling beam and sandpaper, make sure all the keys are the same height.n6. Crown the keys: Using the crown file, restore the rounded shape.n7. Polishing the keys: With progressively finer abrasive papers and polishing paste, until they shine like mirrors.nIt's not a walk in the park, I'll tell you right away. It requires precision, patience, and the ability not to panic if something doesn't go right the first time. But it's an incredibly rewarding operation. In the end, you'll have a guitar that sounds like new, with playability you didn't think possible, and the satisfaction of having done it with your own hands.
To learn more about key types and their features, I recommend consulting reliable resources. For example, the StewMac website (which is an excellent source for tools and materials) has a Complete guide to the various types of fret wire which can give you a clearer idea of the options available.
Ultimately, whether you choose a correction or a complete rekeying, the important thing is to listen to your guitar. She speaks to you, and if you learn to catch her signals, you can give her the care she deserves. And you, you will have the pleasure of playing an instrument that responds perfectly to your hands. Don't be afraid to get your hands dirty; the garage luthier is a trade learned by making mistakes. And every mistake, trust me, is a valuable lesson.nn
nnnn
See also
- n
- Tune the electric guitar bridge: 3 steps. n
- Adjust Guitar Intonation: Fix the Problem. n
- Electric Guitar Repair: 7 Common Faults and Solutions n
Download the Luthier Survival Kit
Free PDF with checklist, problem-cause table and project card template.
 English
  Italiano
Stuck on your build?
If you ran into the same problem or have a question, drop it in the comments. I read and reply to every one.
Write a comment