

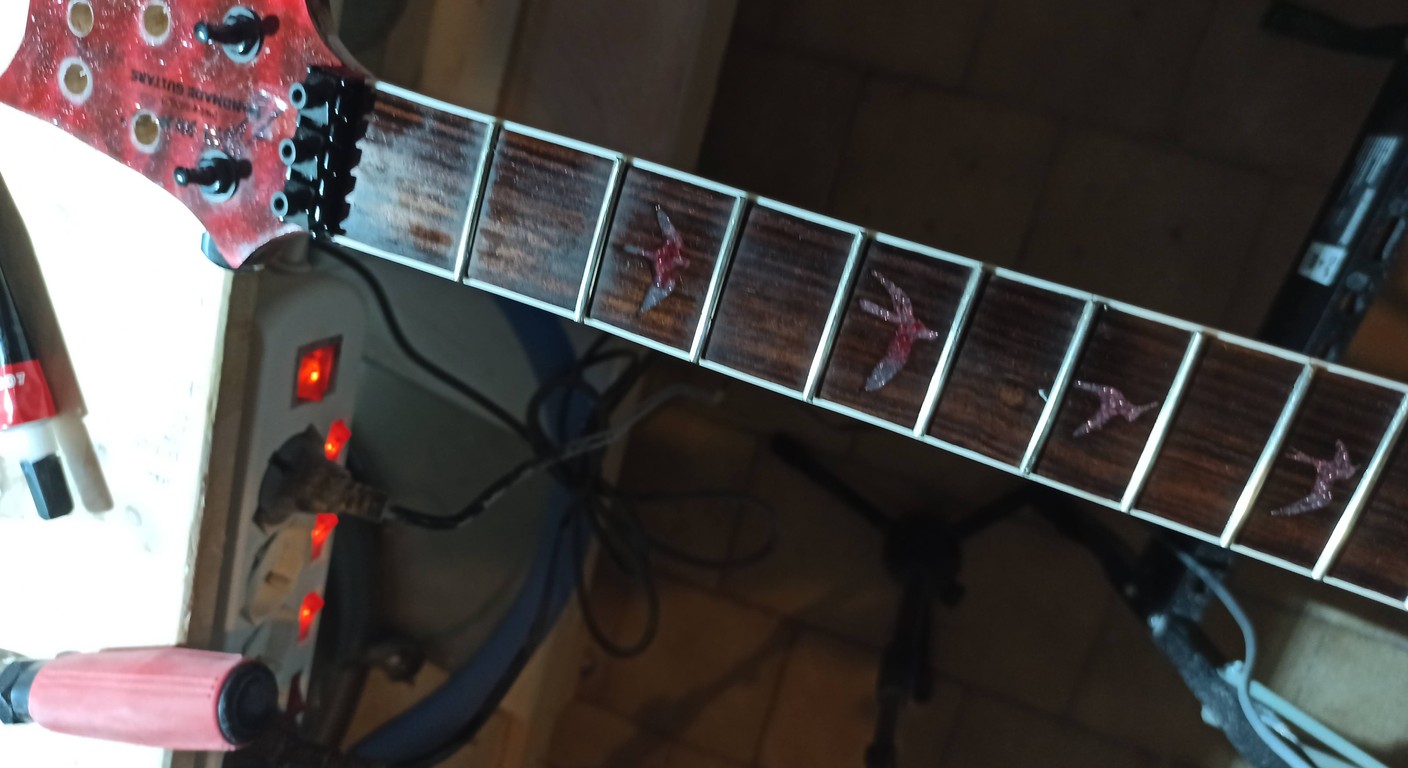
Guitar fretboard radius: construction guide.
I still remember the first time I tried to shape the keyboard of a guitar. I had a piece of maple, a hand plane I used for joinery wood, and a very vague idea of what I was doing. The result? A surface that looked more like a mountain road than a functional keyboard. I learned the hard way that keyboard curvature It is not an aesthetic detail, but the heart of an instrument's playability.If you're here, you probably already have an idea of what the guitar fretboard radius, but maybe you feel stuck. Maybe you're afraid of ruining a beautiful piece of wood, or you don't know what tools to use. I totally understand. The fear of making a mess is what most often stops us when we approach more delicate lutherie work. But trust me, if I could do it in my garage, with a few mistakes and a lot of patience, you can do it too. The important thing is to understand. Why it's done and as it's done, without rushing.
This article is for those who are already somewhat familiar with wood and tools, but want to make the leap in quality and tackle the surface shaping keyboard with full knowledge of the facts. Let's take a look at everything, from the whys and the tricks of the trade.
Why Curve Your Keyboard? The Science and History Behind the Radius.
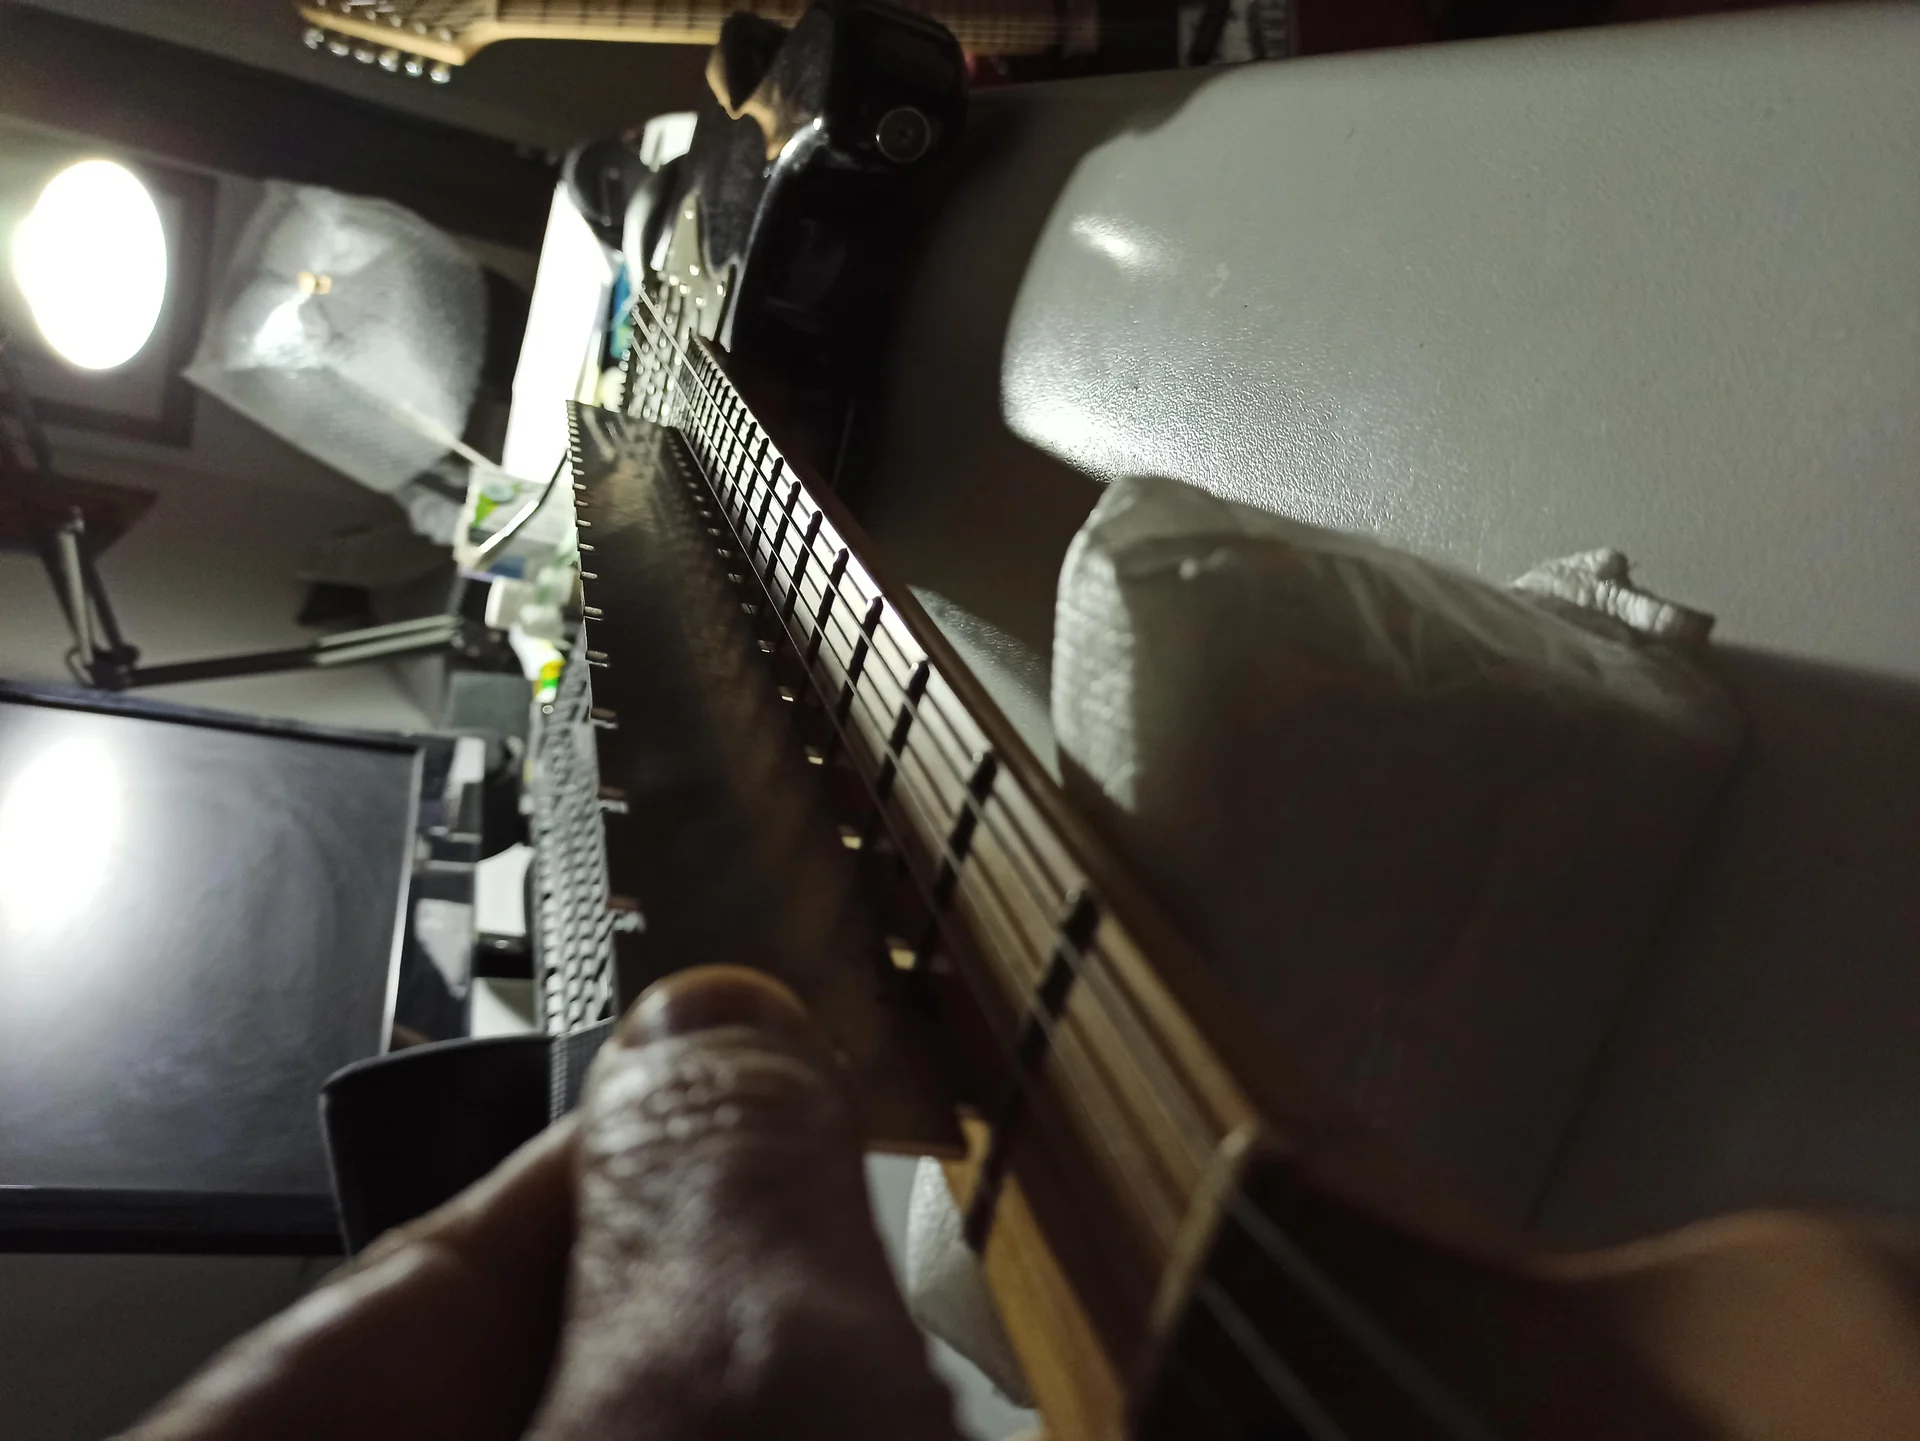
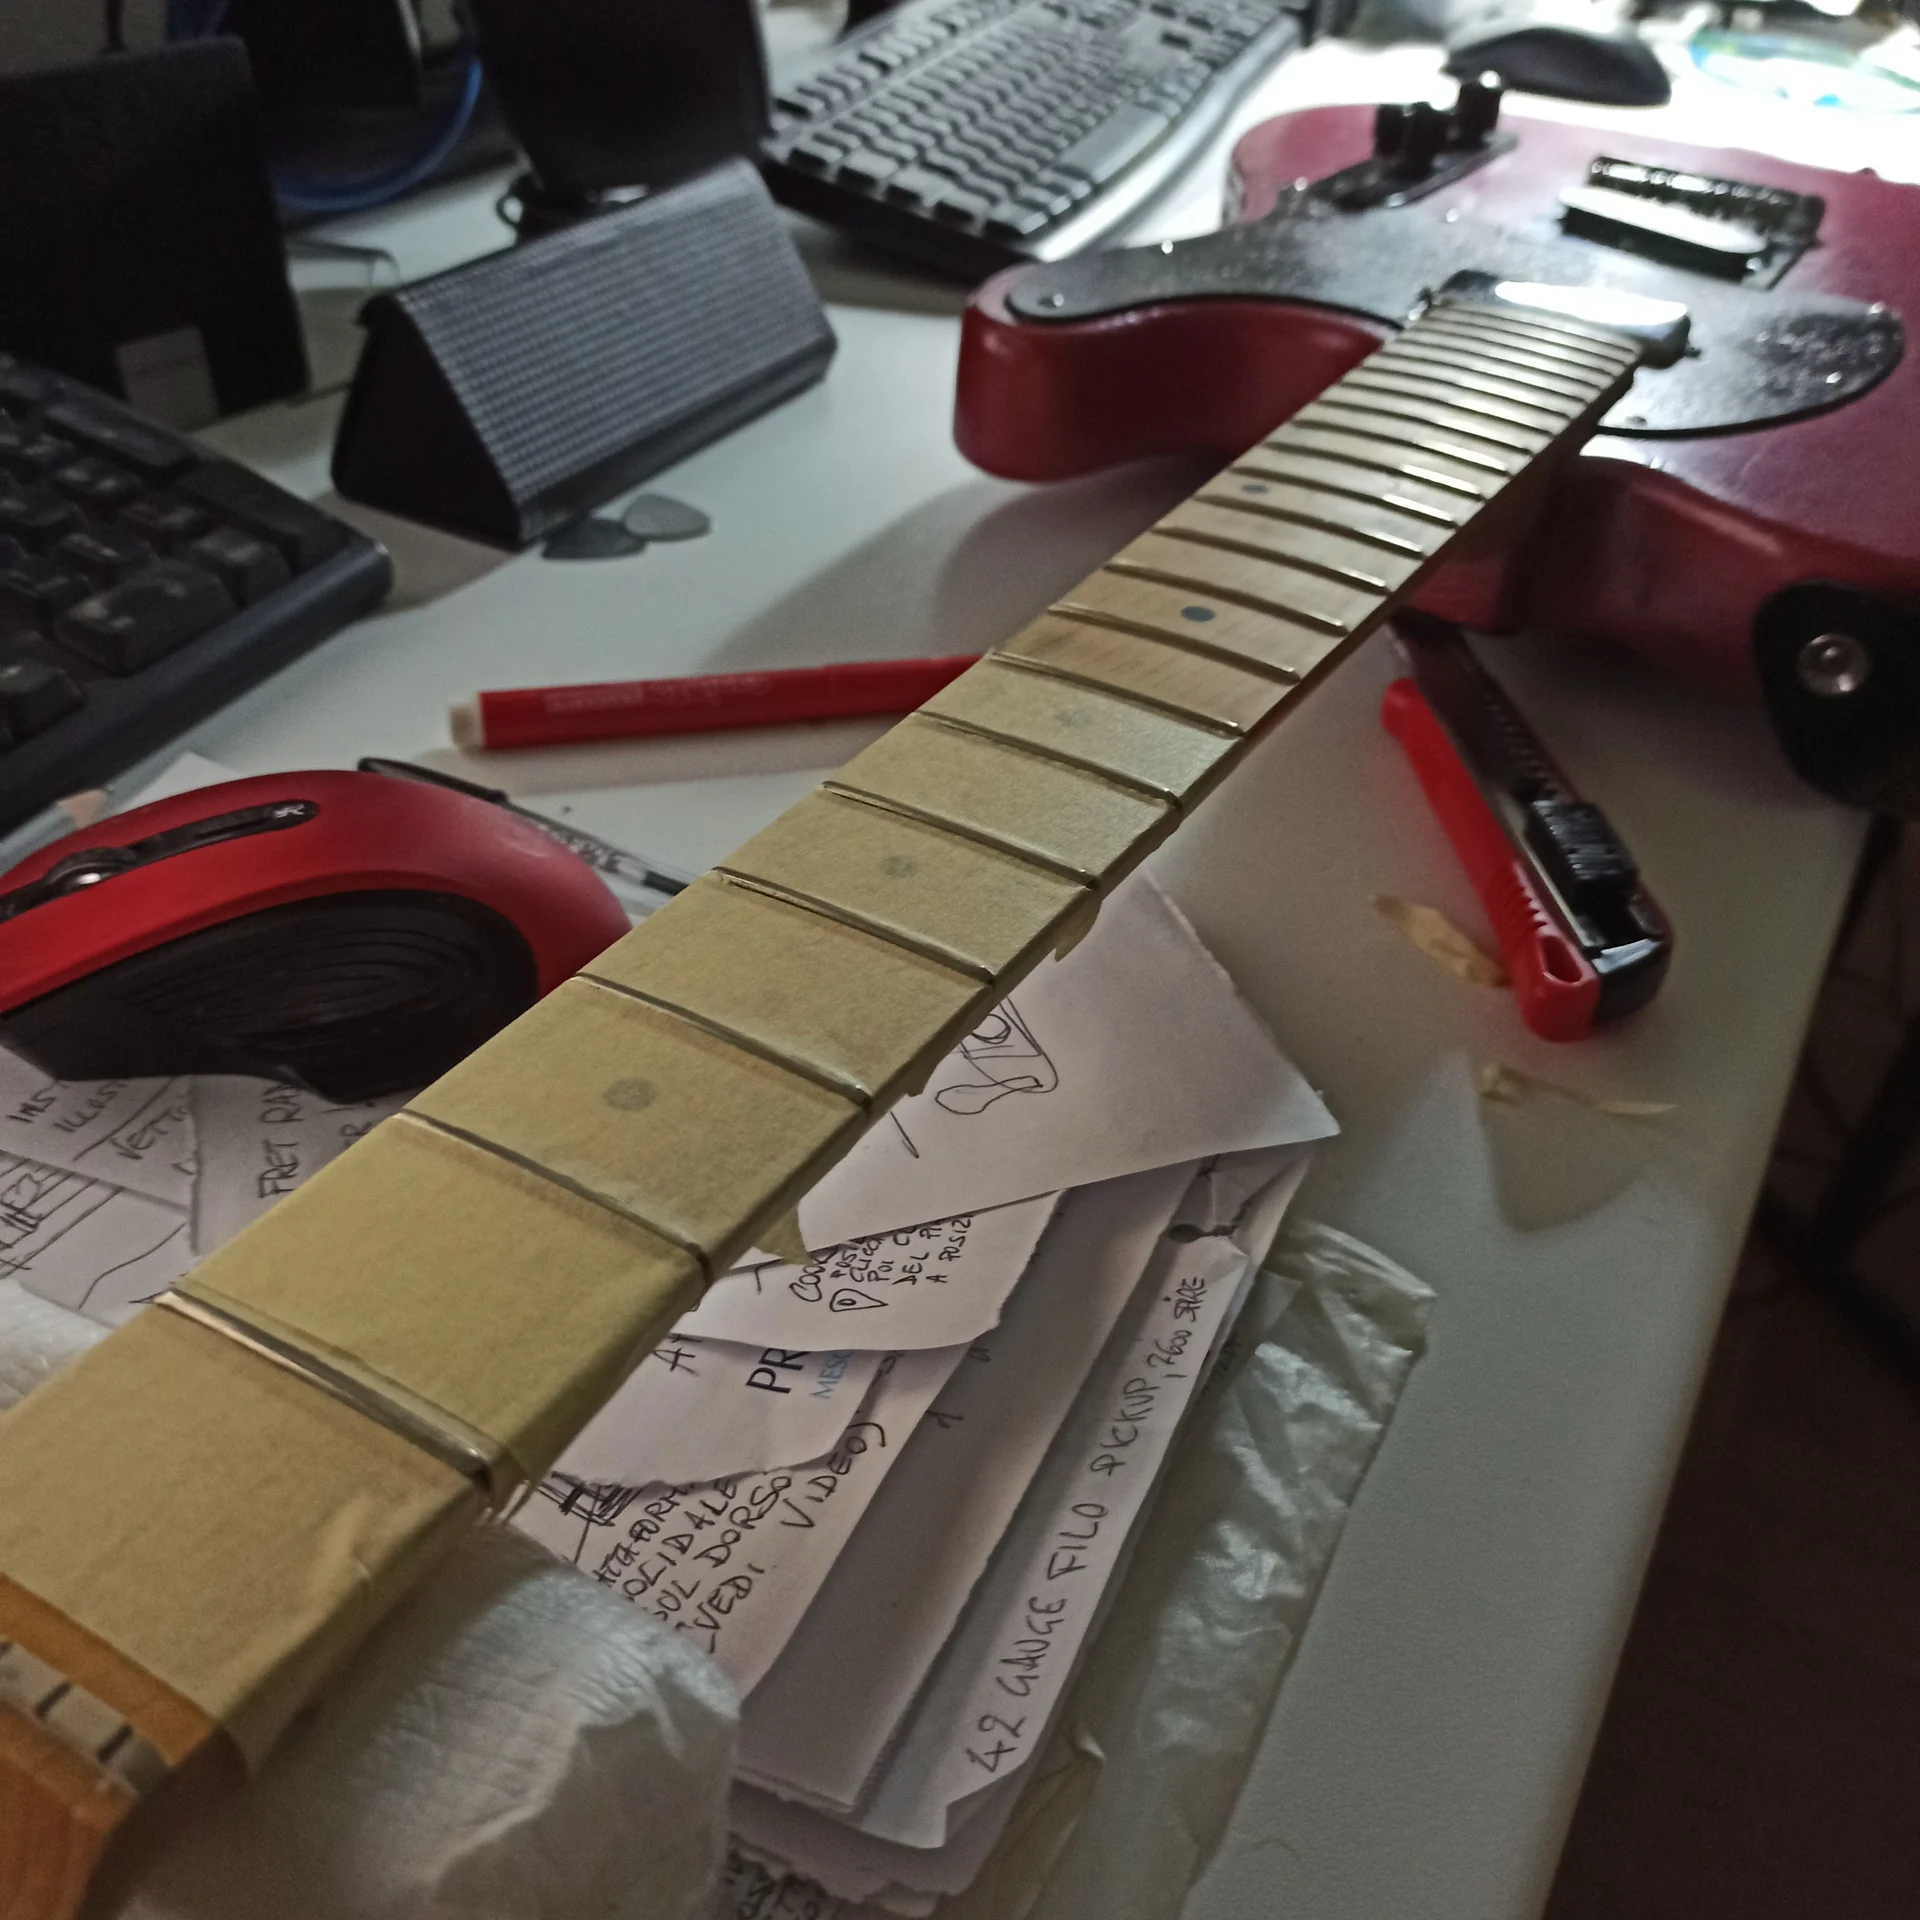
Before getting your hands on the tools, it's essential to understand the concept. keyboard radius It's, in a nutshell, the radius of curvature of its surface. Imagine a circle: the radius is the distance from the center to the circumference. If you take a segment of that circumference and apply it to the keyboard, you have your radius. The smaller the radius number (e.g., 7.25″), the more curved the keyboard. The larger the number (e.g., 16″), the flatter it is. A completely flat keyboard would have an infinite radius.
But why curve it? Well, the human hand isn't flat. Our fingers move better on a slightly curved surface, especially when it comes to chords or complex positions. curvature of the keyboard offers ergonomic comfort that a completely flat surface cannot provide.
Historically, early electric guitars, such as Fenders from the 1950s, had very tight radii, around 7.25″ (about 184 mm). This gave a ’vintage“ feel and allowed for a fairly low action for chording, but it made bending (pulling the strings) a bit more problematic. The strings, when pulled, tended to ”fizz’ (choke out) against the upper frets.
Gibson, on the other hand, has always preferred wider radii, such as the 12″ (about 305 mm), which offered a good compromise between the ease of playing chords and the possibility of bending without problems. Over the years, luthiers and guitarists have sought increasingly versatile solutions, leading to the introduction of flatter radii and compound radius (which we will talk about later).
The point is that the shaping the keyboard surface It's not just a matter of taste, but it directly influences: Hand comfort: As I was saying, the fingers fit better.
String Action: An appropriate radius allows you to set a lower action without buzzing.
Bending: Flatter radii favor wide bends, reducing the risk of “frizz.”.
General feeling: Every guitarist has their own preference, and the radius is often a key factor in choosing an instrument.
So when you think about giving the keyboard bend, you're not just sanding wood, you're shaping the experience of whoever plays that guitar. That's a lot, right?
Choosing your radius: the numbers that matter.
Ok, we understand why. Now, what keyboard profile Which to choose? There are many options, but some are more common than others. Let's look at a few, with practical examples: 7.25″ (184 mm): This is the quintessential "vintage" Fender radius. You'll find it on many reissue Stratocasters and Telecasters from the '50s and '60s. It's very curved, great for chords and blues, but if you pull the strings hard, especially above the 12th fret, you might hear the notes die. If you're looking for that classic feel and don't do extreme bending, this is an excellent choice.

9.5″ (241 mm): Another Fender classic, but more modern. It's a good compromise, found on many "standard" Stratocasters and Telecasters from the '80s onwards. It offers excellent playability for chords and improves the bending performance compared to the 7.25". It's often my starting point for a versatile guitar.
10″ (254 mm): Used by some manufacturers such as G&L and sometimes Gibson. Similar to the 9.5", it offers a slightly flatter feel but with similar benefits.
12″ (305 mm): The standard Gibson radius, found on the Les Paul, SG, and ES-335. It's significantly flatter than the 9.5". It's ideal for bending and very low action, but some find it less comfortable for open chords. If you play a lot of rock, metal, or blues with a lot of bending, this is a great starting point.
14″ (356 mm) – 16″ (406 mm) and above: These are very flat radii, typical of shredded guitars, metal guitars, or some Ibanez, Jackson, and Charvel models. They offer maximum ease for bending, sweep picking, and fast techniques, allowing for extremely low action. However, for some, the feel on chords can be a bit "woody" or less natural.
And then there is the Compound Radius (compound radius). This is a real wildcard, and is my preferred solution for many of my builds. keyboard curvature It's not constant, but changes along the neck. It usually starts with a more curved radius at the nut (e.g., 10") and becomes progressively flatter as it moves up the body (e.g., 16").
Why do something like this? Simple: it combines the best of both worlds. At the nut, the steeper radius (e.g. 10″) makes open chords more comfortable and natural for the hand.
As you go up, the radius flattens out (e.g. 16″), allowing for wide bends and very low action without any “fizz” issues on the high frets.
The compound radius It requires a little more precision and specialized tools to make properly, but the playability is often exceptional. Many boutique and custom guitar makers use this solution. If you're feeling adventurous and want the most out of your guitar, it's worth considering. Some practical advice on choosing: Try different guitars: There's no better way to figure out what you like than by trying it out. Go to a store and play a Stratocaster, Les Paul, or Ibanez. Feel the difference under your fingers.
Think about your style: If you mainly play rhythm and blues chords, a more curved radius might be your route. If you're a shredder and play fast solos, aim for something flatter.
Don't be afraid to make mistakes: The first guitar I made had a 12" radius because "that was Gibson's." Then I discovered that a 9.5" or a 10"-14" compound were much more comfortable for me. It's all experience.
Tools of the trade: what you need to shape your keyboard.
Ok, you've chosen yours keyboard arch. Now let's move on to the "how." The good news is that you don't need expensive machinery. With the right tools and a lot of patience, you can achieve professional results.Here's what you'll need for the surface shaping: 1. Radius Sanding Blocks: These are essential. These are blocks of wood or MDF (sometimes aluminum) with a surface perfectly shaped to the radius you've chosen. There are several types:
Radius Blocks: The most common, about 12-16 inches (30-40 cm) long. They are ideal for sanding the entire fretboard.
Radius Beams: Similar to blocks, but longer (even 24 inches, 60 cm), for even more uniform sanding and to control flatness.
Compound Radius Blocks: If you've chosen a compound radius, there are specific blocks that replicate the progressive curve. Sometimes two different radius blocks are used, one for the lower part of the handle and one for the upper part, with a precise transition.
Where do you find them? Online, on specialized luthiery sites (StewMac, Crimson Guitars, etc.) or even on Amazon. You can also build them yourself if you have access to a CNC router or a planer/thicknesser and a little ingenuity (but I assure you, buying them saves you a lot of time and frustration). 2. Adhesive sandpaper: You will need different grits, from the most aggressive to the very fine.
Initial grits (100-150-180): To quickly remove excess material and sketch out the radius.
Intermediate grits (220-320): To refine the surface and eliminate marks from coarser grits.
Fine grains (400-600): For the final finishing before gluing the keys.
Advise: Buy good-quality rolls of adhesive sandpaper. Anything that peels off halfway through a job is a pain. 3. Wood glue: If the fretboard isn't already glued to the neck, you'll need to secure it. Titebond Original or Titebond III are excellent choices. 4. Clamps and pressure blocks: To glue the fingerboard to the neck evenly. 5. Precise metal square and ruler: To check the flatness and straightness of the handle before starting. 6. Digital (or analog) caliper: To measure thicknesses and check dimensions. 7. Pencil: To mark the surface and see where you are sanding. 8. Dust mask and safety glasses: Wood dust, especially from exotic woods, can be very irritating and dangerous. Don't neglect safety! 9. Vacuum cleaner / Aspirator: To keep your workbench clean and reduce the amount of dust in the air. Optional but useful tools: Radius Gauge: These are metal or plastic templates with different radii, useful for checking the curve as you work. They're not essential if you have blocks, but they help you visualize.
Key Slot Cutter: If you're building your keyboard from scratch, you'll need this to make the key grooves. Alternatively, you can buy pre-slotted keyboards.
Hand plane or rasp (surform): To remove large amounts of wood before fine sanding with blocks. This is crucial to speed up the process and avoid using too much sandpaper. I often use a rasp for roughing out; it's more controllable than a plane for those who aren't very experienced.
Remember, the quality of the tools matters, but your patience and attention to detail matter even more. Take your time and enjoy the process.
The step-by-step procedure: shaping the keyboard.
Here we go. If you have your fretboard to work on (already glued to the neck or still loose, the process is slightly different but the principles are the same), the right blocks and the sandpaper, you're ready. I usually prefer to radius the fretboard. Before Glue it to the neck, because it's easier to handle and control, but many luthiers also do this afterward. Here I'll describe the procedure for a pre-glued fingerboard, which is the most common scenario for those working on a pre-made neck or who have already glued the fingerboard. PAIN POINT: The biggest fear here is creating an uneven surface, with flat spots or hollows, or ruining the fretboard. The key is consistency and listening to the wood.Step 1: Preparing and checking the handle.
First of all, make sure the neck is stable and the fingerboard is glued securely, if it is.The truss rod (adjustment rod) must be installed and adjusted to have the handle as straight as possible. This is crucial! If the handle has a relief (concave curvature) or a backbow (convex curvature) significant, the radius you apply will not be uniform when you straighten it.
Use a metal ruler and a caliper to check for flatness. I usually tighten the truss rod until the neck is almost completely straight, without overtightening, and let it stabilize for a day.
Mimmo's Tip: “Never skip this step. I've learned that a crooked handle at first will only cause you trouble later. It's like building a house on a crooked foundation.”
Step 2: Removing excess material and roughing out.
If your keyboard is very thick or has a very square shape, you'll need to remove quite a bit of material. 1. Mark the center line: Using a pencil, draw a thin line down the center of the fingerboard along its entire length.n2. Mark the edges of the radius: Using a radius gauge or simply by measuring, mark with a pencil the points where the radius will begin to slope towards the edges. This will give you a visual reference. 3. Rough sketching: Use a rasp (such as a Surform) or a sharp hand plane to remove excess material, gradually approaching the desired radius. Be careful not to go too deep, especially at the edges. Always work from the center outward, or with diagonal movements.Mimmo's Tip: “When using the rasp, proceed in small strokes and check often. It's easier to remove wood than to add it. I put a hole in a fingerboard the first time because I was in a hurry; believe me, it's not pretty.”
Step 3: Applying the radius with the sanding block.
This is the crucial stage to give the exact keyboard curvature. 1. Fix the sandpaper: Apply the most aggressive sandpaper (e.g., 100-120 grit) to your radius sanding block. Make sure it's taut and free of air bubbles. 2. Color the keyboard: Using a pencil, color the entire surface of the fretboard. This is a simple but powerful trick: as you sand, you'll see the pencil marks disappear, indicating where the block is working and where there are still high points. 3. Start sanding: Place the block on the fretboard and begin sanding with long, even strokes along the entire length of the fretboard. Don't apply too much pressure. Let the weight of the block and the abrasive do the work.Movements: You can use longitudinal (back and forth along the fingerboard), diagonal, or a combination of these movements. I find slightly diagonal (about 45 degrees) movements to be very effective for evenly removing material and preventing grooves.
Pressure: Maintain constant, even pressure across the entire block. Don't press harder on one side or the other.
Check: Every so often, clean off the dust and re-stain the fretboard with pencil. Continue sanding until all pencil marks disappear evenly across the entire surface. This tells you you've reached the desired radius across the entire length and width.
Step 4: Surface refinement.
Once you have the base radius, it's time to refine the surface. 1. Change sandpaper: Move to a finer grit (e.g. 150-180), repeating the pencil coloring process and sanding until all marks are gone.n2. Progressive increase in grain size: Continue working with increasingly finer grits (220, 320, 400, 600). Each time, make sure to completely remove any traces of the previous grit. This is essential for a smooth, scratch-free surface.n3. Visual and tactile inspection: In the end, the surface should appear perfectly smooth and even, with no sanding marks or depressions. Run your finger over the surface: you shouldn't feel any irregularities.Mimmo's Tip: “This is where patience pays off. If you miss a grain, the marks from the coarser sandpaper will show up later, perhaps after you've already glued the keys. And that's where it gets painful. I've learned that spending an extra 10 minutes here will save you hours later.”
Step 5: The compound radius (if you chose one).
If you have opted for a compound radius, the procedure is slightly different. 1. Identify the areas: Mentally divide the fretboard into two or three areas: the lower part (nut-7th fret), the middle part (7th-12th fret) and the upper part (from the 12th fret onwards).n2. Use different blocks: Start with the curved radius block (e.g., 10") and work primarily on the lower part of the fretboard. Then move on to the flatter radius block (e.g., 16") and work on the upper part. No. 3. The transition: The hardest part is the transition. You'll need to use both blocks with overlapping movements, delicately blending the two curves. Many luthiers use a long block and work with more pressure toward one end or the other to achieve the transition. There are also blocks specifically for compound radiuses that make your life easier. The important thing is to feel the smooth transition under the block. Here too, a pencil is your best friend for seeing where you're working.This process takes practice, but the result is incredible playability.
Common mistakes and how to avoid them (and how to fix them).
Even the most experienced people make mistakes, let alone us hobbyists! I've made all these mistakes at least once. The important thing is to learn and not give up.Error 1: Non-uniform radius or flat spots.
This is the classic. You end up with a keyboard profile which is not a constant curve, but has flatter areas or depressions. Cause: Uneven pressure on the block, movements too short or concentrated in one spot, imperfect sanding block.How to avoid it: Always use long, continuous strokes across the entire length of the keyboard.
Maintain constant, even pressure across the entire block.
Use the pencil as a visual indicator: if the marks don't disappear evenly, something is wrong.
How to fix it: If the flat spots aren't too deep, go back with a coarser grit and continue sanding more carefully. If the mistake is serious and you've removed too much material, you may need to glue a new fretboard layer (a complete refret, but with a new piece of wood) or even replace the entire fretboard. That's why it's best to proceed with caution.
Error 2: Keyboard edges “eaten”.
Sometimes, when sanding, you tend to press too hard on the edges, making them too thin or curved too much from the center. Cause: Excessive pressure on the edges, block too wide compared to the keyboard.How to avoid it: Be careful to keep the pad centered on the keyboard. When you get close to the edges, use lighter strokes.
How to fix it: If it's a minor cosmetic flaw, you can leave it. If it's functional, you may need to restore the edge with a little glue and fine sawdust, but this is a delicate job and not always invisible.
Mistake 3: Rushing to change grain.
Moving from coarse to fine too soon is tempting, but it's a mistake. Cause: Desire to finish the job quickly.How to avoid it: Always make sure all traces of the previous grain are completely gone before moving on to the next. The pencil is your best friend here.
How to fix it: If you notice deep scratches after using a fine grit, you need to go back to the grit that caused the problem and patiently redo the work.
Mistake 4: Not checking the initial flatness of the handle.
If the handle is not straight to begin with, the final radius will be compromised. Cause: Truss rod not adjusted or neck not stabilized.How to avoid it: Take the time to straighten and stabilize the handle before you begin sanding.
How to fix it: If the radius was applied to a handle with a relief or backbow significant, you will have to correct the curvature of the handle and then, probably, make a fret level (fret leveling) thorough to compensate for irregularities. In extreme cases, you'll have to redo the radius.
Mimmo's Warning: “I made this mistake with a flame maple neck. I was so excited to see the wood that I skipped checking the truss rod. Result? A beautiful radius, but then, once I fingered it, the neck had a hump and the guitar didn't intonate. I had to modify the guitar hard to make up for it, and it was never as perfect as it could have been. Don't be like me!”
Advanced tips and final thoughts.
We've covered the basics and mistakes, but there are still a couple of things to keep in mind to get your construction of the keyboard radius to a higher level.The importance of "dry foul"“
Before applying sandpaper to the block, try dry sanding the fretboard with just the block. This will help you understand the feel, the pressure needed, and the most effective movement. This is a great warm-up and builds confidence.Radius and General Setup
Remember that the keyboard curvature It doesn't exist in isolation. It's a fundamental part of the guitar's overall setup. Bridge: If you have a very curved radius, you'll need a bridge with individually height-adjustable saddles (such as a Tune-o-matic bridge or individual saddles like modern hardtail bridges) to follow the radius curve. A bridge with fixed saddles and a predefined curvature may not fit perfectly.Pickup height: The pickup height should also be adjusted according to the radius. The pickup adjustment screws allow you to raise or lower the individual pole pieces to follow the curve of the strings and achieve optimal volume balance.
Nuts and saddles: The nut and bridge saddles should have grooves that replicate the radius of the fingerboard (or bridge). If the nut is too flat or too curved, the strings won't sit properly, and you'll have playability and intonation problems.
Your hand is your best tool
At the end of each sanding step, clean the fretboard thoroughly and run the palm of your hand over it, closing your eyes. Feel every little irregularity, every dip or high point. Your fingers' sensitivity is incredible and often detects flaws that your eyes can't. Trust your hands.Pre-fretted handles and radius
If you're working on a fretted neck, the process is similar but requires even more care. You can't sand as aggressively as you would on a bare fretboard, or you'll ruin the frets. In this case, the goal is to make a fret level (fret leveling) that follows the desired radius. Radius blocks with fine sandpaper are used directly on the frets. This is a separate topic, but it's important to know that the concept of radius applies there as well.A final reflection on the experience
The first time I completed a handle with a radius of curvature It was perfect for me, and I felt immense satisfaction. It wasn't just the piece of wood, it was the knowledge of having learned something new, of having overcome a difficulty that had previously held me back. Every time I pick up that guitar, I feel the work of my hands. Don't be afraid to make mistakes. DIY luthiery is a journey of trial and error, and small victories. Every time you fail, you learn something valuable. And every time you succeed, even with just a small detail, the satisfaction is priceless. Grab your tools, choose your radius, and get to work. I can't wait to hear how it goes!Useful external source: To learn more about the different radius options and how they affect playability, I recommend checking out StewMac's article on fretboard radii, a great resource for any amateur or professional luthier: StewMac – Fretboard Radius Explained. They are a guarantee for tools and technical information.
See also
Download the Luthier Survival Kit
Free PDF with checklist, problem-cause table and project card template.
 English
  Italiano
Stuck on your build?
If you ran into the same problem or have a question, drop it in the comments. I read and reply to every one.
Write a comment