

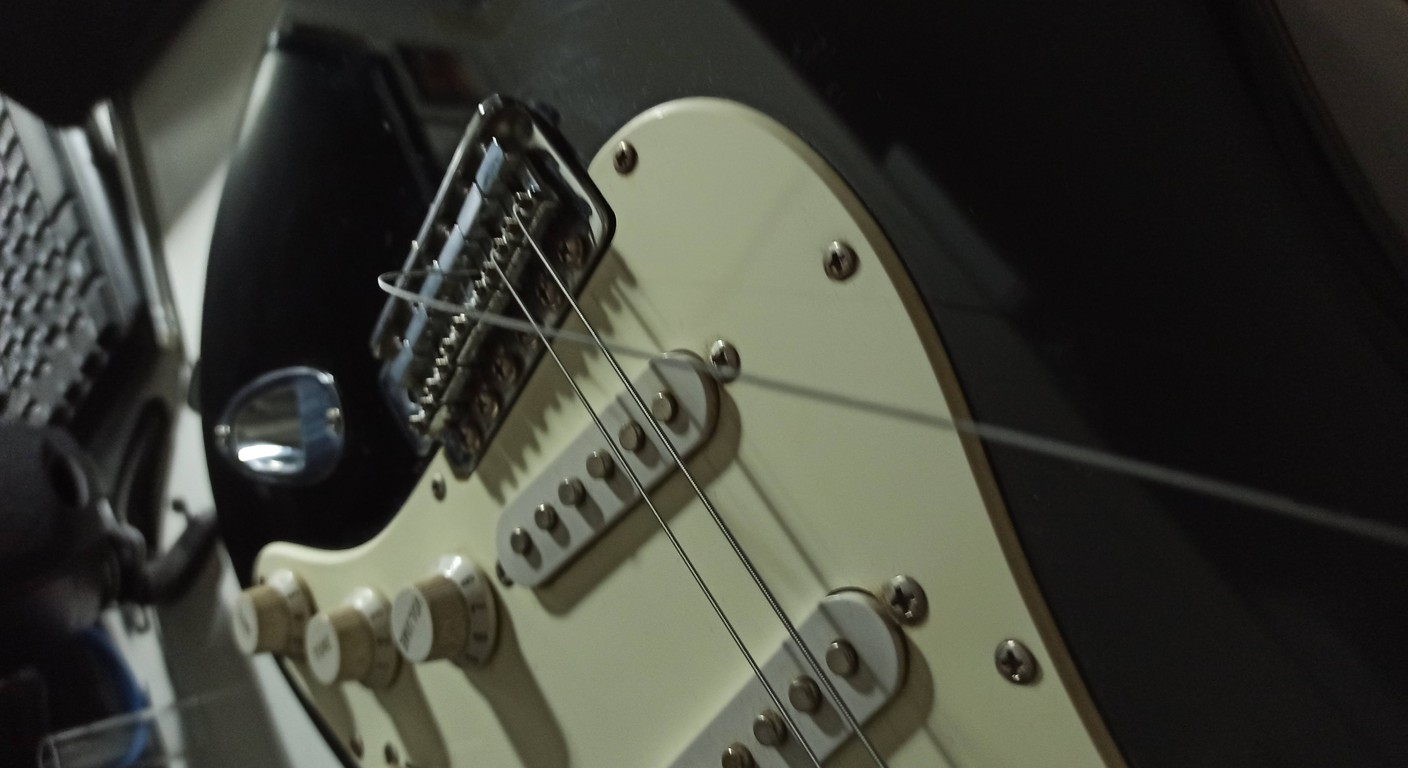
Best guitar pickup: guide to choosing
So, let's be clear: choosing the best guitar pickup It's a mess. I'll tell you, I've been there. The first time I tried to replace a pickup on my old Squier, I bought something random just because I liked the color. The result? A lousy sound, not an improvement. I wasted my money and even got demoralized. But that's exactly where I started to understand something. Because if I figured it out, even though I was terrible with a soldering iron, you can figure it out too. It doesn't take a degree in electrical engineering to understand how a pickup works. All it takes is a little patience, a willingness to get your hands dirty, and, above all, the will to not be afraid of making mistakes. I've made plenty of mistakes, trust me. I've soldered wires backwards, ruined potentiometers, even mounted a bridge pickup where the neck one was supposed to go. But every time, I've learned something.This is the starting point: understanding that your guitar's sound isn't an unfathomable mystery. It's a matter of components working together. And the pickup, well, it's the heart of it all. It's what takes the vibrations of the strings and transforms them into an electrical signal. If you choose the right one, your guitar comes to life. If you get it wrong, well, it will sound like a broken radio.
So, don't worry. In this guide, I'll walk you through the maze of magnetic transducers. We'll see what they are, how they work, what types there are, and, most importantly, how to choose the right one for you. tea and for the your guitar, without wasting time and money. Ready? Let's get started!
The Basics of Sound: How a Pickup Works and Why It Matters
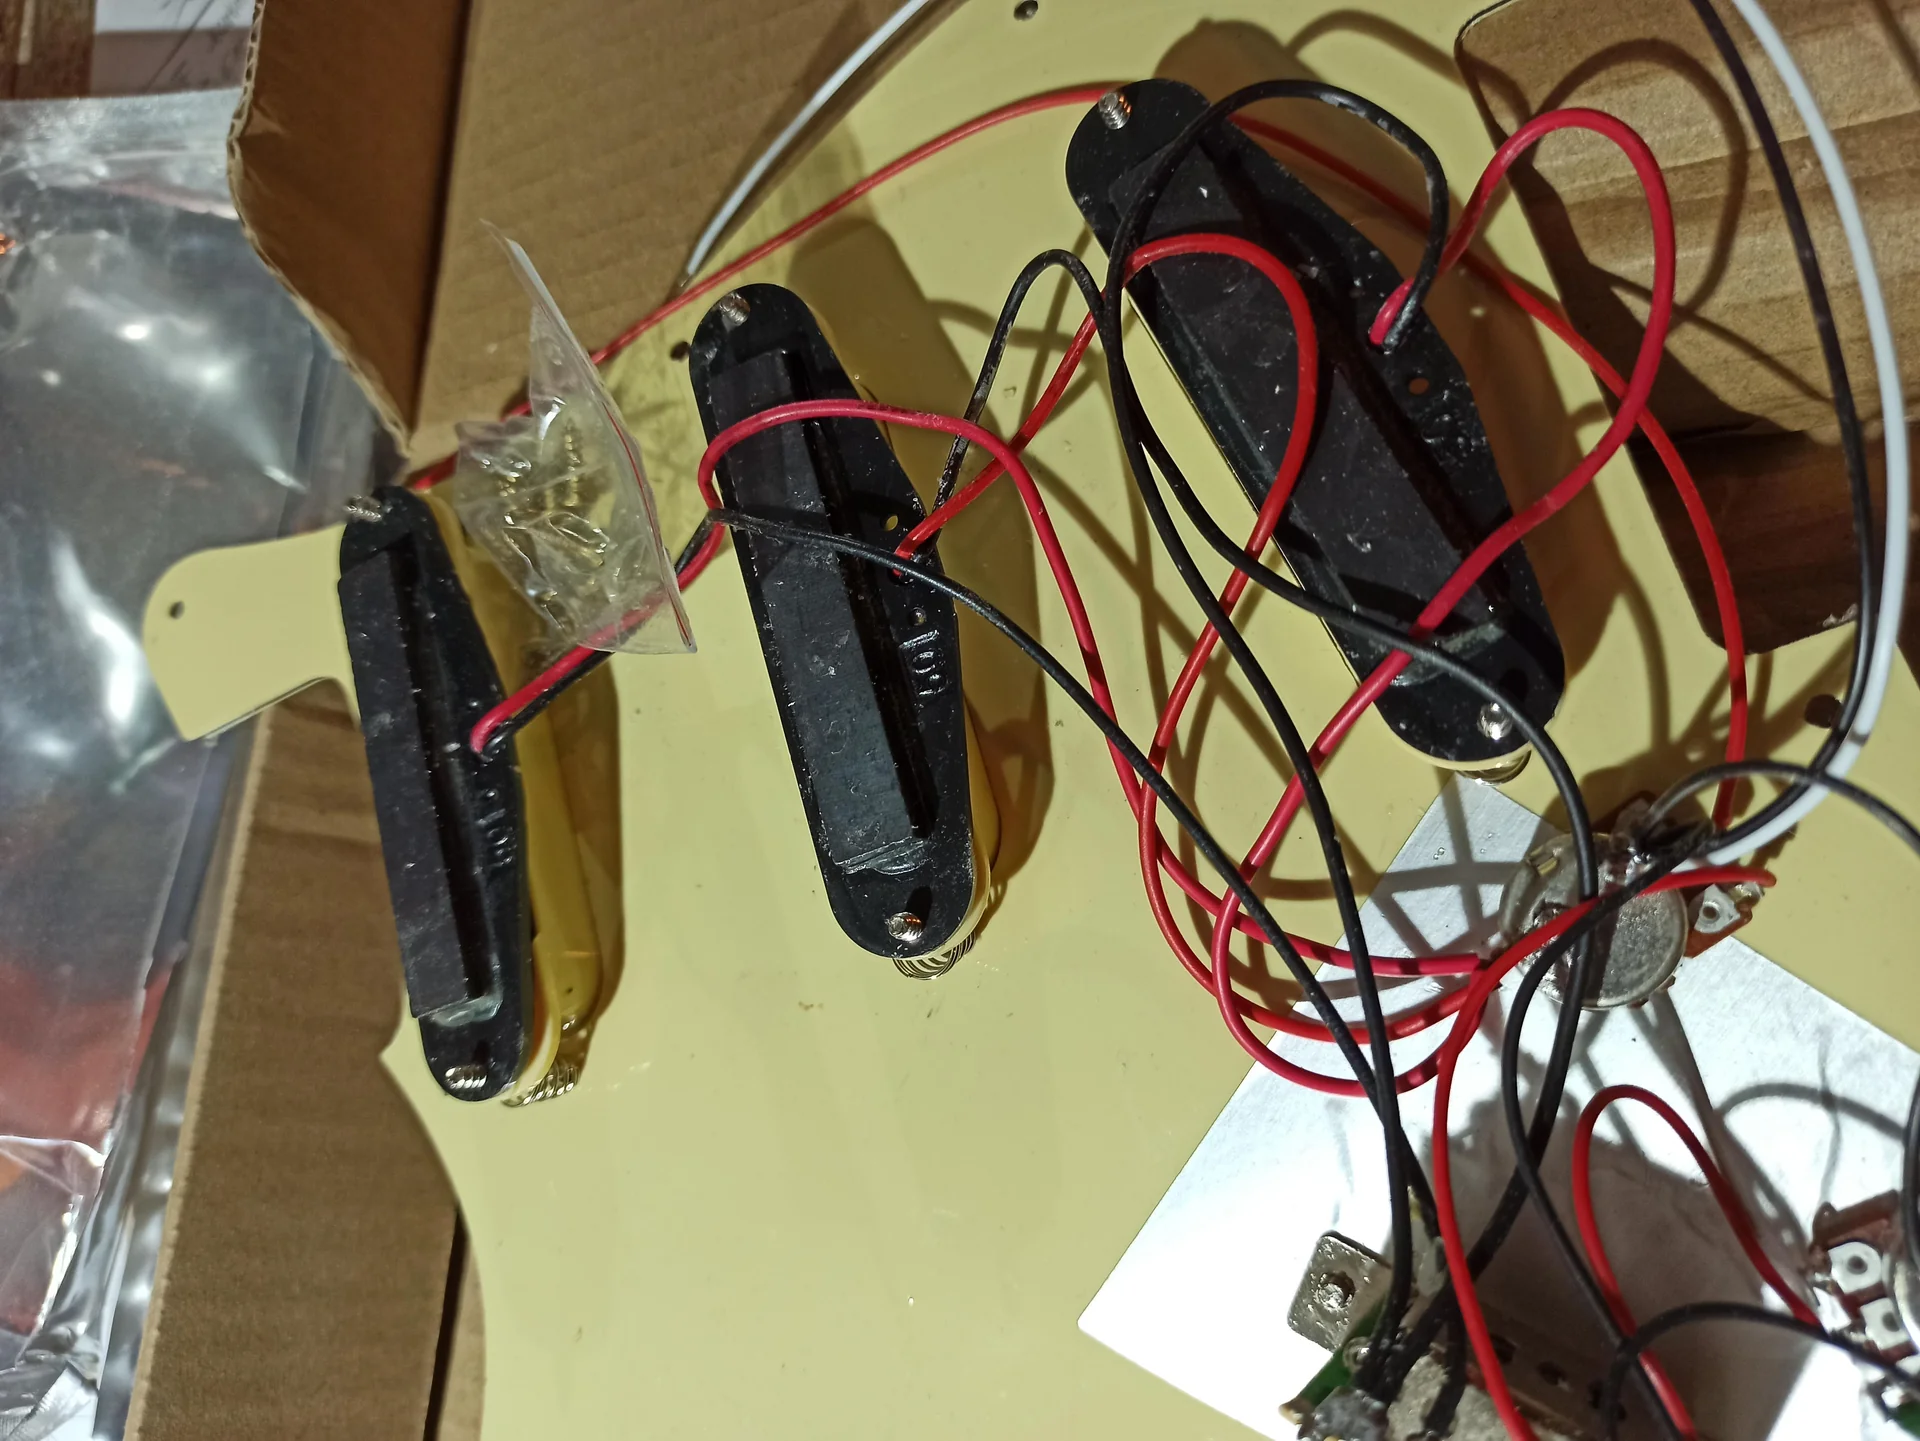
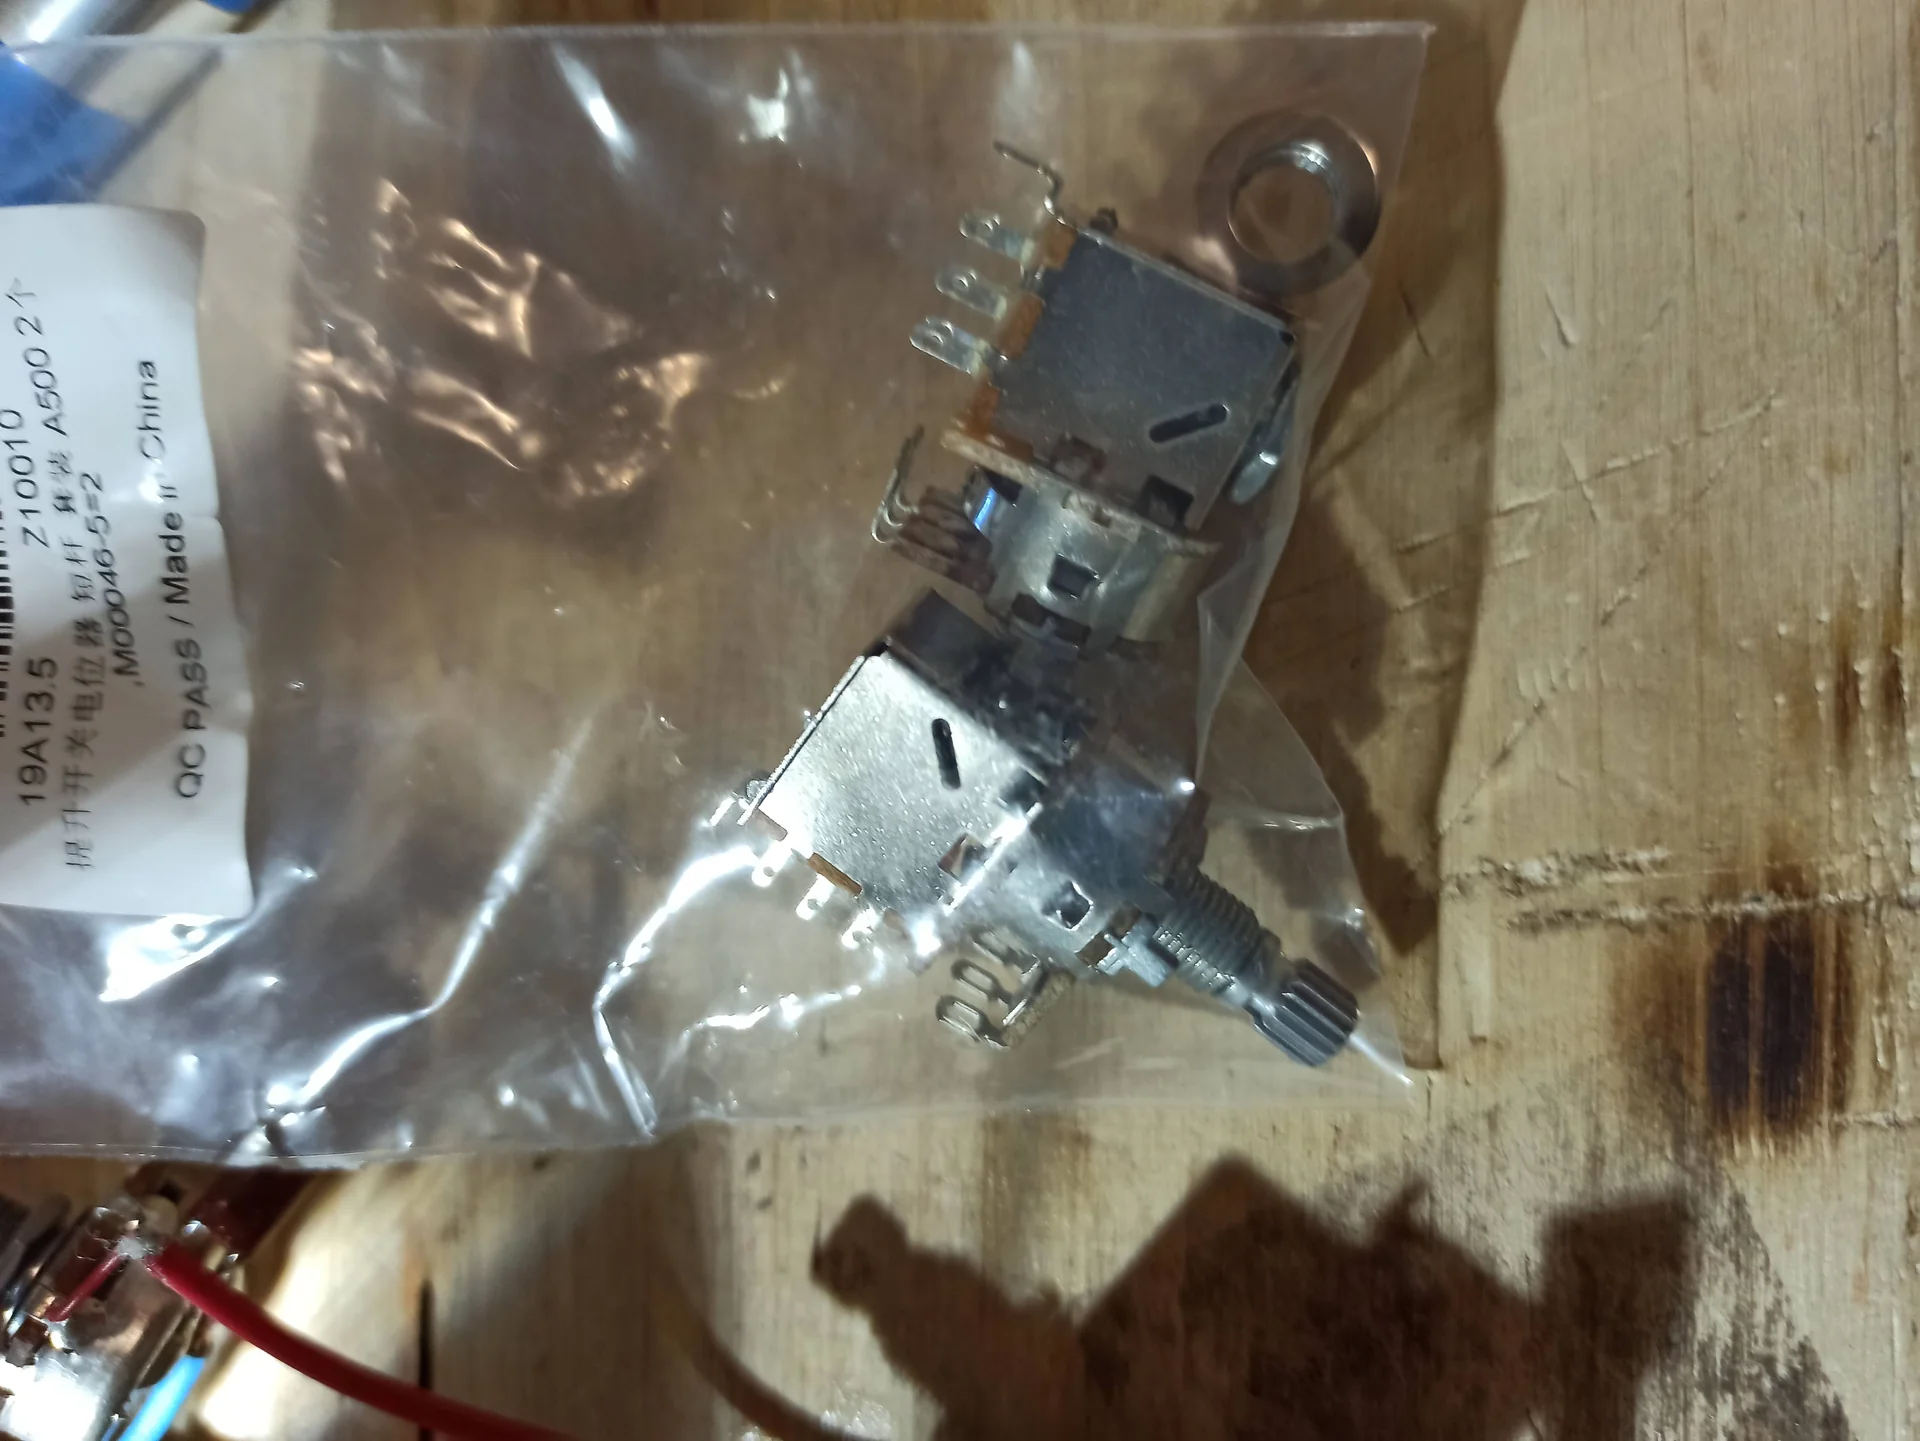
Ok, now that we've outlined the macro-categories, it's time to get our hands dirty with the details. When you're looking for a guitar pickups, you'll come across a series of technical specifications. Don't ignore them! They're the key to understanding how that component will sound. They're not there to confuse, but to inform. And I'll explain what they mean.
Output and DC Resistance: It's Not Just a Matter of Volume
Advertising

Cloth-covered Waxed Vintage-style Pushback Guitar Wire -10 Feet (3.3-white/3.3-black/3.3-yellow) Pushback Wire for Electric Guitar Upgrades Kits
See on Amazon

DC Resistance (DCR): Measured in kiloohms (kΩ), it's the resistance of the copper wire wrapped around the magnet. Generally, the higher the resistance, the more turns there are, and the higher the output and mid-bass. But be careful: it's not the only measurement, and it's not always a direct indicator of output or tone. Two pickups with the same DCR can sound very different due to the type of magnet, the wire, and the winding method. It's a starting point, not the Bible.
A practical example: I had a humbucker with a very high DCR, like 16kΩ. I expected a monster of gain. Instead, it was a bit dull and muddy. Then I tried another one with 12kΩ, which sounded ten times more aggressive. The reason? Different magnets, and probably a "warmer" winding, also with fewer turns. The DCR is a clue, not a verdict.
Magnets: the soul of the pickup
The type of magnet is perhaps the most overlooked element, but it is crucial. The most common magnets are Alnico (II, III, IV, V) and Ceramic. Alnico II: Weaker magnet. Warm, smooth sound, with pronounced mids and a soft attack. Excellent for vintage, blues, and jazz sounds. Less sustain but more musicality. Think of the original PAFs.Alnico III: Even weaker than Alnico II, but with a more open and clear sound. Less common, used for pickups with a very vintage and delicate sound.
Alnico IV: A good balance between II and V. Excellent for a balanced response and a “transparent” sound. Doesn’t alter the guitar’s character too much.
Alnico V: The most common of the alnico types. Stronger magnet. Brighter sound, higher output, more attack, and a little more sustain. Ideal for rock, blues-rock, and hard rock. It's the workhorse of many producers.
Ceramic: Very strong magnet. Powerful, aggressive sound, with bright highs and powerful lows. Excellent for high-gain, metal, and hard rock. Often associated with a more "modern" and less dynamic sound than Alnicos.
I learned the importance of magnets the hard way. I replaced a ceramic pickup with an Alnico II on my Les Paul. The sound went from "war machine" to "intimate bluesman." Both are good, but for different purposes. There's no absolute best magnet, just the one best suited to the sound you're looking for.
Thread and winding: details that matter
We won't get too technical, but know that even these details make a difference. Wire Gauge: The diameter of the copper wire. The most common are AWG 42 and AWG 43. Thinner wire (AWG 43) allows for more turns in the same space, increasing the DCR and shifting the resonant frequency downward, resulting in a darker, more mid-range sound. AWG 42 is brighter.Wrapping method: Machine winding: More uniform, easier to play, more consistent sounds.
Hand-wound: Every pickup is slightly different. Small irregularities in the winding create a more "open," complex, and dynamic sound, often sought after in boutique pickups. This doesn't necessarily mean "better," but "different.".
Potted vs. Unpotted: A Question of Feedback
This is something a hobbyist often discovers the hard way: unwanted acoustic feedback. Potted (waxed): Most modern pickups are dipped in hot wax (paraffin) to fill every space between the coils and between the pickup and the cover. This prevents the coils from vibrating (microphonics) and reduces the risk of acoustic feedback at high volumes or high gain.Unpotted (not waxed): Some vintage pickups or faithful replicas aren't waxed. They have a more "open" and airy sound, but they're much more prone to feedback, especially if you use a lot of distortion or play at high volume. If your guitar whistles like a train when you turn up the volume, it might be an unwaxed pickup.
I learned this lesson when I installed a set of unpotted PAF replicas on a hard rock guitar. At high volumes, they were a constant hiss. I had to wax them myself, with a small pan and a lot of patience. It was a dirty job, but necessary. If you play aggressive music, go potted. If you're looking for the purest, most vintage sound possible, and you play at low volumes, unpotted can be very satisfying.
Finding Your Voice: Matching the Pickup to Your Style and Guitar
Now comes the funniest, but also the most subjective part: how to choose the best guitar pickup that fits to yours sound and to the your Guitar. There's no magic formula, but there are some guidelines that will help you narrow down your choices. It's like choosing ingredients for a recipe: you have to know what you want to cook.Your musical genre: the starting point
This is the first filter. A pickup designed for metal won't sound good for jazz, and vice versa. Blues/Jazz/Funk: Here, we're looking for clarity, dynamics, warmth, and a good touch response. Vintage single coils (Alnico II or V, bass-medium output) or Alnico II/III humbuckers (PAF type, medium-low output) are often preferred. The ability to "clean up" by turning down the guitar's volume is a plus.Rock/Hard Rock: You need more punch, more sustain, and less noise. Humbuckers with Alnico V (medium-high output) or "hot" single coils (overwound) are excellent. You're looking for a good balance between attack and sustain, with a midrange that cuts through the mix.
Metal/Shred: Output is king here. High-output humbuckers are used, often with very powerful ceramic or Alnico V magnets. Active pickups are a popular choice for their quietness and natural compression. The goal is an aggressive, tight sound with powerful lows and precise highs, even at extreme gain. You don't have to be rigid, eh? Angus Young of AC/DC uses vintage PAF humbuckers, which aren't high-output, but his amp is always turned up to 11. It's the system That matters. But for a hobbyist who doesn't have a 100W Marshall stack at home, a more powerful pickup can help achieve that sound.
The wood of your guitar: an often forgotten factor
The wood your guitar is made from has a huge impact on its acoustic tone, and the pickup amplifies it. It can't "create" a sound that isn't there, but it can enhance or attenuate certain frequencies. Mahogany: A warm wood, with pronounced mids and long sustain. A bright pickup can balance the warmth of mahogany, while a warm one might make it too dark.Maple: Bright wood, with a quick attack and defined highs. A warmer, more midrange pickup can round out the sound a bit, while one that's too bright could make it shrill.
Alder/Ash: Balanced sound, with good mids and lows. They are versatile woods that adapt to many types of pickups.
I mounted a super-bright pickup on a maple guitar with an ebony fingerboard. The result was a sonic scalpel, sharp as ever, but also a little cold. I had to change the pots and capacitors to mellow it out a bit. Always consider the intrinsic character of the wood.
Pickup position: neck, middle, bridge
Pickups sound different depending on their position. Neck Pickup: The sound is warmer, rounder, with more bass and sustain. Ideal for fluid solos, arpeggios, and jazz sounds. The strings vibrate with a greater amplitude here, generating more low harmonics.Middle Pickup: Often the most balanced, a good compromise between warmth and brightness. It sounds good for clean rhythms or a little crunch. On Strats, the "2" and "4" positions (neck + middle, middle + bridge) are famous for their "quacky" and "funk" sounds.
Bridge Pickup: The sound is brighter, sharper, with more attack and less bass. The strings vibrate with less amplitude here. This position is ideal for rock, metal, powerful riffs, and solos that need to break through the mix. It has more presence and punch.
Many pickup sets are sold with specific versions for each position, calibrated to balance output and tone. A bridge humbucker often has more output than a neck humbucker, to compensate for the lower signal from the strings in that position and to balance the volume when switching pickups.
I tried using the same pickup in both the bridge and neck positions once. The neck position was great, but the bridge position was thin and shrill. Not a good idea unless it's specifically designed for that.
Do research: listen, read, compare
This is the most practical advice I can give you. 1. Listen to demos online: YouTube is full of pickup demos. Look for videos showing the pickup you're interested in mounted on guitars similar to yours, with similar amps. Listen carefully to the differences between the models. Read reviews: Forums, blogs, and specialized websites. Seek out opinions from other guitarists. Reddit, for example, is a goldmine for pickup discussions. I've often found the most frequently asked questions there. Consult the manufacturers' websites: Seymour Duncan, DiMarzio, EMG, Bare Knuckle, Lollar, Fralin… they all have detailed guides and pickup selectors to help you find the right model for your style and desired sound. You'll often find complete technical specifications, too. A great resource for learning more about magnets and windings is Seymour Duncan's "Tech Tips" section, such as this page on magnet types: Magnet Types and Their Effect on Tone. There you will find clear and detailed explanations.n4. Talk to other guitarists/luthiers: If you know someone who has already made these changes, ask for advice. Firsthand experience is worth its weight in gold. Don't rush. The choice of collection device It just takes time. It's not an impulse purchase.The moment of truth: installation and wiring
You have chosen yours best guitar pickup, It arrived home, and you unpacked it with the trepidation of a child at Christmas. Well, now comes the practical part: assembling and wiring it. This is the point where many hobbyists get stuck, fearful of causing damage. But I assure you, with a little care and the right tools, it's a doable job. I've done it myself, and I've made worse messes.Preliminary checks and measurements
Before you pick up your soldering iron, do a couple of checks. 1. Pole Piece Spacing: Make sure the distance between the pickup pole pieces matches the distance between the bridge strings. There are two main standards for humbuckers:Standard Spacing (or Gibson Spacing): Approximately 49.2mm-50mm. Typical for Gibson-style guitars with Tune-o-matic bridges.
F-Spaced (or Trembucker for Seymour Duncan, or Spaced for DiMarzio): Approximately 52mm-53mm. For guitars with bridges such as Fender Stratocaster or Floyd Rose, where the strings are wider at the bridge.
If the pole pieces don't line up with the strings, the signal will be weaker and more unbalanced. I made the mistake of installing a standard pickup on an F-spaced guitar, and the sound was dull on the outside strings. I had to disassemble the whole thing. No. 2. Pickup Dimensions: Make sure the pickup fits the routing on your guitar. Standard single coils (Fender) and standard humbuckers (Gibson) are fairly uniform in size, but there are variations. Some P90 pickups, for example, are different in size than single coils or humbuckers.
The tools you need
You don't need a luthier's shop, but these are essential: Soldering iron: Good quality, with a fine tip. A 30-40W is perfect.Pond: Lead-free (for current regulations) or leaded (if you find it and feel more comfortable with it, solder better), of good diameter (0.6mm-1mm).
Desoldering pump or desoldering braid: To correct mistakes. And trust me, you will make mistakes.
Screwdrivers: Of various sizes, cross-shaped and slotted.
Fine-nose pliers and wire cutters: For cutting and handling wires.
Multimeter (optional but recommended): To check continuity and resistance. It saves you a lot of headaches.
Electrical tape or heat shrink tubing: To isolate contacts.
Wiring diagram: ESSENTIAL. Each manufacturer has its own. Download it from their website.
Wiring: One step at a time
This is the most delicate part. Pickups can have 2, 3, or 4 conductors (+ ground). 2 conductors (+ ground): The simplest. One hot wire, one ground wire. Typical of vintage single coils and some humbuckers.4 conductors (+ ground): The most versatile. Each coil of the humbucker has its own start and end. This allows for options such as coil splitting (turning the humbucker into a single coil), coil tapping (not the same thing, but often confused), phase reversal (reversing the phase for specific sounds), or parallel wiring.
Coil Splitting: With a switch (push/pull pot or mini-toggle), you can turn off one of the two coils of a humbucker, obtaining a sound closer to that of a single coil. Less powerful, brighter, but also louder. It's a modification I've done on several guitars and is fantastic for versatility.
Parallel wiring: The humbucker's two coils are wired in parallel rather than in series. The sound is brighter and with less output, it's still hum-cancelling. Step-by-step procedure (generic): 1. Unplug your guitar: Of course, but you never know.n2. Remove the strings: Remove the strings to work better.n3. Remove the old pickup: Unsolder the wires from the volume pot and ground. Unscrew the screws holding it to the body or ring.
See also
Download the Luthier Survival Kit
Free PDF with checklist, problem-cause table and project card template.
 English
  Italiano
Stuck on your build?
If you ran into the same problem or have a question, drop it in the comments. I read and reply to every one.
Write a comment