
Replacing a Guitar Pickup: 5 Keys to Doing It Right
Well, we've all been there. That feeling like your guitar doesn't sound. Exactly as you'd like. Maybe it's a sound a little too dull, too bright, too weak. Or maybe you simply want to experiment, give your instrument a new voice. The solution? Often there's one thing: a good guitar pickup replacement.
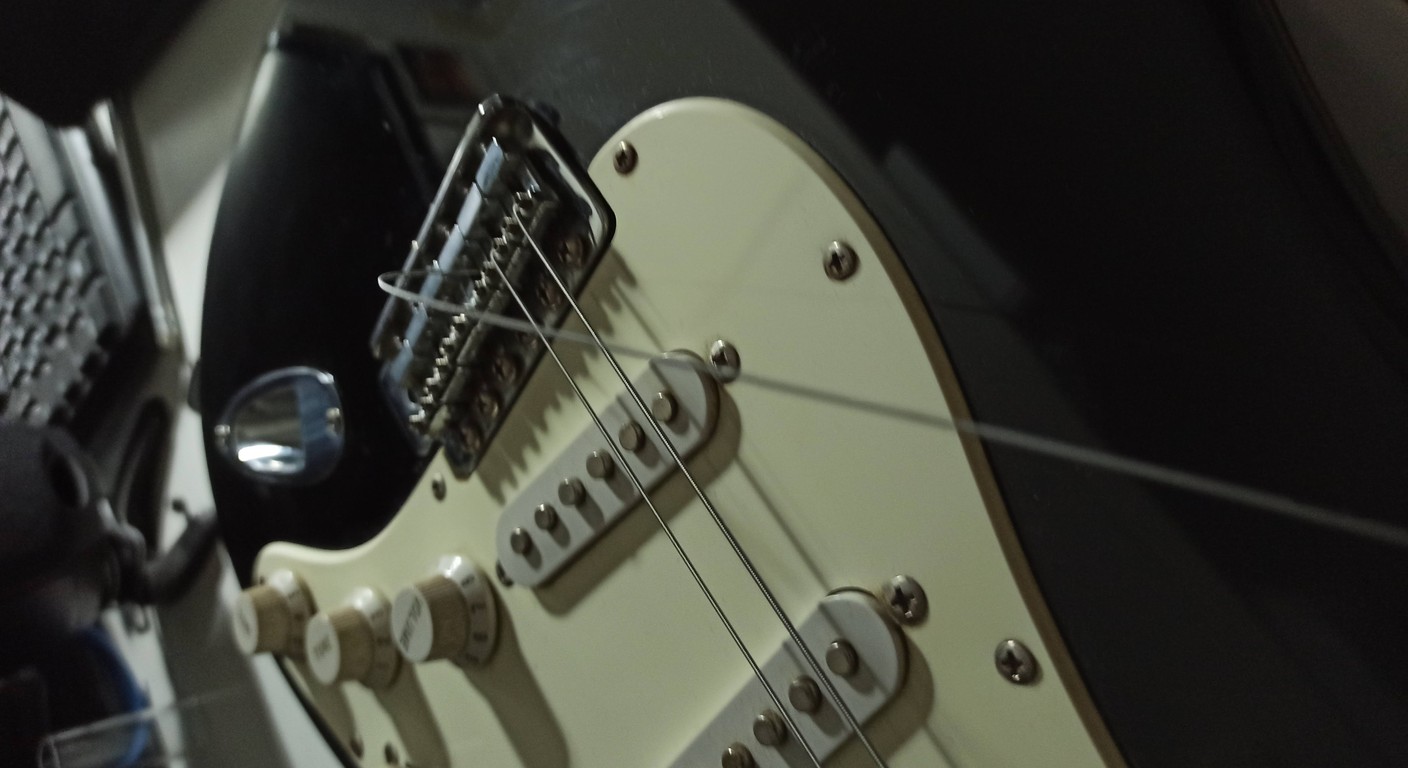
It seems like a mess, right? Wires, solder, electrical values that are incomprehensible. I totally understand. The first time I decided to replace the pickups on my Stratocaster, I spent more time looking at schematics online and sweating than actually soldering. I made mistakes, burned a potentiometer (yes, it happens), and even installed a pickup backwards. But guess what? I finally learned. And if I could do it, with a cheap soldering iron and patience that was scarce at the time, you can too.
This isn't a professional luthier's manual. It's a practical, step-by-step guide, designed for those like me who use their garage as a workshop and are eager to get their hands dirty. I'll give you the five keys to a good job, avoiding the most common pitfalls. I won't promise everything will be a breeze the first time, but I'll give you the tools to approach it with the right mindset and minimize headaches. Ready?
1. Figure Out What You Want (and What You Already Have): Choosing Your New Sound

The first, real obstacle is not so much welding, but choose. The market offers an infinite number of options for the’guitar pickup upgrade, and finding your way around can be a nightmare. I still remember when I wanted a "rockier" sound and ended up buying a pickup that sounded so deep it sounded like it was underwater. It's not just a question of "good" or "bad," but of "right" for you and your instrument.
Let's clarify what to look for.
Pickup Types: The Starting Point
Single Coil: The classic Fender sound. Bright, crystal clear, with good definition. The downside is the typical hum, especially at high gain. Perfect for blues, funk, and country.
Humbucker: Designed to eliminate hum (hum-bucking). They're two single coils wired side by side and in counterphase. They have higher output, a fuller, warmer sound, and are ideal for rock, metal, and jazz. Less hum, more punch.
P90: A happy medium. They're single coils, but with a wider, shallower coil. They have more output and punch than a traditional single coil, but retain a certain brightness and a little more bite. And yes, they also buzz, but with character!
Mini Humbucker, Filter'Tron, etc.: There are a thousand variations, each with its own nuances. The important thing is to understand the family you belong to.
Output and Character: Vintage, Modern, Hot
Not all pickups are the same, even within the same type.
Vintage: Lower output, more dynamic sound, very responsive to the touch. They often have Alnico II or III magnets. They're for those seeking clarity and nuance.
Modern/Medium Output: A good balance between dynamics and power. Versatile.
Hot/High Output: Lots of power, compression, and sustain. Often with more powerful ceramic or Alnico V magnets. Great for aggressive styles, but can sacrifice some dynamics.
The first time I thought "hot" meant "better." I've discovered that "hot" sometimes means "less nuance" if that's not what you're looking for.
Magnets: The True Heart of Sound
Magnets are crucial. Without going into too much technical detail, here are the main differences:
Alnico II: Warmer, smoother sound, with pronounced mids and a less aggressive attack. Often paired with vintage pickups.
Alnico III: Even softer and less powerful than Alnico II. Very sweet, suitable for clean and blues sounds.
Alnico IV: Rarely used, it offers a good balance, a little more output than the II and III, with a neutral response.
Alnico V: The most common. Bright, powerful sound, with defined bass and crisp highs. Very versatile.
Ceramics: Maximum power, high output, more aggressive and compressed sound. Often used in "hot" pickups for metal and hard rock.
It is not a ranking of “best to worst”, but of characteristics. A pickup with ceramic magnets is not “worse” than an Alnico V one, it's just different.
DC Resistance (Direct Current Resistance): An Indicator, Not a Verdict
When looking for a new pickup, you'll often see a value in kilohms (e.g., 8.5K, 12K). This is the DC resistance.
What it indicates: Generally, a higher value means more turns of wire, which tends to give more output, more pronounced mids, and less bright highs (a darker sound).
It's not the only factor: It's a useful parameter for comparing similar pickups, but it doesn't tell the whole story. The type of magnet, the wire gauge, and the winding method (random vs. ordered) greatly influence the sound, even with the same DC resistance.
So, don't just rely on the number. A 15K humbucker won't necessarily sound "better" than an 8K one. It might just sound stronger And more compressed.
Polarity and Phase: The Detail That Saves You from Blasphemies
If you're only replacing one pickup, it's less critical. But if you're replacing two or three, or mixing different brands, you need to know what I'm talking about.
Magnetic polarity: Indicates the direction of the magnetic field (North or South).
Electrical phase: It depends on how the coils are wound and how the wires are connected.
If two pickups are out of phase with each other (one is North-Hot and the other South-Hot, or they have the same polarity but are wired oppositely), when you use them together (e.g., position 2 or 4 on a Strat), the sound will be weak, nasal, almost "thin." This is a classic sign of incorrect phase. The good news is that it can be corrected by reversing the hot and ground wires on one of the pickups.
My heartfelt advice: Before buying, look for comparison videos on YouTube. Listen carefully. Read carefully. reviews. If you already have an idea of a sound you like (that of a guitarist, a band), research which pickups they use. It's not an exact science, but it's a good starting point. And don't be afraid to ask for advice on specialized forums. That's what the community is there for.
To delve deeper into the technical specifications of pickups and their differences, a great resource is the Seymour Duncan's Guide to Types of Magnets. It gives you a good theoretical foundation.
2. Essential Tools and Materials (Without Breaking Your Wallet)
Okay, so you've chosen your pickup truck. Now you need the right tools to assemble it. You don't need a NASA-level lab, but you don't need to improvise with a butter knife and a lighter either (I swear, I've seen people try that). The goal is to work safely and cleanly, avoiding irreversible damage.
Here's my essential shopping list for a’guitar pickup installation done properly:
1. Soldering Iron: Power: You don't need a 100-watt soldering station. A 25-40 watt fine-tipped soldering iron is more than sufficient for guitar electronics. The important thing is that it maintains the required temperature.
Tip: A fine, clean tip is crucial. Not the thick one for motor cables.
My mistake: My first soldering iron was a €5 Chinese-made thing that took half an hour to heat up, and the tip rusted just looking at it. The soldering came out cold and ugly. I learned the hard way that a decent tool, even if it's not expensive, can change your life.
2. Pond: Type: Flux-cored solder. Flux-free solder is a nightmare for beginners.
Diameter: 0.5mm or 0.8mm are ideal for guitar electronics.
Composition: The classic 60/40 (tin/lead) is the easiest to use. If you prefer lead-free solder, know that it requires higher temperatures and a little more practice.
3. Desoldering iron: Pump (sucker): Inexpensive and effective for removing excess solder or cleaning pads.
A braid (wick): A copper braid that absorbs molten solder. Useful for finely cleaning pads or desoldering delicate components.
I recommend getting both. They're inexpensive and save you a lot of trouble.
4. Screwdrivers: A set of Phillips and flathead screwdrivers of various sizes. Pickup, faceplate, and potentiometer screws are not all the same.
Attention: Always use the right size. You don't want to strip a screw and end up having to pull it out with pliers.
5. Wire cutters and strippers: Wire cutters: To cut off excess threads.
Wire stripper: Essential for stripping wires without cutting the internal conductors. A good adjustable wire stripper is a minimal investment that saves you time and frustration.
6. Tester / Multimeter: Indispensable, believe me. It saves you from hours of swearing. It's useful for:
Check the continuity of the connections (no shorts, no broken wires).
Measure the DC resistance of the pickups (to check that they are the right ones and work).
Identify short circuits.
You don't need a professional model. A €15-20 digital multimeter will do just fine.
7. Insulating Tape / Heat Shrink Tubing: To insulate solder joints and prevent short circuits. Heat shrink tubing is cleaner and more professional, but electrical tape works just as well.
8. Clean Cloth and Isopropyl Alcohol: To clean surfaces, potentiometers, and solder joints. Cleanliness is essential to avoid buzzing and poor contact.
9. Soldering Iron and Sponge Holder: A stand to keep the hot soldering iron safe. A damp sponge (or copper wool) is used to clean the tip of the soldering iron. A clean tip equals clean solder.
10. Fine Tip Tweezers: To hold wires and small components while soldering. Prevents burning your fingers and gives you greater precision.
11. Optional (but recommended): Single-conductor shielded cable: If you need to extend a signal wire, use it.
New set of strings: Since you're taking everything apart, it's the perfect time to put on fresh strings.
New potentiometers and capacitors: If your electronics are old, you might want to take advantage of a complete upgrade.
Don't let the list scare you. You'll already have many of these tools, or they cost just a few euros. The important thing is to have them on hand before you start. There's nothing more frustrating than stopping work because you're missing something trivial.
3. Disassembly: The Art of Doing No Damage (and Remembering Where Everything Goes)
Okay, you have the tools, you have the pickup. Now it's time to disassemble it. This step is crucial. It's not difficult, but it requires attention and method. The real pain point here is the fear of losing a piece, of not remembering where a wire went, or of scratching the guitar.
My golden advice: Take photos, lots of photos! Every step, every wire you unplug, every component you remove. Take photos from different angles. If you have a short memory like mine, a small notebook where you can draw a simplified wiring diagram is a godsend.
Here's how to proceed for the guitar pickup replacement without a hitch:
1. Prepare the Work Area: Choose a clean, well-lit table with enough space.
Place a rubber mat, a thick cloth, or an old towel under your guitar to protect it from scratches and falls.
Keep a small bowl or container handy for screws and small parts. I assure you, you don't want to be searching for a lost screw under the couch.
2. Remove the Strings: Loosen all the strings and cut them with the wire cutters. You don't need to remove them completely from the bridge or tuners; just make sure they're out of the way. If you want to replace them, now is the perfect time.
3. Remove the Pickup Screws: Each pickup is held in place by two or three screws (depending on the type of pickup and the guitar).
Using the appropriately sized screwdriver, gently unscrew them.
Attention: There are often springs and/or rubber tubes underneath the pickups that are used to adjust the height. Don't lose them! Put them in the screw container immediately.
4. Open the Electronics Compartment: On most electric guitars, the electronics are accessible from a compartment on the back of the body (for Strats, Teles, etc.) or from the pickguard (for Les Pauls, SGs).
Unlock and remove the electronics compartment cover (if applicable). Again, be careful with the screws.
5. Identify and Unsolder Old Wires: PHOTO, PHOTO, PHOTO! I'll never stop saying it. Photograph the current connections.
Identify the wires: Each pickup will have at least two wires: one of signal (hot) and one of mass (ground).
The ground wire is often bare, twisted around the signal wire, or black. It should be soldered to a common ground point (usually the top of a potentiometer, or the back of the output jack).
The signal (hot) wire is usually colored (white, red, yellow) and goes to the pickup switch or volume pot.
4-conductor (plus shield) humbuckers will have multiple wires to allow for coil splits, series/parallel, etc. Again, take pictures and note the colors.
Unsoldering: With the soldering iron hot, touch the solder point for a second or two, until the solder melts.
Use the desoldering iron (pump or braid) to remove the solder.
Gently pull the wire. It should come off easily. If it resists, don't pull: the solder hasn't completely melted or hasn't been completely removed.
Unsolder one wire at a time, or if you prefer, disconnect all the ground wires first, then all the hot wires. The important thing is to know Where every thread went.
6. Remove Old Pickups: Once the wires are off, you can carefully pull the old pickups out of the compartment.
Don't force it. If they get caught, check that there aren't any wires still connected or that the pickup isn't stuck.
Common Mistakes to Avoid:
Pull the wires without unsoldering them: You risk tearing the solder pads on the potentiometer or switch, and that's a pain.
Do not mark the position of the wires: This is the classic "I remember so much" fallacy. You won't remember, believe me.
Overheating the potentiometers too much: A soldering iron that's too hot or held too long can burn the inside of a potentiometer. Be quick and decisive. It happened to me, obviously.
Losing springs or rubbers: They are small but essential for the height of the pickup.
Take your time. It's not a race. Patience at this stage will pay off with fewer headaches later.
4. Soldering and Wiring: The Heart of the Operation
Here we come to the crux of the matter: soldering. This is the most daunting part, but I assure you that with a little practice and the right tools, it's easier than it seems. The goal is to create solid, clean connections that don't introduce noise or bad contacts. The pain points here are cold solder joints, short circuits, and hum.
Before we start welding, a quick refresher on good practices:
Clean tip: Clean the tip of the soldering iron on a damp sponge or copper wool before and after each soldering session.
Hot soldering iron: Make sure your soldering iron is at the right temperature. The solder should melt quickly and flow well.
Pre-tinning: Always tin the tips of the wires before soldering them to a component. This makes soldering quicker and cleaner.
Now, let's move on to the’guitar pickup installation real:
1. Prepare the New Pickups: Take out your new pickups. If they have long wires, you may need to cut them to the right length, leaving a little leeway.
Carefully strip the outer insulation (if present) and then the insulation of the individual conductors. Leave about 3-4 mm of exposed copper.
Pre-tinning the tips of the stripped wires.
2. Wiring: Color Codes and Schematics (This is where it gets interesting) CRUCIAL: Each manufacturer has its own color code for pickup wires. Don't assume that black is always ground and white is hot!
4-Conductor Humbucker (+Shield): These are the most versatile (and sometimes the most complex). They have two wires for each coil (start and finish) plus a shield wire. The shield is always grounded. The four wires allow for different configurations:
Standard (series): The two coils are connected in series. Maximum output, full sound.
Parallel: The two coils are wired in parallel. Less output, brighter and more open sound, similar to a powerful single coil.
Coil Split/Tap: One of the two coils is cut off, turning the humbucker into a single coil. Great for versatility.
What to do: Find the wiring diagram provided by your pickup manufacturer. If you don't find it in the box, it's probably on their website. Compare it to the wiring diagram for your guitar (if you have one).
Example (generic, always check the specific schema!): Seymour Duncan: Black = Hot; Green = Ground; Red and White = Split Coils (connected together in series, one to ground per split).
DiMarzio: Red = Hot; Green = Ground; Black and White = Coil Split.
My mistake: I once mixed a Seymour Duncan pickup with a DiMarzio, and I didn't check the schematics. The resulting combination sounded out of phase. Once I figured it out, I simply swapped the hot and ground wires on one of the pickups.
3. Place the Pickups in the Body: Insert the new pickups into the compartment, making sure the springs and rubber grommets are in place.
Tighten the mounting screws, but don't overtighten. Leave them slightly loose for future height adjustments.
4. Perform the Welding: Ground (Massa): Connect the ground wire from each pickup to the common ground point. This can be the back of the volume pot cover, the back of the output jack, or a dedicated ground point on the circuit board (if applicable). Make sure the solder is solid and there is good contact.
Hot (Signal): Connect the signal wire from each pickup to the pickup switch or volume pot, following the pattern you chose.
For 4-conductor humbuckers: Follow the manufacturer's wiring diagram carefully.