

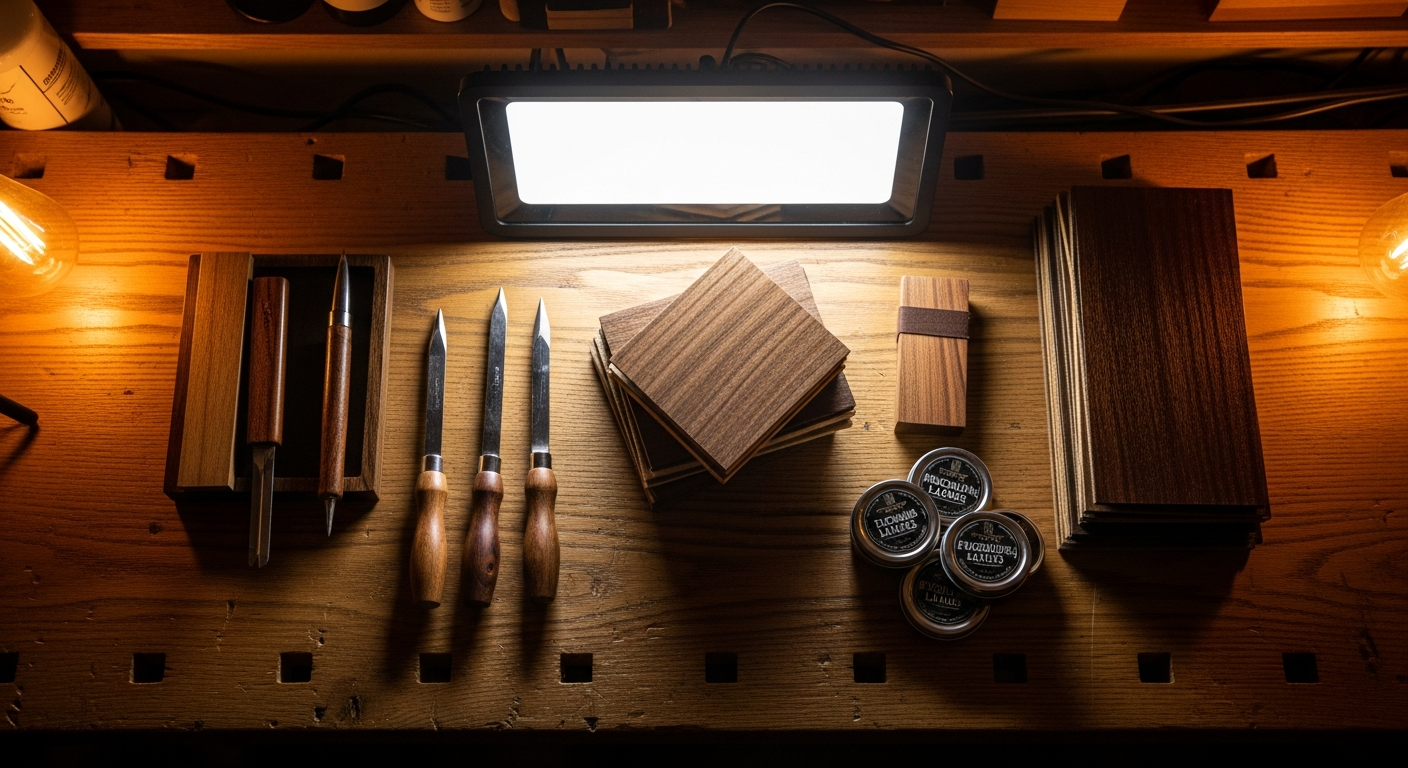
Brass Guitar Keys: What You Need to Know
So, let's be clear. When we talk about keys for guitar, most of the time you end up discussing nickel-silver or, lately, stainless steel. Robust, reliable materials that do their job and that's it. But there's a third party, a bit less common but with a history as long as music itself: brass.nIt's not the material you find on all production guitars, that's for sure. But if you're like me, someone who likes to get their hands dirty, try new things and maybe give a different touch to their instrument, then brass guitar keys might have already piqued your curiosity. I had my first experience with brass years ago, on a neck salvaged from an old acoustic that I wanted to electrify. It was an experiment, one of those things you do because 'it can't get any worse than this'. And instead, it opened up a world to me.nnBrass, a material that sparks discussion (and sound)
nn nnnnnn
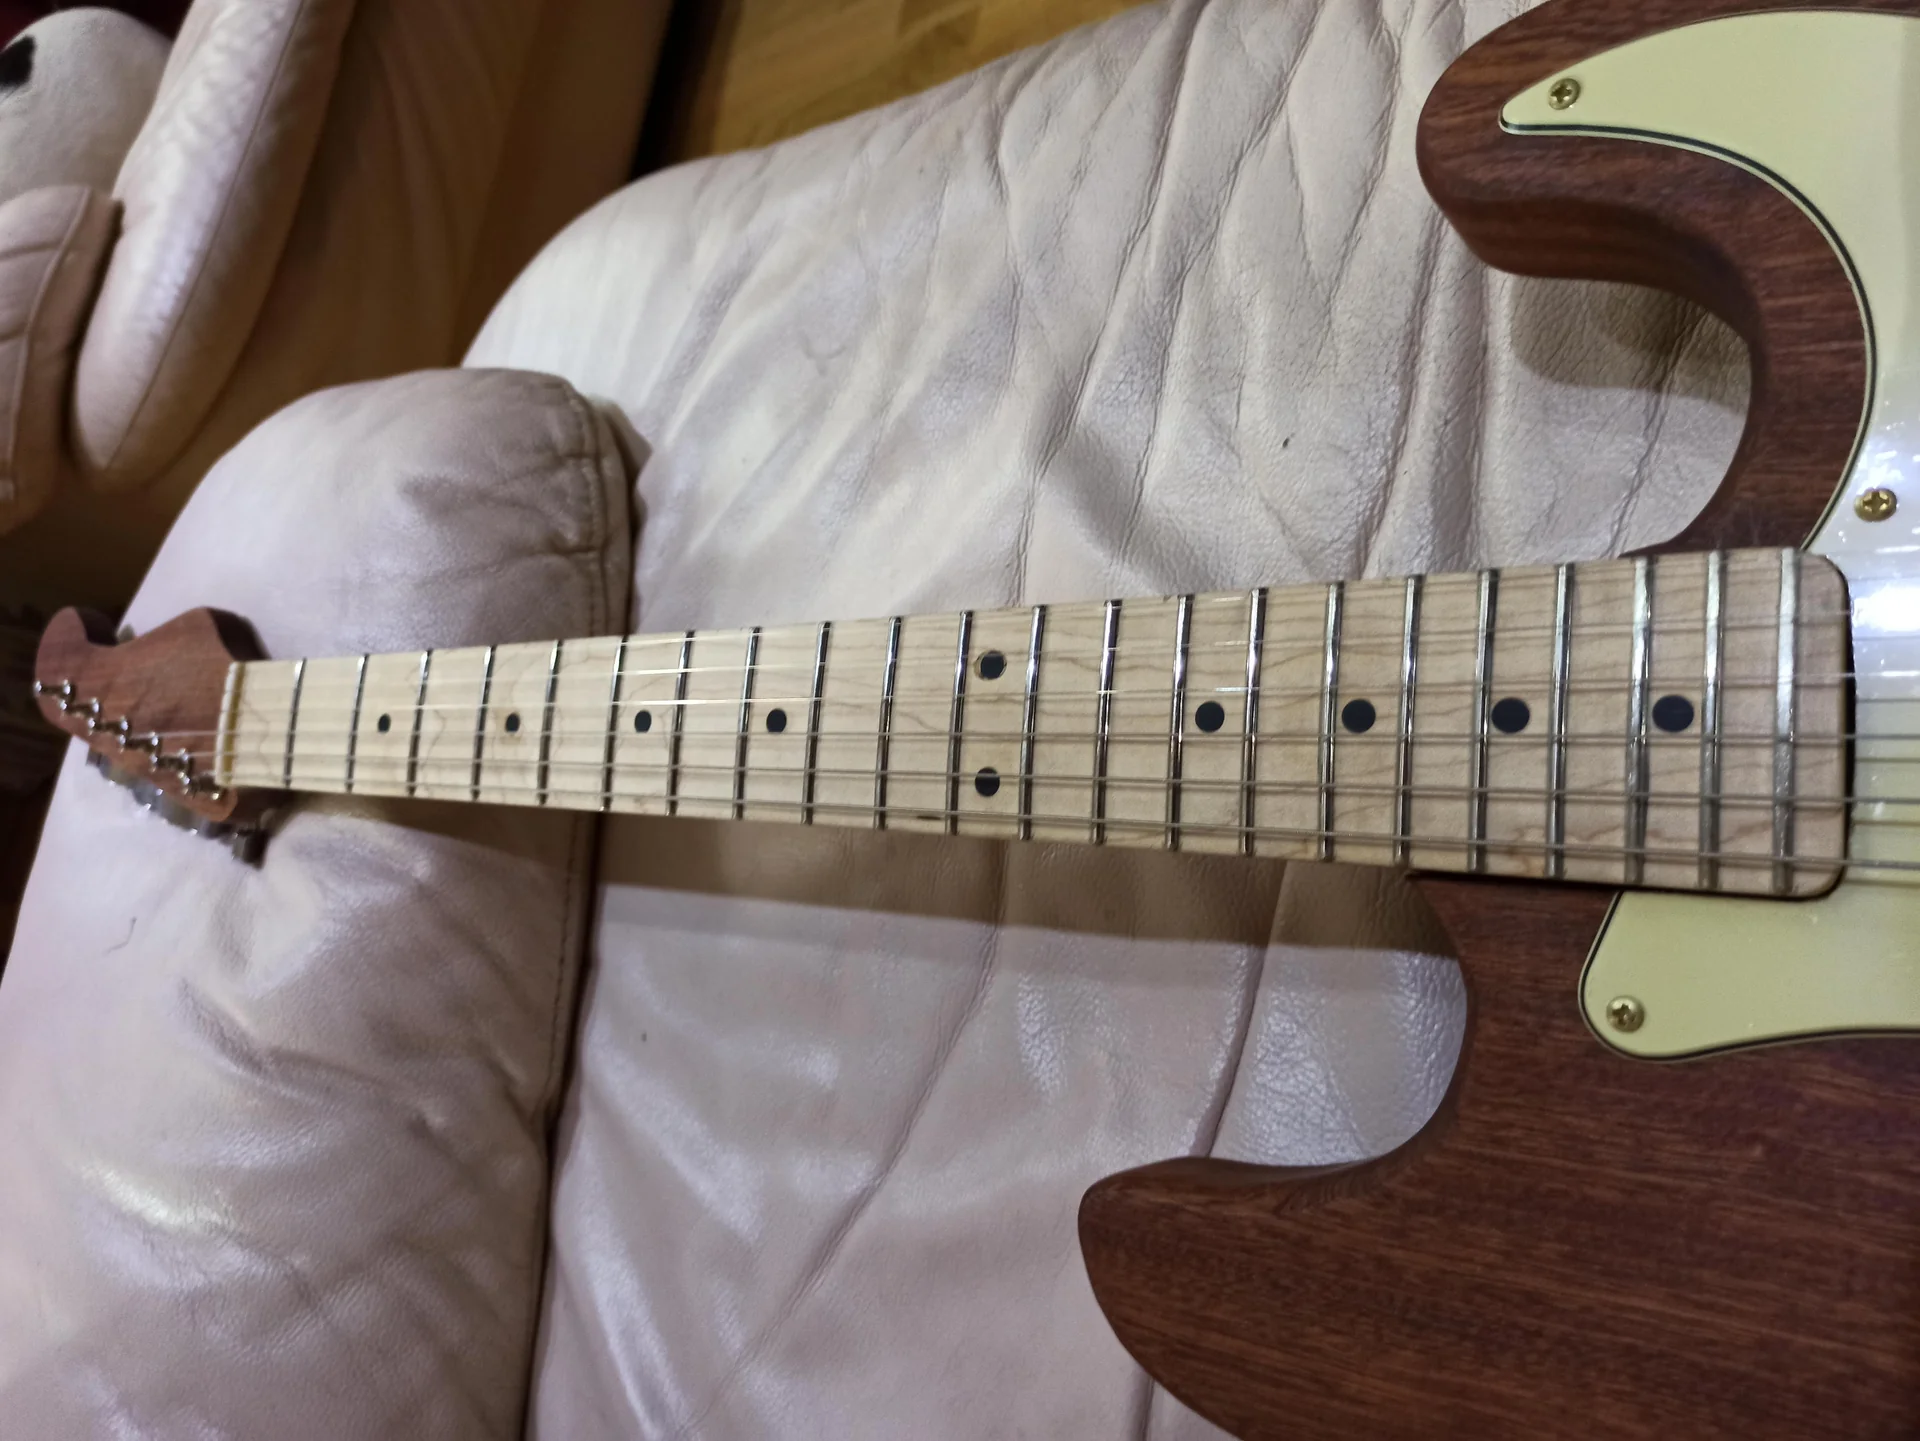
Ok, let's put the urban legends aside and see what I actually learned from working with the brass fret. There are aspects that have positively surprised me and others that require a bit more attention.nn
The Advantages (in my opinion, after some testing)
nnnn
nnn1. Feeling under your fingers: This is an often-mentioned point. Many say that brass offers a unique smoothness. I don't know if it's psychological or not, but I've noticed a certain "softness" when bending or vibrato. The string seems to slide better. It's a subtle sensation, but it's there. If you like a more "buttery" feel, you might like it. #2. Easier processing: Ah, here's the rub. For us hobbyists, who perhaps don't have super-precise cutters or professional luthier tools, workability is a huge plus. brass key wires They're easier to cut, bend, and file than nickel silver. And believe me, after sweating it out with stainless steel, working with brass is a breeze. You file away less material in less time, which is a great advantage when leveling. Less effort, less wear on files and stones. Sound (the controversial part): Many claim a warmer, rounder tone with slightly more sustain. Honestly, I haven't noticed any huge differences that would make me say, "Wow, this guitar sounds different just because of the frets." However, there is one thing. Brass is less "resonant" in a metallic sense than steel. Perhaps this translates into a slight attenuation of the higher harmonics and a greater emphasis on the mids. But it's such a subjective thing and influenced by a thousand other factors (wood, pickup, amplifier) that I wouldn't consider it the primary reason for choosing a guitar. However, it's a detail that some musicians appreciate. Aesthetics: Let's not underestimate the appearance. brass keys have a golden color that can be very beautiful on certain fretboards, especially those made of maple or dark rosewood. They don't oxidize like pure copper, but they can develop a slight patina which, in my opinion, adds character. It's a matter of taste, of course, but if you're looking for a slightly different look, brass is there.nnThe Disadvantages (that should be considered)
nn1. Durability: This is the sore point, the real "pain point" for many. Yes, the brass keys They wear out faster than nickel-silver ones and, by far, faster than stainless steel ones. If you're a shredder who plays eight hours a day with high-tension stainless steel strings, you'll see the marks sooner. But for a hobbyist who plays an hour a day, or even a musician who doesn't rack up miles of bending, the difference might not be as dramatic. I've had a guitar with brass frets for almost five years, and even though I play it regularly, I haven't needed a re-fret yet. Sure, the marks are there, but they're still perfectly playable. n2. Observation and cleaning: Brass, like all metals, reacts to the environment. It can oxidize slightly, creating a greenish patina. This isn't a functional problem, but an aesthetic one. It requires slightly more frequent cleaning if you want to keep them shiny. I use a soft cloth and a little metal polish, but don't overdo it. It's a small price to pay for the look and feel, in my opinion. Cost: Often the brass guitar keys They cost a little more than standard nickel silver. It's not a difference that will bankrupt you, but it's a factor to consider in your overall project budget.n4. Availability: Not all suppliers offer a wide selection of brass sizes and profiles. You may have to search a little more to find the profile you need (e.g., jumbo, medium-jumbo, narrow-tall).Ultimately, choosing the fret material is a compromise. If absolute durability is your number one priority, go with stainless steel without hesitation. But if you're willing to put in a little more maintenance for a different feel and easier workmanship, the brass keys deserve a chance.nn
Preparation and Installation: My Garage-Style Approach“
Advertising

StewMac Fret Rocker, The Original 4-in-1 Mini Straightedge Luthier Tool | Precision-Machined Stainless Steel, Locate High Frets Fast on Guitar and Bass, Four Edge Lengths for Any Fret Spacing
See on Amazon

First of all, neck preparation. If you're refretting, you need to remove the old frets. This is a delicate step. I use a soldering iron tip to slightly heat each fret (the heat softens the glue and expands the metal, making extraction easier) and then specific fret pliers. Pull gently, with a movement as parallel as possible to the fretboard, to avoid tearing off pieces of wood. If some splinters come off, don't despair. It happened to me too at the beginning. Fill with glue and fine sawdust from the fretboard wood (if you're lucky enough to have it) or with cyanoacrylate and wood dust.nn
The choice of key wires
When you buy the brass keys, Make sure you get the right measurement. There are online charts that show the profiles (height, crown width, and tang width). If you're unsure, measure the frets on your favorite guitar or those you've removed. A common mistake is getting frets that are too high or too low for your taste or the radius of the fingerboard.I usually prefer a medium-jumbo, a good compromise for most styles. For brass, I haven't noticed significant differences in profile choice compared to nickel-silver. The important thing is that the 'tang' (the part that goes into the fretboard) is the right width for the slots. If the slots are too narrow, the frets won't go in. If they're too wide, they won't hold.nn
Key bending: a crucial step
The keycaps, when you buy them, are straight. Your keyboard, however, is curved (has a radius). You have to bend the brass keys with a slightly radius narrower than the keyboard. This ensures that the ends of the keys press against the edge of the keyboard, ensuring a perfect fit and minimizing lifting.To bend them, I have a special tool, a fret bender, which is an expense that pays for itself if you re-fret several times. But if you don't have one, you can use a vice and a piece of metal or wooden tube with the right radius. Brass, being softer, is easier to bend by hand than steel. Proceed step by step, checking the radius with a jig. Take your time!
A trick I learned: bend the fretwire a little more than necessary, then release the pressure. The metal will spring back slightly. Do some tests with a scrap piece.nn
Cutting and preparing slots
Once bent, you need to cut the frets to the right length. Always leave a little extra margin, about 1-2 mm on each side, because you'll later trim them flush with the fingerboard. I use wire cutters; the ones specifically designed for frets are best because they cut cleanly and don't damage the fret crown.Before inserting the frets, make sure the slots are clean and the right depth. I use a fret saw (a Japanese saw with a thin blade is excellent) to clean the slots of any glue or wood residue. The depth should be deep enough for the fret tang to fit completely without the crown touching the bottom.
A tip: if the slots are a bit wide (which can happen on old necks), you can put a drop of cyanoacrylate glue (super glue) at the bottom of the slot before inserting the fret. Don't overdo it, very little is enough. Or, if the slots are too narrow, you can widen them slightly with the specific saw, but with extreme caution.nn
The actual installation: pressing the buttons
This is the moment of truth. You can press the frets with a fret press (I have a hand-held one, not the bench type) or, if you don't have one, with a fret hammer (a hammer with a brass or hard plastic head).If using a keypress: 1. Place the handle on a support that follows its radius. 2. Align the key in the keypress insert, making sure it is straight and centered. 3. Apply pressure gradually and evenly. You will feel the key settle. Make sure the ends do not lift.
If using a hammer: 1. Place the neck on a firm, flat surface, with a support underneath where you're hammering. 2. Start hammering from the center of the fret, using light, firm blows. 3. Move toward the edges, making sure the entire fret is firmly seated. Always check for any lift.
Brass, being softer, is more forgiving to a hammer than steel. However, it's also easier to dent if you're not careful. Use a hammer with a soft head and don't strike with excessive force.
An anecdote: the first time I used the hammer, I was terrified of ruining the fretboard. I started with such light taps that the frets wouldn't go in. Then I realized that decisiveness, but also control, is needed. I learned that good support under the neck is essential to absorb the impact without damaging the wood.nn
The glue “trick” (if needed)
Many luthiers use a little glue (typically cyanoacrylate) to secure the frets, even if the slots are perfect. I only do it if I'm unsure about the hold or if the slots are slightly loose. If you decide to use it, put a tiny drop at the bottom of the slot. Before Insert the button. Then press and immediately wipe off any excess. The glue helps prevent future lifting and fills any micro-gaps.Remember that every neck is different. There's no universal recipe that works for everyone. Experience will teach you when you need a little more glue, when the slots need to be cleaned better, or when a fret needs a more pronounced bend. And don't be afraid to make mistakes: I ruined more than one fret before I got the hang of it. The important thing is to learn from your mistakes.
If you are passionate about these modifications and want to learn more about how to customize your guitar, you might find the dedicated section on guitar modification, where I explain other modifications you can make to make your instrument unique.nn
Leveling, crowning and polishing: The finishing that makes the difference
Install the brass keys This is only half the job. The real magic, the one that makes the instrument sound good, happens with leveling, crowning, and polishing. This is the step that separates a playable guitar from a guitar. pleasant to play. And, believe me, this is where patience is golden.nnLeveling
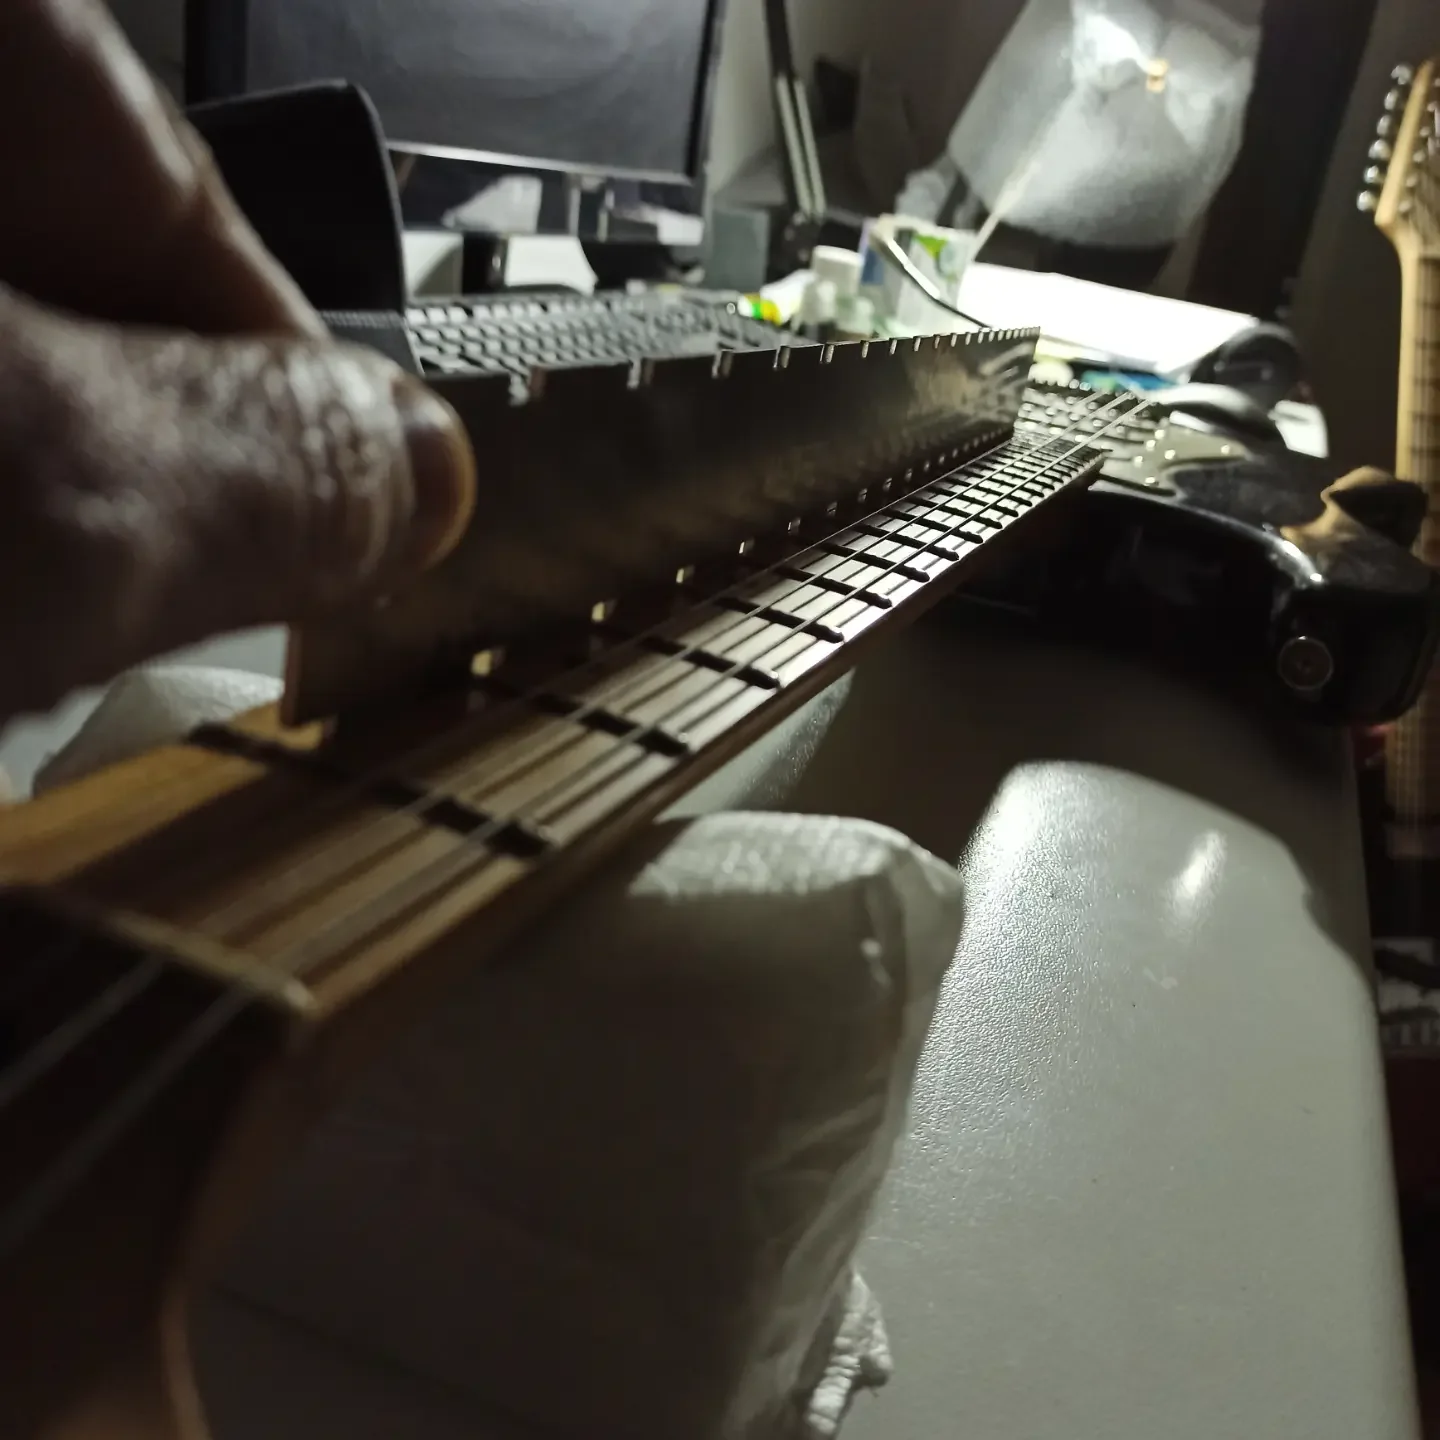
Even if you've pressed the frets perfectly, there will always be minimal height differences. Leveling serves to make all frets perfectly flat on the same surface.nn1. Let's prepare the handle: Set the neck straight, without the truss rod too tight or too loose. I use a luthier's straight ruler to make sure it's as flat as possible. 2. Let's mark the keys: Using a permanent marker, color the top of each key. This will help you see where you're removing material. 3. The leveling stone: Use a leveling stone (a block of aluminum or steel with fine sandpaper glued to it, I use 320 or 400 grit). The key is that it is perfectly straight. Run it over all the keys with long, even strokes, covering the entire length of the fingerboard. Don't apply too much pressure. The goal is to remove material only from the highest points.n4. Let's check the work: When the marker has disappeared from all the frets, they're level. Check with a fret rocker (a small ruler with four sides of different lengths) that there are no high or low spots. If the rocker wobbles on two adjacent frets, there's still a high spot. Repeat until everything is perfect.Brass, being softer, levels faster than nickel-silver. This is an advantage, but it also means you have to be more careful not to remove too much material. I've learned to make lighter passes and check more often.nn
The crowning
After leveling, the frets will have a flat surface on top. But a flat fret doesn't make the guitar play well. The string must rest on a precise point, not on a wide surface. This is why crowning is needed, which restores the fret to its rounded shape.nn1. Instruments: You'll need a fret crowning file. There are different sizes to fit the width of your frets. n2. The process: Run the file over the frets, following the shape of the crown. The goal is to remove material from the sides of the fret, leaving only a small marker line in the center. This means you've recreated the rounded top. 3. Attention: Be gentle. You don't want to remove too much material. Brass is soft, so the file cuts it off easily. If you overdo it, you'll make the fret too low. Use light strokes and check frequently. 4. Final check: Here, too, the fret rocker is your friend. It shouldn't wobble. Then, do a visual test: the top of the fret should be a dot, not a line.This is the step that gave me the most headaches at the beginning. Being able to give the right shape without lowering the fret too much requires practice. I ruined several brass frets (and not only) at this stage, making them too flat or too pointed. The key is consistency and observation.nn
Polishing
Once leveled and crowned, the brass keys will be dull and full of small scratches. Polishing is essential for string smoothness and the feel under your fingers.nn1. Protect your keyboard: Use masking tape to cover the fretboard between each key. You don't want to scratch the wood with the sandpaper. 2. Progressive sanding: Start with a fine sandpaper (I start with 600 or 800 grit) and go over each fret, removing the marks from the crown file. Then move on to 1000, 1500, 2000, 2500, up to 3000 grit. Each pass should remove the marks from the previous one. #3. Polishing paste: Once the frets are satin-smooth, use a metal polishing compound (such as Dremel polishing compound or similar) with a soft cloth or felt pad set to low speed on the Dremel. The brass will take on an incredible shine. 4. Final cleaning: Remove all tape and wipe the keyboard with a soft cloth to remove any polish residue.Polishing is a fine job, but it is extremely rewarding. brass guitar keys, Once polished, they shine like gold and offer a fantastic glide. It's the finishing touch that makes you feel like the job was done to perfection.
An extra tip: if you use a Dremel, be very cautious. Speed can generate heat that can damage the fret or the fretboard. And don't insist too much on the same spot.nn
Brass Key Maintenance and Durability: What to Expect (and How to Fix It)
We said that the brass keys are less hard than other alloys. This means they require a bit more attention over time, but nothing transcendental. It's not like you have to polish the frets every week, but it's good to know what to expect.nnUsury: Enemy Number One
Wear manifests itself as grooves and scallop holes under the strings, where they're played the most. This is inevitable with any fret, but with brass, it happens a little more quickly.What to do?n1. Strings: Try to use strings that aren't too harsh. Nickel-wound steel strings (the most common) are fine. Pure stainless steel strings may accelerate wear, but the difference isn't huge for normal use. 2. Pressure: Don't press the strings as if you were trying to break the fretboard! Adequate pressure is sufficient. This not only prolongs the life of the frets, but also improves your sound.n3. Regular cleaning: Dirt and oxidation on the strings can act as an abrasive on the frets. Clean the strings after each playing session and change them regularly.
When the grooves get too deep, you'll start to hear buzzing (fretting out) and the guitar will become difficult to intonate. At that point, you have two options: leveling and crowning (if there's still enough material on the frets) or a complete re-fret.
One thing I noticed is that, being softer, the brass keys can be 'repaired' with leveling and crowning even when the damage seems a bit more extensive, precisely because the material is removed more easily. I extended the life of a set of brass frets for a couple of years with a simple leveling job.nn
Oxidation: an aesthetic aspect
Brass can oxidize, developing a dark or greenish patina. This is a natural process and doesn't affect playability, but the aesthetics may not be to everyone's liking.How to handle it:n1. Cleaning with a soft cloth: After playing, wipe the keys with a dry microfiber cloth.n2. Metal Polish: If the patina becomes too noticeable, you can use a metal polish (brass polish works great). Apply a small amount to a cloth, gently rub the frets (protecting the fretboard with tape), and then buff with a clean cloth. Don't do it too often; only when necessary. 3. Keyboard oil: After cleaning, you can moisturize the fretboard (if it's rosewood, ebony, etc.) with a specific oil. This also helps protect the keys from moisture.
I've tried several products. Guitar-specific cleaners work well, but even a common Brasso or Sidol cleaner (used sparingly and carefully) can do the trick. The important thing is to avoid using harsh abrasives or acids, which could damage the fretboard.
An excellent resource for understanding the composition of fret alloys, and thus their properties, is the website of one of the major fretwire manufacturers, such as Jescar, which offers detailed material specifications. You can find useful information on their official website: [Jescar Fretwire](https://www.jescar.com/fretwire/).nn
Final Thoughts: Is Brass For You?
So, at the end of the day, the brass guitar keys Are they a good choice? It depends. There's no single answer, but I can tell you that for me, they've become a valid option in many cases.If you're a hobbyist who dabbles in guitar building and repair and are looking for a more workable material than stainless steel, brass is an interesting choice. It'll allow you to spend less time installing and leveling, and you'll be able to learn techniques with a more forgiving material.
If you're a musician looking for a unique feel, a different smoothness, and aren't afraid of slightly more frequent maintenance, then brass might give you that extra touch you're looking for. It's not a choice for those seeking maximum durability without compromise, but it's not a "wrong" choice either. It's a different choice.
My advice, from someone who's made mistakes and redone them many times: try it. If you have a scrap handle or a project you want to experiment with, buy a set of brass keys and get to work. You might find you love them, or you might find they're not for you. But the experience of installing them, working on them, and playing them—that can't be taken away from you. And that, for a hobbyist, is true wealth.
Good luck, and don't be afraid to experiment!nn
nn
Download the Luthier Survival Kit
Free PDF with checklist, problem-cause table and project card template.
 English
  Italiano
Stuck on your build?
If you ran into the same problem or have a question, drop it in the comments. I read and reply to every one.
Write a comment