

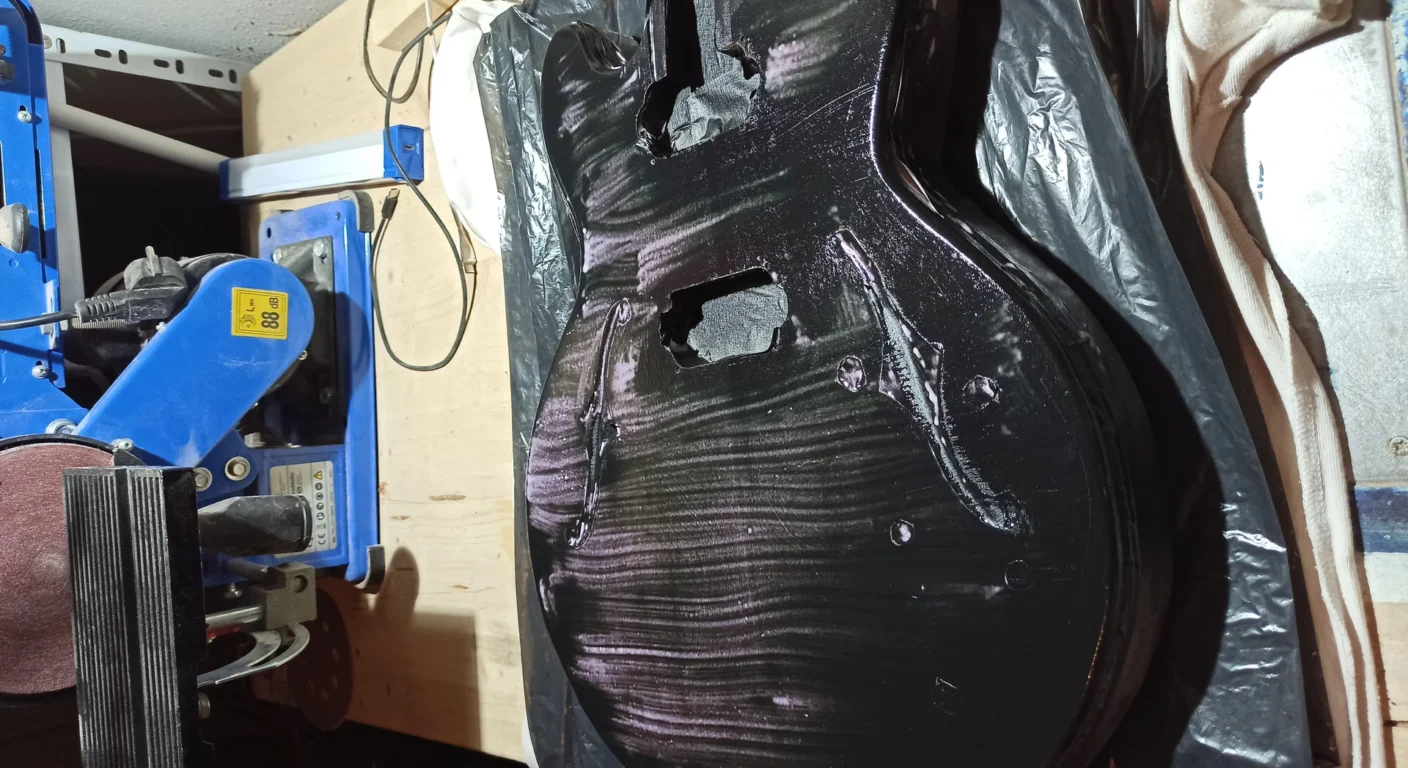
3 steps to adjust the electric guitar bridge
How many times have you picked up your guitar, perhaps the one you've put together with so much effort and pride, and felt it didn't sound as it should? Maybe the action was too high and you broke your fingertips, or worse, too low and you ended up with a fret buzz that put you off playing. And what about intonation? Let's not even talk about it: chords that sound off, solos that sound like something out of a nightmare.
We've all been there, believe me. The first time I tried to tune the bridge on a Stratocaster I'd built from scratch, I almost did more damage than good. I had no idea where to start, I was terrified of ruining something, of overtightening, of doing the wrong thing. But then, by trying it again and again, I realized it's not a rocket scientist job.
I'm not a professional luthier, let's be clear. I'm someone who's spent hours in the garage, with hands covered in wood dust, assembling pickups, sanding necks, and, of course, struggling with setups. But precisely because I've been there, I know what it feels like, and I know that, with a little patience and the right tools, you can learn to adjust the guitar bridge electric to make it sound right.
In questo articolo, ti guiderò attraverso tre passaggi fondamentali per settare il ponte della tua chitarra. Parleremo di action, intonazione e di come fare un check finale, senza dimenticare gli errori più comuni che ho fatto io stesso e che puoi evitare. Preparati, perché alla fine di questa lettura, avrai le basi per trasformare la tua chitarra da “quasi buona” a “suona da dio!”
Why is bridge adjustment so important? The foundation of everything


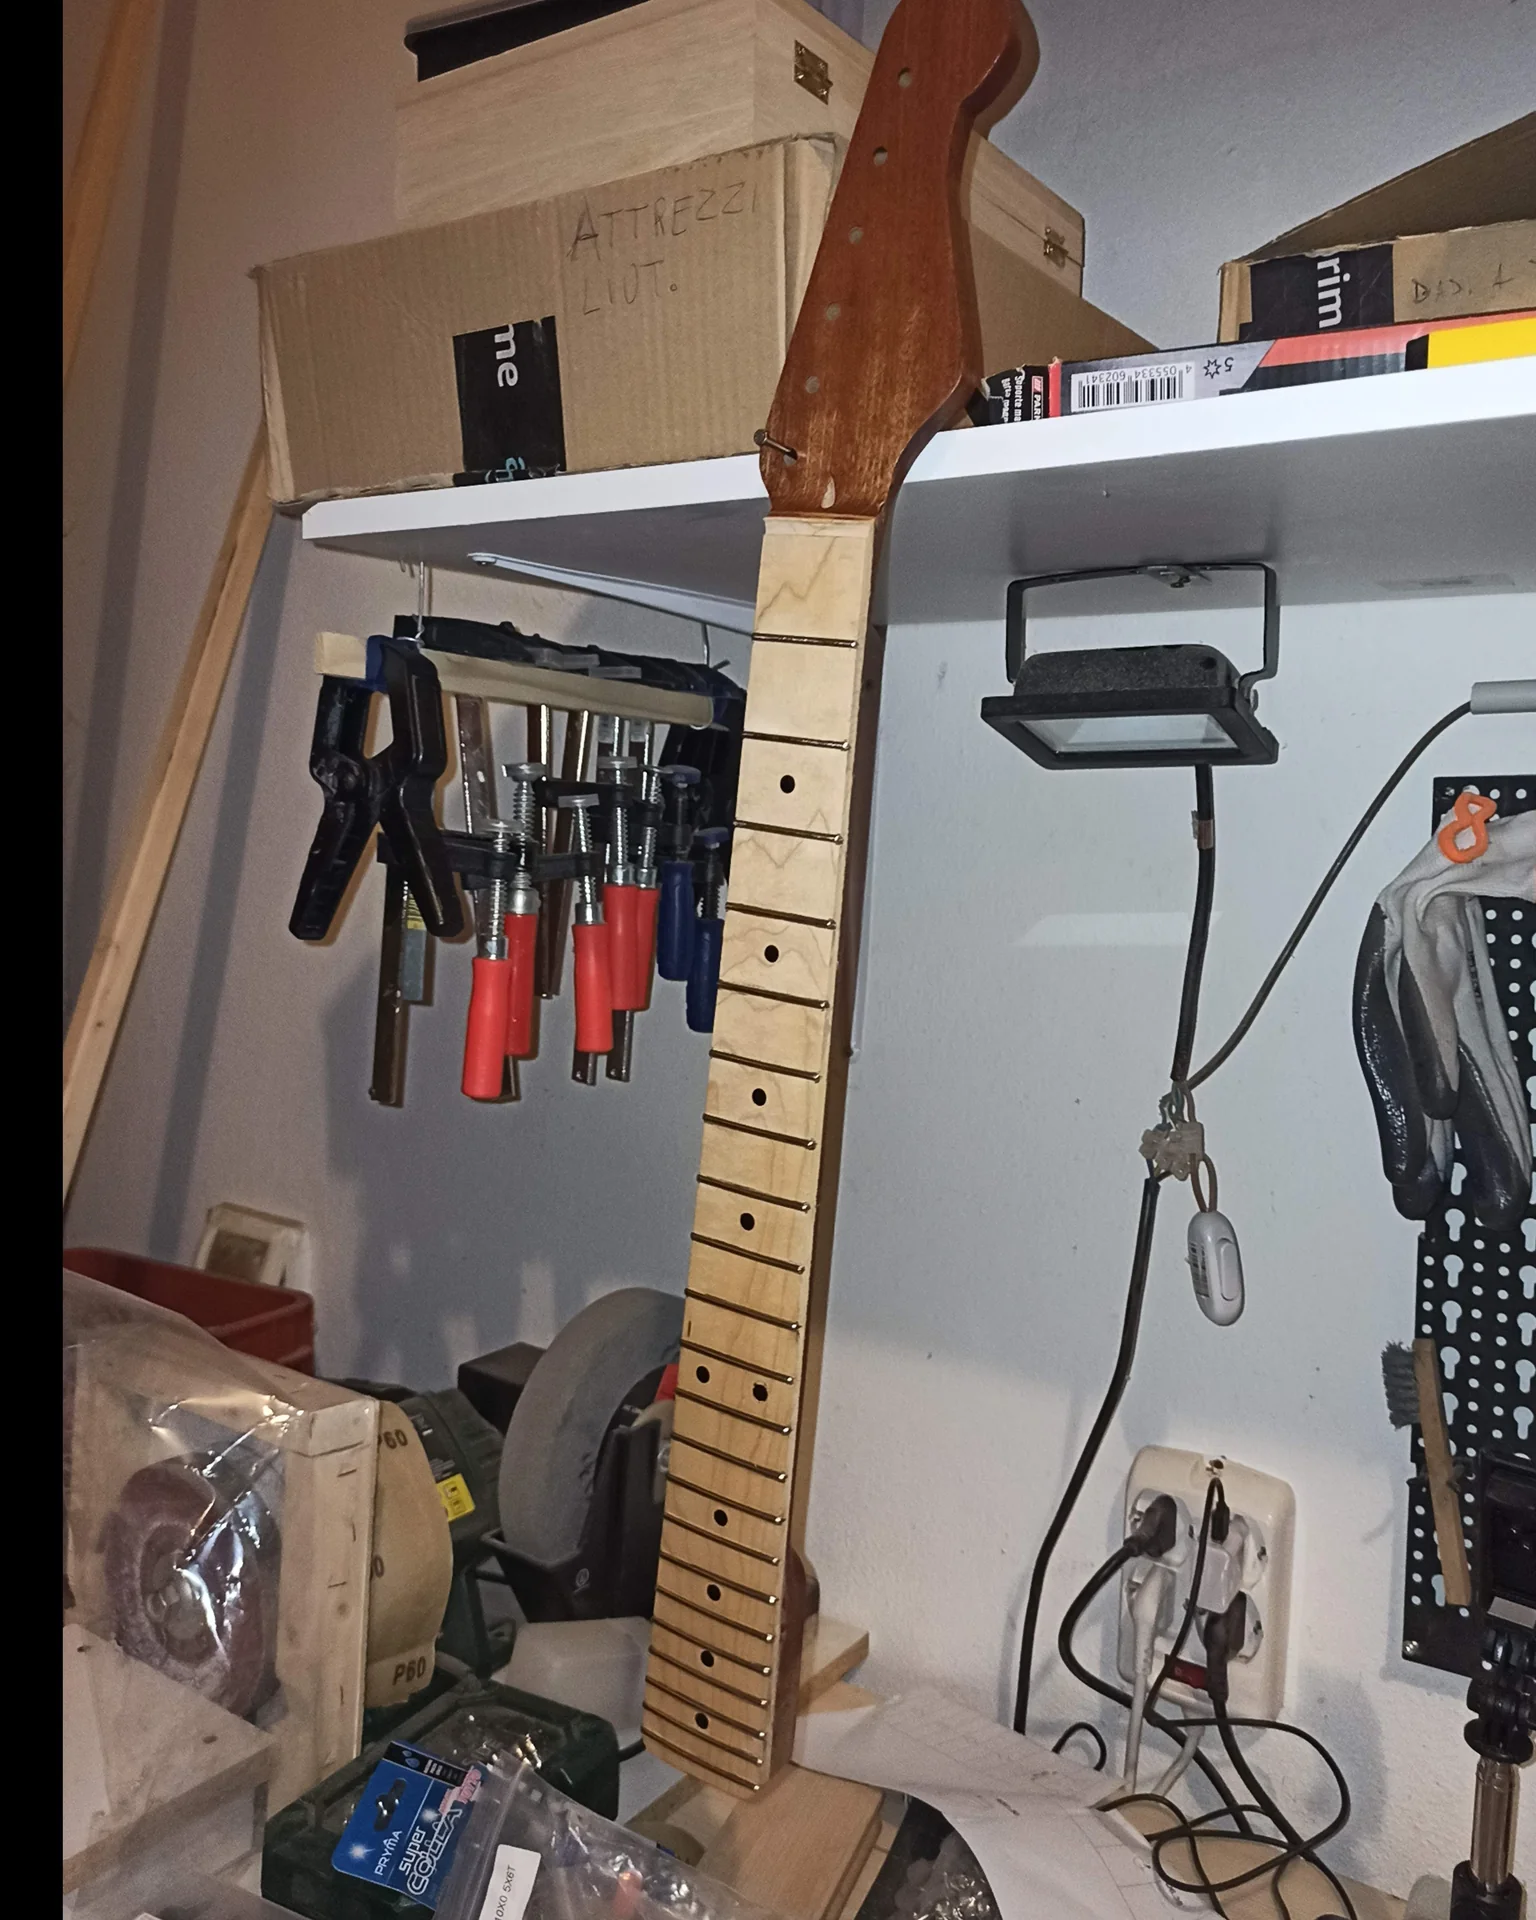
[GRIGLIA FOTO]
Okay, I know, I promised you three steps, but this "Step Zero" is so crucial I had to mention it. It's the foundation upon which we'll build everything else. Skipping it is like building a house without a foundation: sooner or later, everything will collapse.
New Strings, New Life

[BOX AFFILIAZIONE]
The first thing to do is install a new set of strings. Why? Simple: the old strings are worn, dirty, and have lost their elasticity and intrinsic intonation. Adjusting a bridge with old strings is like trying to fine-tune a three-cylinder engine: it makes no sense.
Use the strings you prefer and intend to use regularly. This is important because different gauges have different tensions, which affects the neck curvature and action.
The Neck, the Real Boss: Truss Rod Check
Before touching anything on the bridge, you need to make sure the neck is in place. The neck of your guitar is never perfectly straight. It has a slight curvature, called neck relief, necessary to allow the strings to vibrate freely without touching the upper frets, especially when playing with low action.
The truss rod It's a metal bar inside the neck that allows you to adjust this curvature. It's the real "boss" of the setup, because if the neck isn't right, any adjustment to the bridge will be a compromise and won't work as it should.
To check neck relief:
- Place a capo on the first fret.
- Press the low E string (quella più spessa) all’ultimo tasto con l’altra mano.
- Look at the space between the string and the top of the 7th or 8th fret. That's your neck relief.
You should see a very small gap. How small? Typically, between 0.2 mm and 0.3 mm (about 0.008-0.012 inches). You can measure it with a feeler gauge or, if you don't have one, by eye and feel. If the string touches the frets (neck too straight) or the gap is too wide (neck too curved), you need to adjust the truss rod.
Adjusting the truss rod:
- Clockwise screw: Straightens the handle (reduces relief).
- Counterclockwise screw: Increases curvature (increases relief).
Attention: Truss rod adjustments should be made with patience and in small increments (a quarter turn at a time, half a turn maximum). Wait a few minutes after each adjustment to let the wood settle. Tightening too much or too quickly can damage the neck. If you're unsure, stop and look up a truss rod-specific tutorial or ask someone more experienced. I've had my moments of panic with that damned truss rod myself!
Only when the neck has the right amount of relief can we move on to the bridge. This is where many hobbyists go wrong, wanting to attach the bridge straight away. But believe me, a well-set neck will save you a lot of headaches later.
Step 1: Adjust the Action (String Height)
[BOX AFFILIAZIONE]
Here we are at the first concrete step on the bridge: the action. This is where you decide how high the strings will be above the fretboard. It's a very personal choice, depending on your playing style and comfort level. A shredder will probably want a very low action, while a blues player who uses the bottleneck a lot might prefer a higher one.
What is Action and Why is it Fundamental?
Action is simply the distance between the bottom of the strings and the top of the frets. It's typically measured at the 12th fret, but sometimes also at the 17th or last fret. Correct action makes the guitar easy to play, reduces finger fatigue, and allows the strings to vibrate freely without touching the frets.
Un’action troppo alta rende la chitarra dura da suonare, affatica le mani e può rendere difficile eseguire bending prolungati o accordi complessi. Al contrario, un’action troppo bassa causa quel fastidioso “fret buzz” (le corde che vibrano e toccano i tasti successivi), rendendo il suono sporco e spesso inascoltabile, specialmente in distorsione. Trovare il giusto equilibrio è la chiave per una chitarra che “canta” invece di “grattare”.
L’action è una delle prime cose che un chitarrista percepisce quando prende in mano uno strumento. Se è troppo alta, sembra di dover scalare una montagna per ogni nota. Se è troppo bassa, il suono diventa sporco, e anche con un’ottima tecnica, potresti non ottenere il suono pulito che desideri. Il giusto equilibrio ti permette di avere sia facilità d’esecuzione che chiarezza sonora.
How to Adjust the Action for Different Bridge Types
The procedure varies slightly depending on the type of bridge you have on your guitar. The most common are the Tune-o-matic (Les Paul-style), the 6-bolt or 2-pivot tremolo (Stratocaster-style), and the hardtail (fixed).
Tune-o-matic Type Bridges (and Stopbar Tailpiece)
These bridges are typical of Gibson and many semi-hollow guitars. They have two pins on which the entire bridge rests.
- Measure current action: Usa il tuo righello o string action gauge. Misura la distanza dal fondo della corda del Mi basso al top del 12° tasto. Fai lo stesso per il Mi cantino.
- Adjust the overall height: Ci sono due viti (o rotelline) sui perni del ponte. Per alzare l’action, ruota le viti in senso orario. Per abbassarla, in senso antiorario.
- Proceed in small increments: Fai un quarto o mezzo giro alla volta. Dopo ogni regolazione, accorda la chitarra e ricontrolla l’action. È fondamentale accordare di nuovo perché cambiare l’altezza cambia leggermente la tensione delle corde.
- Keep your balance: Cerca di mantenere il ponte livellato, o con una leggerissima inclinazione per seguire la curvatura del manico (radius). Non abbassare troppo un lato rispetto all’altro.
- Check out the buzz: Play each string at every fret to check for excessive fret buzz. If you hear a buzz that bothers you, raise the bridge slightly.
Reference measurements (at the 12th fret):
- Low E: 2.0 mm – 2.4 mm (0.078″ – 0.095″)
- E string: 1.6 mm – 2.0 mm (0.063″ – 0.078″)
These are just starting points. Find your ideal fit. For my Strats, I prefer to go a little lower on the high E, around 1.5mm.
Regolare l’altezza delle sellette individuali su un ponte Tune-o-matic non è possibile in modo indipendente come su un ponte stile Strat. L’azione viene modificata alzando o abbassando l’intero blocco del ponte sulle sue due colonne. Questo significa che l’inclinazione del ponte rimane costante rispetto al corpo. Tuttavia, alcune chitarre utilizzano un ponte Tune-o-matic con sellette regolabili individualmente, simili a quelle degli hardtail, ma questo è meno comune. La maggior parte dei ponti Tune-o-matic regolano l’action in modo simmetrico per tutte le corde contemporaneamente.
Un aspetto spesso trascurato sui ponti Tune-o-matic è l’altezza dello stopbar tailpiece. Questo pezzo metallico, su cui le corde si agganciano prima di passare sul ponte, può essere abbassato o alzato sui suoi perni. Abbassare lo stopbar avvicina le corde al corpo della chitarra, aumentando l’angolo di attacco delle corde sul ponte. Questo può dare una sensazione di maggiore “mordente” e sustain, ma può anche influire sull’action e sul comfort. Sperimentare con l’altezza dello stopbar può portare a risultati sorprendenti in termini di suono e sensazione. Ricorda sempre di riaccordare dopo ogni modifica.
Stratocaster-type bridges (6-bolt or 2-pivot tremolo) and hardtail
These bridges, common on Fenders and the like, have individual saddles for each string, each with two small hex screws to adjust the height.
- Measure the action: Come prima, misura Mi basso e Mi cantino al 12° tasto.
- Adjust the saddles individually: Per ogni corda, usa la chiave esagonale per avvitare (alzare) o svitare (abbassare) le due viti della selletta.
- Follow the keyboard radius: This is important. Your guitar's fingerboard has a slight curvature (the radius). Le sellette del ponte dovrebbero seguire questa curvatura. Se hai un righello per il radius, usalo. Altrimenti, puoi farlo ad occhio. Le corde centrali (Re e Sol) saranno leggermente più basse di quelle esterne (Mi basso e Mi cantino).
- Proceed gradually: Anche qui, piccole regolazioni, riaccorda, ricontrolla.
- Check out the buzz: Play every string on every fret. If the guitar "sizzles," turn it up a notch.
Garage Tips:
- If you have a floating tremolo bridge (like a 2-pivot Strat), the overall height of the bridge from the body can also be adjusted using the pivot screws. This will affect the action of all the strings. I usually start with a standard height (for example, 3.0-3.2 mm from the body to the top edge of the bridge), then fine-tune with the saddles.
- Don't be afraid to turn it up a bit if you feel it's buzzing too much. It's always easier to gradually lower the action than to try to fix a too-low action that causes irreparable buzz. I remember the first time I tried to do a "low" action: it was unlistenable. I had to turn it all up and start again.
L’altezza del ponte tremolo flottante è un fattore critico. Un ponte troppo vicino al corpo limita l’escursione del tremolo e può causare problemi di action, mentre un ponte troppo sollevato può rendere il tremolo troppo “molle” e meno reattivo. La regola generale è che il ponte dovrebbe essere parallelo al corpo o leggermente inclinato verso la paletta (in questo caso, l’action delle corde più acute sarà leggermente più alta di quelle gravi, seguendo il radius). Per un ponte a 2 pivot, l’inclinazione si regola agendo sulle viti dei pivot stessi. Per un ponte a 6 viti, l’inclinazione si gestisce agendo sulle viti delle sellette individuali, ma anche l’altezza generale del ponte sul corpo è data dall’equilibrio delle 6 viti che lo ancorano.
La scelta tra un ponte a 6 viti e uno a 2 pivot è spesso legata al tipo di suono e di feel che si cerca. I ponti a 6 viti tendono a offrire una maggiore stabilità e un attacco più definito, mentre quelli a 2 pivot sono noti per la loro fluidità e capacità di eseguire dive bomb più estreme. Indipendentemente dal tipo, la sensibilità del ponte alla regolazione dell’action delle singole sellette è fondamentale. Su alcuni ponti, specialmente quelli economici, le viti di regolazione possono essere un po’ dure o imprecise. In questi casi, una piccola quantità di grasso al litio sulle filettature può migliorare la scorrevolezza, ma attenzione a non esagerare.
Un altro aspetto importante sui ponti tipo Strat è la molla del tremolo. La tensione delle molle posteriori, regolata tramite le viti sulla piastra del ponte, influisce sull’altezza del ponte e quindi sull’action. Se hai regolato l’action con le sellette ma senti che il ponte è troppo alto o troppo basso, potresti dover intervenire sulla tensione delle molle per trovare il giusto equilibrio. Ricorda che ogni regolazione sul ponte tremolo influenzerà inevitabilmente anche l’intonazione.
Step 2: Adjust the Intonation (Perfect Octaves)
Intonation is why your guitar sounds out of tune when you play chords at the seventh fret, even though the tuner tells you it's perfectly in tune open. It's the adjustment that ensures every note along the neck is in tune. Ignoring intonation is like owning a Ferrari with square tires.
What is Intonation and Why is It Crucial?
Intonation refers to the precision with which notes played at each fret match their theoretical pitch. In practice, we're lengthening or shortening the vibrating length of each string to ensure that the note at the 12th fret is an exact octave of the open string.
Una buona intonazione è fondamentale per chiunque voglia suonare qualcosa di più di semplici power chord aperti. Per accordi complessi, arpeggi, e qualsiasi assolo che si estenda su più posizioni del manico, l’intonazione fa la differenza tra un suono professionale e uno amatoriale. Una chitarra ben intonata ti permetterà di suonare in ensemble con altri strumenti senza creare dissonanze, e renderà il tuo suono più pulito e piacevole all’orecchio, anche da solo.
Senza un’intonazione corretta, anche gli accordi più semplici, come un Do maggiore, possono suonare “strani” o “sbagliati” quando suonati in posizioni diverse dal barré al primo tasto. Questo è frustrante sia per chi suona che per chi ascolta. L’intonazione, quindi, non è solo una questione di precisione tecnica, ma anche di godibilità musicale.
How to Adjust Intonation
This operation requires a good tuner and a little patience. Take a breath; it's not difficult, but you need to be methodical.
- Tune your guitar perfectly: Usa il tuo accordatore elettronico. Assicurati che ogni corda sia intonata alla perfezione a vuoto.
- Check the octave at the 12th fret:
- Play the natural harmonic at the 12th fret of a string (lightly touch the string above the 12th fret and then release your finger). The tuner should indicate that it is perfectly in tune.
- Now, press the same string at the 12th fret (as you would to play a note). Play the note.
- Compare the tuner reading for the note pressed at the 12th fret with that of the harmonic.
- Interpret the results and adjust the saddle:
- If the note pressed at the 12th fret is higher (sharp) than the harmonic: The string is too short. You need to lengthen it. To do this, move the saddle. backwards (towards the back of the guitar).
- If the note pressed at the 12th fret is lower (flat) than the harmonic: The string is too long. You need to shorten it. To do this, move the saddle. after you (towards the paddle).
- Adjust the saddle:
- Tune-o-matic and Hardtail Bridges: Each saddle has a screw that moves it back and forth. Use a screwdriver (often Phillips or flathead, depending on the model) to turn the screw.
- Stratocaster-type bridges: Each saddle has a screw that moves it back and forth. Again, use the appropriate screwdriver.
- Repeat for each string: After each adjustment, retune the string empty and recheck the harmonic and the note pressed at the 12th fret. You need to repeat this process for all six strings.
Garage Tips for Intonation:
- Patience, patience, patience: Sometimes it seems like a never-ending game, where every adjustment affects the next. But I assure you, over time you'll get the hang of it and it'll get faster. The first time I did it, it took me an hour just for one string!
- Small movements: The saddles move very slightly. Move the screw a quarter turn at a time, no more.
- New strings: Tuning should be done on new, well-adjusted strings. If the strings are old, they won't hold their intonation.
- Light pressure: When fretting the string at the 12th fret, don't press too hard. Excessive pressure can make the note sound slightly higher (sharp). Press with the same force you would use when playing normally.
- Floating tremolo bridges: If you have a floating tremolo bridge (like a Floyd Rose or some Strat-style guitars), make sure it's level and doesn't move when adjusting. Sometimes blocking the tremolo with a piece of wood or an extra spring can help.
L’intonazione è uno di quei processi che può sembrare astruso all’inizio, ma diventa quasi automatico con la pratica. La chiave è capire la relazione tra la posizione della selletta e l’altezza della nota. Se la nota al 12° tasto è alta, la corda deve essere più lunga; se è bassa, deve essere più corta. Questo è tutto. L’unica complicazione sono i ponti tremolo, dove il movimento del ponte può alterare la tensione delle corde e quindi l’intonazione stessa. In questi casi, è fondamentale stabilizzare il ponte prima di effettuare le regolazioni e poi ricontrollare tutto una volta che il ponte è tornato nella sua posizione di riposo.
Un errore comune è dimenticare che le sellette, oltre a regolare la lunghezza vibrante della corda, influenzano anche l’action di quella specifica corda. Spostando una selletta indietro per correggere l’intonazione, potresti involontariamente alzare l’action di quella corda. Viceversa, spostandola avanti, potresti abbassarla. Per questo motivo, dopo aver regolato l’intonazione di tutte le corde, è sempre una buona idea ricontrollare l’action generale e apportare eventuali micro-aggiustamenti se necessario. Questa interazione tra action e intonazione è uno dei motivi per cui la pazienza è così importante.
Per quanto riguarda gli accordatori, ne esistono di diversi tipi. Quelli a clip sono economici e pratici, ma possono essere influenzati dal rumore ambientale. Gli accordatori a pedale sono ottimi per il palco e offrono maggiore precisione. Ci sono anche app per smartphone che funzionano bene per lavori domestici. L’importante è che l’accordatore sia preciso e che tu sappia interpretare le sue letture. Alcuni accordatori hanno una modalità “strobe” che mostra un movimento visivo molto sensibile anche a piccole deviazioni di intonazione, rendendo più facile trovare il punto esatto.
Un altro trucco che ho imparato è quello di controllare l’intonazione non solo al 12° tasto, ma anche al 5° o al 7° tasto, confrontando la nota premuta con la corda a vuoto della corda adiacente. Questo può dare un’idea più completa di come la chitarra si comporterà con accordi più complessi. Tuttavia, la prova del 12° tasto rimane il metodo standard e più efficace per la maggior parte delle situazioni.
Step 3: Finishing and Final Checks
You've adjusted the neck, the action is perfect, and the intonation is untouchable. Great job! But we're not done yet. There are a few things to check to make sure everything is stable and optimized.
Re-check the Action
Sometimes, adjusting the intonation can slightly affect the string height. It's rarely a drastic change, but it's worth a final check.
Take your ruler and recheck the action at the 12th fret for all strings. If you see small variations, you can make micro-adjustments to the saddles, but try not to upset the intonation you just painstakingly set. Usually, if the variations are minimal, they're tolerable.
È importante notare che, soprattutto sui ponti tremolo, anche una piccola variazione nell’inclinazione del ponte può cambiare l’action. Se noti che una corda ha cambiato altezza in modo significativo, potrebbe essere necessario regolare prima l’inclinazione del ponte e poi rifinire l’intonazione.
Un altro aspetto da controllare è la sensazione generale sotto le dita. Le corde scorrono liberamente? Non ci sono punti in cui sembrano “impigliarsi”? Assicurati che le sellette siano ben avvitate e che non ci siano spigoli vivi che possano infastidire la mano che suona.
Pickup Height (A Major Bonus)
While not directly related to the bridge adjustment, pickup height is significantly affected by string action. If you've adjusted the string height, you may also need to adjust the pickups.
- Pickups too close to the strings: They can cause a strange sound, with notes fading quickly (strat-itis for single-coils) and excessive magnetic sustain that pulls on the strings. The sound will often be too loud and compressed.
- Pickups too far from the strings: The sound will be weak, without body and with little sustain.
As a starting point, fret the last string at the 22nd or 24th fret (the last fret). Measure the distance from the bottom of the string to the pickup pole piece.
- Humbucker: 2.0 – 3.0 mm (0.08″ – 0.12″)
- Single Coil: 2.4 – 3.2 mm (0.095″ – 0.125″)
These are just suggestions. Pickup height is a matter of personal taste and balance. Play around, listen to the sound, and find your ideal setup. It's another one of those things I learned to do by ear, after trying a thousand different combinations.
Per esempio, alcuni chitarristi preferiscono i pickup al manico leggermente più vicini per un suono più caldo e corposo, mentre quelli al ponte più lontani per un attacco più definito e meno compressione. L’importante è che i pickup siano posizionati in modo da catturare bene la vibrazione delle corde senza interferire con essa. Ricorda che i magneti dei pickup possono influenzare la vibrazione delle corde metalliche, quindi un’eccessiva vicinanza può “soffocare” il sustain. La regola d’oro è: suona, ascolta, regola, ripeti.
Un consiglio extra sull’altezza dei pickup: non dimenticare di controllare anche l’altezza dei poli individuali dei pickup. Su alcuni pickup, è possibile regolare l’altezza di ciascun polo per compensare la diversa uscita delle corde o per scolpire ulteriormente il suono. Questo è un livello di dettaglio che molti trascurano, ma che può fare una grande differenza nel bilanciamento timbrico dello strumento.
Playability and Feel Test
Now is the moment of truth: play your guitar!
- Play some open chords, then move up the neck.
- Do some bends. Do the notes hold? Do they sound clean?
- Do some scales. Do you feel the difference in the action?
- Check the sustain.
Listen carefully. Hear if there's any strange buzzing, any dead notes, and whether the intonation holds up across the entire neck. This is the time to make any final micro-adjustments. Remember, there's no universal "perfect" setting. There's the perfect setting. for you e per come suoni.
Il test finale è soprattutto uditivo e tattile. Ascolta se ci sono note che “friggono” sui tasti, se gli accordi suonano pieni e in armonia, se i bending sono fluidi e senza intoppi. Tocca le corde, senti la risposta sotto le dita. La chitarra dovrebbe sembrare uno strumento che “vuole” essere suonato, non uno che oppone resistenza.
Questo processo di messa a punto, inclusa la regolazione del ponte, è una delle forme più gratificanti di modifica chitarra che puoi fare. Non stai cambiando componenti, ma stai ottimizzando ciò che già hai.
Common Mistakes and Garage Tips
As I was saying, I've made every mistake imaginable. Learning from mistakes is essential, but if I can spare you some, so much the better.
- Ignore the Truss Rod: Il più grande errore. Se il manico non è a posto, ogni altra regolazione sarà un pasticcio. Inizia sempre da lì.
- Adjusting Too Quickly: Non avere fretta. Ogni piccolo giro di vite ha un impatto. Fai piccoli aggiustamenti e dai tempo al legno di assestarsi.
- Do Not Retune: Ogni volta che tocchi l’action o l’intonazione, la tensione delle corde cambia. Devi riaccordare prima di fare la misurazione successiva, altrimenti stai misurando qualcosa di falso.
- Using the Wrong Tools: Viti spanate sono un incubo. Usa sempre la chiave esagonale o il cacciavite della misura giusta. Se la vite fa resistenza, non forzare.
- Do Not Document: Soprattutto all’inizio, annota le misure di partenza. Ti aiuterà a capire cosa funziona e cosa no, e a tornare indietro se fai un casino.
- Seeking Absolute Perfection: Guitars are wooden instruments, a living material that reacts to humidity and temperature. There's no such thing as "perfection" that lasts forever. A good setup is a compromise, and will require minor adjustments over time. My Strat, for example, has a slightly different setup in the summer than in the winter. That's normal.
Un’ottima risorsa per approfondire i dettagli e le misure specifiche per vari modelli, oltre che per trovare attrezzi specifici, è il sito di StewMac, un punto di riferimento per la liuteria fai da te. Qui puoi trovare guide dettagliate e video dimostrativi: StewMac Guitar Setup Guide.
I remember the first time I adjusted a floating tremolo bridge on a guitar from scratch... I almost threw the guitar out the window! It was a nightmare of springs and screws that wouldn't stay in place. But with patience, one step at a time, and a few curses (let's face it!), I finally got it right. And the satisfaction of hearing it sound just right is priceless.
Un altro errore che ho commesso all’inizio è stato quello di pensare che un setup fosse un’operazione “una tantum”. La verità è che il legno si muove, le corde si usurano, e anche la tua sensibilità cambia. Un buon setup non è una meta finale, ma un processo continuo. Impara a riconoscere i piccoli segnali che la tua chitarra ti manda: un leggero ronzio, una nota che sembra stonata, una sensazione di “fatica” nel suonare. Sono tutti indicatori che è ora di dare un’occhiata e fare qualche ritocco. La familiarità con il tuo strumento ti renderà un tecnico migliore e, soprattutto, un chitarrista più consapevole.
La scelta degli strumenti giusti è fondamentale. Non devi spendere una fortuna, ma un buon set di chiavi esagonali (in varie misure metriche e imperiali, a seconda della tua chitarra), un cacciavite di precisione, un righello graduato in millimetri e pollici, e magari uno spessimetro, ti faciliteranno enormemente il lavoro. Ricorda che lavorare su uno strumento di valore con attrezzi inadeguati può portare a danni irreparabili. Avere gli strumenti giusti è anche una questione di rispetto verso la tua chitarra.
Infine, non sottovalutare l’importanza dell’ambiente. Un setup fatto in un ambiente con umidità e temperatura stabili è più affidabile. Cambiamenti drastici di clima possono far “lavorare” il legno della chitarra, alterando le regolazioni che hai fatto. Se vivi in una zona con forti sbalzi climatici, potresti dover effettuare controlli e aggiustamenti più frequenti.
Conclusions: Your Guitar, Your Sound
Here we are at the end of this journey through the adjusting the electric guitar bridge. I hope you've realized that this isn't some mystical skill reserved for professionals, but a skill every guitarist and hobbyist should acquire. It gives you control over your instrument and allows you to truly personalize it.
We have seen that the key is the methodology:
- Prepare the ground: Assicurati che il manico sia a posto con il giusto neck relief.
- Set the action: Trova l’altezza delle corde che ti offre il miglior compromesso tra comfort e assenza di buzz.
- Intone the octaves: Fai in modo che ogni nota suoni giusta lungo tutto il manico.
- Check and refine: Don't be afraid to make small adjustments until you're satisfied.
Your guitar is an extension of your musical voice. Taking care of it, knowing how to set it up, is like learning to speak better. It will allow you to express yourself without technical limitations, without having to struggle with an instrument that doesn't cooperate.
If I did it, starting out with two left hands and the fear of ruining everything, you can do it too. Arm yourself with patience, the right tools, and a desire to learn. Every guitar you set up, every bridge you adjust, will make you a more knowledgeable guitarist and a more experienced hobbyist. And the next time you hear your guitar sounding perfect, you'll know it's thanks to you. Now, go and make that guitar play!
FAQ
D: Quanto spesso dovrei regolare il ponte della mia chitarra?
R: Non esiste una frequenza fissa. Dipende da quanto suoni, dal clima (umidità e temperatura possono influenzare il legno), e da come tratti lo strumento. In generale, un controllo visivo e un ascolto attento ogni paio di mesi sono una buona abitudine, con regolazioni più approfondite quando noti problemi come buzz, action errata o intonazione che non tiene.
D: Posso usare olio per armi o altri lubrificanti sulle viti del ponte?
R: Meglio evitare. Per le viti del ponte, se incontri resistenza, una goccia di un lubrificante specifico per metalli o anche WD-40 (usato con parsimonia) può aiutare. Tuttavia, per le sellette e le viti di regolazione dell’intonazione, il metallo a vista e a contatto con le corde è spesso sufficiente. Un eccesso di lubrificante potrebbe attirare polvere e creare problemi a lungo termine.
Download the Luthier Survival Kit
Free PDF with checklist, problem-cause table and project card template.
 English
  Italiano
Stuck on your build?
If you ran into the same problem or have a question, drop it in the comments. I read and reply to every one.
Write a comment