

Electric Guitar Repair: 4 Faults You Can Fix
How many times have you picked up your favorite guitar, perhaps after not using it for a while, and heard a strange rustling sound? Or noticed a potentiometer scratching, or that the’intonation Has it gone to hell? Believe me, countless times. Every time I picked up a used guitar, or even one I'd assembled myself, something was always wrong. And every time, my first reaction was: "Oh my God, I have to take it to the luthier. I wonder how much it'll cost, I wonder how long it'll take."“
Then I started getting my hands dirty. I realized that many of these problems, the ones that seem complicated and make you want to look for a service electric guitar repair near me Google them, but these are actually jobs you can do yourself, in your garage, with a little patience and the right tools. You don't need to be a professional luthier with years of experience. All you need is a willingness to understand how things work and not be afraid to make mistakes. Because yes, you do make mistakes. I've burned more than one potentiometer and made a cold solder that looked like it was made by a child. But that's how you learn.
Today I want to talk to you about four common problems you can address without panic. I've fixed them countless times, and each time they've given me incredible satisfaction. If I could do it, you can too. You'll see that with a methodical approach and a little courage, your guitar will sound as it should again. And the next time you experience a problem, instead of immediately calling a technician, you'll already know where to start.
1. The output jack is acting up: hissing, dropouts, and absolute silence.
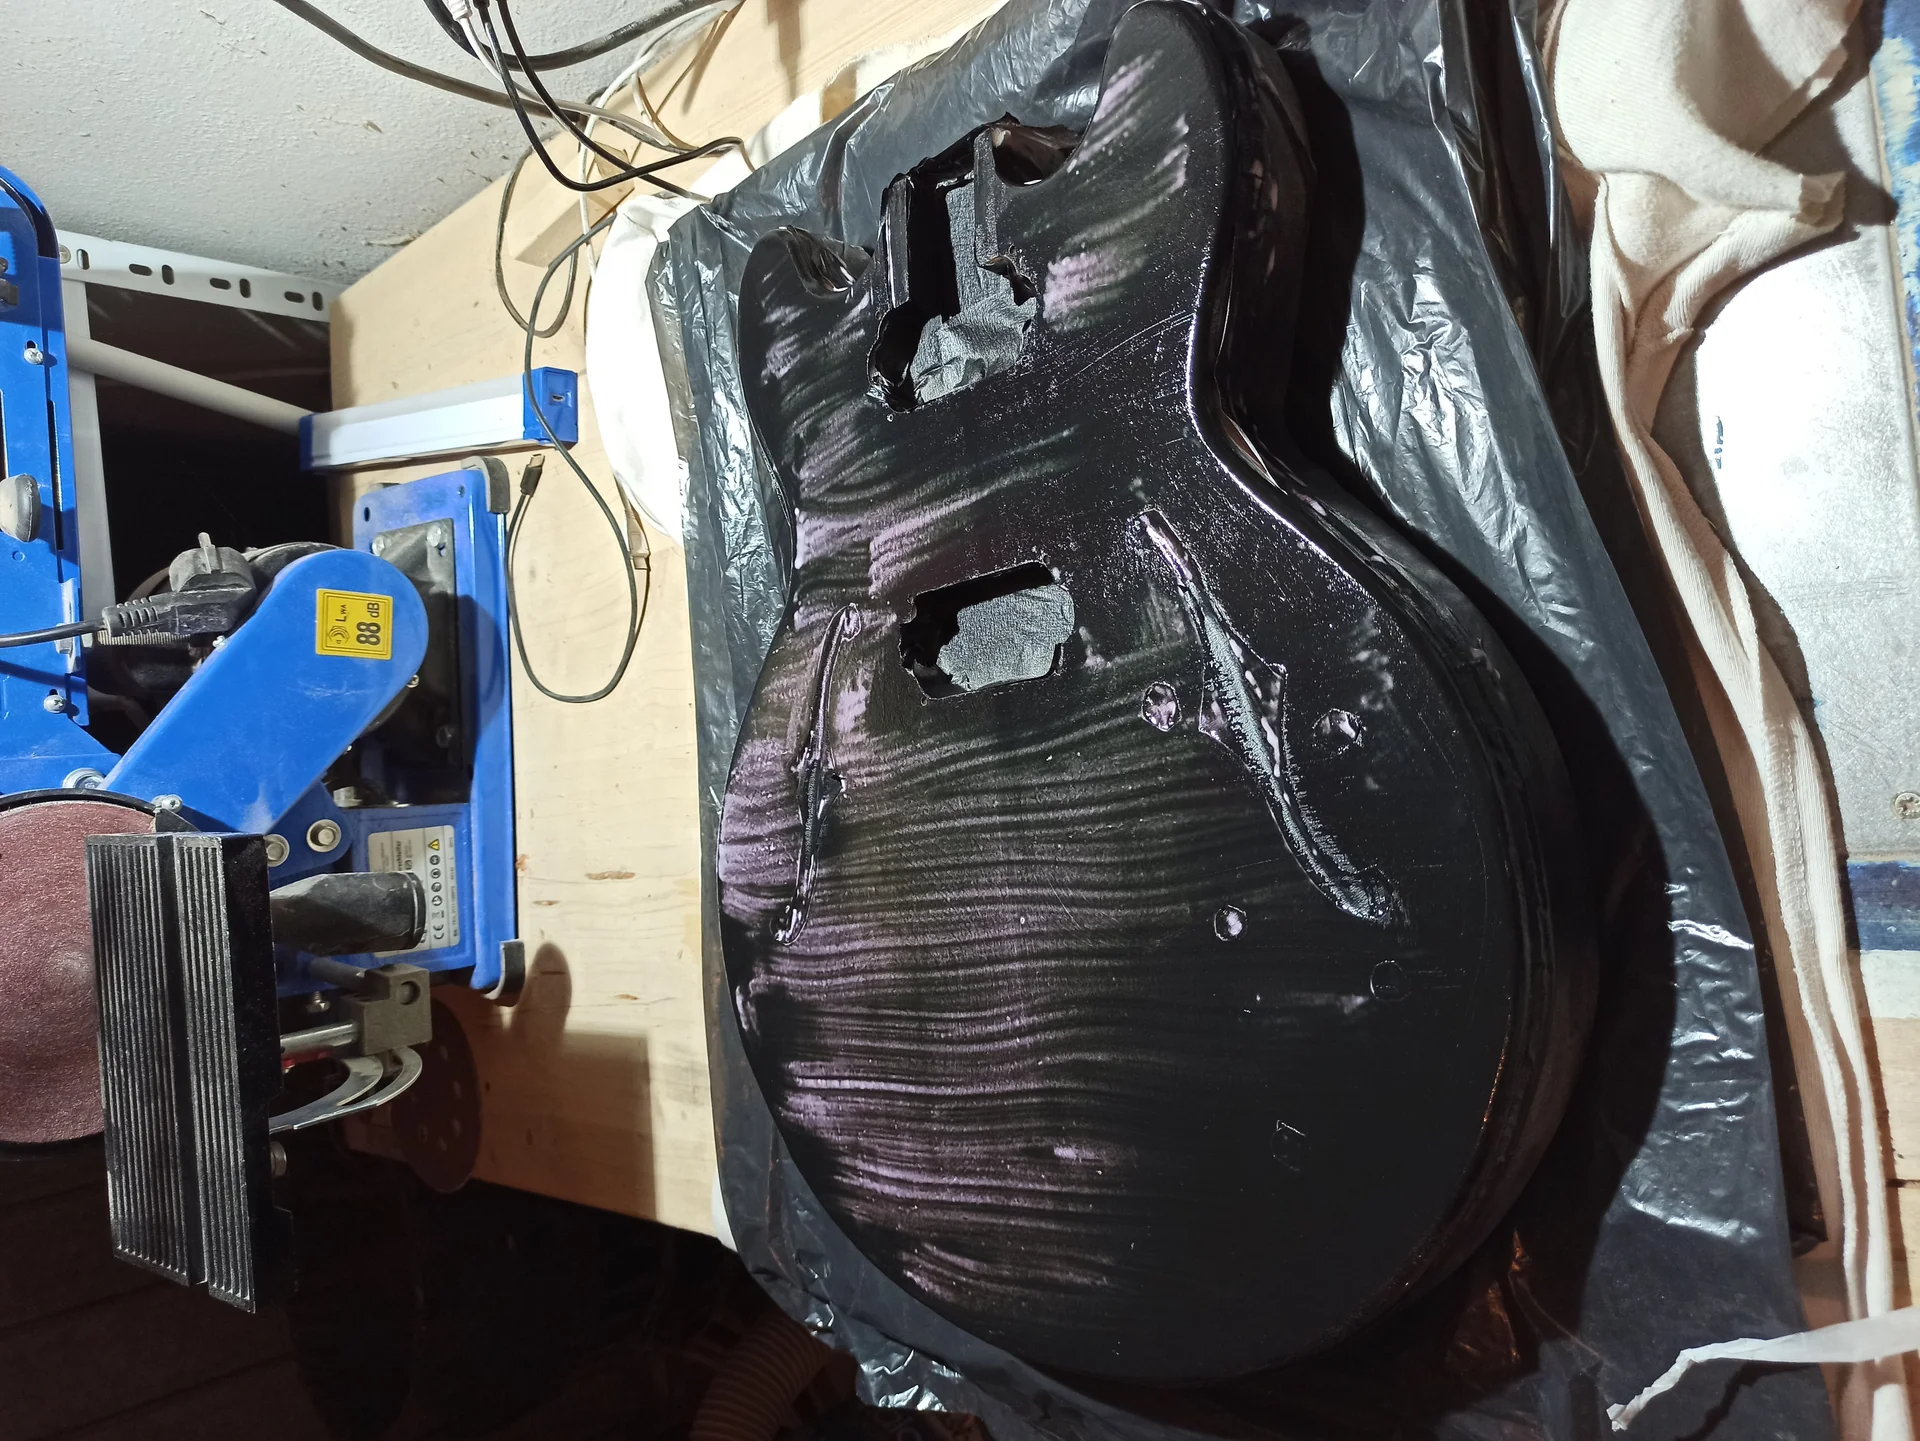
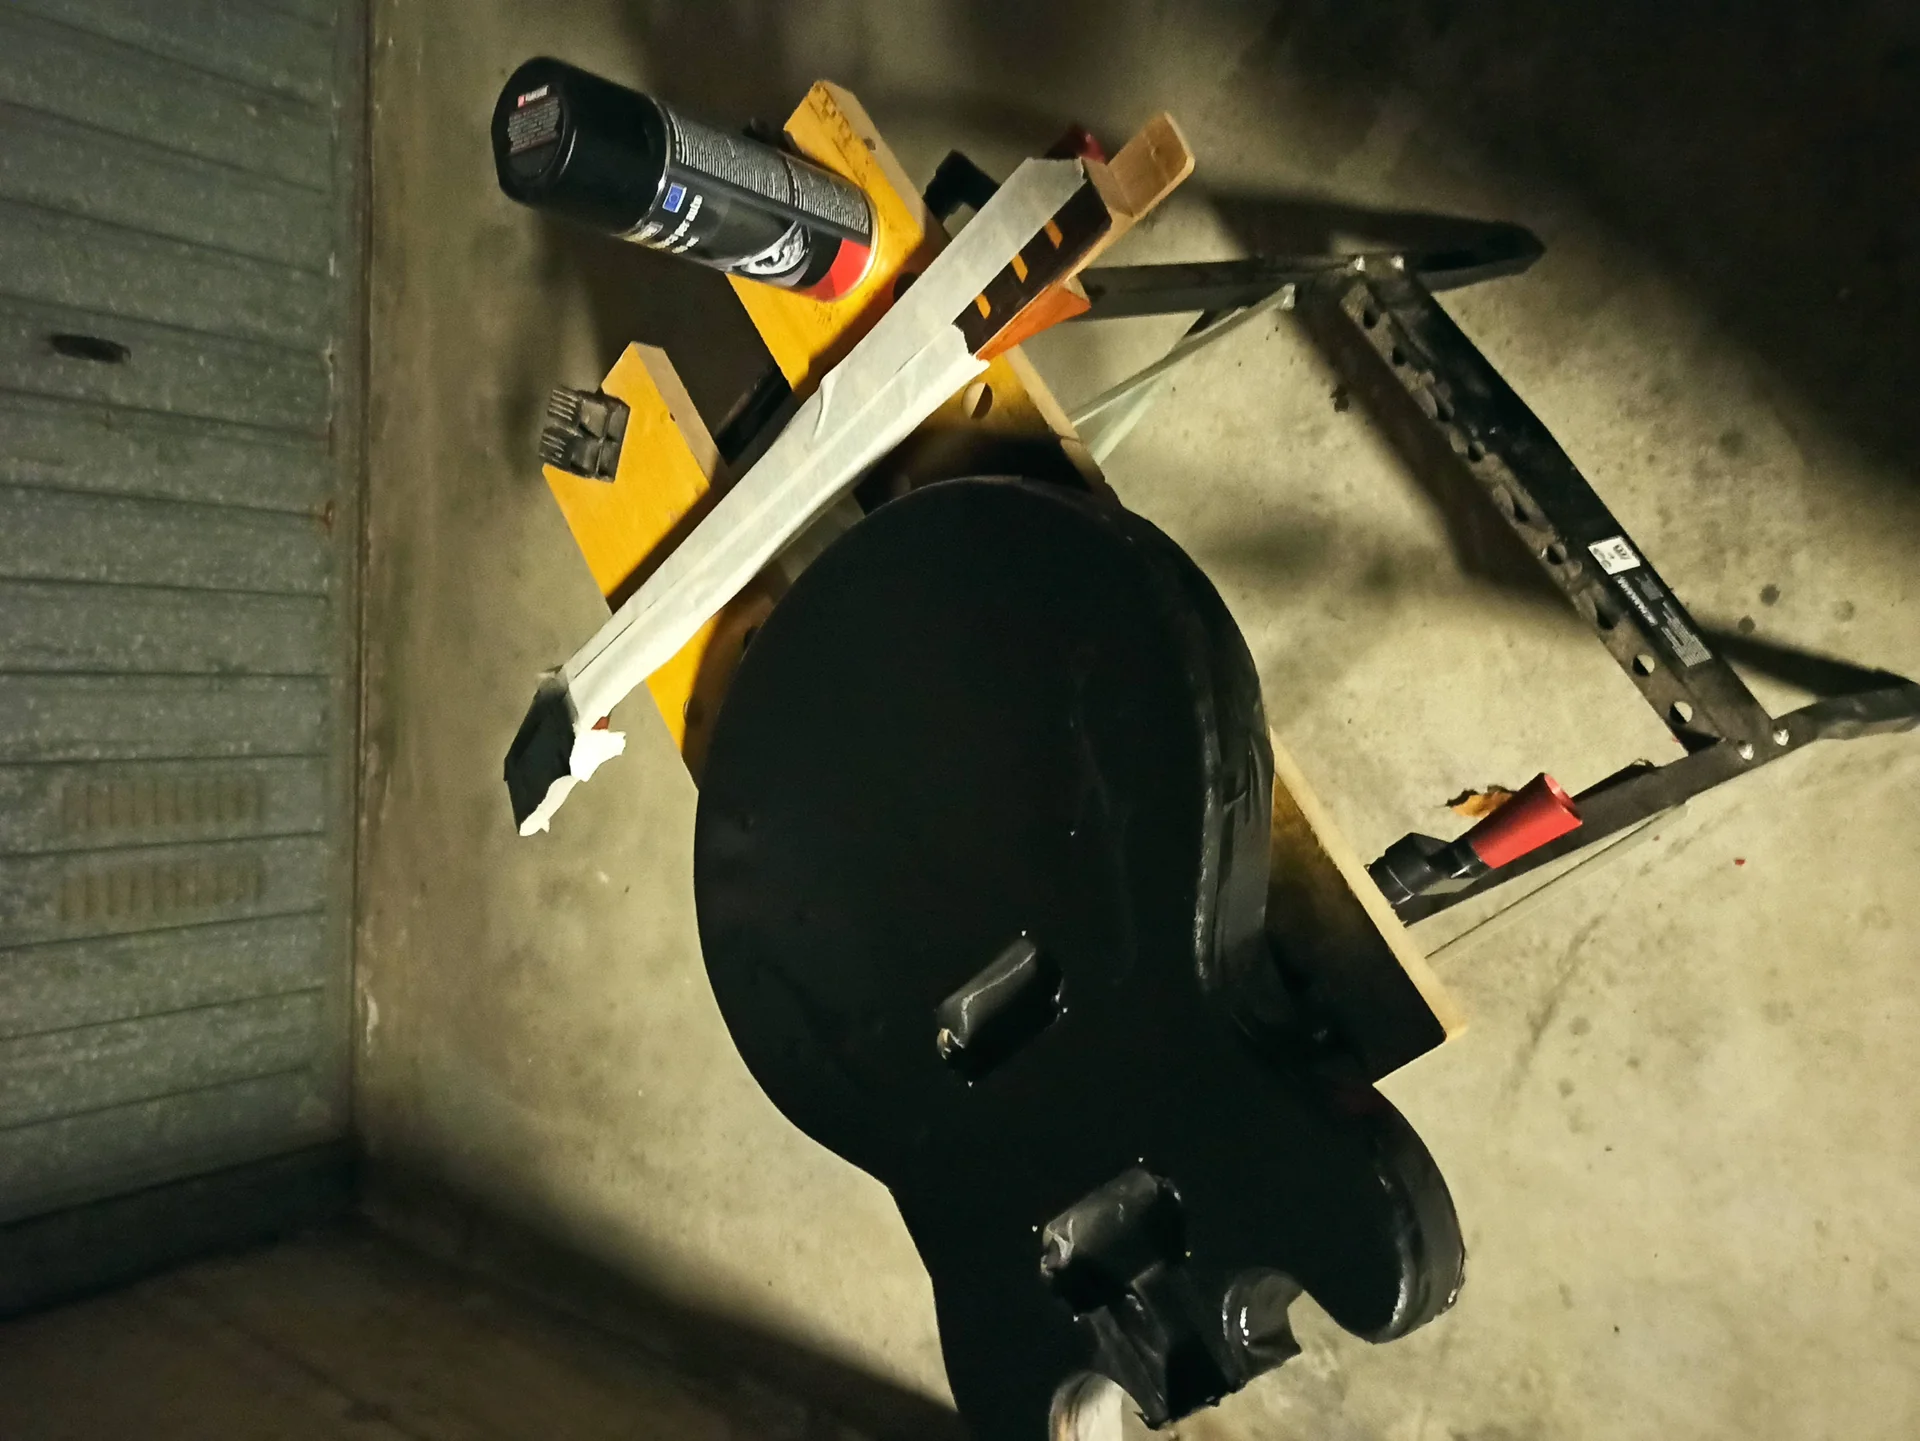
In this gallery: paint, body and electrical.

The output jack is the point of contact between your guitar and the outside world—your amplifier. When it starts to fail, the sound can become intermittent, full of hiss, or disappear altogether. It's an electrical fault that immediately makes you assume the worst, but often it's nothing more than a minor issue. I assure you, it's happened to me more times than I'd care to admit, especially on guitars that have been sitting around for a while.
The pain of the hobbyist guitarist here is twofold: on the one hand, the frustration of not being able to play, on the other, the fear of having to disassemble all the electronics, perhaps breaking a few wires or making solder joints that won't hold. But the truth is that, in most cases, the problem lies in a dirty contact or a cold or loose solder joint.
Diagnosis and necessary materials
First, try wiggling the jack cable while it's plugged into the guitar. If the sound comes and goes, or you hear more pronounced hissing, you're almost certain the problem is there.
Materials you will need: Screwdriver suitable (usually cross or slotted, depending on the type of jack plate).
Socket wrench (often 1/2 inch or 13mm) to tighten the jack nut.
Contact cleaning spray (CRC or DeoxIT D5 type): essential for electronics.
Soldering iron fine tip (25-40W is fine).
Pond good quality (60/40 or lead-free with resin).
Tweezers or small needle-nose pliers for handling wires.
Multimeter (optional, but useful for testing continuity).
The step-by-step repair process
1. Visual inspection and cleaning: Unplug your guitar from the amplifier and remove the strings, if necessary, to make more room.
Unscrew the screws holding the jack plate to the guitar body. Gently pull the jack out, being careful not to pull on the wires.
Take a good look at the jack. Are the internal metal contacts (the ones that touch the tip and the ring of the jack cable) clean or oxidized? Are they bent or loose?
Spray contact cleaner generously directly onto the jack's internal contacts. Insert and remove a jack cable several times to scrub away any dirt. Let it sit for a few minutes.
If the contacts are bent, try gently straightening them with a small screwdriver or tweezers, so that they put good pressure on the cable jack.
2. Check and resolder the connections: Carefully examine the solder joints on the jack terminals. Are the wires secure, or do you see cracks in the solder? Are they shiny or dull and lumpy? Cold solder joints are dull and brittle.
If you see suspicious solder joints or loose wires, it's time to resolder.
Heat the soldering iron. Clean the tip with the damp sponge.
Place the hot tip of the soldering iron on the existing solder for a few seconds, until the solder melts.
Add a small piece of fresh solder to the melted solder. This helps create a stronger weld and flushes away old, oxidized solder.
Remove the soldering iron and let the solder cool without moving the wire. It should appear shiny and cone-shaped.
There are usually two wires: the "hot" wire connected to the tip of the jack (usually a center wire) and the ground wire connected to the ring and shield (often a black wire or braid). Make sure both are secure.
3. Reassembly and testing: Before screwing everything back together, do a test. Insert the jack into the guitar, connect it to the amplifier, and turn it on. Touch the strings, test the potentiometers. Wiggle the jack cable a bit to see if the hum has disappeared.
If everything works, replace the jack plate and tighten the screws. Make sure the jack's outer nut is tightened securely with the socket wrench. If it's loose, the jack could rotate, twisting the wires and breaking them.
Common mistakes to avoid: Overheating the terminals too much: You could melt the wire insulation or damage the jack. Be quick and precise.
Using too much tin: A solder ball isn't a good solder. It should be just enough to cover the wires and create a solid connection.
Do not clean the soldering iron tip: A dirty tip makes soldering dull and difficult.
Do not tighten the jack nut: It's a very common cause of problems, because the jack moves and the wires become stressed.
This is one of the electric guitar repairs more basic but also more common. Once you learn to solder well, a world of possibilities will open up to you, even for modify your guitar!
2. Unstable intonation and unstable bridge: when the melody runs away
.biafax-photo-grid { display: grid !important; gap: 12px; margin: 24px 0; }
.biafax-photo-grid-3v { grid-template-columns: repeat(3, 1fr) !important; }
.biafax-photo-grid-2h { grid-template-columns: repeat(2, 1fr) !important; }
.biafax-photo-grid a { display: block; overflow: hidden; border-radius: 6px; line-height: 0; }
.biafax-photo-grid img { width: 100%; height: 100%; object-fit: cover; aspect-ratio: 4 / 3; transition: transform 0.3s ease; }
.biafax-photo-grid a:hover img { transform: scale(1.03); }
.biafax-photo-grid br { display: none; }
.biafax-photo-grid-caption { text-align: center; font-style: italic; color: #555; margin: -12px 0 24px; }
.biafax-lightbox-overlay { position: fixed; inset: 0; background: rgba(0,0,0,0.92); display: flex; align-items: center; justify-content: center; z-index: 99999; cursor: zoom-out; }
.biafax-lightbox-overlay img { max-width: 92vw; max-height: 92vh; object-fit: contain; border-radius: 4px; }
@media (max-width: 768px) {
.biafax-photo-grid-3v { grid-template-columns: 1fr !important; }
.biafax-photo-grid-2h { grid-template-columns: 1fr !important; }
}
(function() {
if (window.biafaxGridLightbox) return;
window.biafaxGridLightbox = true;
document.addEventListener(‘click’, function(e) {
var a = e.target.closest(‘a[data-lightbox]’);
if (!a) return;
e.preventDefault();
var overlay = document.createElement(‘div’);
overlay.className = ‘biafax-lightbox-overlay’;
overlay.innerHTML = ‘‘;
document.body.appendChild(overlay);
overlay.addEventListener(‘click’, function() { overlay.remove(); });
document.addEventListener(‘keydown’, function handler(ev) {
if (ev.key === ‘Escape’) { overlay.remove(); document.removeEventListener(‘keydown’, handler); }
});
});
})();
In this gallery: paint, body and electrical.
Have you ever tried to play a chord at the twelfth fret and felt it sound completely out of tune compared to the open chord? Or the strings seem too high or too low, and the bridge moves strangely? Well, intonation is one of the cornerstones of a playable guitar, and when it's out of place, the fun goes down.
The problem here for the hobbyist is the feeling of lack of control. The bridge, with all those saddles, screws, and springs, can seem like a Swiss-precision mechanism, untouchable without the hand of an expert. The fear is of loosening the wrong screw, ruining the saddles, or making the guitar even more unplayable. But I assure you, adjusting a bridge and tuning a guitar are tasks within the reach of anyone with a tuner and a screwdriver. It took me years to realize it wasn't witchcraft.
Diagnosis and necessary materials
How to tell if your bridge is unstable or the intonation is wrong: Play an open string and tune it perfectly. Then play the same string at the twelfth fret (harmonic and fretted). If the notes don't match, the intonation needs adjusting.
If the bridge moves side to side or up and down excessively, or if the saddles are loose, you have a stability problem.
Check the height of the strings: if they are too high, the guitar is uncomfortable; if too low, you will have fret buzz.
Materials you will need: Chromatic tuner precise (an app on your phone is fine too, but a clip-on one is more convenient).
Screwdriver cross-head or slot-head, depending on the bridge/saddle screws.
Allen keys (often included with the guitar) to adjust the height of the saddles or the bridge (if Floyd Rose or Tune-o-matic type).
Nut Lubricant (powdered graphite or special grease) to improve the sliding of the strings.
Metal ruler or caliper to measure the action (optional, but useful for accuracy).
The step-by-step adjustment process
1. Check and stabilize the bridge: Tremolo bridges (Stratocaster-style): Check the pivot screws (the two pins on which the bridge rests). They should be tightened, but not too tight, to allow the bridge to swing freely. At the back, in the spring compartment, make sure the springs are properly attached and that the claw (the bar holding the springs) is screwed securely to the body. If the bridge is too high or too low, adjust the claw screws.
Fixed bridges (Tune-o-matic, hardtail): Check that the bridge height adjustment screws and the stopbar (if applicable) are secure. If the bridge is a Tune-o-matic, the saddles should be stable and not loose.
2. Adjust the action (string height): This is a crucial step for playability and to prevent the fret buzz. If you've never adjusted the action, I recommend reading up on the recommended heights for your type of guitar (usually measured at the 12th fret).
Tremolo bridges: Adjust the height of the bridge by turning the pivot screws. Usually, you raise or lower the entire bridge.
Fixed bridges: Adjust the height of the saddles individually (with the small Allen screws) or the overall height of the bridge.
Make small adjustments and test the guitar. Find the right balance between comfort and absence of hum.
3. String tuning: This is the trickiest part. Tune in perfectly.
Play the harmonic at the 12th fret of the low E string. Then fret the string at the 12th fret.
If the fretted note is higher than the harmonic: This means the string is too short. Lengthen the string by screwing the saddle toward the back of the bridge.
If the fretted note is deeper than the harmonic: This means the string is too long. Shorten the string by unscrewing the saddle toward the nut.
Every time you move the saddle, retune the string and repeat the test. Make small adjustments.
Repeat the process for all the strings. It takes time, but it's essential.
4. Lubricating the nut (if necessary): If the intonation continues to be unstable or you feel the strings sticking when you tune them, a little lubricant on the nut can work wonders. I often use a little pencil graphite. It helps the strings slide better in the grooves, reducing stress and improving tuning stability.
Common mistakes to avoid: Do not retune after each adjustment: Each adjustment of the saddle changes the tension of the string.
To be hasty: intonation is a matter of precision, not speed.
Adjusting the action too low: you will end up with a fret buzz unbearable. Better to start a little higher and gradually work your way down.
Forget the truss rod: Before tuning, make sure the neck is straight or has a slight relief. A neck that is too curved or too straight can make good intonation impossible.
There electric guitar repair The bridge and intonation are among the most rewarding tasks. Once your guitar is in tune, it will sound completely different.
3. Scratching potentiometers: the sound is dirty and uncontrollable
Have you ever tried turning the volume or tone pot and heard an annoying "scratching" noise coming from the amp? Or worse, the sound cuts out completely at certain points in the pot's travel? This is a classic problem with dirty or worn pots. It's a problem that's driven me crazy many times, especially on guitars that are a few years old or have been stored in humid environments.
The hobbyist's fear is having to open the electronics compartment, with all those wires and solder. Replacing a potentiometer can seem like a daunting task, especially for those unfamiliar with a soldering iron. But the good news is that often, before replacing it, you can try cleaning it, which, in most cases, solves the problem. And if replacement is unavoidable, I'll tell you how to do it stress-free.
Diagnosis and necessary materials
How to tell if the potentiometer is the culprit: Slowly turn the offending potentiometer (volume, tone) while the guitar is plugged into the amplifier. If you hear a crackling noise, a hissing sound, or the sound cuts out, it's the problem.
Sometimes, the noise only occurs in a certain section of the rotation.
Materials you will need: Screwdriver to remove the pickguard or electronics compartment cover.
Socket wrench (often 1/2 inch or 13mm) to unscrew the potentiometer nut.
Contact cleaning spray (such as DeoxIT D5, or a good potentiometer-specific cleaner).
Soldering iron fine-tipped.
Pond good quality.
Tweezers or small needle-nose pliers.
Replacement potentiometer (If cleaning doesn't work: make sure it is the same value, e.g. 250K Ohm or 500K Ohm, and type, e.g. logarithmic A or linear B).
The step-by-step repair process
1. Access to the potentiometers: Unplug your guitar from the amplifier.
Remove the knobs from the potentiometers. They're usually push-fit, sometimes with a small screw on the side.
Unscrew the pickguard or electronics cover to access the back of the potentiometers.
2. Cleaning the potentiometer (attempt 1): Identify the scratching potentiometer.
If it is a sealed potentiometer (without openings), cleaning is more difficult, but you can still try spraying the cleaner at the base of the shaft or where you see any cracks.
If it has small openings on the back or side (many inexpensive potentiometers do), spray a generous amount of contact cleaner directly into these openings.
After spraying, rotate the potentiometer back and forth about thirty times, using a firm but gentle motion. This helps distribute the cleaner and scrape away oxide and dirt from the internal resistive track.
Let it dry for a few minutes.
Reassemble and test the guitar. This often solves the problem.
3. Replacing the potentiometer (if cleaning is not enough): If cleaning did not work, it means that the internal resistive track is too worn or damaged, and the potentiometer needs to be replaced.
Take a picture! Before desoldering, take a clear photo of how the wires are connected to the potentiometer. This will save you a lot of headaches.
With the soldering iron hot, desolder the wires from the faulty potentiometer. Press the tip of the soldering iron into the solder until it melts, then gently pull the wire away (or use a pump-action desoldering iron).
Using the socket wrench, unscrew the nut holding the potentiometer to the pickguard/body. Remove it.
Insert the new potentiometer into the hole and tighten the nut (not too tightly, so as not to damage the potentiometer).
Now, using the photo you took as a guide, solder the wires back to the new potentiometer. Make sure the solder joints are clean, shiny, and solid. If you're unsure, look up a wiring diagram for your guitar online; it's always helpful to have a reference.
Once you have soldered all the wires, do a test before closing them again.
4. Reassembly and final test: Make sure all solder connections are secure and that there are no exposed wires that could touch each other (causing shorts).
Replace the pickguard or electronics cover.
Put the knobs back on.
Plug the guitar into the amplifier and test the potentiometer. It should turn without noise, and the sound should be clean and controllable.
Common mistakes to avoid: Do not identify the type of potentiometer: There are different values (250K, 500K, 1M Ohm) and curves (linear B, logarithmic A). Use the same type for replacement, otherwise the potentiometer's behavior will change dramatically. A good starting point is the website of a reputable manufacturer like CTS or Bourns to understand the specifications.
Don't take a picture of the connections: This is mistake number one. Without a visual guide, you might connect the wires incorrectly and get no sound, or distorted sound.
Overheating the potentiometer while soldering: Potentiometers are sensitive to excessive heat. Be quick and use a clean tip.
Solving a potentiometer problem is one of the electric guitar repairs which gives you immediate positive feedback. Your sound will be cleaner and your guitar more responsive.
4. Localized Fret Buzz: That annoying buzz that ruins the sound
You know that metallic buzz you hear when you play a note on a certain key, but not on others? That's the fret buzz, and it can be a real nightmare. Sometimes it's on just one string, sometimes on multiple strings, but only in a specific spot on the neck. It makes you think the guitar is ruined, that the neck is crooked, or that the frets need to be completely redone.
The mental block here is enormous: touching the frets feels like a surgical operation, something only a luthier with specific tools and years of experience can do. The fear of filing too much, ruining a fret, making the guitar even worse, is paralyzing. And rightly so, because here the hand must be steady and the approach delicate. But I'll tell you something: often, a fret buzz Localized issues can be resolved with minimal intervention, without having to redo the entire fretboard. I've seen guitars that were considered "unsalvageable" sound great again with a little attention.
Diagnosis and necessary materials
How to identify the fret buzz: Play each note on each string, fret by fret. Listen carefully.
If the buzzing occurs only on a specific key (e.g., the 7th E fret) and not on adjacent keys, it is likely that that key is slightly higher than the others or that the next key is “below” the piano.
If the buzzing is spread throughout the neck, the problem may be related to the relief the neck (truss rod) or the action is too low. In that case, before touching the frets, check and adjust the truss rod and string height.
Materials you will need: Key level (fret rocker) or a small, straight, precise metal ruler (at least 3-4 cm long).
Marker indelible (Sharpie type).
Fret file (fret crowning file) or a very fine diamond file (be careful, not a steel file!).
Fine sandpaper (400, 600, 800, 1000, 1500, 2000 grit) and a hard block for sanding.
Paper tape (paper tape) to mask the keyboard.
Lemon oil or keyboard oil to clean and nourish after work.
The step-by-step repair process (with caution!)
1. Inspection of the neck and the offending fret: Remove the strings (or loosen them significantly) to gain full access to the fingerboard.
With the guitar resting on a stable surface and the neck straight (use a neck cradle if you have one), grab your fret level.
Place the level on three consecutive keys (the one that buzzes, the one before it, and the one after it). If the level "wobbles" on the middle key, it means it's higher than the others. Repeat the test on multiple sets of three keys to confirm.
If the fret is only slightly higher, you can try a light “planing” or spot leveling.
2. Keyboard Masking: This is crucial to protecting the wood of the fretboard. Apply masking tape to both sides of the fret you're working on, completely covering the wood. Leave only the top of the metal fret exposed.
3. Identify the high point (if necessary): Using the permanent marker, color the top of the buzzer button. This will serve as a guide.
4. Leveling the key (with extreme caution): Take a small, hard block (you can use a piece of wood or acrylic) and wrap some medium-grit sandpaper around it (e.g. 400 or 600).
Gently place the block on top of the colored key. Begin sanding with light, even, back-and-forth motions, using minimal pressure.
The goal is to remove only enough material to make the key the same height as its neighbors. Continue until the marker mark has disappeared evenly across the entire surface of the key.
STOP! Check frequently with the fret level. It's easy to overdo it. The idea is to remove as little material as possible.
5. Key rounding (crowning): After leveling, the fret will have a flat surface. This is not good, because the string would vibrate over a large surface area and not at a single point, creating further distortion. buzz or muffling the sound.
Use a fret crowning file. This is a special file with concave grooves to restore the “dome” shape of the fret.
Using gentle motions, file the sides of the key to round it out, leaving the marker mark (if you reapplied it) only on the tip of the dome. The top of the key should return to a rounded shape, like a hill.
This is the most delicate step. If you don't have a special file, you can use a very fine diamond file, but you must be extremely precise and avoid touching the center of the fret.
6. Polishing the key: Now that the fret is level and rounded, you need to polish it to remove any marks from the file and sandpaper.
Proceed with increasingly finer grit sandpaper: 800, 1000, 1500, 2000. You can also use metal abrasive compounds for a mirror finish.
A well polished fret reduces friction with the string and improves the bending.
7. Cleaning and reassembly: Remove all tape.
Clean the keyboard of any metal dust residue.
Apply a little lemon oil (or a specific product) to the keyboard to nourish and clean it.
Restring, tune the guitar, and test the sound on the fret you worked on.
Common mistakes to avoid: Don't mask the keyboard: you could scratch the wood and cause aesthetic and functional damage.
Using the wrong file: an iron file will ruin the key irreparably.
Removing too much material: if you take too much away, the key will become too low and the buzz It will move to the previous key. At that point, the only solution is to redo the key or level the entire keyboard. Proceed with micrometric steps.
Don't round the key: a flat key will still cause buzz or a muted sound.
Don't consider the truss rod: If the neck is not adjusted correctly, any work on the frets will be useless. Always check the neck first. relief* of the handle.
This is an intervention of electric guitar repair more advanced, but if done with patience and the right tools, it will give you enormous satisfaction and save you a lot of money that would otherwise go