
Electric Guitar Bridge Height: Adjust it in 3 Steps
So, guys, let's be clear: the guitar electric It's a fantastic tool, but how many times have you heard that buzz Annoying on the low strings, or having sore fingers after a couple of chords because the action is too high? It's something that puts you off playing, let alone touching your instrument. And if you've spent hours sanding a body, gluing a neck, or routing pickups, the last thing you want is for a trivial adjustment to make the sound less than right.
The problem, often, lies in the’electric guitar bridge height. It seems like something professional luthiers do, one of those operations you only see done in glossy videos. But I assure you, it's not. The first few times, I was terrified I'd ruin everything, overtighten a screw, or completely misunderstand the whole thing. I made a mistake, had to redo it, and in the end, I realized that with a little patience and the right tools, it's an adjustment anyone can do. If I could do it in my garage, you can too.
In this article, I'll guide you step-by-step through setting your guitar's action by adjusting the bridge. We won't perform any magic, but we'll use our heads and a little method. You'll see that in three key steps, your guitar will take on a new lease of life.
Why the height of the strings is so important (And what does the bridge have to do with it)
.biafax-photo-grid { display: grid !important; gap: 12px; margin: 24px 0; }
.biafax-photo-grid-3v { grid-template-columns: repeat(3, 1fr) !important; }
.biafax-photo-grid-2h { grid-template-columns: repeat(2, 1fr) !important; }
.biafax-photo-grid a { display: block; overflow: hidden; border-radius: 6px; line-height: 0; }
.biafax-photo-grid img { width: 100%; height: 100%; object-fit: cover; aspect ratio: 4 / 3; transition: transform 0.3s ease; }
.biafax-photo-grid a:hover img { transform: scale(1.03); }
.biafax-photo-grid br { display: none; }
.biafax-photo-grid-caption { text-align: center; font-style: italic; color: #555; margin: -12px 0 24px; }
.biafax-lightbox-overlay { position: fixed; inset: 0; background: rgba(0,0,0,0.92); display: flex; align-items: center; justify-content: center; z-index: 99999; cursor: zoom-out; }
.biafax-lightbox-overlay img { max-width: 92vw; max-height: 92vh; object-fit: contain; border-radius: 4px; }
@media (max-width: 768px) {
.biafax-photo-grid-3v { grid-template-columns: 1fr !important; }
.biafax-photo-grid-2h { grid-template-columns: 1fr !important; }
}
(function() {
if (window.biafaxGridLightbox) return;
window.biafaxGridLightbox = true;
document.addEventListener(‘click’, function(e) {
var a = e.target.closest(‘a[data-lightbox]’);
if (!a) return;
e.preventDefault();
var overlay = document.createElement(‘div’);
overlay.className = 'biafax-lightbox-overlay';
overlay.innerHTML = '‘‘';
document.body.appendChild(overlay);
overlay.addEventListener(‘click’, function() { overlay.remove(); });
document.addEventListener(‘keydown’, function handler(ev) {
if (ev.key === 'Escape') { overlay.remove(); document.removeEventListener('keydown', handler); }
});
});
})();
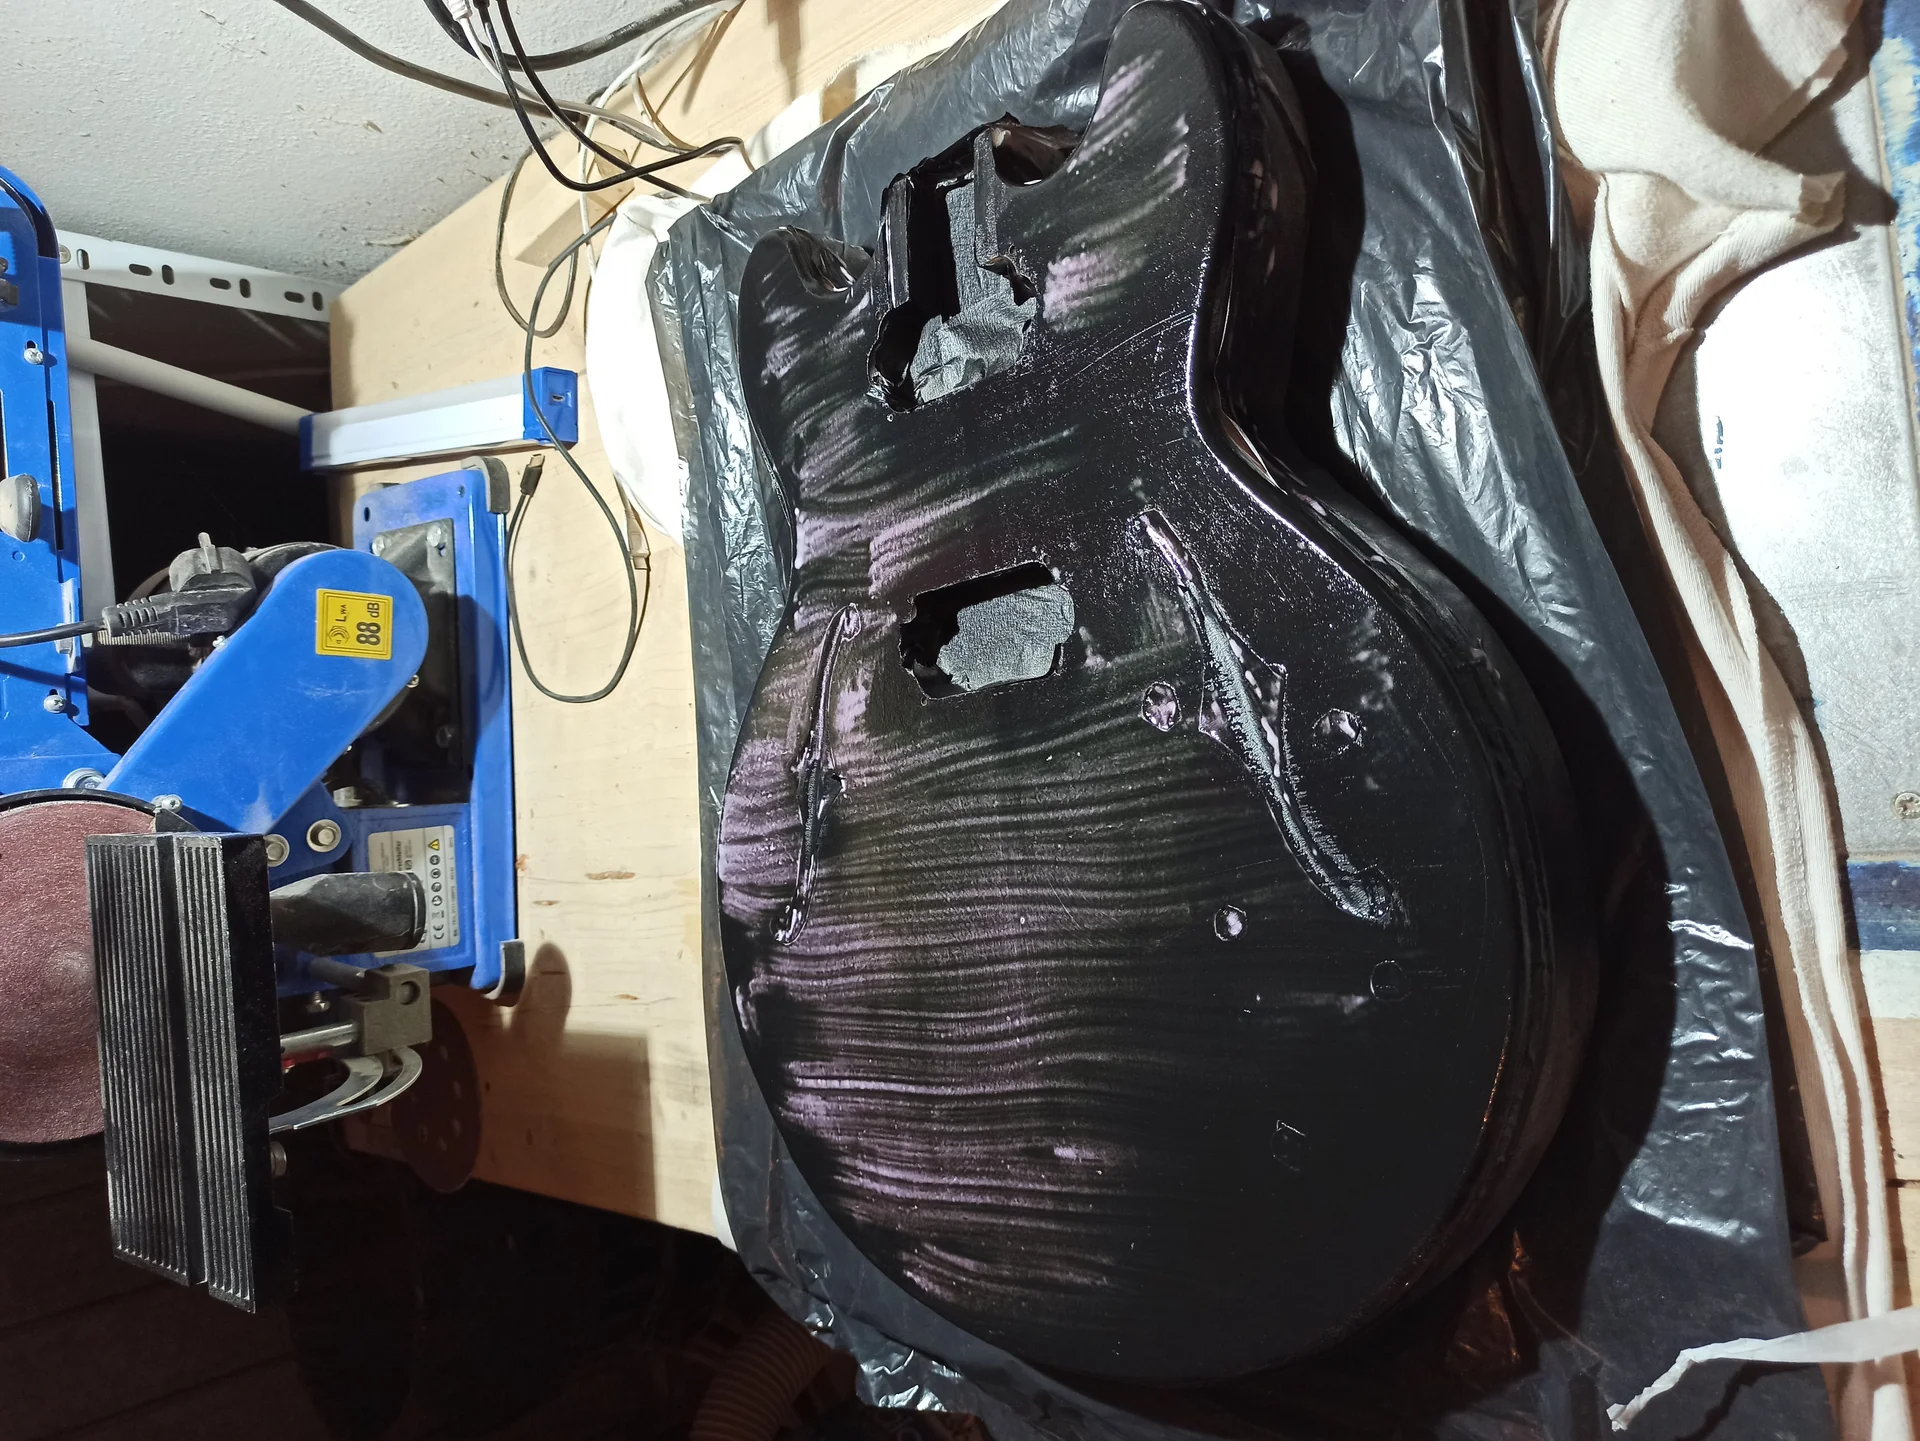
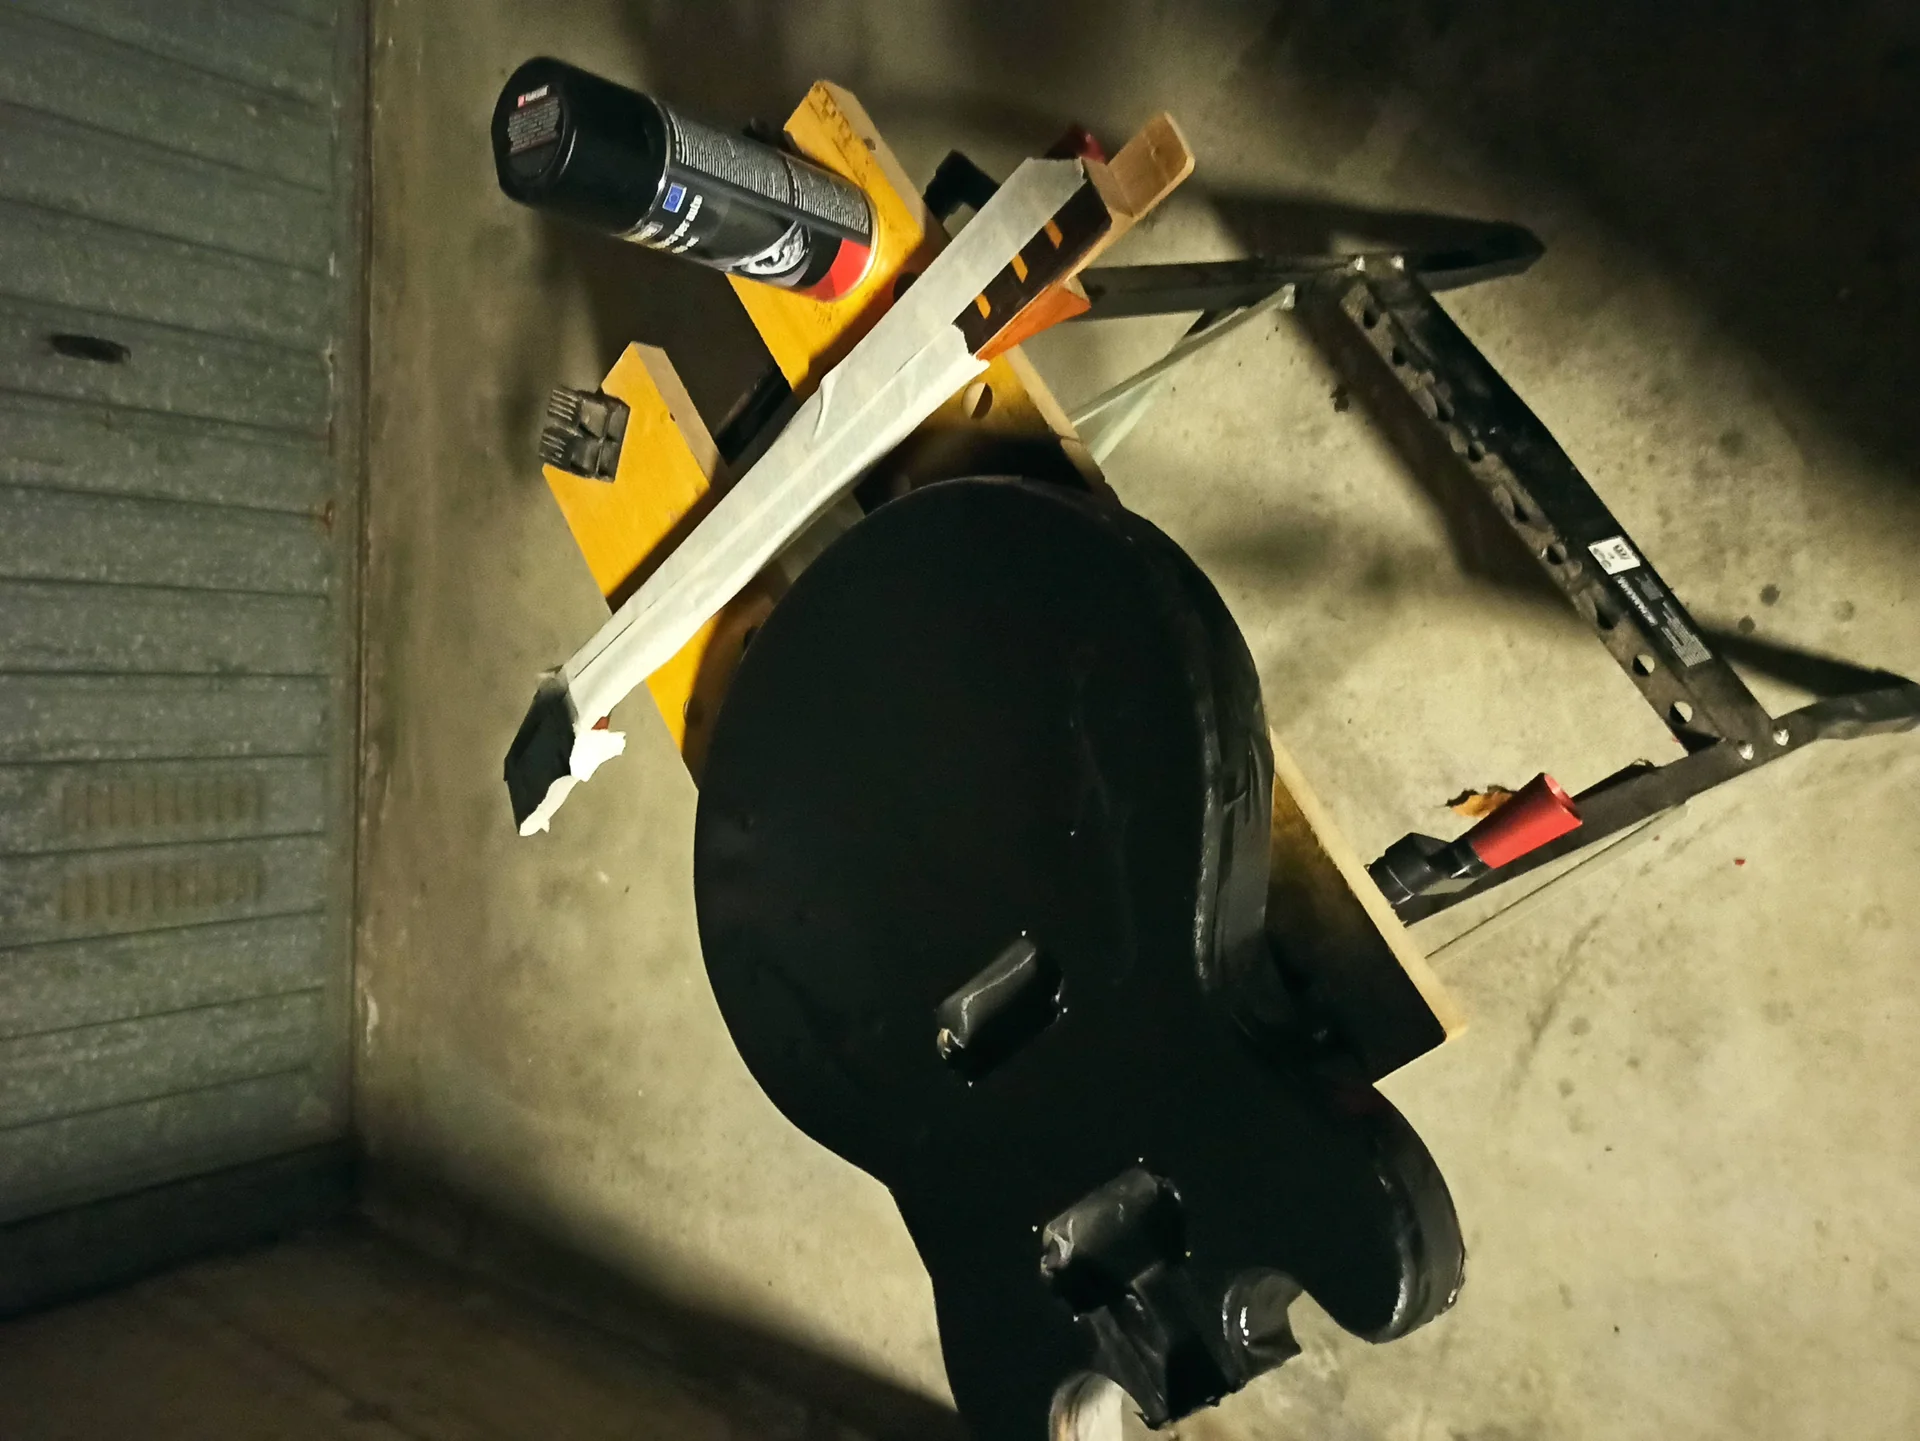
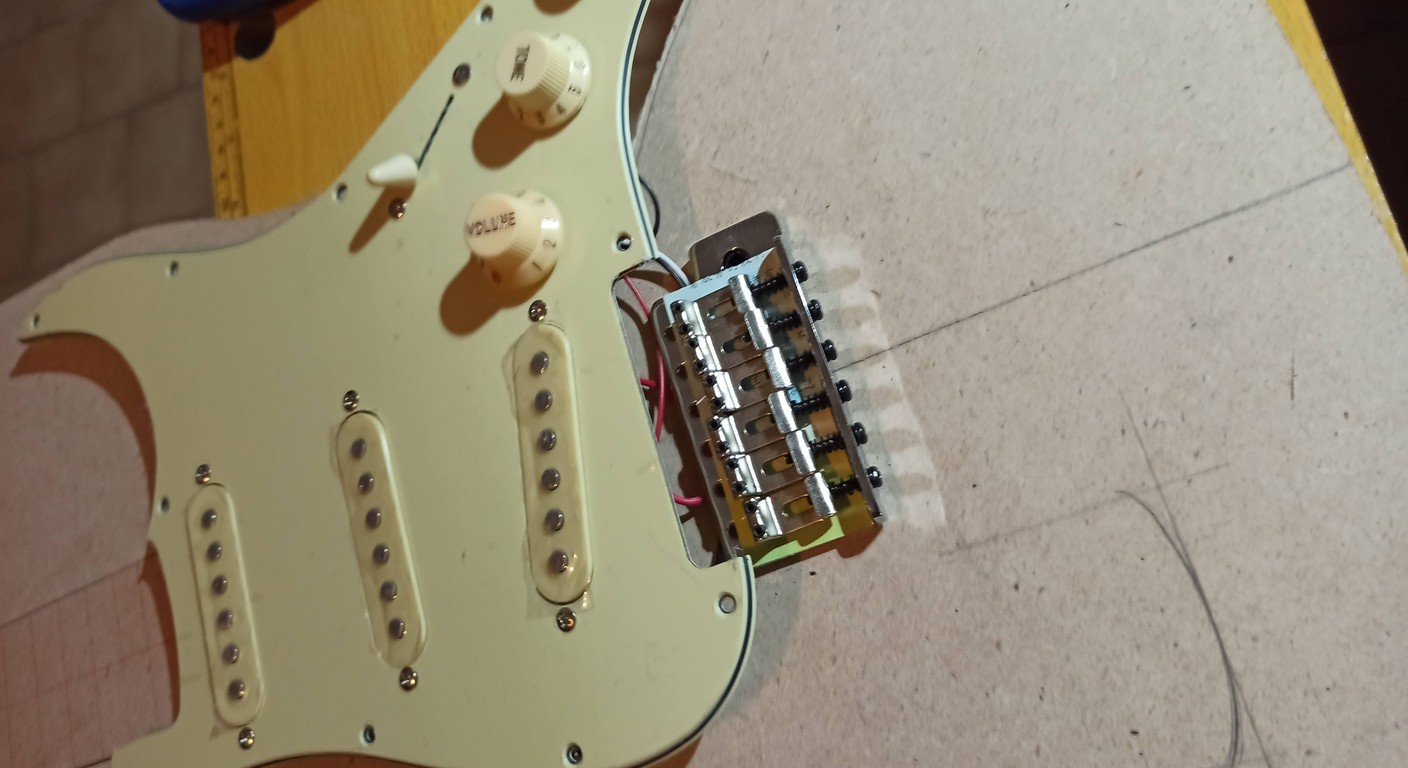
In this gallery: paint, body and electrical.
.biafax-photo-grid { display: grid !important; gap: 12px; margin: 24px 0; }
.biafax-photo-grid-3v { grid-template-columns: repeat(3, 1fr) !important; }
.biafax-photo-grid-2h { grid-template-columns: repeat(2, 1fr) !important; }
.biafax-photo-grid a { display: block; overflow: hidden; border-radius: 6px; line-height: 0; }
.biafax-photo-grid img { width: 100%; height: 100%; object-fit: cover; aspect ratio: 4 / 3; transition: transform 0.3s ease; }
.biafax-photo-grid a:hover img { transform: scale(1.03); }
.biafax-photo-grid br { display: none; }
.biafax-photo-grid-caption { text-align: center; font-style: italic; color: #555; margin: -12px 0 24px; }
.biafax-lightbox-overlay { position: fixed; inset: 0; background: rgba(0,0,0,0.92); display: flex; align-items: center; justify-content: center; z-index: 99999; cursor: zoom-out; }
.biafax-lightbox-overlay img { max-width: 92vw; max-height: 92vh; object-fit: contain; border-radius: 4px; }
@media (max-width: 768px) {
.biafax-photo-grid-3v { grid-template-columns: 1fr !important; }
.biafax-photo-grid-2h { grid-template-columns: 1fr !important; }
}
(function() {
if (window.biafaxGridLightbox) return;
window.biafaxGridLightbox = true;
document.addEventListener(‘click’, function(e) {
var a = e.target.closest(‘a[data-lightbox]’);
if (!a) return;
e.preventDefault();
var overlay = document.createElement(‘div’);
overlay.className = 'biafax-lightbox-overlay';
overlay.innerHTML = '‘‘';
document.body.appendChild(overlay);
overlay.addEventListener(‘click’, function() { overlay.remove(); });
document.addEventListener(‘keydown’, function handler(ev) {
if (ev.key === 'Escape') { overlay.remove(); document.removeEventListener('keydown', handler); }
});
});
})();
Okay, before we get our hands dirty, let's set up camp. You don't need a NASA-level lab, but some basic tools are essential. And I tell you, investing in decent equipment makes the difference between a job well done and one that will leave you swearing.
Here's the shopping list, the one I use on my counter:
Set of Allen keys or screwdrivers: It depends on the type of bridge. Many modern bridges (two-pivot tremolos, Stratocaster-style saddles) use small Allen screws. Tune-o-Matics often have slotted screws on the turrets. Make sure you have the right size so you don't strip the screws. I've stripped a couple, and it's no fun.
Precision ruler or caliper (ruler/feeler gauge): This is no joke. You need a tool that measures in millimeters and, if you like, in fractions of an inch (e.g., 64ths). A good stainless steel luthier's ruler, with a clear scale, is a worthwhile investment. Don't use the one you used to use in elementary school, for goodness sake.
Capotasto (head): Essential to control the neck relief.
Electronic tuner: Obvious, but not a given. After every adjustment, the guitar needs to be retuned.
Feeler gauges: Useful for measuring the neck relief precisely. I'm not strictly for the height of the bridge, but I'm the first tool we will use.
Soft cloth: To protect the guitar body from scratches and to clean the strings.
New strings (optional but recommended): If your strings are old and oxidized, the sound and tension won't be optimal. A complete setup deserves fresh strings.
An Essential Step: Check Neck Relief
Before touching anything on the bridge, we need to make sure the neck is straight or has the right curvature (the neck relief). If the neck is too concave or too convex, any adjustments to the bridge will be useless or, worse, misleading.
Here's how: 1. Place the capo on the first fret. 2. Press the sixth string (the thickest, the low E) onto the last open fret on the neck (the one before the neck joins the body). 3. Look at the gap between the string and the 7th or 8th fret. There should be a tiny gap, barely noticeable. 4. Use a feeler gauge to measure. Typical values range from 0.15mm to 0.25mm (about 0.006" to 0.010"). 5. Repeat the process on the first string (the high E).
If the neck relief it's not correct, you have to act on it truss rod. This is another story, and if you want to know more, you can find a detailed guide on how to do it. guitar modification, But remember: the truss rod is adjusted with small rotations (a quarter turn at a time), you wait, and you check again. Never force it. Only when the neck is in place can we move on to the bridge.
The 3-Step Process: Regular the Height of the Bridge
Now that we have the handle in place and the tools ready, we can focus on the actual adjustment of the’bridge height. Take it easy, it's not a race.
Step 1: Initial Measurement and Target Definition
The first step is to understand where we're starting from and where we want to end up. There's no "perfect" height that works for everyone, as it depends on your playing style, the type of guitar, and your personal preferences. However, there are some standard measurements to start with.
1. Tune your guitar. Always. Every time you adjust something.n2. Measure the height of the strings. Use the precision ruler. Measure the space between the bottom of the string and the top of the 12th fret.
Where to measure: 12th fret. Not the first or last. The 12th fret is the standard reference point.
Which strings: Measure the sixth string (low E) and the first string (high E). This will give you a general idea of the string bend.n3. Write down the measurements. Yes, exactly. Write them down on a piece of paper. For example, “Low E: 2.5mm, High E: 2.0mm.” It helps you stay on track.
Common reference measurements (at the 12th fret):
Fender-type electric guitars (Stratocaster, Telecaster): Low E: 1.8mm – 2.0mm (approx. 0.070″ – 0.078″)
I sing: 1.4mm – 1.6mm (about 0.055″ – 0.063″)
Gibson-style electric guitars (Les Paul, SG) with Tune-o-matic bridge: Low E: 2.0mm – 2.4mm (approx. 0.078″ – 0.095″)
I sing: 1.6mm – 2.0mm (approximately 0.063″ – 0.078″)
These are just starting points. If you like a lower action for shredding, you can go lower. If you hit the strings hard and want to avoid buzz, go higher. The important thing is that the guitar is comfortable. for you.
Step 2: Rough Adjustment of the Bridge
Now let's get down to business. Adjusting the bridge varies slightly depending on the type of bridge you have.
A. Tune-o-matic (Gibson-style) bridges:
These bridges have two lateral turrets, one on each side, which support the entire bridge.n1. Locate the adjustment screws: These are usually slotted or Allen screws on the top of the turrets.n2. Adjust the overall height: To lower or raise the entire bridge, turn the screws on the two turrets. Do this half a turn at a time, alternating between the two turrets to keep the bridge as parallel to the body as possible. 3. Check the curvature: Many Tune-o-matic bridges have saddles that are pre-bent to follow the radius of the fingerboard. If you can't achieve the desired curvature, you'll need to adjust the individual saddles, but this is often unnecessary.n4. Agree and double-check the measurements.
B. 2-pivot Tremolo Bridges (Modern Fender-style) or Hardtail:
These bridges have individual saddles for each string, each with its own adjustment screws.n1. Locate the saddle adjustment screws: Each saddle has two small Allen (or sometimes slotted) screws that hold it on.n2. Adjust the height of each saddle: Use the Allen key (or screwdriver) to raise or lower the individual saddles.
The ray trick: Here, it's crucial to follow the radius of the fingerboard. If your fingerboard is curved (and almost all are), the center saddles should be slightly higher than the outer ones (low E and high E).
How to do: Start by adjusting the low E and high E saddles to the target pitches you've decided on. Then, adjust the intermediate saddles (A, D, G, and B) so they follow the curvature. You can use a radius gauge (a tool with different radii) or simply "eyeball" them, comparing them to the outside strings. No. 3. Agree and double-check the measurements.
Advice for all types of bridges: Small steps: Don't make huge adjustments. Half a turn, a quarter turn. Adjust, tune, measure.
Uniform pressure: If your bridge has screws on both sides (e.g. Tune-o-matic or 2-pivot tremolo), make sure you tighten/loosen evenly so as not to tilt the bridge.
Don't force: If a screw is hard, don't force it. It could be dirty or have a damaged thread. Clean it or, if necessary, consider replacing it.
Step 3: Fine-Tuning and Testing (Action, Intonation, Playability)
At this point, your string height should be close to your goal. But the work isn't over. Now we need to refine and test.
1. Tune your guitar accurately. Use a good tuner.n2. Check the fret buzz on each string and fret. Play each string, fret by fret, from the first to the last. Listen carefully.
Do some bending, especially on the high frets. If you feel buzz, it means that the action is too low in that spot, or that you have an unleveled key (but let's hope not!).
If there is buzz, slightly raise the saddle of the offending string (or the entire bridge, if the buzz is general).n3. Check the intonation. This is a crucial and often overlooked stage.
Play the harmonic at the 12th fret (lightly touching the string at the 12th fret without pressing it).
Then, press the string at the 12th fret and play the note.
The two notes must be identical. If the fretted note is more waning (lower) than the harmonic, the saddle must be moved backwards (towards the nut). If it is more growing (higher), the saddle must be moved after you (towards the bridge).
Each saddle has a separate intonation screw (usually a Phillips or slotted screw on the back of the bridge). Adjust, retune, recheck.
Attention: Adjusting the bridge height can slightly affect intonation, so it's a good idea to double-check it after you find the action you want.n4. Play the guitar. This is the ultimate test.
Play chords, scales, bends, solos. Listen to how the guitar responds.
Are your fingers comfortable? Can you play without excessive strain?
Is the sound clean and defined? Is the sustain good?
This "adjust, tune, test" process is iterative. It takes patience. Don't expect to find perfection on the first try. It took me hours the first time, and even today, on a new guitar, I take my time.
Common Mistakes and How to Avoid Them (I've Made Mistakes, Too, Don't Worry)
As I was saying, I've made all sorts of mistakes. Here's a list of the most common mistakes I've made and see people make often, along with some tips on how to avoid them.
Forget Neck Relief: I've said it before, but I'll say it again. It's the foundation. If the neck isn't right, any bridge adjustment is like a Band-Aid on a broken leg. Check the truss rod first!
Excessive and hasty adjustments: Haste is the enemy of violin making. A quarter turn at a time, no more. Adjusting too quickly can cause you to overshoot the sweet spot and then have to go back, wasting time. And, worse, ruin the screws.
Ignore Intonation: Great action but poor intonation makes the guitar unplayable in serious situations. Intonation is the final touch and must be done with care. It's the seal of your work.
Ignore the Keyboard Radius: Especially with single-saddle bridges. If you don't follow the curve of the fretboard, you'll end up with buzzy strings and strings that are too high. Use your ruler or a radius gauge to help you.
Using Wrong or Worn Tools: An incorrectly sized or worn Allen key will guarantee a stripped screw. And then it's a pain. Invest in a good set of wrenches.
Fear of Making Mistakes: This is the worst mistake. The guitar is an instrument, not an untouchable work of art (well, sometimes it is, but understand me). Settings are meant to be tweaked. At most, you'll have to go back a few steps. Don't be afraid to experiment to find your ideal setup.
“I spent years thinking that certain things were 'too difficult' or 'only for professionals.' Then I realized that most adjustments are based on logic and patience. The secret is not magic, but methodology.‘
When a Bridge Alone Isn't Enough (And What to Do Next)
Sometimes, even after adjusting the height If you've been maniacally adjusting the bridge, the action still isn't what you want. Or maybe the fret buzz persists in specific spots, even though you've raised the saddles. Don't despair; it doesn't mean you've done everything wrong. It just means the problem has deeper roots.
Here are some scenarios and what you might need to do:
Nut too high or too low: The height The nut's height is crucial for the action on the first few frets. If it's too high, the first few chords will be hard to play. If it's too low, you'll experience empty or buzzy sounds on the very first few frets. Adjusting it, or even replacing it, requires precision, but it's doable. I learned to do it with specific files, and the difference is enormous.
Frets not leveled (fret leveling): This is the most subtle enemy of fret buzz. If one or more frets are slightly higher than the others, no matter how high the action, that string will hit the high fret and make noise. Fret leveling is a more complex operation, requiring specialized tools (levelers, fret files, polishing). It's not something to be done lightly, but if the problem persists, it could be the permanent solution.
Handle irreparably crooked: Rare, but it can happen. If the neck is excessively twisted or has a curvature that the truss rod can't correct, then the problem is serious. In these cases, sometimes the only solution is to replace the neck or, for more experienced players, have it professionally straightened. But don't rush into this; it's a last resort!
In most cases, adjusting the bridge and truss rod will solve the 90%'s action problems. If you're facing more complex challenges, the DIY luthiery world is full of resources. You can consult more specific guides for each problem, or check out sites like Stewart-MacDonald, which have incredible resources for all types of setup and repairs. For example, here's a comprehensive setup guide: How to Set Up a Guitar – StewMac.
Conclusions: Your Guitar, Your Rules
Here we are at the end of this journey in the’electric guitar bridge height. I hope I've conveyed to you that this isn't something to be feared, but a fundamental step in customizing your instrument and making it truly "yours." I've seen expensive guitars sound terrible due to improper setup, and inexpensive guitars transform into fantastic instruments with the right adjustments.
Remember:
Patience: It is the virtue of the hobbyist luthier.
Method: Follow the steps, don't skip any steps.
I listen: Your guitar will talk to you, learn to listen to its sound and feel.
Every guitar is a world unto itself, and every guitarist has different preferences. The goal is not to achieve a standard size, but to find Your* size, the one that makes you feel comfortable and allows you to express yourself best. Try, fail, repeat. That's how you learn. And when you've found the perfect setup, you'll feel the satisfaction! There's nothing better than playing a guitar that responds exactly the way you want, knowing you've fine-tuned it yourself. Good luck, and have fun!