


DIY Hollow Body Guitar Kit: 5 Mistakes to Avoid
Building an electric guitar from scratch, or starting from a good one DIY hollow body electric guitar kit, It's one of those adventures that stays with you. I'm not just talking about the piece of wood that ends up playing, but the entire process: the dust, the smell of the wood, glue-stained fingers, that absurd satisfaction when you plug in the jack and hear the first sound come out of the amp. But let's face it, hollow-body guitars have a special charm, but also some significant challenges.Me, the first time I started working on a project of hollow body guitar assembly, I thought I had everything under control. I'd already made a couple of Strats and a Telecaster, and I thought, "What the hell? It's just a bigger, hollower body!" Mistake. Serious mistake. I ended up with a top that vibrated too much, a neck that wouldn't line up, and wiring that looked like a nest of vipers. But I learned a lot from those mistakes.
This article is for you who have spotted a nice semi-acoustic guitar kit And you're wondering if it's within your reach. Spoiler: yes, it is. But with the right awareness and a little attention to certain details, you might be able to easily overcome them on a solid body. Let's look at the most common pitfalls and how to avoid them, so you don't end up making the same mistakes I did.
The Subtle Soul of the Hollow Body: Understanding the Structure First
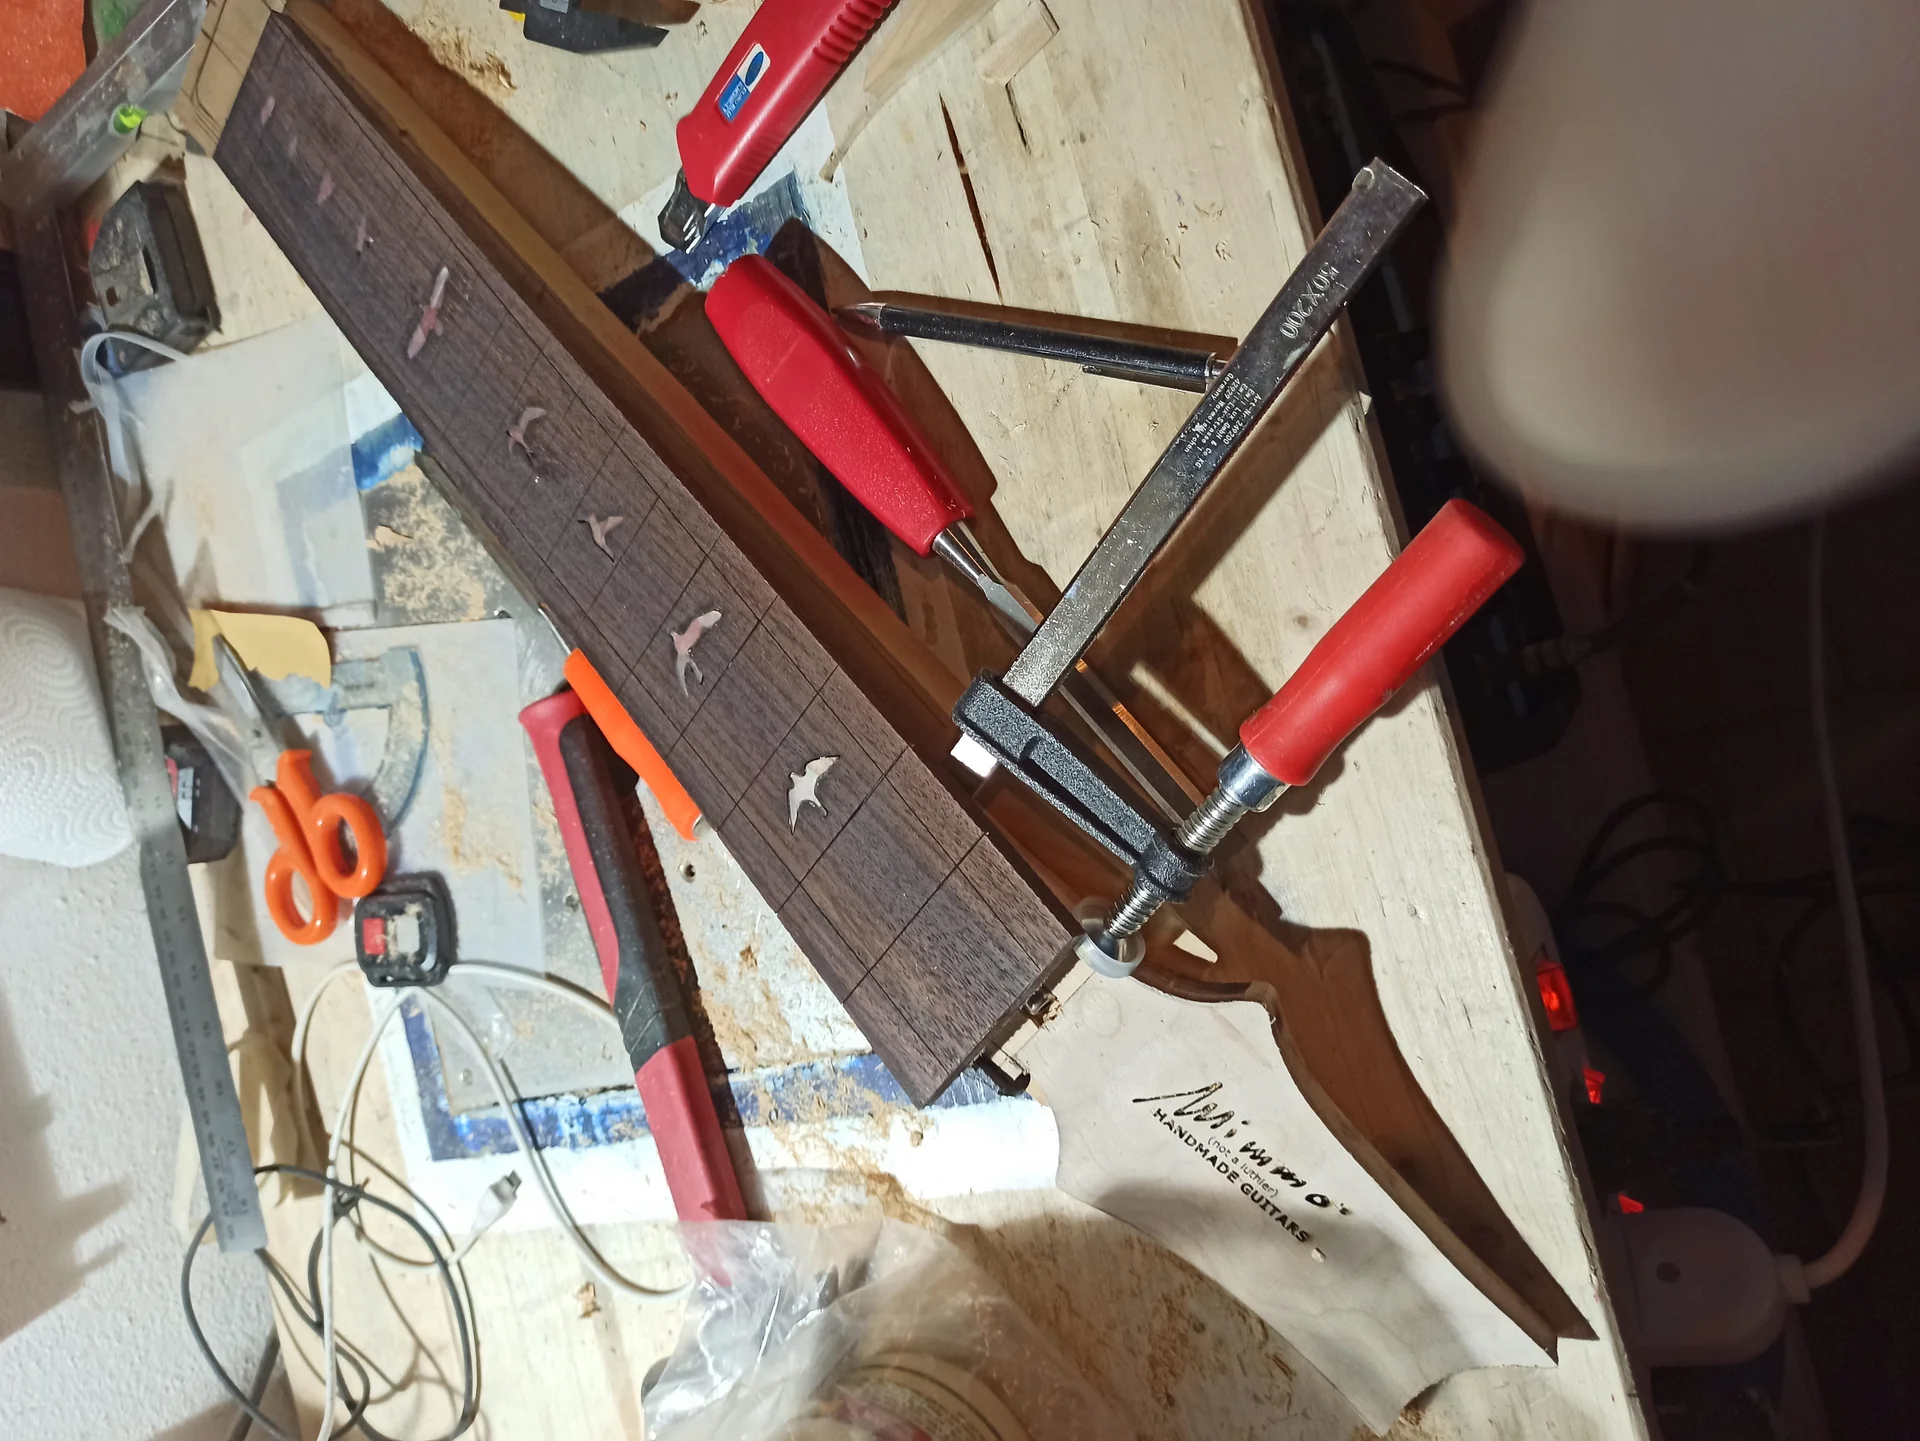
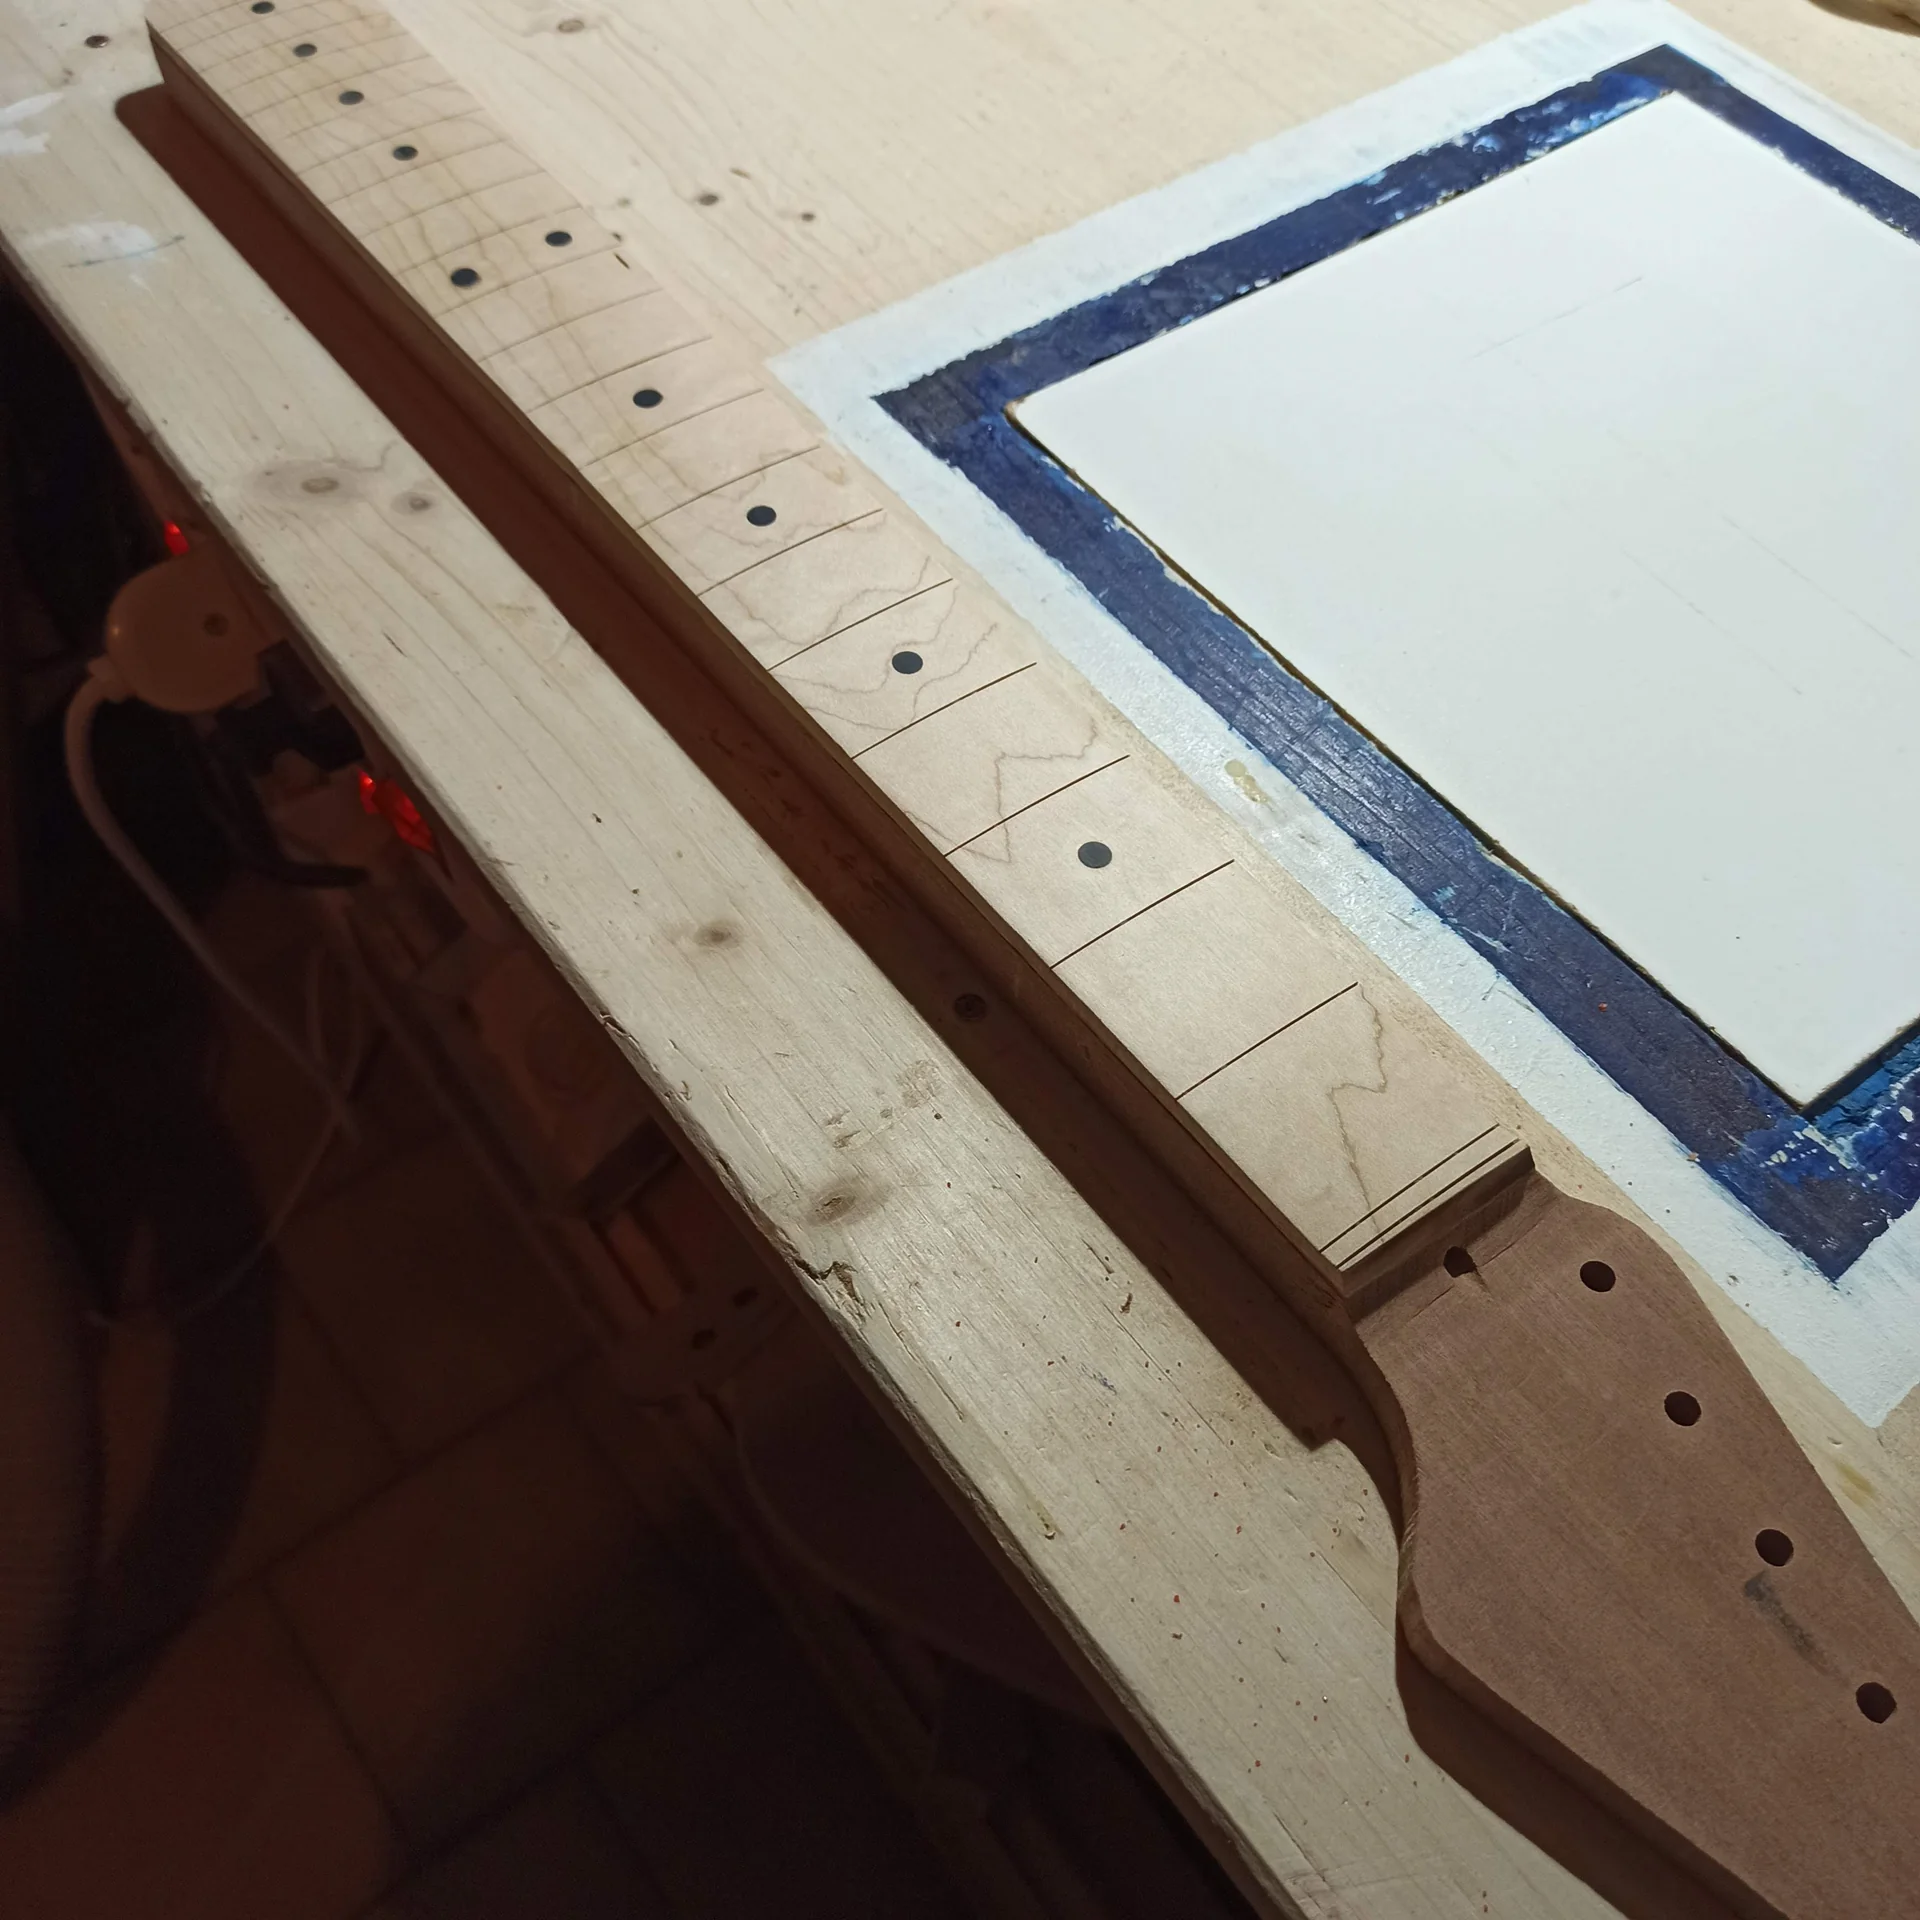
The neck is the soul of a guitar's playability. On a solid body, a small error in alignment or angle can (sometimes) be compensated for with an adjustable bridge or an aggressive setup. On a hollow body, things get much more complicated.
Mistake 2: Getting the Handle Gluing and Set Angle Wrong
Advertising

Guyker 42mm Guitar Bone Nut - White Pre-Slotted Bone Nuts for 6 String LP Les Paul Style Electric Guitar Replacement Parts Accessories 42mm*6mm*9mm (2 Pieces), ETW-4269
See on Amazon

Patience is gold here. A well-glued neck is the foundation of a playable guitar.
Finishing and Protection: Not Just Beauty, But Survival
The finish is the icing on the cake. It's what makes the guitar beautiful and protects it. But on a hollow-body, the finish has an even more profound impact, influencing resonance and sound.Mistake 3: Rushing the Finish and Ignoring the Wood's Sensitivity
The desire to see one's own DIY hollow body electric guitar kit Finished is a lot. I understand. But finishing is a slow process, requiring patience and attention to detail. And on a hollow-body, with its thin tops and inherent resonance, every layer of paint counts. The problem: I finished my first hollow-body, the one with the fragile top, in incredible haste. I sprayed it too thickly, didn't sand it properly between coats, and skipped the grain filling. The result? A matte, orange peel finish with the wood pores still visible, and above all, a guitar that sounded muffled, as if I'd put a blanket over the amplifier. The thick paint had blocked the top's vibrations. Why it happens: A finish that's too thick or poorly applied can "suffocate" the wood, preventing it from vibrating freely. This is especially true for hollow-body guitars, where the resonance of the top and back is crucial to the sound. Furthermore, hollow-body wood is often softer or laminated, requiring more delicate preparation. What to do to avoid it:n1. Wood Preparation: Sand the body with meticulous care. Start with a medium grit (e.g., 180-220) and gradually increase (320, 400, 600, up to 800-1000 for a flawless surface). Between each grit, clean off any dust and, if possible, use a damp cloth to raise the wood grain, then sand again. 2. Grain Filling (if necessary): If your kit is made of mahogany or other open-pore woods, grain filling is essential. It fills the pores of the wood, creating a smooth surface for paint to adhere better. Do this before priming. Choose the Right Finish: Nitrocellulose (Nitro): This is the quintessential "vintage" finish. Thin, it allows the wood to "breathe" and ages beautifully. It requires many thin coats and a long drying time. It's more delicate and less durable.Polyurethane (Poly): More durable, easier to apply, but tends to be thicker and can "plasticize" the sound a bit. Excellent for durability.
* Oil/Wax: The thinnest and most "natural" finish. It offers little protection but maximum resonance. Requires regular maintenance.
For a hollow-body, a thin finish is often preferable. Personally, after banging my head against it, I prefer nitro or oil finishes for hollow-body guitars, precisely to avoid compromising resonance.n4. Thin Hands and Patience: Whatever finish you choose, apply thin coats. It's better to apply 10 thin coats than two thick coats. Allow enough drying time between coats and, if necessary, lightly sand with a very fine grit (800-1000) to remove imperfections. F-Hole Treatment: The F-holes are delicate. Protect them with masking tape while painting to prevent them from filling with paint. If you use a spray finish, be careful not to overspray them. 6. Final Polishing: Only after the finish has fully cured (it can take weeks for nitro!) should you proceed with polishing. Use increasingly finer grit abrasive compounds and then a specific guitar polish.
Remember, a good finish isn't just aesthetic. It's an integral part of the sound. And if you want to learn more about how a good finish can improve (or ruin) your instrument, I recommend reading our article on How a good finish can make (or break) your instrument.
Electronics and Wiring: The Labyrinth of Empty Sound
Now, if you thought that fitting potentiometers and pickups into a solid body was a pain, prepare yourself for the “hard” level with a hollow body. Electronics are another critical point when building a DIY hollow body electric guitar kit.Mistake 4: Underestimating the Complexity of Internal Wiring
Hollow-body guitars, by their very nature, have a hollow body with limited access holes (either F-holes or a small cover on the back, if present). This makes installing and wiring electronics a real test of patience and dexterity. The problem: The first time I attempted to wire a hollow-body amp, I soldered all the components to the outside, as I did with solid-body amps. Then I tried to insert them into the F-holes. The result? The potentiometers wouldn't fit, the wires got tangled, and the jack wouldn't go in. I spent hours fishing with wire and tweezers, cursing in every language I knew. Finally, a potentiometer came loose and fell inside, free to roll around. A real nightmare. Why it happens: Unlike solid body guitars, which have large cavities and removable covers, hollow body guitars often only provide access through the narrow F-holes. Potentiometers, pickups, switches, and jacks must be inserted through these holes and then secured with nuts and washers. What to do to avoid it:n1. Pre-assembly and External Testing: Here's the secret. Solder all the electronic components (potentiometers, capacitors, switches, jacks) onto a piece of cardboard or a template, reproducing the exact layout they will have inside the guitar. Connect the pickups and test the circuit with an amplifier. Make sure everything works before inserting it into the body. Fishing Line Technique: To insert the potentiometers and jack, use sturdy wire (such as fishing line or thin electrical wire) that you'll attach to the components. Insert the wire through the potentiometer/jack hole in the body, then pull the component from the inside. Once the component is in place, remove the wire and secure the nut. 3. Specific Tools: A pair of needle-nose pliers, tweezers, and a flashlight are your best friends here. There are also specific tools for violin making, such as "wiring harness tools," which are long pliers with a curved end, perfect for gripping nuts and washers inside. Component Dimensions: Check the size of the potentiometers. Many hollow body electric guitar kit They use mini pots (such as Alpha 16mm) because they are easier to fit. If your kit has full-size pots (such as CTS 24mm), make sure they fit through the F-holes and the holes on the body.n5. Shielding: Hollow-body speakers are more susceptible to noise and interference due to their large resonating chambers. Consider shielding the inside of the body with conductive paint or copper/aluminum foil. This will reduce background noise. Just remember that the shielding must be grounded. Plan the Layout: Before soldering, draw a wiring diagram and component layout. Consider how the wires will be laid out and what the shortest and cleanest route will be. Avoid excessively long cables that could touch the body and create noise.In short, internal wiring is an art in itself. Take your time, and if you get frustrated, take a break. A mistake here could mean having to disassemble everything, and believe me, that's the last thing you want to do.
Hardware Assembly and Final Setup: The Last Mile
You've glued the neck, you've finished the body, you've wired the electronics. You're almost there! But the last mile, assembling the hardware and final setup, is where your DIY hollow body electric guitar kit It transforms from a collection of pieces of wood and metal into a playable musical instrument.Mistake 5: Neglecting Final Setup and Specific Intonation
Many hobbyists, including myself as a beginner, are so excited to see the finished guitar that they string it, give it a quick tune, and off you go! But a good setup is crucial to playability, intonation, and ultimately, enjoyment of the instrument. The problem: My third hollow-body (yes, I have a complicated relationship with these guitars, but I love them) sounded good, but its intonation was terrible past the seventh fret. The strings buzzed on some frets, and the action was too high for my taste. I'd fitted the bridge and saddles "by eye," and hadn't taken the time to file the nut. The result: a guitar that was only "almost" playable. Why it happens: Hollow-body guitars often feature different bridges than solid-body guitars (e.g., Tune-o-matics with a separate tailpiece, or floating bridges). These require careful adjustment. Furthermore, the hollow-body resonance amplifies any small setup flaws, such as too-high action or a buzzing string. What to do to avoid it:n1. Bridge Assembly: If your kit includes a Tune-o-matic bridge, make sure the pins are installed perfectly perpendicular to the top. Use a template or ruler to mark the exact position, following the guitar's scale. For a floating bridge, its position is even more critical and must be adjusted based on intonation. 2. Nut: This is crucial. The nut grooves must be filed to the correct height and angle for each string. A nut that's too high will make the action at the first fret awkward. Too low, and the strings will sizzle. I bought a set of nut files specifically for this purpose, and it was one of the best investments. Truss Rod Adjustment: Once the guitar is in tune, check the neck relief. There should be a slight concavity. Adjust the truss rod to achieve the ideal relief (often between 0.008 and 0.012 inches of space between the string and the 7th/9th fret, pressing the string at the 1st and last frets). 4. String Height (Action): Adjust the height of the bridge saddles to achieve the desired action. Start with a slightly higher action and gradually lower it until you hear the strings buzzing, then raise it a little. 5. Intonation: This is the final and most important step. Once the guitar is tuned, play the open string and then the 12th fret. The two sounds should be identical. If the 12th fret is sharp, move the saddle away from the neck. If it is flat, move it closer. Repeat for all strings. 6. Pickup Height: The height of the pickups affects volume and tone. Adjust the height by tightening or loosening the screws on the sides of the pickup. Moving them closer together increases volume and bass; moving them further apart reduces volume and brightens the sound. Experiment! 7. Patience and Repetition: Setup is an iterative process. Each adjustment can influence another. Don't expect to get it perfect the first time. Take your time, play the guitar for a while, and then adjust again.I still remember the first time I did a decent setup on one of my hollow-body guitars. I'd spent hours measuring everything, adjusting it, playing it, and adjusting it again. When I tried a chord, the sound was there, clean, resonant, in tune. It was a magical moment, the feeling of having transformed a piece of wood into an instrument that responded to my every intention. And if I could do it, and I'm more of a mess than a luthier, you can do it too.
In conclusion, build a guitar from a DIY hollow body electric guitar kit It's not just a project, it's a journey. A journey made of mistakes and frustrations, but also of small victories and immense satisfaction when you hold your instrument in your hands, the one you made yourself, with your own hands, in your garage. So, don't be afraid to make mistakes. Learn, redo, and enjoy every single step. And then, when you're done, come tell us how it went!
See also
Download the Luthier Survival Kit
Free PDF with checklist, problem-cause table and project card template.
 English
  Italiano
Stuck on your build?
If you ran into the same problem or have a question, drop it in the comments. I read and reply to every one.
Write a comment